ibrokeit
Brock Higdon- Auburn, AL
I would almost have made the luggage rack off the back instead of so high. Make it pretty easily removable back there. chances of rolling backwards would be less than rolling side to side, I would think.
hokie_yj said:Thanks man, I really appreciate it! That really means a lot to me coming from someone who has built a rig like yours.
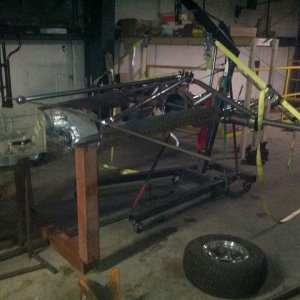
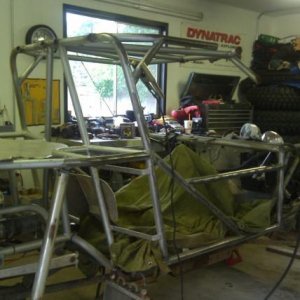
You're right, this is definitely a 50lb of **** type situation. Lol. Pictures really don't show how small this thing is. I agree that the rack really is too high, but I'm not sure I can get it any lower. The only things I plan to put in it are a small tool bag, recovery gear, and a soft sided cooler. So hopefully nothing that would take a lot of damage in a rollover. I'm always open to suggestions though.

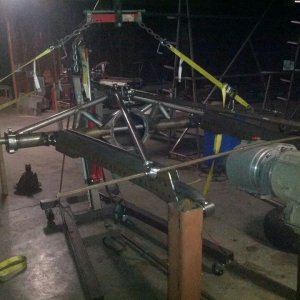
patooyee said:If it were me I would cut the basket down and put it in that area in front of the radiator and behind the cooling fan you have behind your head there. It seems oversized for that buggy. My basket is 1/3 that size and I manage to fit everything I need in it in terms of tools. And my tools are bigger than yours because rockwells are big. It would look less out of place, too.
 That just might work. I'll stare at it some more again tomorrow morning after I get home from work and sleep a bit. Thanks again for the input.
hokie_yj said:I don't know why I never really thought of that.
patooyee said:NP, hope you don't think I'm ragging on just one little thing because overall I think that rig is ****ing bad-ass and makes me want to sell mine to build something small like that.


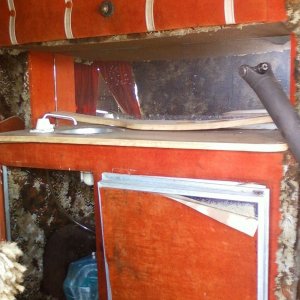
 I have the boot that AA ships with the Atlas on it right now, but the shifters won't travel all the way because the hole is on the wrong angle. I found a boot by JB Fab that has a bigger opening so I went ahead and ordered one. I'll fix that problem when it comes in.