Forbanger
Well-Known Member
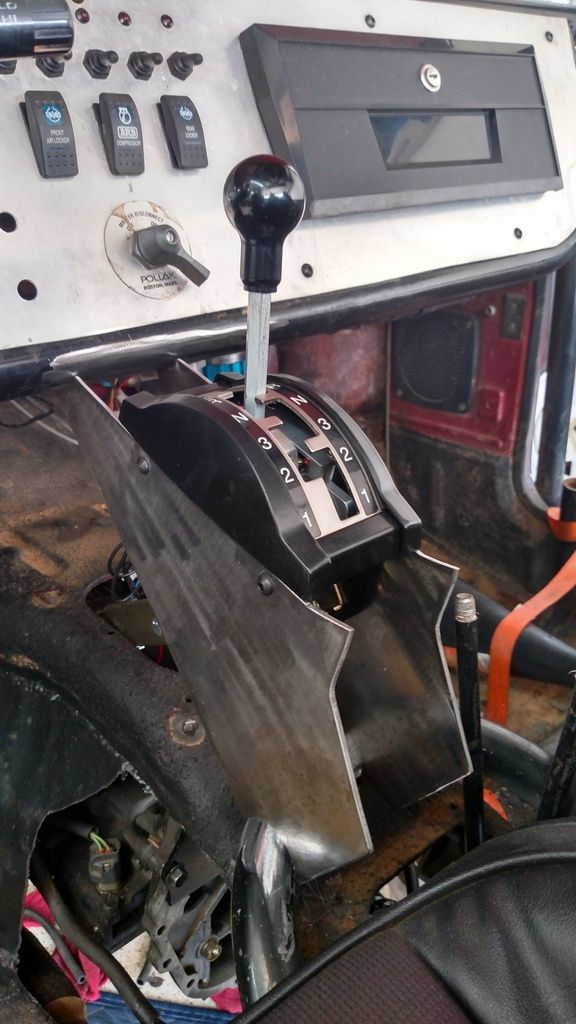
Hope I'm not repeating a question. But how are the gears gonna be compared to the 3sp?
Forbanger said:Hope I'm not repeating a question. But how are the gears gonna be compared to the 3sp?

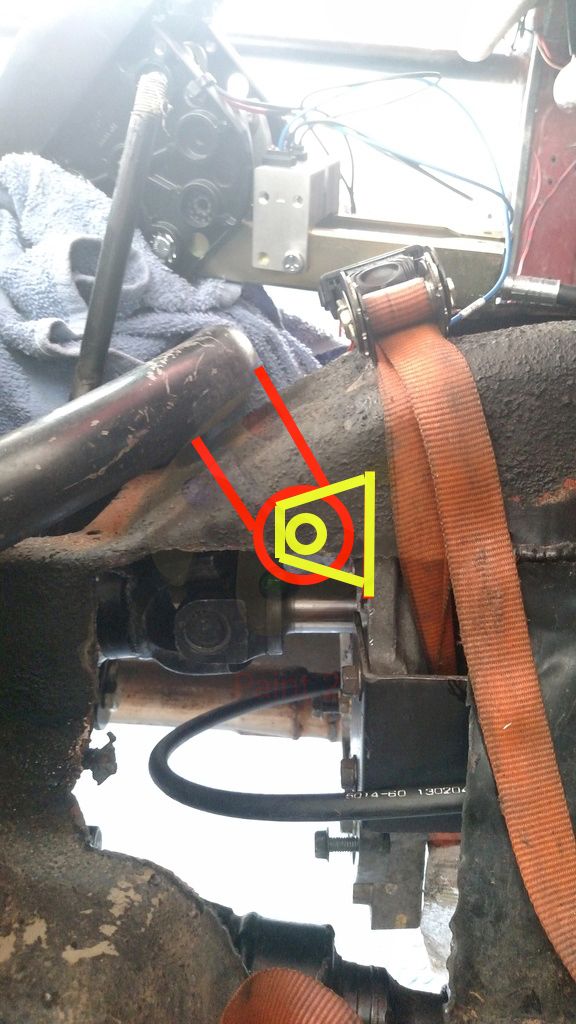
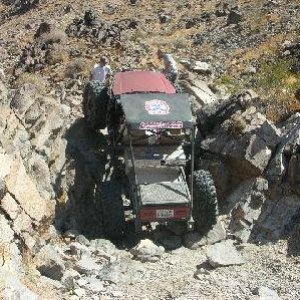
sleepsontoilet said:I've gone from the top before, I don't see why it wouldn't work.
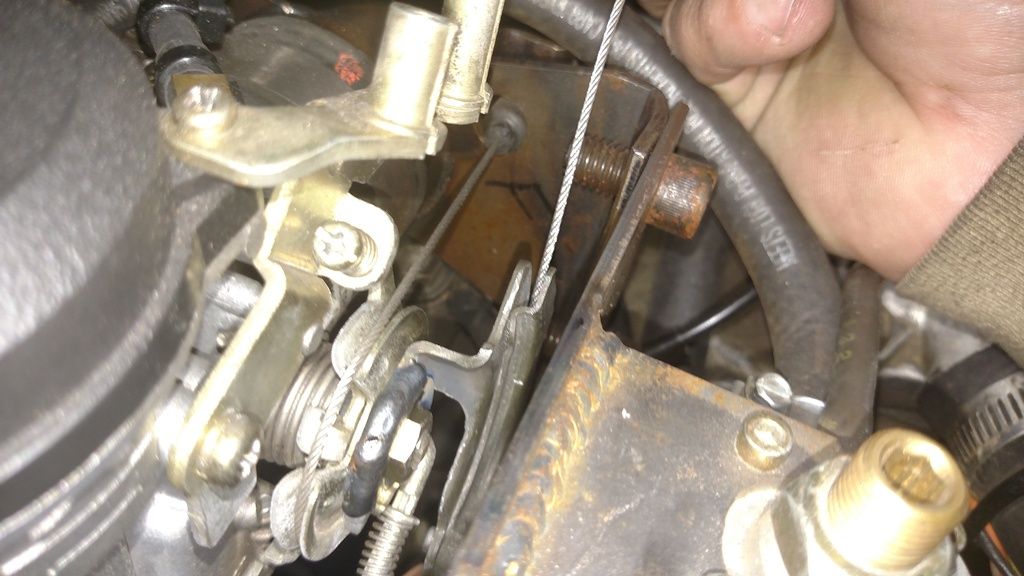
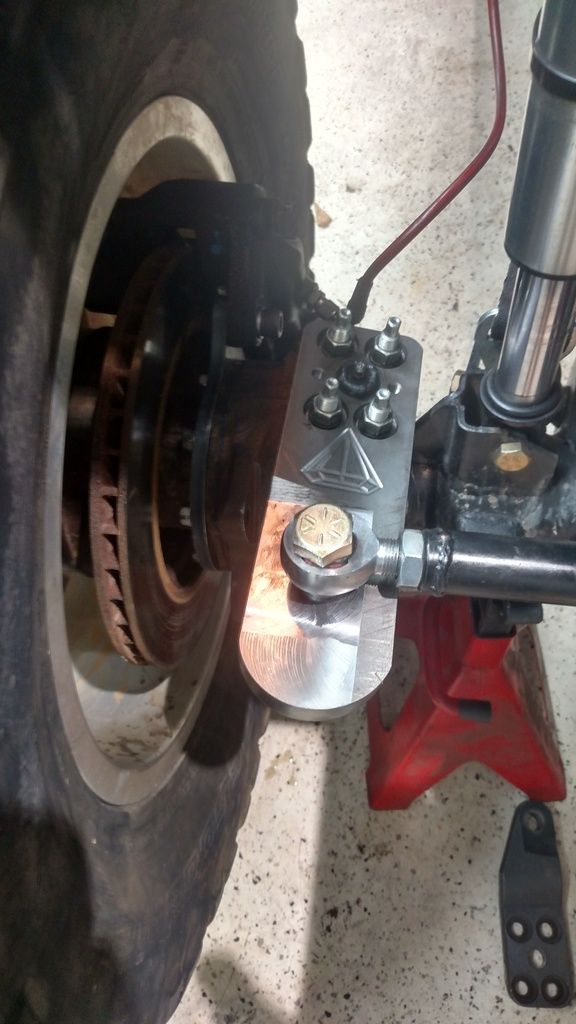
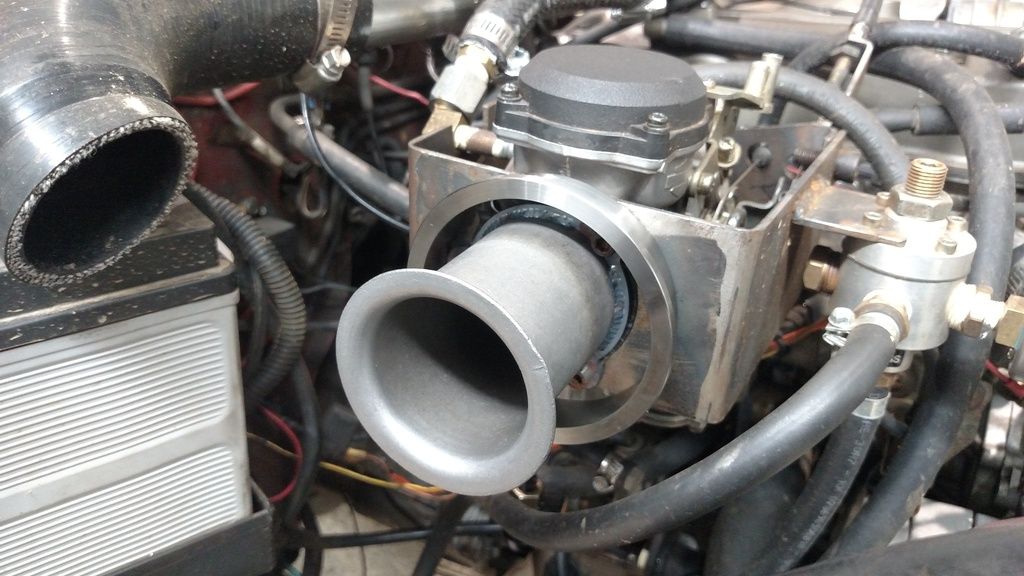
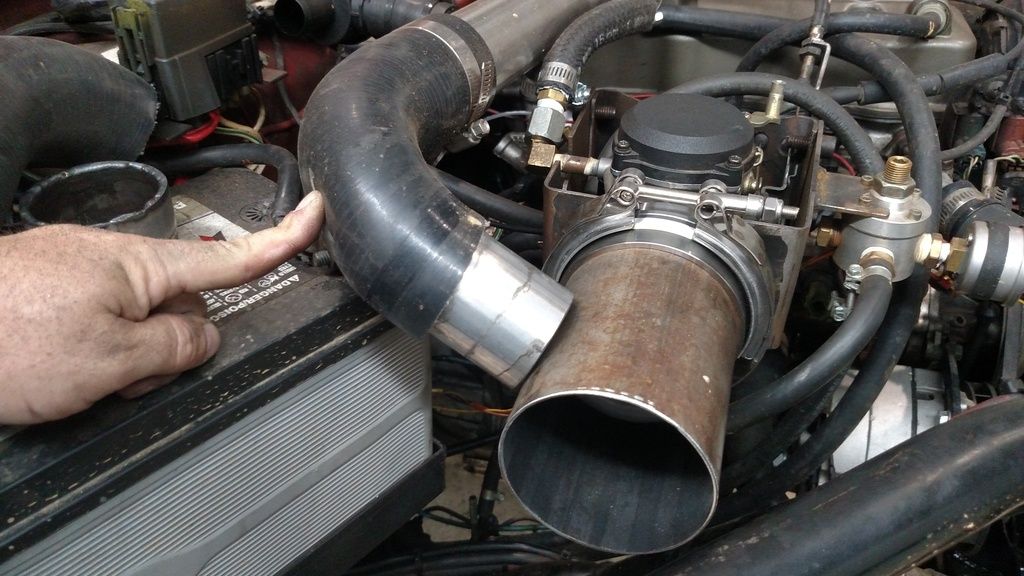
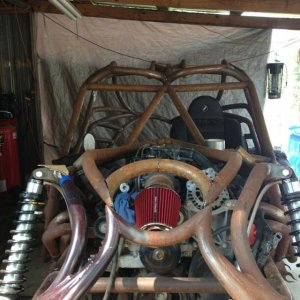
ScottsPics said:I like that CV carb mount setup...been thinkin about redoing mine with something like that...its just an old first run my-side setup with the bent threaded rods...also like the velocity stack addition.