clemsonjeep
Well-Known Member
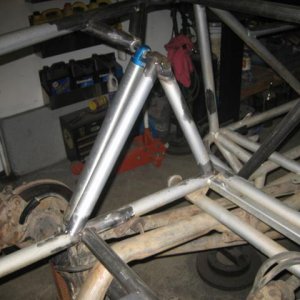
CHASMAN9 said:Since that shock mount is just tacked in, could you not just swing it down a little lower and adjust the ride height out of the shock?
ADMINISTRATOR

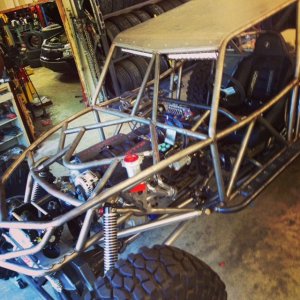
That's been the trickiest thing with this rig and it being so light. With the 14" 70lb springs on the front now I still only have 1" of preload on them to get the desired ride height. If I were to rotate the shock mounts down enough I would probably be in the negative on preload to get the ride height where I want it.
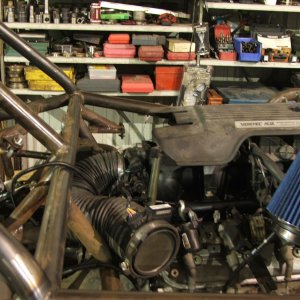
muddinmetal said:The cooler the air filter is the more power you can possibly make. It may help in the long run to move the filter anyways
I'm thinking I gained at least 5hp from the cold air intake. If I slap a K&N, Airaid, etc. sticker on it that'd be good for another couple wouldn't it?
TBItoy said:The fittings do exist :")
See that's what I was thinking. I suppose if I'd just bought these off the shelf I wouldn't mind going the fitting route, but since I paid a little more and let Ryan work his magic on them the intake tube was the easiest thing for me to do with parts I already have laying around. Speaking of parts laying around...damn I need to clean my shop.


 He owes me a cigarette!!!!