the_white_shadow
Well-Known Member
- Joined
- Dec 25, 2014
- Messages
- 816
Did you end up running a reverse mount wilwood pedal assembly?
Nope. The orbital won the battle for real estate on that one.the_white_shadow said:Did you end up running a reverse mount wilwood pedal assembly?


Thankswhiskeymakin said:Looks good man.
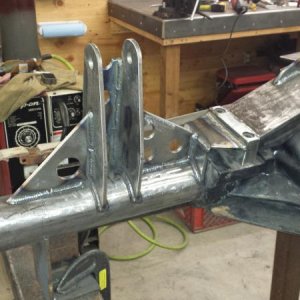
How much time do you have in cleaning the d60 of the old brackets? Any tricks you found along the way other than just start cutting away haha.
Did you have the hubs redone for 8x6.5 pattern


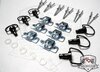
Wonder how these fairing fasteners would work on that cover so you wouldn't have to use a screwdriver? http://www.ebay.com/itm/like/131303286729?lpid=82&chn=ps&ul_noapp=true I am thinking about building me an aluminum dash and using them to hold my panels in.Beerj said:Gonna dress up the cover panel a little but you get the idea.
They would probably work great. I got excited when I opened the link and saw all of them and only $5. Then I saw that was for each. Lol. Maybe down the road. I'll probably just use some cheap little thumb screws like this.jeff150 said:Wonder how these fairing fasteners would work on that cover so you wouldn't have to use a screwdriver? http://www.ebay.com/itm/like/131303286729?lpid=82&chn=ps&ul_noapp=true I am thinking about building me an aluminum dash and using them to hold my panels in.

5BrothersFabrication said:Is that the flux capacitor?

Damn it and sorry. I didn't realize that either. Went back and looked at some others and found a few vendors selling a ten pack for $27.Beerj said:They would probably work great. I got excited when I opened the link and saw all of them and only $5. Then I saw that was for each. Lol.