zukkev
Cornfuzzled yet again...
That's EXACTLY what I told the wife!!! :haha::haha::haha: So there it will sit....
I wonder if that guy in Maple Valley still sells parts....?
That guy in Maple valley most likely could find the doors needed, If he didn't have the right ones around....Call me Mike, That guy is my father-in-law.
That guy in Maple valley most likely could find the doors needed, If he didn't have the right ones around....Call me Mike, That guy is my father-in-law.
sent a pm


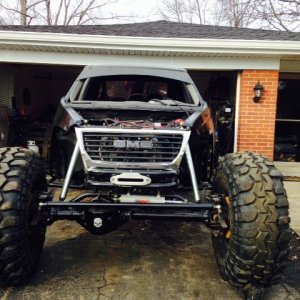
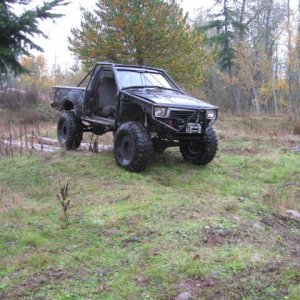
Dude looks awesome!
great job on the upholstery work!
-edwin
mike. the secret to getting the loose wrikles out is slaping it.
oh, and heat helps to...
looking good!
Got it mark--haven't had a chance to sit on the phone yet....
mike. the secret to getting the loose wrikles out is slaping it.
oh, and heat helps to...
looking good!


Ya I figured once they are in they will smoothen out.
Thanks for the compliments guys...