-
Help Support Hardline Crawlers :
You are using an out of date browser. It may not display this or other websites correctly.
You should upgrade or use an alternative browser.
You should upgrade or use an alternative browser.
Revive Retro
- Thread starter crash2
- Start date
crash2
-Oh no I picked a side-
crash2
-Oh no I picked a side-
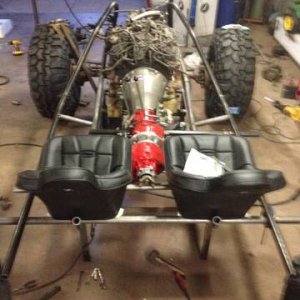
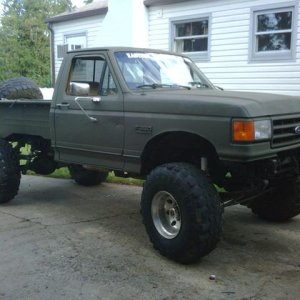
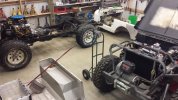
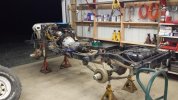
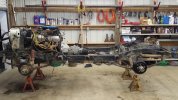
So the starting point or first part of this project will be getting the mechanical side all fixed up. Its been sitting (broken) for over 10 years.
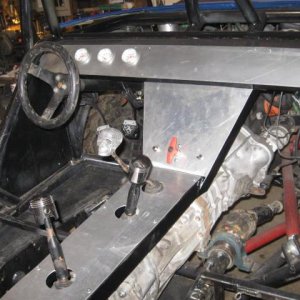
I spent a couple hours tearing some of it apart to inspect and get a good rough idea when needs to be done. My plan is to have the rolling chassis 99% done when I roll it under the new tub.
I spent a couple hours tearing some of it apart to inspect and get a good rough idea when needs to be done. My plan is to have the rolling chassis 99% done when I roll it under the new tub.
Attachments
crash2
-Oh no I picked a side-
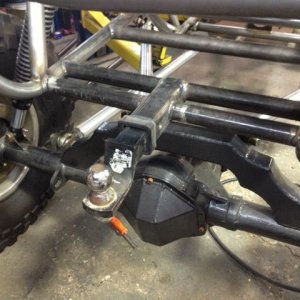
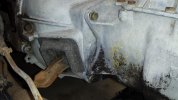
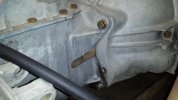
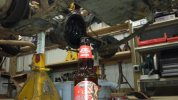
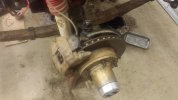
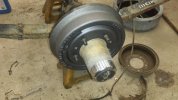
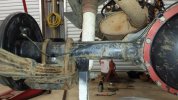
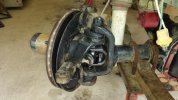
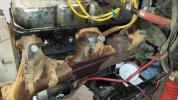
Serviced both diffs and there was no water mixed in the diff oil and I pressure tested both ARB's to make sure the piston seal had not gone bad sitting--both are is great working shape.
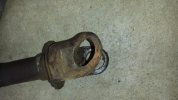
So pulled the front apart...
So pulled the front apart...
Attachments
crash2
-Oh no I picked a side-
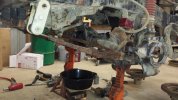
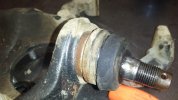
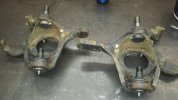
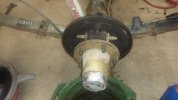
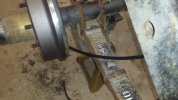
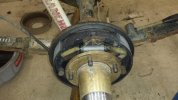
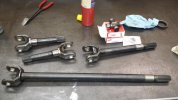
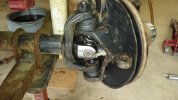
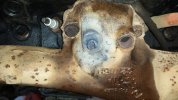
Front driver axle certainly toasted,lol.
Bill got really lucky as when I was pulling the ball joints I found the driver side joints were 1/2 of being pushed out of the knuckle...
Bill got really lucky as when I was pulling the ball joints I found the driver side joints were 1/2 of being pushed out of the knuckle...
Attachments
crash2
-Oh no I picked a side-
crash2
-Oh no I picked a side-
crash2
-Oh no I picked a side-

crash2
-Oh no I picked a side-
crash2
-Oh no I picked a side-
crash2
-Oh no I picked a side-
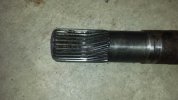
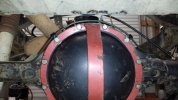
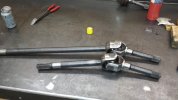
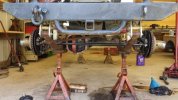
A big box showed up with some shiny parts. Its funny I didn't realize but the jeep has had a broken axle since the old reiter days,lol.
Got both axles assembled and installed. I didn't realize Bill was getting both sides so I had to disassemble the passenger side but thats ok :awesomework:
Got both axles assembled and installed. I didn't realize Bill was getting both sides so I had to disassemble the passenger side but thats ok :awesomework:
Attachments
crash2
-Oh no I picked a side-
crash2
-Oh no I picked a side-
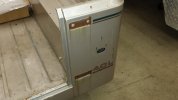
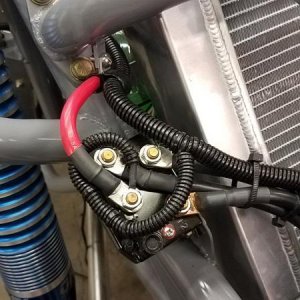
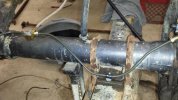
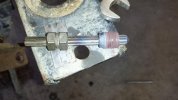
So next we opted to remove the rusted out air pipes. Unfortunately that also meant rusted in bolts,lol. Out of 7 only 3 broke off. I was able to extract them with my trusty reversible remover.
Attachments
crash2
-Oh no I picked a side-
TreeClimber
Well-Known Member
Glad you had fun.
crash2
-Oh no I picked a side-
I always have fun :awesomework:
crash2
-Oh no I picked a side-
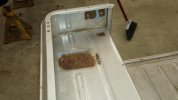
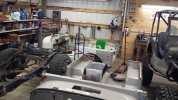
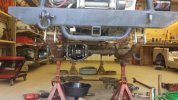
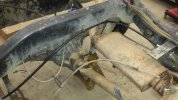
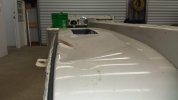
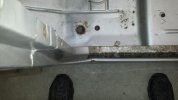
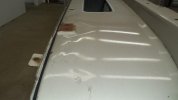
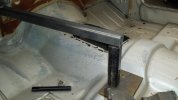
So now onto getting the tub ready. It came off a YJ and of course its not in perfect shape but WAY better than the tub that was on it. It came off a rig that suffered a frontal collision.
So my plan is to straighten it out as best as possible (I aint a body guy,lol), fix any rust issues(some minor rust), modify it to a CJ and throw some paint on it since the color is nowhere near close :haha:
So my plan is to straighten it out as best as possible (I aint a body guy,lol), fix any rust issues(some minor rust), modify it to a CJ and throw some paint on it since the color is nowhere near close :haha:
Attachments
crash2
-Oh no I picked a side-
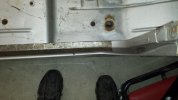
I got creative and was able to work the cowl/hood hinge back into place. There is a little wobble left on the cowl and without some bondo/shaping it won't be perfect. The rockers I was able to work into place but there is still some wobble there too.
Attachments
crash2
-Oh no I picked a side-
crash2
-Oh no I picked a side-
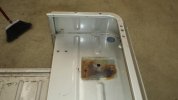
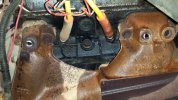
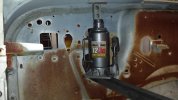
Where the rear portion of the roll bar meets the body and the rear tailgate hinges. The rust was not deep but was pitted a little. My norm is to sand the rust down to metal and then I like to use naval jelly to kill the small pitted areas, sand it again and then prime it (Using a metal etch base and then filler over top).