All the other people that responded are using different springs that are longer and thier tube placement is irrelevant to your choice of parts.
If your are using a PRO DUMP spring and move the tubes forward to get more angle it will kill those springs fast.
With a crappy spring like a procomp the shackle needs to be as close to strait up and down to make the spring last longer. If it is angled back the extra leverage it has will pull the procomps flat in just a few runs.
Guys here will tell you to angle them back more so it will flex more. It will flex a LITTLE more but not last long.
My roomate runs a procomp with the shackles strait up with weight on them and it woks fine and has lasted a year aswell.
Someday when you move up from procomps to a longer spring you will be glad you left the shackle right where it is.
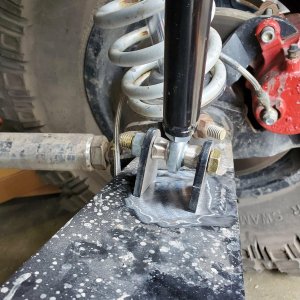
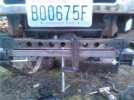
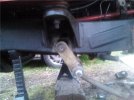
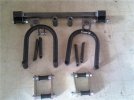
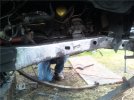
Weld it up and wheel it. Dont worry about the sleeves. They are trapped in the frame and will never go anywhere. The beam locates the axle and takes the abuse, the shackles only see half the weight the spring is holding up and doesnt get any front to rear stress like a front beam does. If you can confidently weld a 1/4 inch gap then getter done.
And remember alot of guys can fab nice stuff, but it doesnt mean they have any realworld experience if they dont wheel and test different stuff. Anyone can weld and read, but making **** work good is a different world.
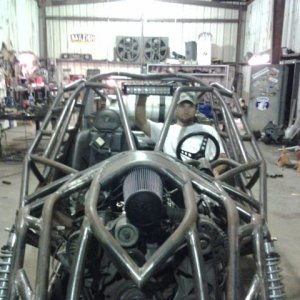
I have SASed about 40 trucks, not built one for me and one for my buddy in my carport.:beer:


![PICT2960 [600x600].JPG](http://attachments.www.hardlinecrawlers.com/xfmg/thumbnail/28/28517-f490f3a79ec4e5e5b93542521aff671e.jpg?1652267409)