onetoncrawler
Well-Known Member
Starting on a new project. The goal of this buggy was to be as maintenance free as possible. I enjoy riding at least twice a month so I wanted something I could bring home, wash, check it over and ride again. I also wanted a buggy that I could race ECORS and local comps with safely and comfortably. I am not building this for KOH, but if the opportunity arises I wouldn’t turn down a chance to go. This will probably be a slow build. Thanks to Mark for loaning me half of his shop and a lot of help. Thanks to EOR for all the parts and advice. Jimmy always answers any question I have. Also thanks to Mo, I always bounce Ideas off of him and know I can get an honest answer.
On with the parts list:
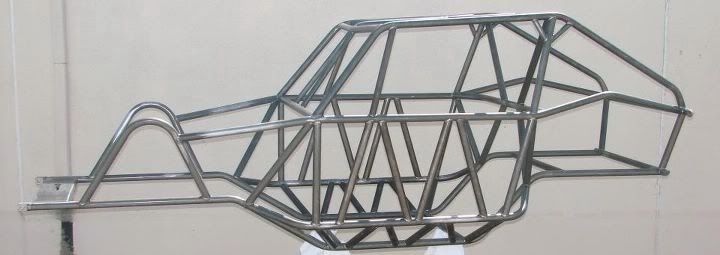
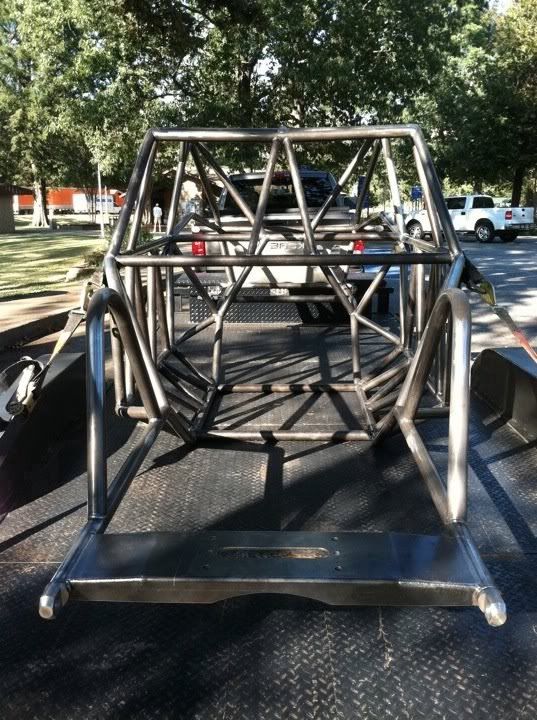
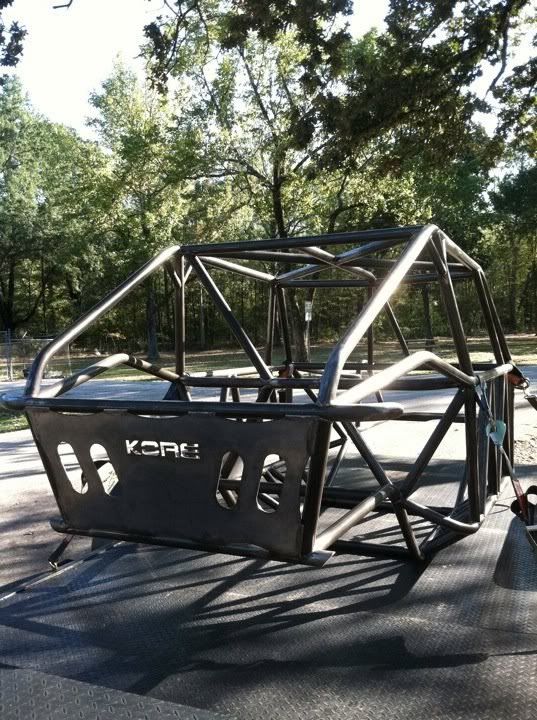
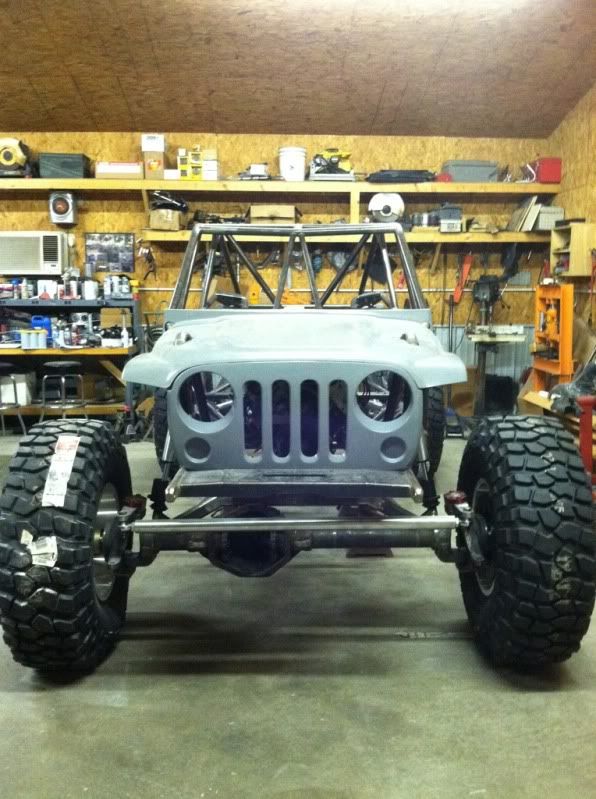
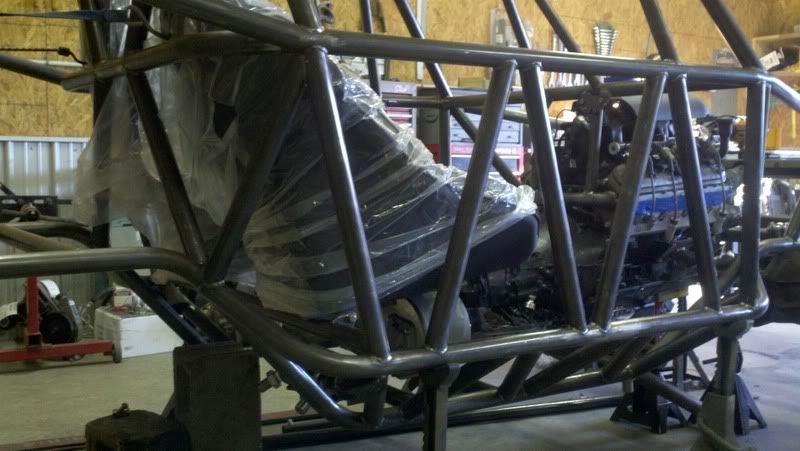
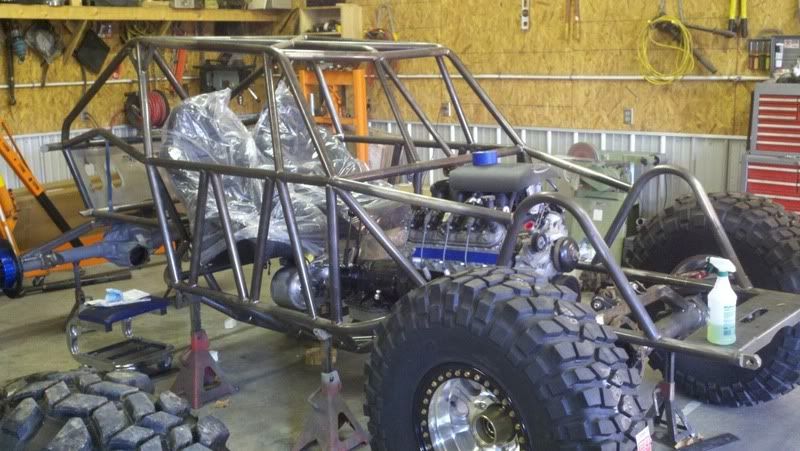
• Chassis â€" KORE defender chassis â€" all tube 1.75†DOM
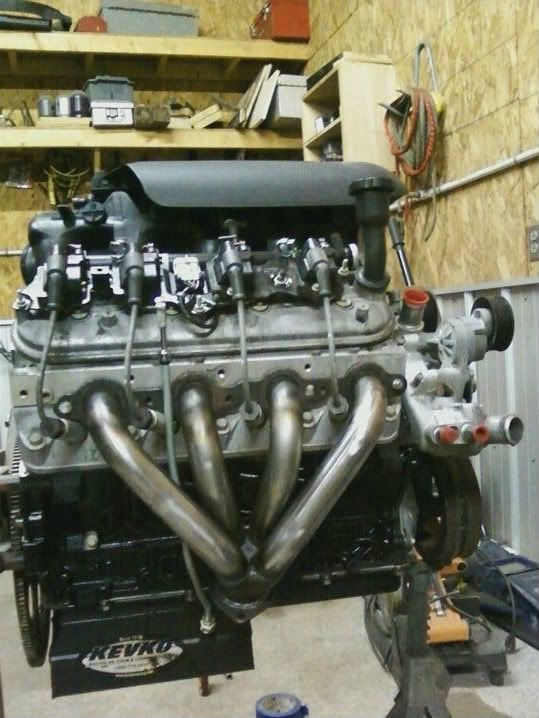
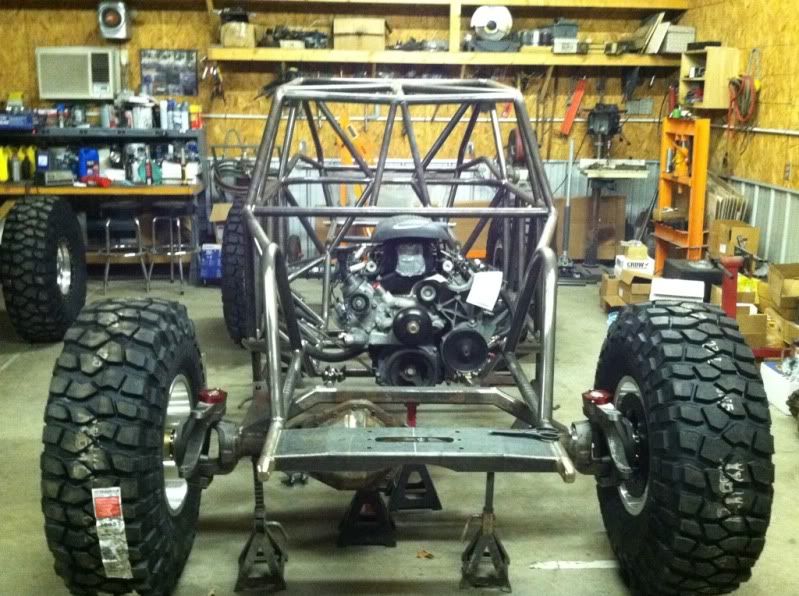
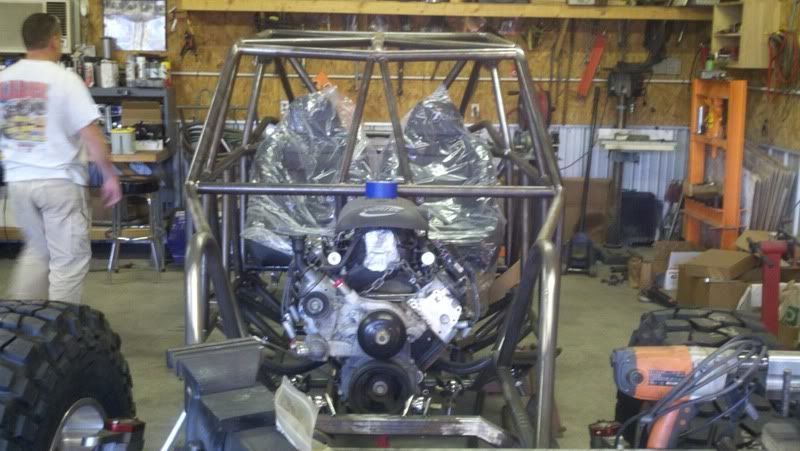
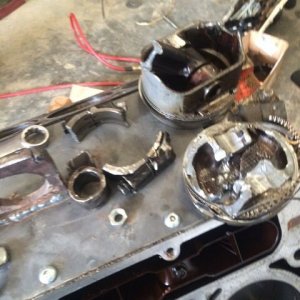
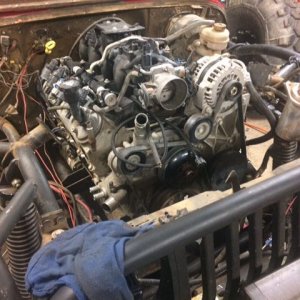
• Motor â€" 07 6.0 with Kevco oil pan â€" Jim's Harness chop and Lane Culver cam swap and dyno tune â€" summit headers
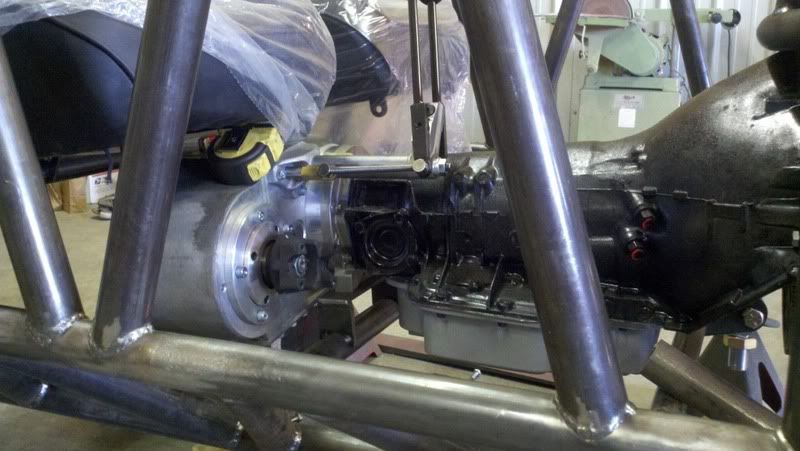
• Transmission â€" PTC TH400 â€" FRMVB with compression braking â€" tci style aluminum shifter, 10.5†PTC “nitrous†torque converter
• PRC Aluminum 30x19 Radiator with dual Spal fans and -16an fittings
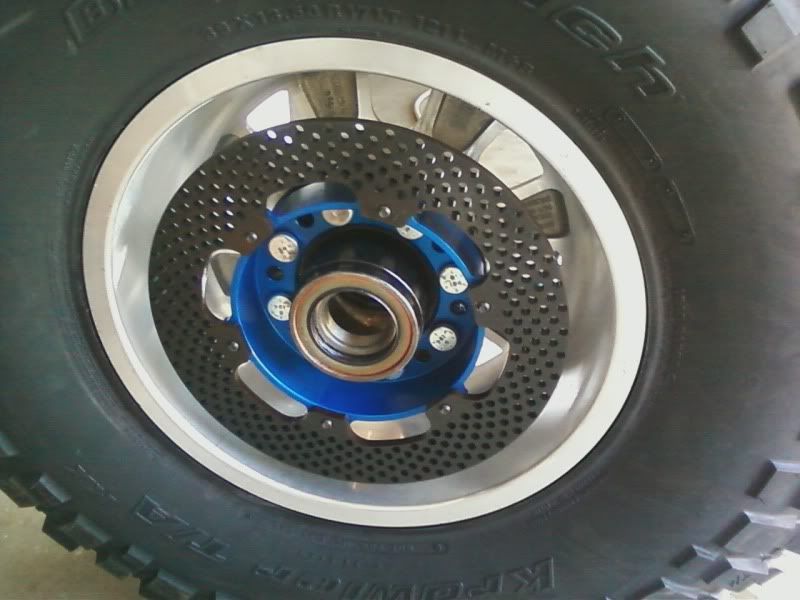
• Front axle â€" 14 bolt pas drop â€" Solid C’s, knuckles, and high steer arms - 5.13 gears, spool, RCV shafts and drive flanges â€" Barnes 4wd 13 bolt cover - Yukon hardcore hubs & spindlesâ€" parts mike KP caps â€" spidertrax hat’s and rotors with willwood 4 piston calipers
• Rear axle â€" 14 bolt â€" 5.13 gears, spool, stock shafts for now, spidertrax hats and rotors, willwood 4 piston calipers, Barnes 4wd cover
• T-case â€" Atlas 2 â€" 3.0 with 32 spline F & R outputs, 1410 yokes
• Shocks â€" 2†remote reservoir Fox coilovers 14†front â€" 16†rear
o Fox 2†x 4†bumps up front
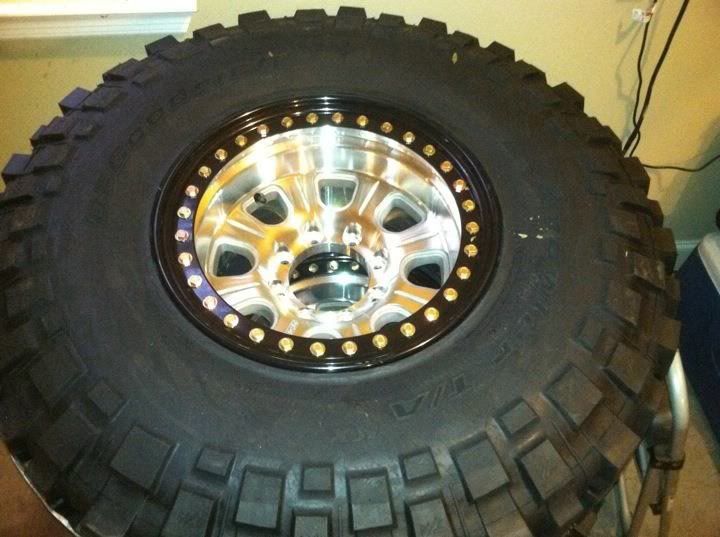
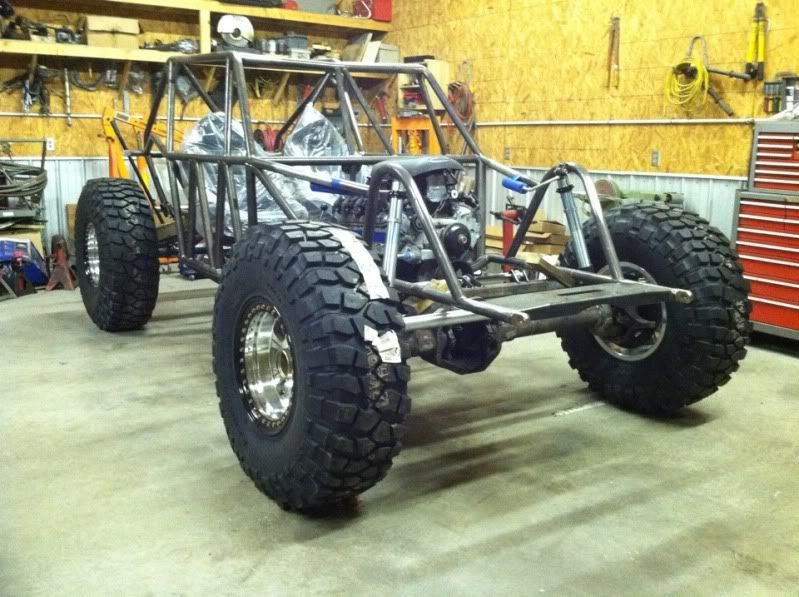
• Wheels â€" Raceline monster
• Tires â€" 39†Krawlers
• Suspension â€" 2†aluminum 7075 lowers with 1.25†QA-1 heims â€" 1.5†aluminum uppers with 7/8†QA-1 heims
• Seats â€" Corbeau Baja Ultras with Crow 2†padded 5 points
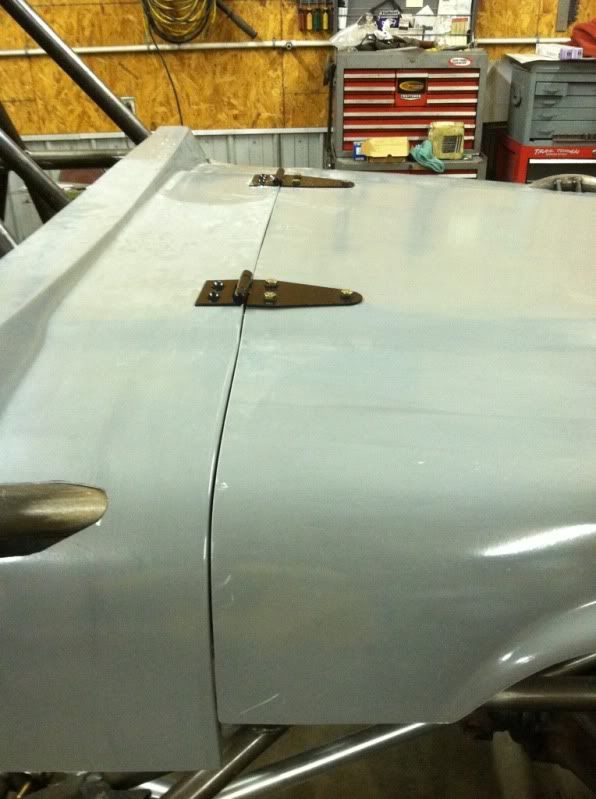
• Hood â€" Jim’s fiberglass JK 54†cowl, hood, and grille
• Optima battery
• Patooyee motor mount plates and head plates
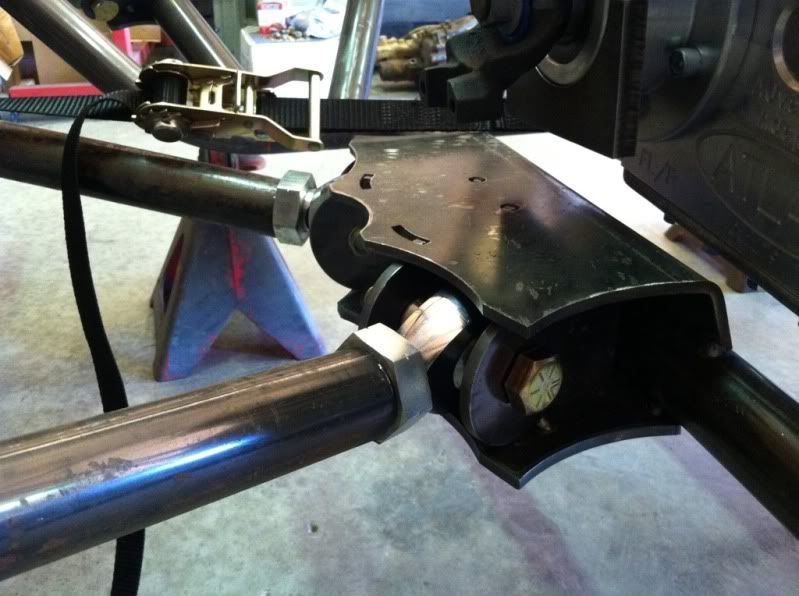
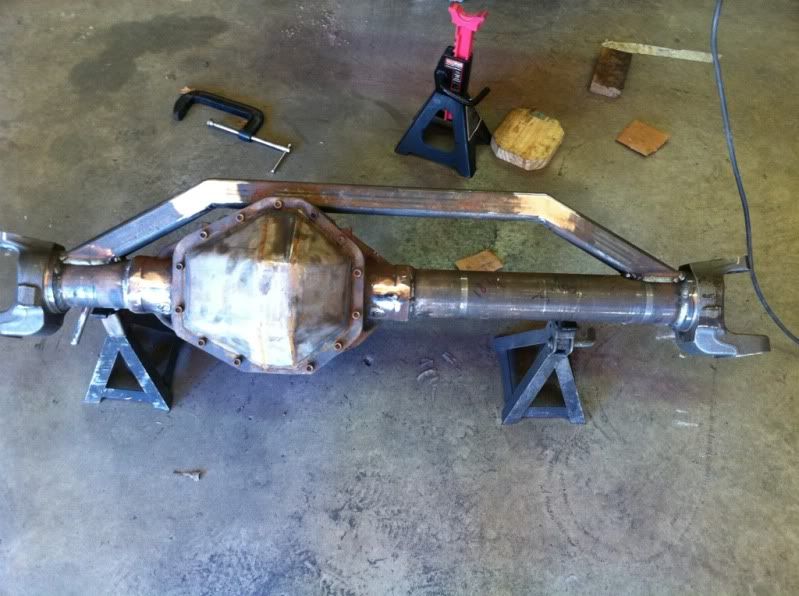
Started out with sourcing all the parts â€" picked up a couple of 14 bolts and sent one to EOR to have new tubes pressed in and the inner C’s welded on.
On with the parts list:
• Chassis â€" KORE defender chassis â€" all tube 1.75†DOM
• Motor â€" 07 6.0 with Kevco oil pan â€" Jim's Harness chop and Lane Culver cam swap and dyno tune â€" summit headers
• Transmission â€" PTC TH400 â€" FRMVB with compression braking â€" tci style aluminum shifter, 10.5†PTC “nitrous†torque converter
• PRC Aluminum 30x19 Radiator with dual Spal fans and -16an fittings
• Front axle â€" 14 bolt pas drop â€" Solid C’s, knuckles, and high steer arms - 5.13 gears, spool, RCV shafts and drive flanges â€" Barnes 4wd 13 bolt cover - Yukon hardcore hubs & spindlesâ€" parts mike KP caps â€" spidertrax hat’s and rotors with willwood 4 piston calipers
• Rear axle â€" 14 bolt â€" 5.13 gears, spool, stock shafts for now, spidertrax hats and rotors, willwood 4 piston calipers, Barnes 4wd cover
• T-case â€" Atlas 2 â€" 3.0 with 32 spline F & R outputs, 1410 yokes
• Shocks â€" 2†remote reservoir Fox coilovers 14†front â€" 16†rear
o Fox 2†x 4†bumps up front
• Wheels â€" Raceline monster
• Tires â€" 39†Krawlers
• Suspension â€" 2†aluminum 7075 lowers with 1.25†QA-1 heims â€" 1.5†aluminum uppers with 7/8†QA-1 heims
• Seats â€" Corbeau Baja Ultras with Crow 2†padded 5 points
• Hood â€" Jim’s fiberglass JK 54†cowl, hood, and grille
• Optima battery
• Patooyee motor mount plates and head plates
Started out with sourcing all the parts â€" picked up a couple of 14 bolts and sent one to EOR to have new tubes pressed in and the inner C’s welded on.