Diamond B
Well-Known Member
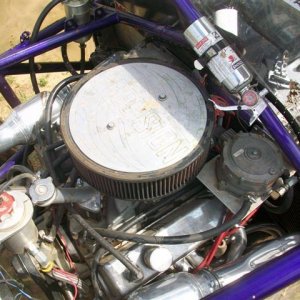
Last fall I broke a small part on my Jeep --- I know that's a surprise
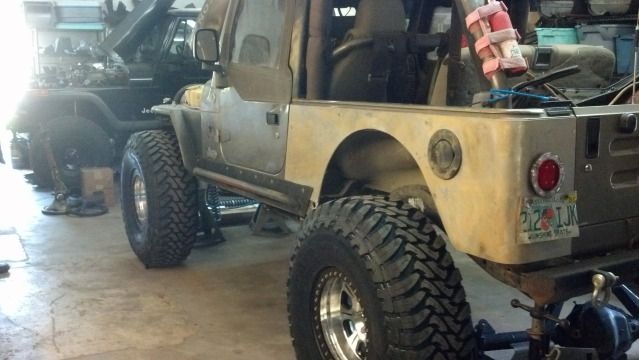
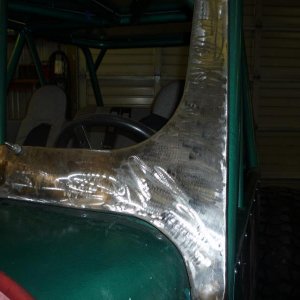
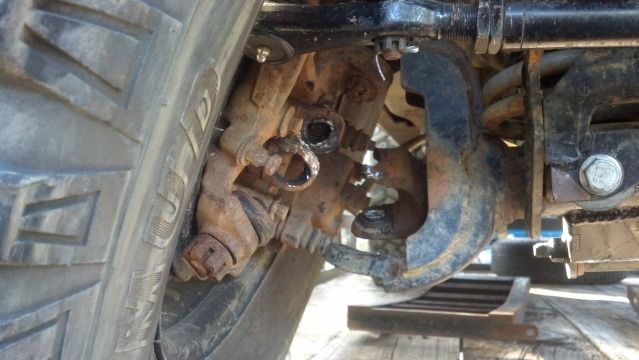
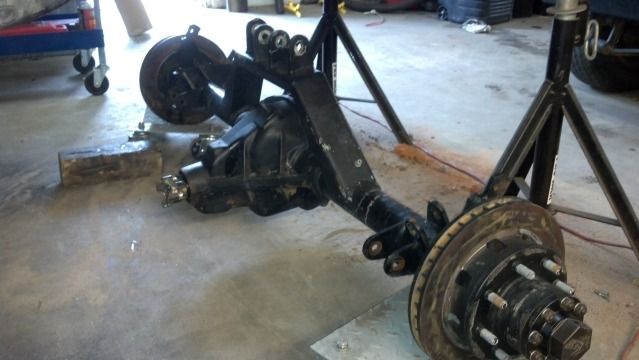
Unfortunately, that small part was the lower ball joint on the passenger side of the my Rubi 44. When it let go, it damaged the lower part of the inner "C" on that side:
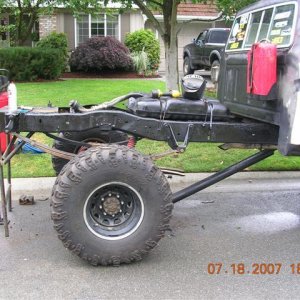
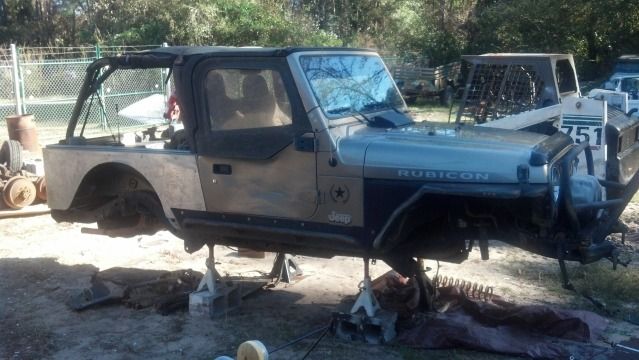
After a few weeks of searching and researching, it was determined that the cost of repairing said damage(i.e. replacing the inner c) was going to be more exensive than reaplacing the housing. After more searching and some discussion with the wife and local shop owner, it was decided that unless something changed, that I was going to continue breaking parts with somewhat regularity (especially since I had already broken.replaced, upgrade everything from the TC out and was in the process of repeating the process). So the trigger was pulled on going to one tons. Once that decision was made it was time to strip anything salvageable off the old girl, sell it and start financing the purchase of parts. Pretty much everything from the transfer case out and the frame down came off to be sold.
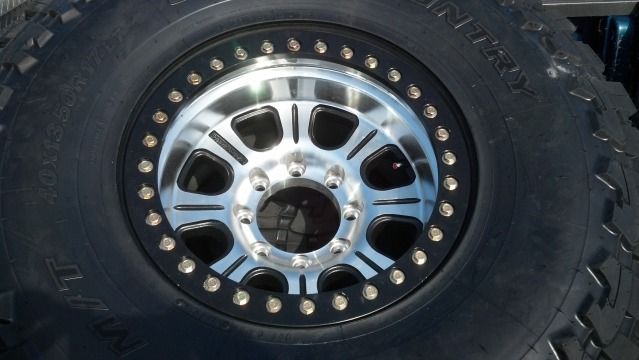
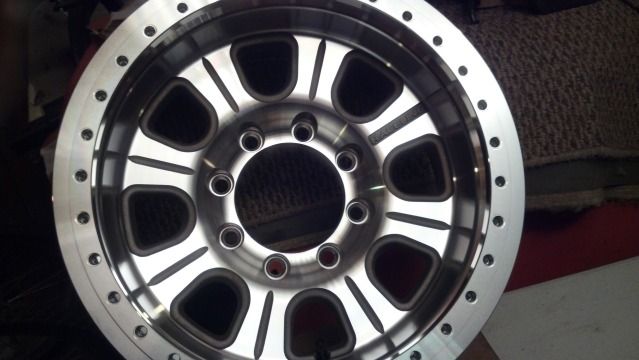
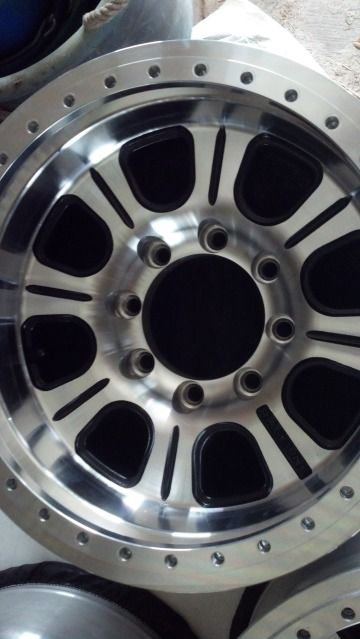
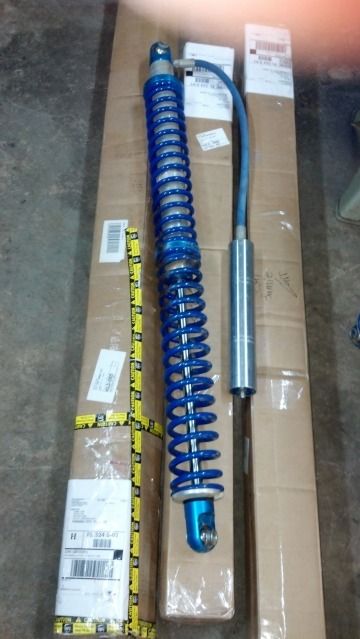
The LJ sat like this for a few months while we gathered parts, most of which I have now but do not have pics: front HP Kingpin D60, 5.13 with Grizzly Lockers (RCVs in the near future); rear Dana 60 with RCV axles, 5.13 and Grizzly locker, Ruffstuff rear double triangulated 4 link kit, front 3 link kit (mans that a lot of pieces in those kits) and steering arms, new Corbeau Moab front seats and rear cover, 4 x 16" Profender 2" coilovers, and finally 5 x Raceline Monster RT233 Aluminum beadlocks:
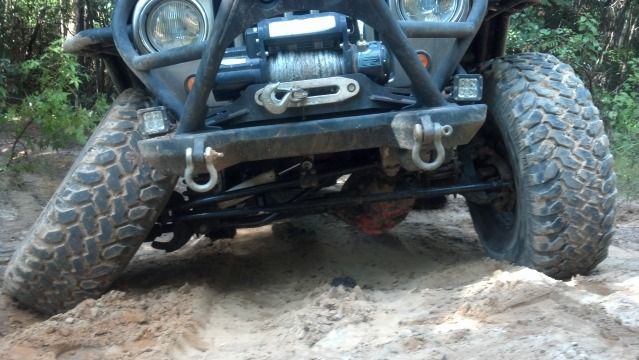
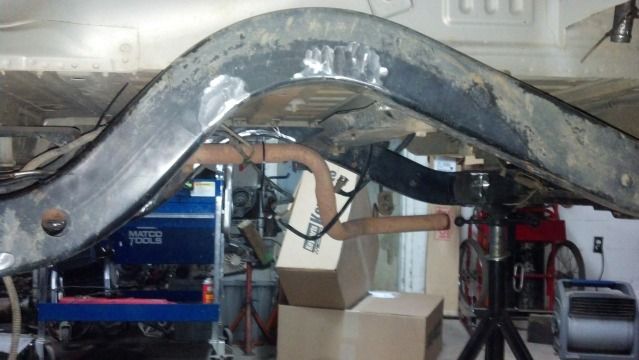
The Jeep was moved into the shop last week and we began cutting away unnecessary brackets and dropped the tank. We removed the extra crossmember in the rear of the LJ in order to move the tank backwards to the rear most crossmember to mount it like a TJ. This will give us room to stretch the rear out about 5 inches. For the front, the steering gear box and pump will be removed and sent to West Texas Offroad to be rebuilt and ported for the Redneck Ram hydro assist application. Once we get it back it, we will see how much we can stretch the front with the goal of hitting 110" wheelbase.
Unfortunately, that small part was the lower ball joint on the passenger side of the my Rubi 44. When it let go, it damaged the lower part of the inner "C" on that side:
After a few weeks of searching and researching, it was determined that the cost of repairing said damage(i.e. replacing the inner c) was going to be more exensive than reaplacing the housing. After more searching and some discussion with the wife and local shop owner, it was decided that unless something changed, that I was going to continue breaking parts with somewhat regularity (especially since I had already broken.replaced, upgrade everything from the TC out and was in the process of repeating the process). So the trigger was pulled on going to one tons. Once that decision was made it was time to strip anything salvageable off the old girl, sell it and start financing the purchase of parts. Pretty much everything from the transfer case out and the frame down came off to be sold.
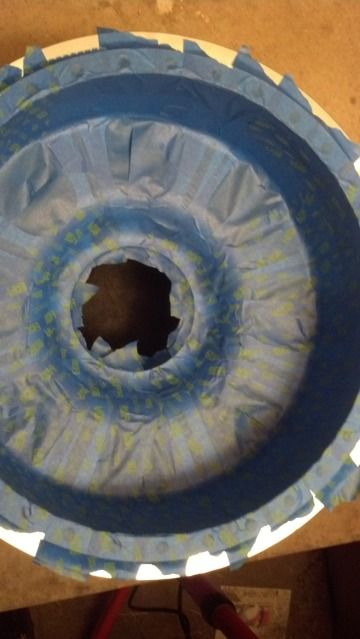
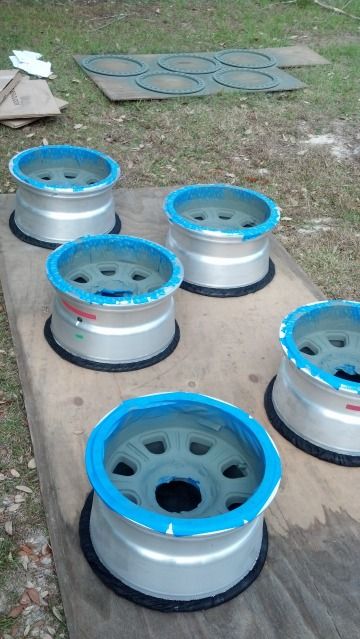
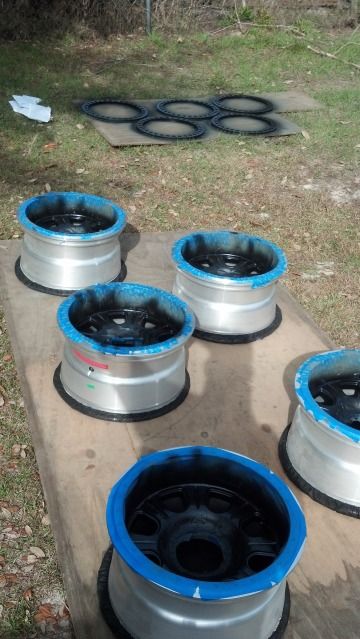
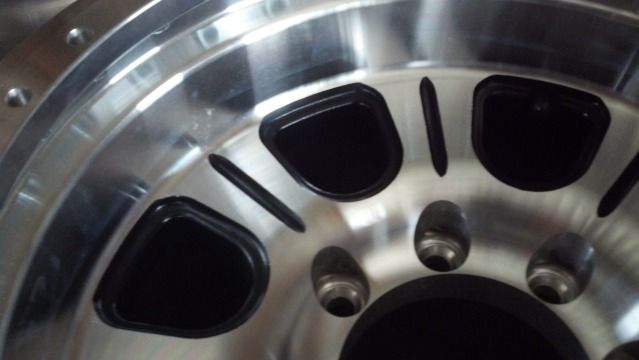
The LJ sat like this for a few months while we gathered parts, most of which I have now but do not have pics: front HP Kingpin D60, 5.13 with Grizzly Lockers (RCVs in the near future); rear Dana 60 with RCV axles, 5.13 and Grizzly locker, Ruffstuff rear double triangulated 4 link kit, front 3 link kit (mans that a lot of pieces in those kits) and steering arms, new Corbeau Moab front seats and rear cover, 4 x 16" Profender 2" coilovers, and finally 5 x Raceline Monster RT233 Aluminum beadlocks:
The Jeep was moved into the shop last week and we began cutting away unnecessary brackets and dropped the tank. We removed the extra crossmember in the rear of the LJ in order to move the tank backwards to the rear most crossmember to mount it like a TJ. This will give us room to stretch the rear out about 5 inches. For the front, the steering gear box and pump will be removed and sent to West Texas Offroad to be rebuilt and ported for the Redneck Ram hydro assist application. Once we get it back it, we will see how much we can stretch the front with the goal of hitting 110" wheelbase.
 ... Im Jealous
")
 !!!!
!!!!

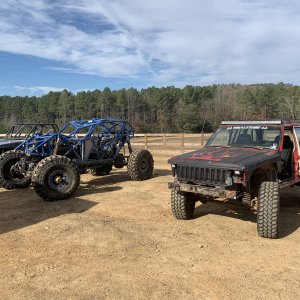
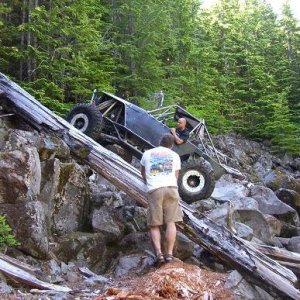
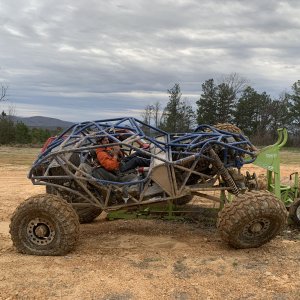
 No more mud truck :****: The buggy well we will just have to see what happens it should be ready for a test this weekend.