That dosnt sound like a good thing........
More pictures? :corn:
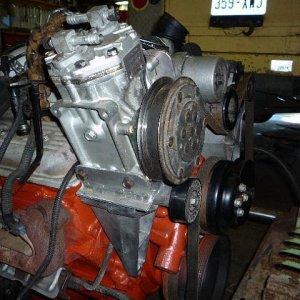
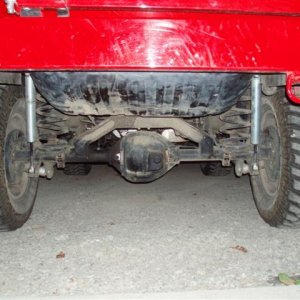
The rotors are larger than the flywheel on my Cummins...not an issue
Pics tomorrow
That dosnt sound like a good thing........
More pictures? :corn:
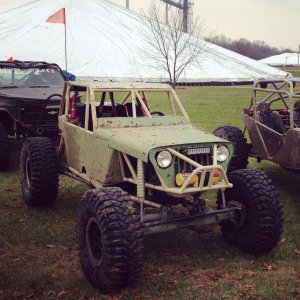
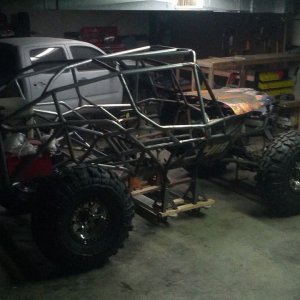
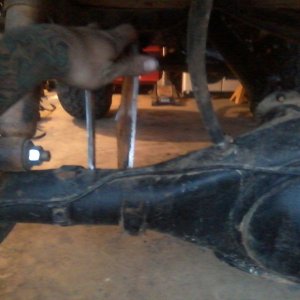
I was not happy with the way I set-up my steering, so today was cutting, grinding welds. I toasted 2 grinders, my chop saw,5 sawzall blades and ****ed up several drill bits.
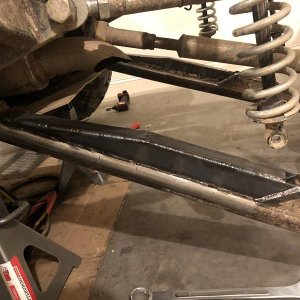
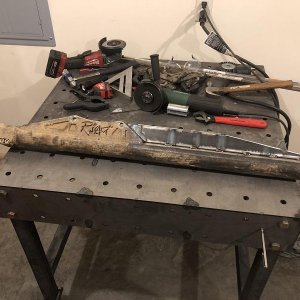
I got one out of 4 arms done:looser:
I was not happy with the way I set-up my steering, so today was cutting, grinding welds. I toasted 2 grinders, my chop saw,5 sawzall blades and ****ed up several drill bits.
I got one out of 4 arms done:looser:
lol.... Good luck robin--I knew you wanted to change it--figured you would wait till ya got back....


I'm smiling
You gunna go play up at Reiter on Memorial day Robin?
Nope
.


Robin and I have a date