UABYJ94
Well-Known Member
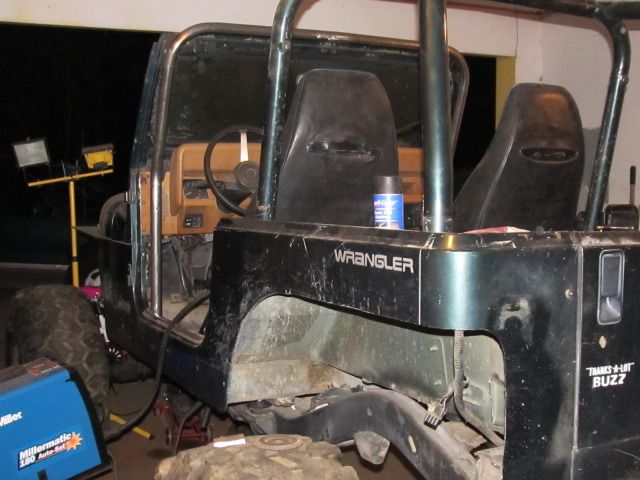
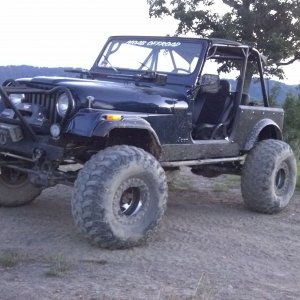
As most of us know when we build our rigs they end up with several different things from several different kinds of vehicles. Well that is why I decided to call this one the Heinz 57 since my wife has deemed any mix breed dog a Heinz 57 dog. I assume from all the different ingredients in the recipe..lol
So here goes alot of copy and pasting from other sites to get this one up to date on the build.
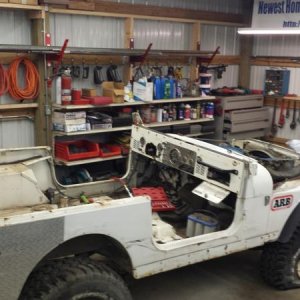
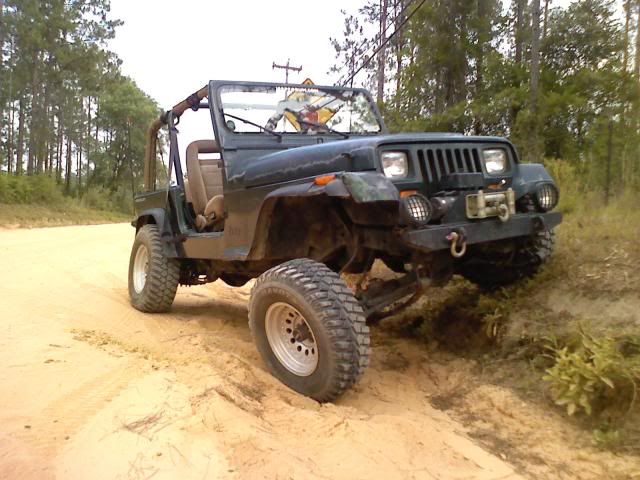
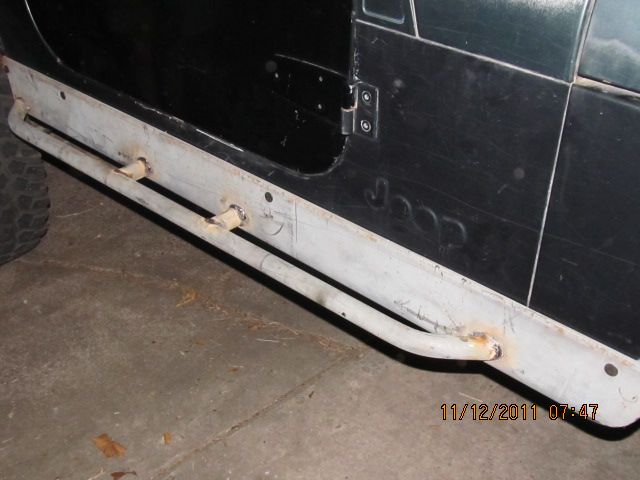
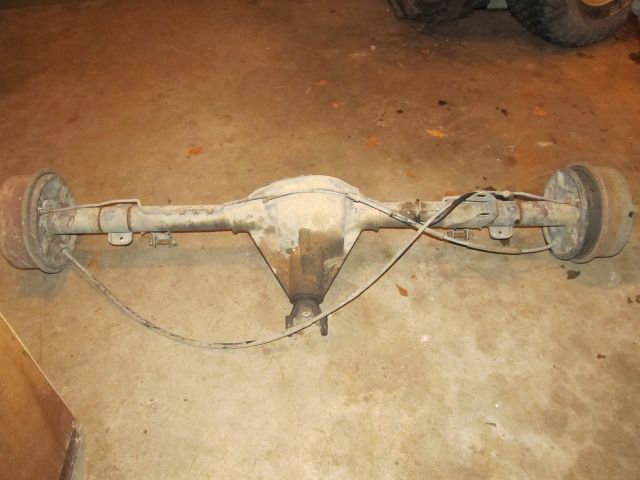
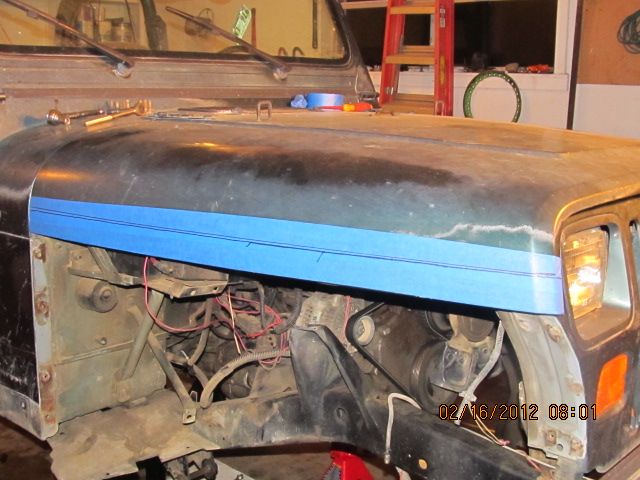
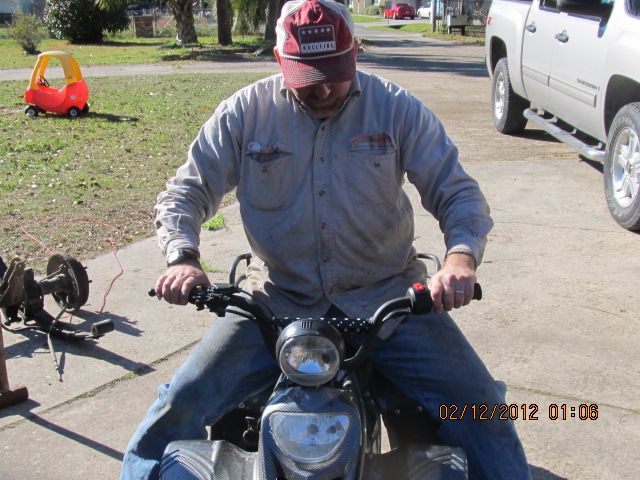
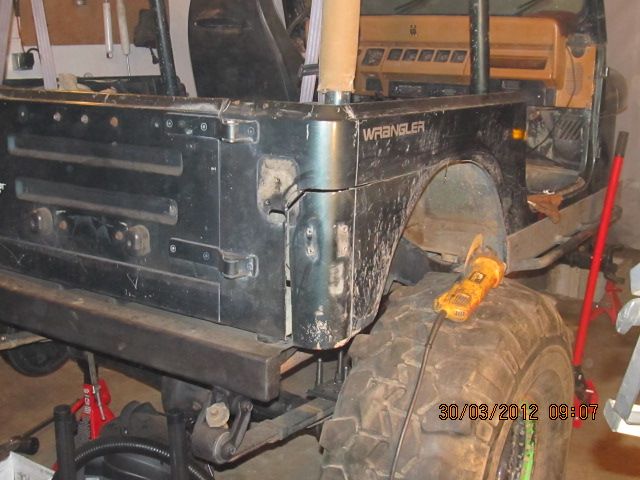
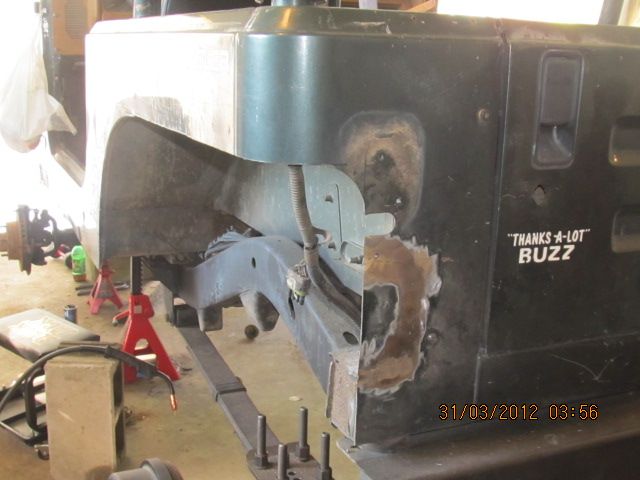
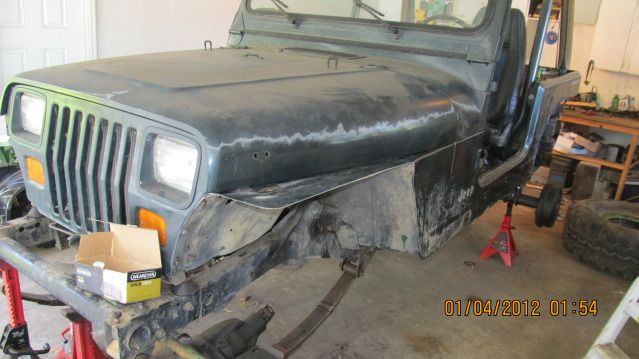
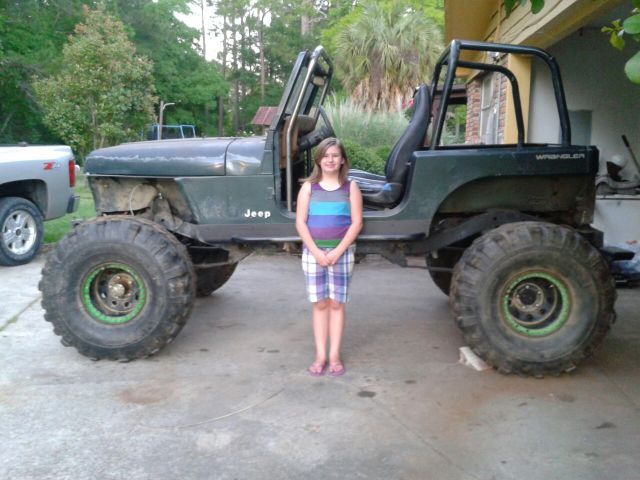
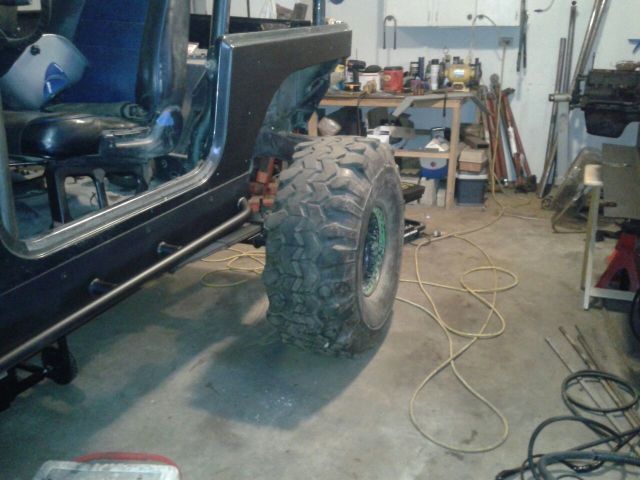
Here it is in original purchase form from my co-worker..
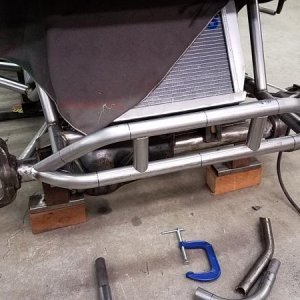
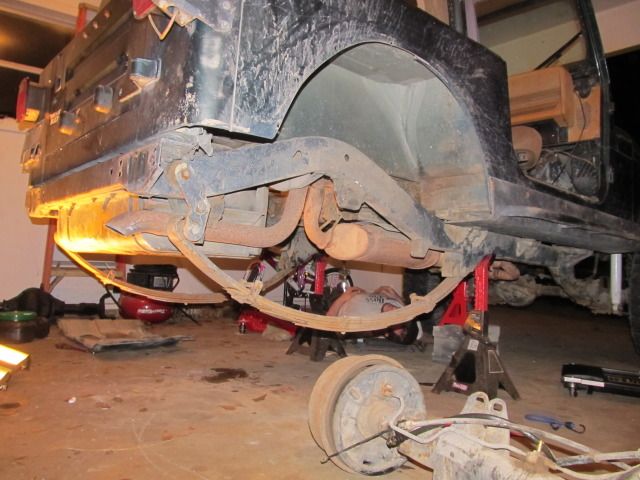
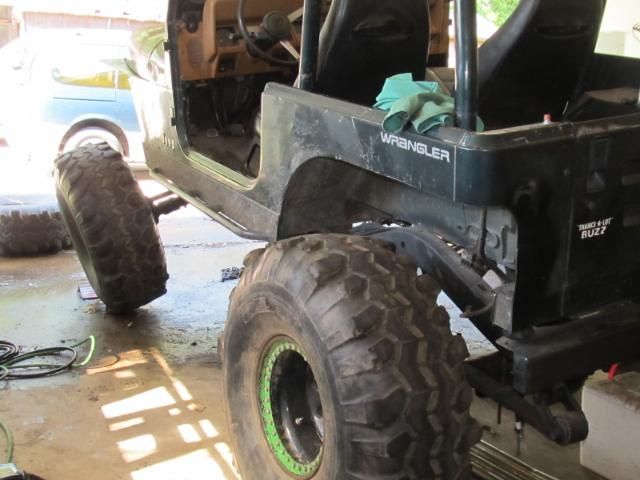
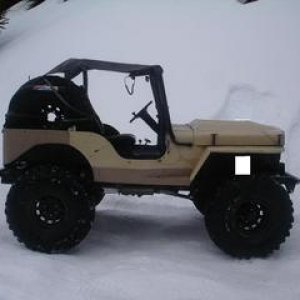
bought a set of used 3.5" BDS leaf springs and 1/2" boomerang shackles.
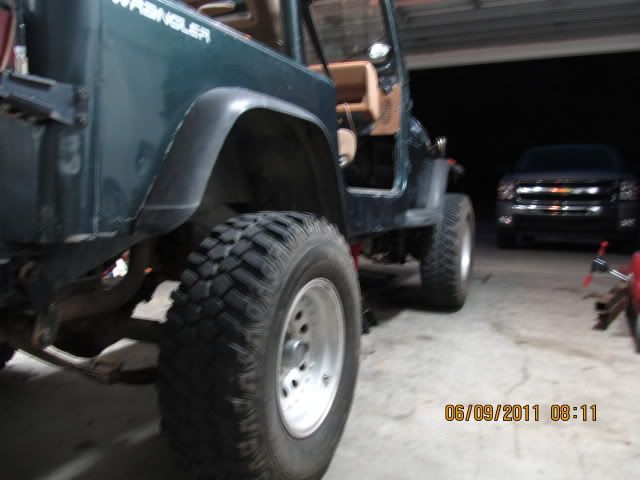
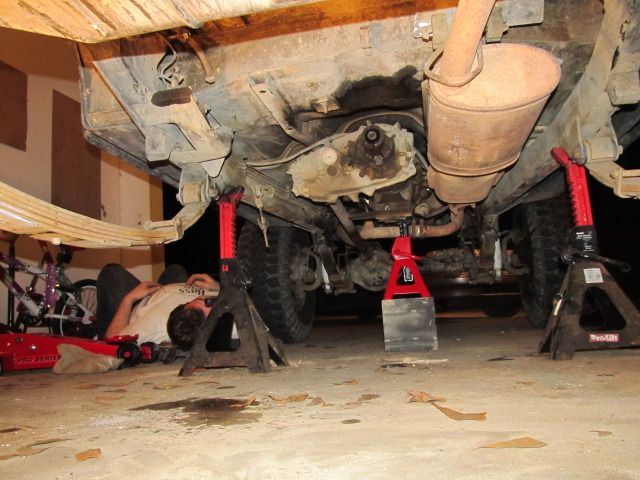
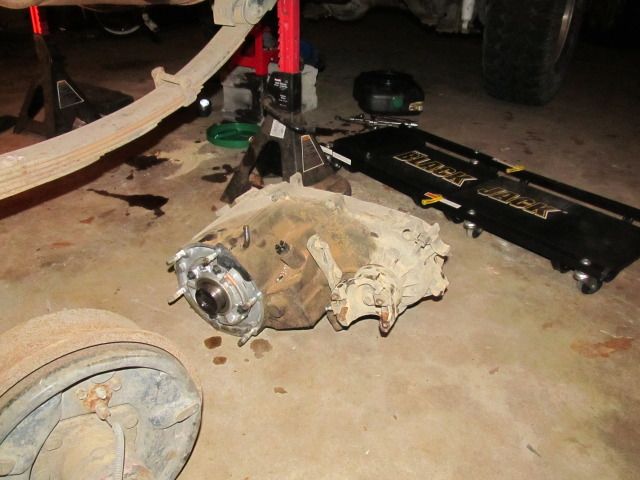
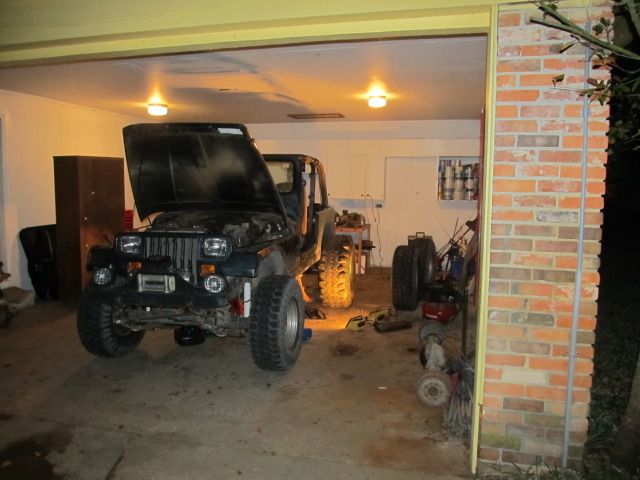
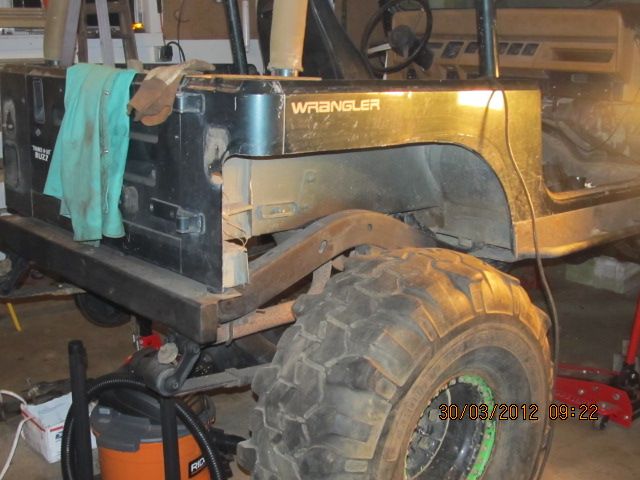
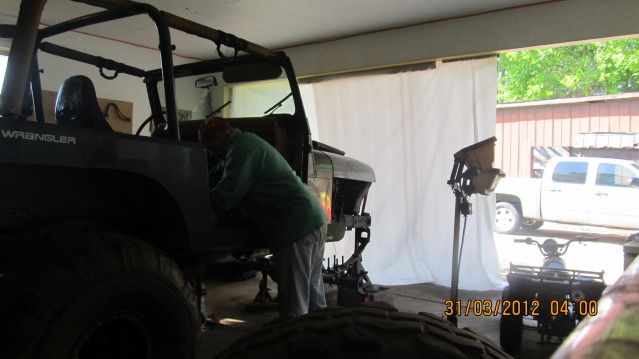
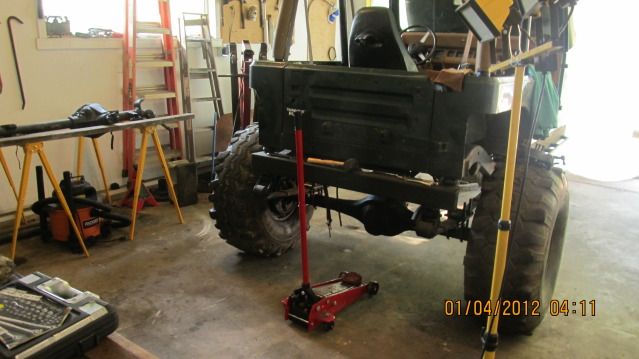
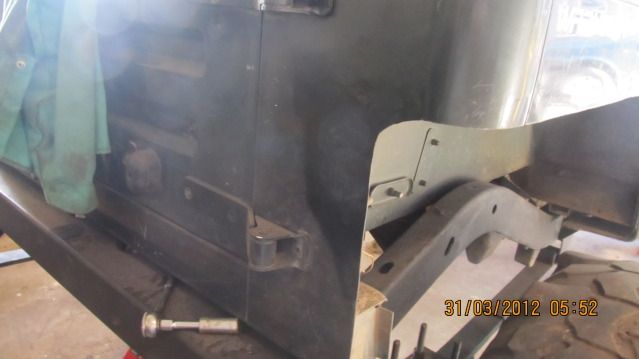
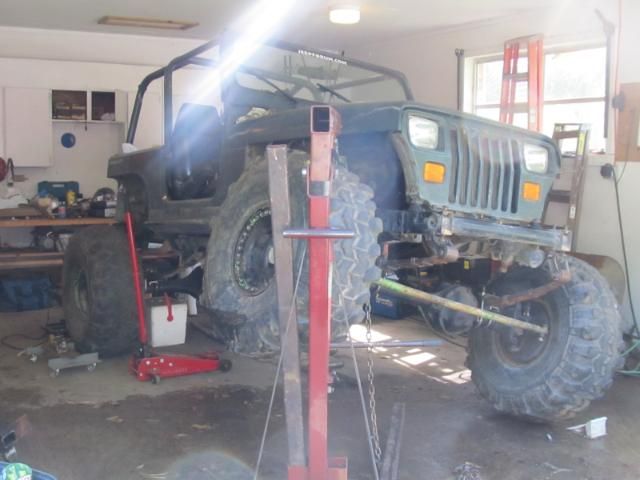
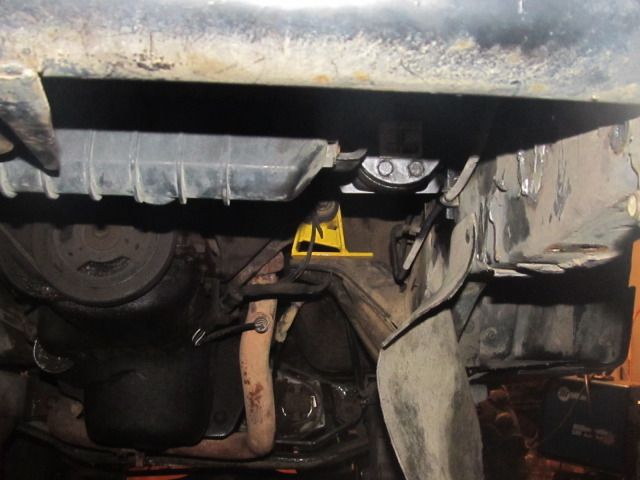
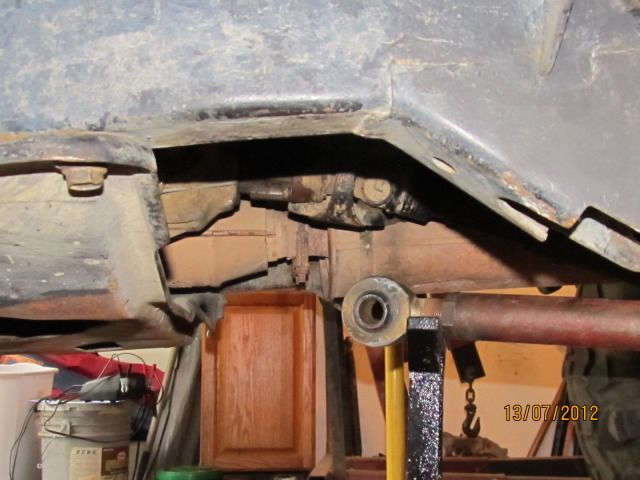
I have the back lightly bolted up and starting on the front. The front is on jack stands to get it almost level with the rear. The rear is a ride height and I measured from the bottom of the rear corner to floor and got 28 3/4".
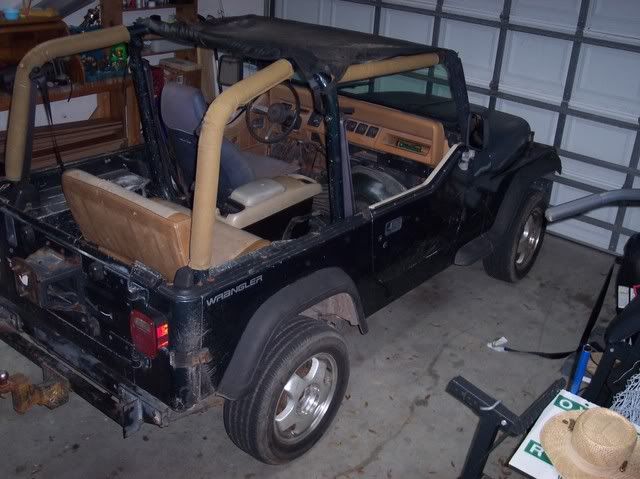
Before
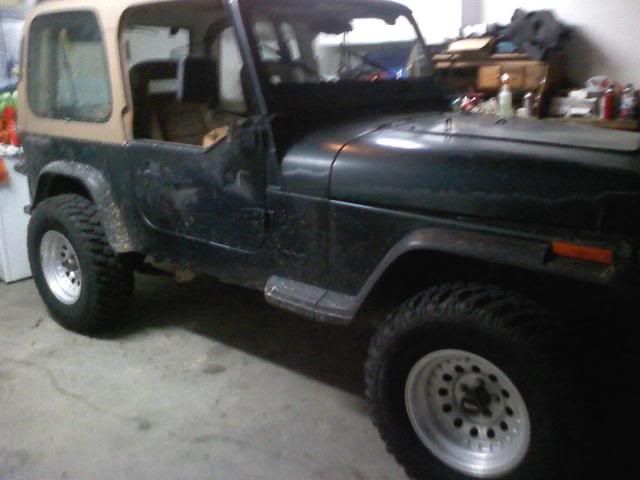
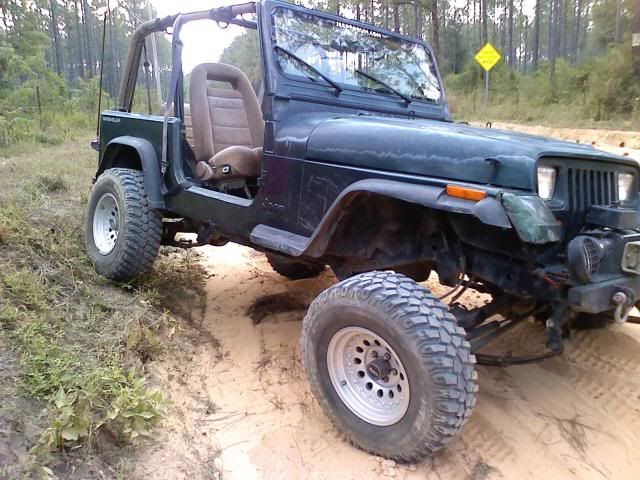
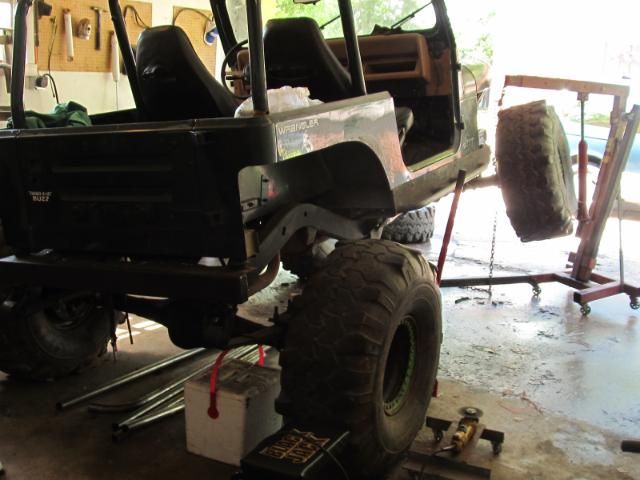
After
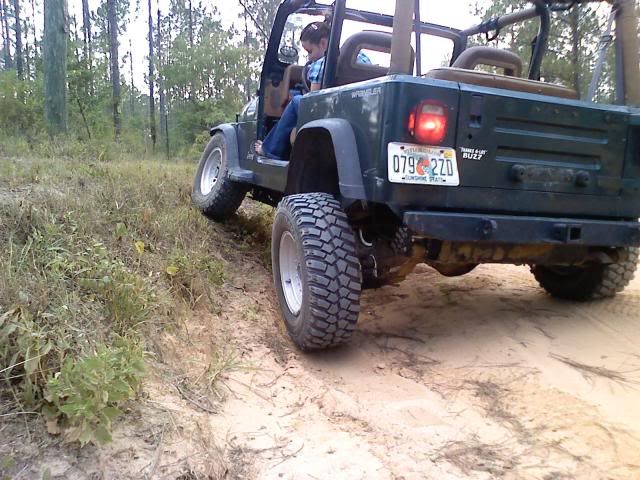
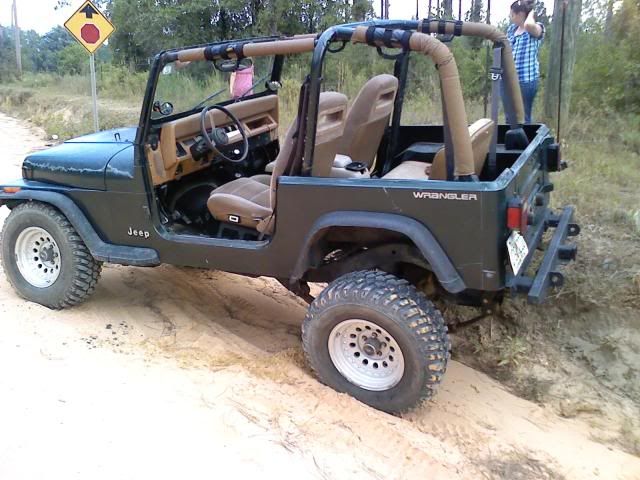
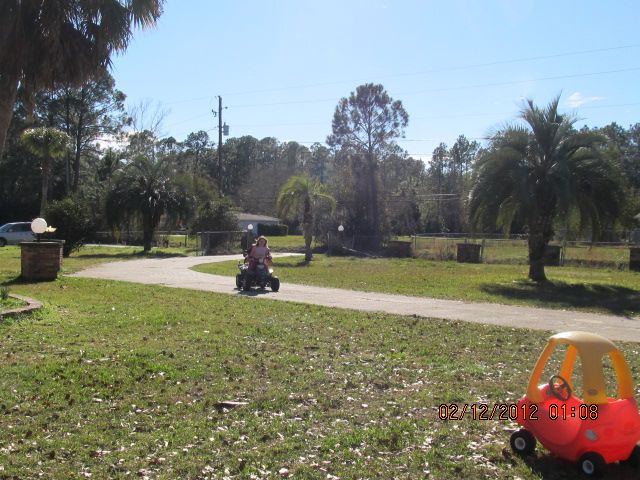
When me and my 10 yr old daughter finished installing the rear, we took it around the neighborhood with lifted rear and stock front. We both got a kick out of it and kidded about feeling like riding in Speed Buggy the cartoon. :RoFl:
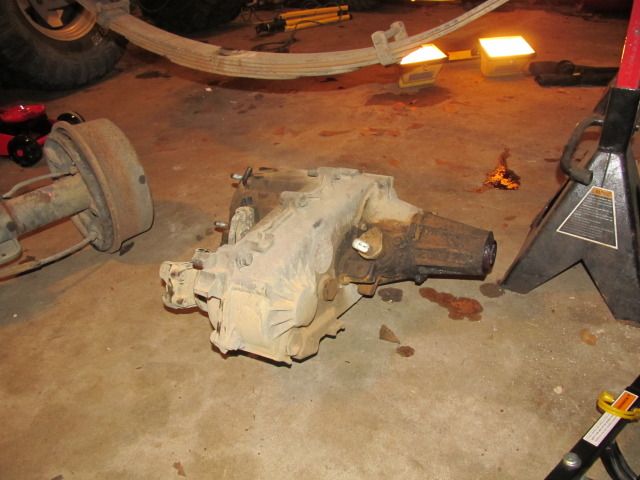
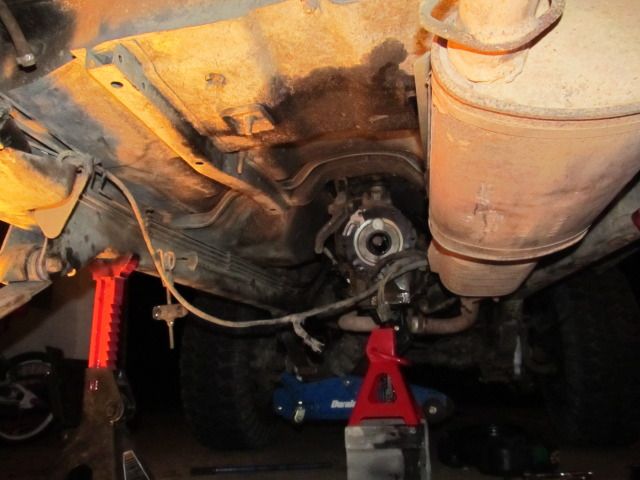
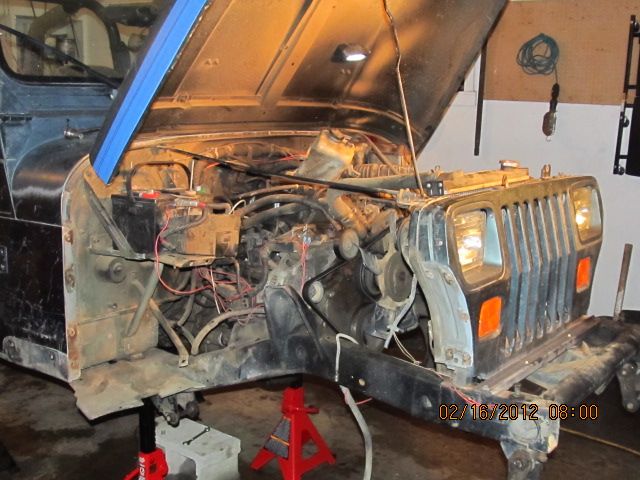
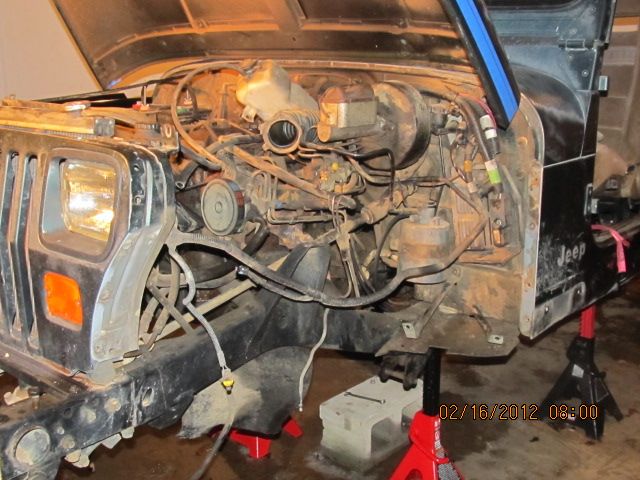
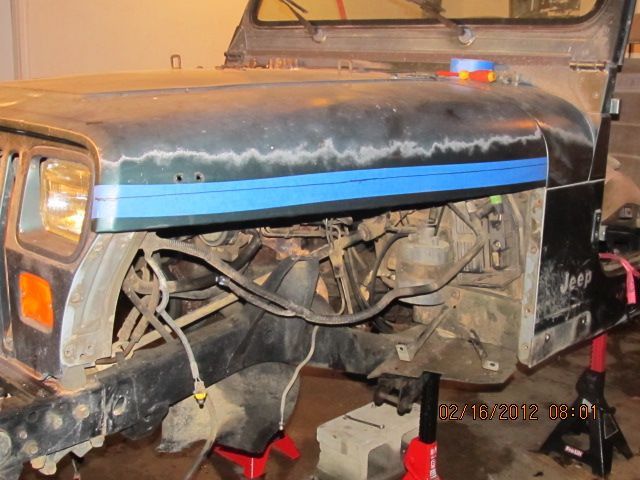
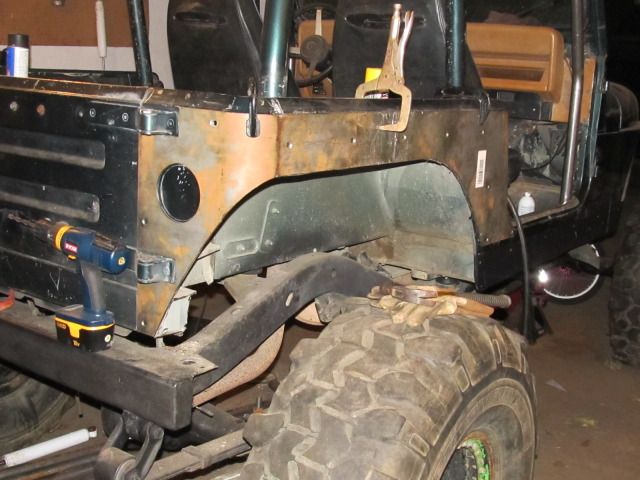
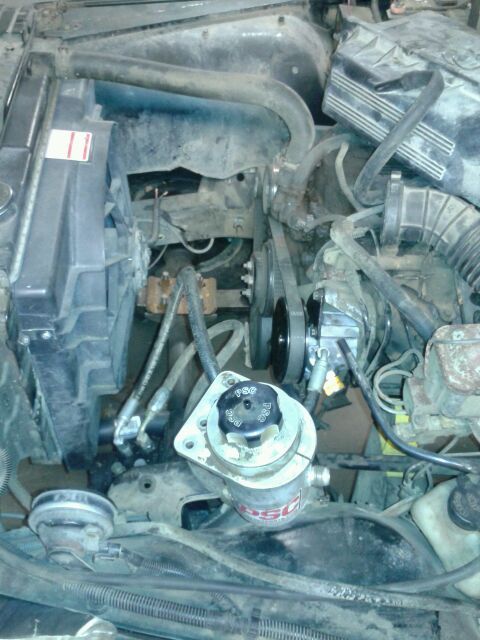
We soaked everything down on the front with PBblaster last night and will begin swapping the front tonight.
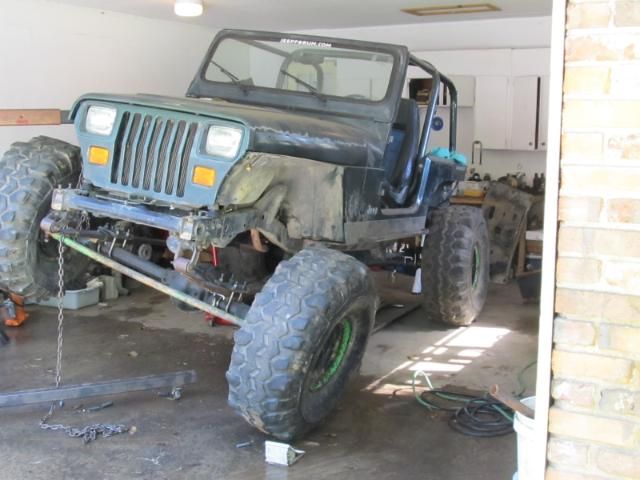
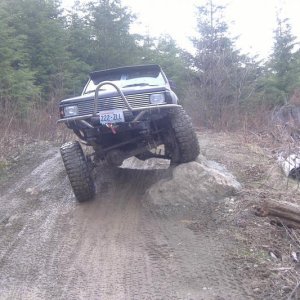
Still need shocks and extended bump stops, but everythnig else is done including relocating brake lines. I didn't do the xfer skid drop and get a little vibration so I'll make some spacers to take care of that this week.

So here goes alot of copy and pasting from other sites to get this one up to date on the build.
Here it is in original purchase form from my co-worker..
bought a set of used 3.5" BDS leaf springs and 1/2" boomerang shackles.
I have the back lightly bolted up and starting on the front. The front is on jack stands to get it almost level with the rear. The rear is a ride height and I measured from the bottom of the rear corner to floor and got 28 3/4".
Before
After
When me and my 10 yr old daughter finished installing the rear, we took it around the neighborhood with lifted rear and stock front. We both got a kick out of it and kidded about feeling like riding in Speed Buggy the cartoon. :RoFl:
We soaked everything down on the front with PBblaster last night and will begin swapping the front tonight.
Still need shocks and extended bump stops, but everythnig else is done including relocating brake lines. I didn't do the xfer skid drop and get a little vibration so I'll make some spacers to take care of that this week.


![20180217_150449[1].jpg](http://attachments.www.hardlinecrawlers.com/xfmg/thumbnail/25/25894-7893a6cfd361e70c2647c0179efc295b.jpg?1652262880)