• Help Support Hardline Crawlers :

BeerJ's BuzzBuggy Build-o-rama!

So I think I might have been a little ambitious with how I wanted to do this dash. I'm gonna waste a lot of metal trying to get these pieces to fit. And even if I get 1 side, I think it'll be damn near impossible to match the other. Strongly considering adding a tube where the bend is. Just seems like too much going on to try to get it all in 1 piece.
 
Decided to take a break from the sheet metal before I go crazy and mounted the shifters. The trans shifter looked out of place, like it was just plopped on there. Plus it has a huge cover that didn't help it look any smaller. I also didn't like the idea of the cable coming out above the console panel and drilling a hole for it to go under. Figured I'd just drop the whole thing down under. Still need to figure out some sort of rubber trim to take up some of the oversized hole I had to cut to get it in there.


Should be nice and cozy when it gets finished out.
 
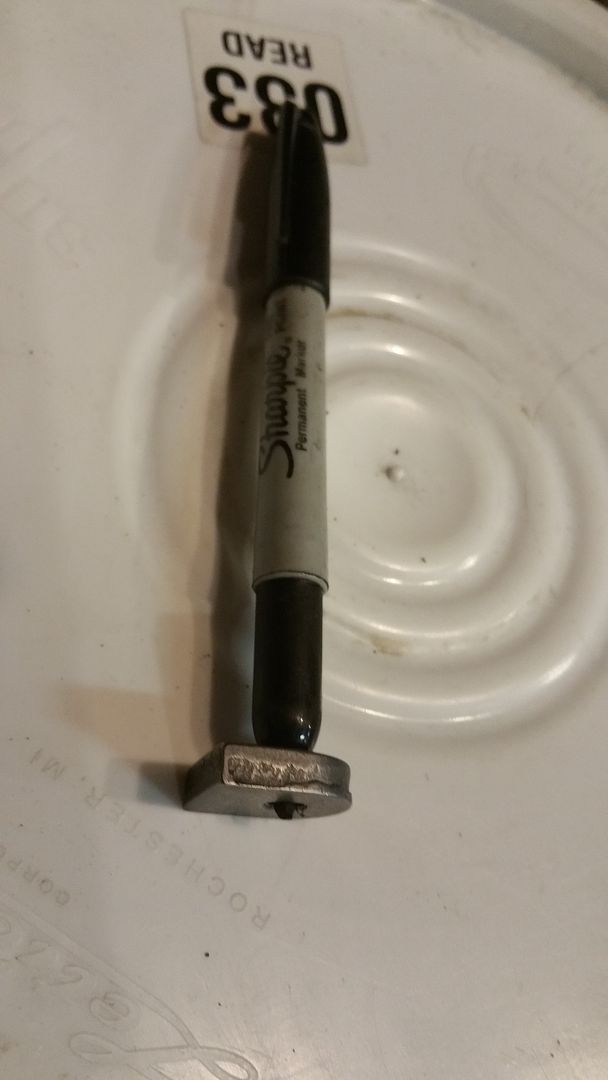
I struggled a little with getting my sheet metal tabs at just the right location and thought maybe this would help others. I'm not sure what other style tabs this works for but I used the ones from poly performance.

I found that a regular sharpie wouldn't go through easily to mark where the hole goes but it will actually thread in well.


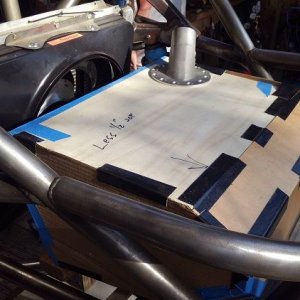
So once you have your panel cut and placed where it goes, just use the sharpie tab and run it against the tube until the marker tip bottoms out on the panel.


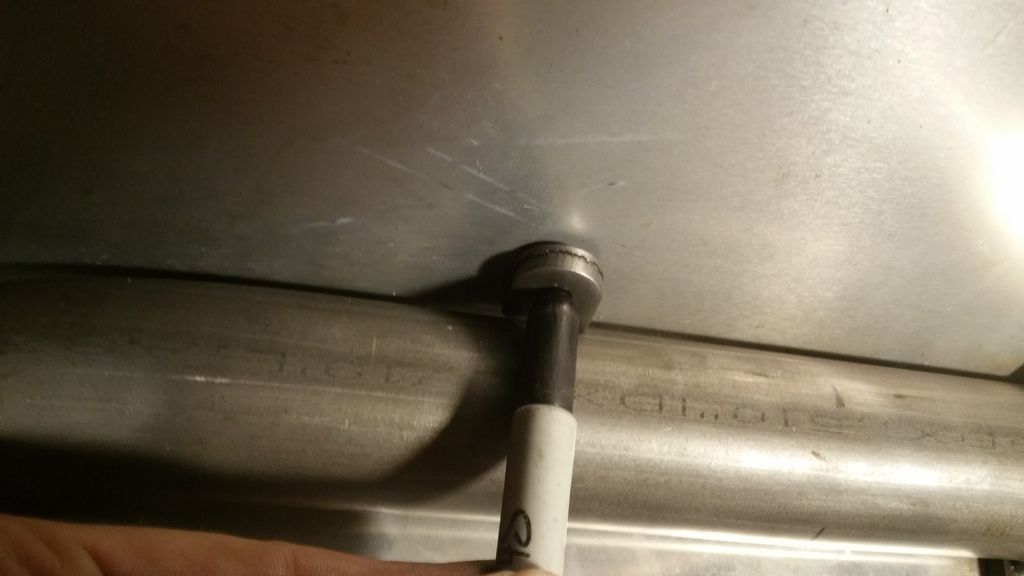
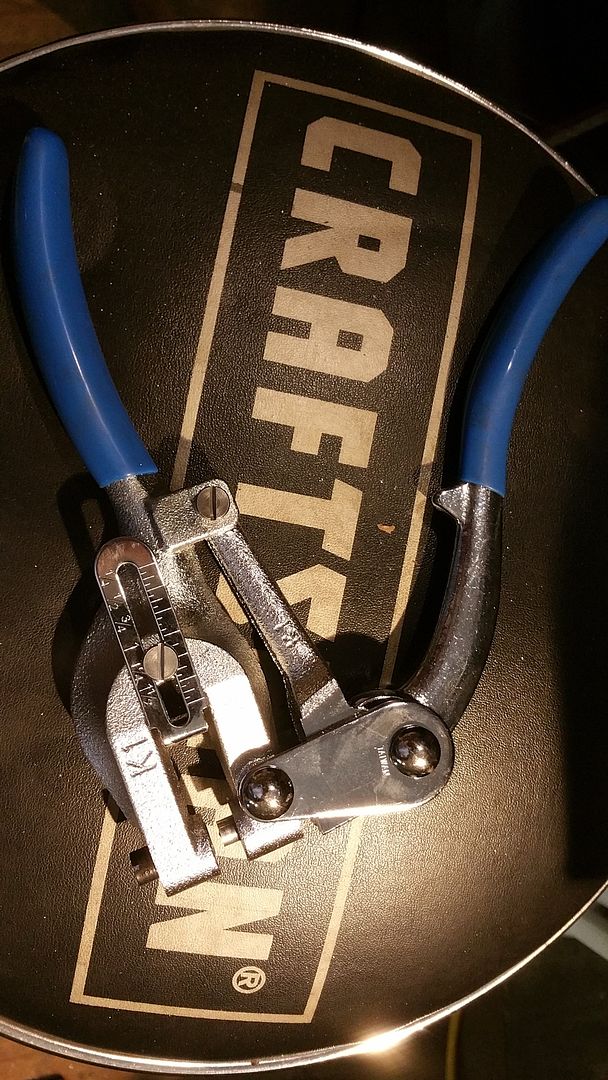
This leaves you with a nice little dot to locate your hole. I use a sheet metal hole punch. It has no problem going through .030 aluminum.


After you get your hole punched/drilled, bolt your tab onto the panel. Then place the panel where it goes and you'll see that you're tab is exactly where it should be, flat against the panel.


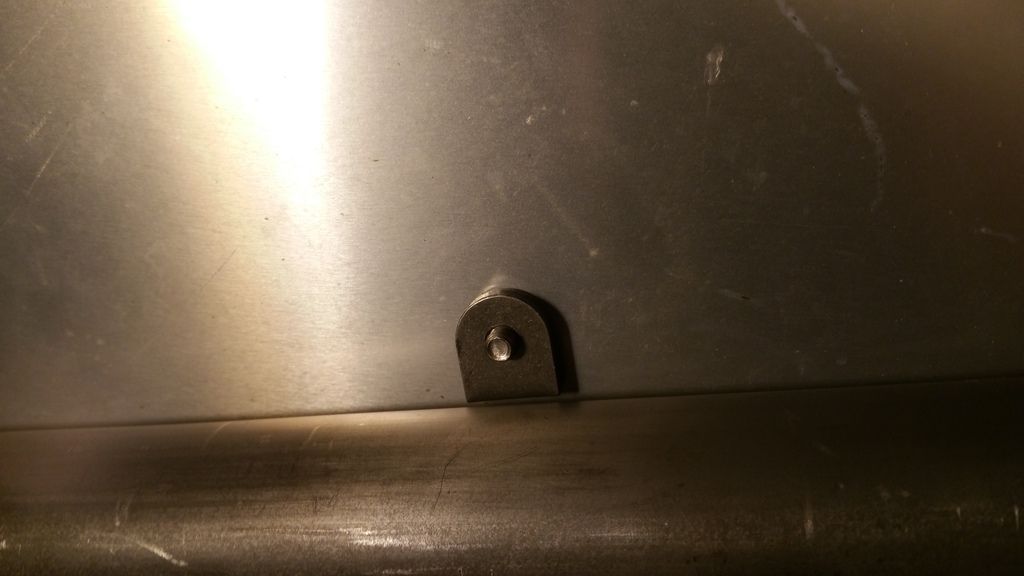
Then you're free to go ahead and tack it in.
This is especially helpful when you're working in a tight spot and can only get 1 hand in there. That being said, if your panel doesn't want to sit tight against, you can either stack some heavy wood blocks on it or have someone push from the outside while you mark and tack. Once you get 2 tabs in place to hold your panel securely, you can usually mark, punch and tack all of the rest at the same time.
 
So I've been farting around taking some measurements up front and wondering if anything should be throwing up a red flag. First is the driveshaft. Looks like it'll be about 44". Too long?
Second is links. Lowers look to be about 44", uppers about 36". Should I try to get them closer to the same length?
Thirdly, is 120" wheelbase with a 22" belly gonna be too high or low? Figured I'd ask you guys that have done this stuff before. This is with the front axle on jack stands set at 21" to the center, about where I think it'll be with 43's on.
 
Also, do you think I should clock the transfer case down some? It'll definitely help with floor space and maybe pull the driveshaft away from the bellhousing a little.
 
The "norm" seems to be 120wb 20belly and 42-44 tires. Mine is 120wb with belly at 22 and it was the by far the most stable thing I've ever been in.
I am going to lower mine slightly. I didn't bottom out as much as I tought I would.
 
I'm hoping I can avoid a pillow block. But if I do end up needing one it looks like it'll be right beside where the upper would attach on the frame side. I think then the driveshaft would follow pretty much identical to the links. I'll have to play around with the adapter and see what kind of clocking options I have. Right now I have a bunch of options to clock up even though the case is almost flat already. It should be able to go down though.

Here's the screws.
http://www.polyperformance.com/Hendrix-Motorsports-Panel-Tab-Bolt

And the tabs.
http://www.polyperformance.com/Hendrix-Motorsports-Threaded-Panel-Tab?multi=77795

They're not the cheapest option but they're convenient. I'll probably put a dab of blue locktite on each at final assembly.
 
Clocking was successful. This should give a lot more room on the floor. I'm glad I marked all of the options when I originally put it together. Took a lot of the guess work out.


I also took a minute to look at the case and see if it is actually able to switch from drivers drop to pass. Looks like the bolt patterns line up.


Colin approves
 
Top