-
Help Support Hardline Crawlers :
You are using an out of date browser. It may not display this or other websites correctly.
You should upgrade or use an alternative browser.
You should upgrade or use an alternative browser.
BeerJ's BuzzBuggy Build-o-rama!
- Thread starter Beerj
- Start date

Beerj
Sonzabitches!
Right now I'm thinking black. The wheels and seats already have a black and silver going on so I though I might stick with that. It's kinda cliche but I've never had a buggy before so I'm gonna do whatever I think looks best.
Beerj said:Right now I'm thinking black. The wheels and seats already have a black and silver going on so I though I might stick with that. It's kinda cliche but I've never had a buggy before so I'm gonna do whatever I think looks best.
agree 100%! this is my first buggy as well so we had several discussions on how I wanted certain things to look or turn out. also why I did the wrap. I can change it anytime I want

Beerj
Sonzabitches!
Wraps crossed my mind as well. What's the going rate for a buggy wrap job these days?
fairly sure it was in the $600 range (both sides, designed and installed). had a local company do the design for me and then email it to another company who did the install since the buggy was built in NC @ M&M
now I can just go to the local company for any fixes (which I'll be fixing one soon)
now I can just go to the local company for any fixes (which I'll be fixing one soon)
Beerj
Sonzabitches!
Nice! That's a lot better than I thought it would be.
Beerj
Sonzabitches!
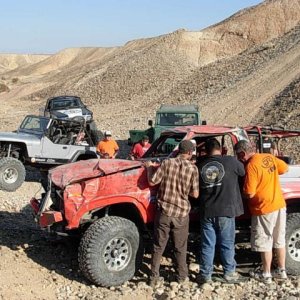
Well that was fun...


onepieceatatime
I like turtles...
Re:
Badass
Sent from my SM-G900V using Tapatalk
Badass
Sent from my SM-G900V using Tapatalk
Beerj
Sonzabitches!
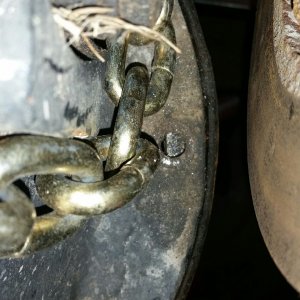
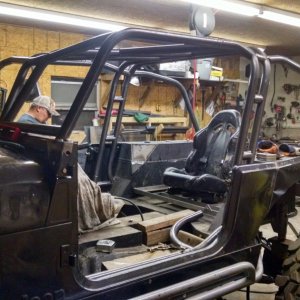
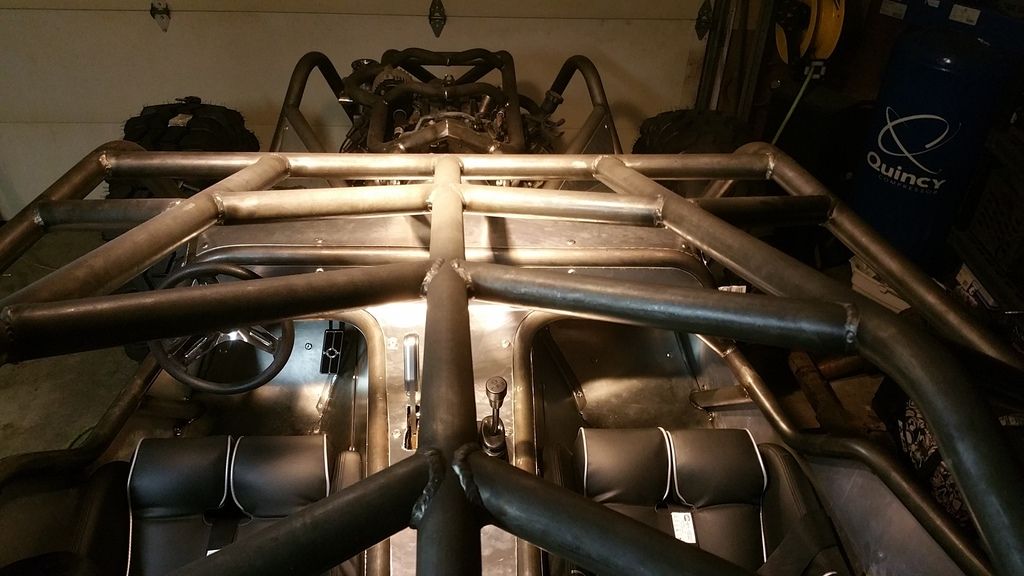
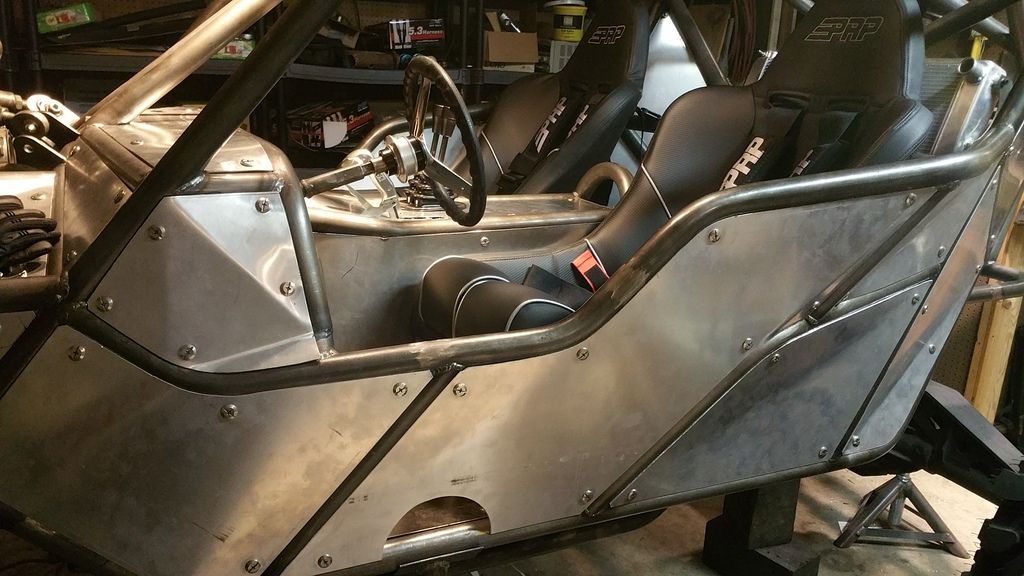
Thanks guys. I'm definitely happy I went with steel. It was nice being able to tack stuff together. I'm also happy with the amount of room I was able to have. And everything can unbolt and come out. All of the screws thread into tabs and the bolts have nuts welded to the back of the sheet metal so I don't have to wiggle around trying to get a wrench on the backside.
nhl_bullitt
Southern IL/MO
Looks great! I too have been tacking almost every nut on the build.
Beerj
Sonzabitches!
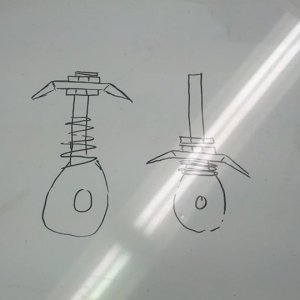
Thanks. And yeah, it's just a little more work on the front end but having easily removable screws and bolts will make everything a lot more user friendly afterwards. Right now I'm trying to decide if I should mount the battery under the floor on the passenger side before I do the sheet metal. How do most people mount these kind of battery boxes? Just welding it to the chassis would be easy but keeping in the spirit of being able to service stuff easily I'm thinking some brackets and bolts would be better. Will it need support under it or can I just fasten through the sides?

5BrothersFabrication
Zzzzz....
I'd make a floor panel that is removable via Dzus fasteners, put it under the passenger's feet.
Beerj
Sonzabitches!
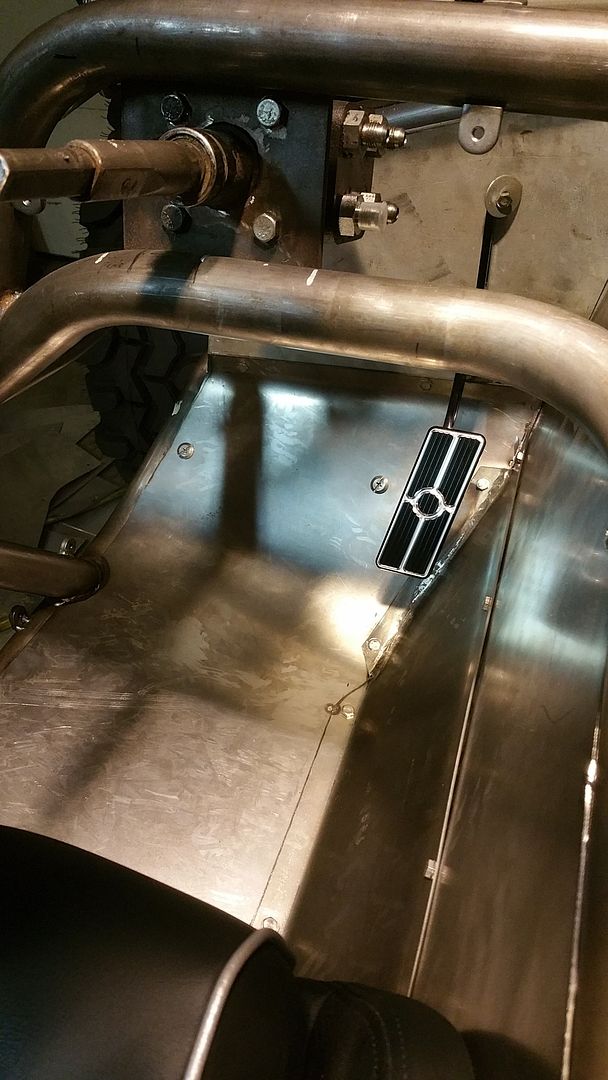
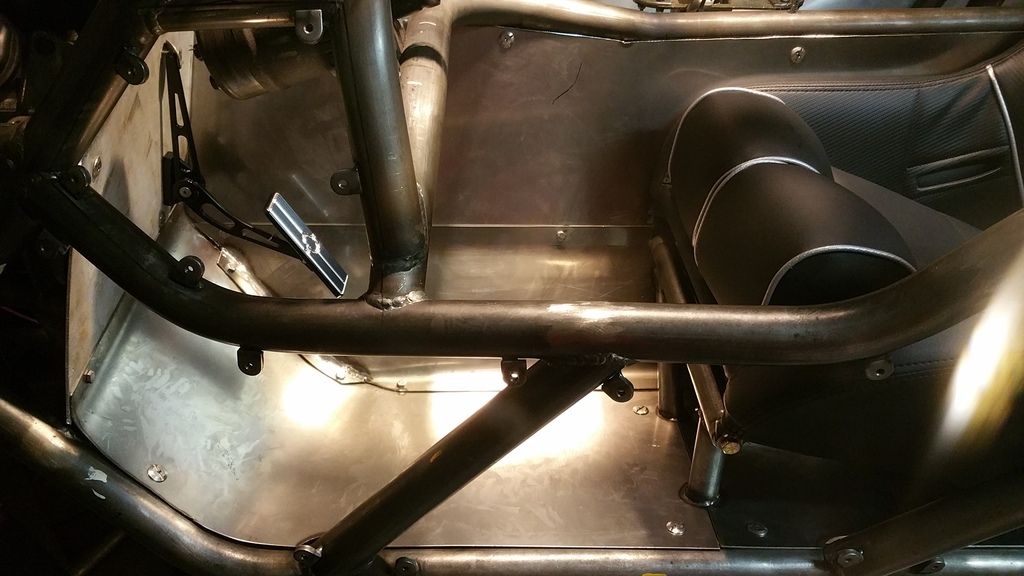
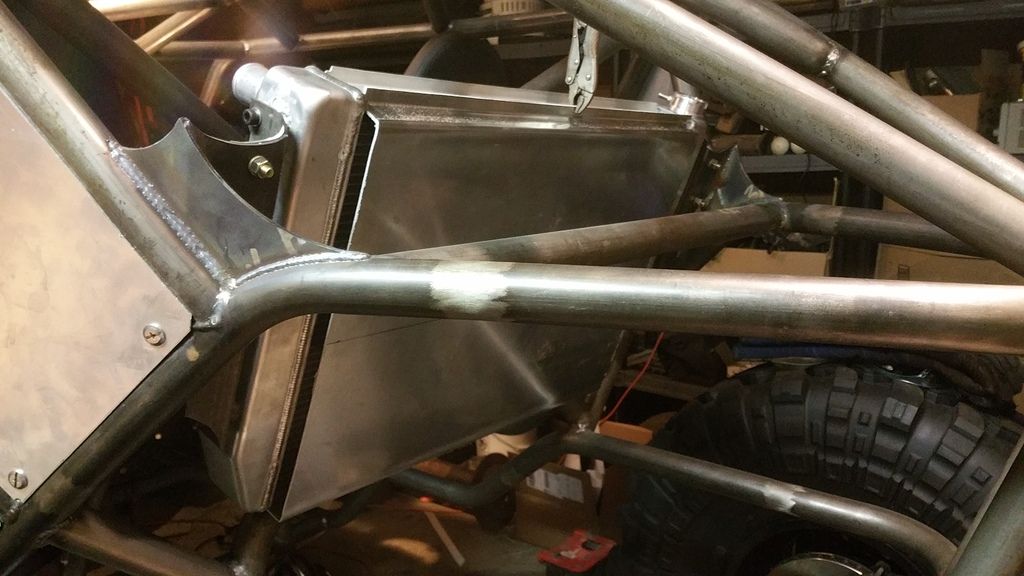
Finally done with the interior panels. Also got the harness tabs in as well.
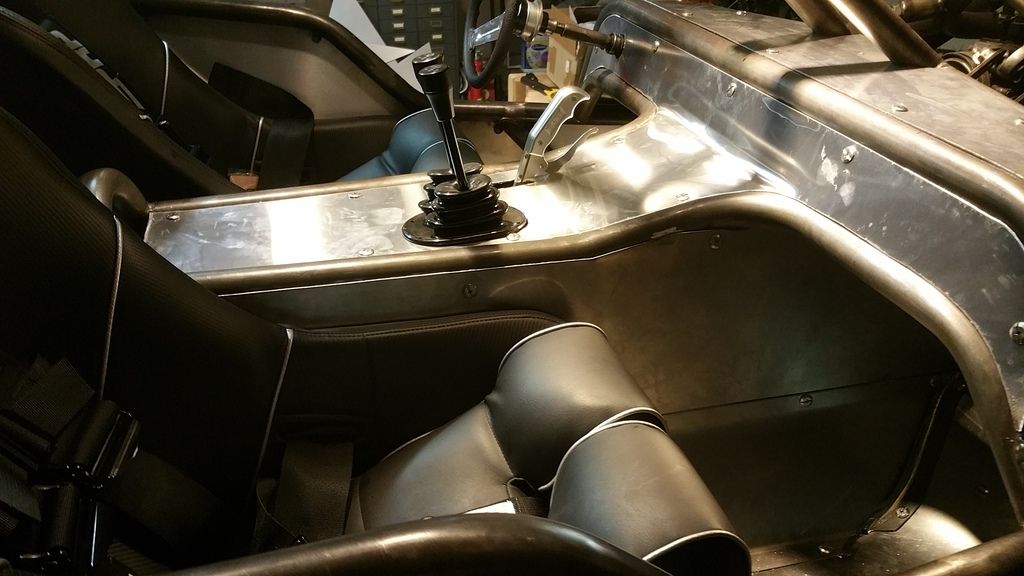
Passenger side floor
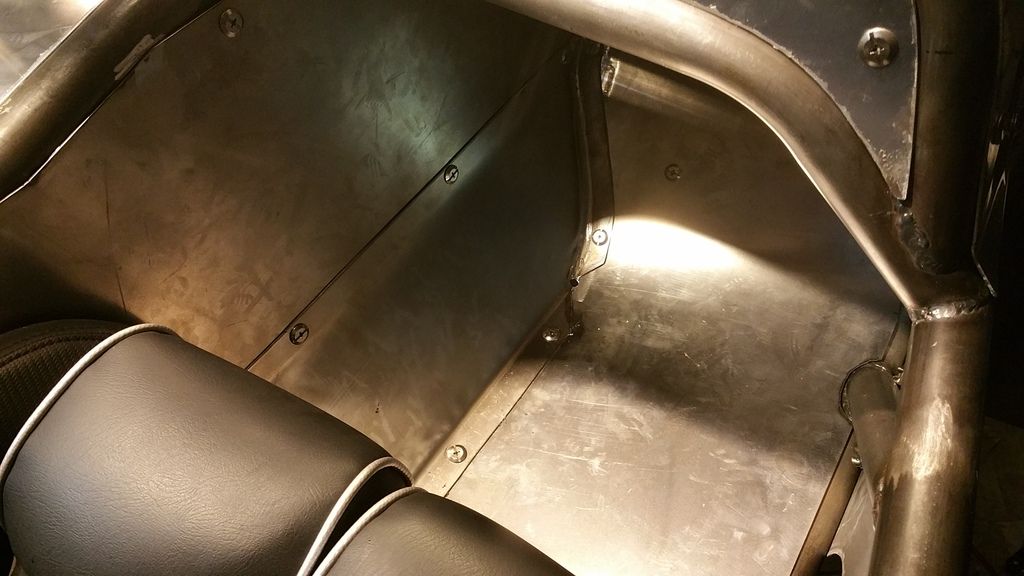
Birds eye view
Nice little cutouts to make climbing in possible.
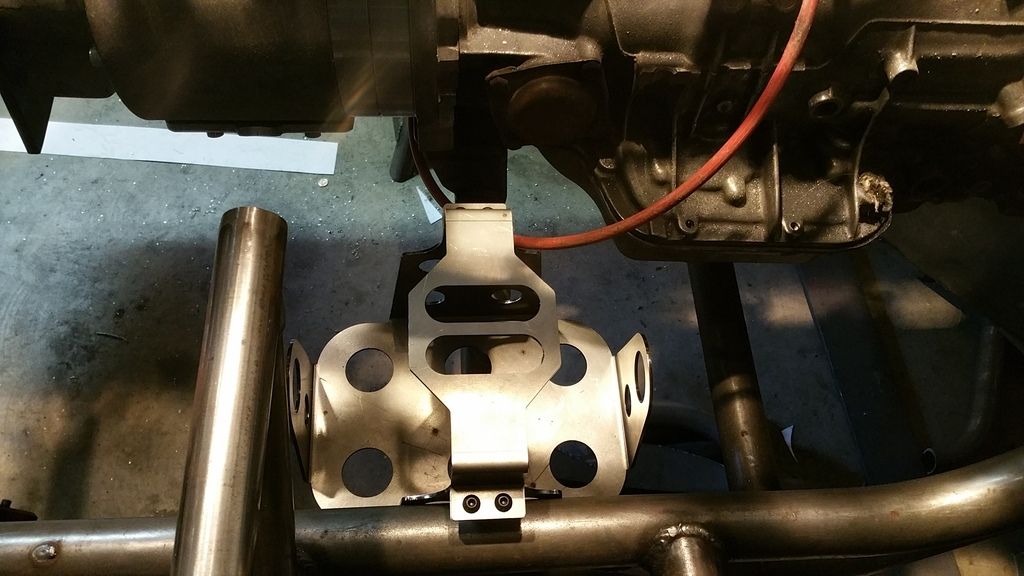
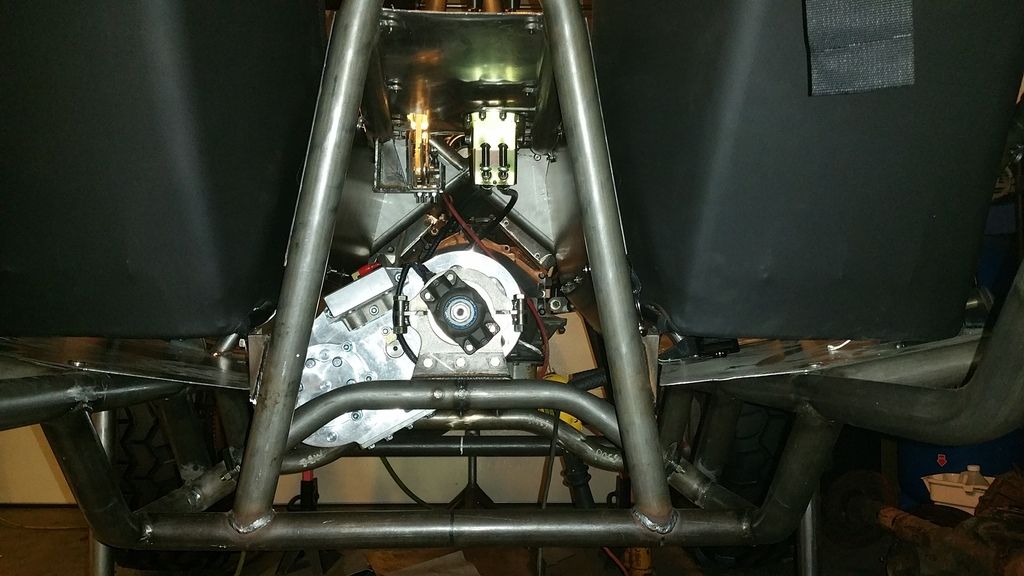
T-case support
Hopefully this is the last of the sheet metal.

Passenger side floor

Birds eye view

Nice little cutouts to make climbing in possible.

T-case support

Hopefully this is the last of the sheet metal.

onepieceatatime
I like turtles...
Re:
You sure this is your first buggy build?
Sent from my SM-G900V using Tapatalk
You sure this is your first buggy build?
Sent from my SM-G900V using Tapatalk
L
lowbudgetjunk
Guest
I am nothing but impressed with this build. I wish I had fab skills instead of hack skills. It truly does make a difference. Keep up the good work and keep the pictures coming.
Beerj
Sonzabitches!
Oh I'm sure!onepieceatatime said:You sure this is your first buggy build?
Sent from my SM-G900V using Tapatalk
I really appreciate it man. I truly am just winging it and learning on the curve. If this turns out okay in the end it will be a testament to the awesome resource that hardline is. Soooo many great builds on here to draw inspiration from and keep me in check. The way I see it, if something I did looks fishy, it probably is and it has probably been done correctly before so if they can do it, why can't I?lowbudgetjunk said:I am nothing but impressed with this build. I wish I had fab skills instead of hack skills. It truly does make a difference. Keep up the good work and keep the pictures coming.
As much as it kills me, progress might slow down even more as I really do need to focus on the suspension and that is shaping up to be one of the single most expensive aspects so far. Though the vendors on here are equally impressive so I hope they want to support me as much as I want to support them... plenty of room on the buggy for stickers, wink wink.
nhl_bullitt
Southern IL/MO
Really nice work!
What did you decide to do with the battery?
What did you decide to do with the battery?
Beerj
Sonzabitches!
Thanks. There wasn't enough room to make it the least bit easy in the floor. Plan B was under the center console, above the rear output but it was equally tight there and would've taken the space reserved for cup holders, can't have that. If I can devise a decent access panel then it might go under the dash. Last resort will be between the engine and winch or behind one of the seats.