crash said:So onto the motor stand it went, flopped it over and damn--oil and coolant on my clean floor
You need one of these :flipoff:
http://store.summitracing.com/partdetail.asp?autofilter=1&part=SUM-G1016&N=700+115&autoview=sku
crash said:So onto the motor stand it went, flopped it over and damn--oil and coolant on my clean floor
skrause said:You need one of these :flipoff:
http://store.summitracing.com/partdetail.asp?autofilter=1&part=SUM%2DG1016&N=700+115&autoview=sku
So what you're saying is you're slipping in your old age? :flipoff:crash said:I'm a service tech--I have **** you desk jockey's have never seen :flipoff:
I drained the motor and the coolant caught me off guard :hi:
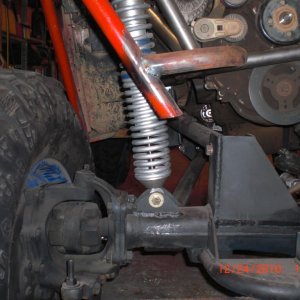
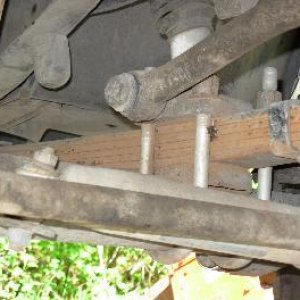
I agree with this. Much easier to change the bushings if you can just pop the mount out and clamp it in the vice.moto261 said:? why did you not switch the mounts around so that there was just small tabs on the frame and use the bussing on the motor mount it self ?
CrustyJeep said:I agree with this. Much easier to change the bushings if you can just pop the mount out and clamp it in the vice.
Jeepless said:was it X mas today?
crash said:But you can now
I run what I have proven...
Yep, right after you cut them off the framecrash said:But you can now
crash said:I'm a service tech--I have **** you desk jockey's have never seen :flipoff:
I drained the motor and the coolant caught me off guard :hi:
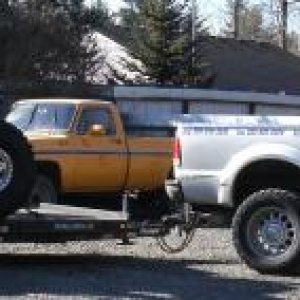
crash said:So for the 4th time I got my shirt caught on the rear of the rig and for the 4th time the rig laughed and told me to F-off. So--I showed it who is boss :flipoff:

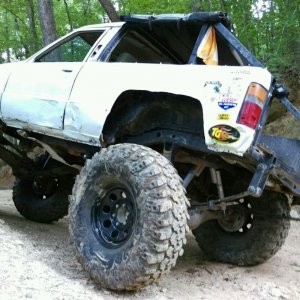
is it at jacks?its not at my pad, I wonder if mike doesn't have some plans for it though.MarcW said:so mike, were did the back half of the tub go? i might be intrested in it
CrustyJeep said:Yep, right after you cut them off the frame
MarcW said:so mike, were did the back half of the tub go? i might be intrested in it