WA-Wheeler
Well-Known Member
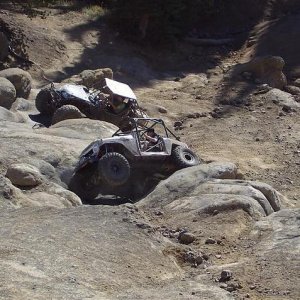
They appear to have a directional tread. Seems one side is backwards :eeek:
In the front?
They appear to have a directional tread. Seems one side is backwards :eeek:
They appear to have a directional tread. Seems one side is backwards :eeek:
Too long without an update Tony:fawkdancesmiley:
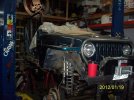
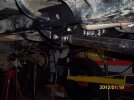
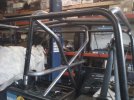
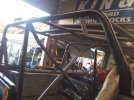
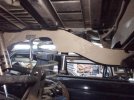
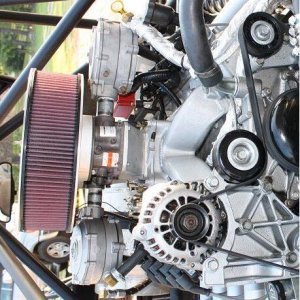
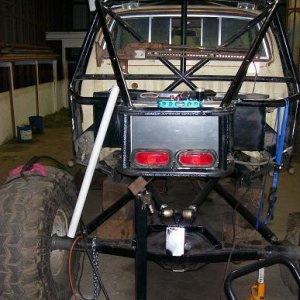
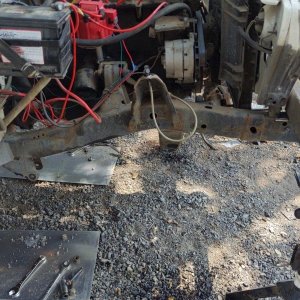
I don't have any. It's over at Dean's house, getting chopped apart, and re-welded. I was concerned that all the links wouldn't hold, because of the added stresses involved with 40s (or 42s) compared to the 37s in the original design. So bigger & stronger mounts were due. At the same time, the roll cage wasn't designed for helmets, so major modification of the cage is in order, and he's putting in additional cage reinforcements for the anticipated rollovers.Too long without an update Tony:fawkdancesmiley:
Can you get me additional mounts for the radio, so I can mount the radio from my YJ into the TJ? Need another antenna, cable, power cable, radio bracket, etc. Thanks..I saw it last night. :haha:
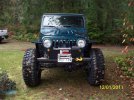
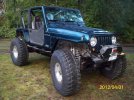
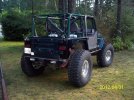
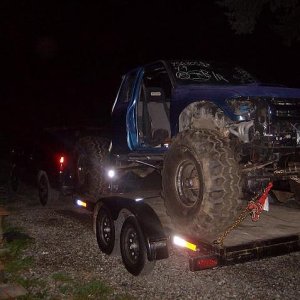
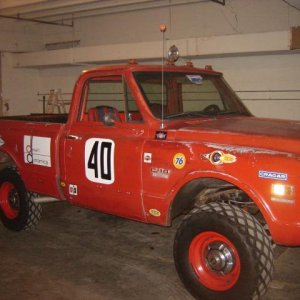
Just stumbled across this old picture:
I look like a young Groucho Marx, minus all the comedy.
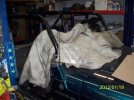
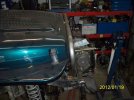
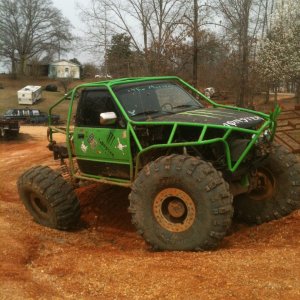
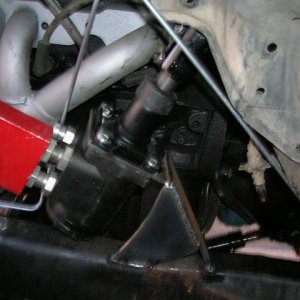
I've been tinkering, but really not much has happened since I got it back. Got some limit straps on, painted the cage, padded the areas around the helmets, etc.
Been sick for the last two weeks, so not really interested in working on this.
I've been tinkering, but really not much has happened since I got it back. Got some limit straps on, painted the cage, padded the areas around the helmets, etc.
Been sick for the last two weeks, so not really interested in working on this.