• Help Support Hardline Crawlers :

SXOR single seater build

hokie_yj said:
That's what I keep telling myself. I have to work to afford to build it, but if I work I don't have time to build it. Lol

Well wheelin season is about done for the year so you better have it done before next year. I'll be on you!


Sent from a undisclosed thinkin spot...
 
I guess I need to update this thread. No major progress, but the new Staworks wheels did finally come in last week. they're 17"x9" with 3" BS, I got them without rock rings, but had the 1/2" cold rolled ring added to the inner and outer lip. They weight in at about 60lbs a piece. They came powder coated a semi-satin black. I left the outer half of the wheel black, but on the face of the inner half I lightly sanded the powdercoat and painted them with Rustoleum hammered copper. I think it turned out pretty good. The wait for the wheels was a long one, I ordered them in April. But i knew up front it would be, I'd still reccomend Stazworks wheels if you're willing to wait.


Last night I finally got the last wheel and tire put together, and got them back on the buggy and got it back to roller status.


I know this isn't much of an update, but I guess it's better than nothing. I'm still trying to slowly plug away at it, and figure it out as I go. I swear one day i will finish it.
 
Umm, maybe sometime before I die. :dunno: I haven't touched it in a while, been working on my truck on my time off. I am back on shift now so I'll have more time off. 14 "scheduled" days off a month should make it a little easier to get stuff done. I hope.
 
hokie_yj said:
Umm, maybe sometime before I die. :dunno: I haven't touched it in a while, been working on my truck on my time off. I am back on shift now so I'll have more time off. 14 "scheduled" days off a month should make it a little easier to get stuff done. I hope.

Get it done.


Sent from a undisclosed thinkin spot...
 
In case you were wondering this build isn't totally dead. Lol.

I have been working on it a bit lately when I have the time. I've gotten a few things done Moscow it hasn't been very pic-worthy though.

I did finally get the driver's side header fit up. It's really tight, but it's in there.


I know the angles don't really match here, but it's as close as I could get it with the way the motor sits in the chassis at an angle.


After more consideration I decided it would be best to try to move the steering reservoir. This is what I came up with. It's a little higher than I would have liked, but I had put it there to get a good flow path to the pump. Where I had it mounted before on climbs the pump would have been trying to pull fluid uphill from the reservoir, now gravity will be helping. Hopefully this will work.


I've gone back and forth on where I was going to put the battery box. I've mocked it up a few different places. But I finally decided to go back to the original spot under the "dash" just in a different orientation. Everything just works better with it here. I had a steering cooler in this spot, but I'll find a new home for it.


And last for this update I bent up some sliders/steps to help protect the chassis and skins and to make it easier to get in and out of the buggy. They're 1.5" .250 wall tubing and I added some treads with dimples up for traction.


Woke up this morning with about 8" of fresh snow so I spent a few hours of this snowy day in the garage. Doesn't feel like I really got a lot accomplished, but it's better than no progress at all.

Obviously I already have a 20" light bar mounted on the roof, but I wanted to put one down low also to use as headlights. So I picked up another 20" bar from RedneckLights. I wanted to mount it just below the hood line, but the hood extended several inches past the end of the chassis so I added a little tube to have somewhere to mount the light.


I tinkered with a few other little things, but nothing really pic worthy. I spent a lot of time sitting on a bucket brainstorming and Googling. Trying to figure out some of the issues I still have to work out. I'm off work until Friday night though so I hope to make some good progress this week.
 
I crossed a couple more things off the mile long to-do list today.

Storage space was pretty much non-existent on this thing so I wanted to add a place to carry a tool bag, cooler, recovery gear, etc. So I picked up a Baja basket from Poly Performance.

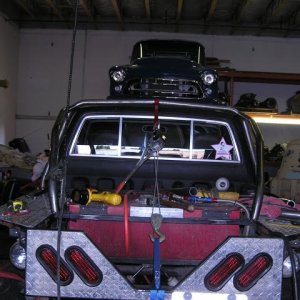
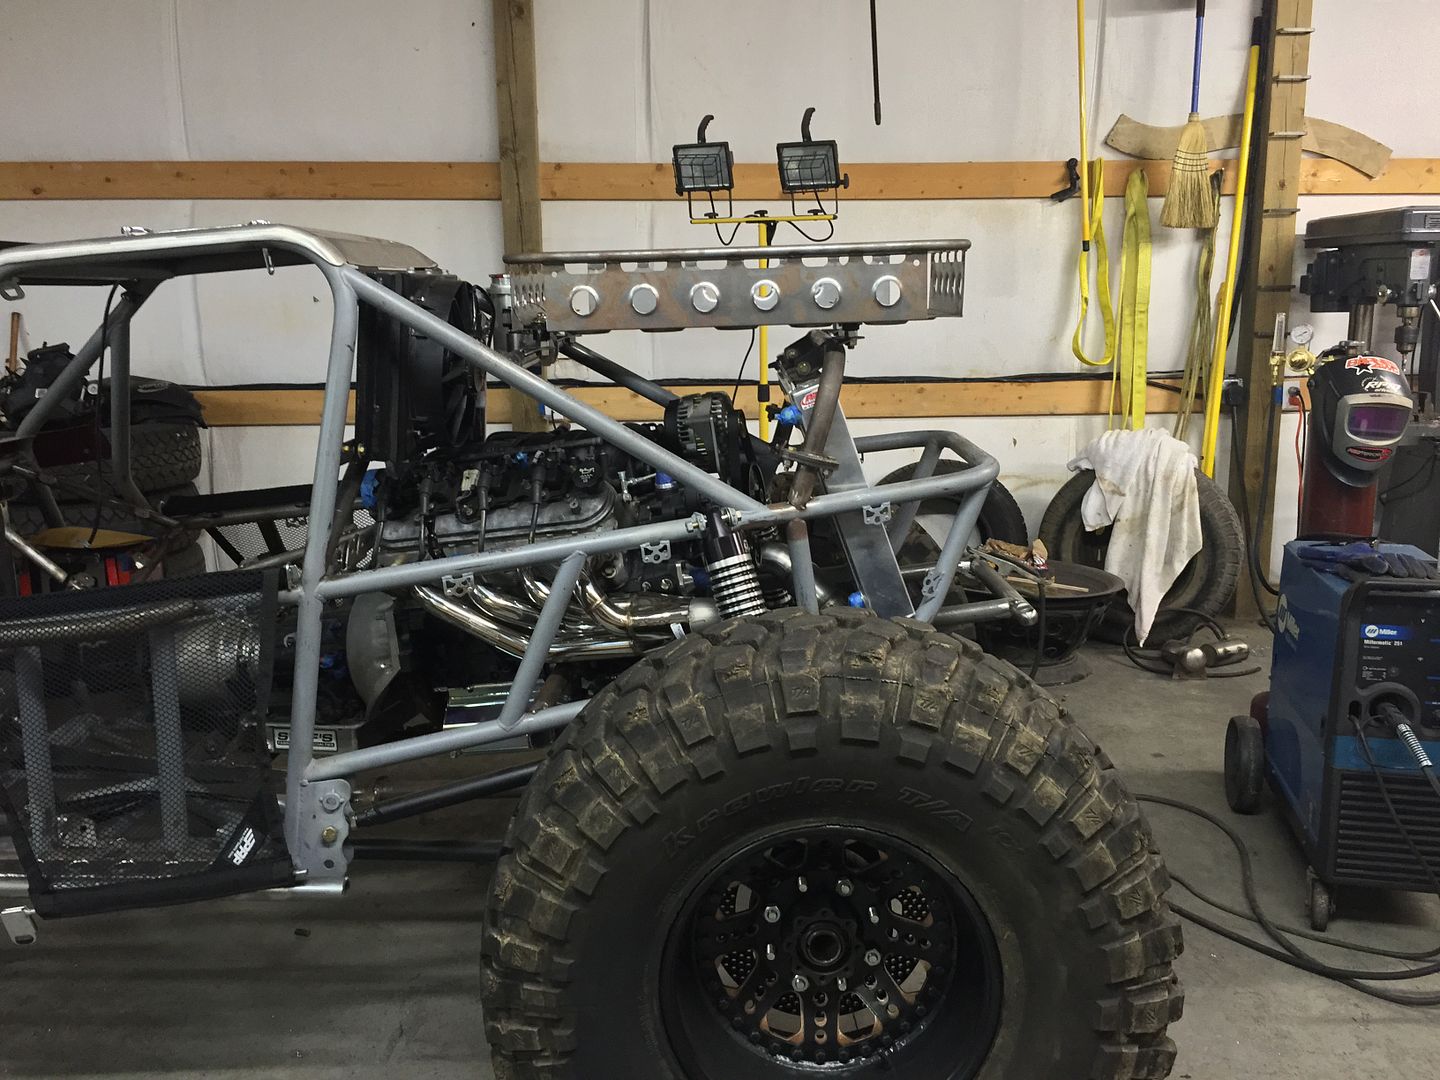
Here it is sitting in place while I was figuring out the mounting.


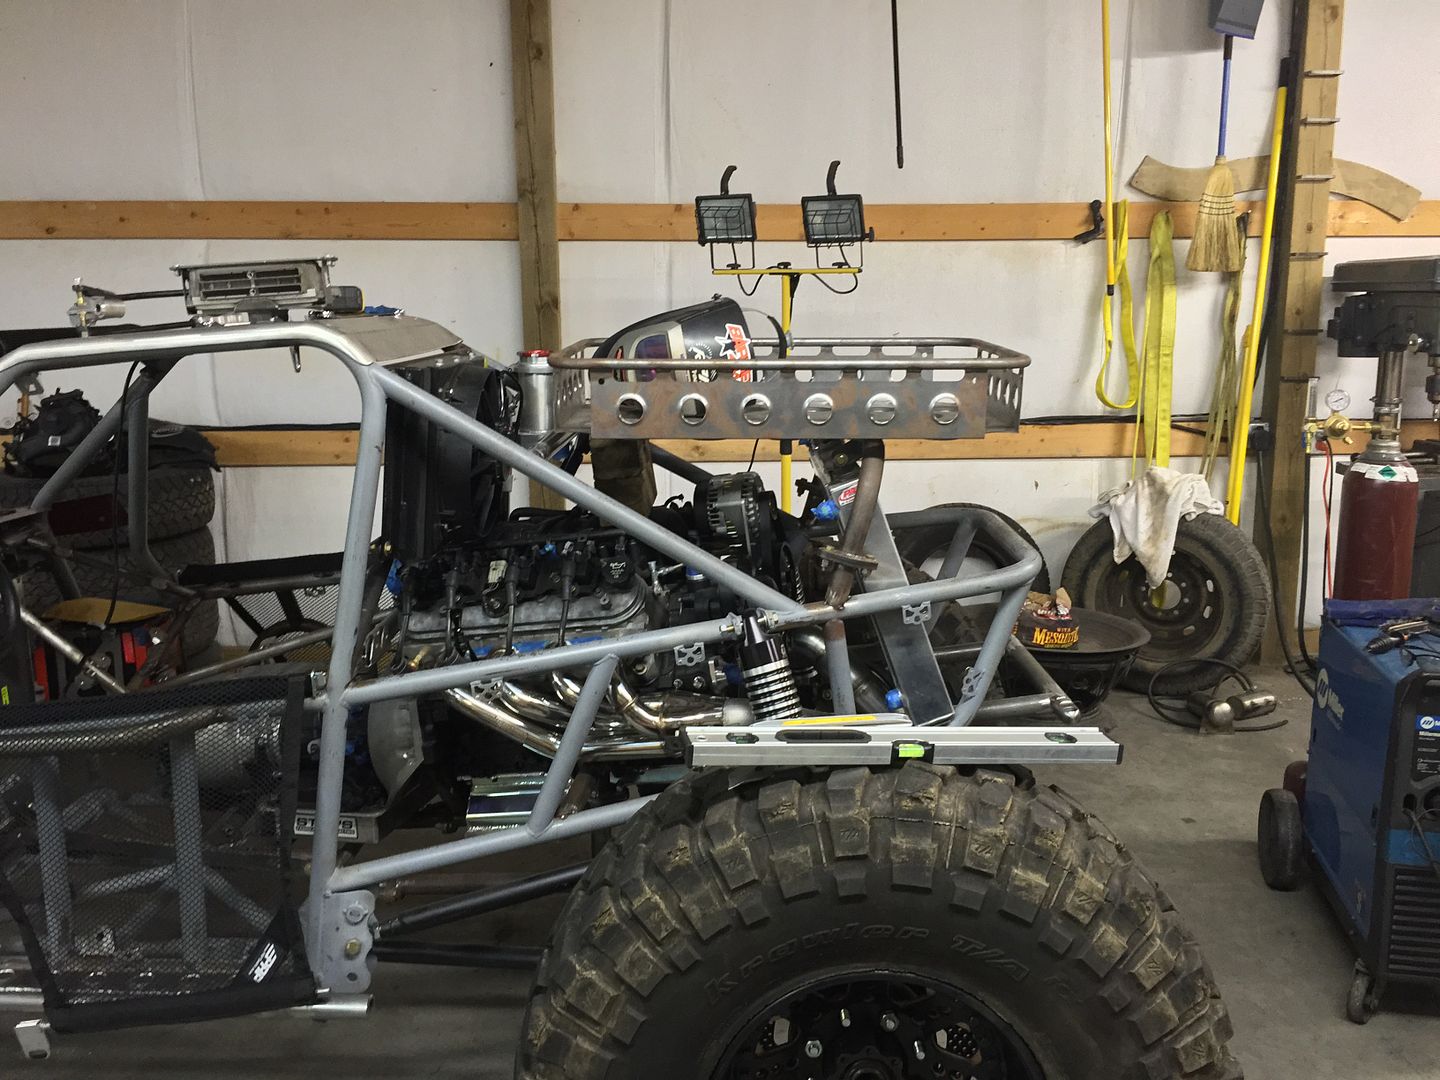
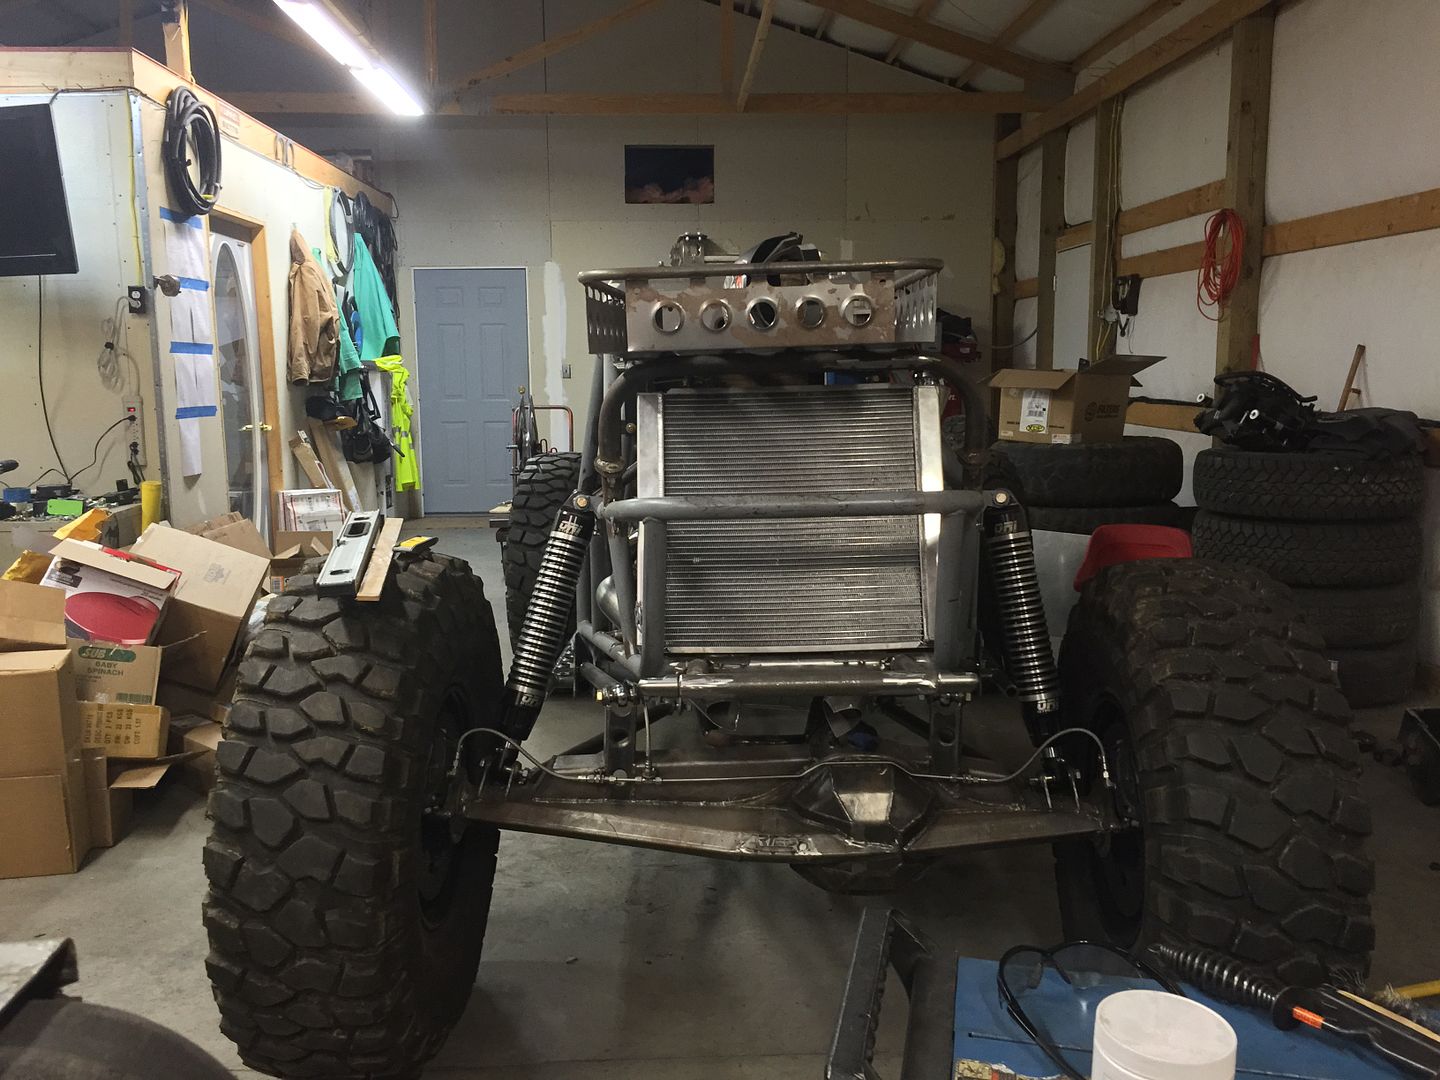
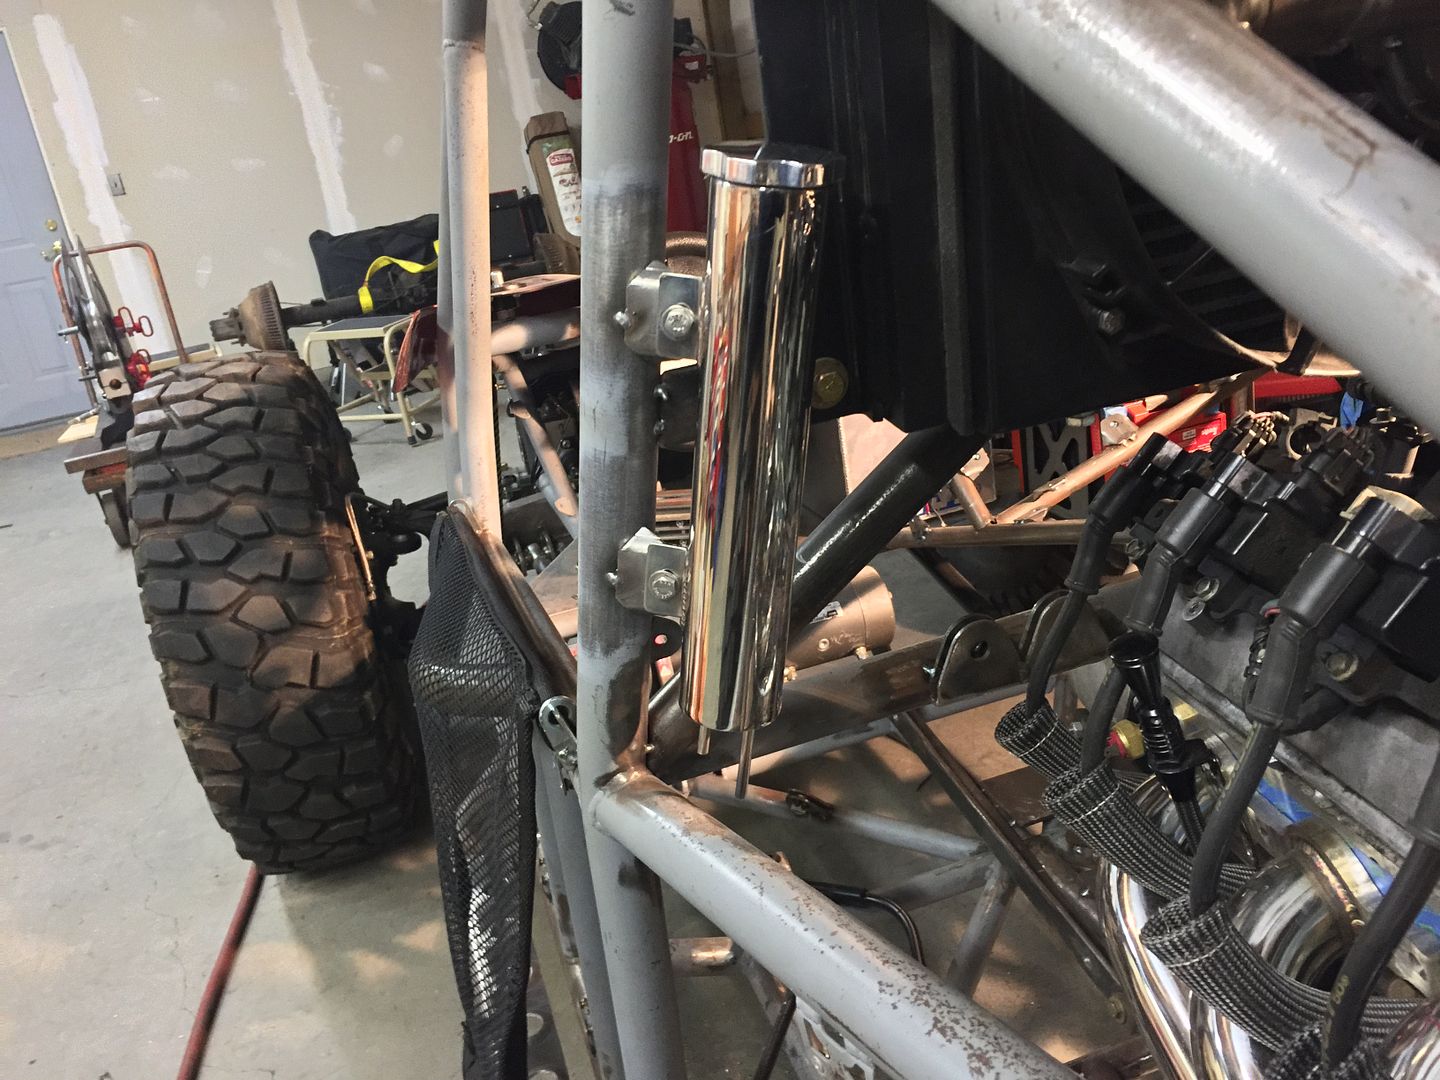
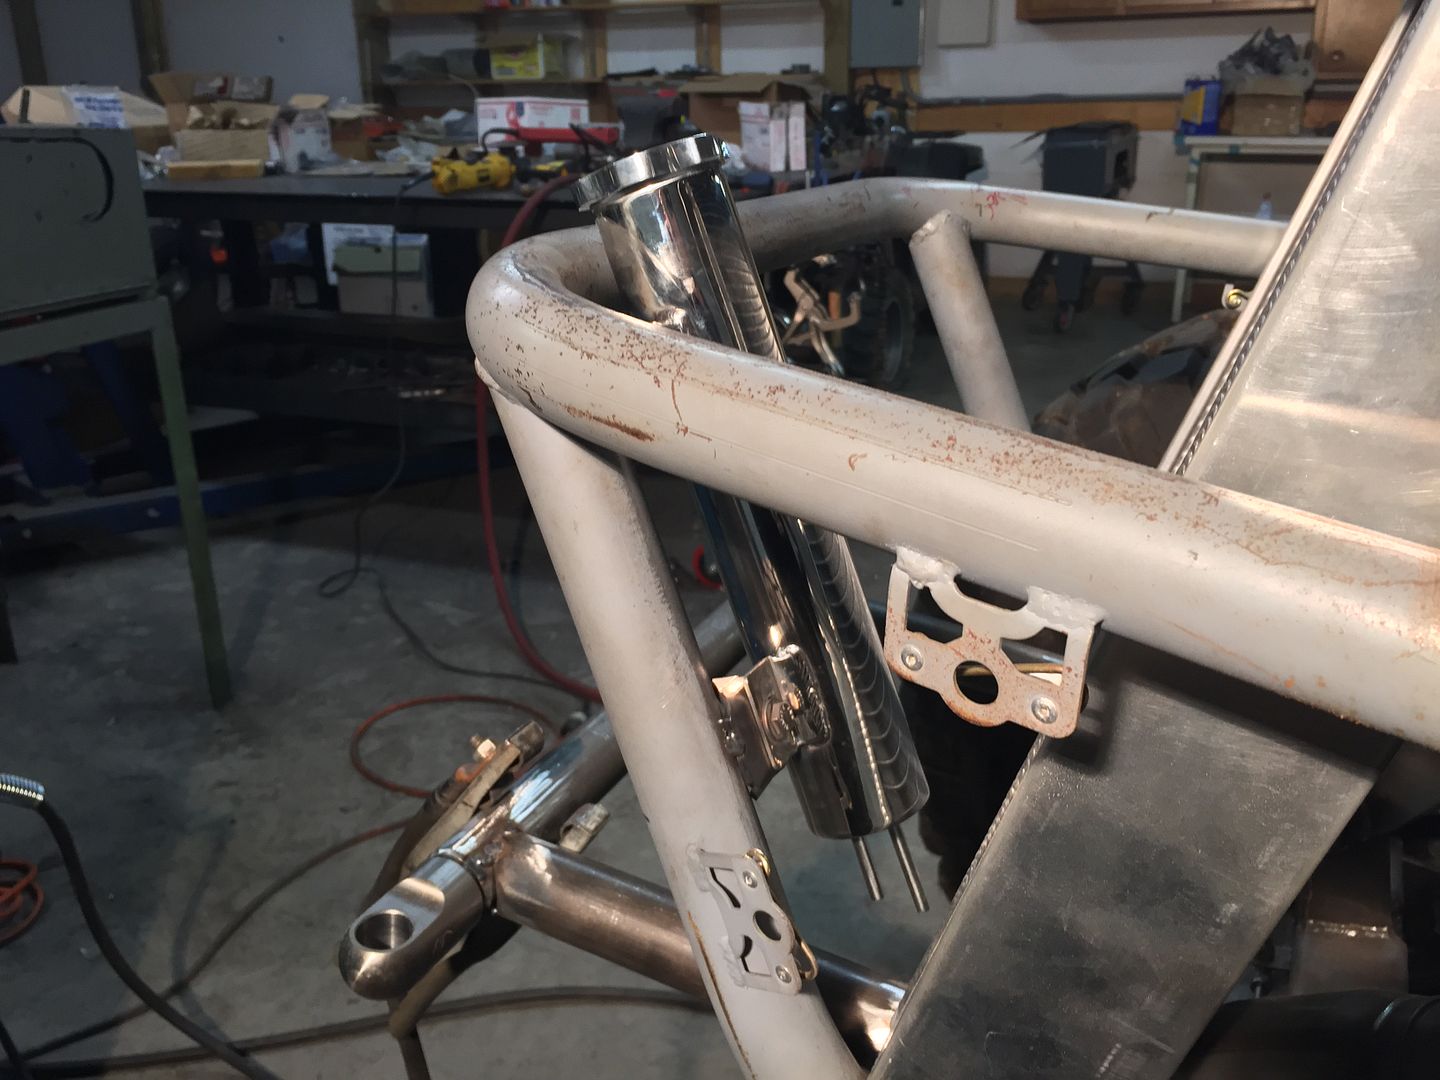
To mount the front I added a tube between the two c-pillars and used tube disconnects to make it removable so the engine can still be pulled.


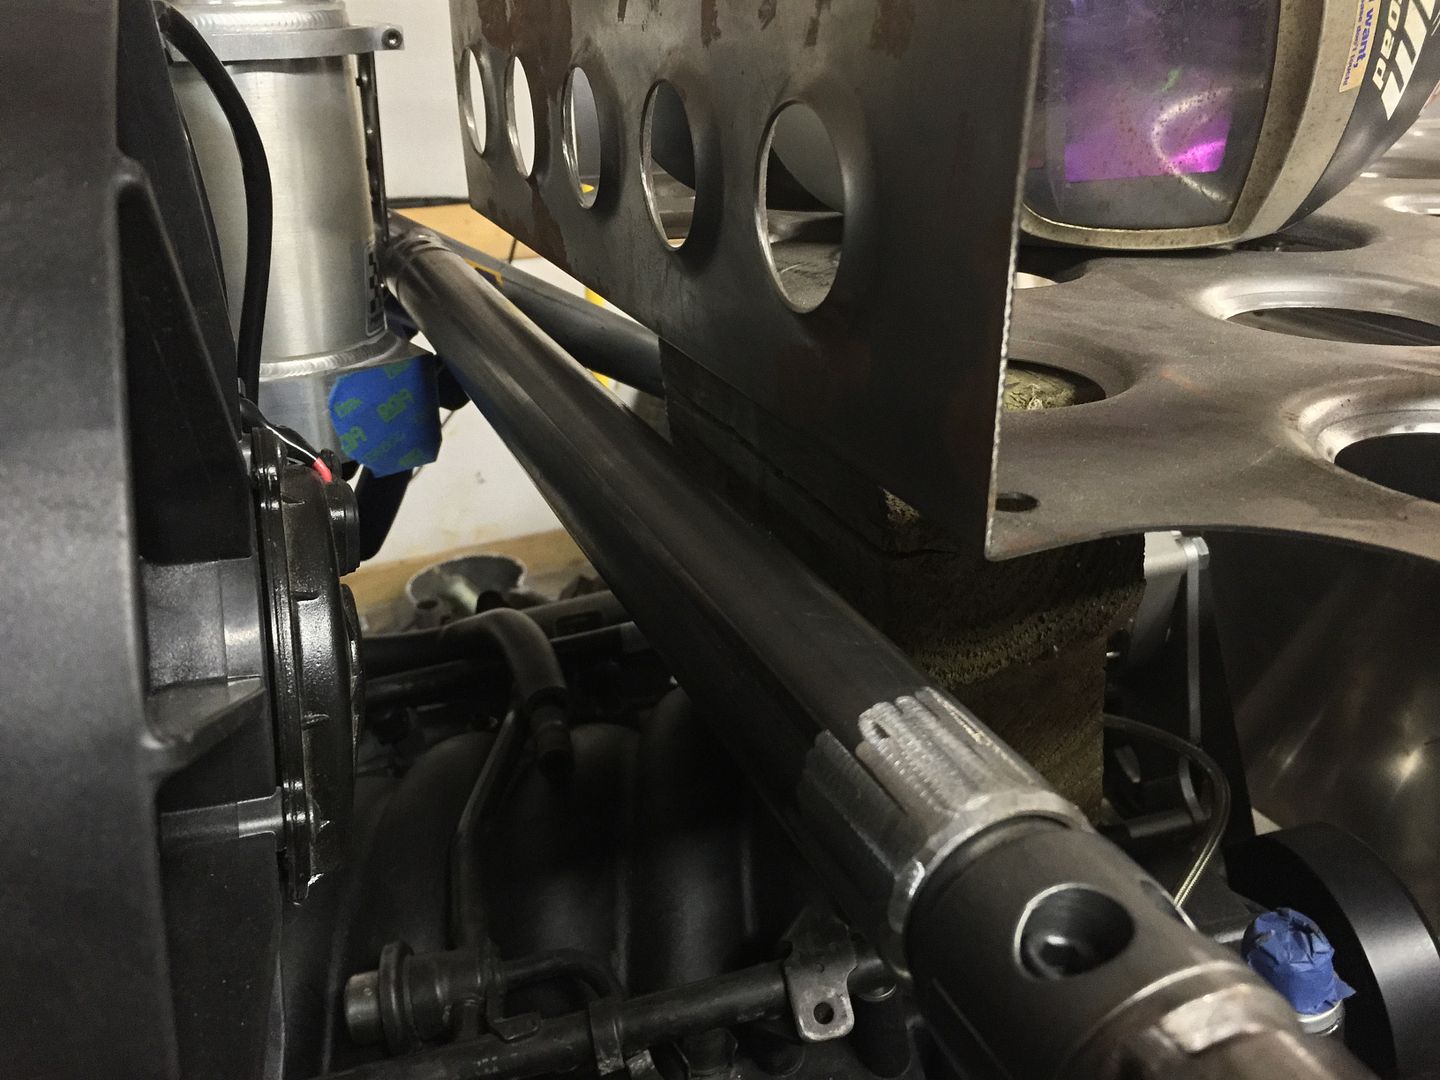
To mount the basket to the tube I used some large trick tabs and the hood pins that have the hard rubber bushing to hopefully help cut down on the rattling.


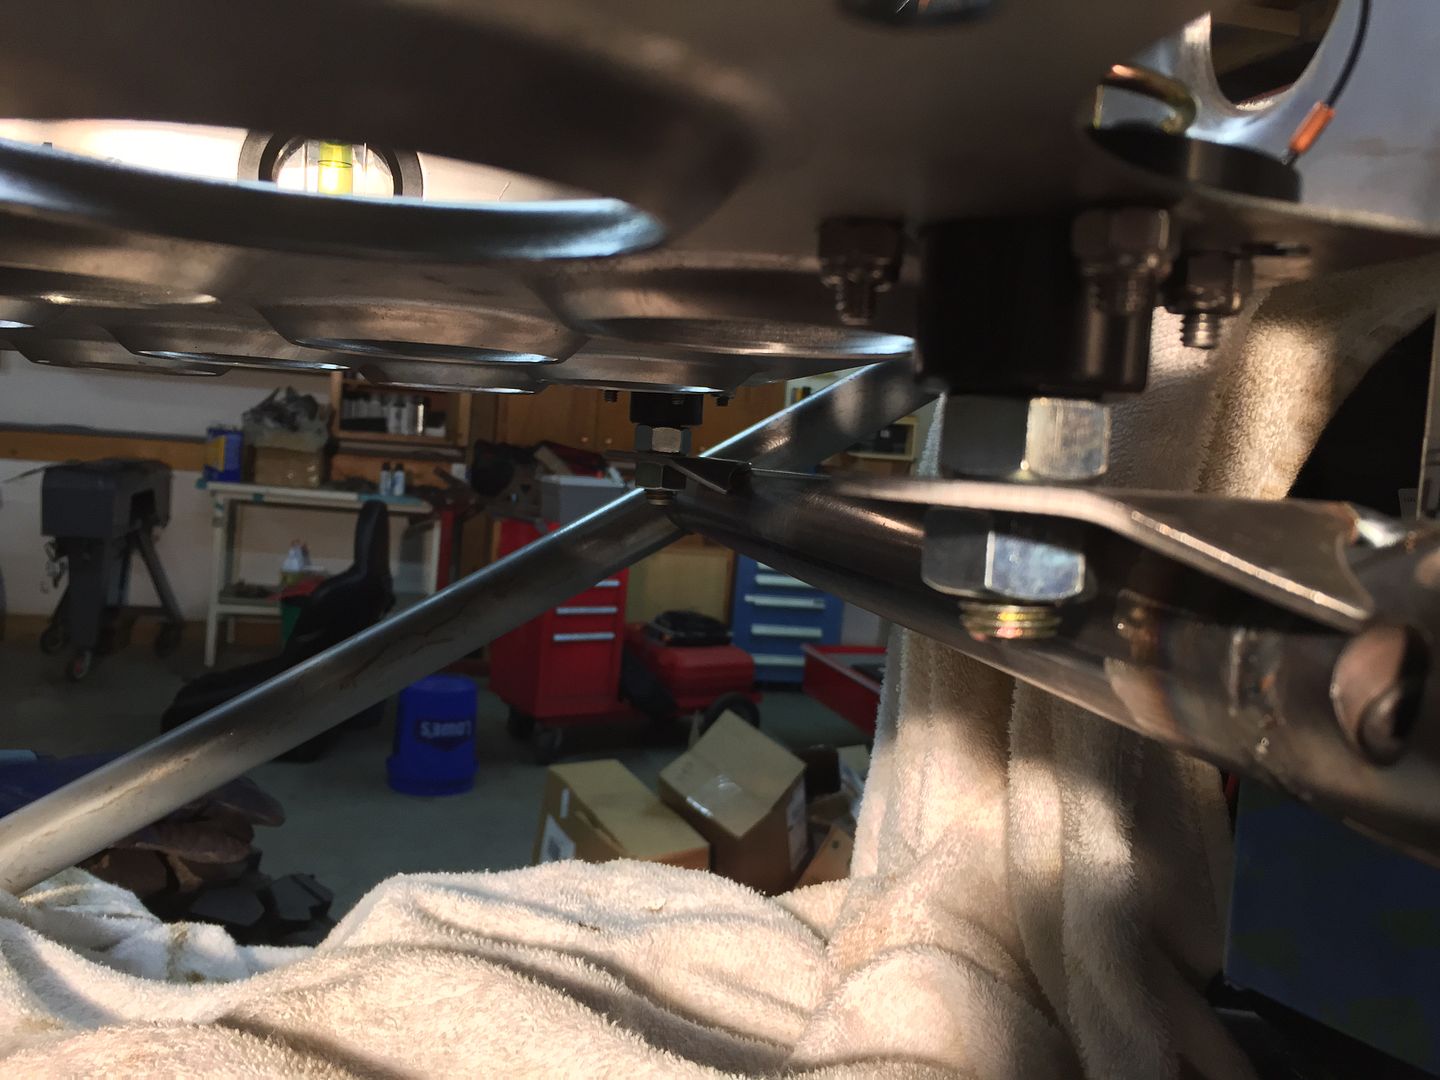
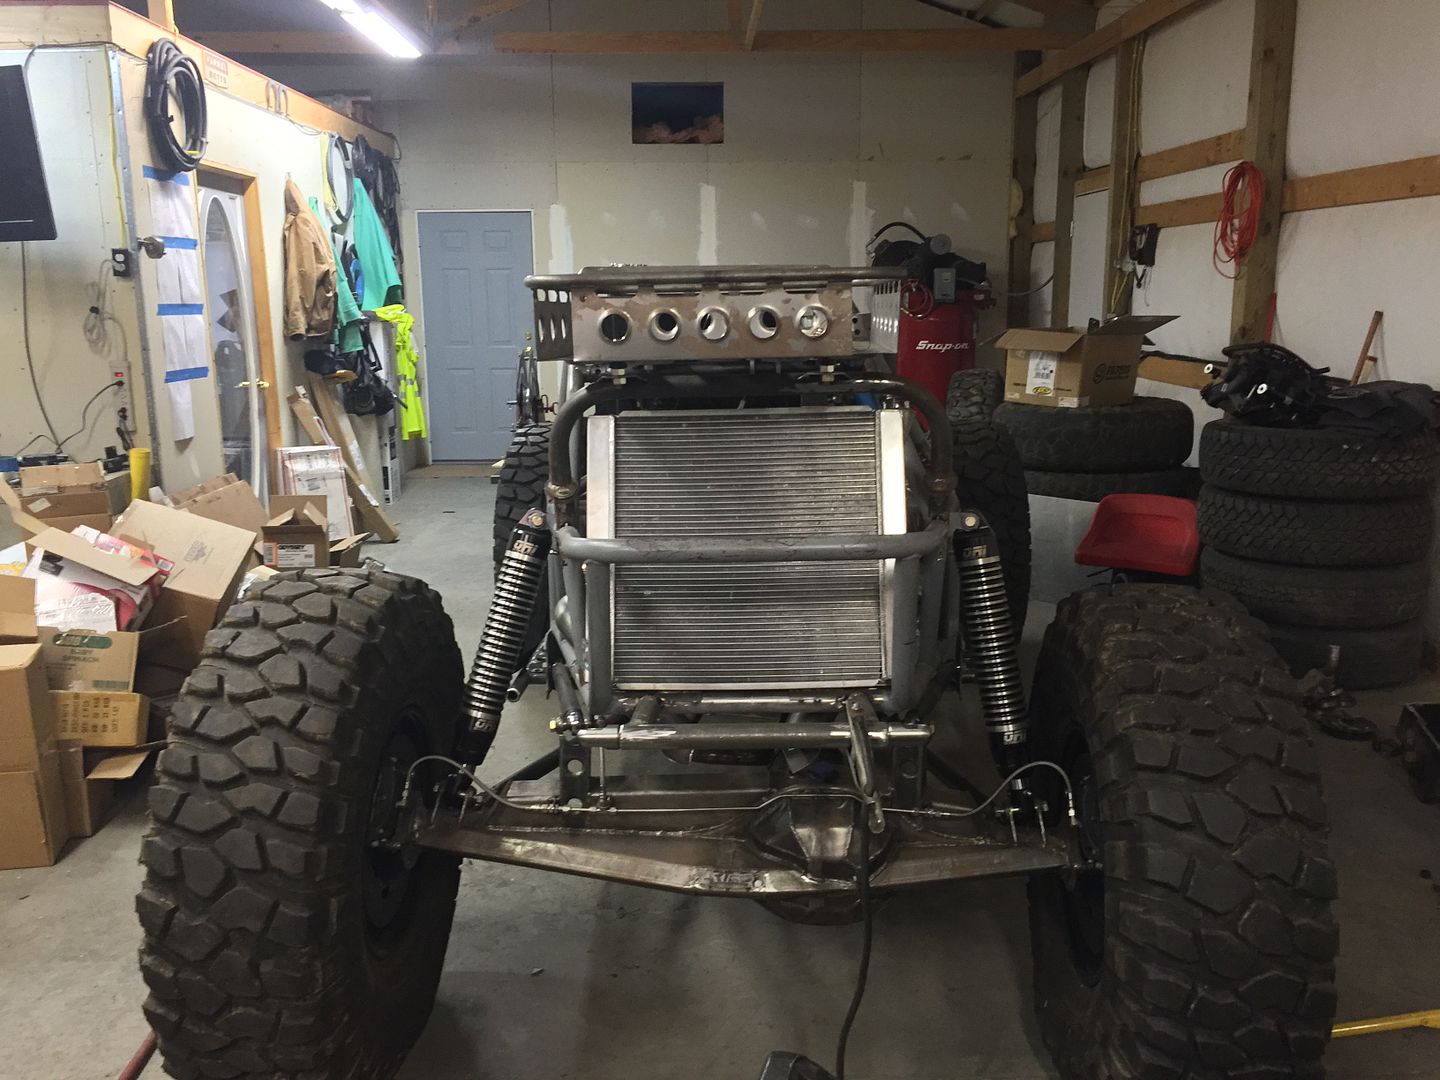
The back is mounted the same way off of the radiator hoop.

Here's it is installed.


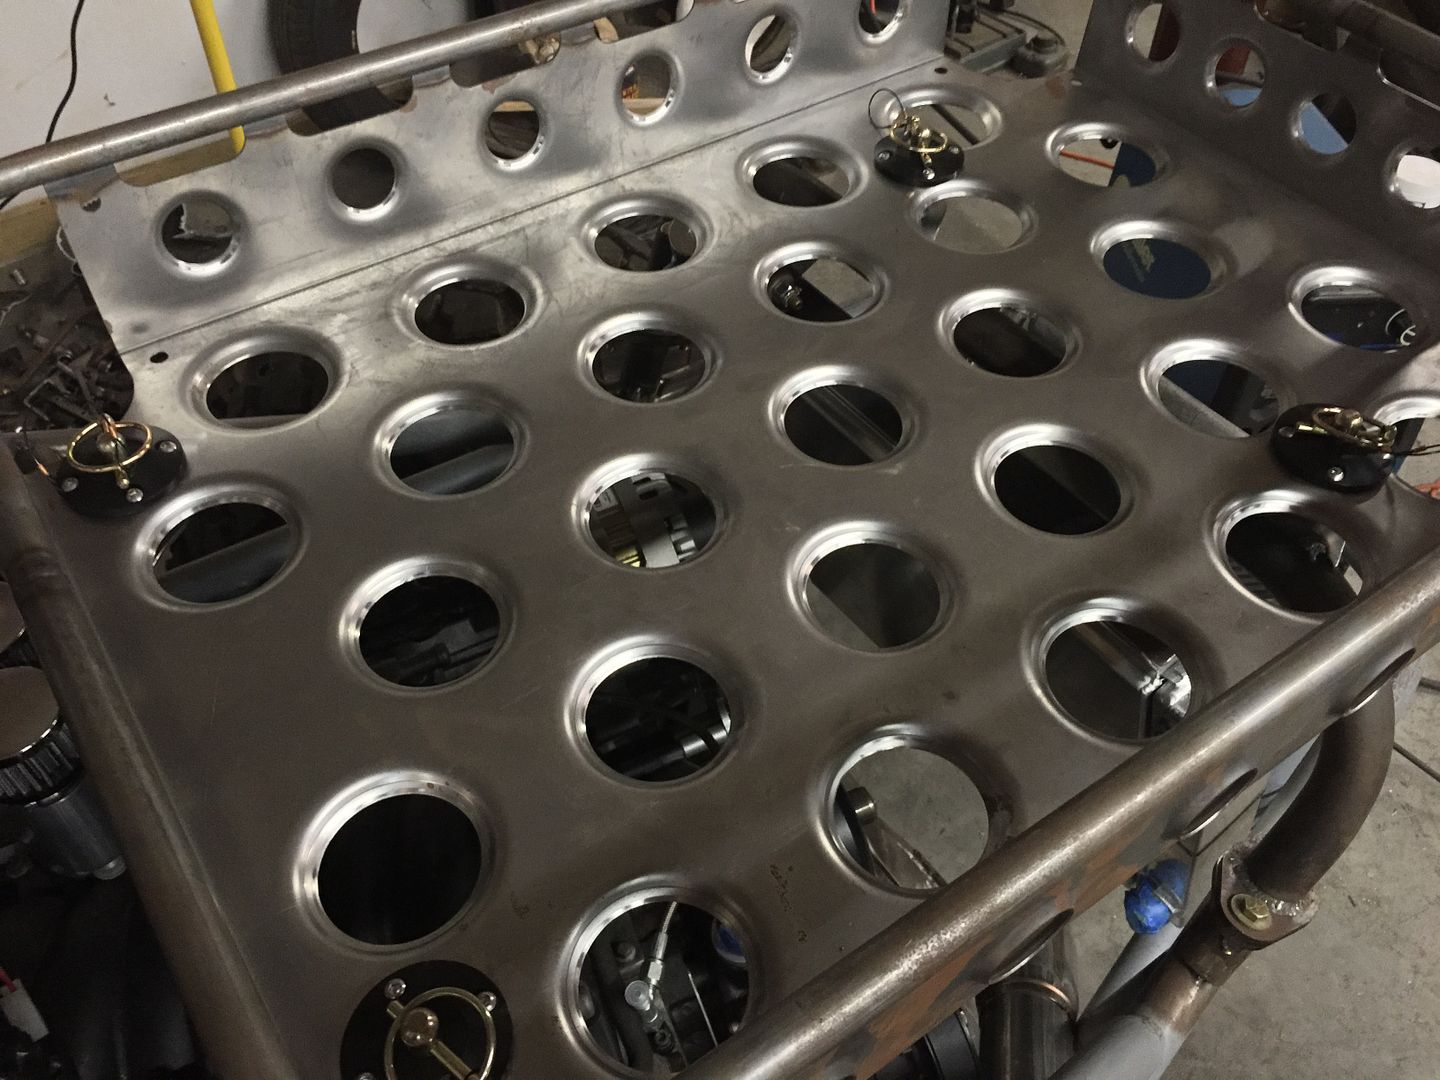
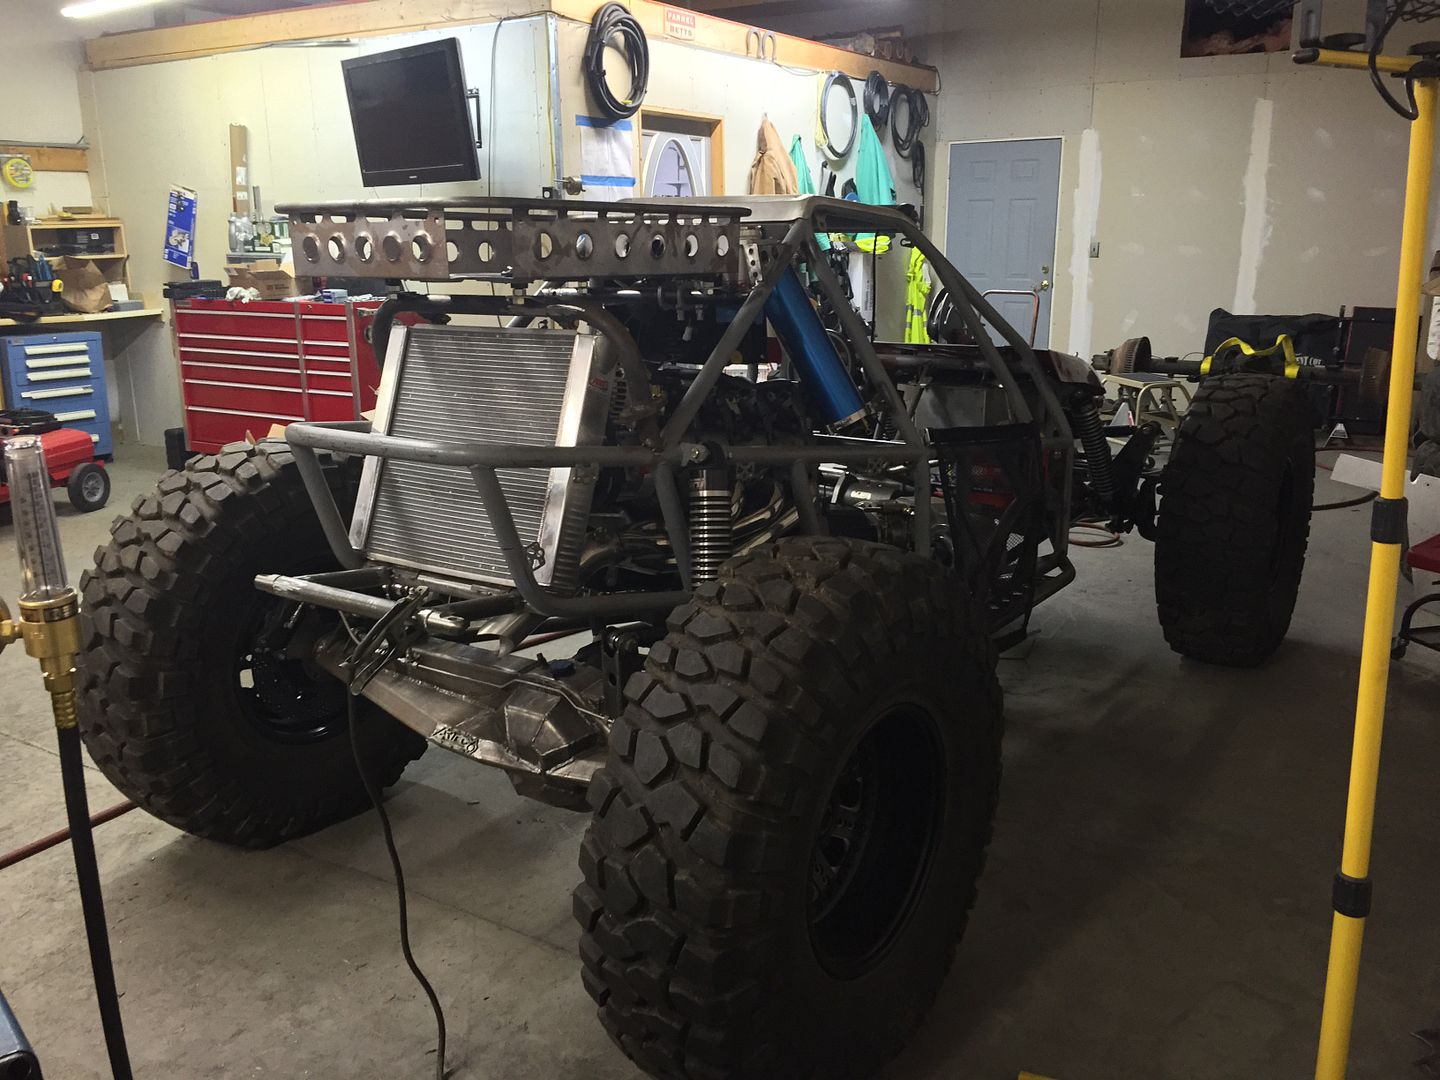
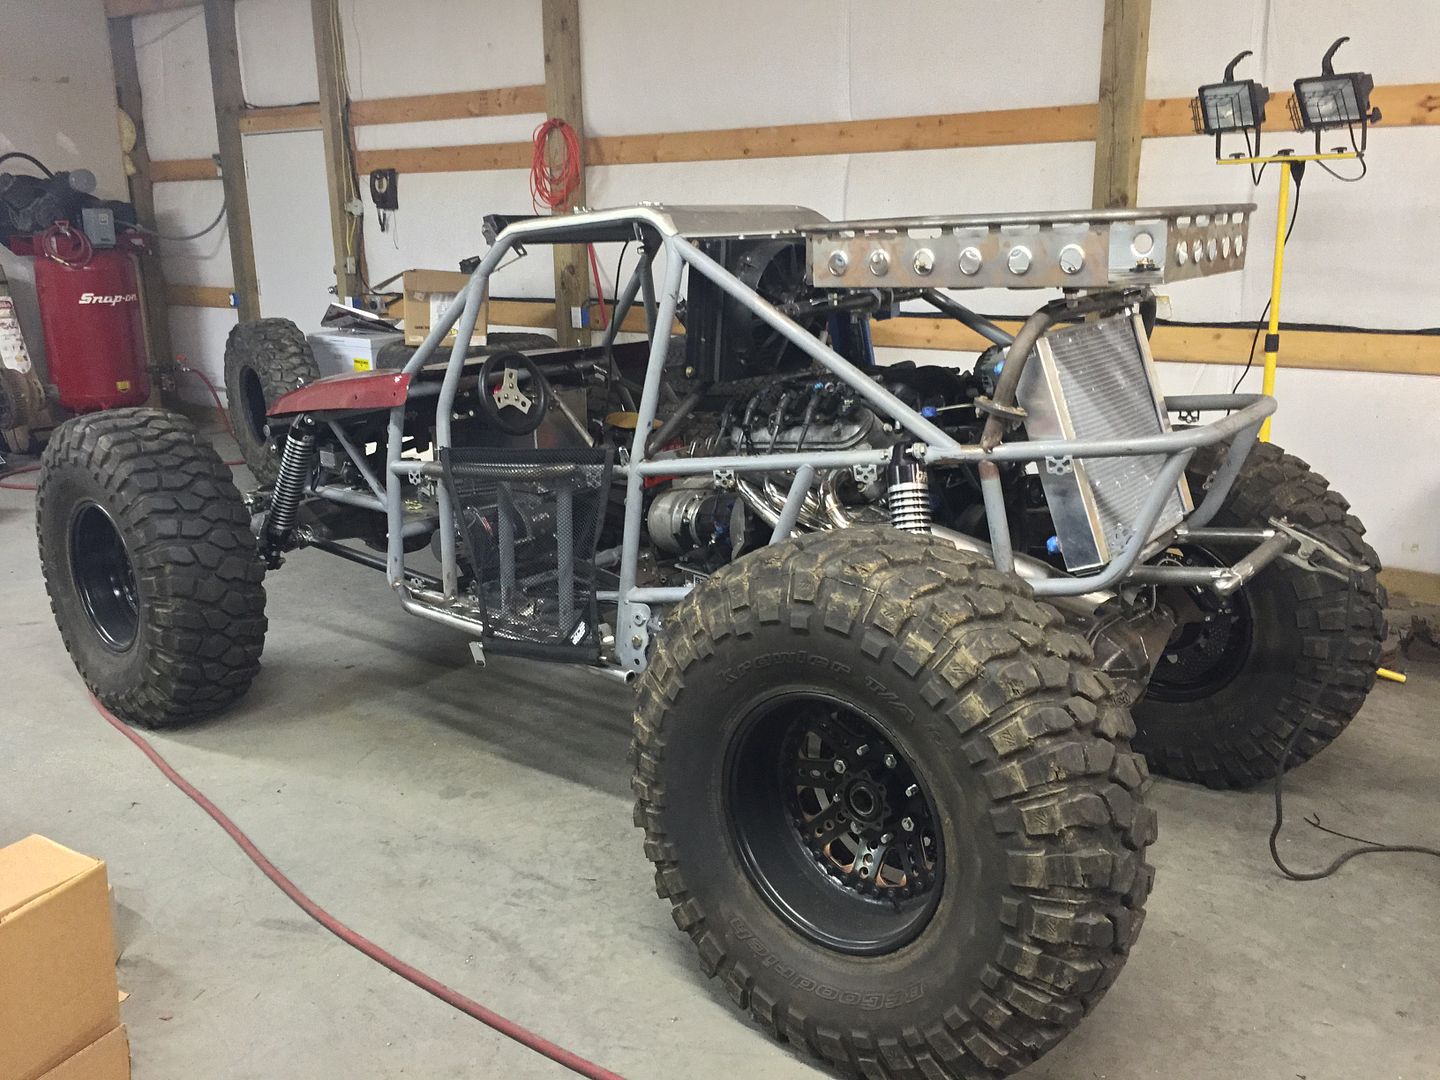
I kinda wish it didn't sit quite so high, but I think it still looks ok and will serve the purpose. It took me way too long just to mount this thing. I fought with it forever trying to get it lined up perfect, but with this style chassis hardly nothing is square from side to side. Even the c-pillars are at slightly different angles and lengths because the belt rail on the chassis from the b-pillar back is angled in more on the left side than the right. I finally just eyeballed it from every angle until I thought it looked good, said screw it, and welded it.

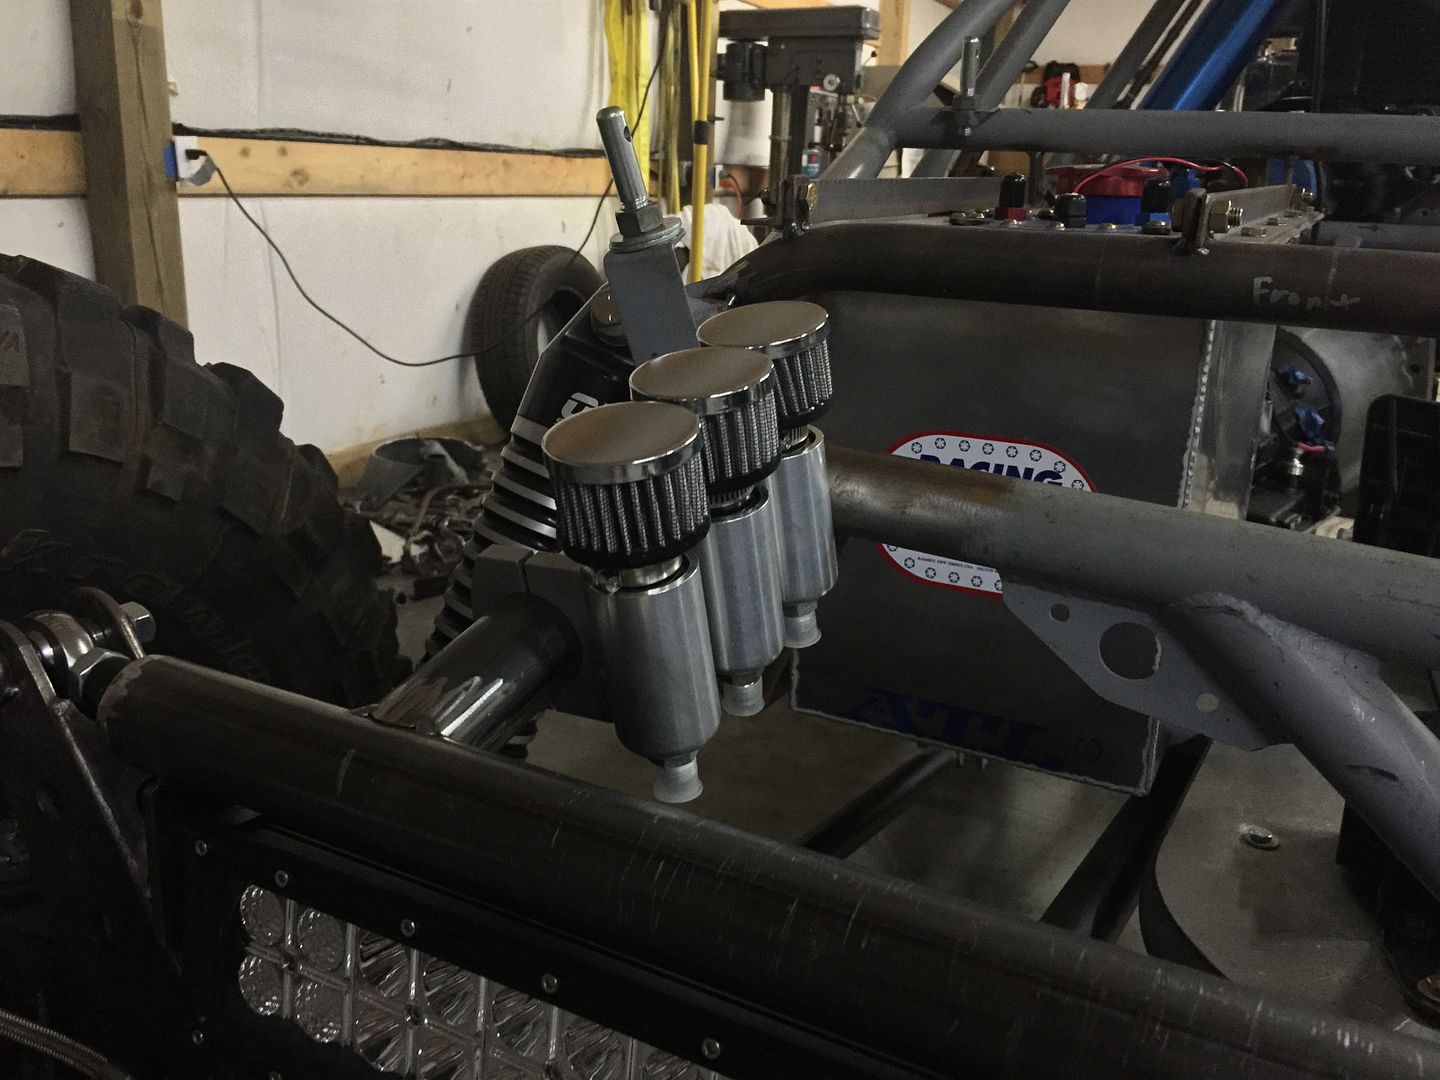
After I messed with all that for most of the day. The only other thing I got accomplished was finding a place for and mounting all my vent/ rollover catch cans. The smaller ones with the breather on top are PSC catch cans with a ball bearing rollover valve. The bigger ones are just normal overflow tanks that have the vent straw that extends up to the top of the can.

These three will be the front axle, transmission, and transfer case.


These two will be the rear axle and the steering reservoir.


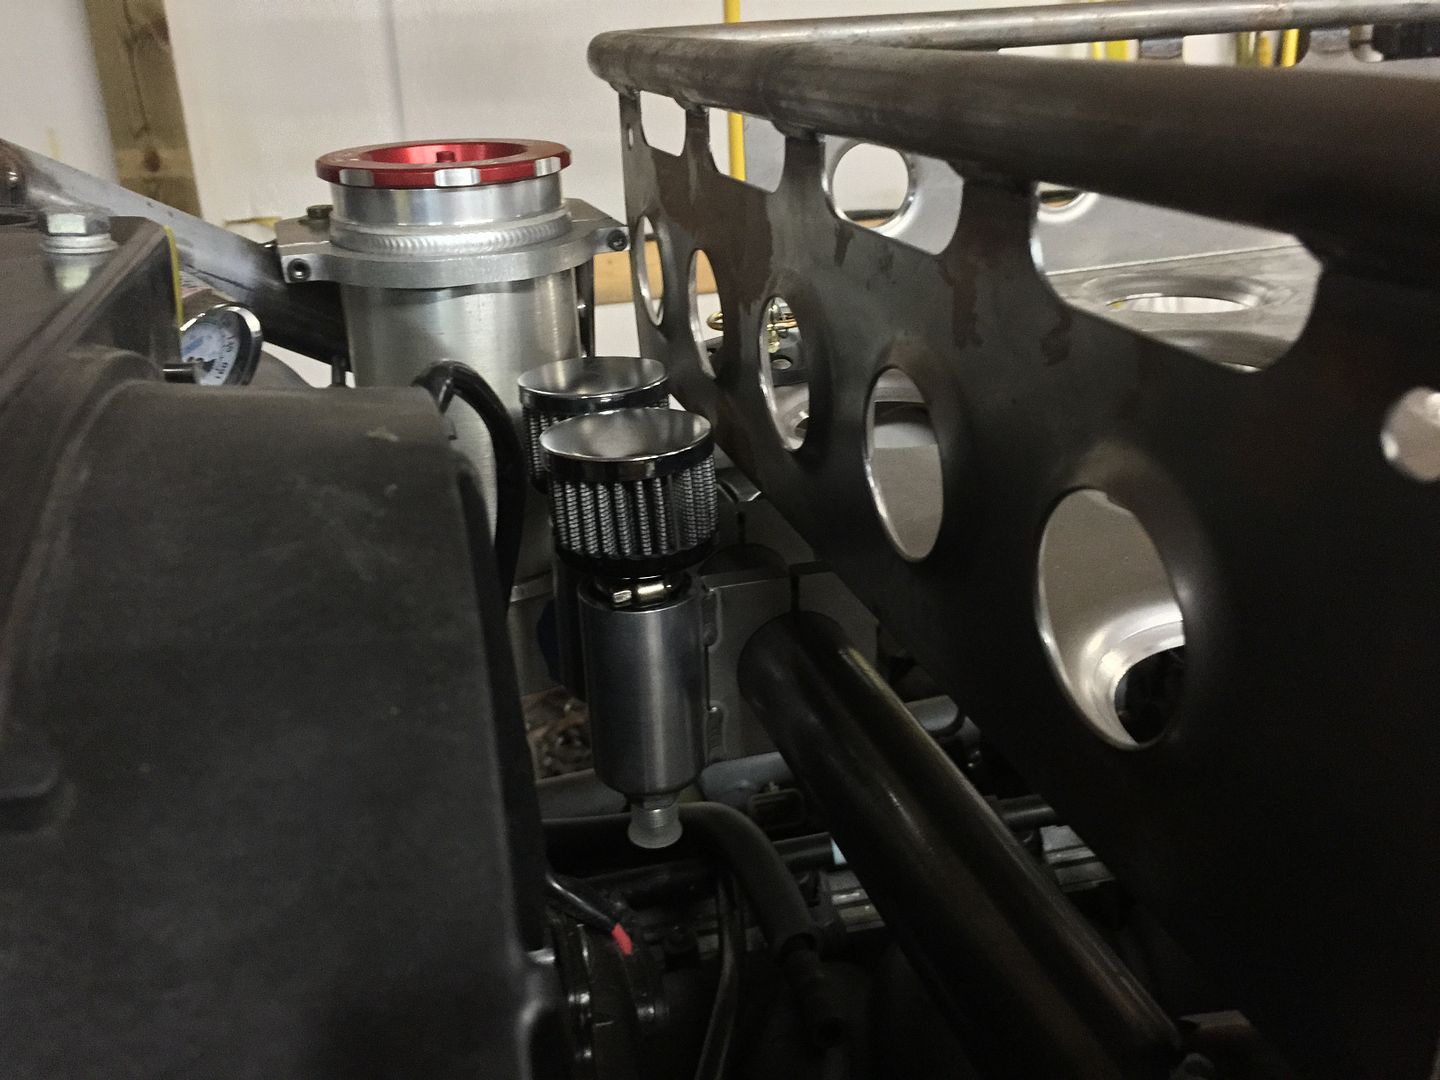
This one will be the PCV catch can to hopefully keep oil out of the intake. The two valve cover ports will be tee'd together and tied to the inlet of the tank, and then the vent straw will go back to the nipple on the intake.


And this one will be the radiator overflow tank.

 
I haven't had a lot of time in the garage over the last couple weeks, but I've piddled around a got a little bit done when I've had the chance.

The more I looked at the tubing I had added for the interior panels the less I liked it. So I cut it all out and will start over on that. When I originally did it I wasn't thinking ahead and just threw it in there. But I realized that if I didn't make it removable that the only way I could ever pull the tranny or t-case would be to pull the whole drivetrain. So when I re-do it I'll use tube couplers so it can be removed and the tranny or t-case can be pulled from the inside.

I worked on mounting the ECU. This is a BinksFab ECU mount that I modified a little bit to work for me. I added the three bolts on the top to mount my TAC module to, and changed up the mounting bracket a little bit. I just plugged the wiring harness up to make sure everything was going to reach.


I also got the intake sorted out. Just waiting on the filter to show up. The filter I originally ordered was too long so I had to order a smaller one. I just used a 4" short radius 90 and cut each leg as short as I could. The filter will go right on the end of the MAF. I know that's not ideal for the reading, but it will have to work.


After seeing JohnG's post about the Race Mirrors I decided I had to have a pair myself.


One of the next jobs I'm going to try to tackle is setting up the 3rd members. I've never done gears before, but I've been doing a lot of reading and watched a lot of YouTube videos and I'm pretty confident that I can do it myself.

After that's done it will be time to turn this pile of stuff into some driveshafts.

 
Thanks guys. I know it don't look like much, but at least it's things I can mark off the list.

Making a to-do list and sticking it on the wall in the shop has actually helped quite a bit. It's a huge list, but at least it feels like I've accomplished something when I can check it off the list.
 
Awesome rig if I haven't said it already. I feel like that luggage rack might be a bit high though. Anything in it will be above your roof line and first to hit when you roll. I realize you'r trying to fit 50 lbs of **** in a 2 lbs bag though. You've done an awesome job so far. My rig has most of the same **** in the chassis but is probably double the size.
 
Top