• Help Support Hardline Crawlers :

Axle-Snappin'/Dirt Nappin' ....

zukkev

Cornfuzzled yet again...
Joined
Feb 23, 2007
Messages
14,290
Location
Da Ham, Wa
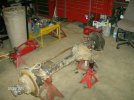
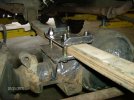
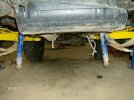
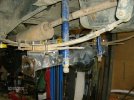
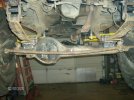
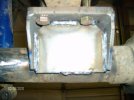
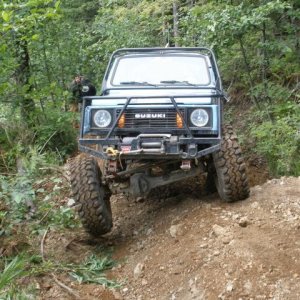
So, with having wheeled with unclestripey a few times now, his rig seems to eat front axles for lunch, then take a dirt nap or two right after!!!:redneck: Needless to say he was gettin' pretty bummed about having to tear his rig down between runs....oh, and he also depleted my backstock in front sami birfs!!!:haha:
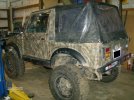
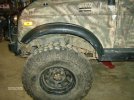
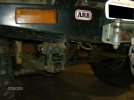
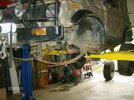
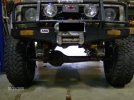
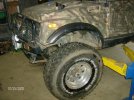
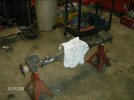
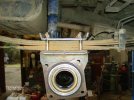
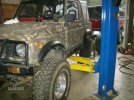
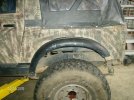
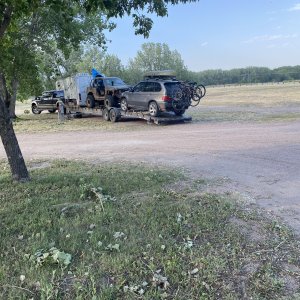
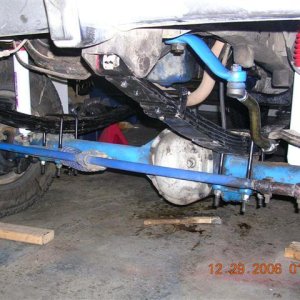
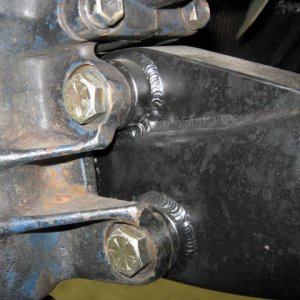
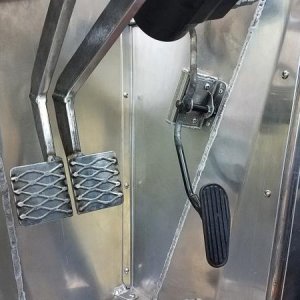
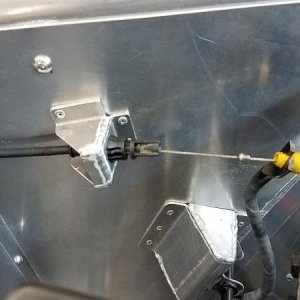
After a couple weeks talkin' back and forth, it was time to bring Dirt Napper2 up for a much needed axle upgrade, along with some other minor changes/repairs:awesomework:...Pics to come Unc:stirpot:...

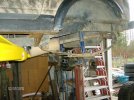
EDIT: (having trouble loading pics)...will have to work on that later Unc:stirpot:...into to the shop I go:haha:...
 
Last edited:
I'm tryin' to get 'em in a format that I can type stuff along the way (can't do that under 'manage attachments' and the pics won't download into my gallery on here!:mad:<---(CRASH, HELP!!!), but I don't want to use pbucket if I can help it---very slow imo!!! Oh well, may have to resort to that...sorry guys!!! NOT!!!It's actually kinda fun messin' with Unc!:haha: I'll get 'em up one way or the other today guys, promise!!!:redneck:
 
Last edited:
Ok these first pics are from the day it came in the shop...note the dropout shackles...those are going away! (well, part of 'em!):cheer: Also getting upgraded is the steering!:yikes:
First thing---remove the old axle...
 

Attachments

  • HPIM3789.jpg
    HPIM3789.jpg
    56.9 KB · Views: 742
  • HPIM3791.jpg
    HPIM3791.jpg
    56.3 KB · Views: 745
  • HPIM3792.jpg
    HPIM3792.jpg
    34.6 KB · Views: 753
  • HPIM3804.jpg
    HPIM3804.jpg
    57 KB · Views: 752
  • HPIM3806.jpg
    HPIM3806.jpg
    59.9 KB · Views: 747
Next series...getting the front shackle mounts redone (moved forward 1.5" to compensate for the rears up front without the dropout shackles!), and axle ready for install using the sandwich plate mounting setup similar to mine...it's worked for me very well...still some cleanup/bracing to do to the plates (pics coming later on that.), but the axle's in there!!!:cheer: Last couple pics are of its new front stance with the 35's on it!!!:cool: Don't worry, we'll be straightening the TR, and bracing it with angle iron!:redneck:
J/K!!!:haha:
attachment.php
 

Attachments

  • HPIM3820.jpg
    HPIM3820.jpg
    47.4 KB · Views: 729
  • HPIM3823.jpg
    HPIM3823.jpg
    46.2 KB · Views: 727
  • HPIM3825.jpg
    HPIM3825.jpg
    49.7 KB · Views: 730
  • HPIM3830.jpg
    HPIM3830.jpg
    46.2 KB · Views: 734
  • HPIM3827.jpg
    HPIM3827.jpg
    54 KB · Views: 726
This series...getting the old rear axle out. Prepping the replacement for install, again using the sandwich plate setup...and getting it in...again/cleanup/bracing on the perches need done......:awesomework:
 

Attachments

  • HPIM3835.jpg
    HPIM3835.jpg
    47.3 KB · Views: 384
  • HPIM3837.jpg
    HPIM3837.jpg
    38.5 KB · Views: 381
  • HPIM3840.jpg
    HPIM3840.jpg
    58 KB · Views: 389
  • HPIM3842.jpg
    HPIM3842.jpg
    54.2 KB · Views: 385
  • HPIM3843.jpg
    HPIM3843.jpg
    51.6 KB · Views: 397
Last is a couple mockup shots of what overall stance should look like...and the perch bracing:awesomework::cool:
 

Attachments

  • HPIM3845.jpg
    HPIM3845.jpg
    57.7 KB · Views: 380
  • HPIM3846.jpg
    HPIM3846.jpg
    54.5 KB · Views: 380
  • HPIM3853.jpg
    HPIM3853.jpg
    50.1 KB · Views: 385
  • HPIM3850.jpg
    HPIM3850.jpg
    34.8 KB · Views: 384
  • HPIM3849.jpg
    HPIM3849.jpg
    30.9 KB · Views: 386
WOOT!!
Right on man, my----how it's grown......Can't wait fer the next installment!
Lemme know if you need anything, I'll get it right up there.....ever hear from Jayson? It's lookin Great! :awesomework::awesomework::cheer::beer::masturbanana[1]::cool:
 
WOOT!!
Right on man, my----how it's grown......Can't wait fer the next installment!
Lemme know if you need anything, I'll get it right up there.....ever hear from Jayson? It's lookin Great! :awesomework::awesomework::cheer::beer::masturbanana[1]::cool:

Thanks!:beer: It looks taller in the pics than it actually is...but I'll tell ya, it will be soooo much more stable with the dropouts gone, and the stance widened abit...:cool::cool:
I haven't heard from Jayson yet, but did pick up the spool for the rear today!:cheer: Gonna get the spool installed tonight, and the 3rd member in...hopefully pull the front end down for resealing, inspection, and lockrite install (pending condition of the front 3rd)...
Still need to address the shocks (speaking of which, need to come up with something for the front, and maybe the rear...)...brakes, steering, and driveline(s)...have another pm to that guy who had a few for sale, waiting to hear back...Until then...:beer::beer:
 
Like those front shocks do ya?:haha::haha::haha::haha:

I'm told that the double cardon driveshaft (yota front shaft) is to heavy for the sami case and will burn up the bearing on the output shaft........hmmmmmmmm...May have one tomorow, may not, we'll see.
 
Last edited:
Looks good :awesomework: Im getting ready to put yotas into a kia sportage with a 4.3 chev & was wondering how to get the spring over the diff a little mo. thanks for the fresh ideas :beer:
 
Top