NotSoPC
Well-Known Member
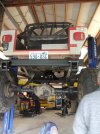
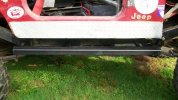
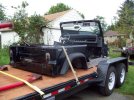
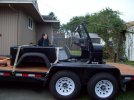
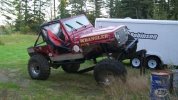
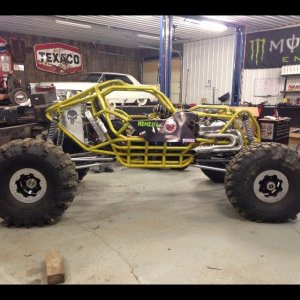
Damn that allot of bad welds and rust. Good job at saving another rig that could have hurt someone.
") And yeah, almost couldn't get him outta the seat this afternoon! (and not just because he's old :haha.....Sorry about the winch! :redneck:
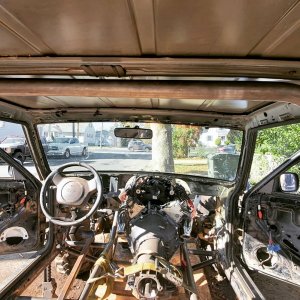
And yeah, almost couldn't get him outta the seat this afternoon! (and not just because he's old :haha.....Sorry about the winch! :redneck:The winch Kevin is talking about is the one is set in place in the shop to show fitment. However, we both forgot it was there. He made a couple of relatively high speed passes up and down the drive. He then started to drive again and the winch fell off. DUH!!!
Weeeeeeeee!!!!!!!!!!!!!!!.......BANG!..............Whooopsey! (it was when I stopped rather quickly when it slipped off....) :redneck:
Oh, and if anyone out there has a grey driver's side sunvisor for a YJ, please hit me up...I kinda fuggered up the one on the new tub with the tractor...:booo:
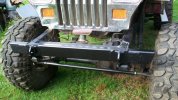
O well, it still works, I think! :redneck:...NEED those tires so I can get these puppies on! :cheer:Came down with a nasty cold/24hr flu thing this weekend---didn't get much done; but today, feeling a little better, I managed to get the bump stop mounting brackets cut/drilled...yup you guessed it, frame extensions are square tube! :redneck:
Pics coming tomorrow...