well i thought i would post this up here. got it on another small forum but thought you guys might like to check it out. cant wait to get it out on the trails. its a copy and paste job so the time related stuff might seam a bit out of wack.
now for the build that i just started. This is my plan that i have come up with after a ton of research on Pirate and other sites. I spent almost three months reading pirate's Toyota bible to get educated, a suggestion that was stressed by Nuff and Redeye.
my plans...
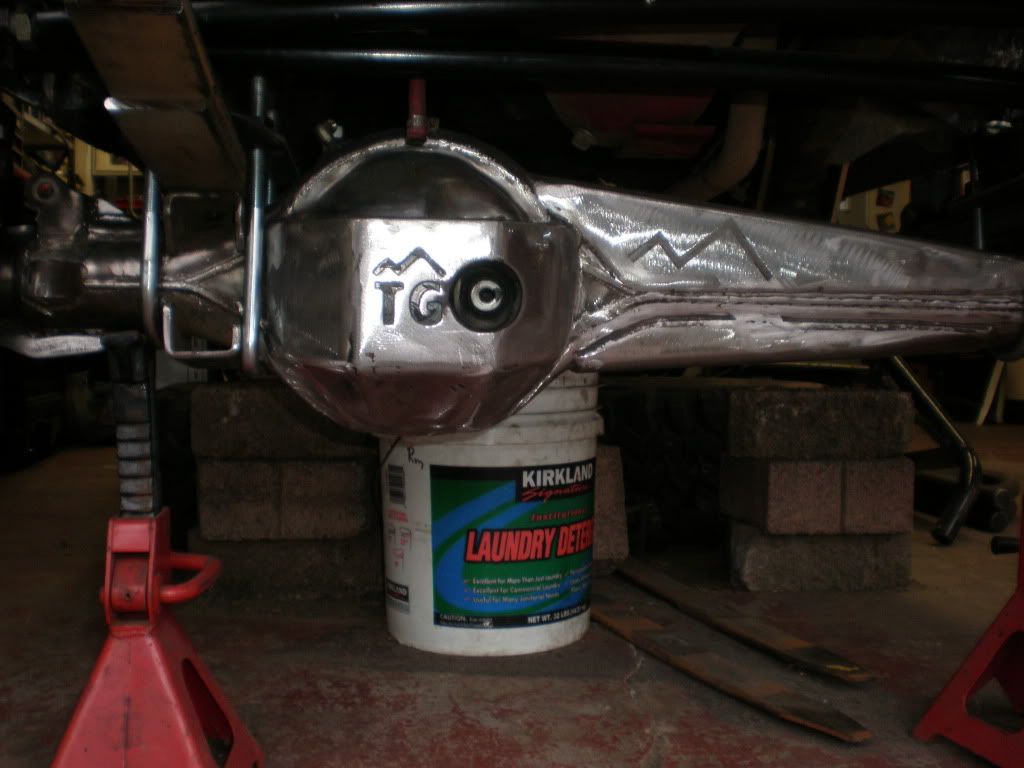
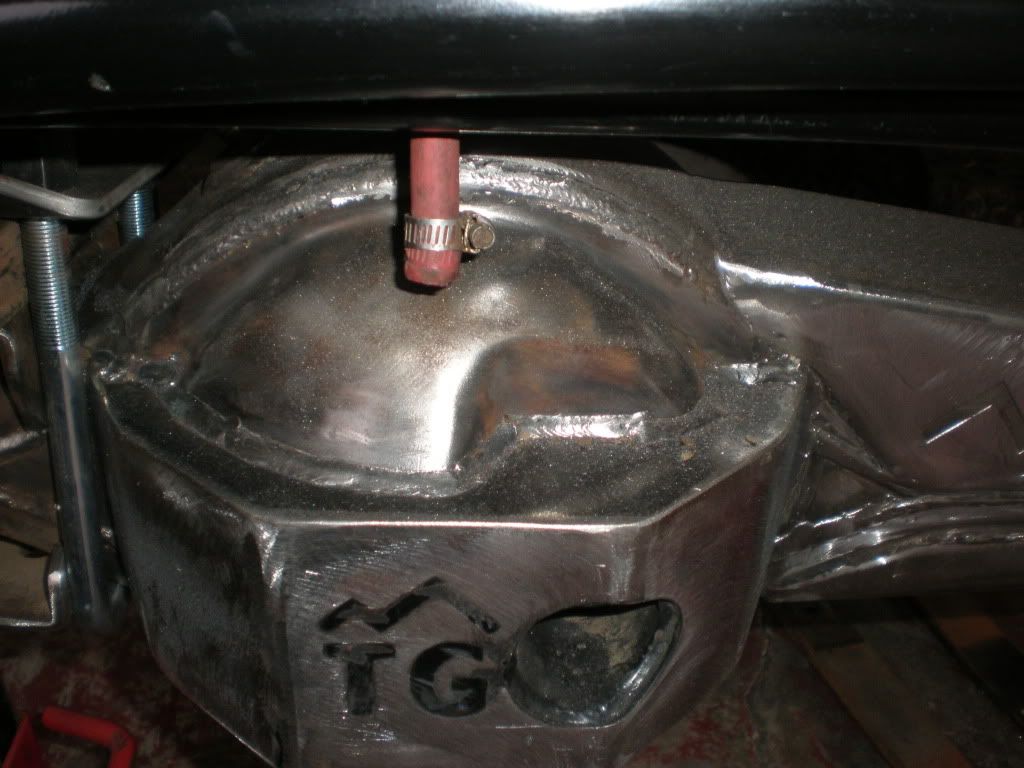
-RUF with a trail gear cross member modified to use the right bolt size for the Toyota springs
-high steer and POWER STEERING cant wait to have that, manual wheeling is getting old also going to shove the box as far forward as i feel comfortable.
-install a dual diaphragm brake booster and an 1 1/8 inch master cylinder from a 94 four runner with abs. with the full v-6 brakes i got now the pedal is too soft
-bilstien shocks up front with 12 in shock hoops
-gusset and flat bottom both axles
-5.29 gears time to learn how to do gears
-four link rear with fox air shock
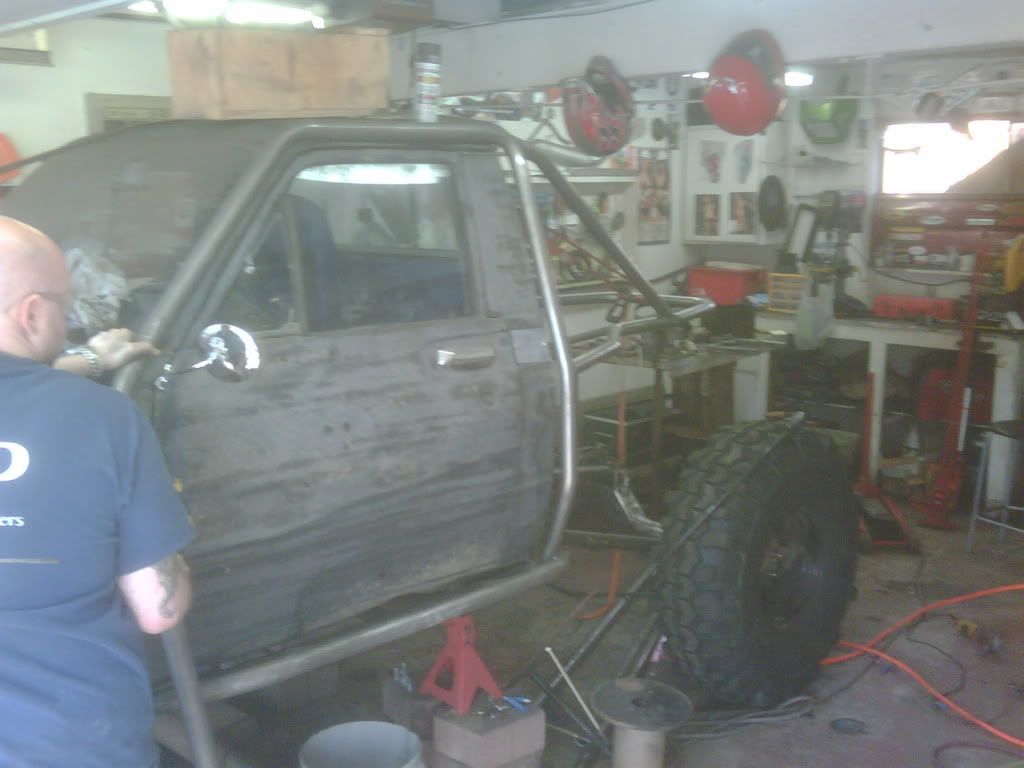
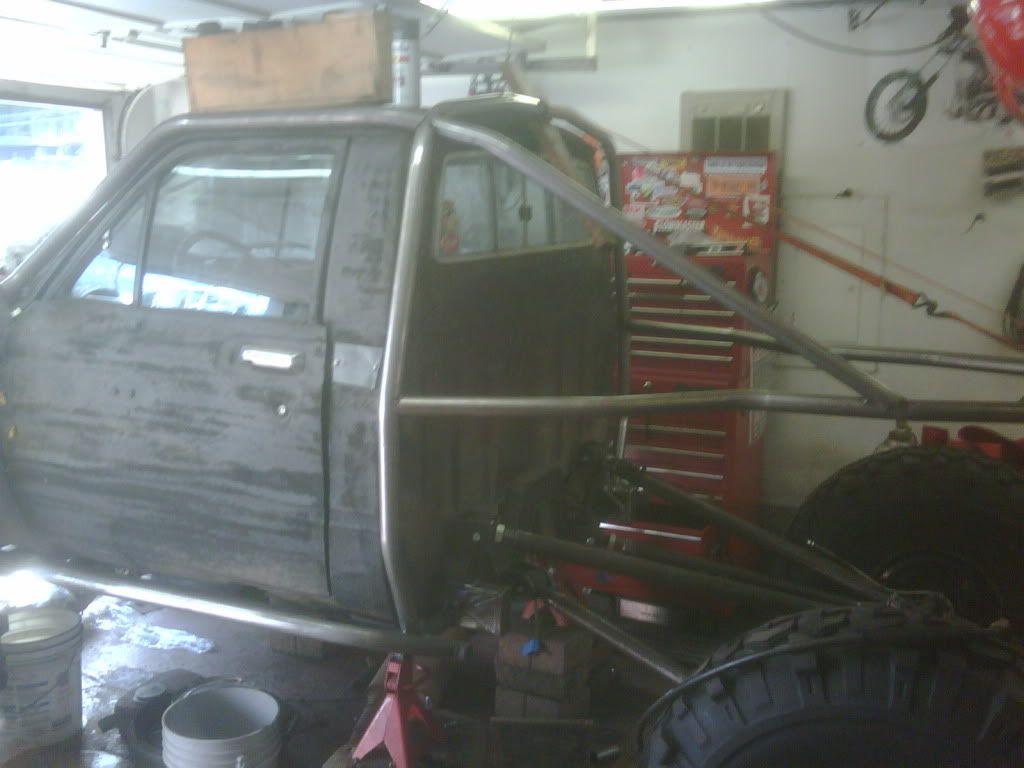
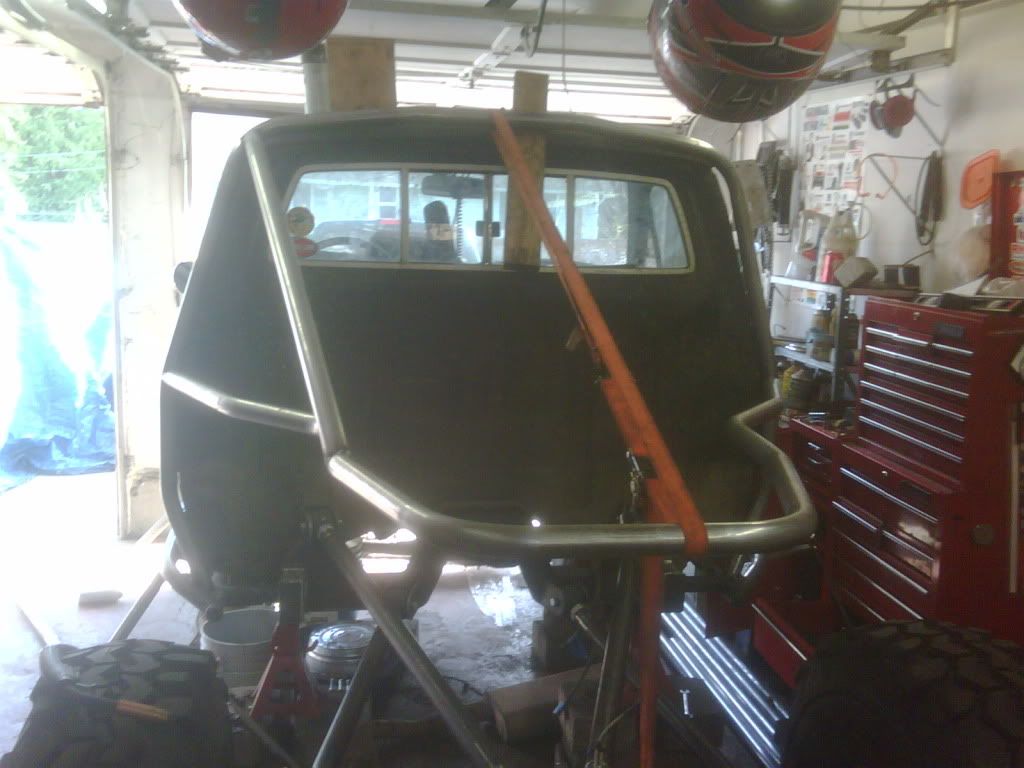
- back half the frame and do a full exo up front. got a great deal on 1 3/4 dom and hrew tube
- fuel cell
-center force clutch. i smoked the old one.
-pacesetter long tube header and get the exhaust routed in front of the rear tire, not blowing right onto the rear shock.
we will see what else there is in store for the truck but this is a lot to get done before the Core 4x4 challenge this spring. If i can there are a few other things i would like to do but we will have to see what money and time will permit.
-onboard air with either a york or stock toyota ac pump. have both right now just dont know what route i want to go
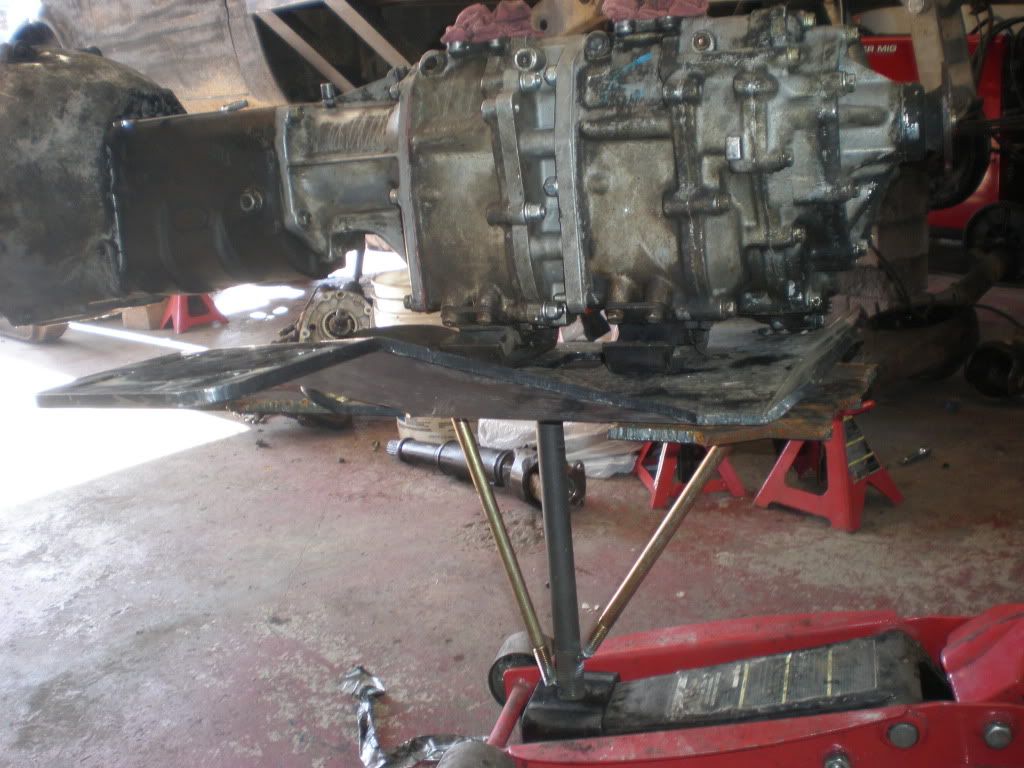
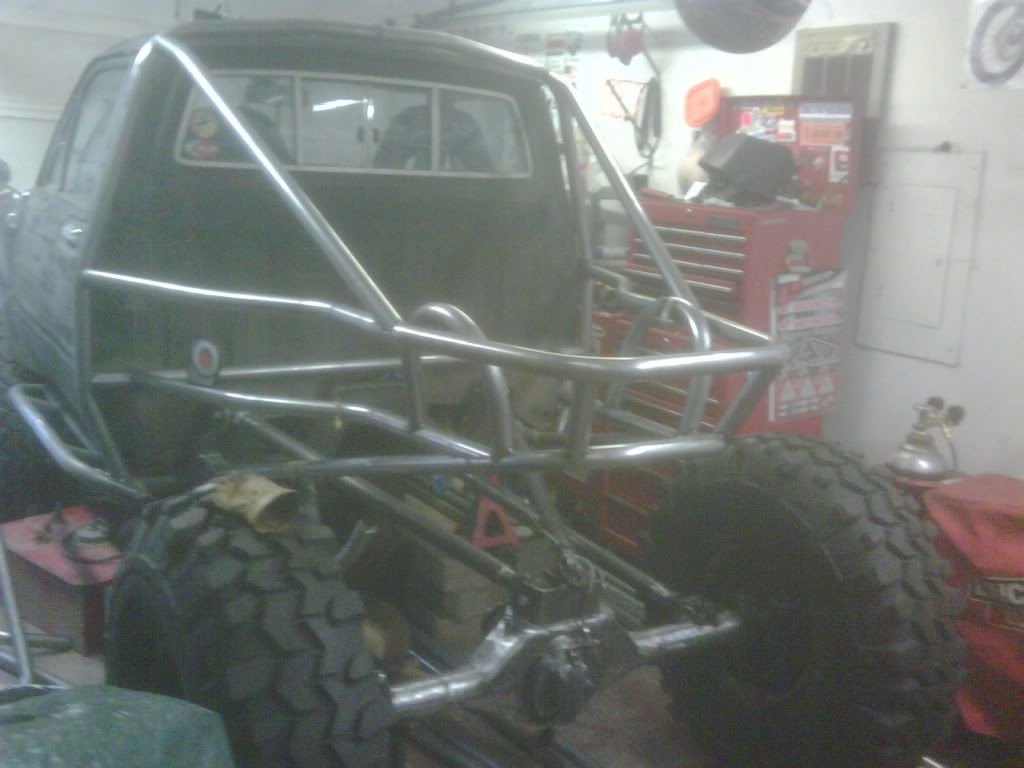
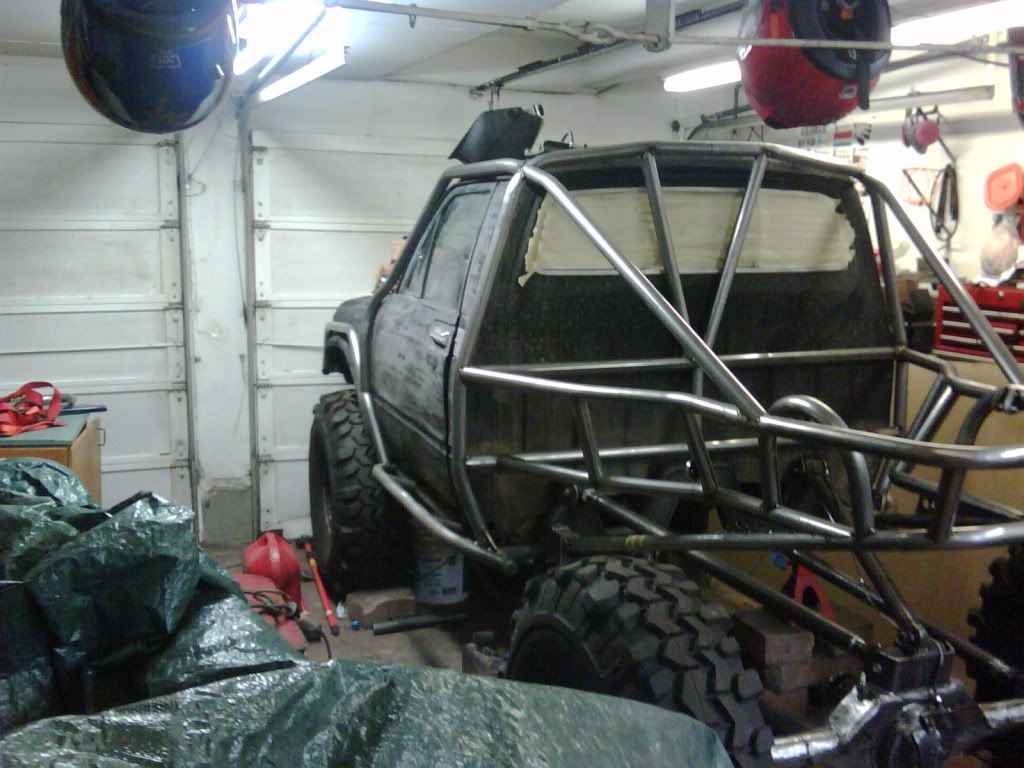
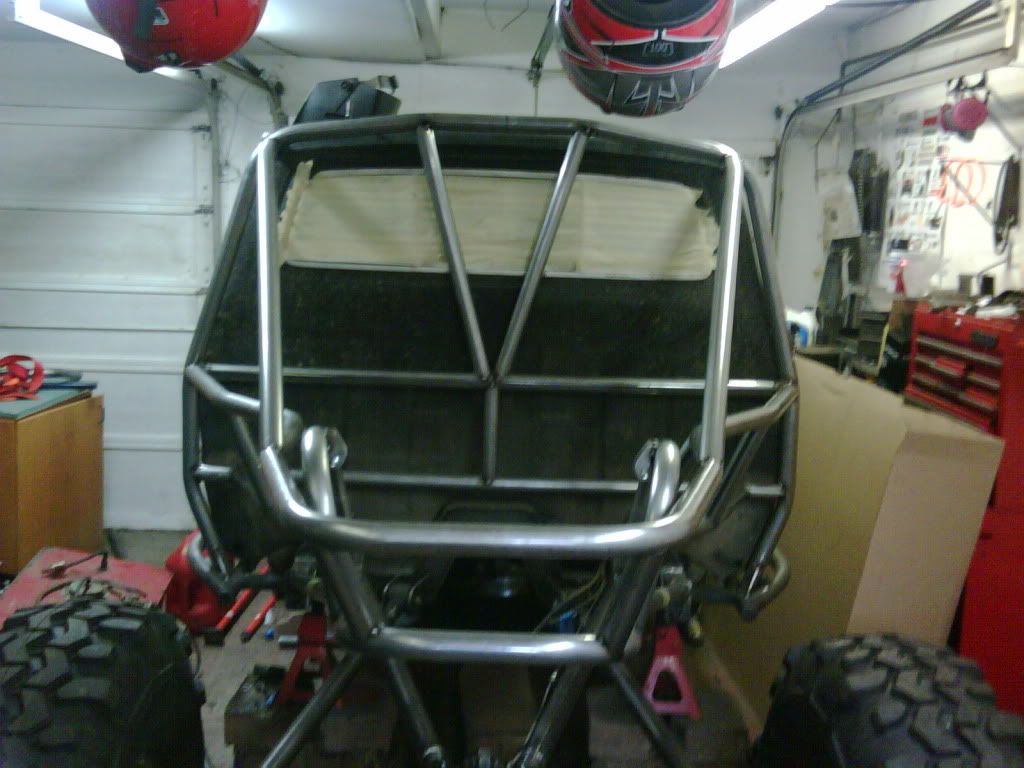
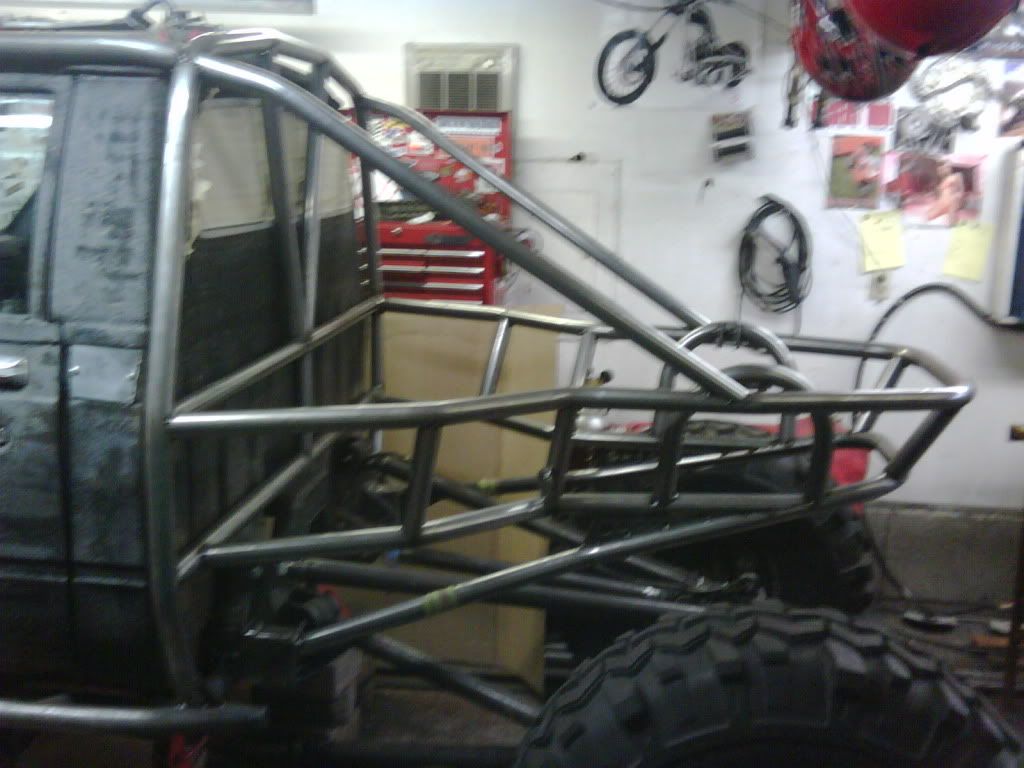
so here is what we have got going on so far
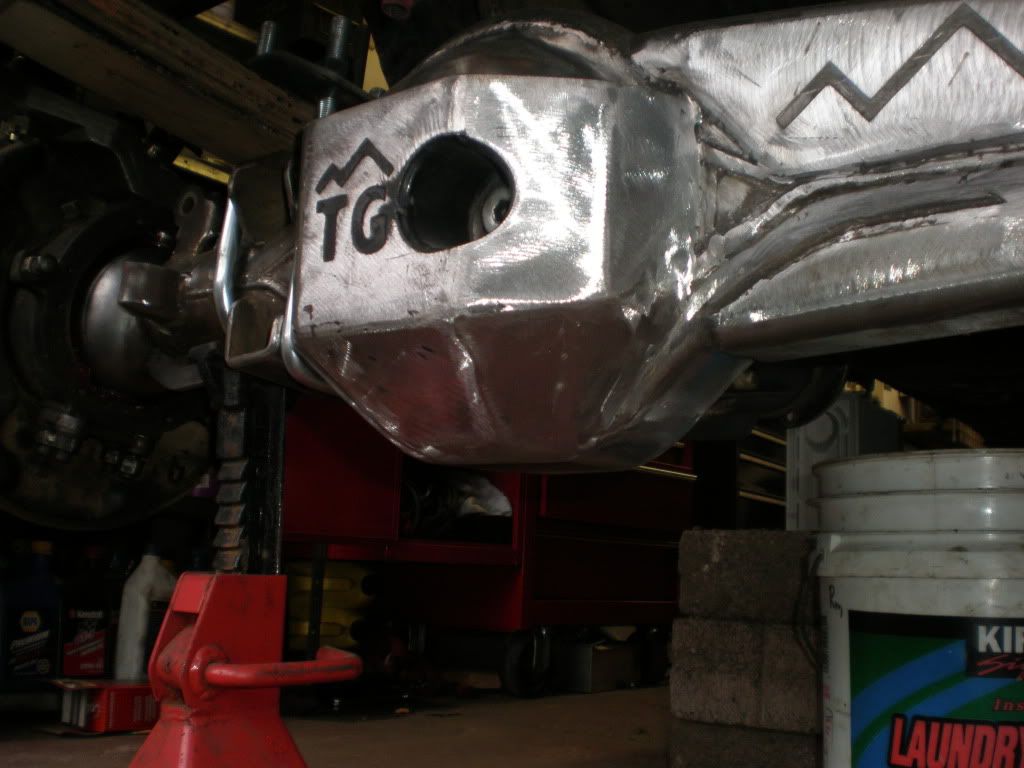
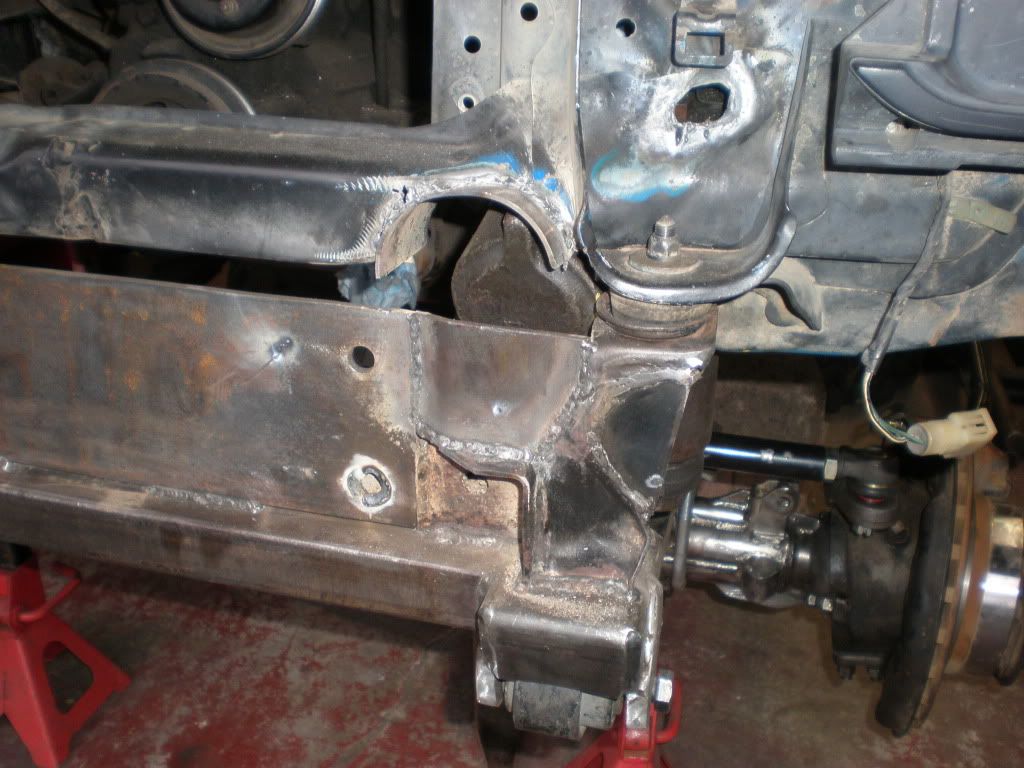
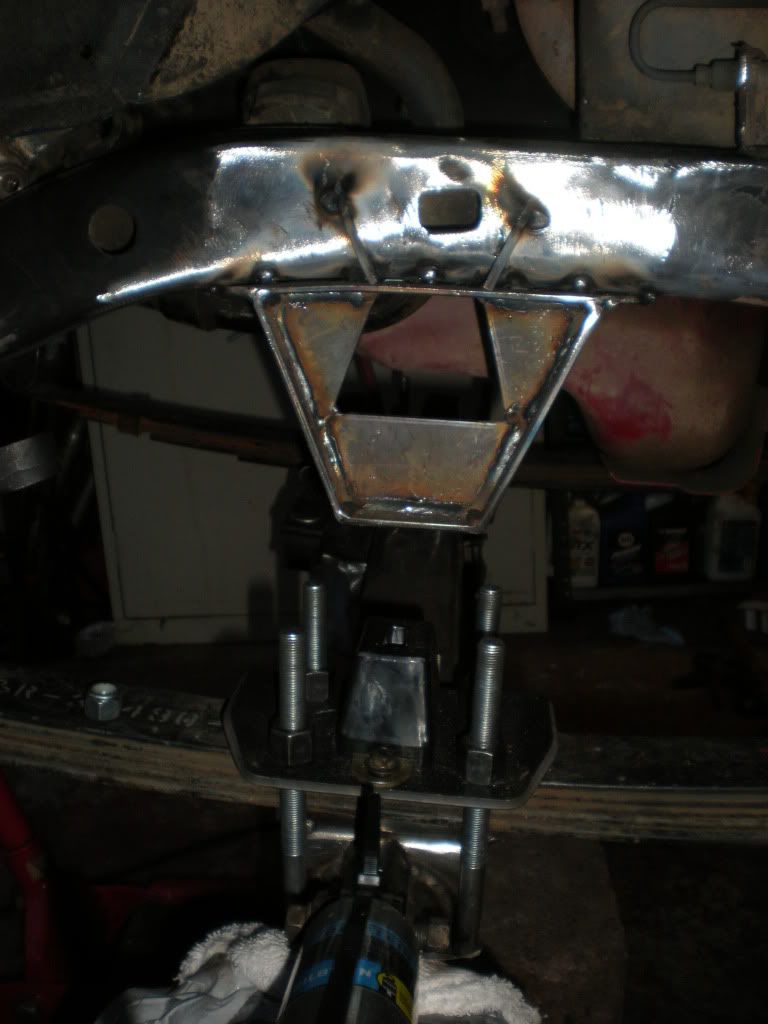
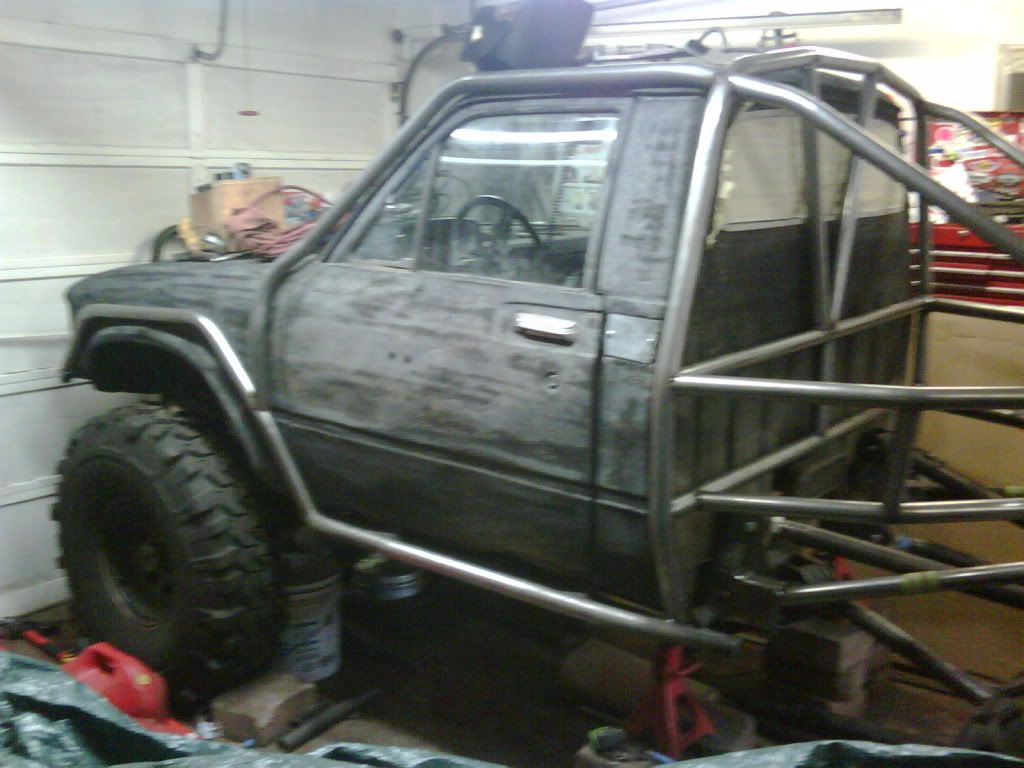
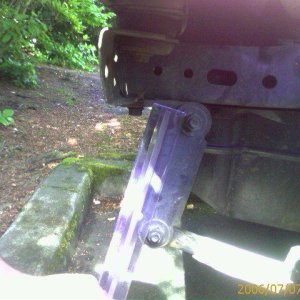
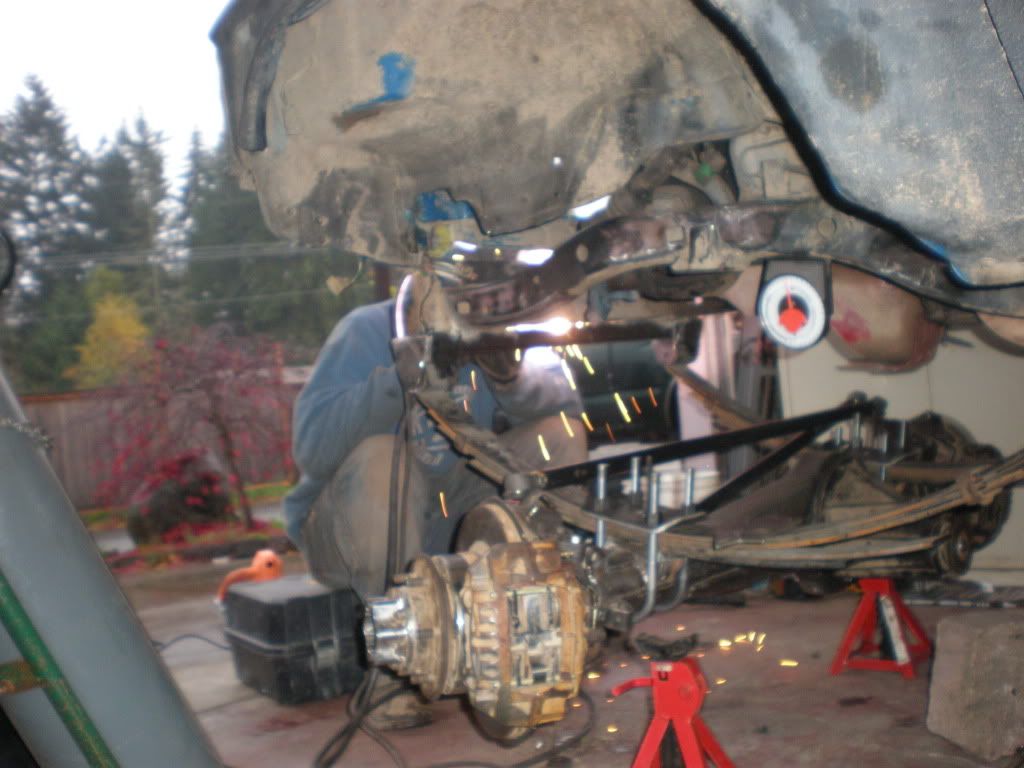
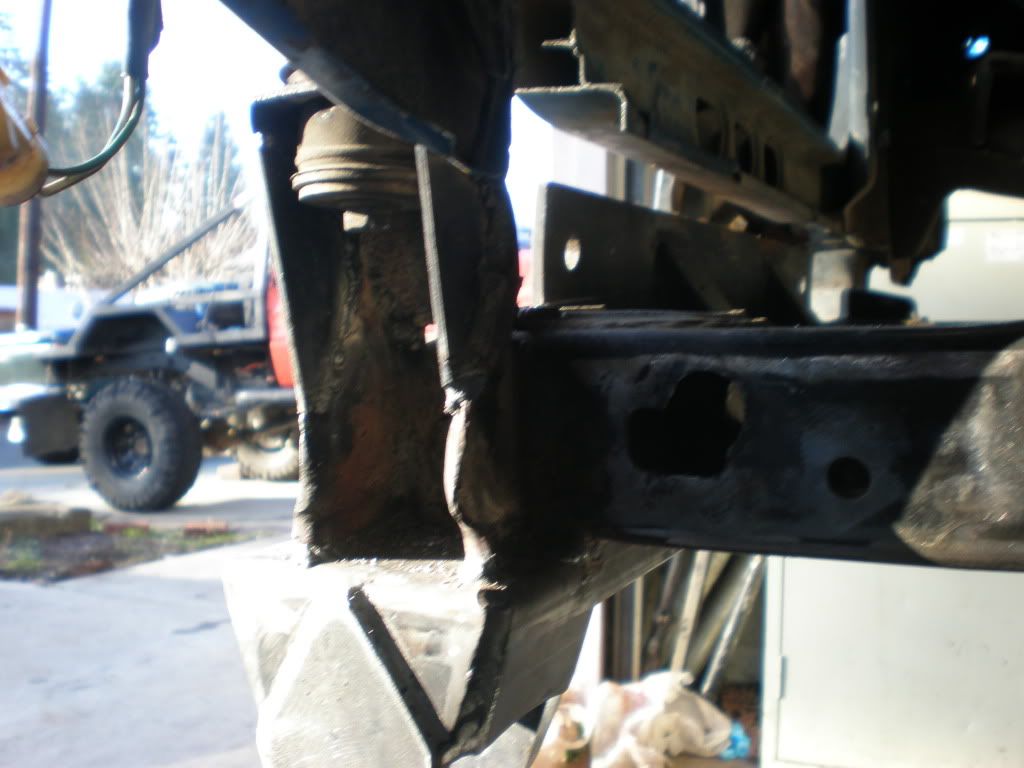
here i am welding the front cross member in place after we mocked it all up to make sure our steering geometry would work and the shackle angle would be decent.
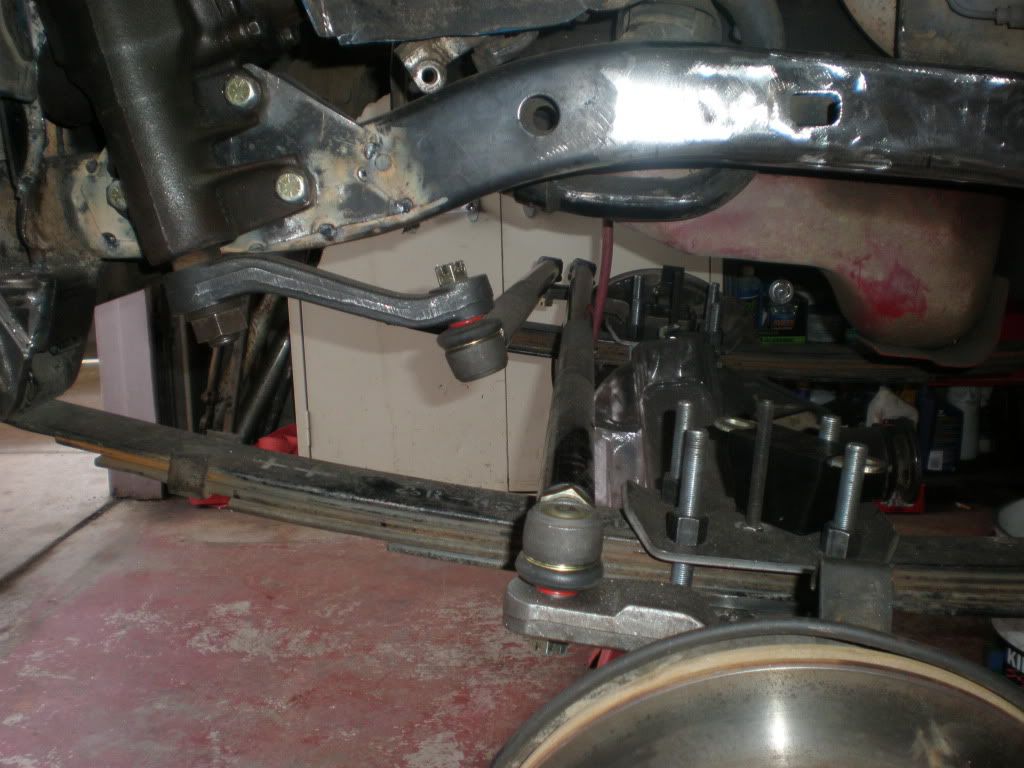
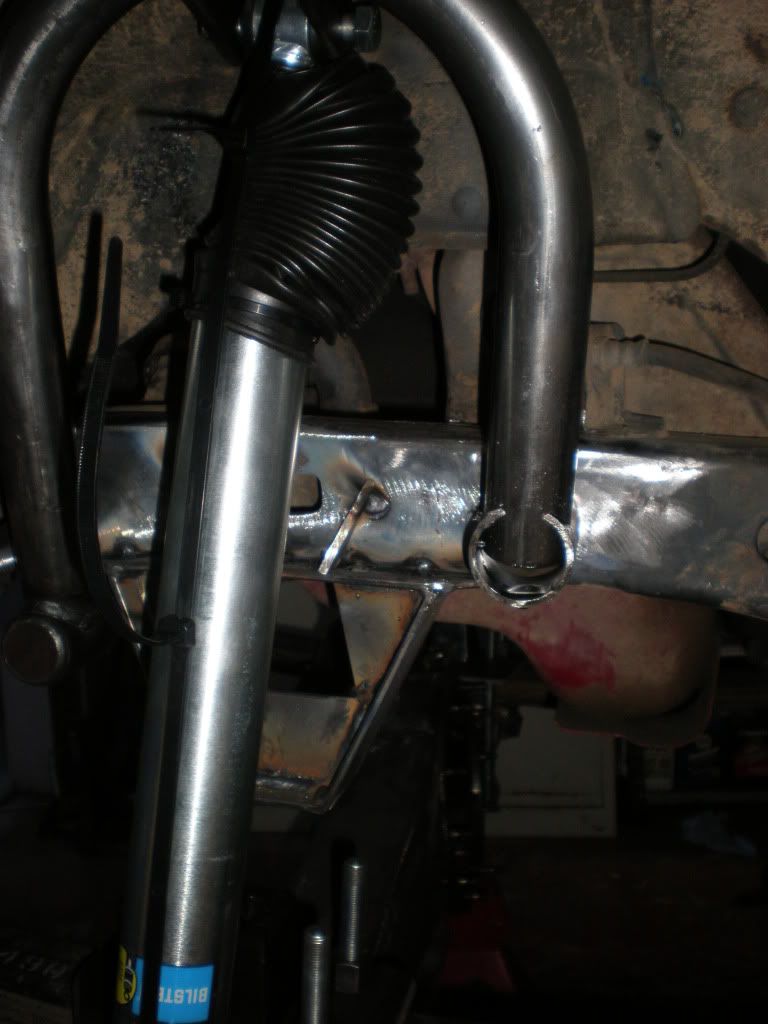
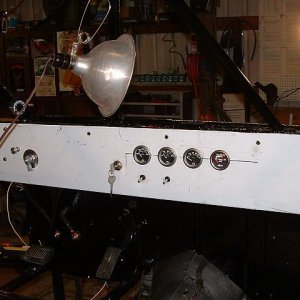
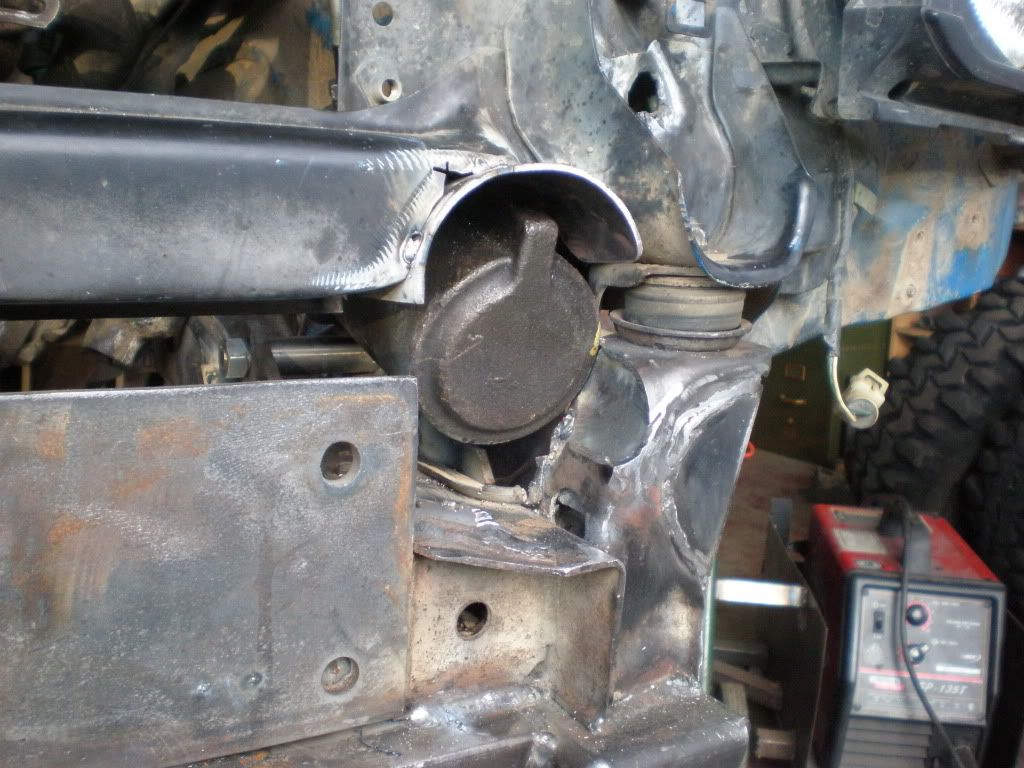
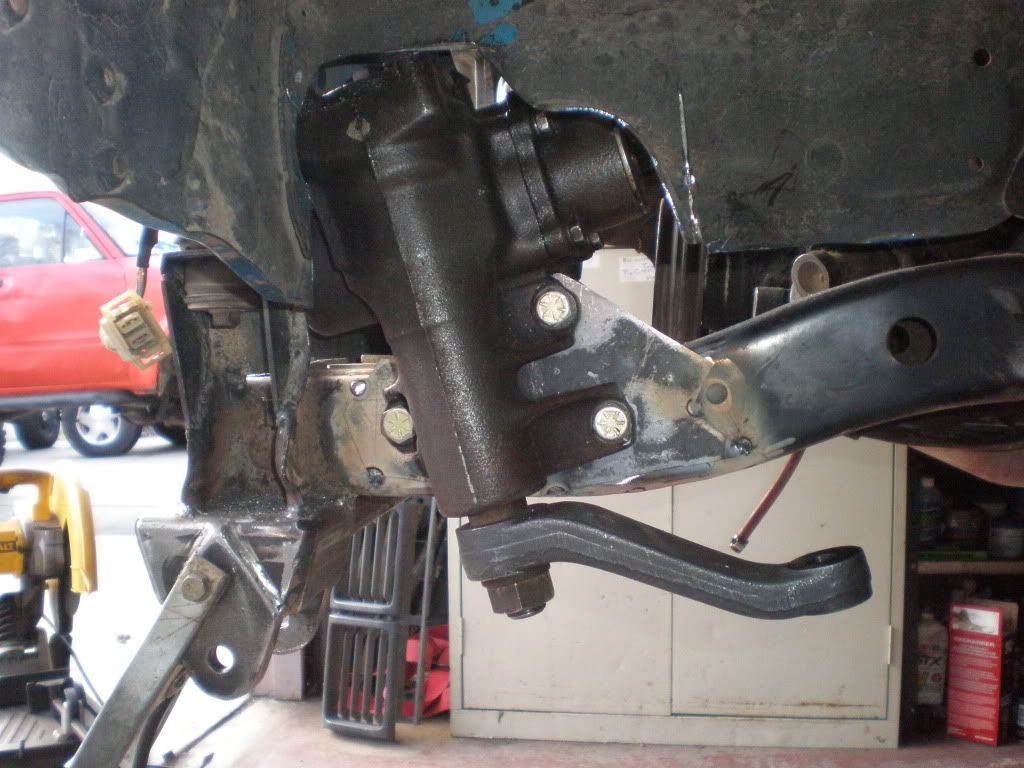
got the steering box all mounted and am working on strengthening up the body mount and the radiator core support that i had to hack into to get the steering box far enough forward. i still have some more work to do but it is coming along nicely. still have to get it all plumbed up but wanted to wait until i get all of the welding don in that area so i dont burn through a hose.
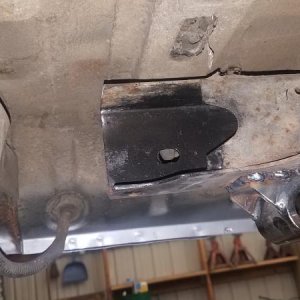
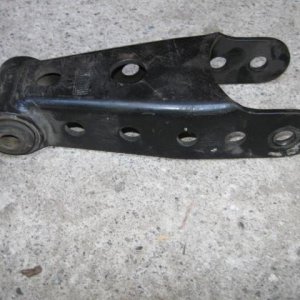
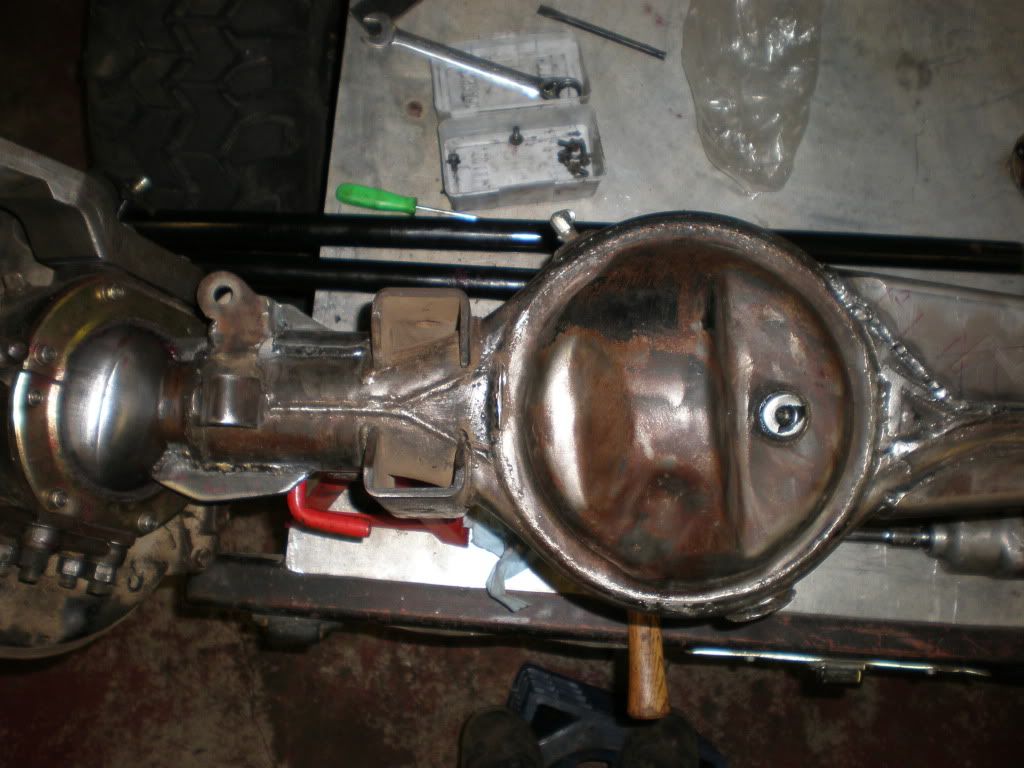
Also my buddy has been going to town on my front housing. I cant thank him enough for all of the time that he has spent on it. hear are some pictures of the progress and check out the dent that i was talking about earlier near the ring gear.

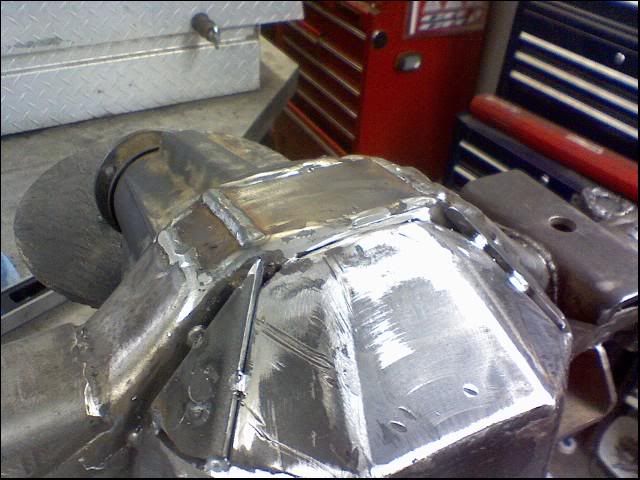
cut almost a full inch off the bottom of this *****
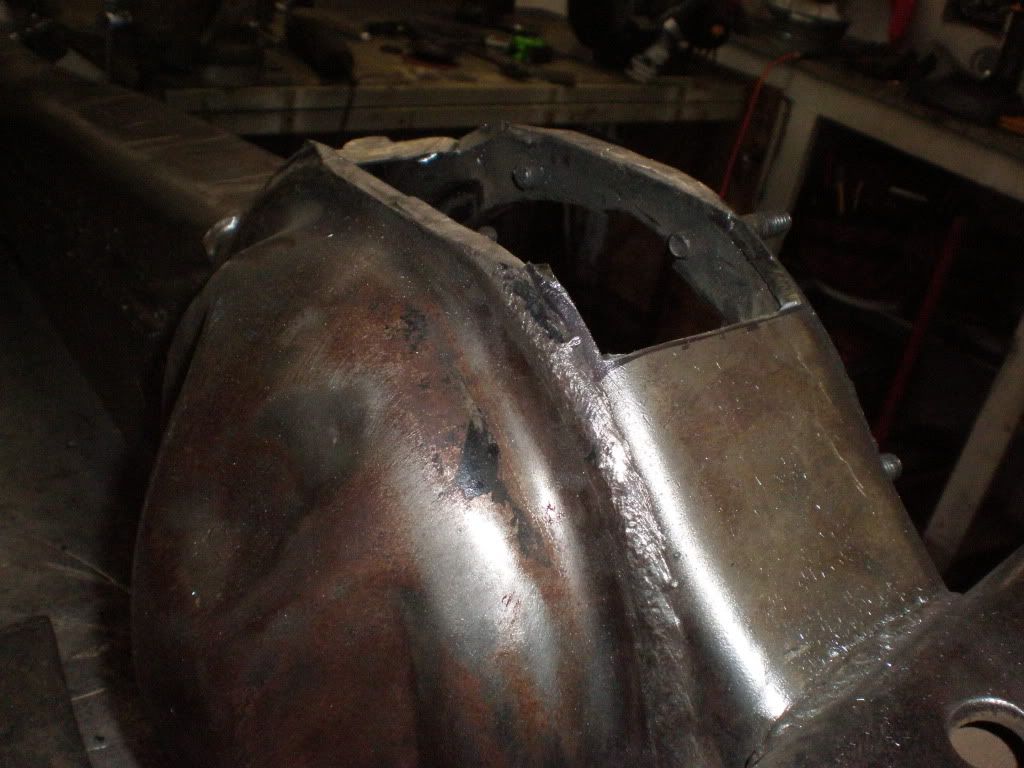
the bottom plate is made of T1 grade steel. that is the same stuff that they use to make the cutting edges of excavation equipment.(wow i cant spell) Its some hard **** and should take a real beating
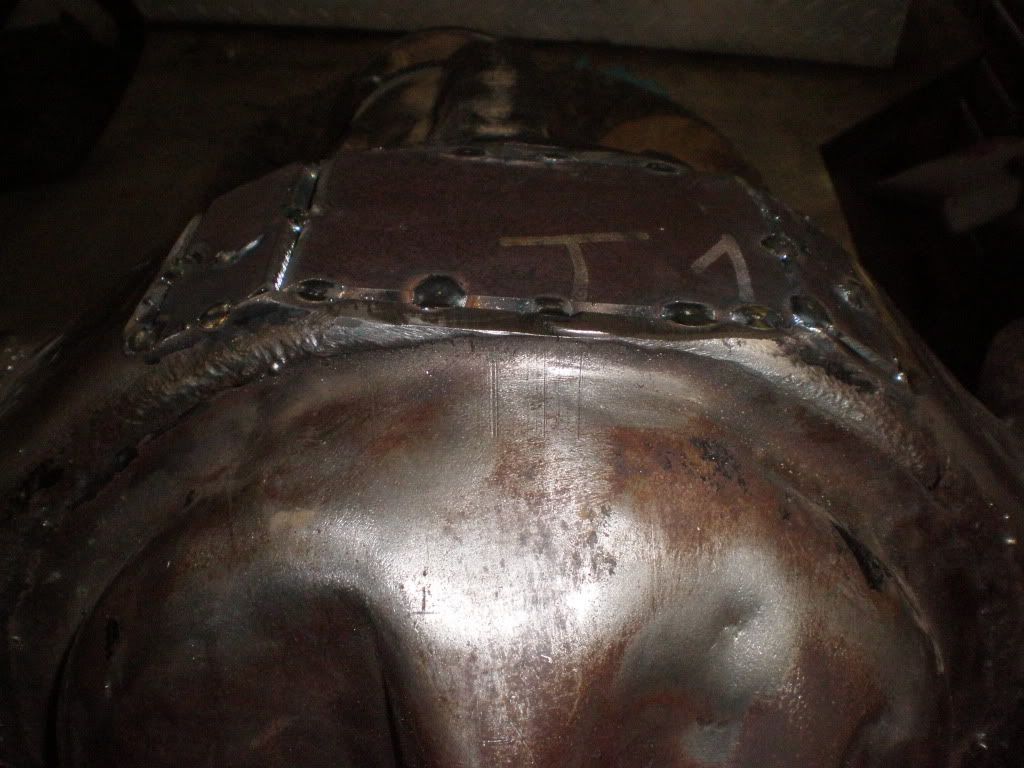
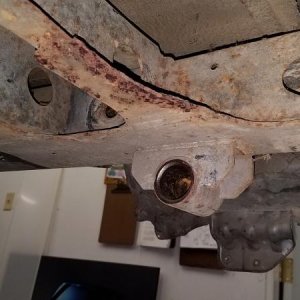
its really coming together here. this is were it is at now with the trail gear diff armor getting formed back into the bottom. I plan to take off the studs on the bottom of the third and use bolts so i can drain the oil when i want.
so this is pretty much were i am at now. Just need to get the gears setup so i can put the front end back together and test it before i start the rear. here are few other pics
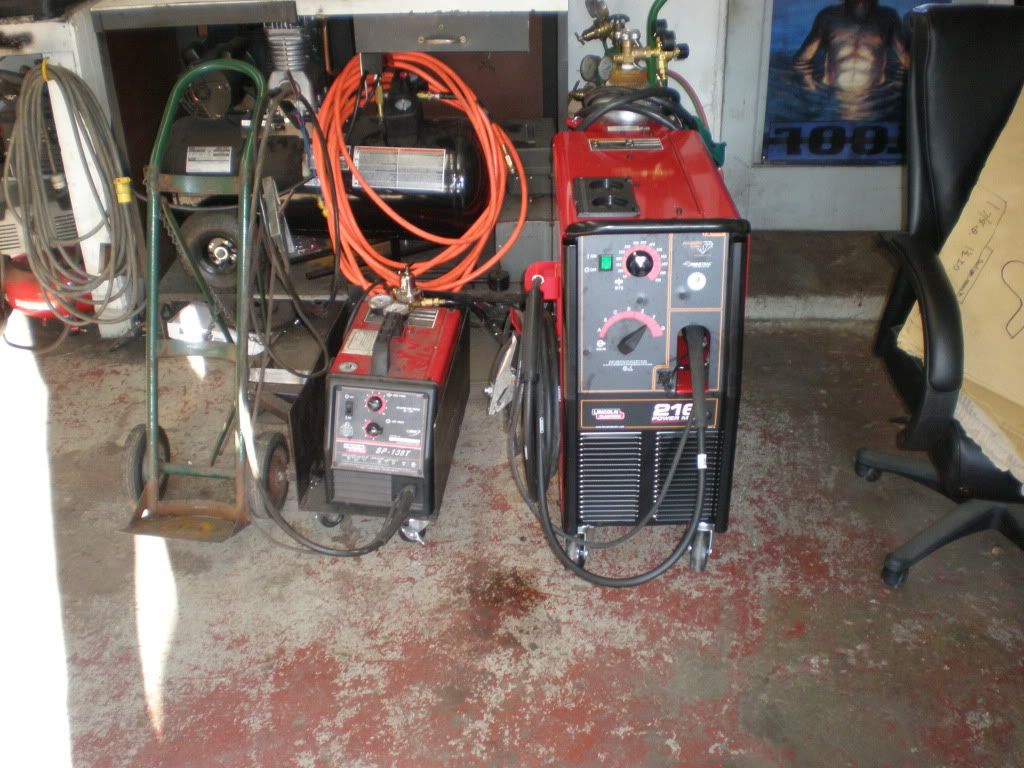
my buddies new welder, the little one is his old one. The new one will burn a bead the size of my pinky.
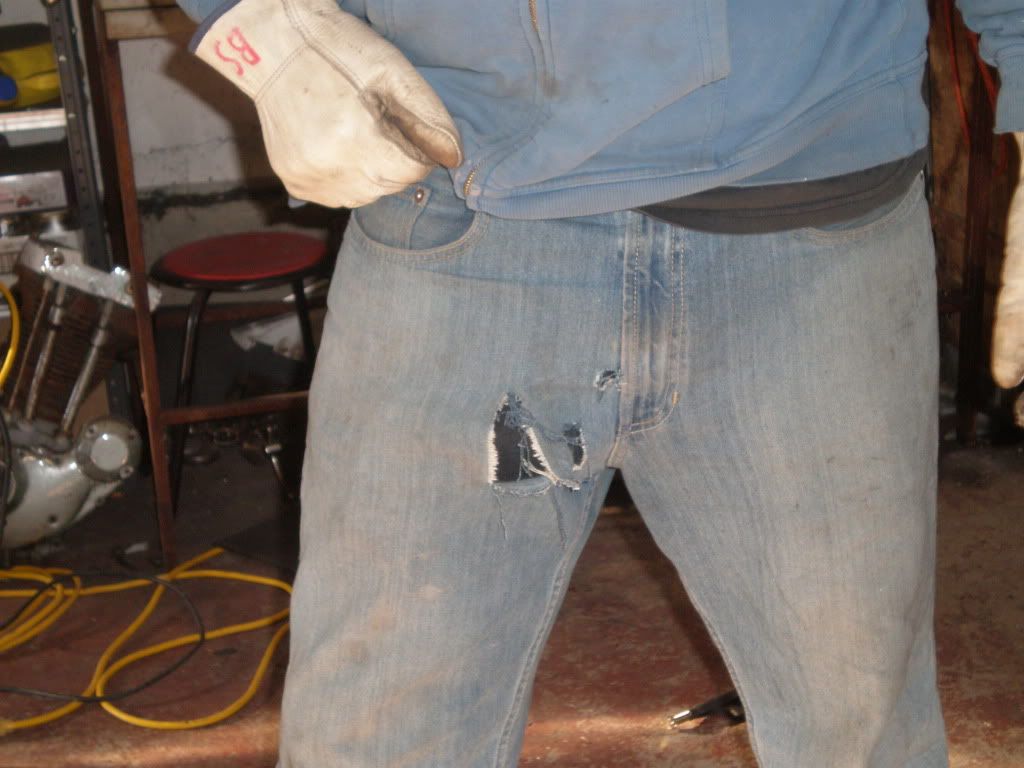
and here is a pic from when i almost cut off my peepee with a grinder. The cutoff wheel exploded and the grinder fell into my pants. Thank god the grinder i use has to have the switch held on and it wont stay on unless you do
i will try to keep this thing update. please give me any advice and point out any issues you thing i should addres
s
wow must have been way too tired. corrected the spelling problems
now for the build that i just started. This is my plan that i have come up with after a ton of research on Pirate and other sites. I spent almost three months reading pirate's Toyota bible to get educated, a suggestion that was stressed by Nuff and Redeye.
my plans...
-RUF with a trail gear cross member modified to use the right bolt size for the Toyota springs
-high steer and POWER STEERING cant wait to have that, manual wheeling is getting old also going to shove the box as far forward as i feel comfortable.
-install a dual diaphragm brake booster and an 1 1/8 inch master cylinder from a 94 four runner with abs. with the full v-6 brakes i got now the pedal is too soft
-bilstien shocks up front with 12 in shock hoops
-gusset and flat bottom both axles
-5.29 gears time to learn how to do gears
-four link rear with fox air shock
- back half the frame and do a full exo up front. got a great deal on 1 3/4 dom and hrew tube
- fuel cell
-center force clutch. i smoked the old one.
-pacesetter long tube header and get the exhaust routed in front of the rear tire, not blowing right onto the rear shock.
we will see what else there is in store for the truck but this is a lot to get done before the Core 4x4 challenge this spring. If i can there are a few other things i would like to do but we will have to see what money and time will permit.
-onboard air with either a york or stock toyota ac pump. have both right now just dont know what route i want to go
so here is what we have got going on so far
here i am welding the front cross member in place after we mocked it all up to make sure our steering geometry would work and the shackle angle would be decent.
got the steering box all mounted and am working on strengthening up the body mount and the radiator core support that i had to hack into to get the steering box far enough forward. i still have some more work to do but it is coming along nicely. still have to get it all plumbed up but wanted to wait until i get all of the welding don in that area so i dont burn through a hose.
Also my buddy has been going to town on my front housing. I cant thank him enough for all of the time that he has spent on it. hear are some pictures of the progress and check out the dent that i was talking about earlier near the ring gear.
cut almost a full inch off the bottom of this *****
the bottom plate is made of T1 grade steel. that is the same stuff that they use to make the cutting edges of excavation equipment.(wow i cant spell) Its some hard **** and should take a real beating
its really coming together here. this is were it is at now with the trail gear diff armor getting formed back into the bottom. I plan to take off the studs on the bottom of the third and use bolts so i can drain the oil when i want.
so this is pretty much were i am at now. Just need to get the gears setup so i can put the front end back together and test it before i start the rear. here are few other pics
my buddies new welder, the little one is his old one. The new one will burn a bead the size of my pinky.
and here is a pic from when i almost cut off my peepee with a grinder. The cutoff wheel exploded and the grinder fell into my pants. Thank god the grinder i use has to have the switch held on and it wont stay on unless you do
i will try to keep this thing update. please give me any advice and point out any issues you thing i should addres
s
wow must have been way too tired. corrected the spelling problems
Last edited: