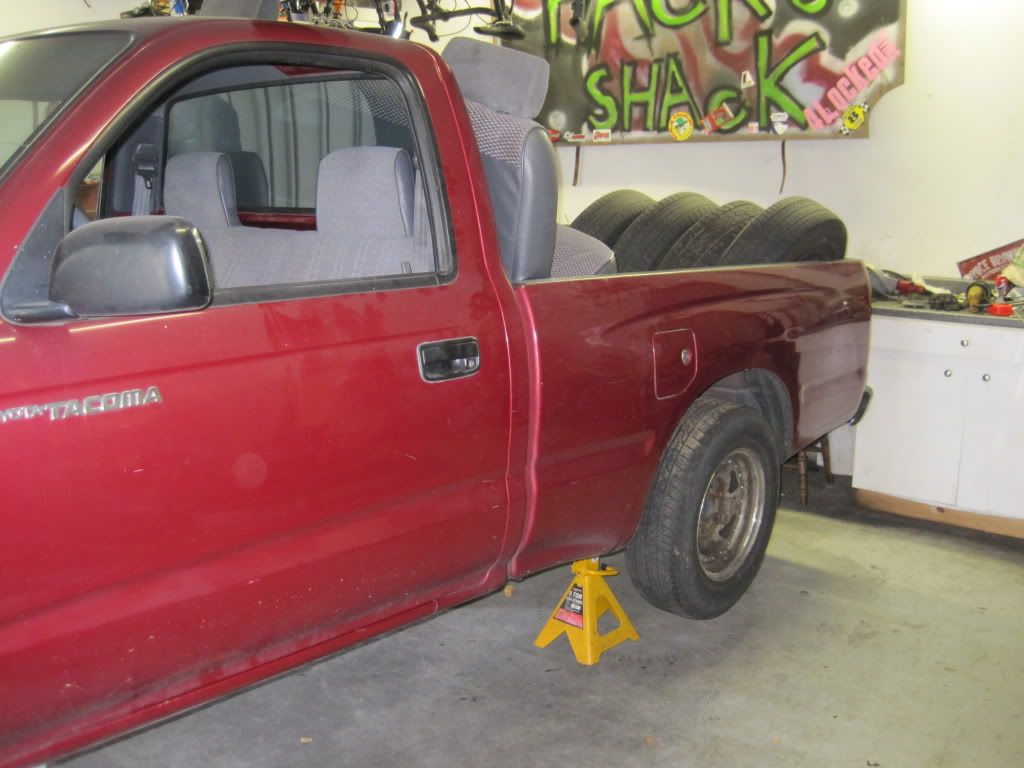
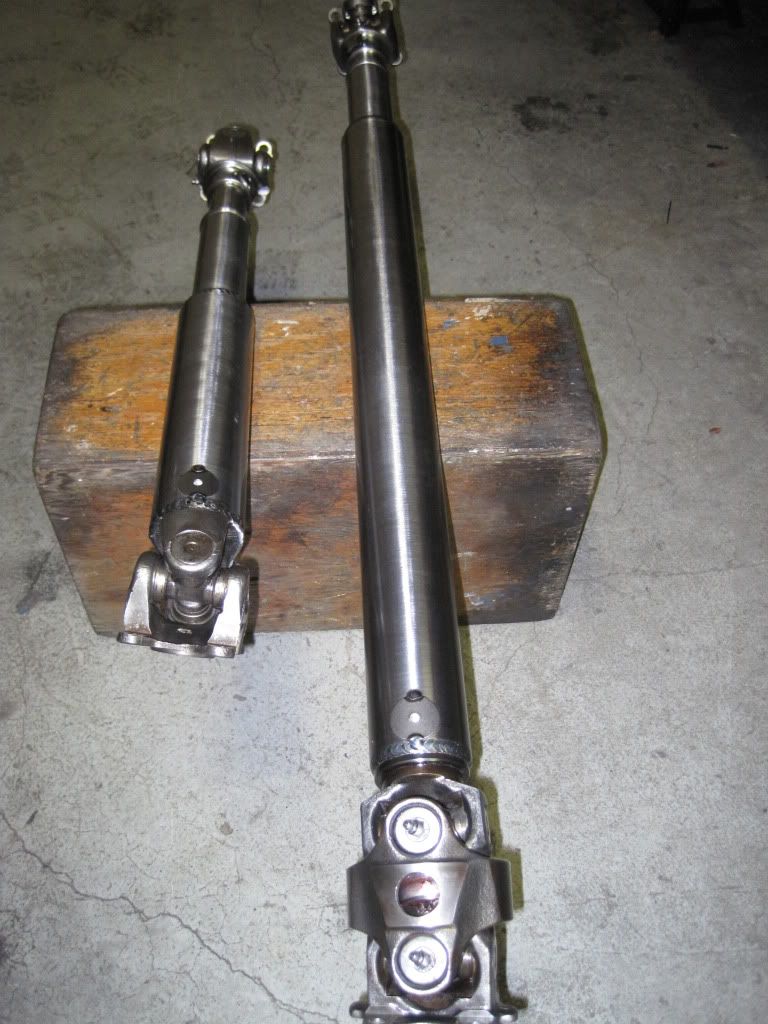
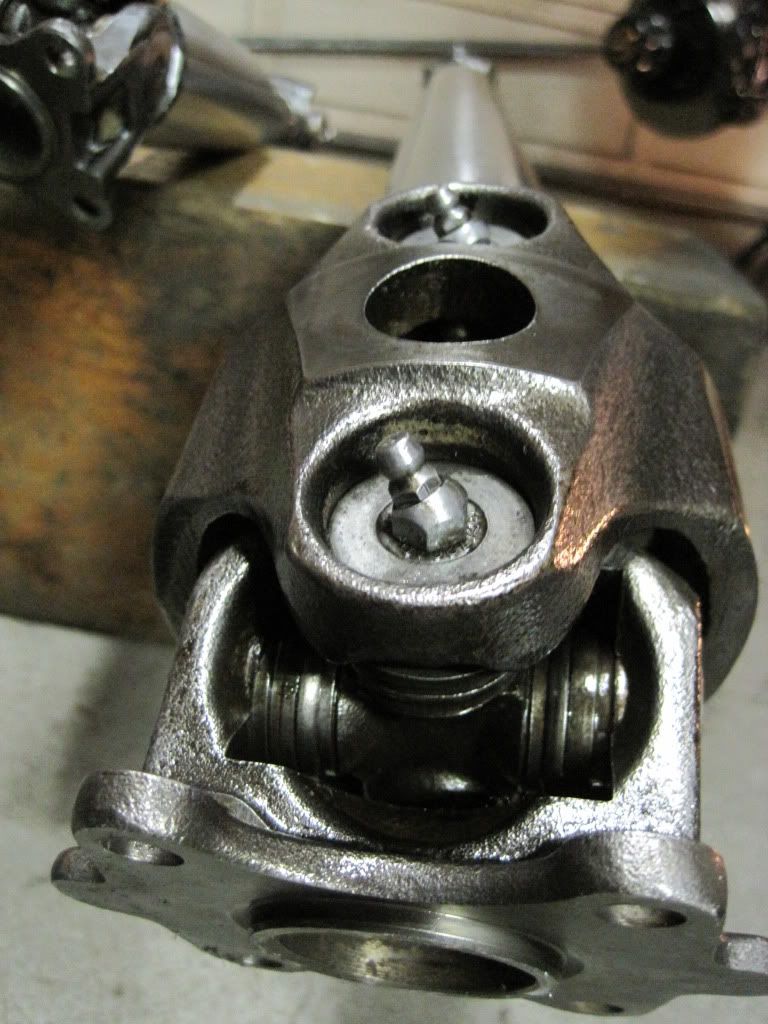
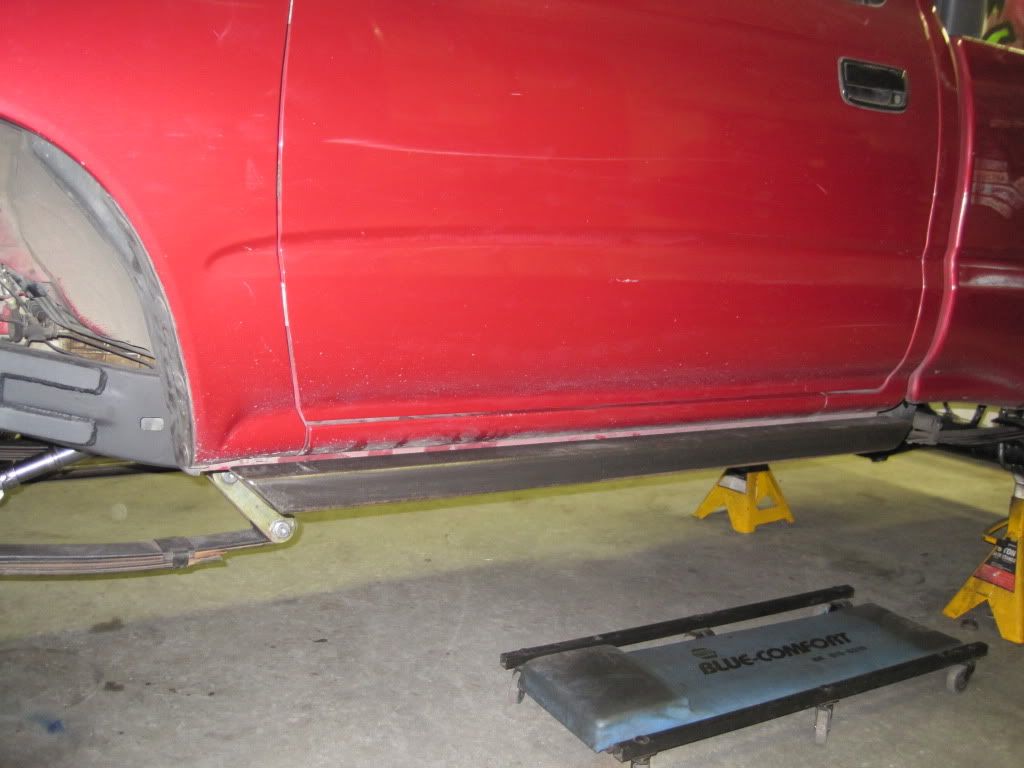
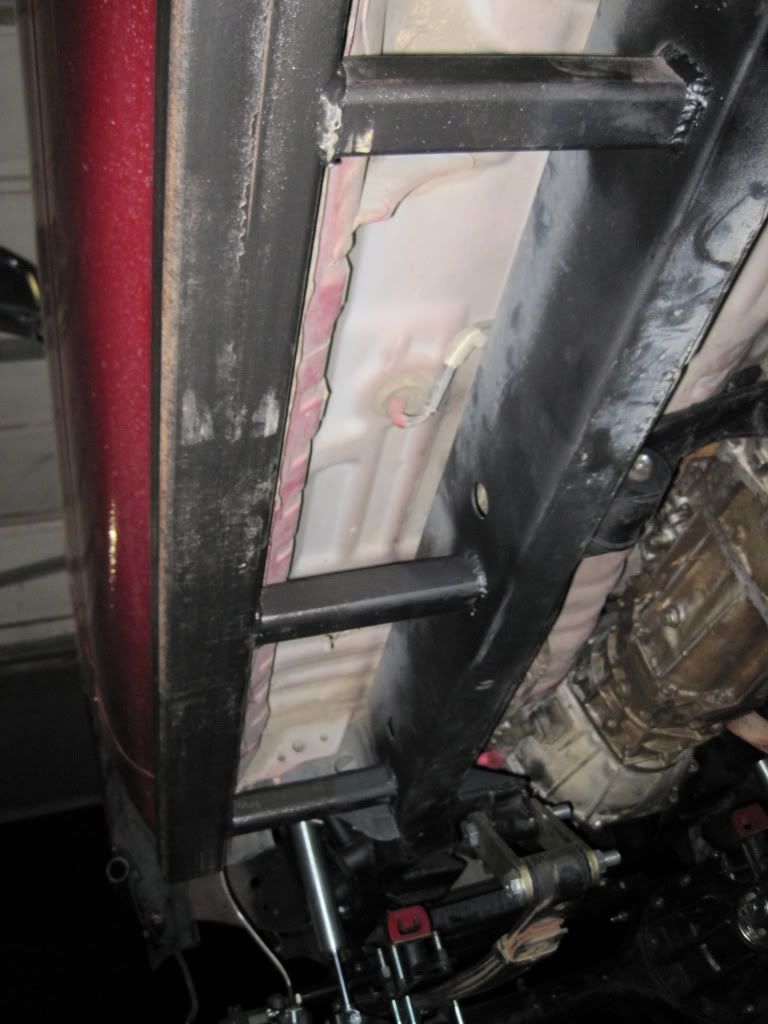
I sold my last toyota for a few reasons. The biggest reason being that I wanted something with more power and I really wanted a new project.
This fell into my lap a week before thanksgiving. Onto the hunt for some parts, and a bit different build than most.
My main goal for this was to keep it as much toyota as I could as well as not break the bank. I really miss the winter wheeling and want something to wheel in the snow.
Onto the story....
I started getting parts together for this swap two weeks ago and everything really came together this week.
Parts for the build so far
FJ60 front axle
w56 tranny
single passenger drop transfercase with 4.7's
FJ60 front steer box
FJ60 steering shaft
Minitruck rear springs for the front
U bolt flip kit front and rear
TG minitruck front crossmember
shackle mounts
FROR firewall plate
TG knuckle ball reinforcemtn kit
I pulled the truck in at noon on thursday and other than a great friend Chris coming over to lend a hand on Saturday, this is all my efforts from the last four days.
Only bad thing, I scratched the crap out of my eye today with a random plasma spark getting behing my safety glasses........oh and I ran out of parts!!! I certainly did not think that was going to happen.
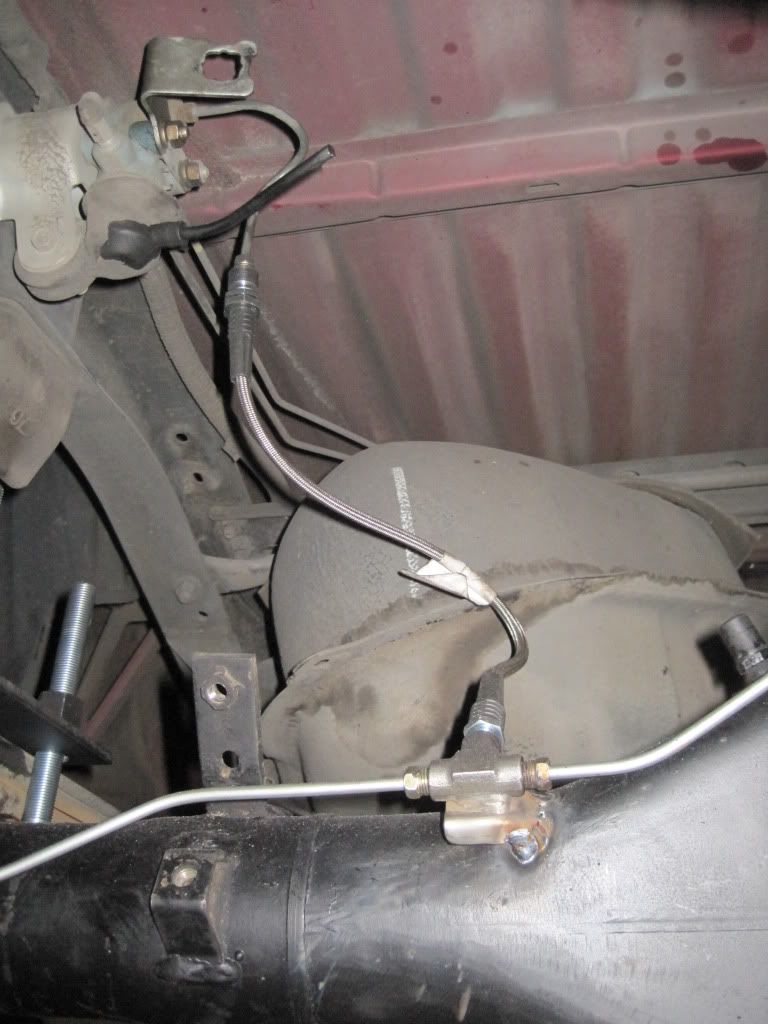
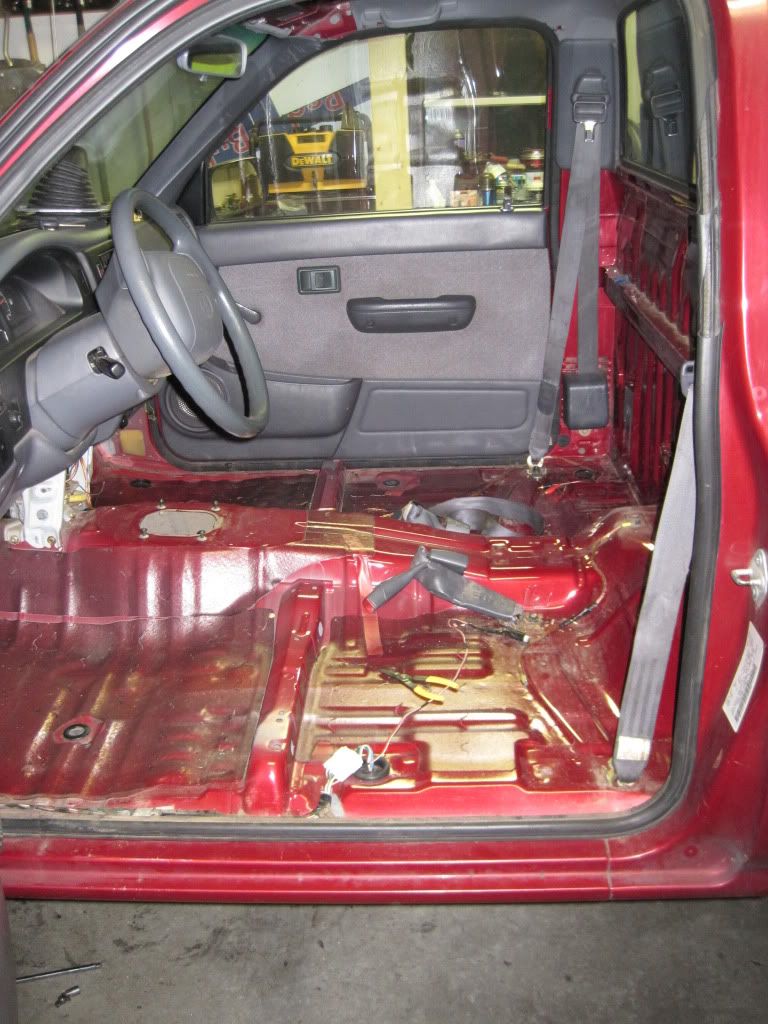
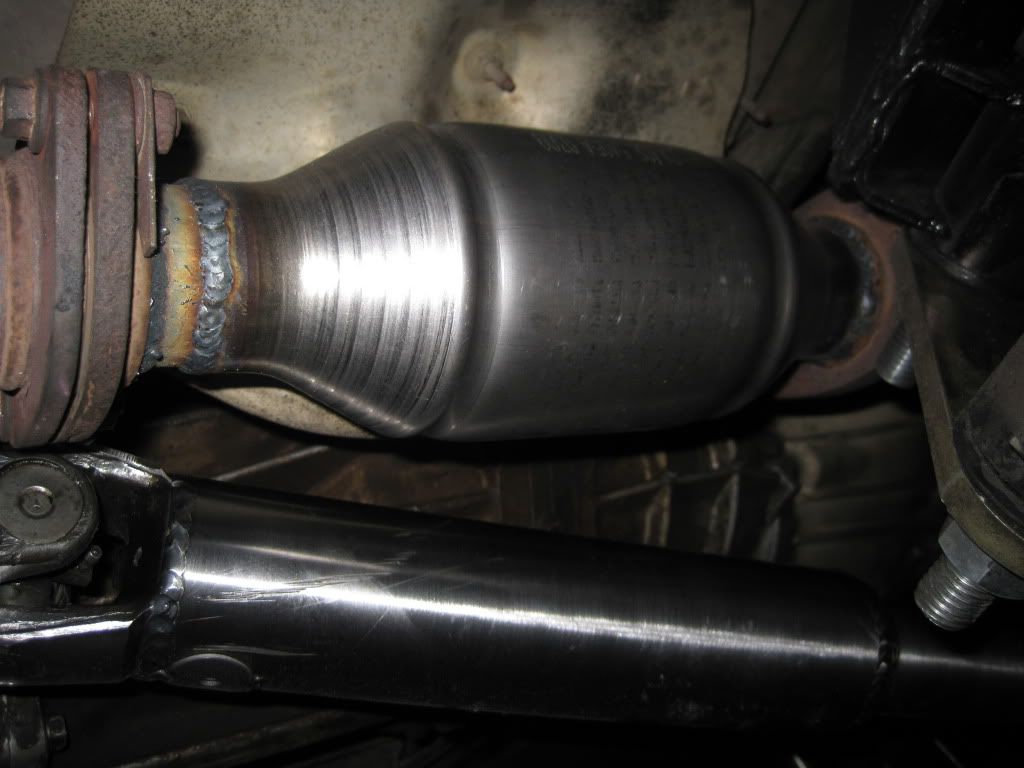
Here are some photos from the last four days.


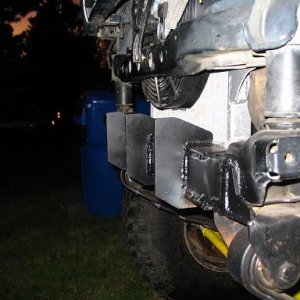
I built these out of 3/16 plate since I didnt think the 2wd frame was as close to the 4wd frame as It turned out to be. I did not include a box mount because the 60 box will have four holes through the frame and nothing above it. It is a flat mount box.

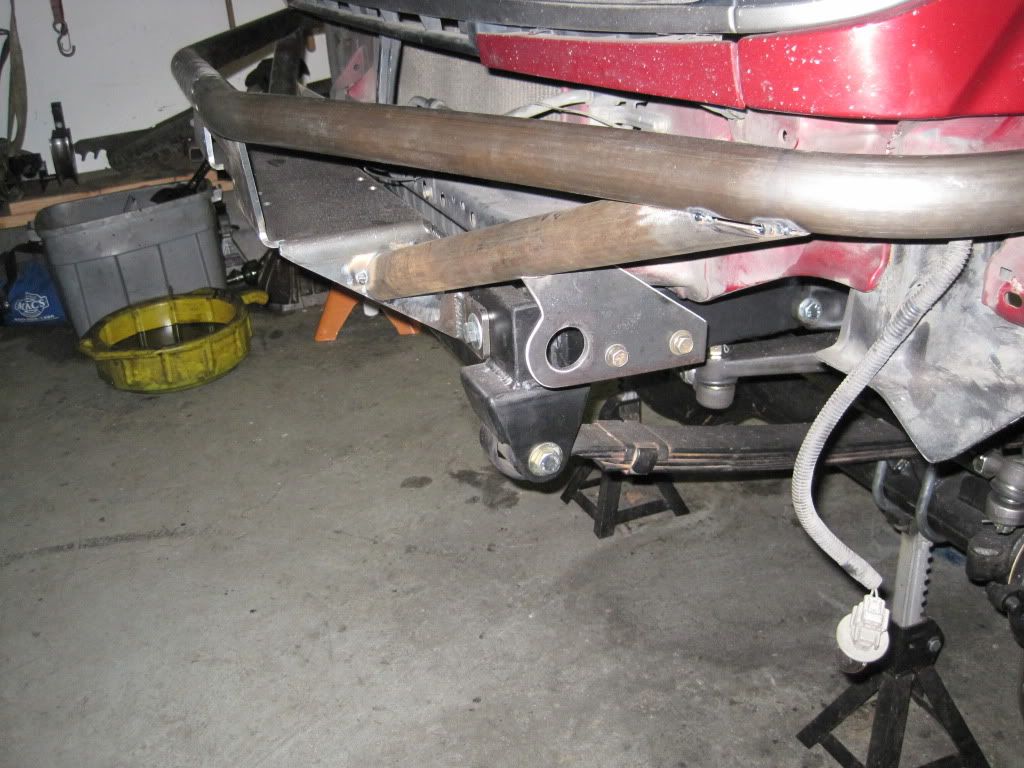
SInce this was a 2wd truck the engine mounts are integrated into the front suspension crossmember. I ended up leaving just a short amount of the crossmember, and capping the bottom of the crossmember and tying it back into the frame. I think this will make for a bombproof engine mount down the road.

The eye bolts are just for mock up, they were all I had that was the right size and long enough in the bolt bin. I welded the front crossmember on all the way around the front of the frame, and then I added on the 3x1 box tube to the top and welded all the way around that as well. Then I caped the ends of it. Needless to say I dont think this is going anywhere.


Mocking up the leafs with the shackel mounts that I put together. I had to inboard the shackle mounts off the frame with a 29" center dimension. THe tacoma frame gets really wide after the front of the truck. These shackle mounts have a lot of weld and gusset to them, I am still wondering if I am going to have problems with them down the road a ways. If I do I have a little room for more plate and boxing.

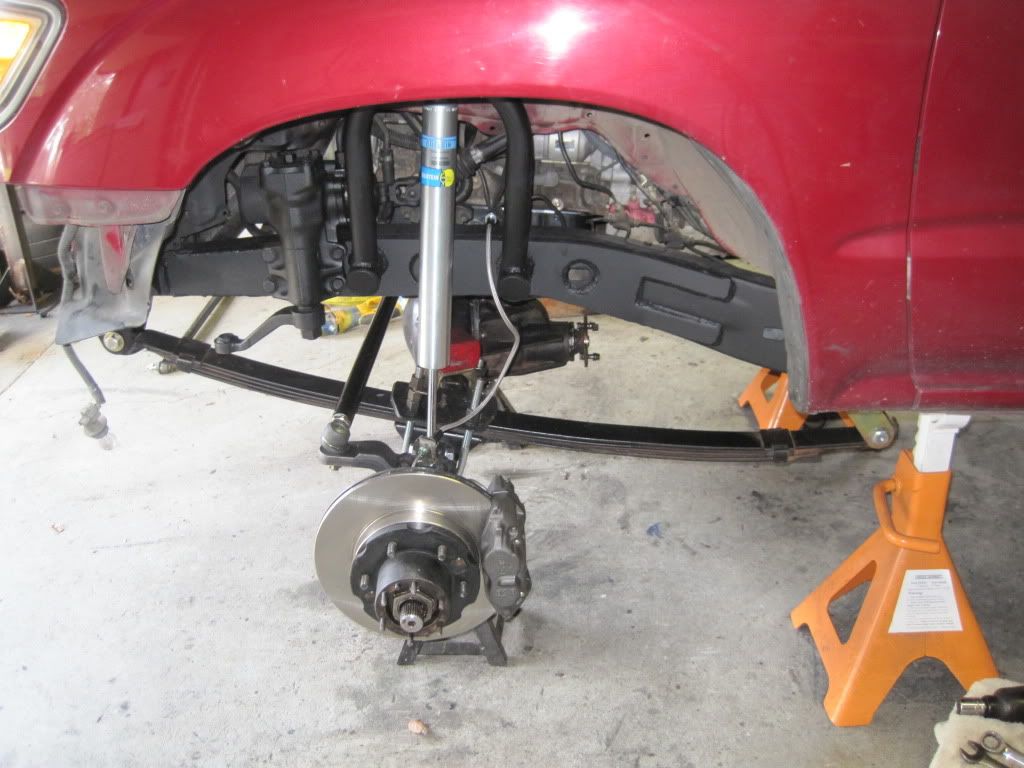
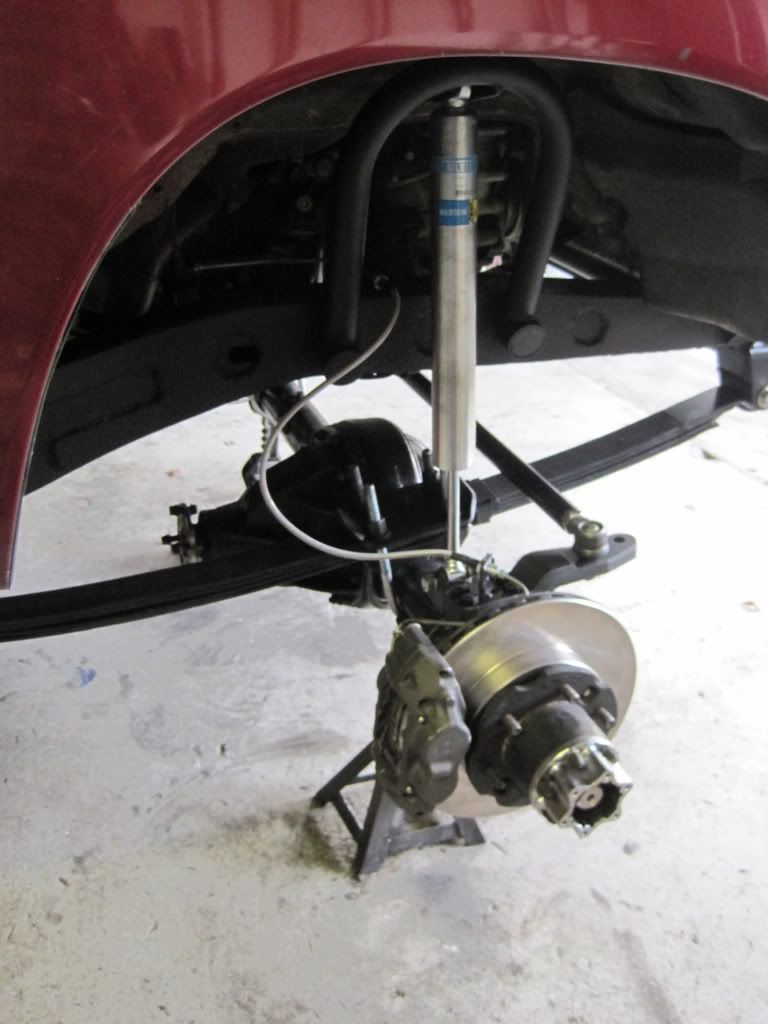
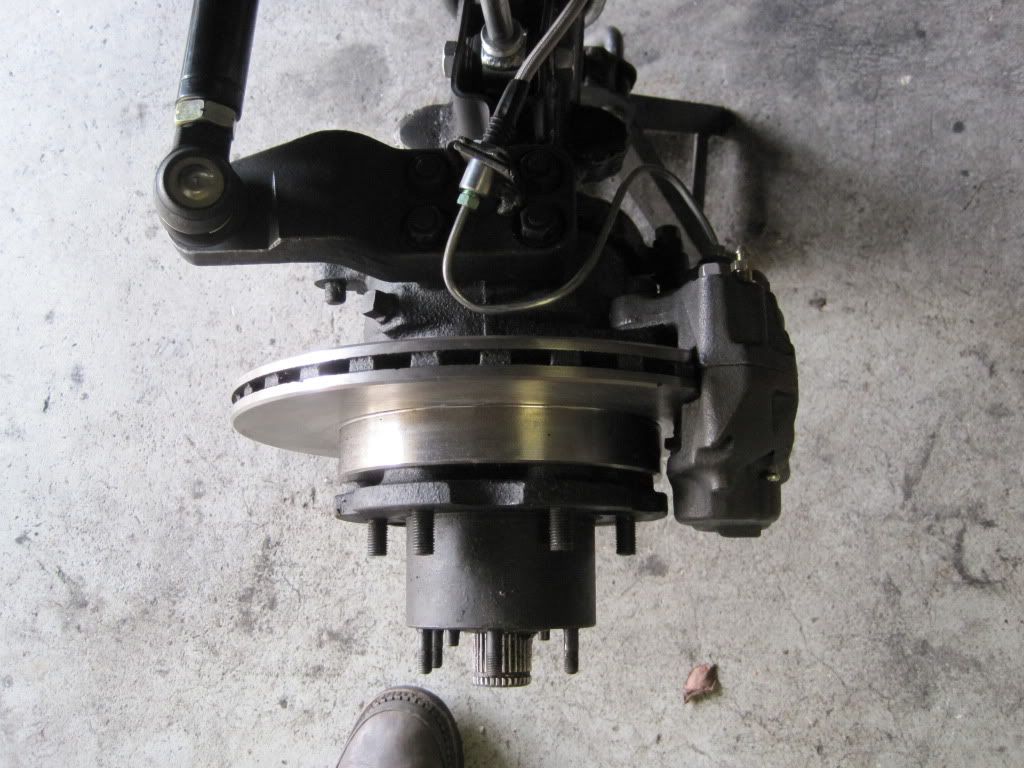
Kristi took the camera on Saturday, so we missed out on most of the front axle work. I cut off all the brackets, cleaned the entire housing and installed new spring pads three times to get the castor and pinion angle correct. Installed the knuckle gussets, shock mounts etc.
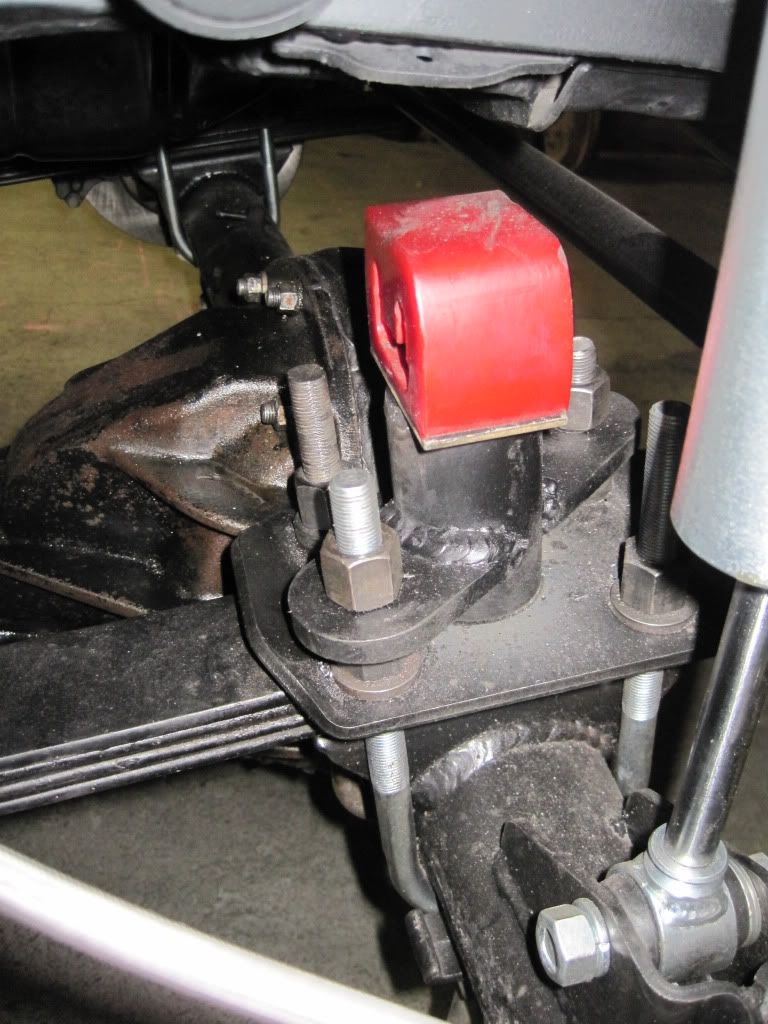
Here will get us caught up. I had to get creative with the FJ60 front housing and the mini truck perch width. I ended up bending one of the ubolts to match the ange of the axle since it was literally right next to the third member.

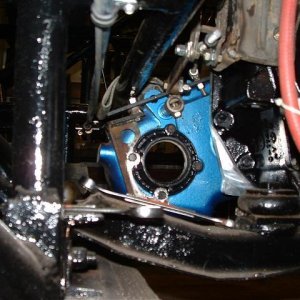
T100 pan and pickup installed. I decided to use the stock dipstick and just cut it down to work with the pan instead of plugging the hole and knocking out the plug from the block.

Frame plates are on, shackles are built and tacked into place, shackle angle is checked and I am damn close to getting a front axle under this thing.

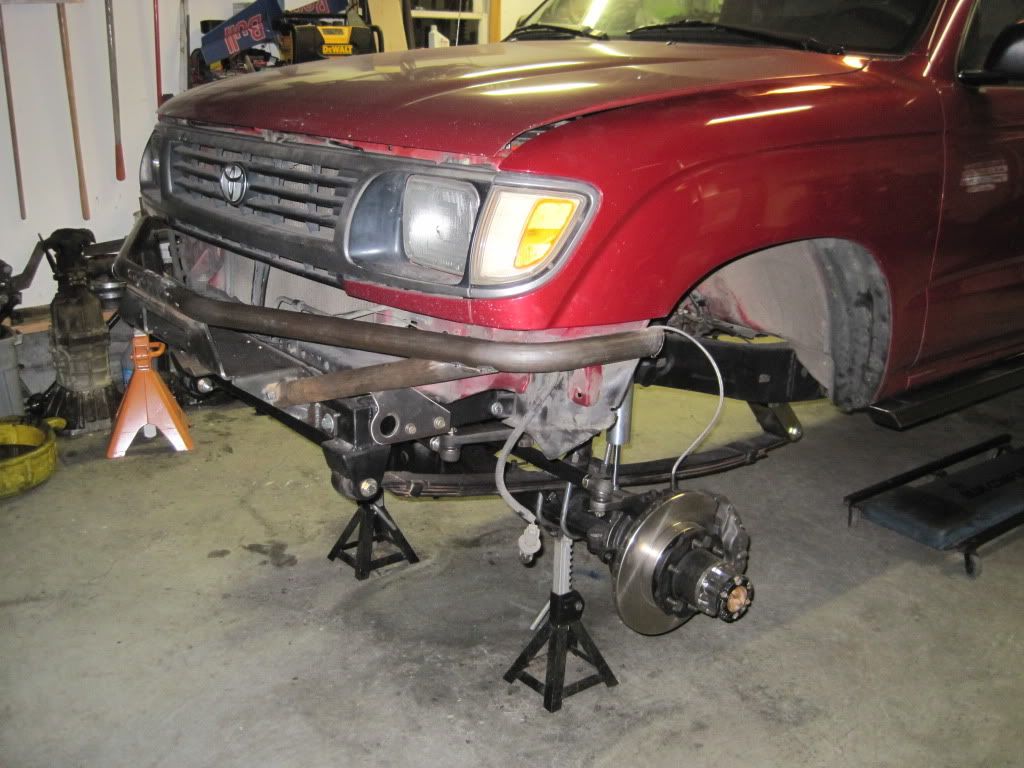
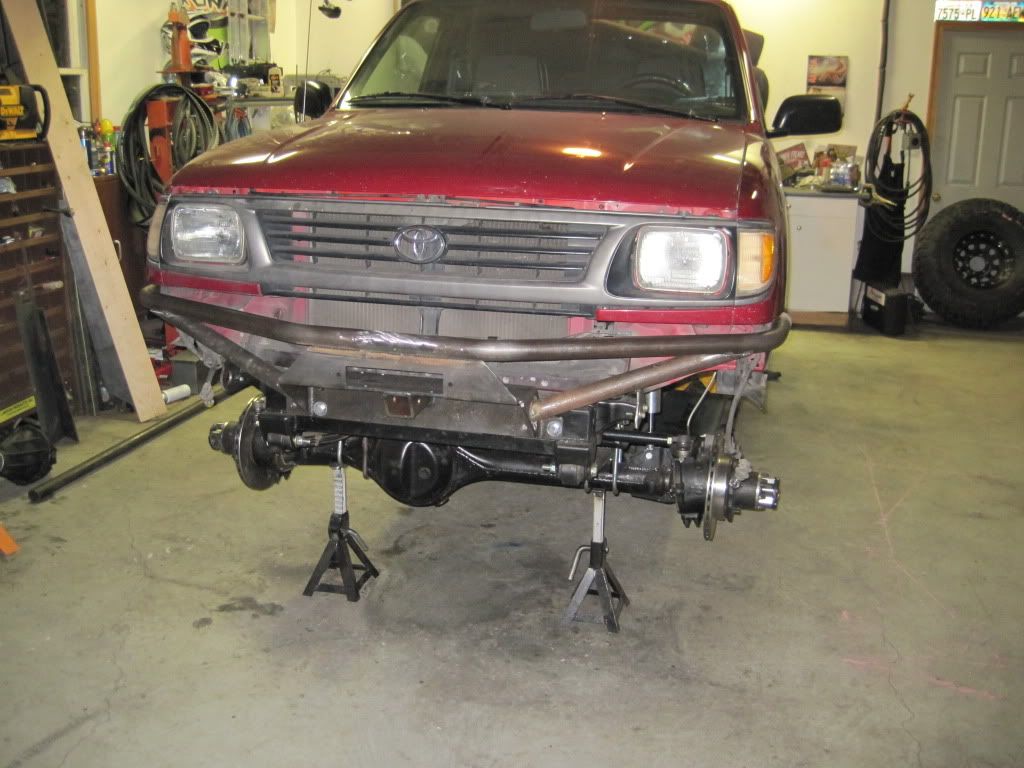
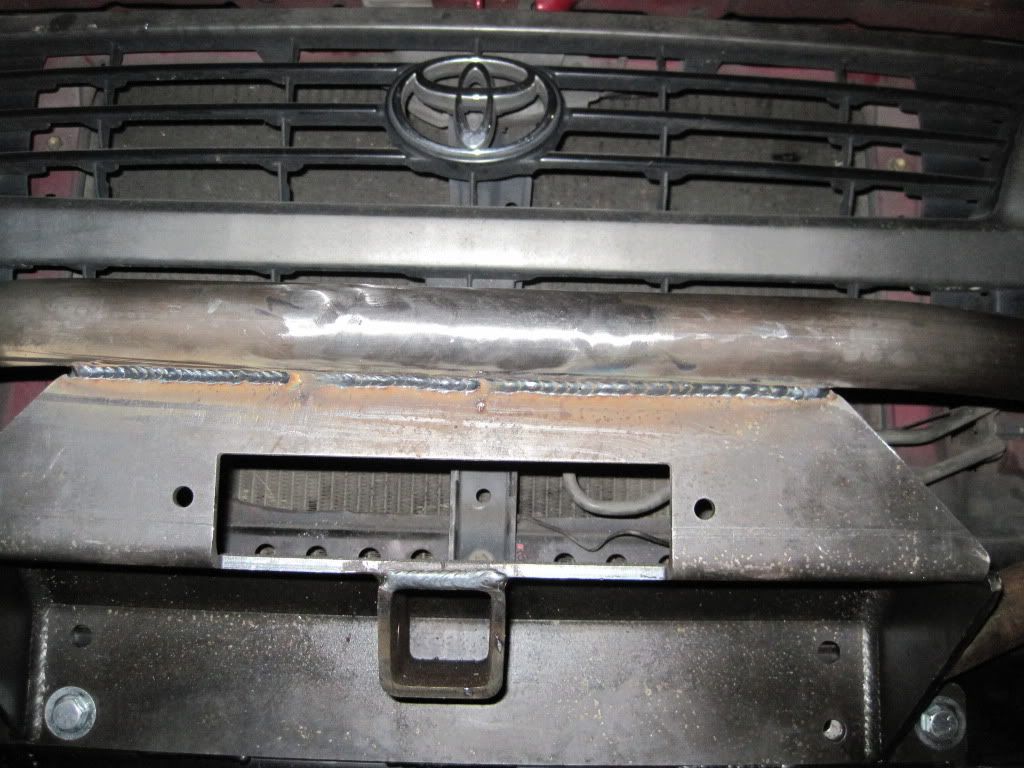
I installed this 1 1/4" dom tube just behind the radiator for some extra support for the front of the frame. These were not designed to have a steering box or leaf springs up front so every little bit helps.

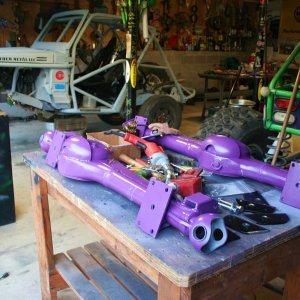
All painted up and ready to go.


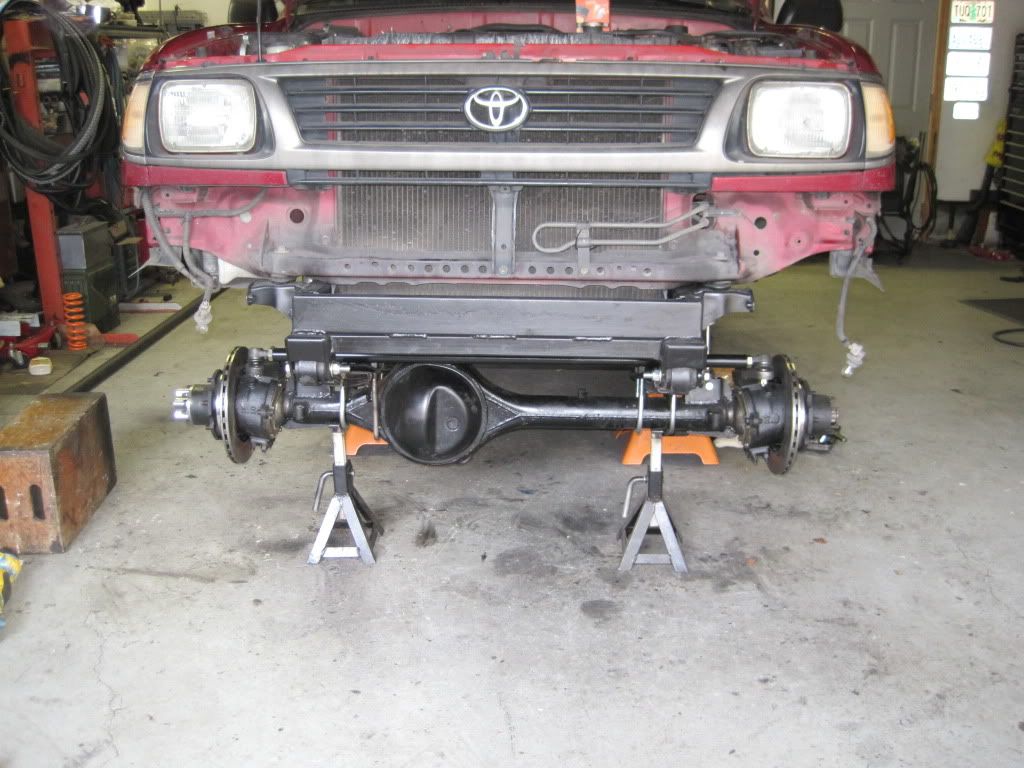
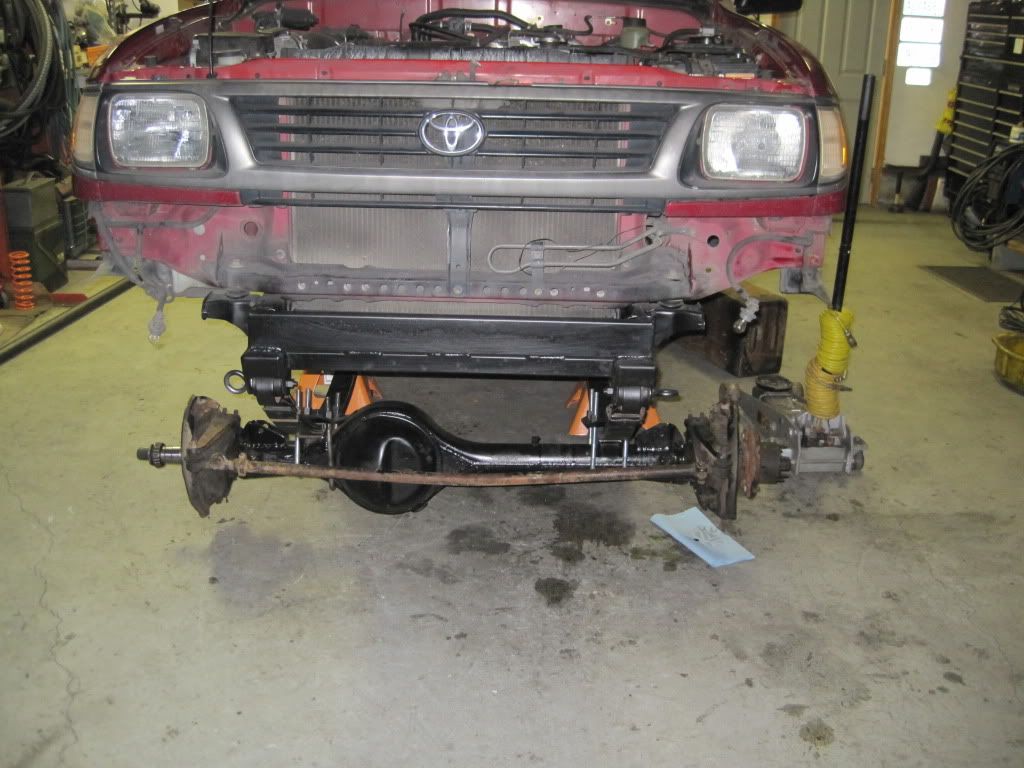
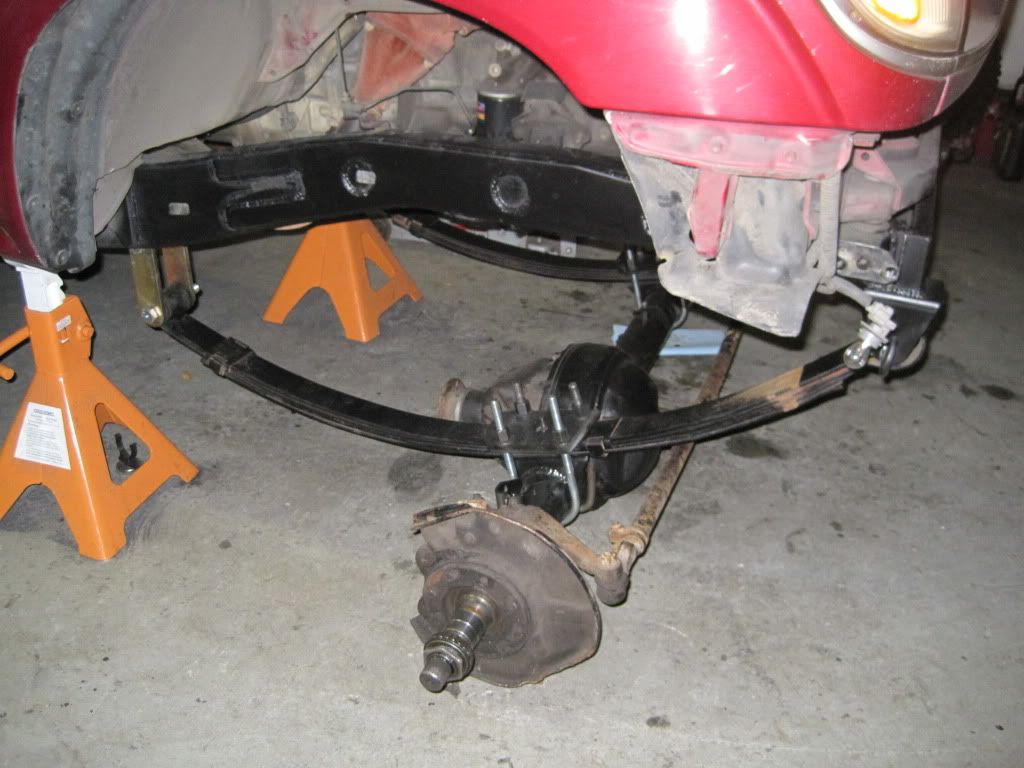
FInally some payof today!! I was able to get the axle into its final resting place after finally burning in the shackle mounts and more tube to reinforce them.
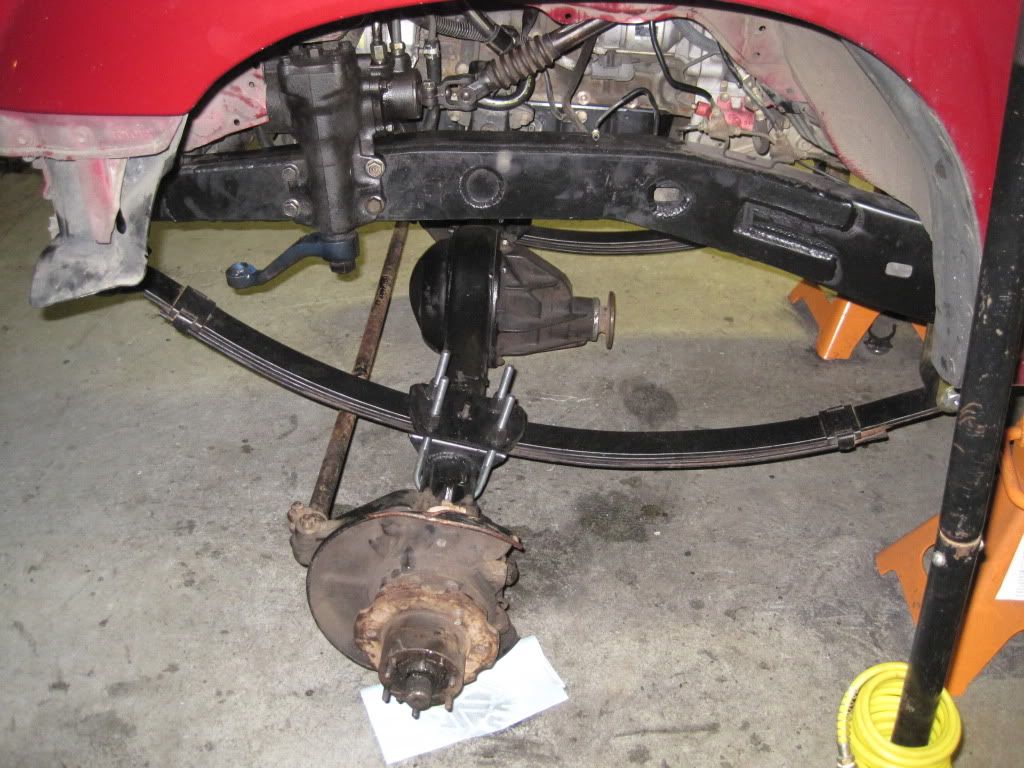
Got the frontend hung under the rig and started to look at steering. Keep in mind that this is only day four of the build and I took several hours off for eating turkey with the family.
The steering worked out fantastic....so far. I have a bit of a fear that the pitman arm I have is goingg to run into the leaf spring and the tie rod might hit the pitman arm bolt. I will find out both of those as soon as I get my steering. I honestly did not expect to get this far on this project this weekend so I was not planning on running into this so soon.
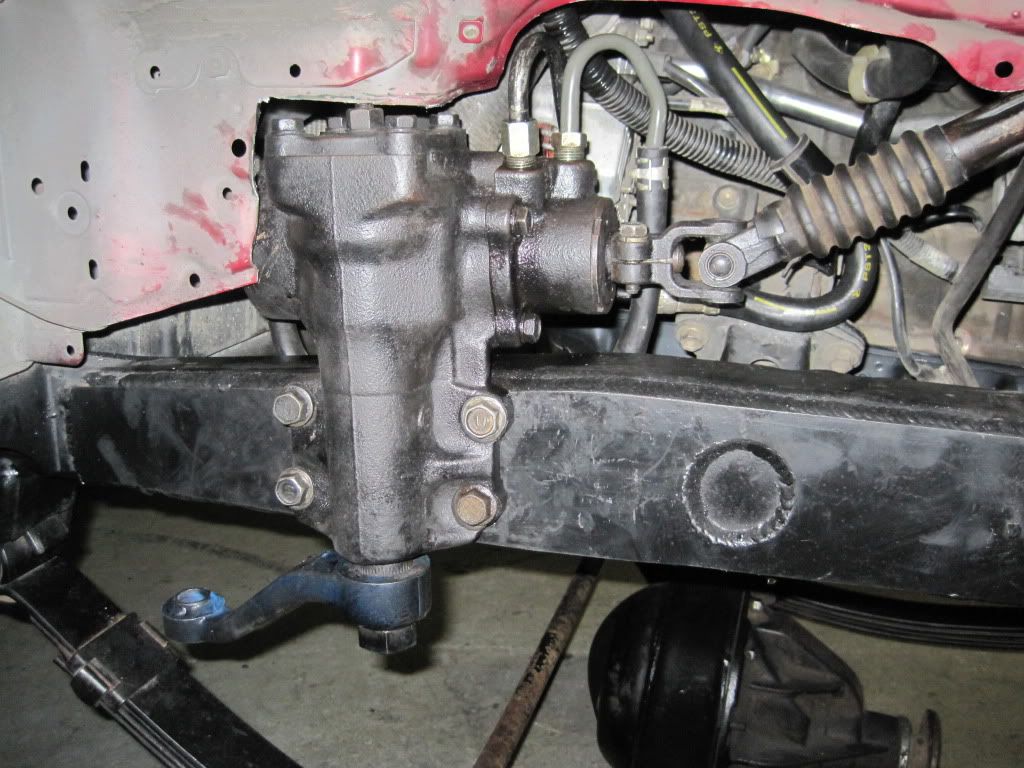
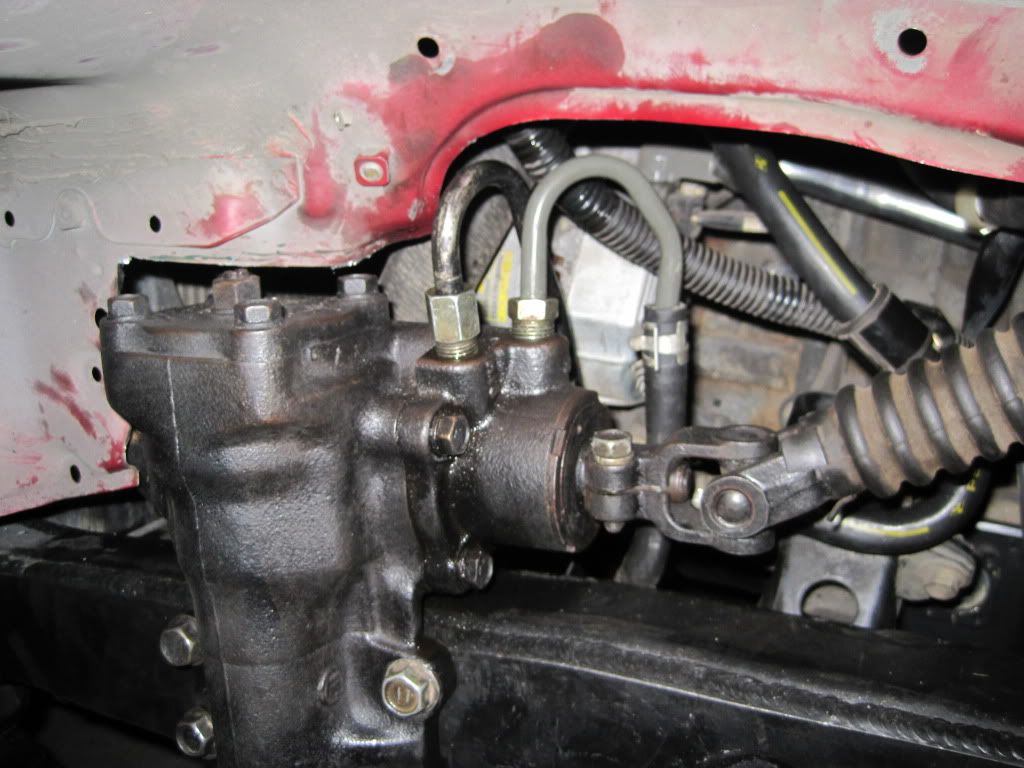
I snagged a steering shaft from the same rig that I got the box from and it literally just bolted on like it was made for this project. Lots of slip and with the Front Range firewall plate, it was pretty slick. Since I am converting a 2wd with rack and pinion, I had two fittings that went to the rack and lots of length in the lines. Unbelievably, I was able to shorten up the return hose and use that fitting on the box. I was also able to use the supply line with a little bit of work with a bender I was able to bend the hard line and make them both look like a factory part with only a little bit of extra effort.
Well that finished up my weekend. Hopefully I will be getting a knuckle rebuild kit, some shocks, upgraded axles, and some brake parts to get me rollinng this thing this week.
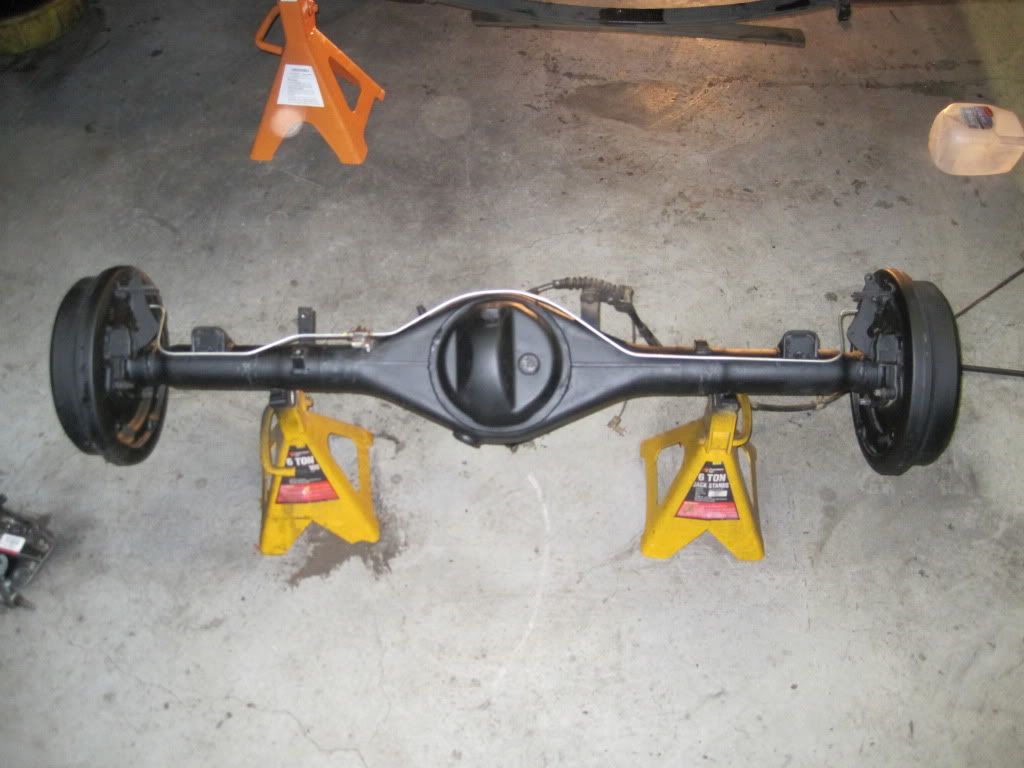
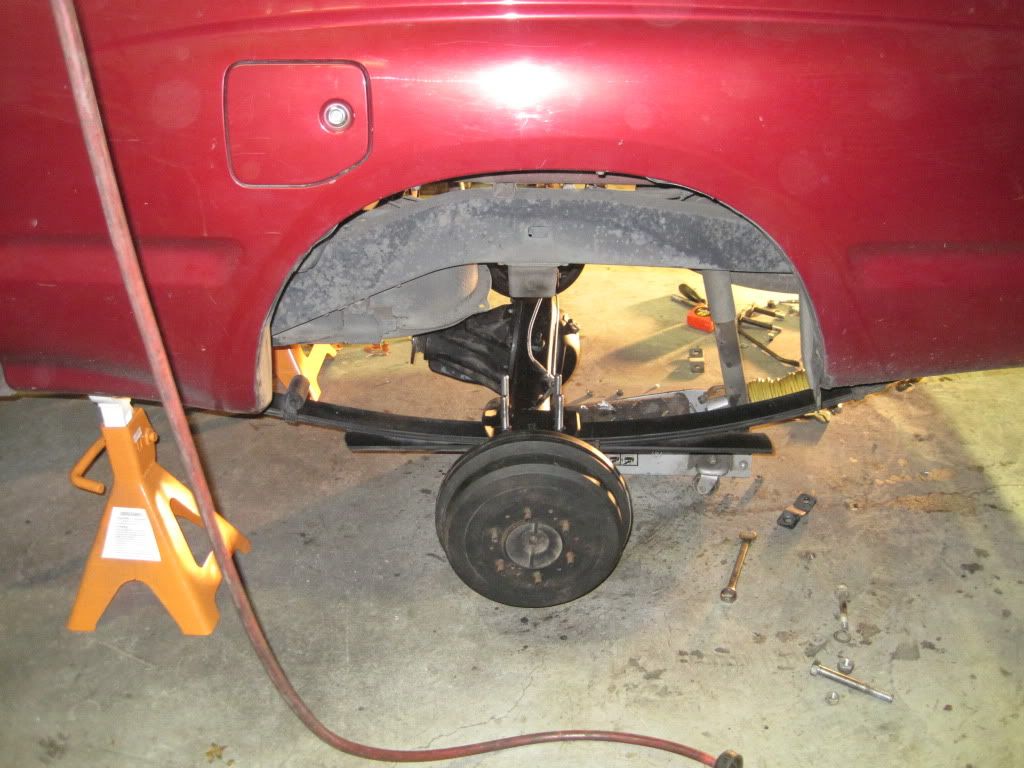
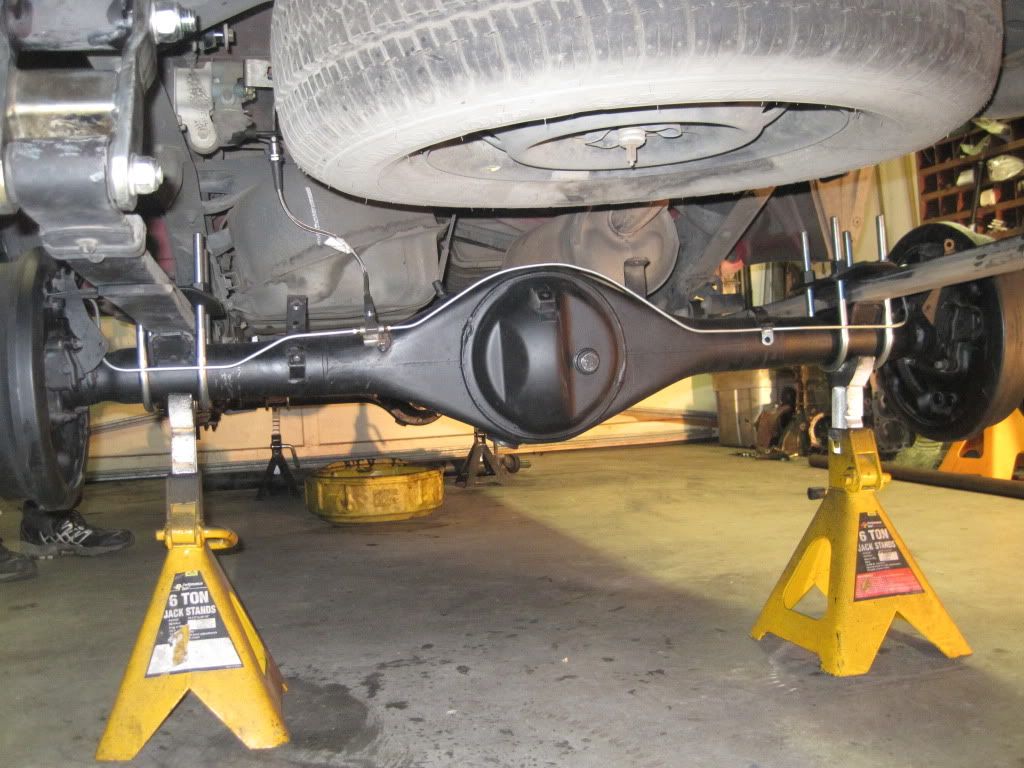
I still need to get wheels and tires for this and an IFS Rearend.
Enjoy the pics and Ill try to get some more up as I make progress.
Thanks
Sean
This fell into my lap a week before thanksgiving. Onto the hunt for some parts, and a bit different build than most.
My main goal for this was to keep it as much toyota as I could as well as not break the bank. I really miss the winter wheeling and want something to wheel in the snow.
Onto the story....
I started getting parts together for this swap two weeks ago and everything really came together this week.
Parts for the build so far
FJ60 front axle
w56 tranny
single passenger drop transfercase with 4.7's
FJ60 front steer box
FJ60 steering shaft
Minitruck rear springs for the front
U bolt flip kit front and rear
TG minitruck front crossmember
shackle mounts
FROR firewall plate
TG knuckle ball reinforcemtn kit
I pulled the truck in at noon on thursday and other than a great friend Chris coming over to lend a hand on Saturday, this is all my efforts from the last four days.
Only bad thing, I scratched the crap out of my eye today with a random plasma spark getting behing my safety glasses........oh and I ran out of parts!!! I certainly did not think that was going to happen.
Here are some photos from the last four days.


I built these out of 3/16 plate since I didnt think the 2wd frame was as close to the 4wd frame as It turned out to be. I did not include a box mount because the 60 box will have four holes through the frame and nothing above it. It is a flat mount box.

SInce this was a 2wd truck the engine mounts are integrated into the front suspension crossmember. I ended up leaving just a short amount of the crossmember, and capping the bottom of the crossmember and tying it back into the frame. I think this will make for a bombproof engine mount down the road.

The eye bolts are just for mock up, they were all I had that was the right size and long enough in the bolt bin. I welded the front crossmember on all the way around the front of the frame, and then I added on the 3x1 box tube to the top and welded all the way around that as well. Then I caped the ends of it. Needless to say I dont think this is going anywhere.


Mocking up the leafs with the shackel mounts that I put together. I had to inboard the shackle mounts off the frame with a 29" center dimension. THe tacoma frame gets really wide after the front of the truck. These shackle mounts have a lot of weld and gusset to them, I am still wondering if I am going to have problems with them down the road a ways. If I do I have a little room for more plate and boxing.

Kristi took the camera on Saturday, so we missed out on most of the front axle work. I cut off all the brackets, cleaned the entire housing and installed new spring pads three times to get the castor and pinion angle correct. Installed the knuckle gussets, shock mounts etc.
Here will get us caught up. I had to get creative with the FJ60 front housing and the mini truck perch width. I ended up bending one of the ubolts to match the ange of the axle since it was literally right next to the third member.

T100 pan and pickup installed. I decided to use the stock dipstick and just cut it down to work with the pan instead of plugging the hole and knocking out the plug from the block.

Frame plates are on, shackles are built and tacked into place, shackle angle is checked and I am damn close to getting a front axle under this thing.

I installed this 1 1/4" dom tube just behind the radiator for some extra support for the front of the frame. These were not designed to have a steering box or leaf springs up front so every little bit helps.

All painted up and ready to go.


FInally some payof today!! I was able to get the axle into its final resting place after finally burning in the shackle mounts and more tube to reinforce them.
Got the frontend hung under the rig and started to look at steering. Keep in mind that this is only day four of the build and I took several hours off for eating turkey with the family.
The steering worked out fantastic....so far. I have a bit of a fear that the pitman arm I have is goingg to run into the leaf spring and the tie rod might hit the pitman arm bolt. I will find out both of those as soon as I get my steering. I honestly did not expect to get this far on this project this weekend so I was not planning on running into this so soon.
I snagged a steering shaft from the same rig that I got the box from and it literally just bolted on like it was made for this project. Lots of slip and with the Front Range firewall plate, it was pretty slick. Since I am converting a 2wd with rack and pinion, I had two fittings that went to the rack and lots of length in the lines. Unbelievably, I was able to shorten up the return hose and use that fitting on the box. I was also able to use the supply line with a little bit of work with a bender I was able to bend the hard line and make them both look like a factory part with only a little bit of extra effort.


Well that finished up my weekend. Hopefully I will be getting a knuckle rebuild kit, some shocks, upgraded axles, and some brake parts to get me rollinng this thing this week.
I still need to get wheels and tires for this and an IFS Rearend.
Enjoy the pics and Ill try to get some more up as I make progress.
Thanks
Sean

