• Help Support Hardline Crawlers :

Blueberry Krunch

Mr Stubs

Well-Known Member
Joined
Dec 5, 2008
Messages
76
Some of you may have seen this build already but hey, I'm turning into a forum whore......


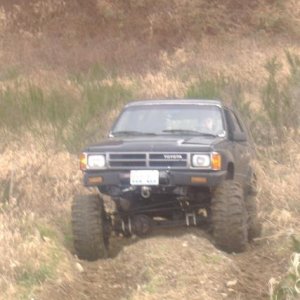
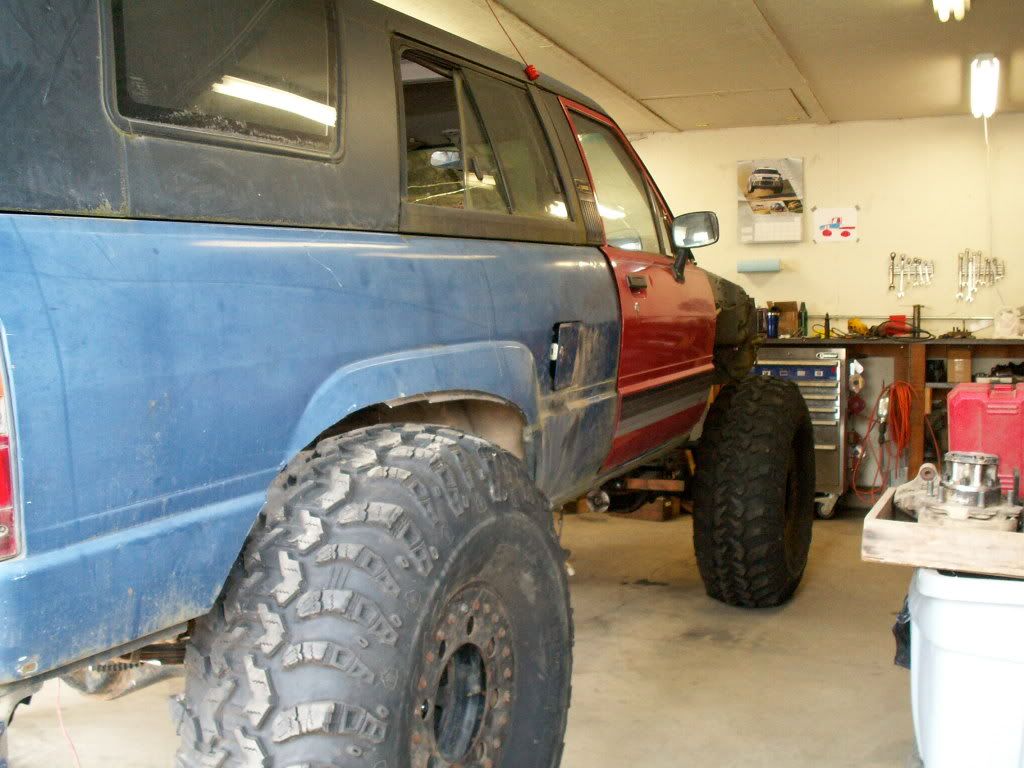
This is the beginning of the next project for me. The old lady wants to ride along with the kids and the "Cooter" wasn't going to cut the mustard in that department. So out with the old and in with the new.

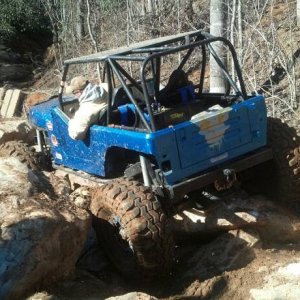
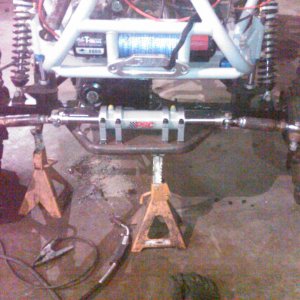
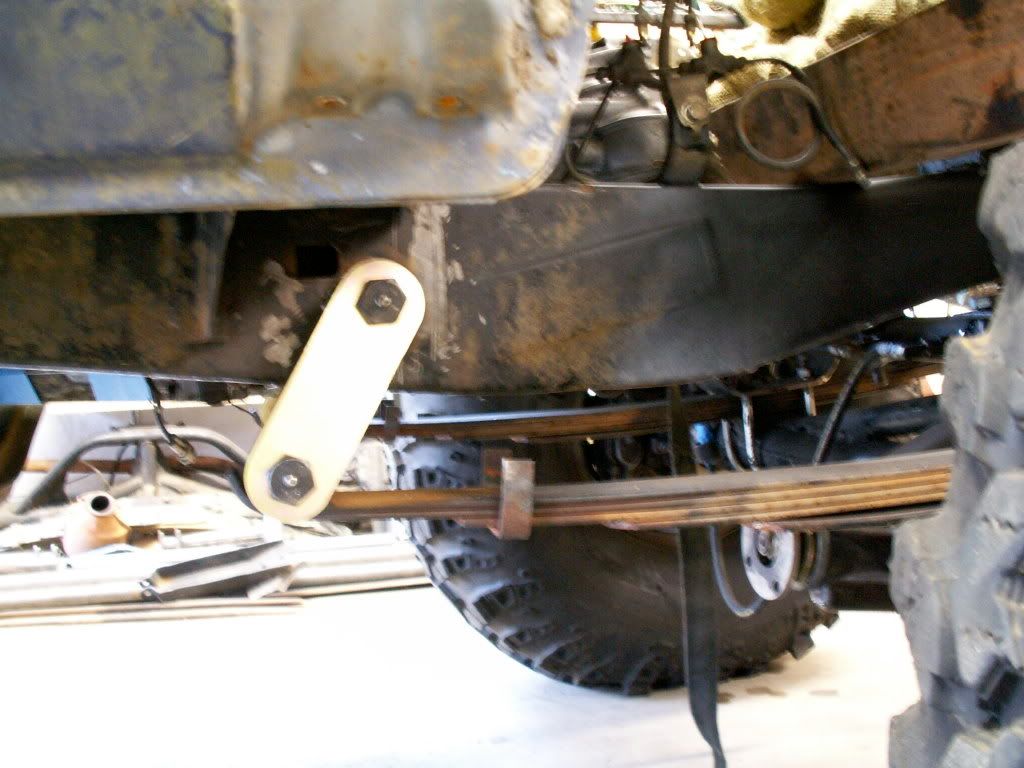
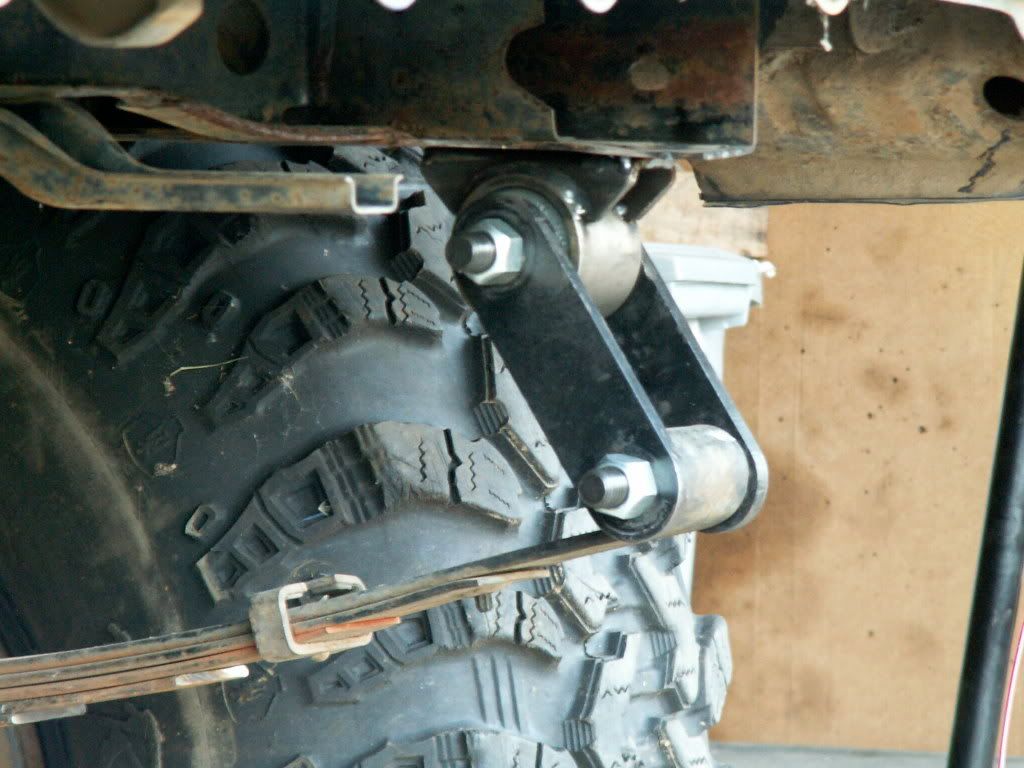
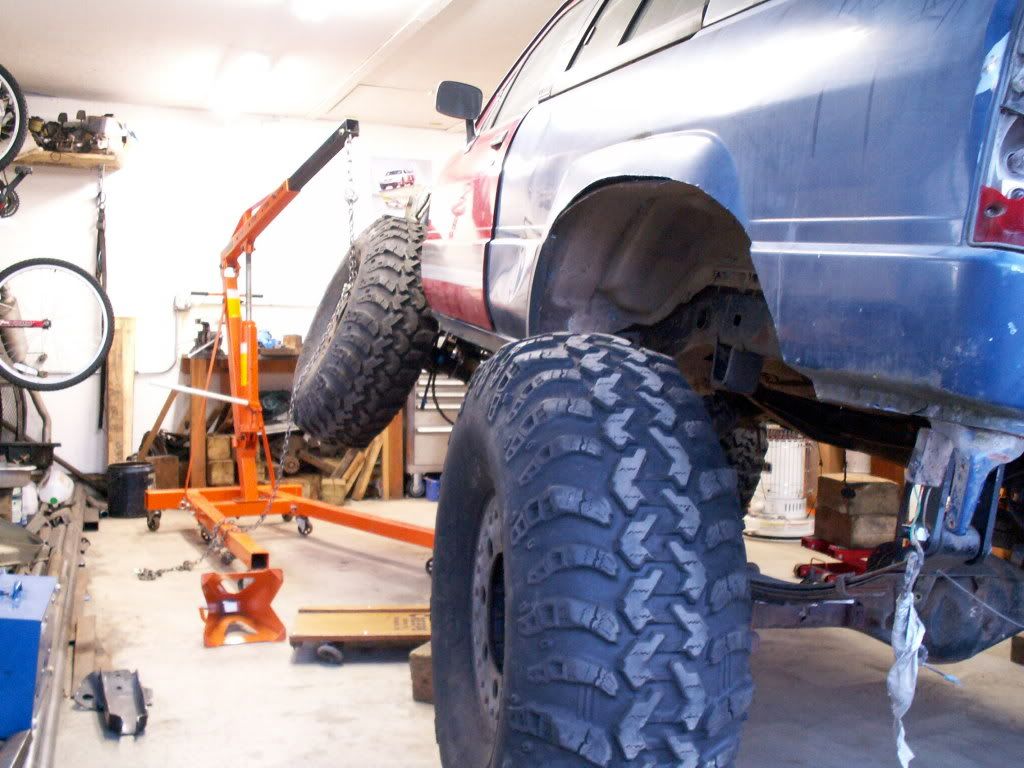
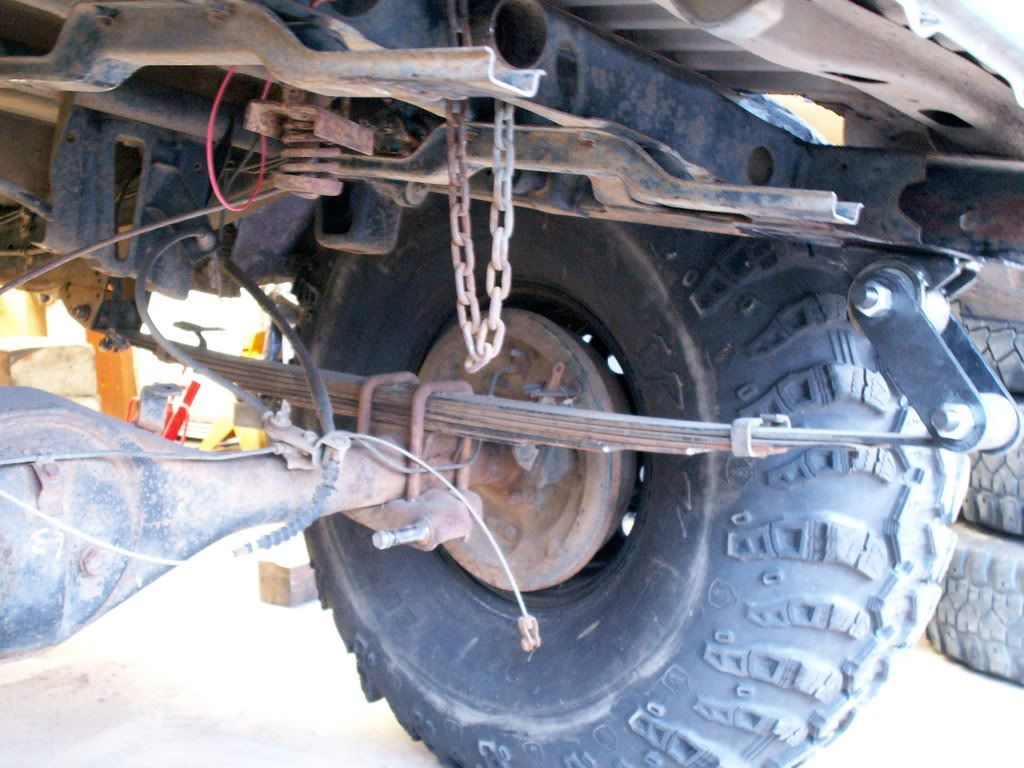
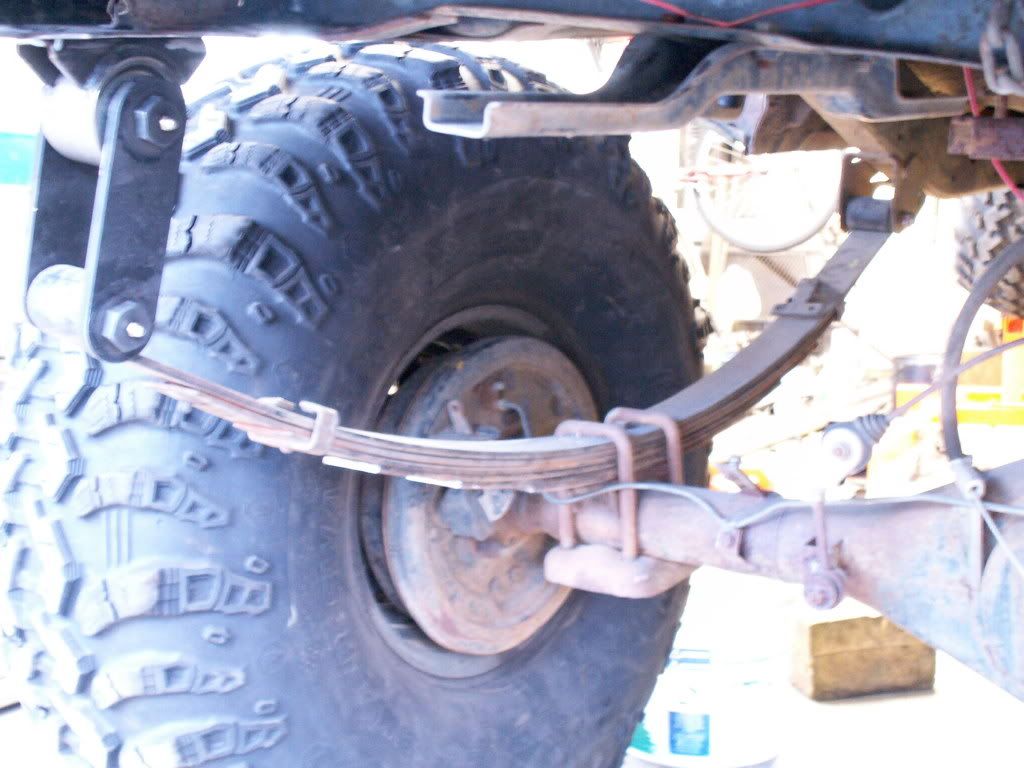
The plan so far; SAS the front, run the 22r with propane, rear leafs (hybrid mazda pack?), 39.5 Irocks on bead-locks, use the tube I bought for a int. cage, and most importantly MAKE IT AS LOW AS I CAN.

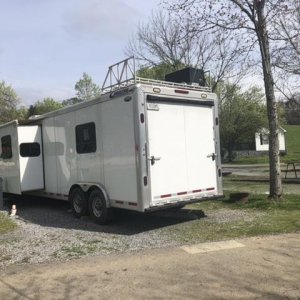
I plan on this being a trailer rig that will get beat into submission. Who knows, maybe it will turn into a buggy down the road like I originally wanted to build?
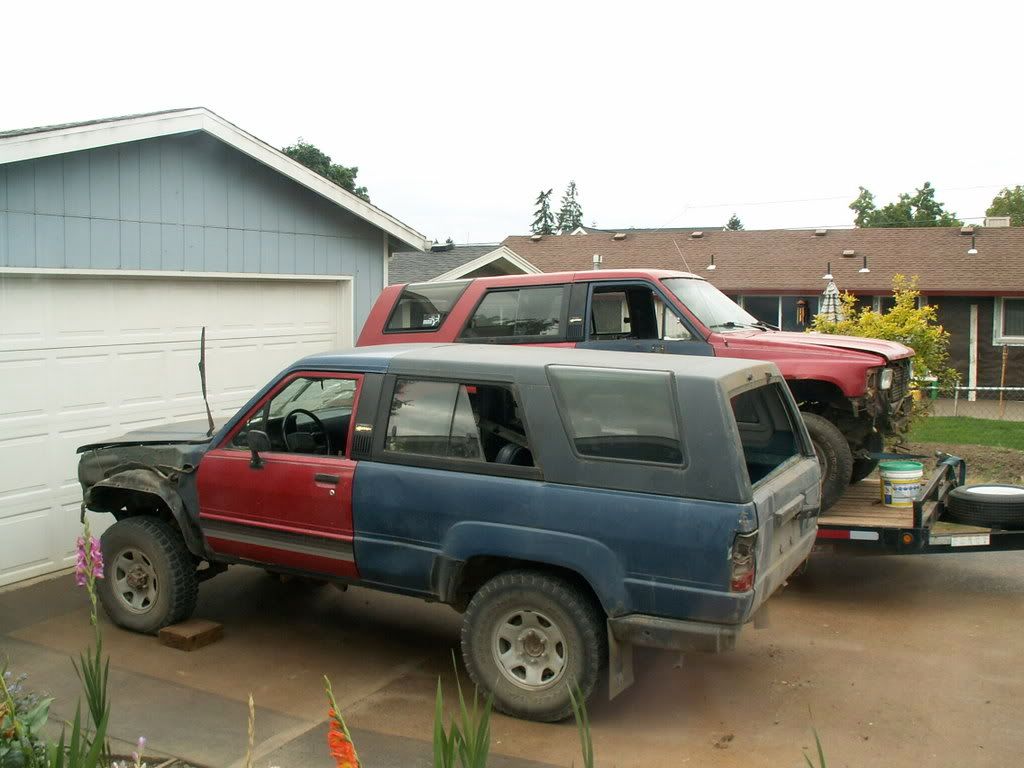
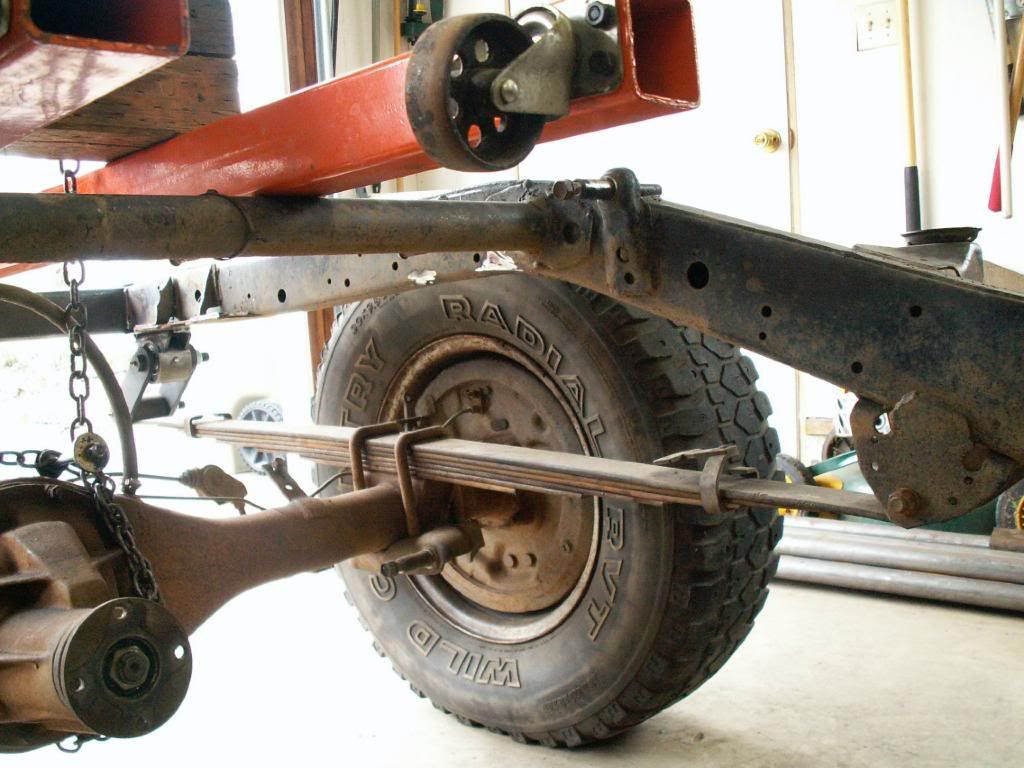
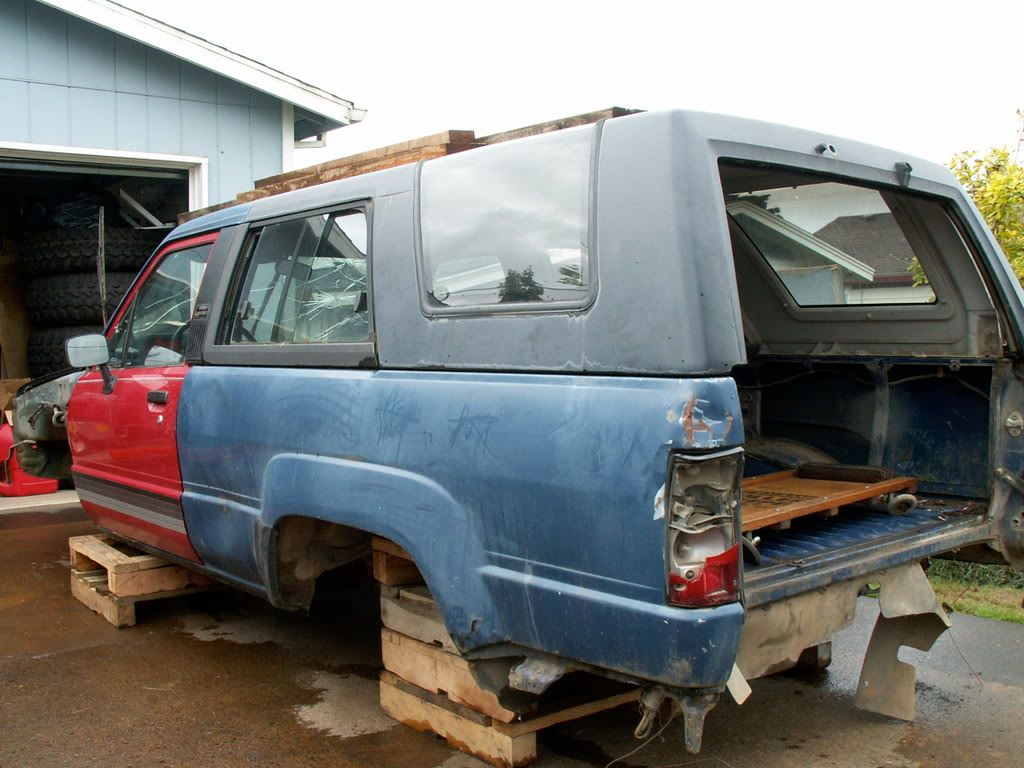
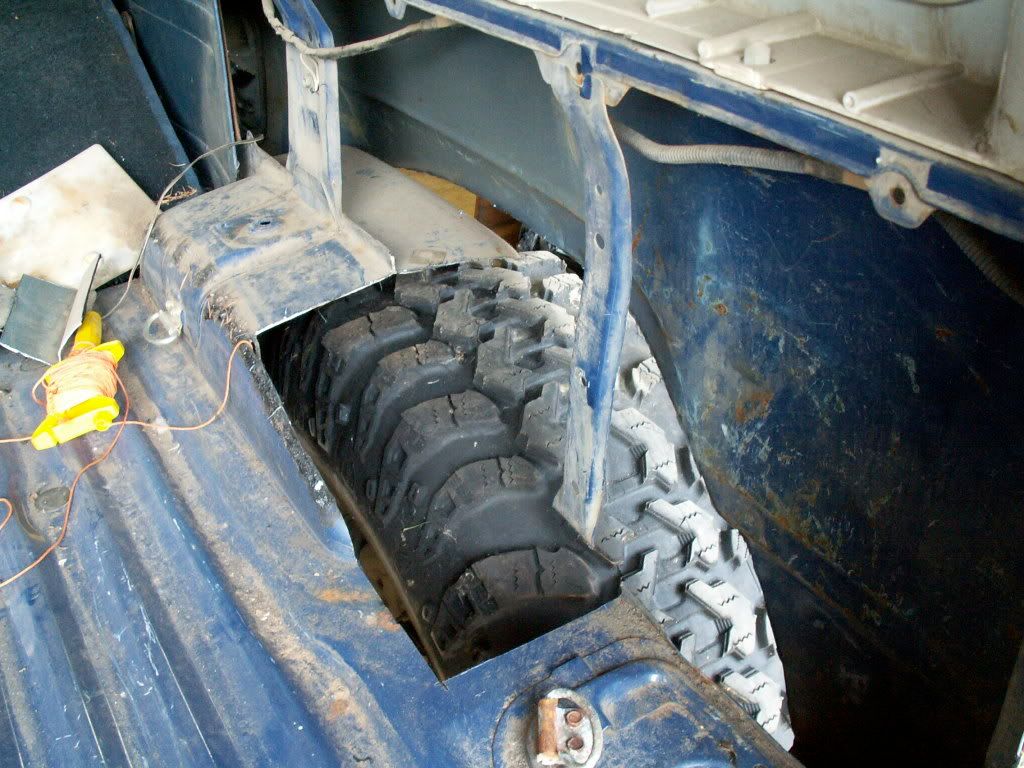
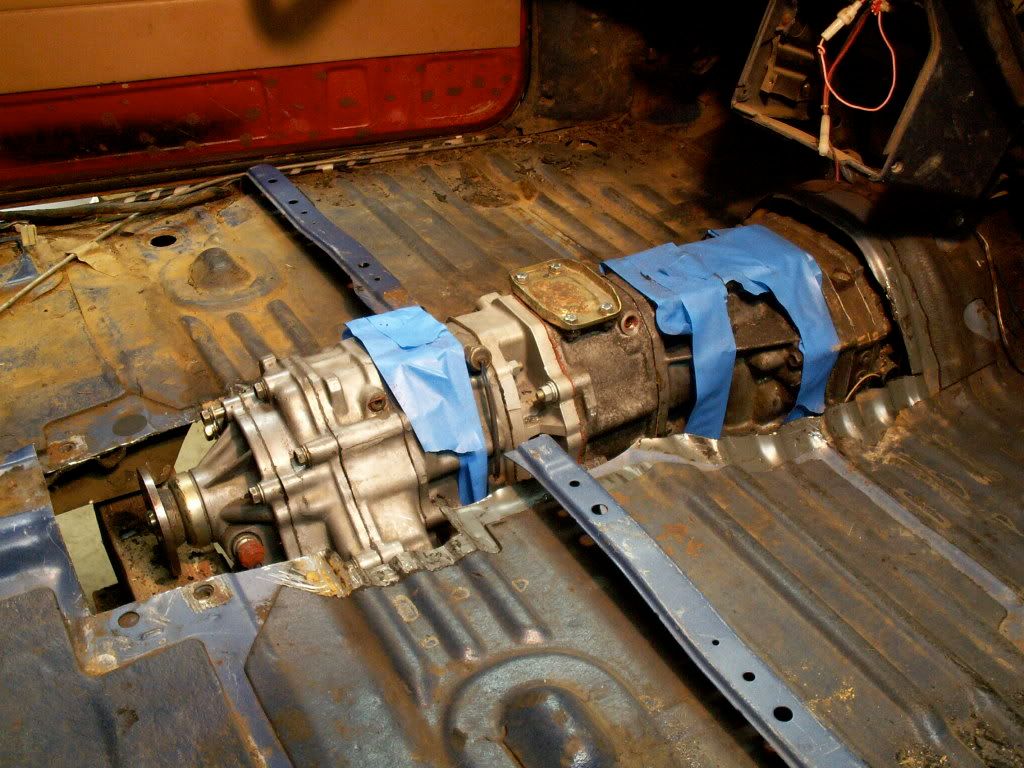
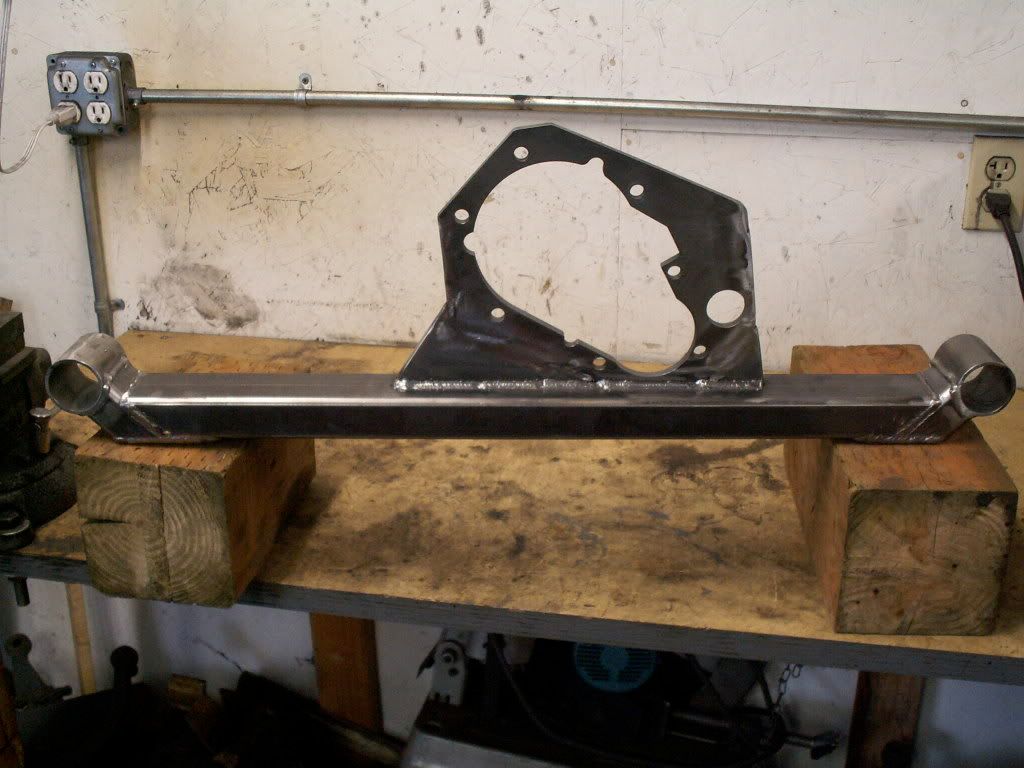
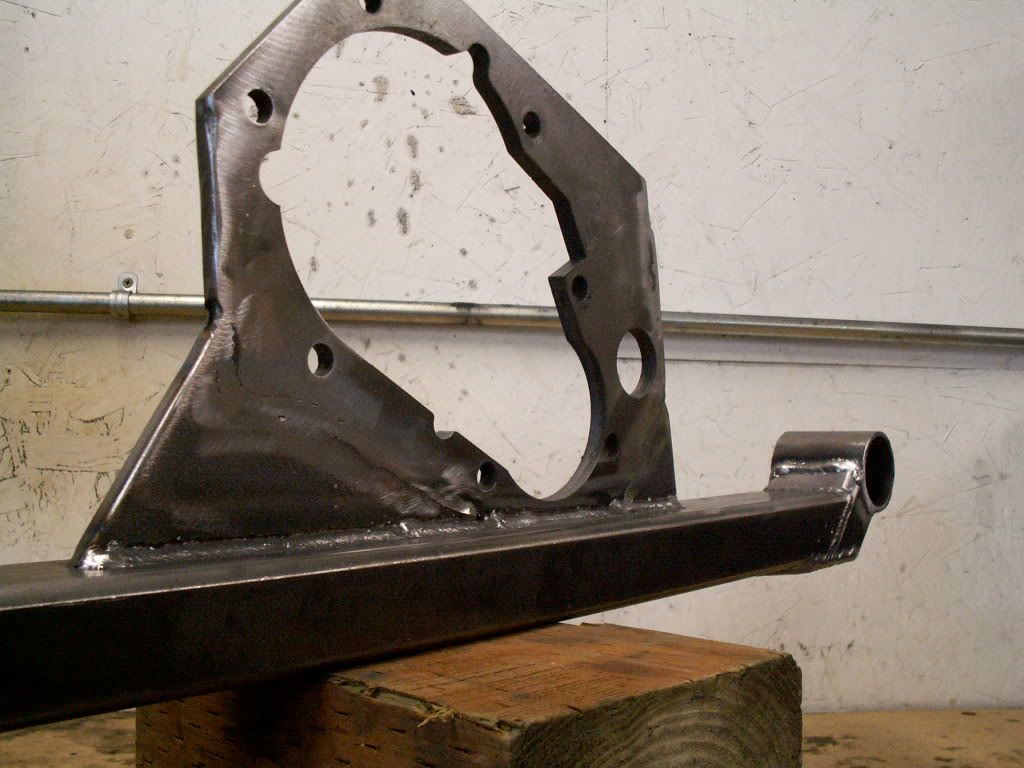
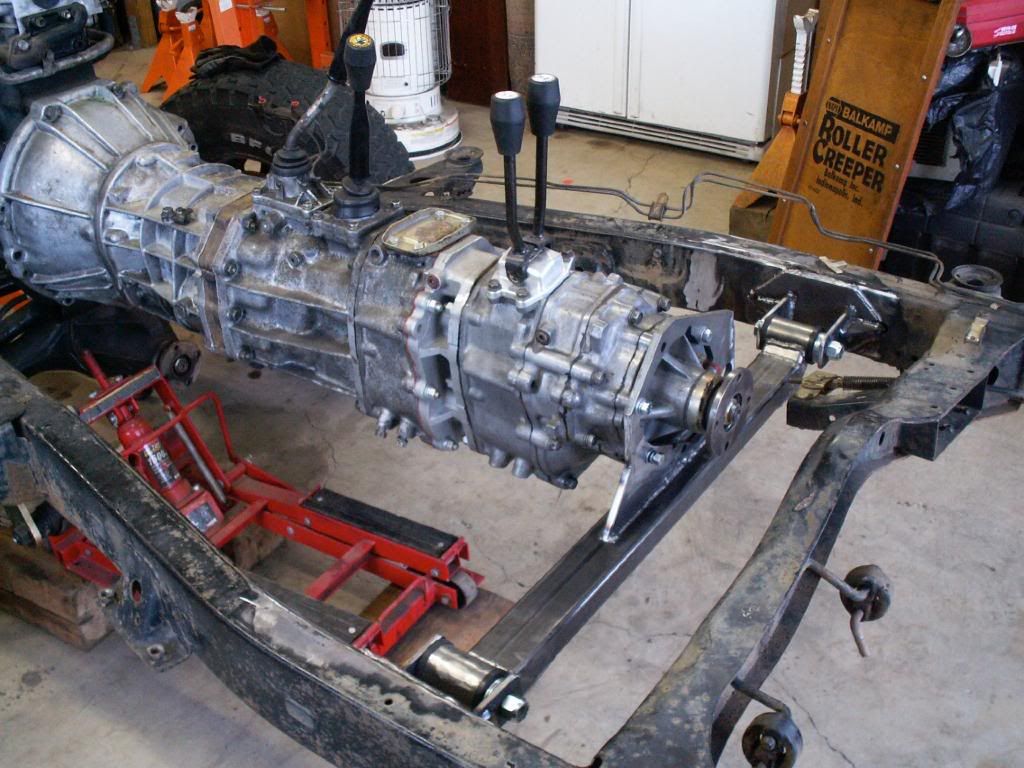
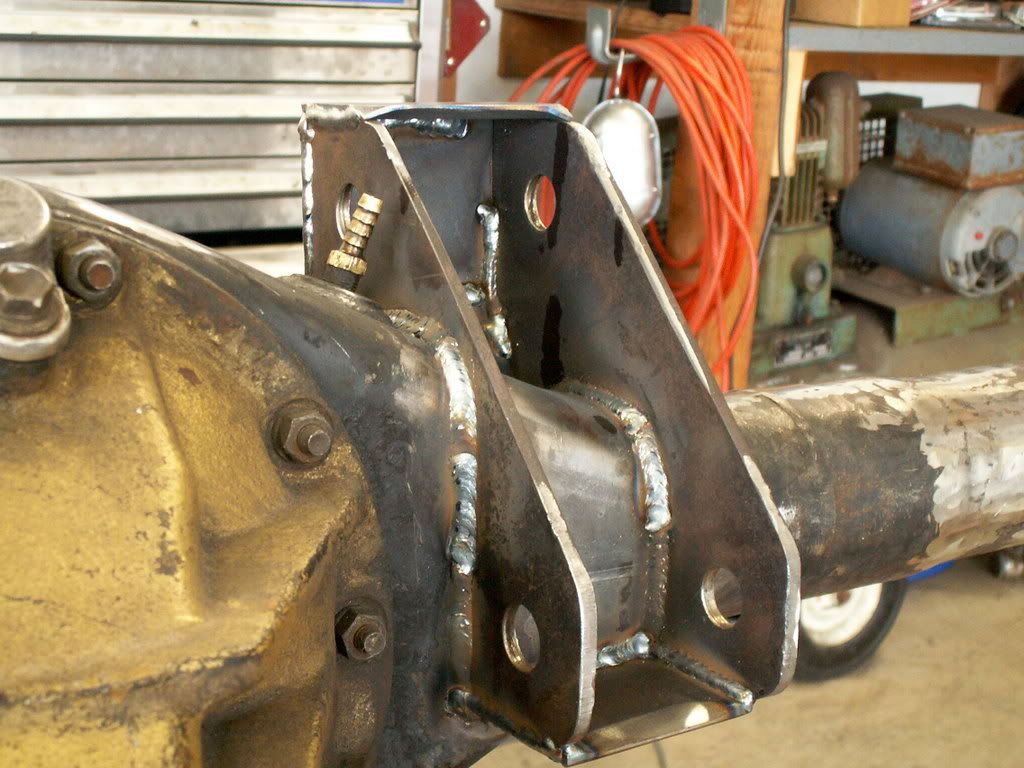
PICT0097.jpg


PICT0101.jpg


Nice and clean eh?


PICT0100.jpg


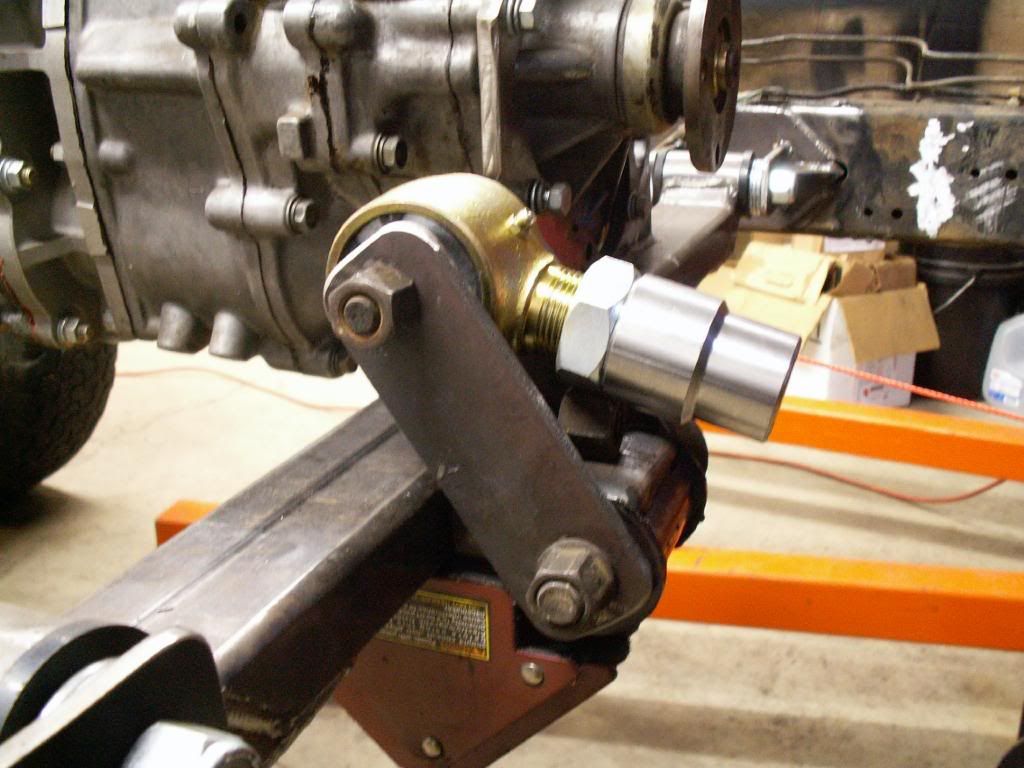
Stop looking at my *****...


PICT0098.jpg


PICT0099.jpg


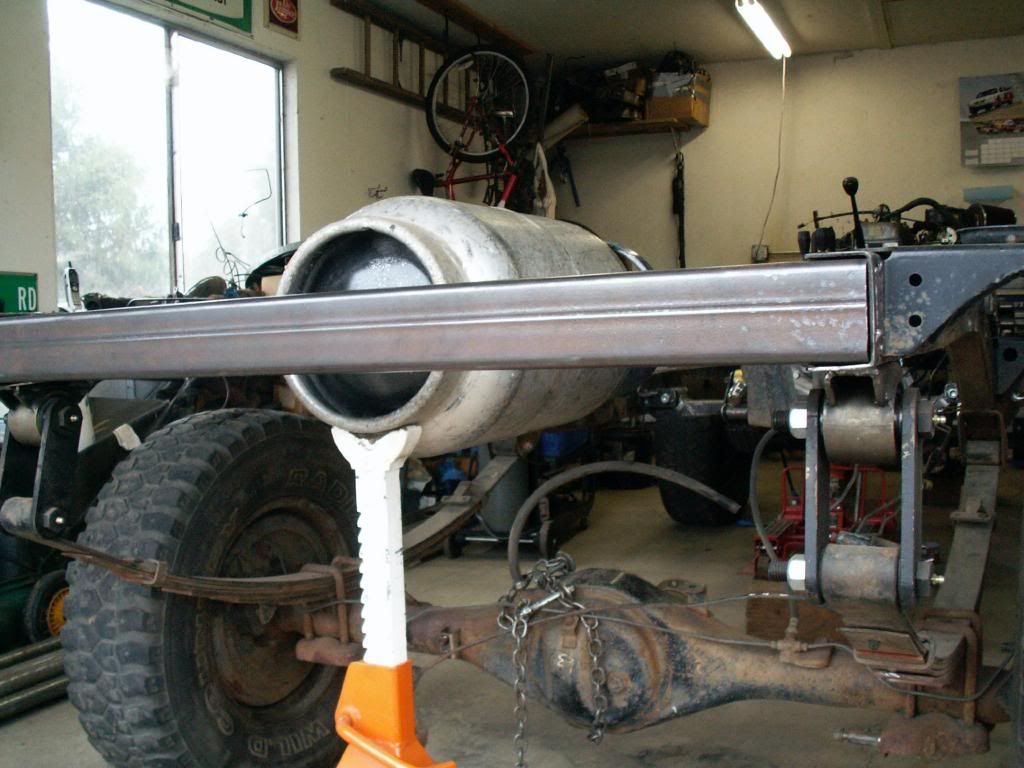
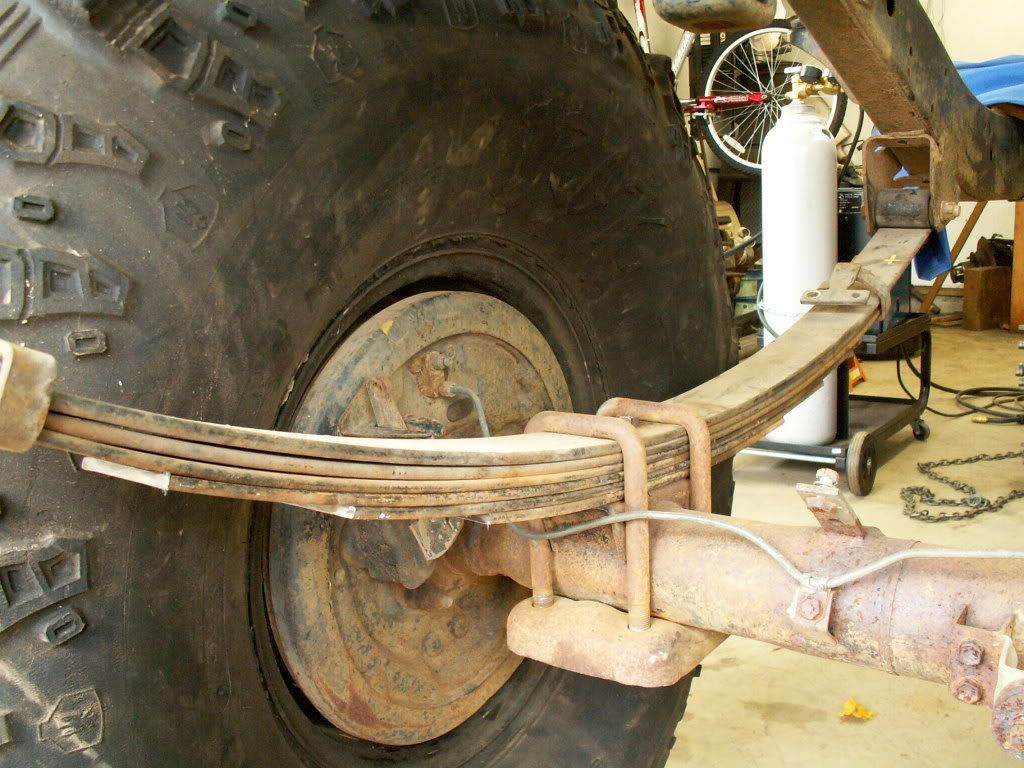
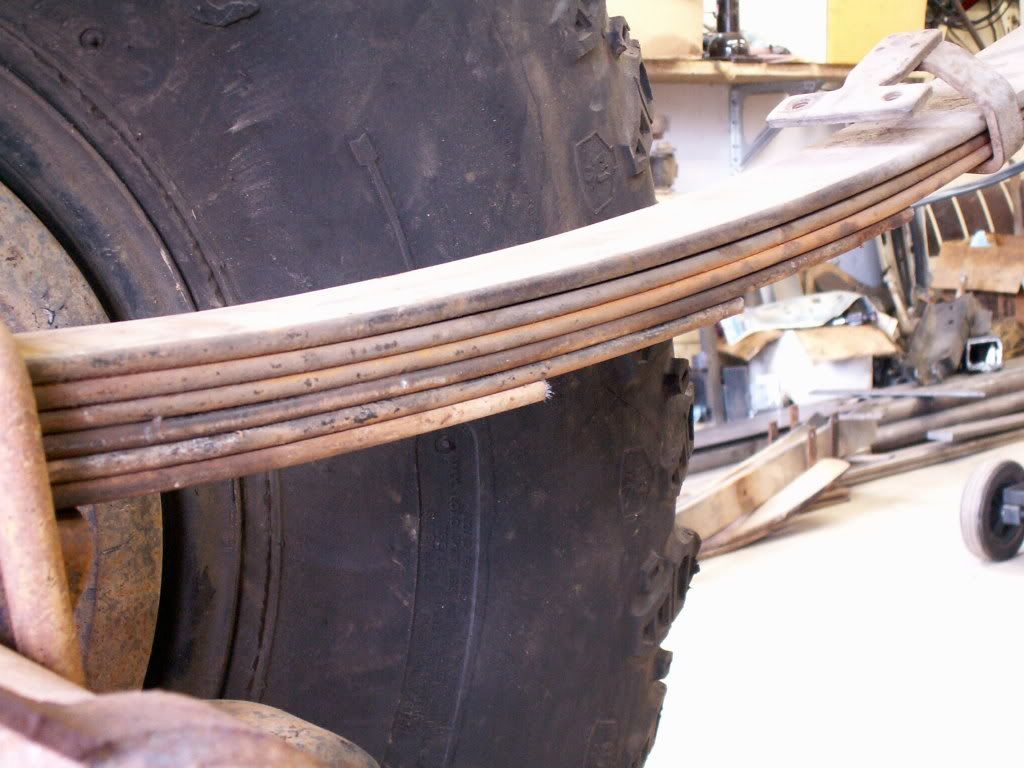
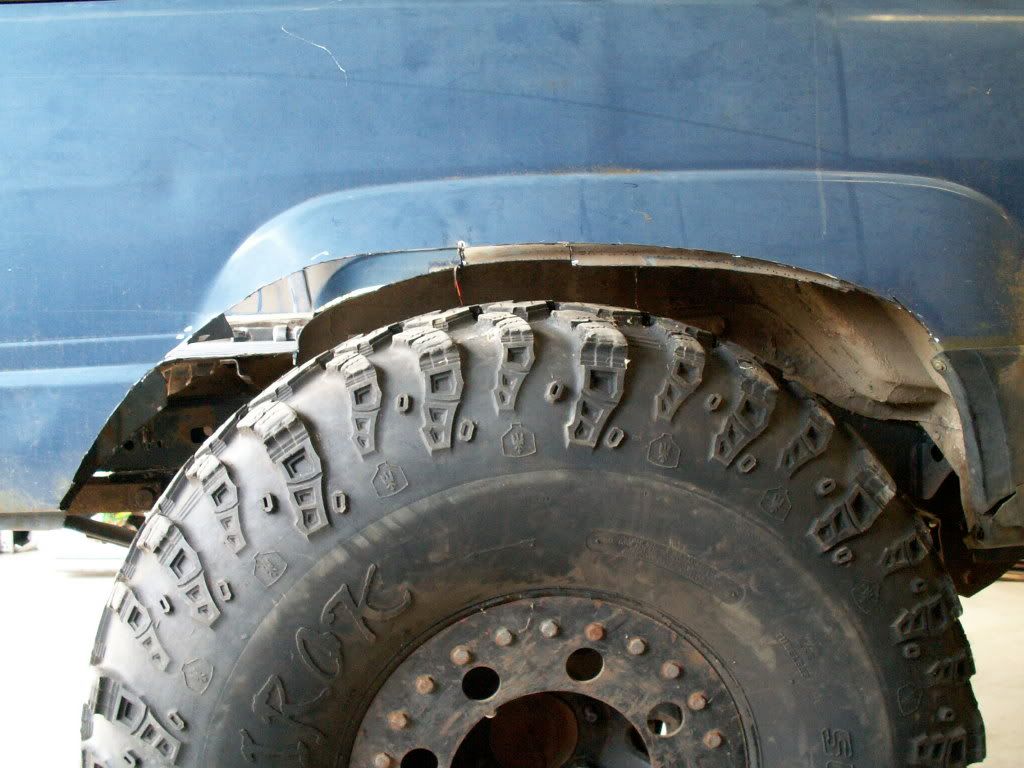
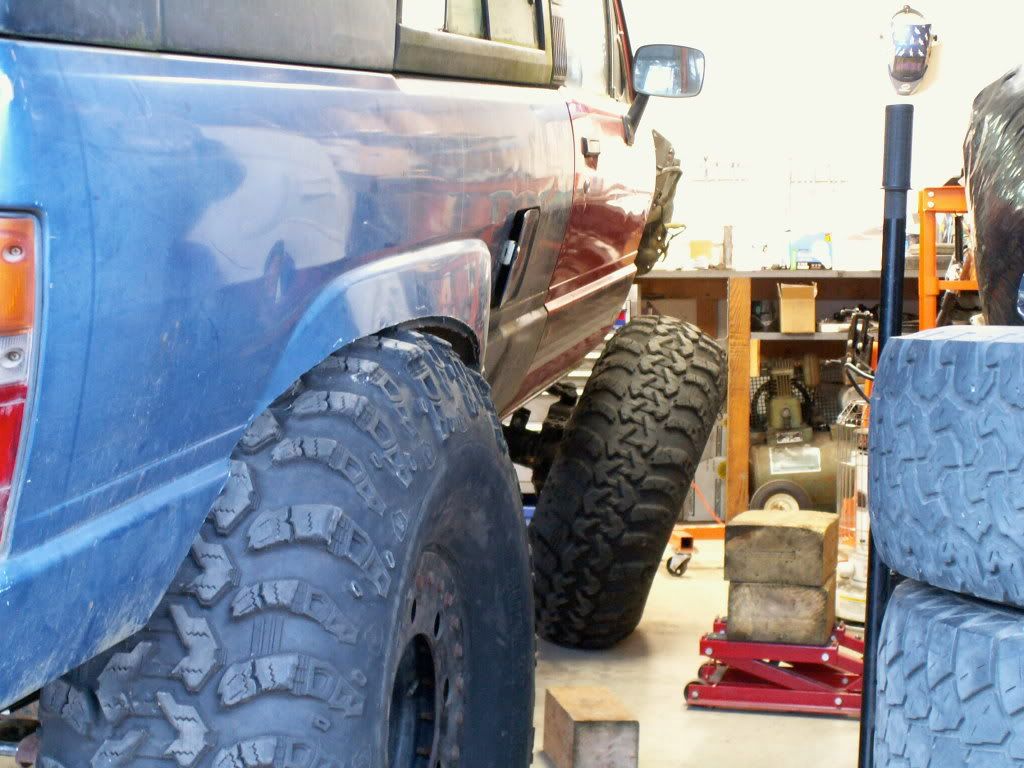
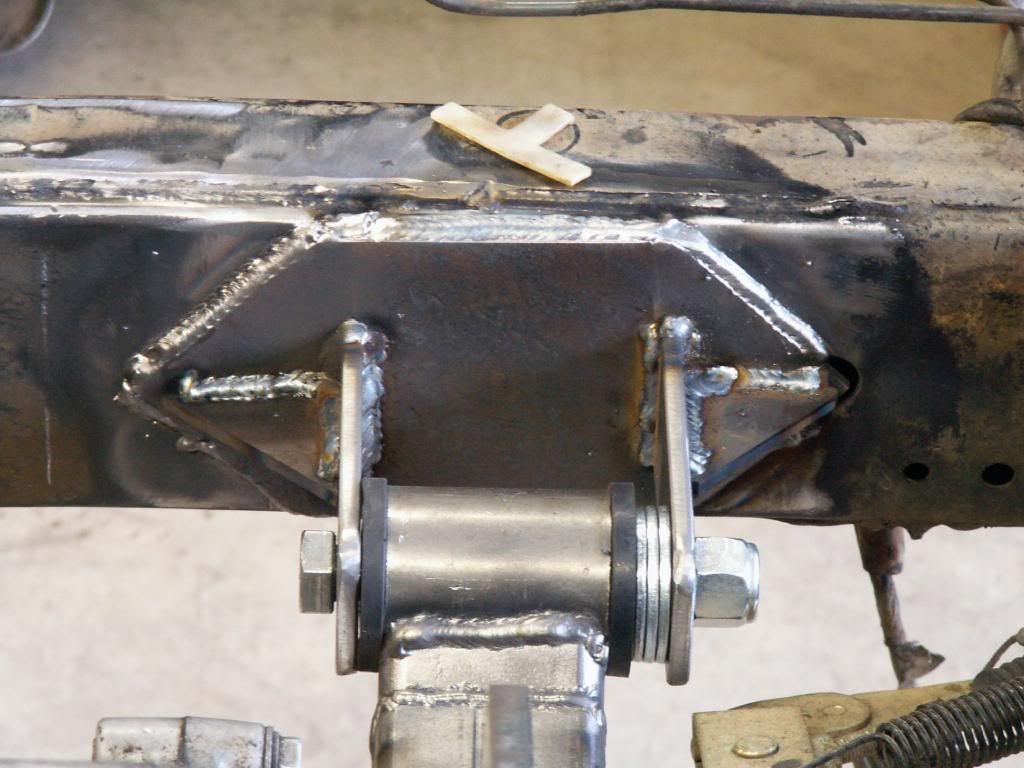
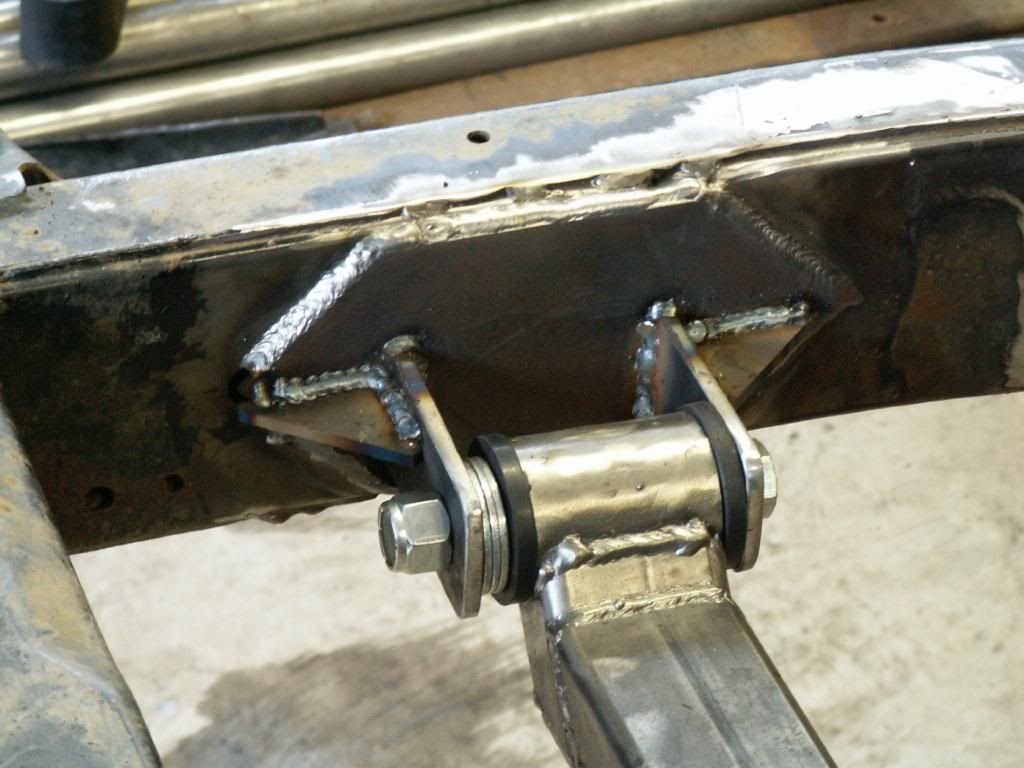
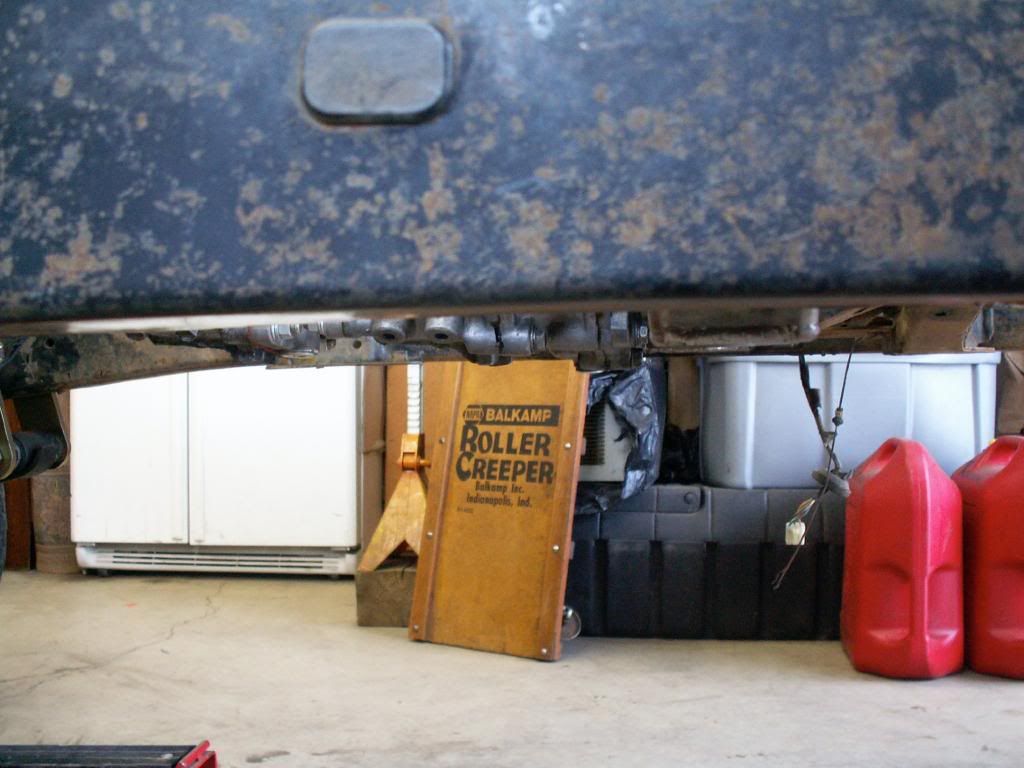
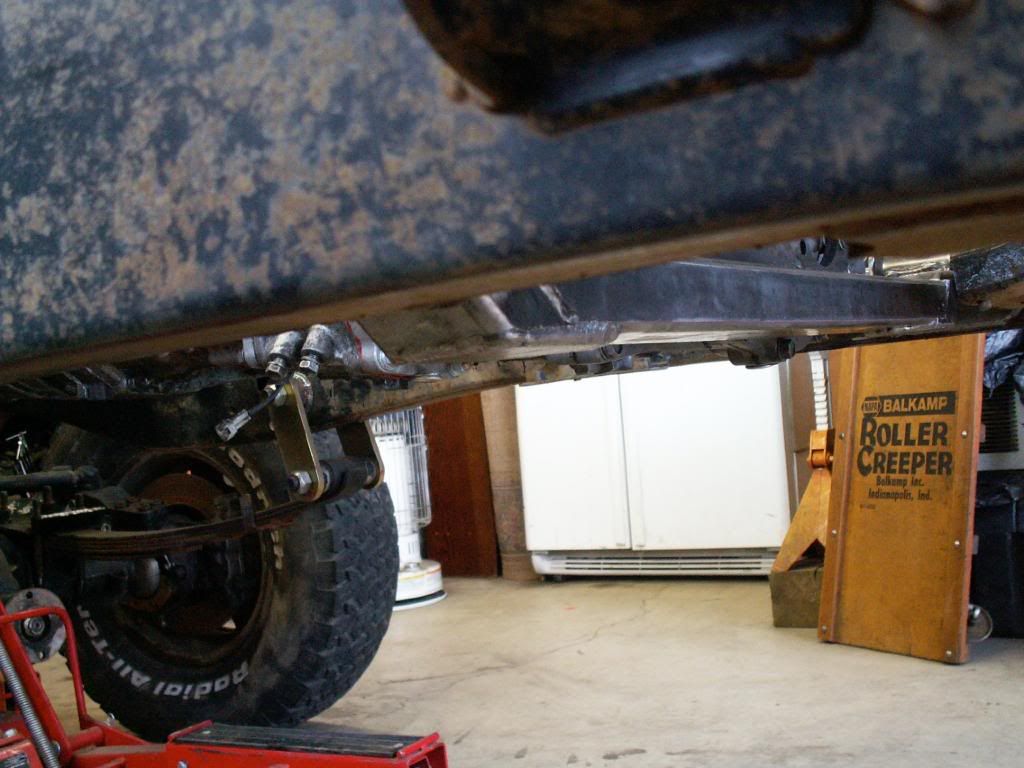
Low-rider..............


PICT0129.jpg


PICT0132.jpg


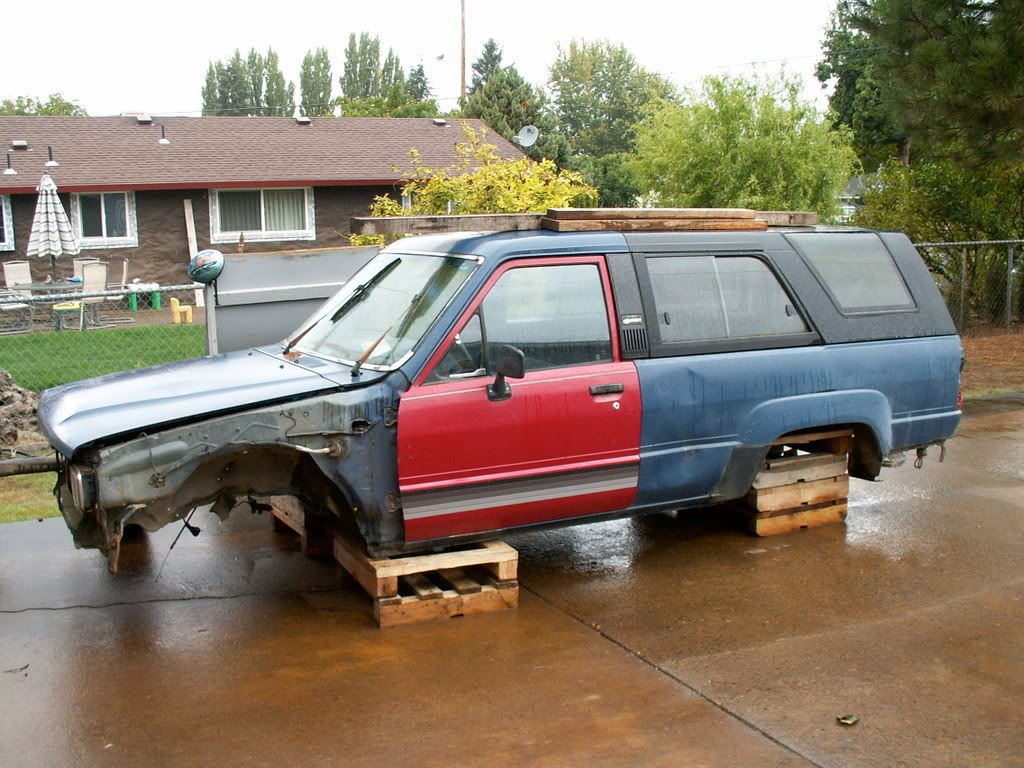
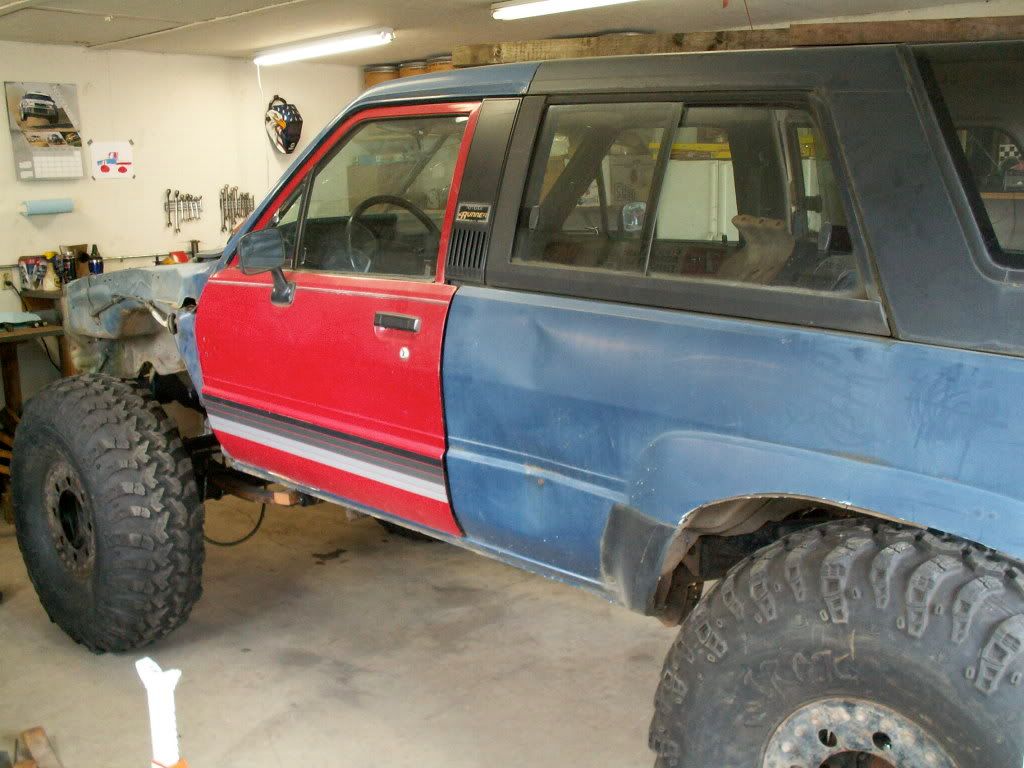
I hope my neighbors are not trying to sell their house.


PICT0134.jpg


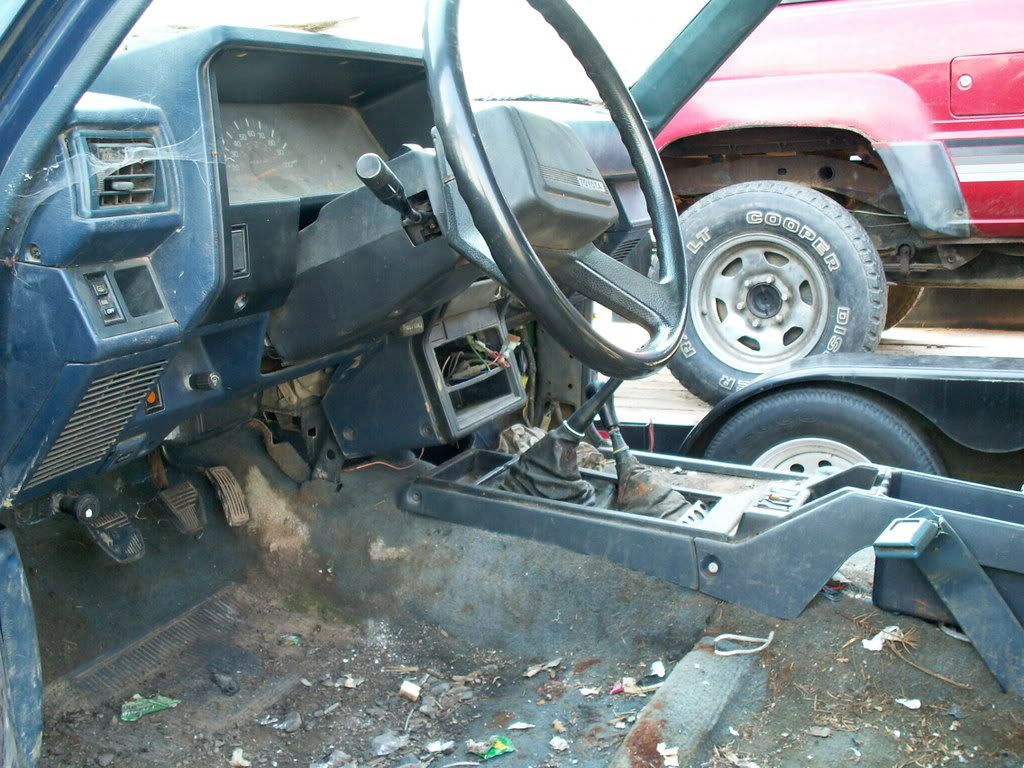
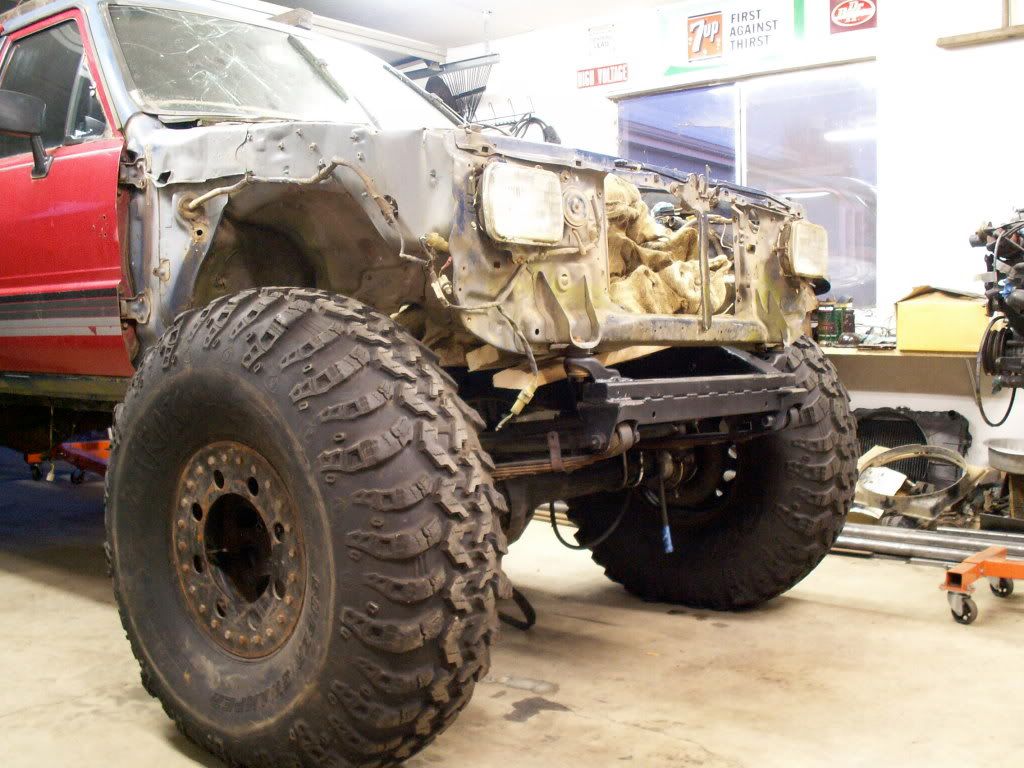
I want to let everyone know this right now, I will never do a SAS to a IFS truck AGAIN if the purpose is to make the most capable wheeler that I can.

This is a link to the reason why http://www.pirate4x4.com/forum/showthread.php?t=599542

P.S. Two wheel drive trucks have the same frame dimensions as a pre 86 4x4. Next time I will just convert a 2wd or start with a pre 86.


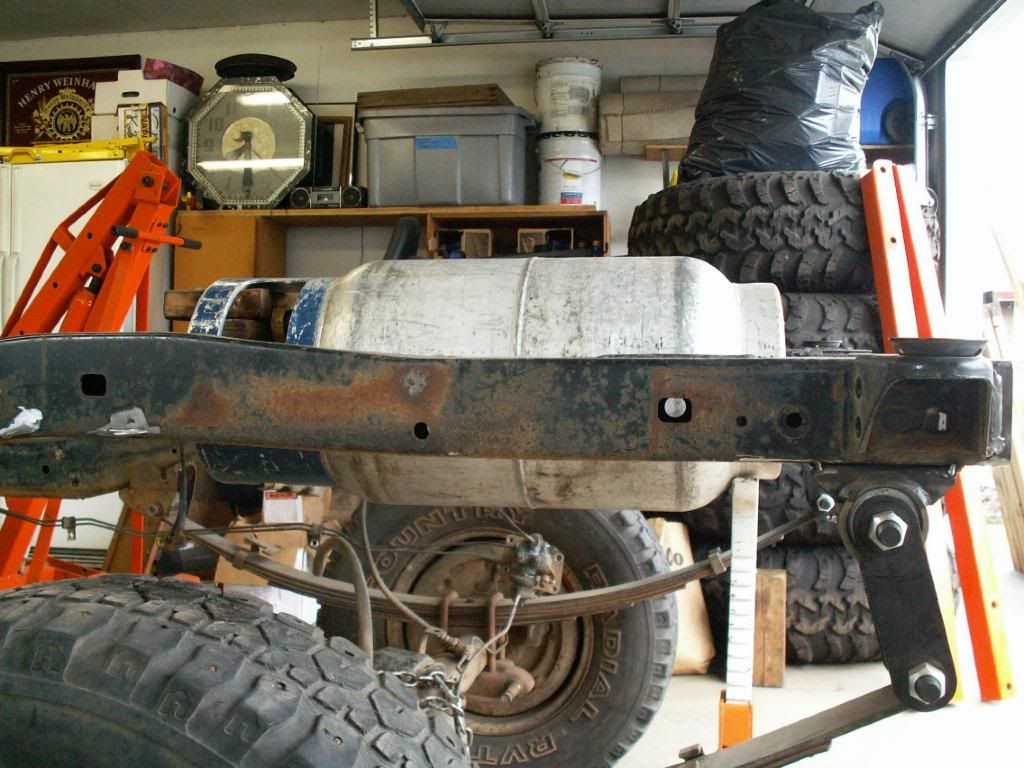
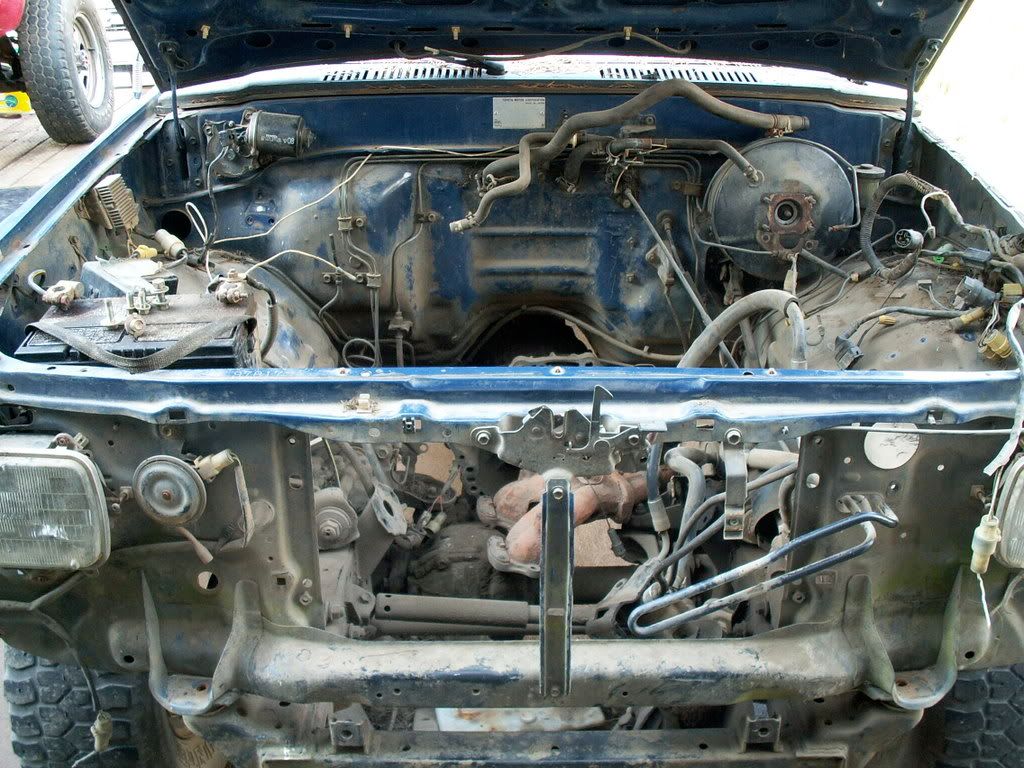
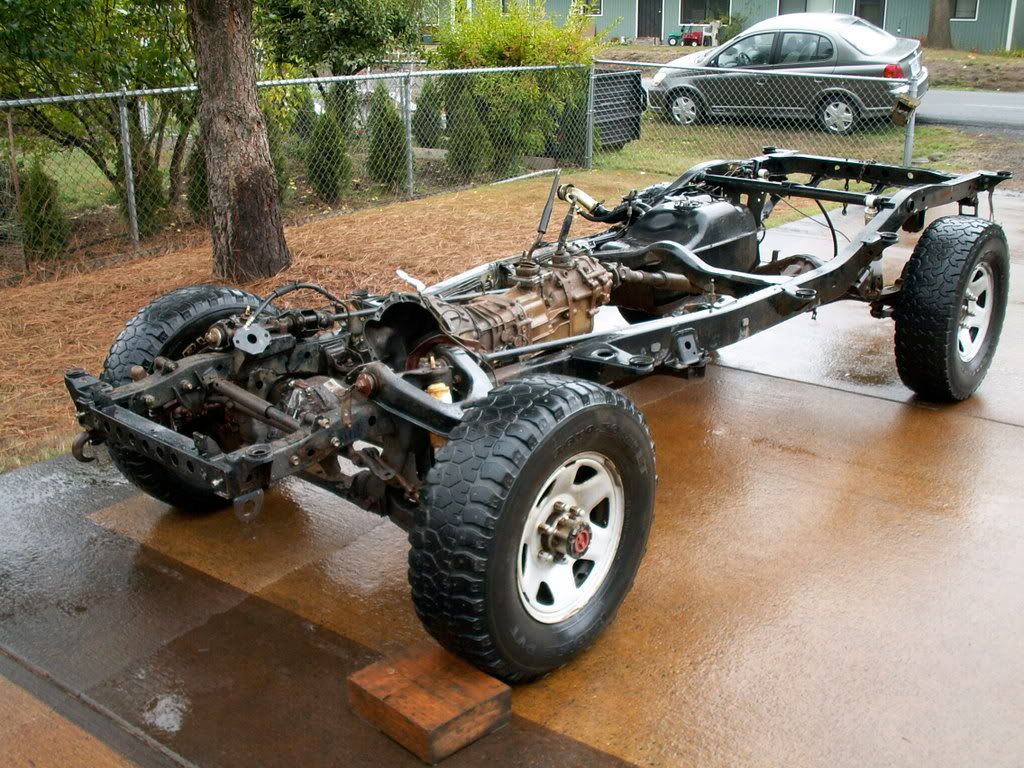
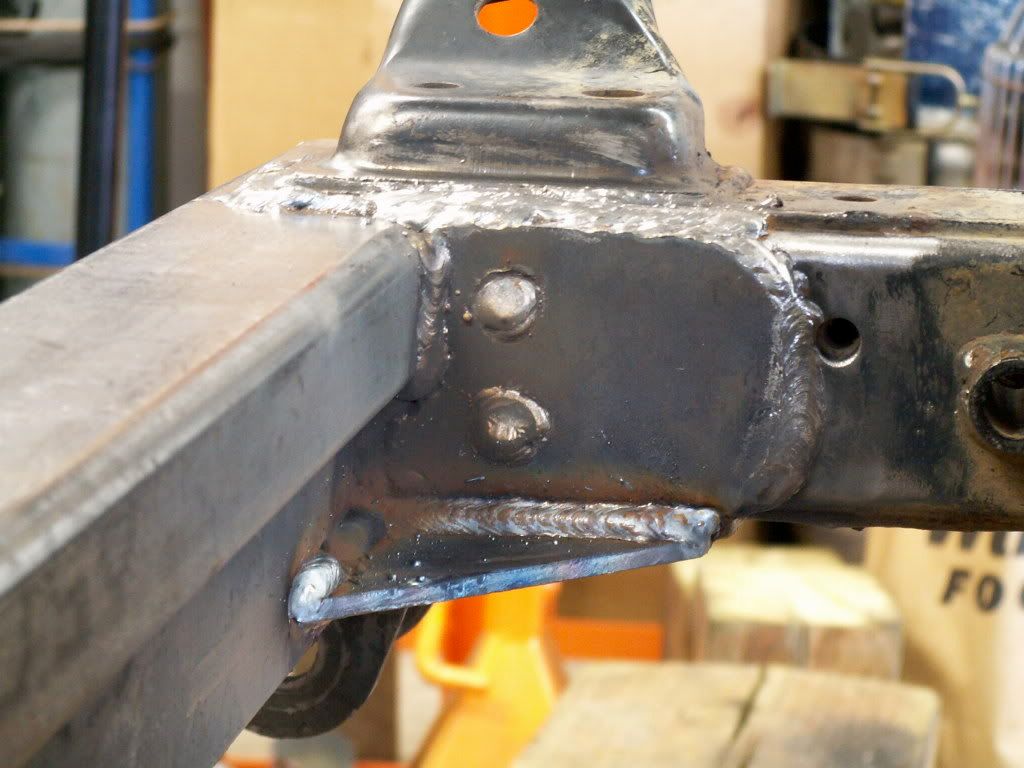
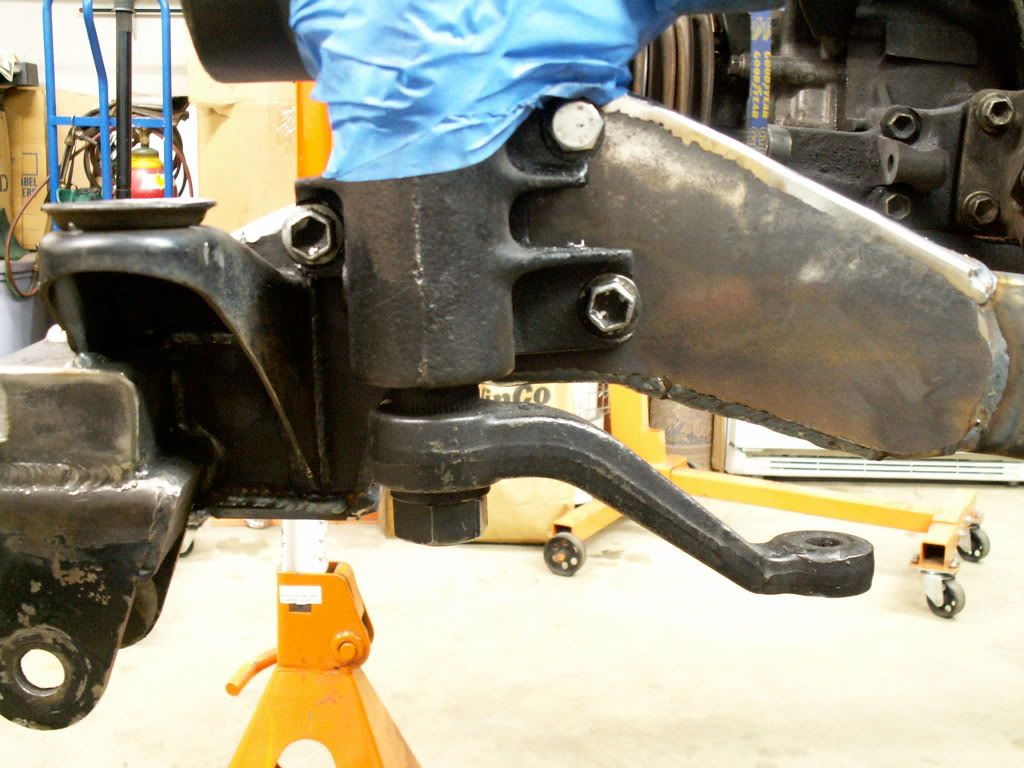
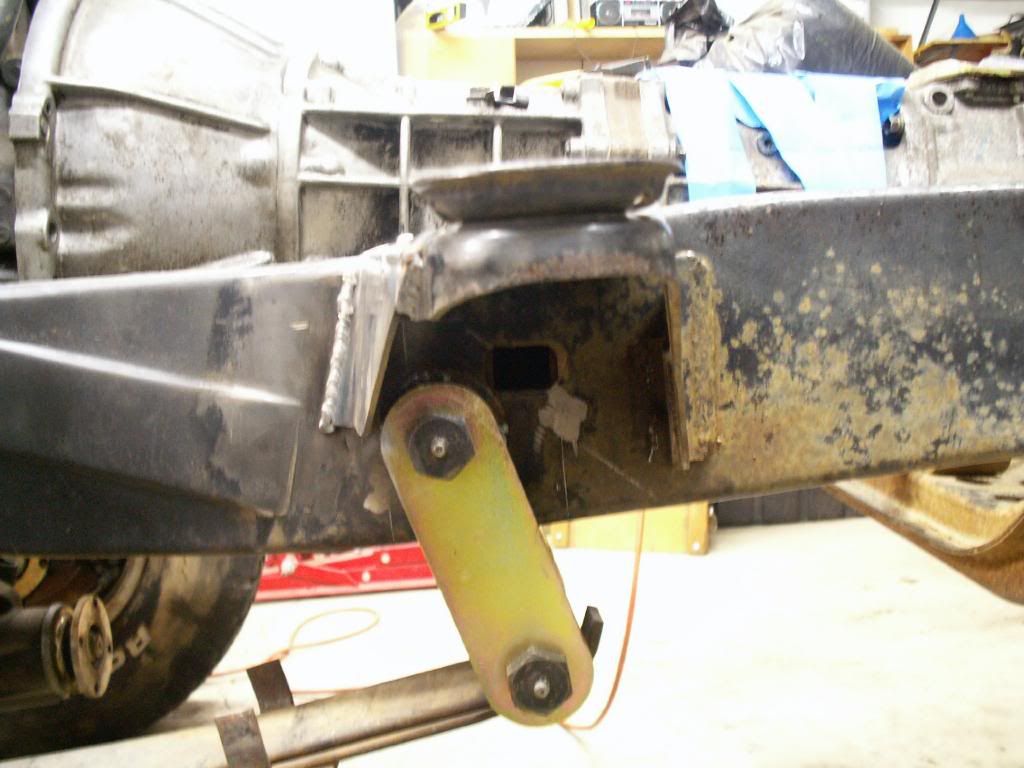
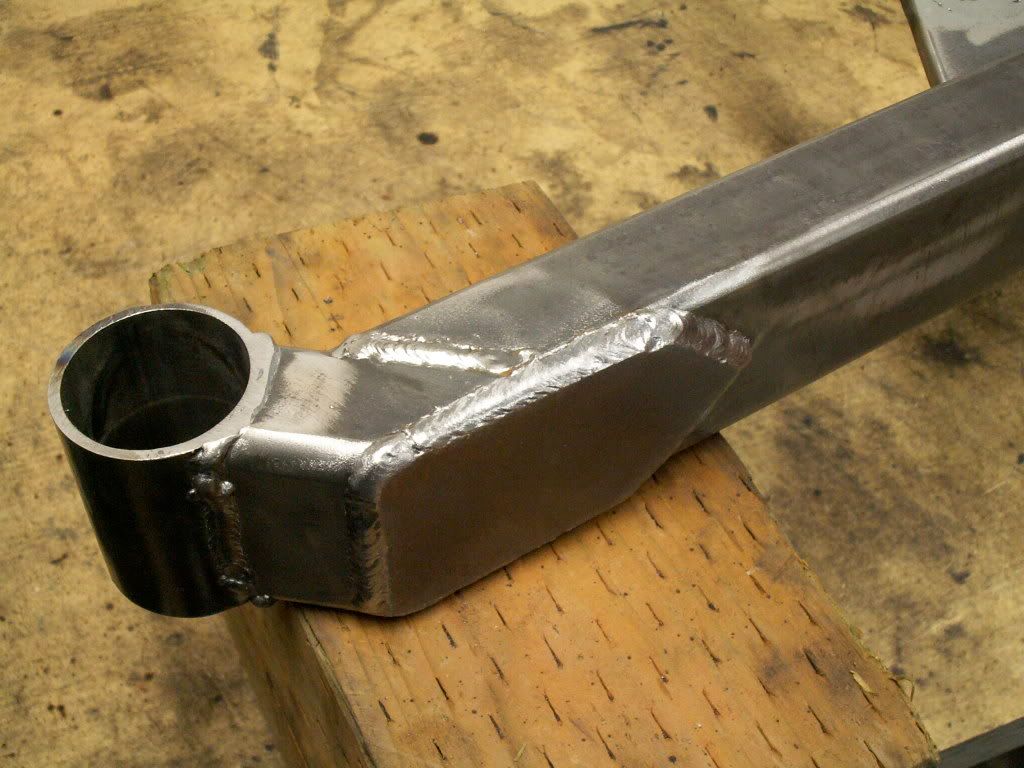
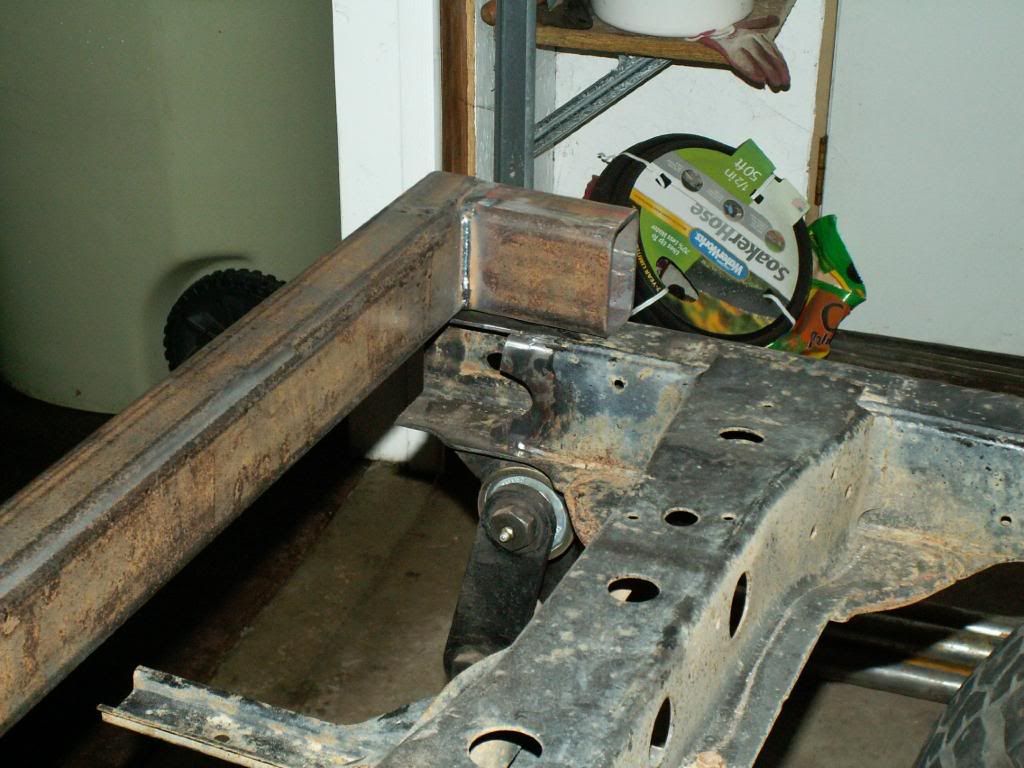
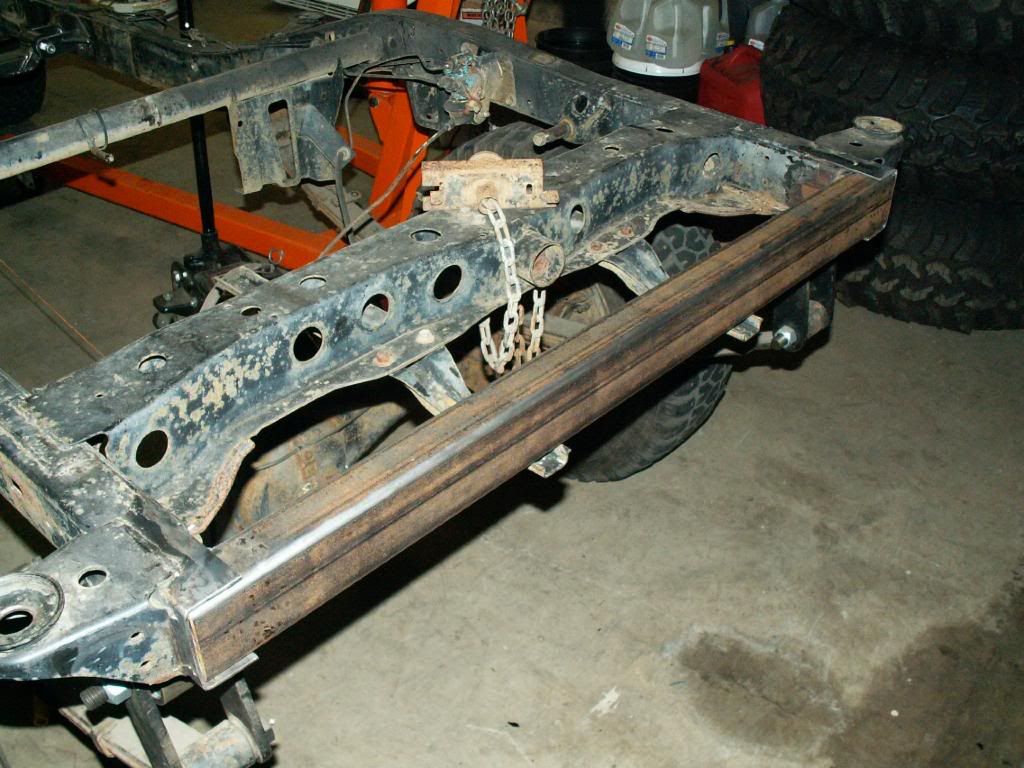
This is what I have been up to.


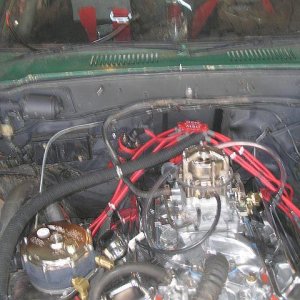
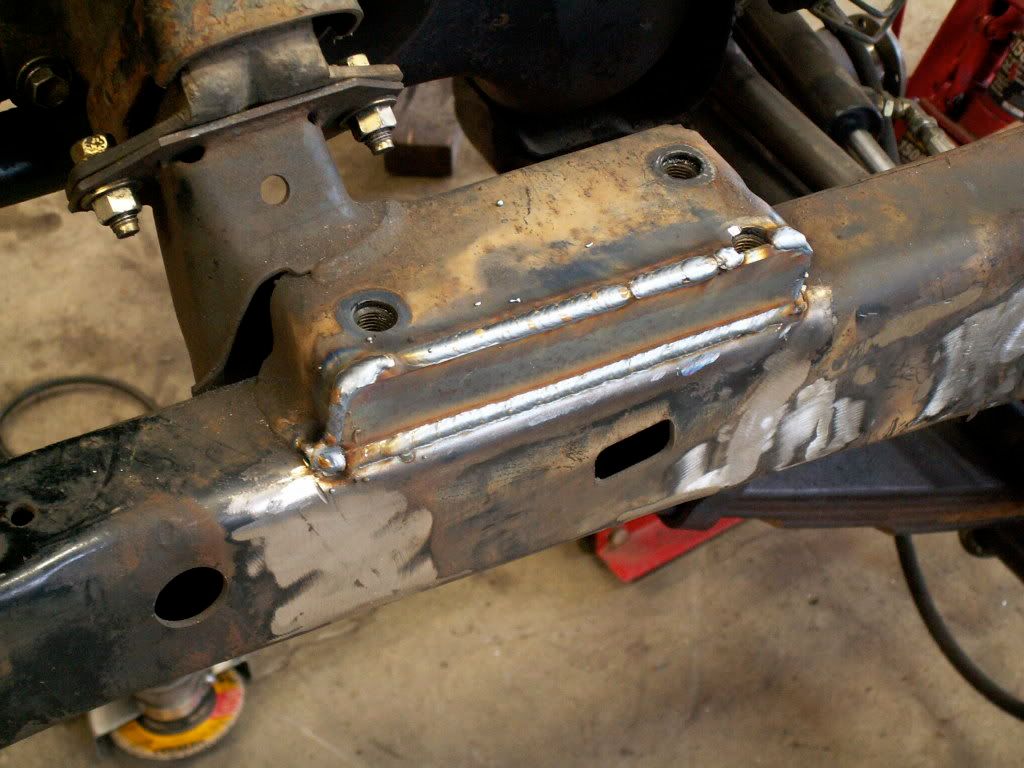
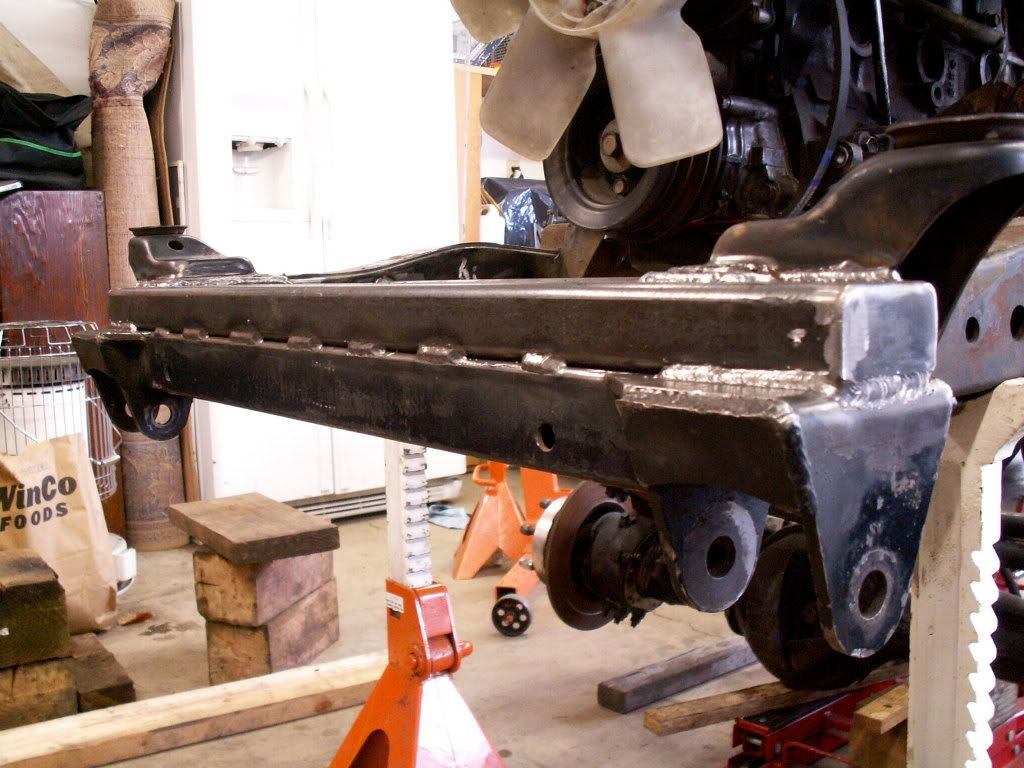
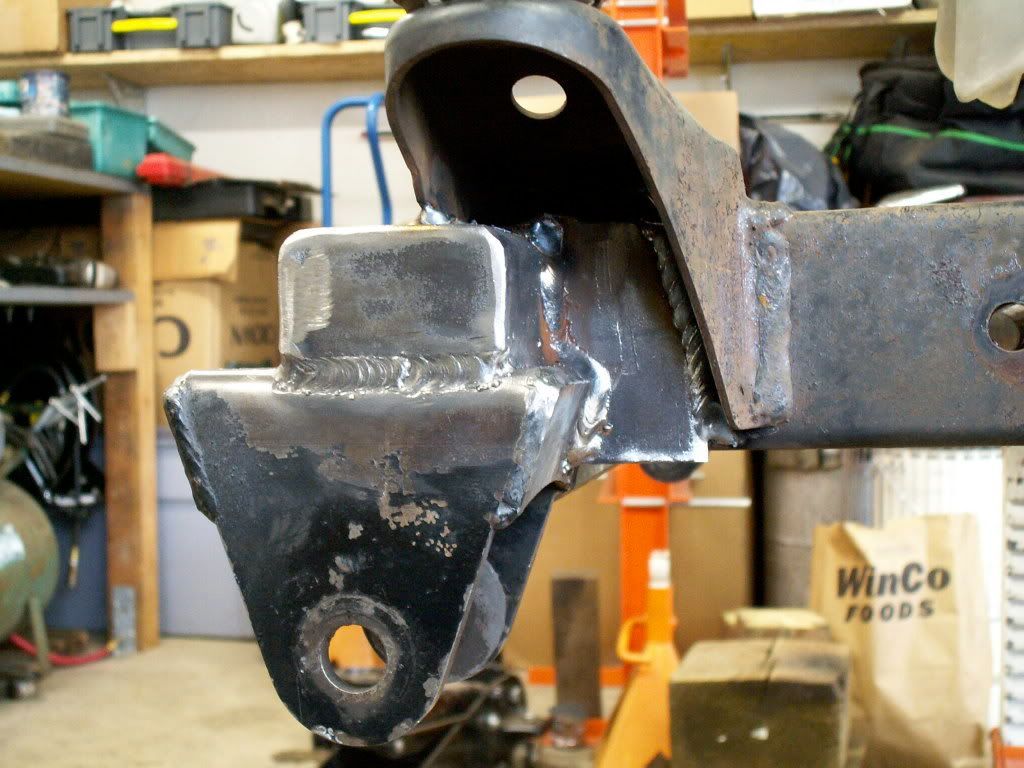
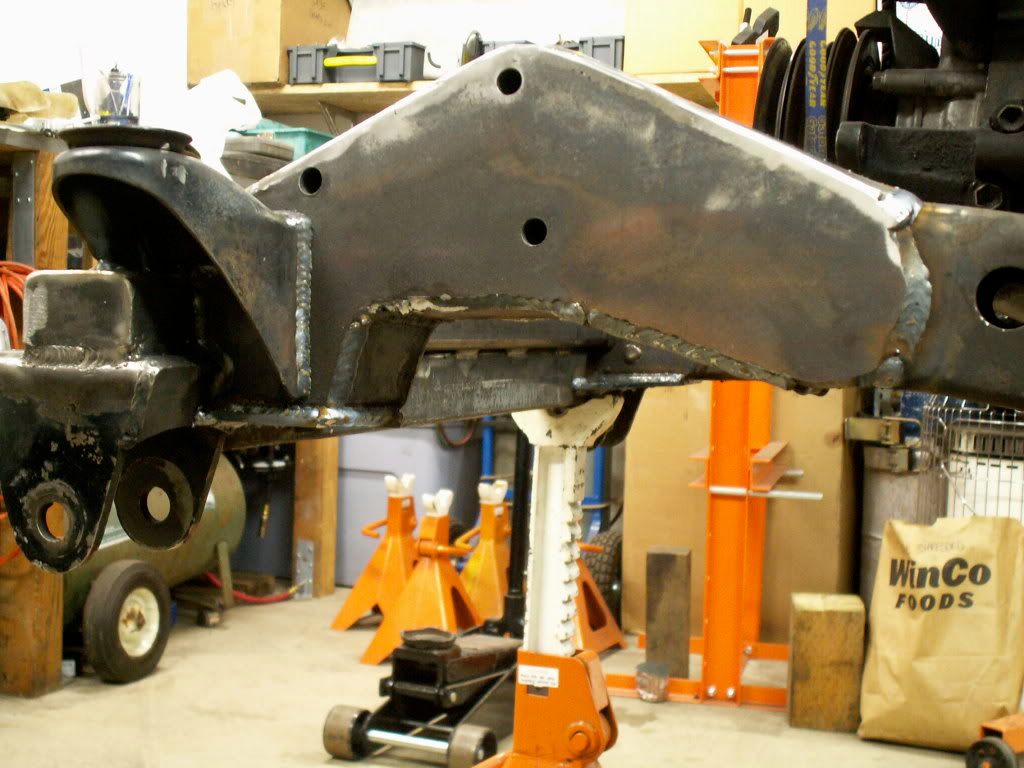
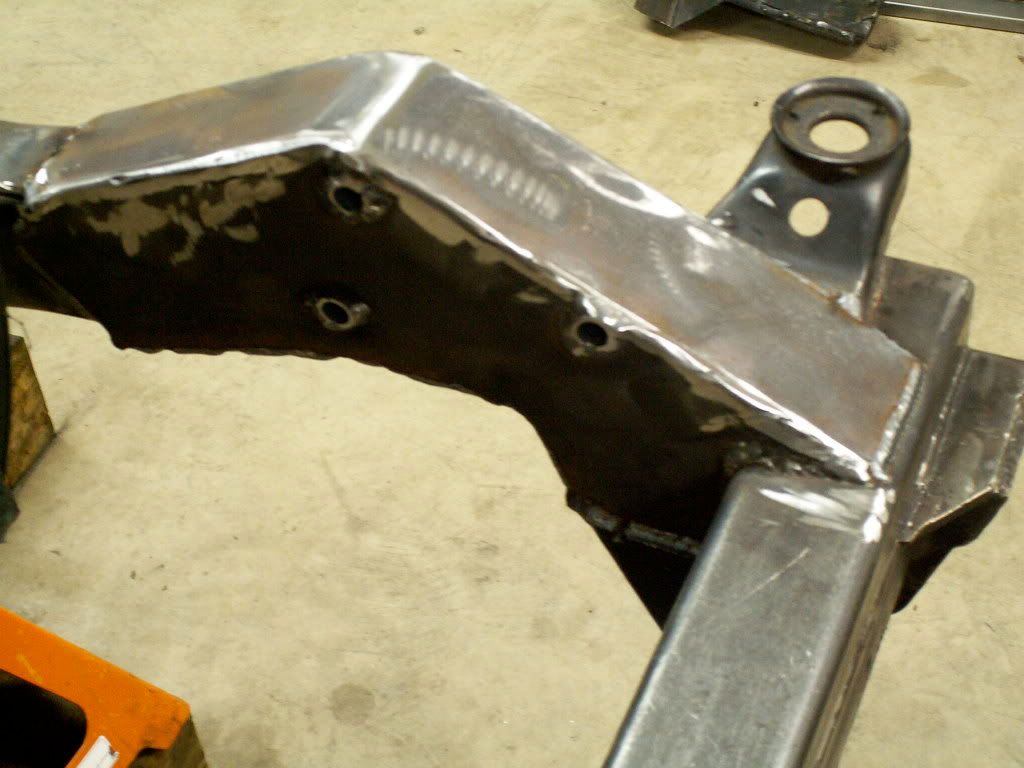
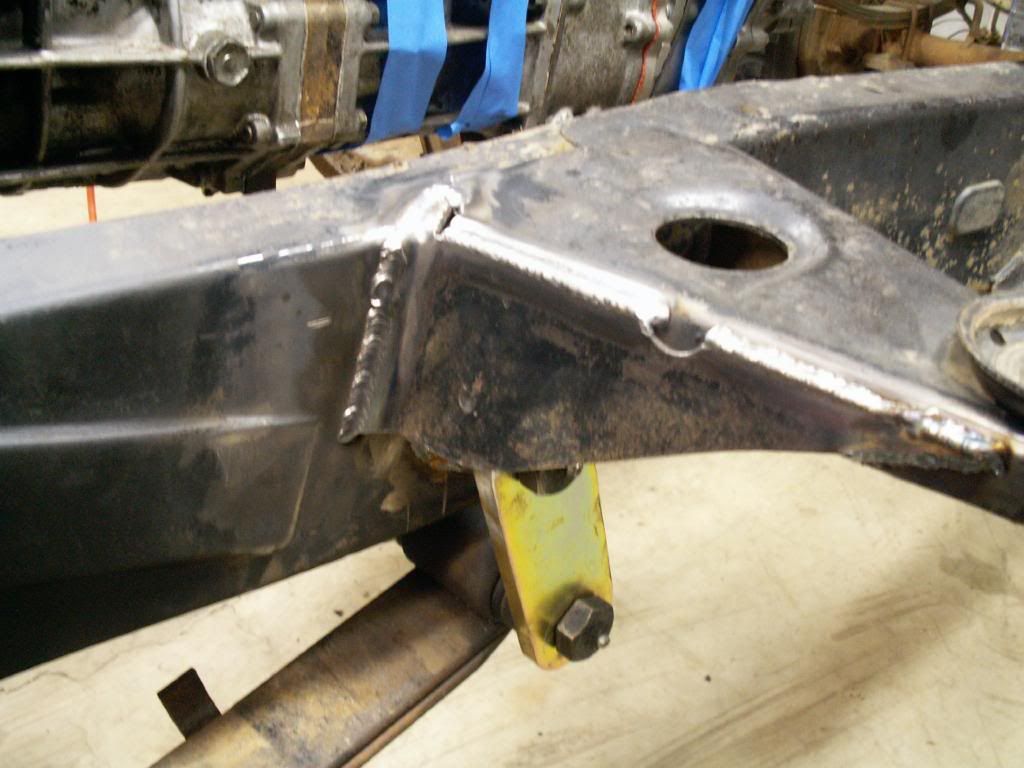
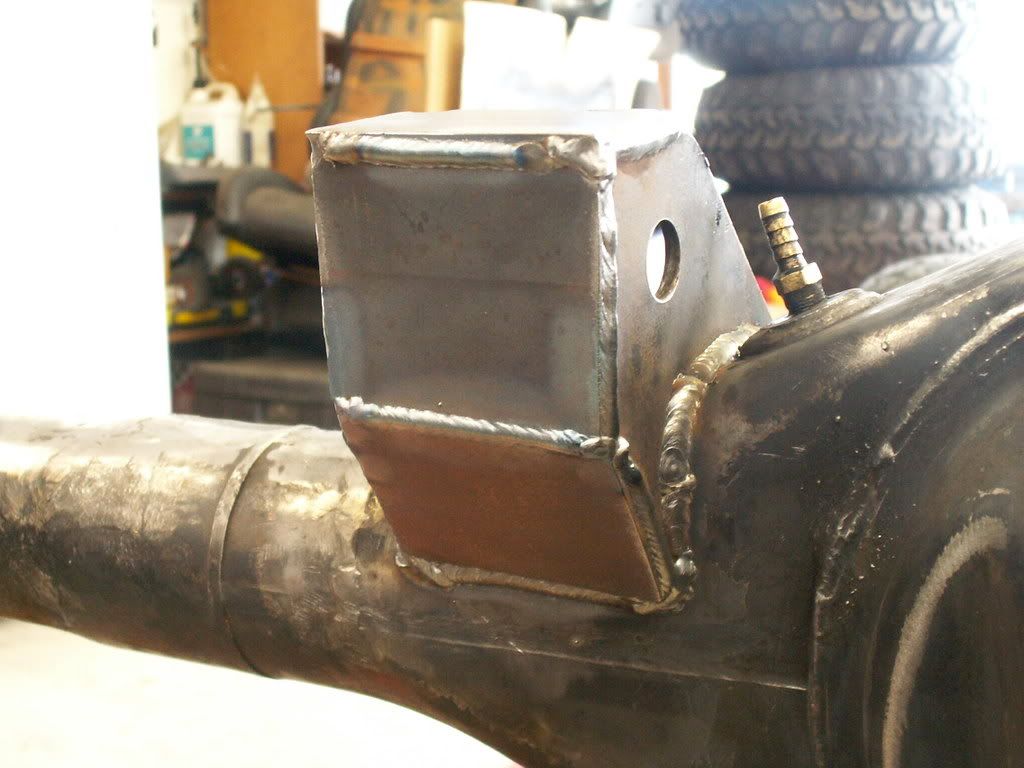
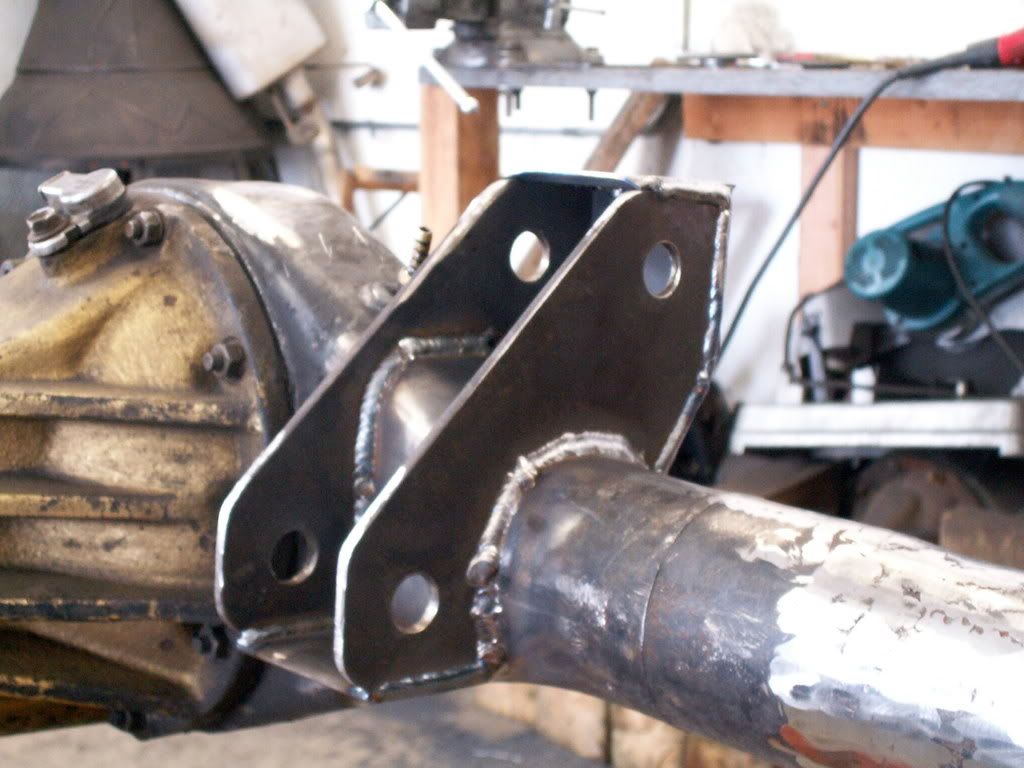
I capped the motor mounts.


PICT0149.jpg
 
The stock front cross member was cut out and a new one was made. The spring hanger holes are 1" up than a normal conversion. I also move the hanger forward 1".


PICT0142.jpg


PICT0144.jpg


This is the bracing on the right hand side and I rosette welded to the frame.


PICT0143.jpg


I moved the hanger forward 1" so the frame tube was moved forward as well. I also went up 1/2" on the frame in comparison to the frame jig that I bought. I will replace the brace that I cut out.


PICT0151.jpg


These are the Mazda hybrid leaves. The 4th leaf is a 48" Toyota rear main cut down 4" shorter. The 5th is a 48" Toyota rear main cut down 4" shorter than the last. The 6th is a 48" rear second cut down 4" shorter than the last.

I am not sure how this pack will work as of yet.


PICT0145.jpg


PICT0146.jpg


Steering box mounted and frame notched and boxed in with 3/8s.


PICT0152.jpg


PICT0154.jpg


PICT0153.jpg


The body is on and the rear has been tubbed out a bit. I dont like the comp cut look so I am trying to keep the rear.

I need to get the shackle hangers relocated since the shackles are laying on the frame right now. I started cutting since it was so low already.


PICT0159.jpg


PICT0157.jpg


PICT0158.jpg


PICT0156.jpg
 
Well I got the springs mounted up.
I put a 4.5" shackle in the front and a 5" shackle in the rear with a Marma joint.
Now I have heard plenty of good and plenty of bad about that type of joint but I figured that I would give it a try. The Mazda leafs are prone to break so my reasoning was to help relieve the twisting on the main leaf.

I put about 600lbs in the front to simulate the motor and winch and and 100lbs in the rear and ended up with a even front to back frame hight of 25".

Not much up travel in this berry, I guess that I will have to keep the tire pressure low.


PICT0163.jpg


PICT0166.jpg


PICT0171.jpg
 
The tires have been on and off so many times now, and will be taken off and put on so many more times before Im done........

Maybe I will be like Cliff Clayton and run em backwards like the ha ha claws he likes.....:stirpot:
 
I tossed in the motor so I could start on the drive train lift. Figured that I could do a quick garage flex to give me a idea on fender clearance.


19" under the front 39.5 and the rears didnt come off the ground, not too bad since the rears will go farther...


PICT0173.jpg


I have rub issues on the rear, time to cut some more....


PICT0172.jpg


I like what I see so far with these Mazda hybrids


PICT0174.jpg


PICT0175.jpg
 
After much thought I decided to raise the drive train. I realy want to have a low COG but at a wheelbace of 115.5" the break over angle is terrible. I had a friend do some trig for me and I was able to match the BA with that of my other truck. It has duals with a FROR crossmember and a wheelbace of 106".

The overall raise hight is 2.5".


PICT0178.jpg
 
Hey good to hear from you again 327, hope things are well for ya.

PM me anytime my other rig is going strong......I will be out New Years day.
 
Not much done due to the weather and wheelin this weekend.


Pulled the body again and re-braced the cut body mount.


PICT0209.jpg


PICT0208.jpg
 
Slow economy + snow on the valley floor = No work for me. I finished up the T-case crossmember today.


PICT0211.jpg


PICT0210-1.jpg


PICT0212.jpg
 
The frame plates and brackets got finished today and the tranny is hung with care.

PICT0214.jpg


PICT0213.jpg


PICT0215.jpg


I have the tranny setting 1" lower than the bottom of the frame.


PICT0216.jpg


PICT0217.jpg


For those who dont know, I am using a R series tranny, duals ,twin sticked, 23 spline through-out, with 4:70 gears in the rear case.
 
COG is one reason.

The main reason is that the rear output flange is at 2* down slope right now.

Anther reason is that the motor needs to have some rear down-slope to it. The oil in the valve-train needs to flow to the rear for proper lubrication.

A motor lift is out of the question.
 
I cut all of the four link brackets off of the donor axle and made the anti-wrap mount.

I called my local dealer and my joints should arrive soon....:cool:

Barrel bushings to be used on the axle end.


PICT0225.jpg


PICT0224.jpg


PICT0223.jpg
 
I worked on this until the UPS guy dropped off my J joints today.


Rear frame cross member. I sleeved it into the frame as well. I didn't like the rear shackle mounts as unsupported as they were. That and a D-ring or receiver will be mounted into the cross member and it needed a bit more beef.


PICT0229.jpg


PICT0227.jpg


After the UPS guy showed up I started on the shackle end of the anti-wrap bar. It is in the mock up stage now.


PICT0226.jpg
 
Last edited:
I cut out the tire carrier and removed the bump stops off of the frame. I plan on reusing the stops, I will just move them back and re-weld them to the frame.

I then compressed the springs to see where the bump stops needed to be moved to. I also used this time to get a idea on where I can place the propane tanks. I want to mount them as low as I can.

I dont like the idea of having a Jeep style fuel tank :)
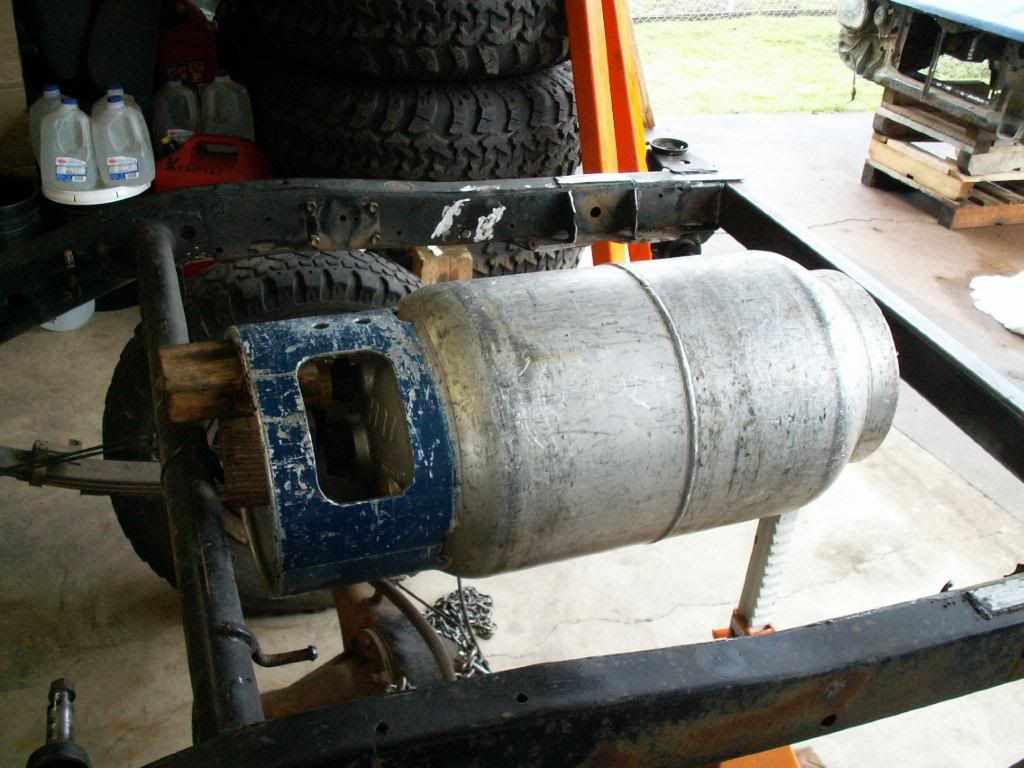
puke: ) but the dual tanks have to go somewhere.


PICT0230.jpg


PICT0231.jpg


PICT0232.jpg


PICT0233.jpg


PICT0234.jpg
 
that is one of the best ideas I've ever seen to compress the springs. I should get ya down to my place (near Glencoe) so I can get your opinion on my build sometime.

Keep up the good work man!
 

Similar threads

Top