• Help Support Hardline Crawlers :

BMacon RZR 800s new cage

offroadr1

Well-Known Member
Joined
Nov 11, 2007
Messages
284
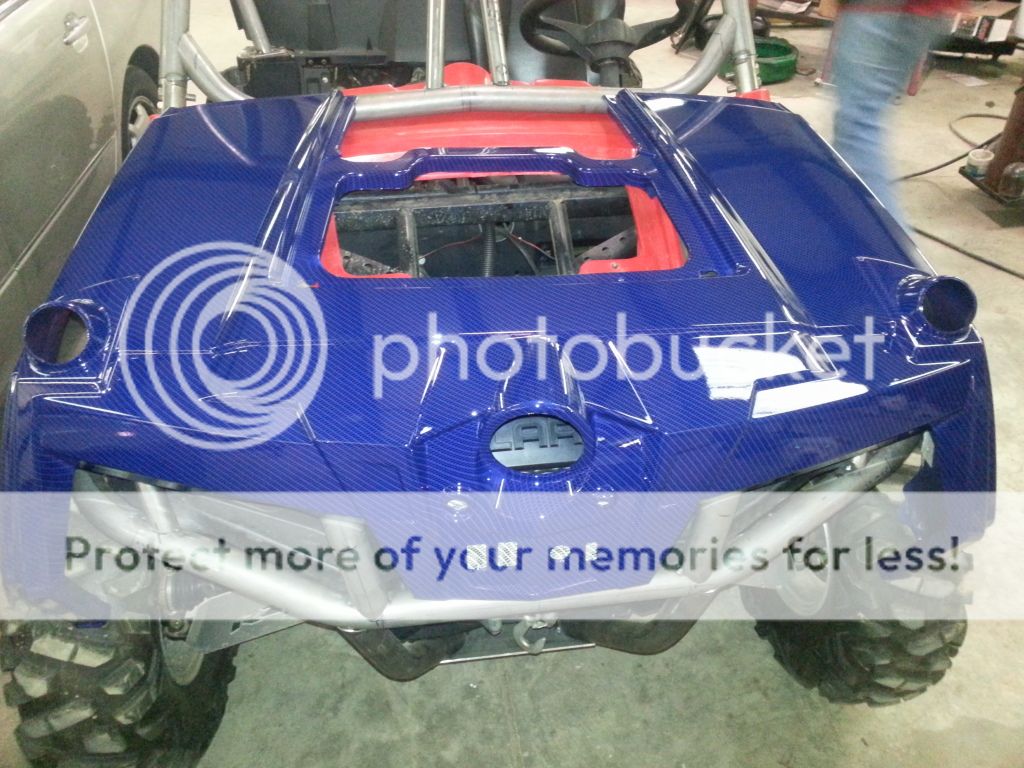
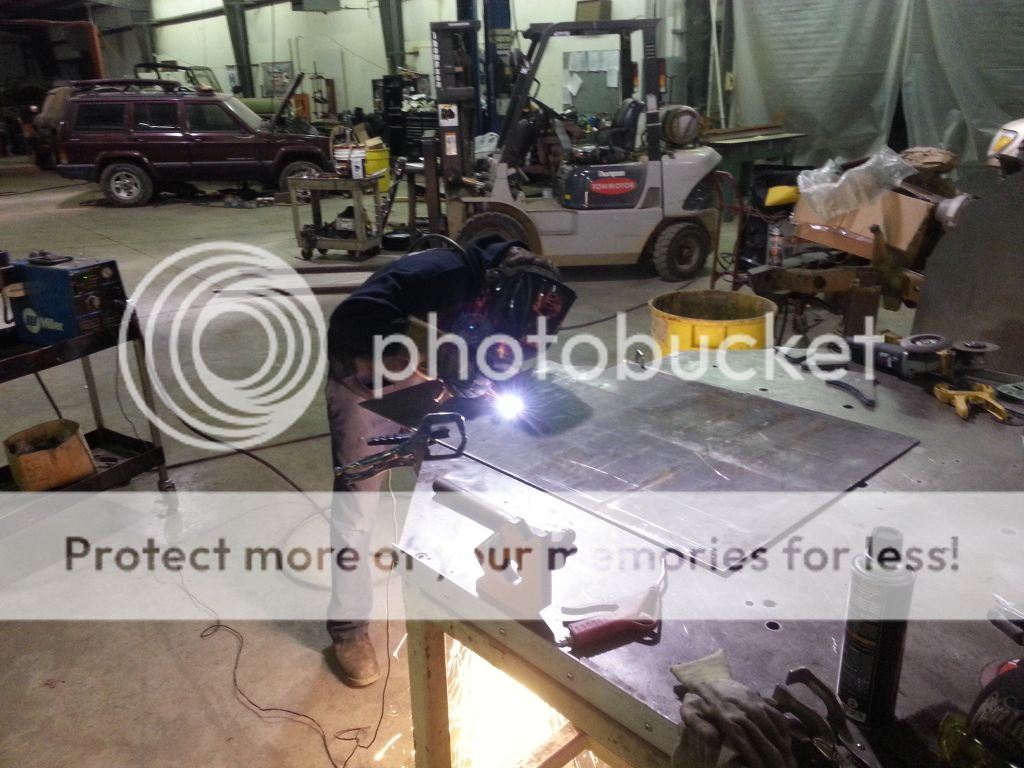
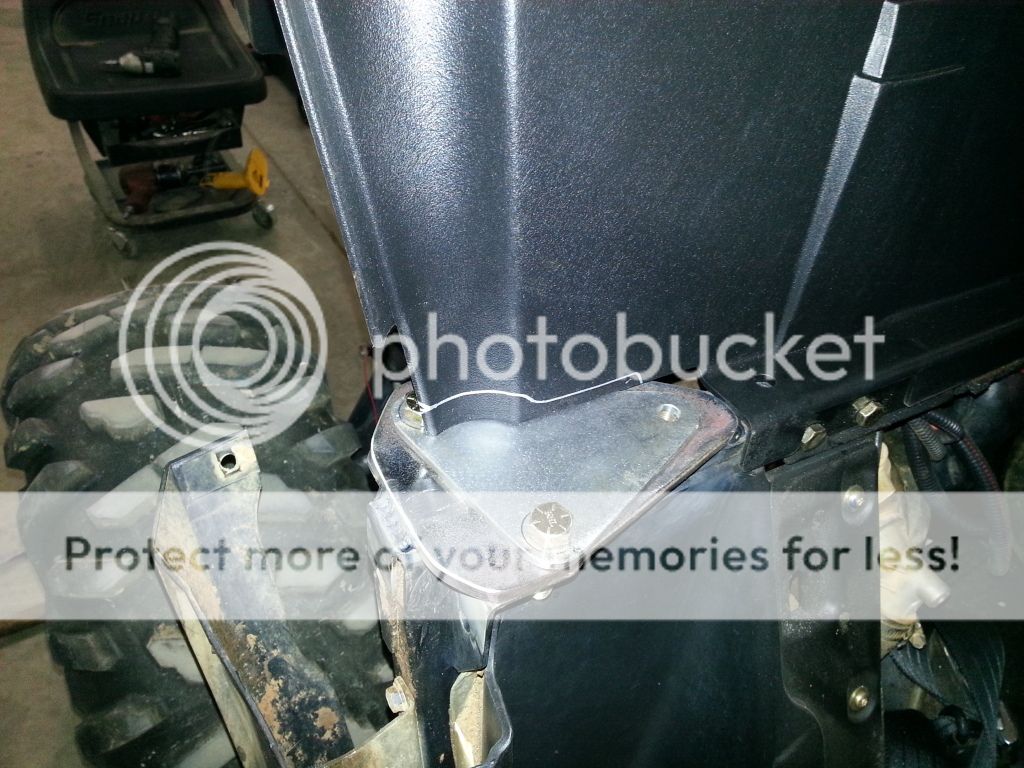
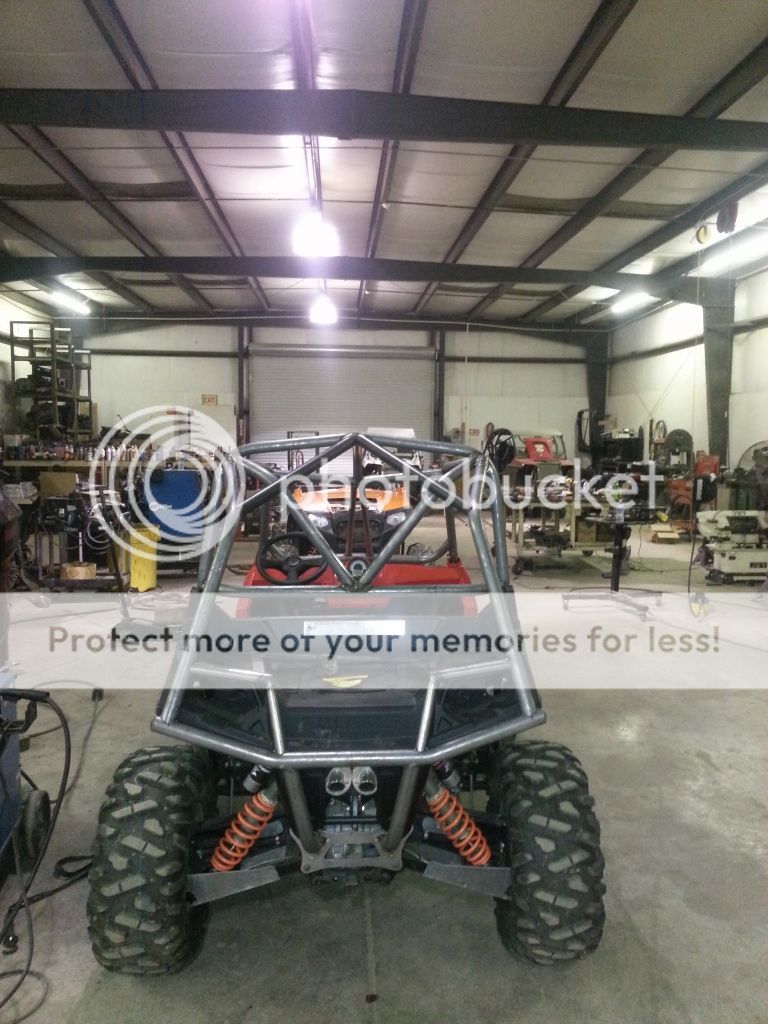
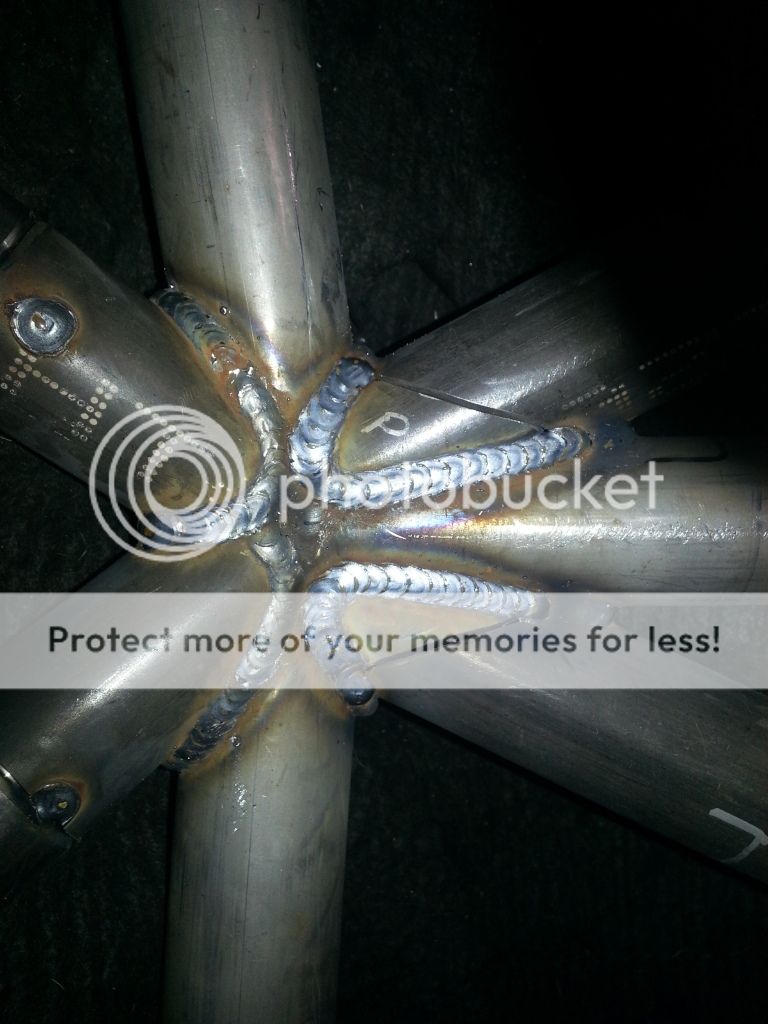
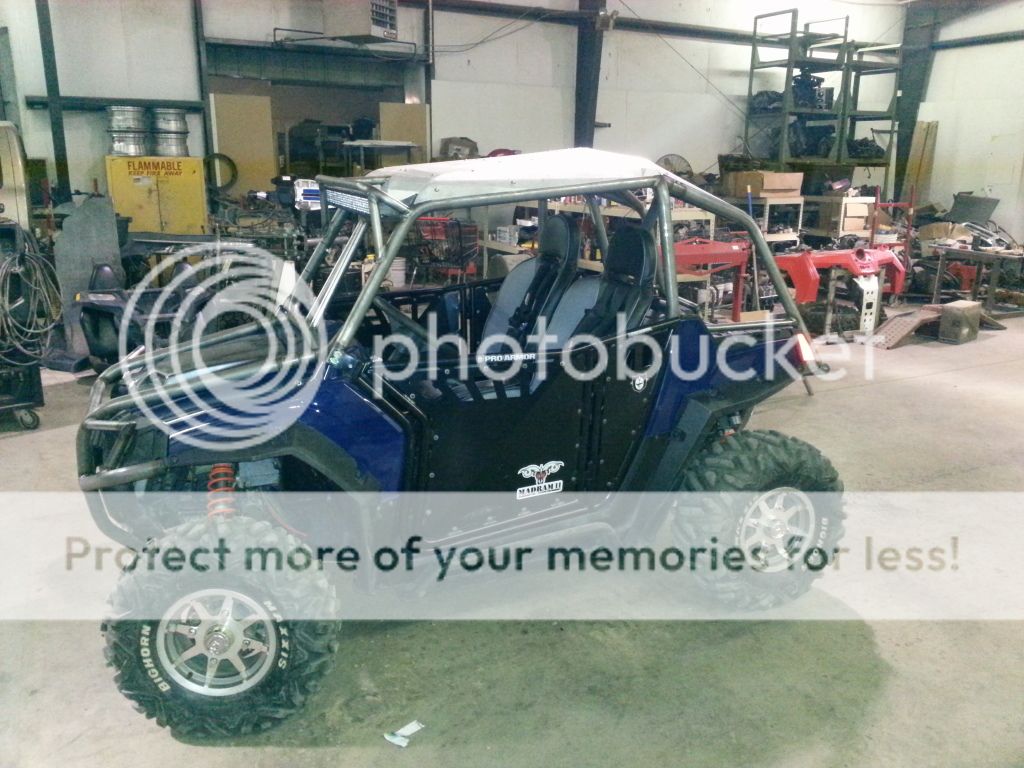
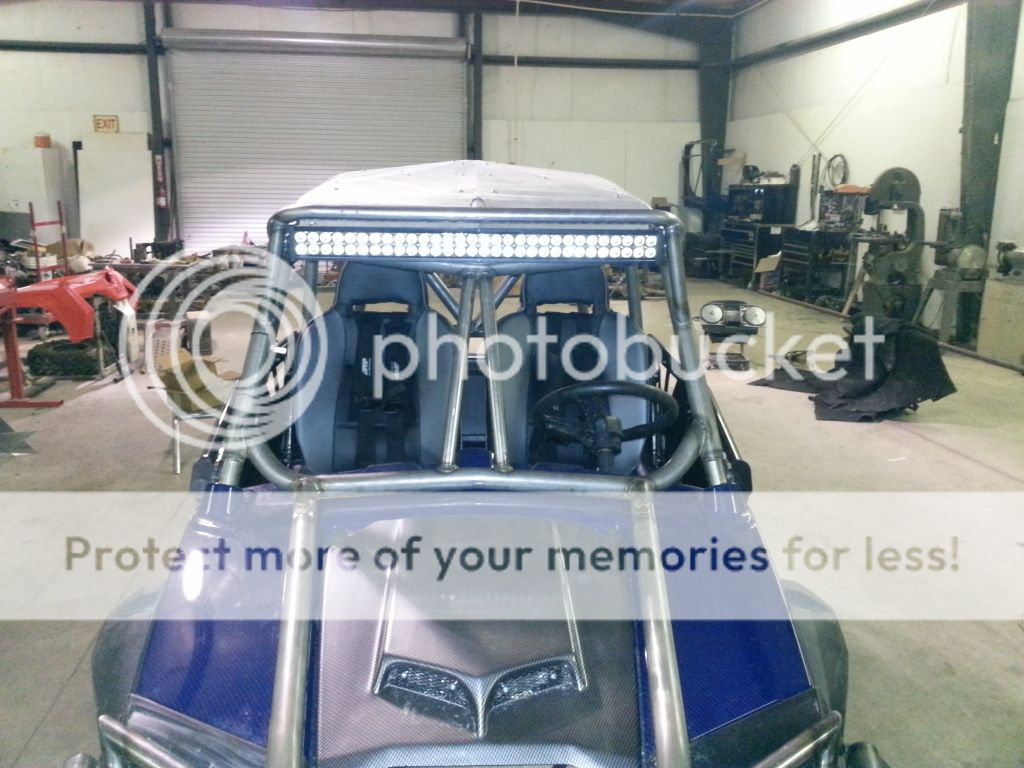
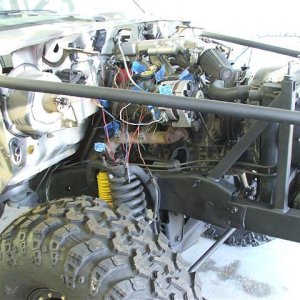
We at Gilbert's Design's were granted the opportunity to build a new RZR cage for Brad Macon. After it took a nasty roll on New Years, Brad was ready to improve the safety of his ride. The first thing we did was strip all the plastics off so that we could get a good look at the RZR framework. There really isn't much too it. From seeing what failed in RZR roll overs in the Rally Raid races, I had decided that I didn't want to build any cages without new and reinforced A-pillars. I the past, we have seen cages take the roll, but the frames buckle or stock a pillars shear off the frame. We set out to really beef up these areas with entirely new weld in replacement A-pillars. The new parts feature milled tube clamps instead of the factory cast units, thicker material, and plenty of gusseting.
20130215_130621.jpg

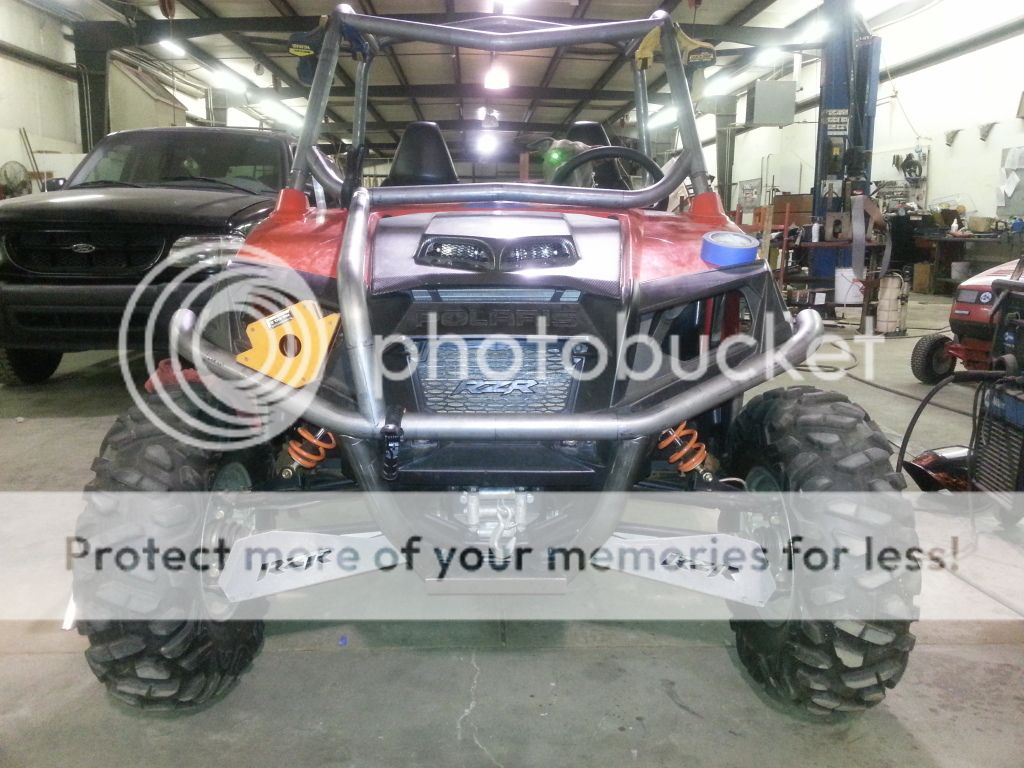
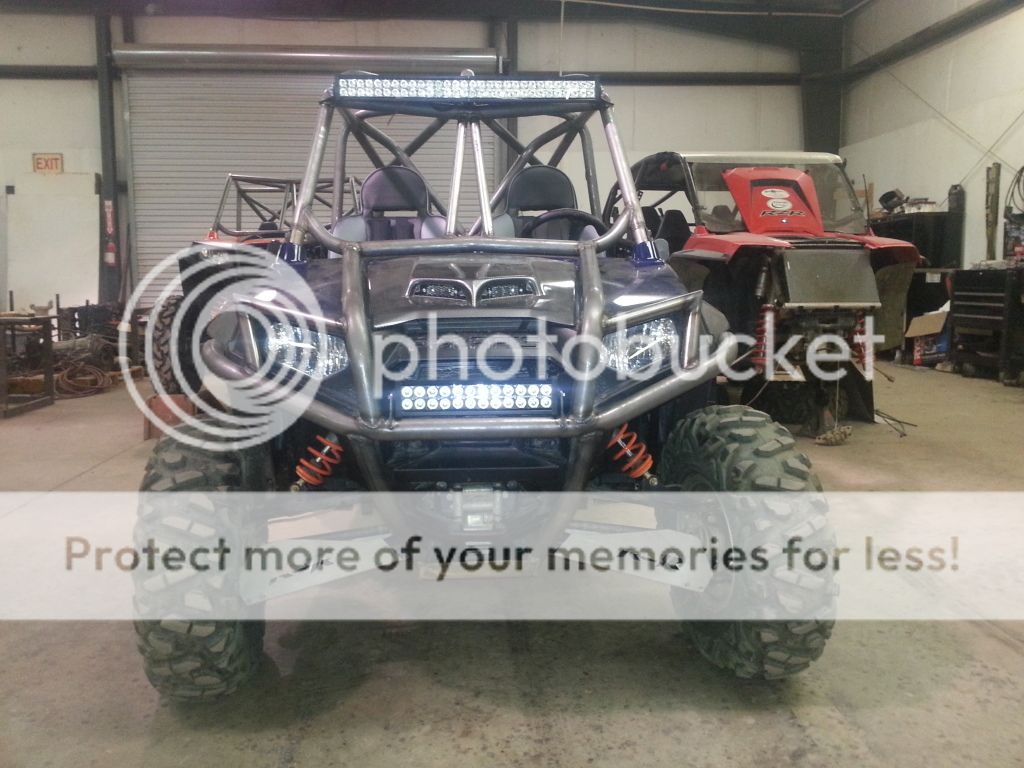
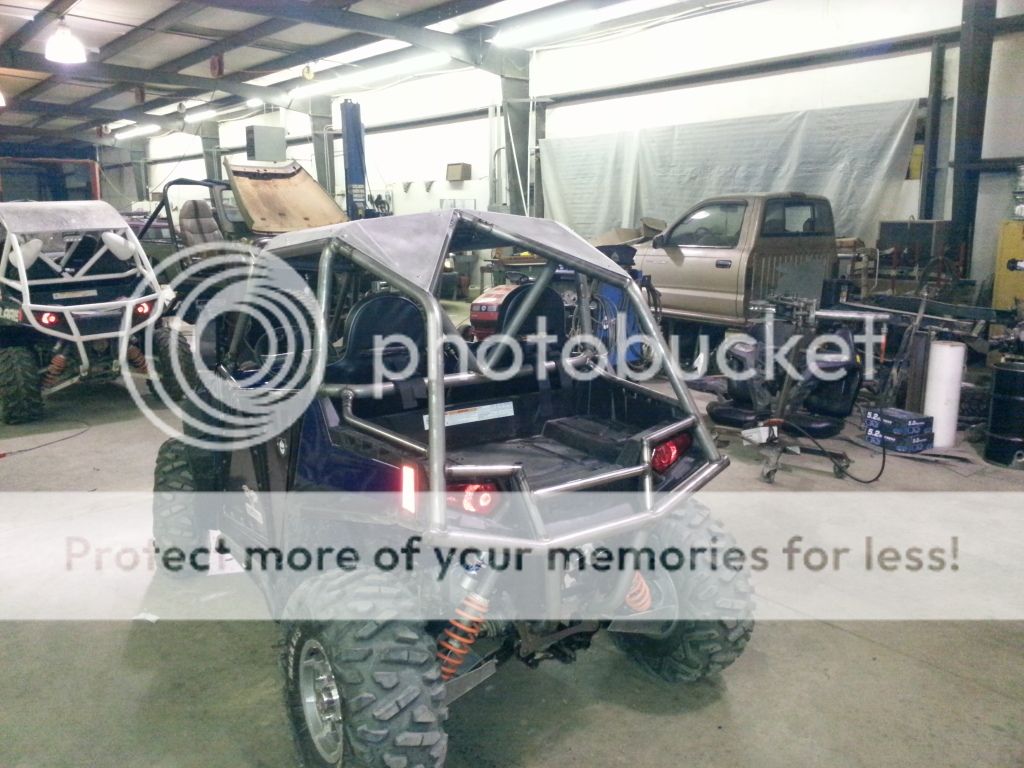
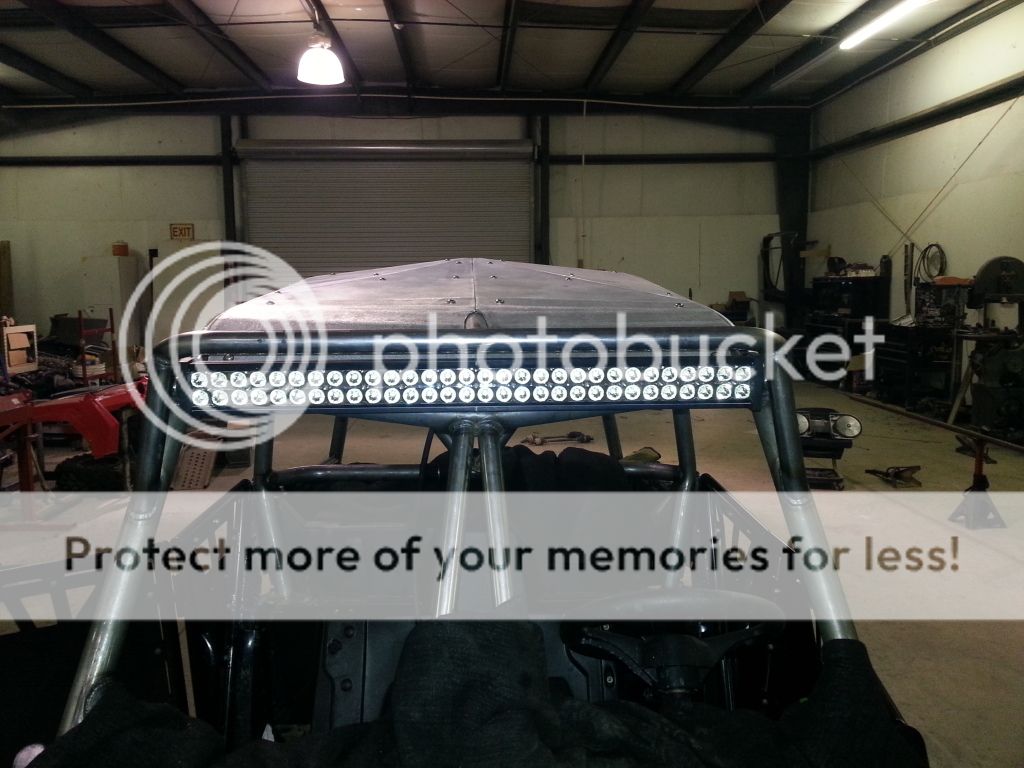
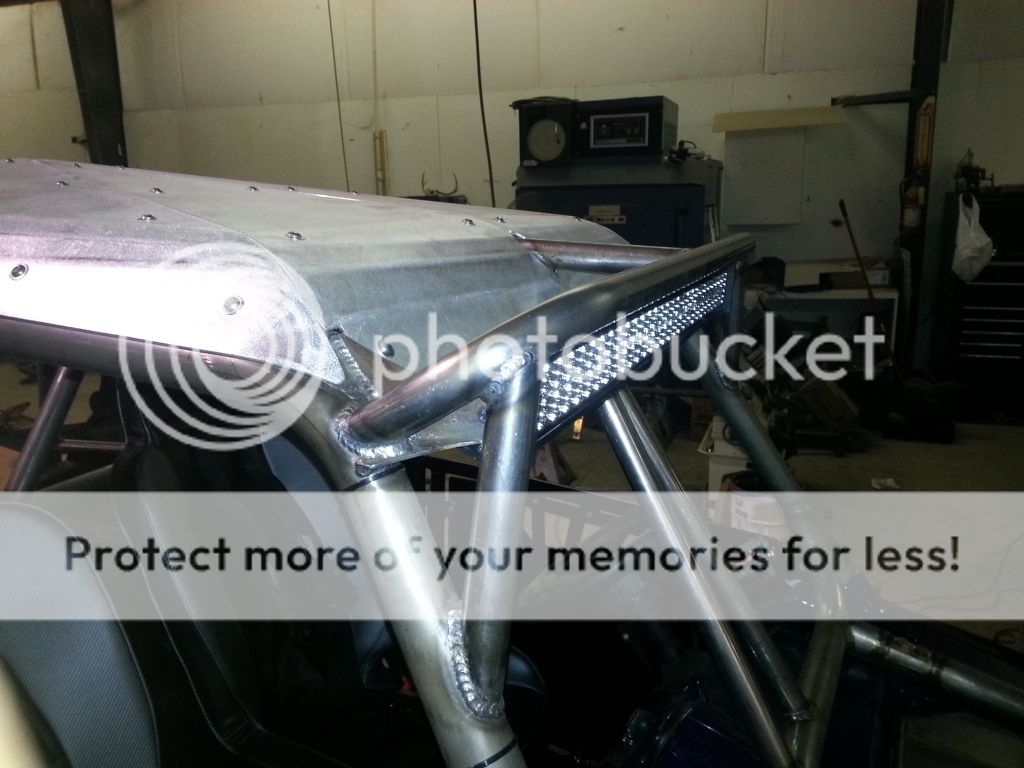
Brad gave us the basic idea of what he was looking for in the design, but pretty much gave James the go ahead to build it however he wanted. We wanted to keep the cage as low as possible, but with plenty of head room. Brad is a fairly fellow so James decided to go with a raised roof. He started with a B-pillar hoop with a bumped up center and we went from there. The initial A to B tubes were kept low, while the rest of the roof tubes were bumped up to meet the bump in the B hoop.
 
A-pillars in progress.
20130128_120306.jpg


20130123_191915.jpg


While everything was apart we also had Brad's plastics hydro dipped to a cool blue carbon fiber finish. Normally this process is done with a low gloss finish for durability, but Brad wanted his to shine so he had them sprayed with a high gloss clear. The results look fantastic.
20130210_132213.jpg
 
Some of the laser cut parts for the cage feet, A-pillars, bumper mounts and gussets
20130123_180236.jpg

We still had to make a handfull of parts the old fashioned way
20130122_191121.jpg

1.75" and 1.5" tube connectors we had machined for RZR builds. They will fit standard hex head bolts as well as allen heads.
20130221_114422.jpg
 
A local company did they dip. They are a larger company and not really set up to do here and there parts. I just managed to get an in with a friend so they dip parts for me in between runs.
 
That **** ain't cheap either! Had my buggy skins done....Looks awesome though!
 
We are able to get the hood and rear fenders done for 250 in standard low gloss.
This is a picture of the new rear plate James designed. It is a direct replacement for the factory rear plate, 3/16 thick and TIG welded. In addition to being thicker material than stock, it adds an additional bolt hole for the rear bumper flanges to bolt up to.
20130124_162003.jpg


This is the new B-pillar mounting plates. The lower is 1/4" thick and welded directly to the frame. We are actually making a larger upper plate now that goes all the way to the outer edge of the lower so that we can add a larger gusset to the tube at that area. We are also adding some gusseting to the frame under the B-pillar mount. This picture also shows roughly where to cut the bed to make it easier to get to the bolts.

20130124_162020.jpg


Little bit more tubework in this one. B-pillar hoop is in as well as the A to B tubes. Lower windshield bar and upper eyebrow bar are being fitter into place. The front bumper has a good start and is bolted to the underside of frame with a 3/16 skid plate. You can see we also tossed Brad's factory shocks in the trash and installed a set og fox podium shocks that he brought us.
20130205_213053.jpg
 
offroadr1 said:
We are able to get the hood and rear fenders done for 250 in standard low gloss.

You got a hell of a deal...Was $400 just for my skins. Prolly close to the surface area. Nice work man! :dblthumb:
 
Joey, was it Custom HydroCoatings in Pinson? I checked with them about possibly re-doing the woodgrain interior panels on my 77 Silverado. Was around $350 for 3 small pieces. :eek:
 
no, they asked me not to give out their info because they primarily only handle large orders for other companies. Right now they are running about 13,000 parts a month. I just have a friend there that is able to run parts for me in their down time and after hours. They dont want to be flooded with calls and people dropping by. What im doing now is collecting parts that people want dipped and dropping of a batch and picking them up in 1-2 weeks. If you need anything just let me know and I can get it taken care of.
 
Got the bumper nearly finished up and a few more tubes in. Wanted to something a little different around the headlights so we chose to miter the tubes to follow the rzr body lines a little bit better than bending could offer. You can really see how the B hoop is humped up in this picture.
20130208_191950.jpg

Shot of the rear. We wanted Brad to be able to remove the bed without having to pull the entire cage. All the tube connectors for the rear bumper are at the B hoop.
20130209_212735.jpg

Roof node. Notice where the 3 roof tubes meet. With the notch angles here, the tubes would not just drop into place. we cut the corners off to allow them to drop in and then weld the corners back on. The cut line is V groove TIG welded. This produces the best possible fit.
20130215_201857.jpg


20130209_212806.jpg
 
This is how it sets now. The roof panels are currently being templated and will be done shortly. Going to add a little more tube work and an aluminum panel to the front bumper and a few more tubes to the rear.

20130222_105307.jpg

The roof will go on in 6 panels and should end up looking pretty killer.
 
Got this one all wrapped up now. Added a few more tubes to the rear and one to the front where it looked kinda bare.
20130309_001033.jpg

20130308_164529.jpg

Got the 30" light bar mounted with a little protection as well. We custom cut and broke the mounting tabs by hand. Much happier with them than the tabs that came with the light.
20130308_224648.jpg

And got the roof all buttoned up. Normally our roof panels are all .090" aluminum, but Brad already
20130308_224700.jpg
had some 1/8" around that he brought us to use.
 
Top