• Help Support Hardline Crawlers :

My Toy, My Toy, My Toy!!!!!

2days in to a 4 dayer.... LOL

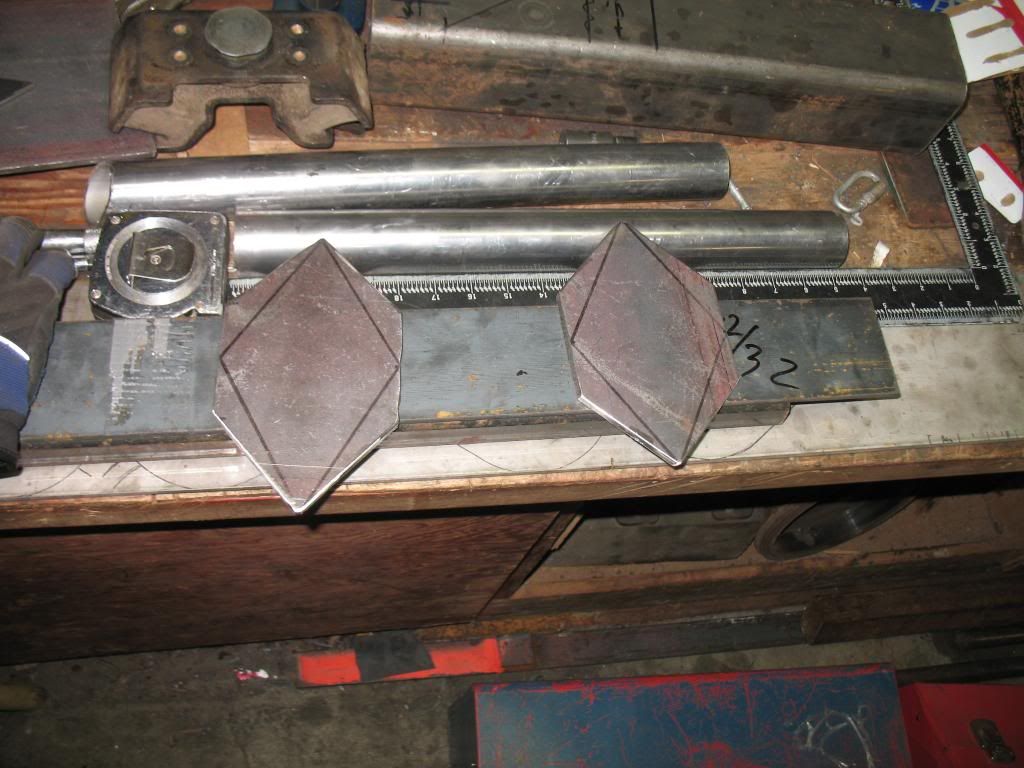
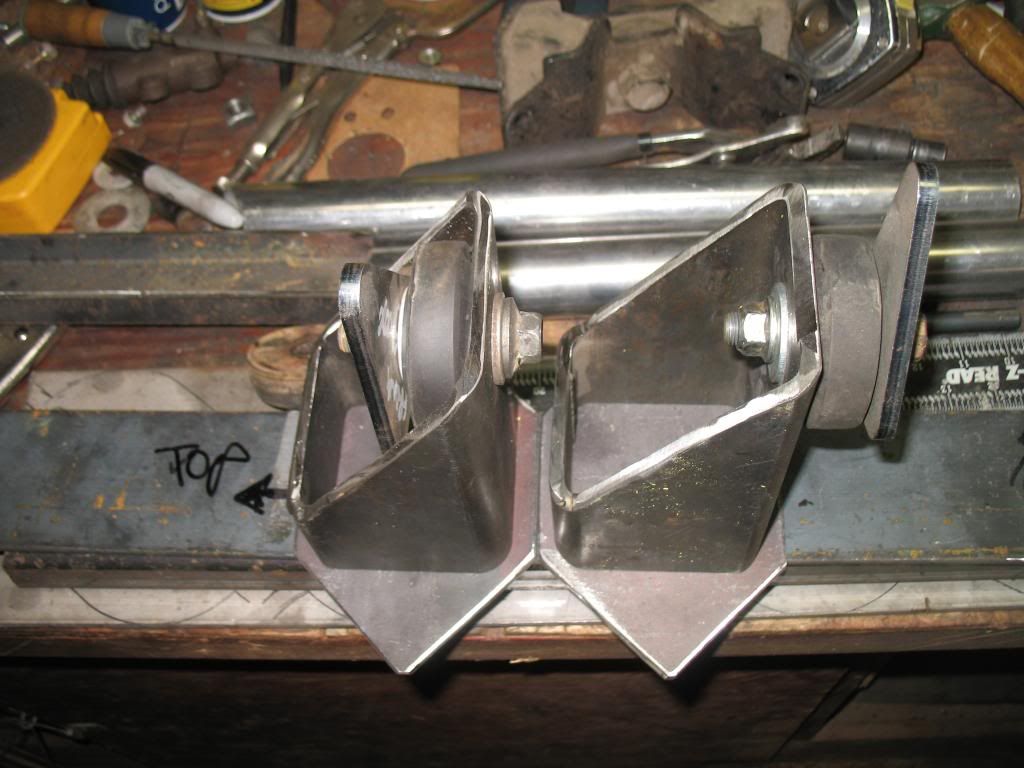
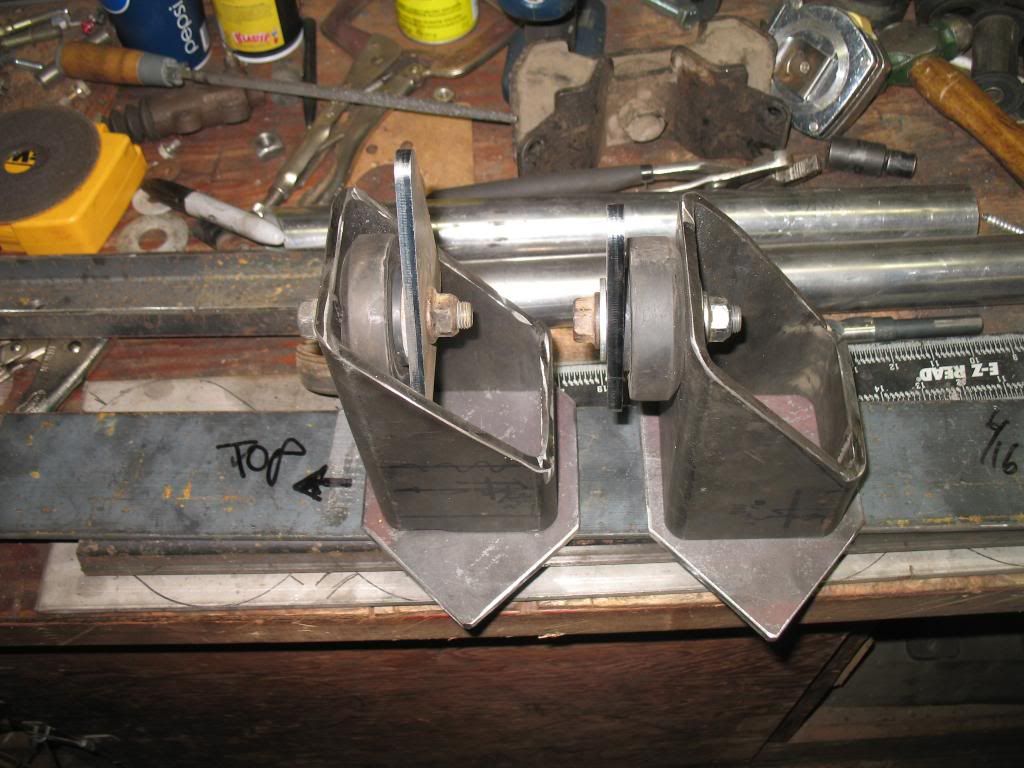
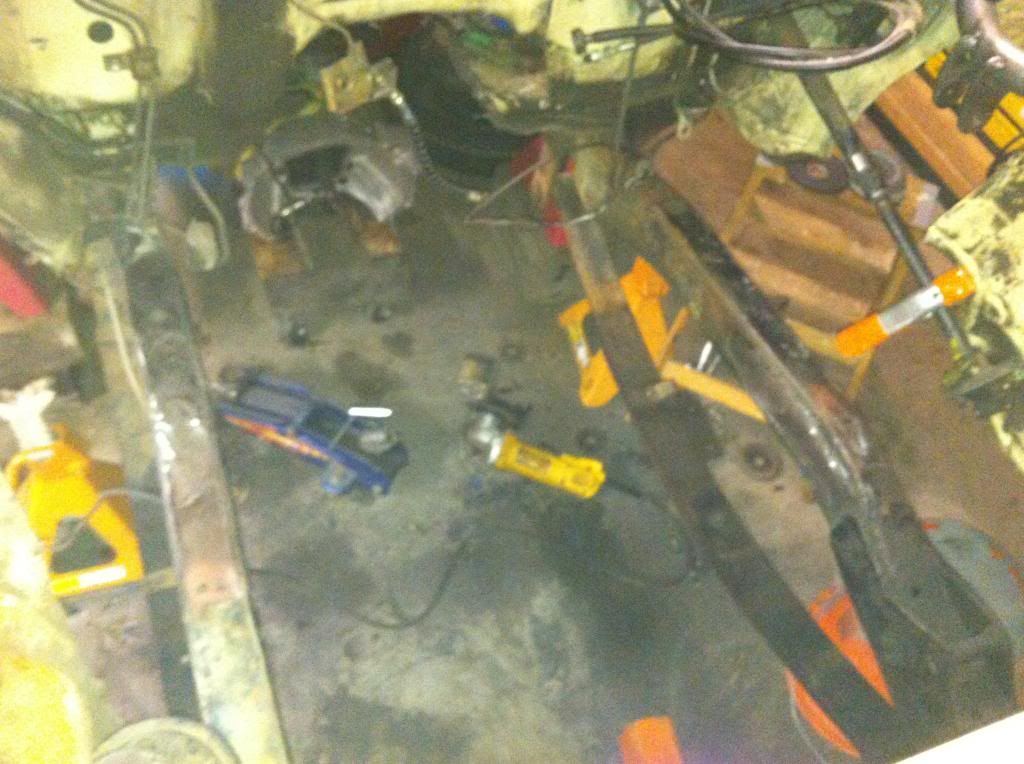
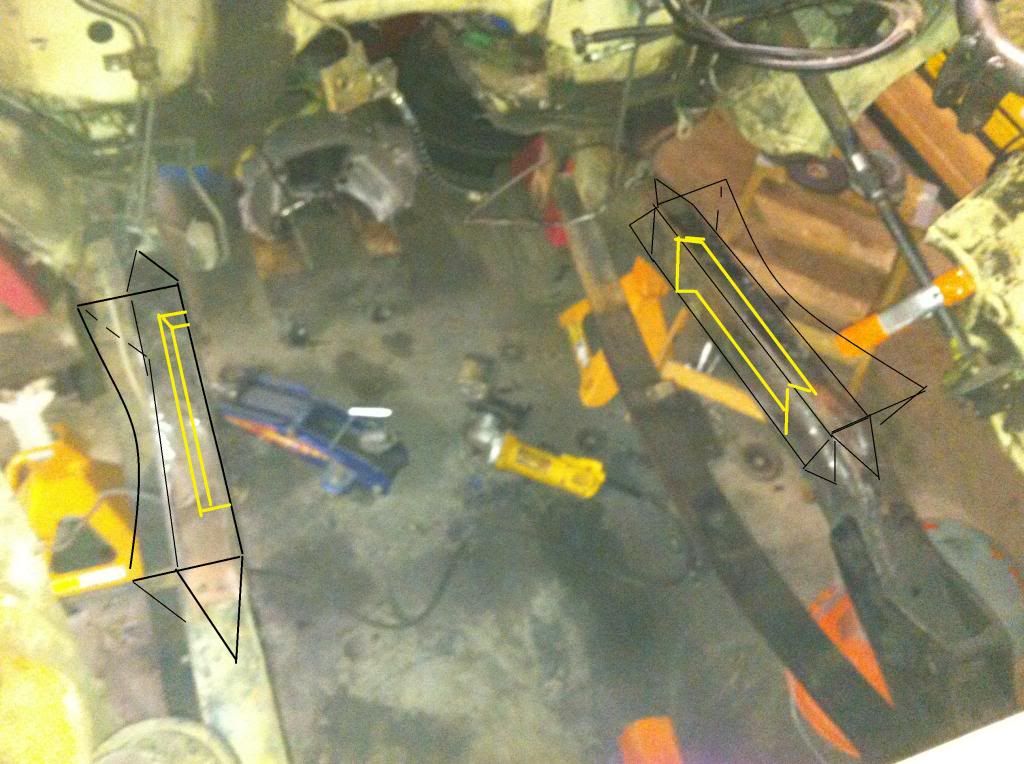
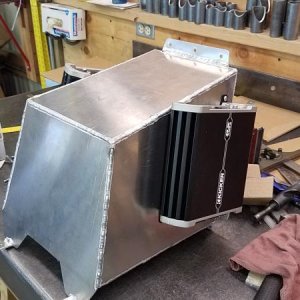
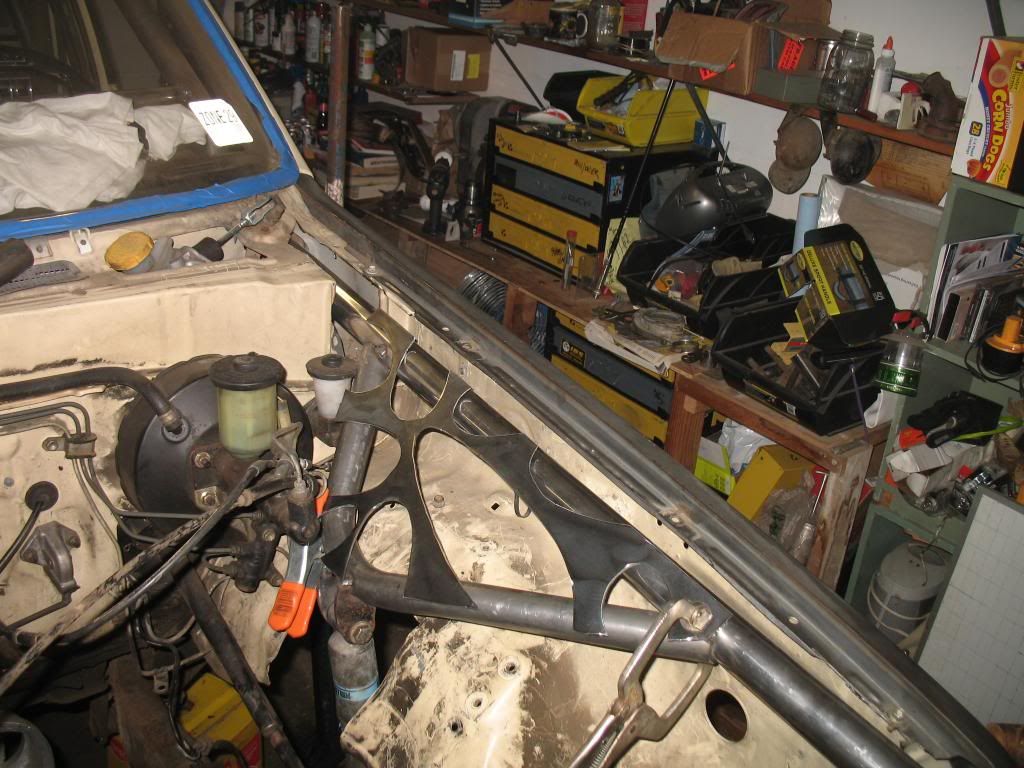
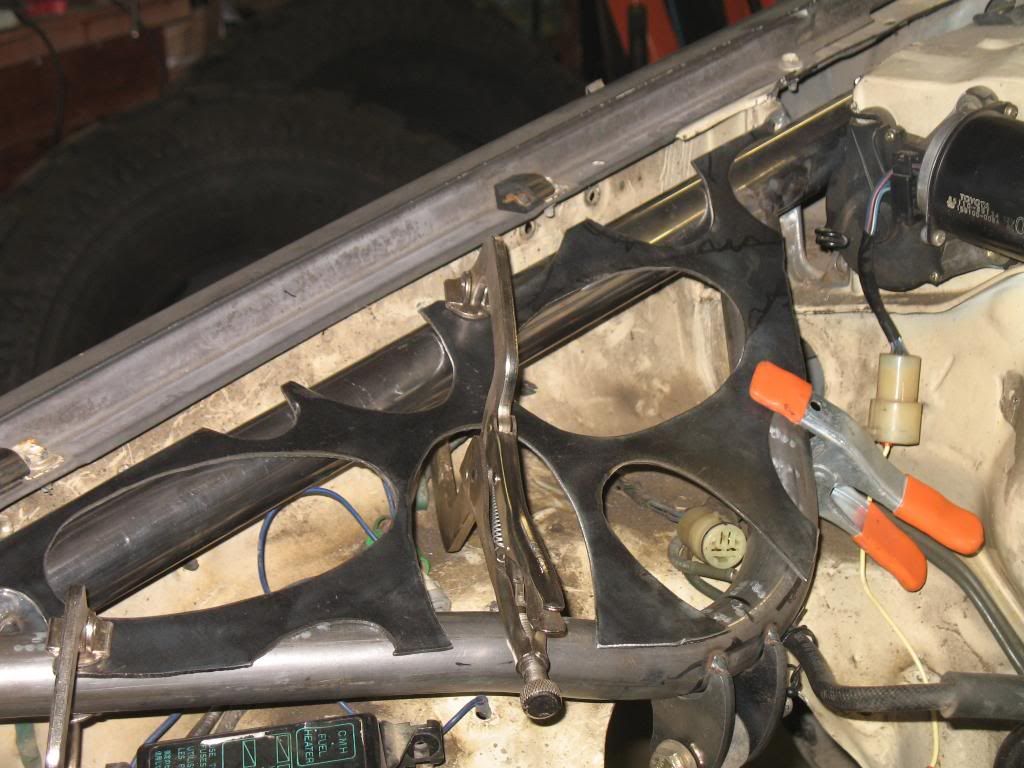
So I am more an artist than anything.
May not be super gusseting, but looks cool!I am going to attempt to dimple them a skosch to add ridgidity..(ball peens and a prayer!)
IMG_5767_zpsbc800a12.jpg

IMG_5768_zps3d85bc27.jpg


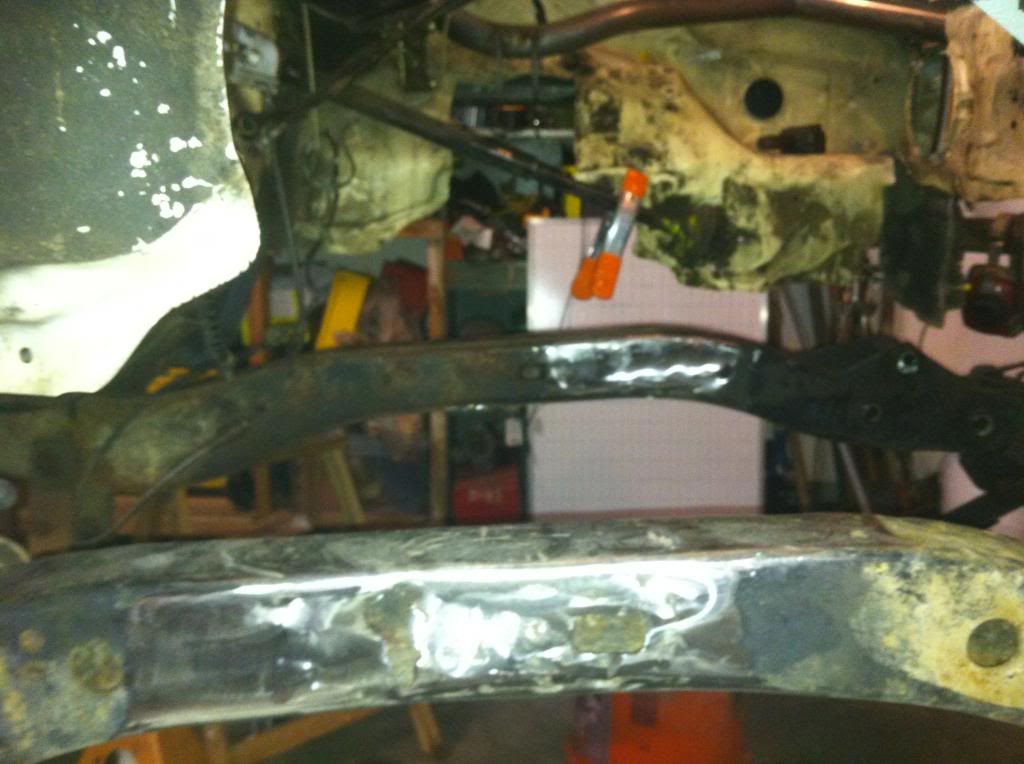
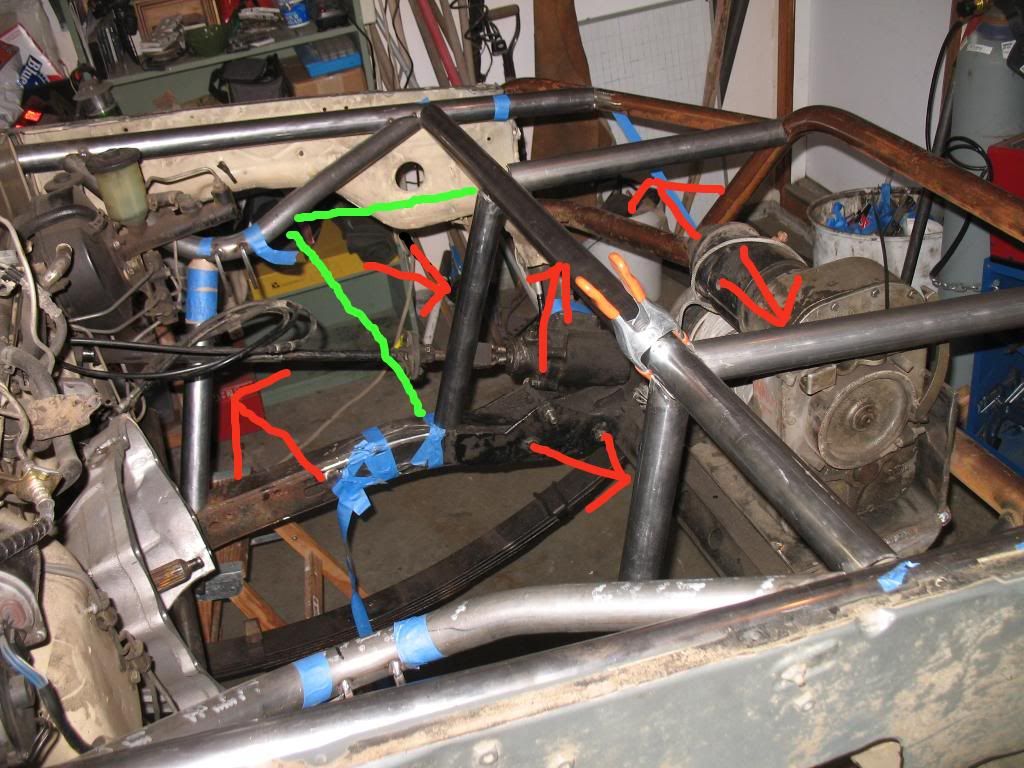
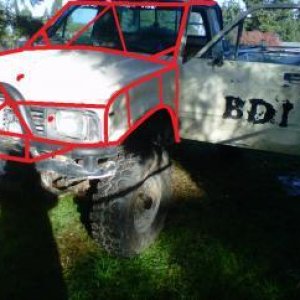
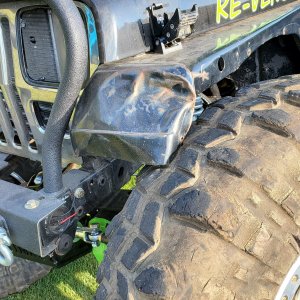
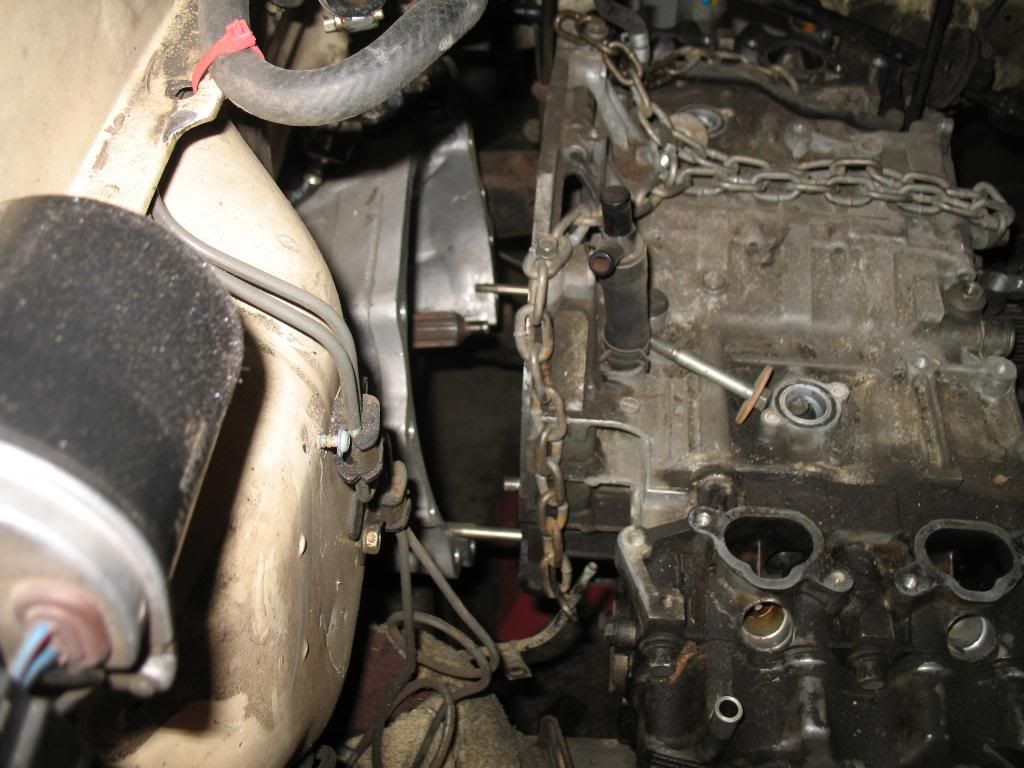
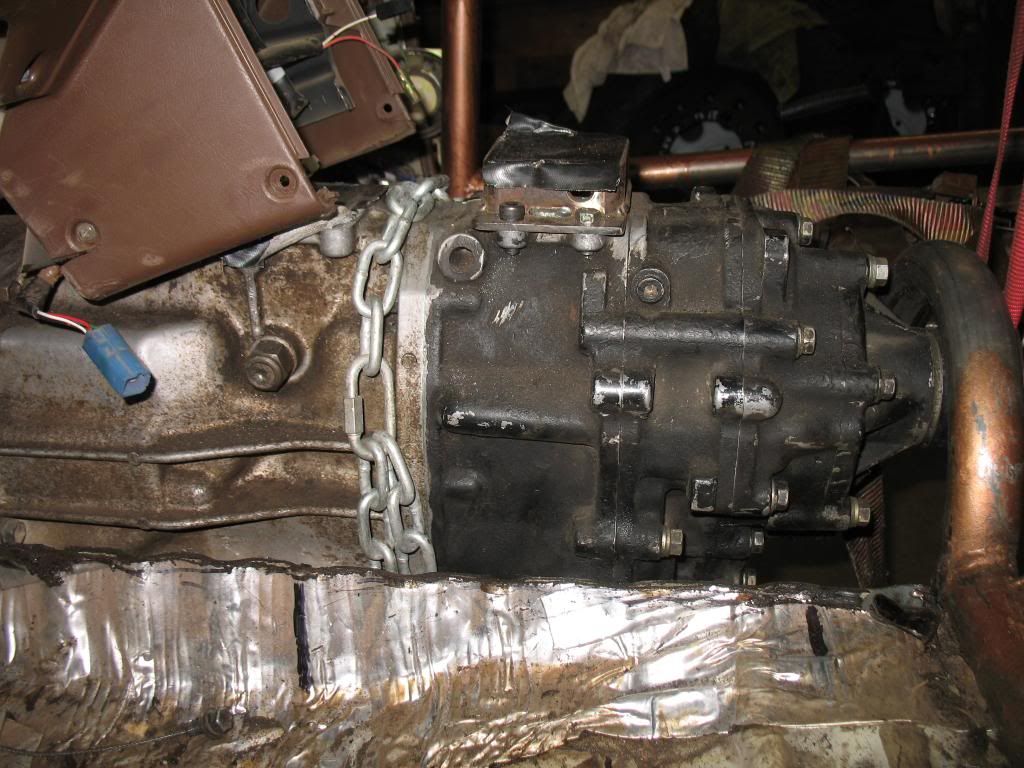
First time TEsting the fit of a Subie motor in a TOyota...
IMG_5770_zpsbd7b6c8d.jpg

IMG_5771_zps6768b9d2.jpg

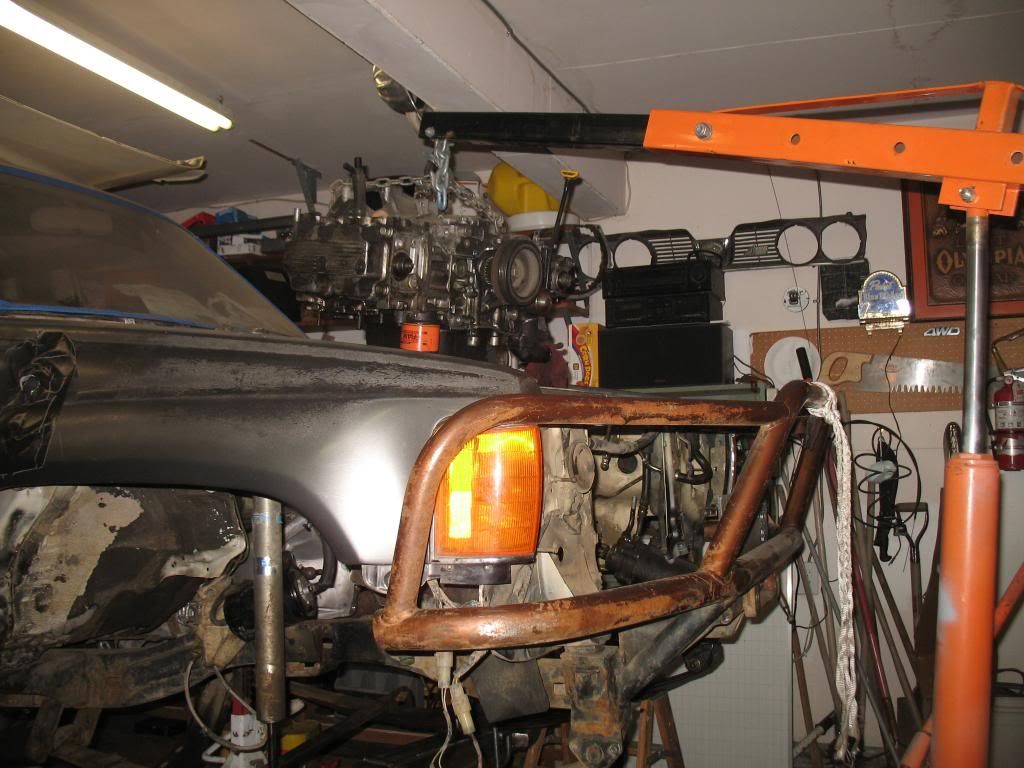
from the front bumper fly view.....Now mind you this is the first test fit before the tunnel is cut out, to see where the three main issues I know are going to be like(exhaust, starter , and finally steering)
IMG_5775_zps2b47db9a.jpg

IMG_5777_zpsbefda242.jpg


Now, It appears that I need to cut out the tunnel and move it ALL up a skosch...

IMG_5785_zps0bd34cf0.jpg

YEAH, thats not a skosch!:haha:
AFter trial and error, dropping everything out so I could cut more etc, It took all day to finally get everything to where I wanted it maintaining the rest of the heat box and such.

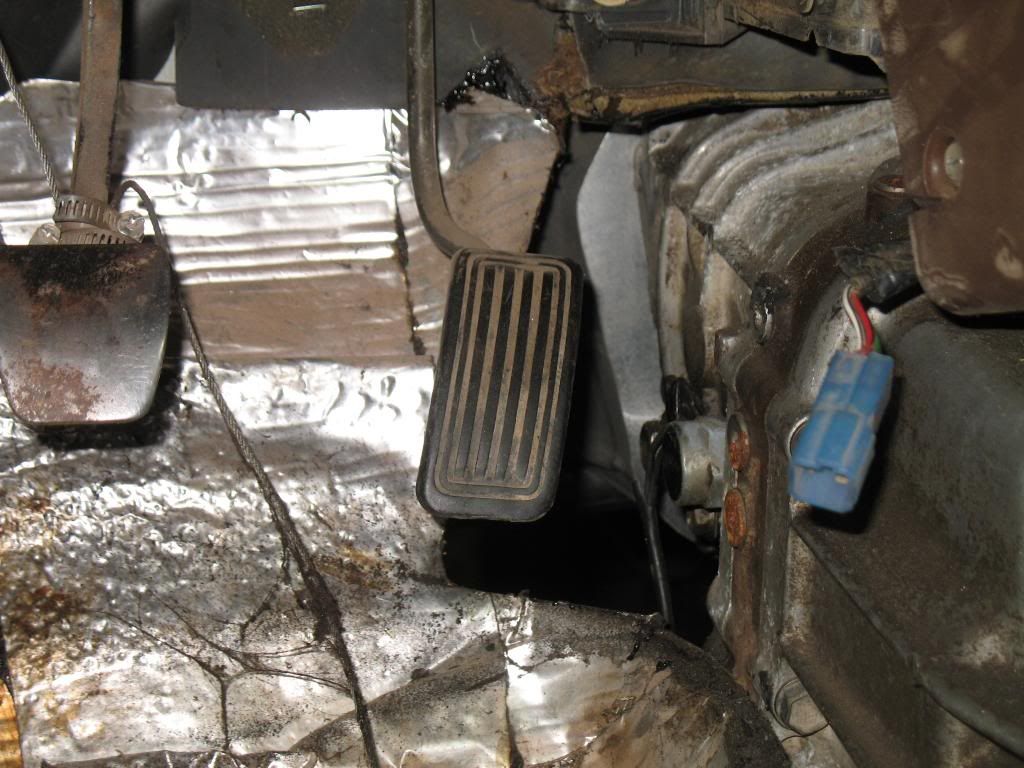
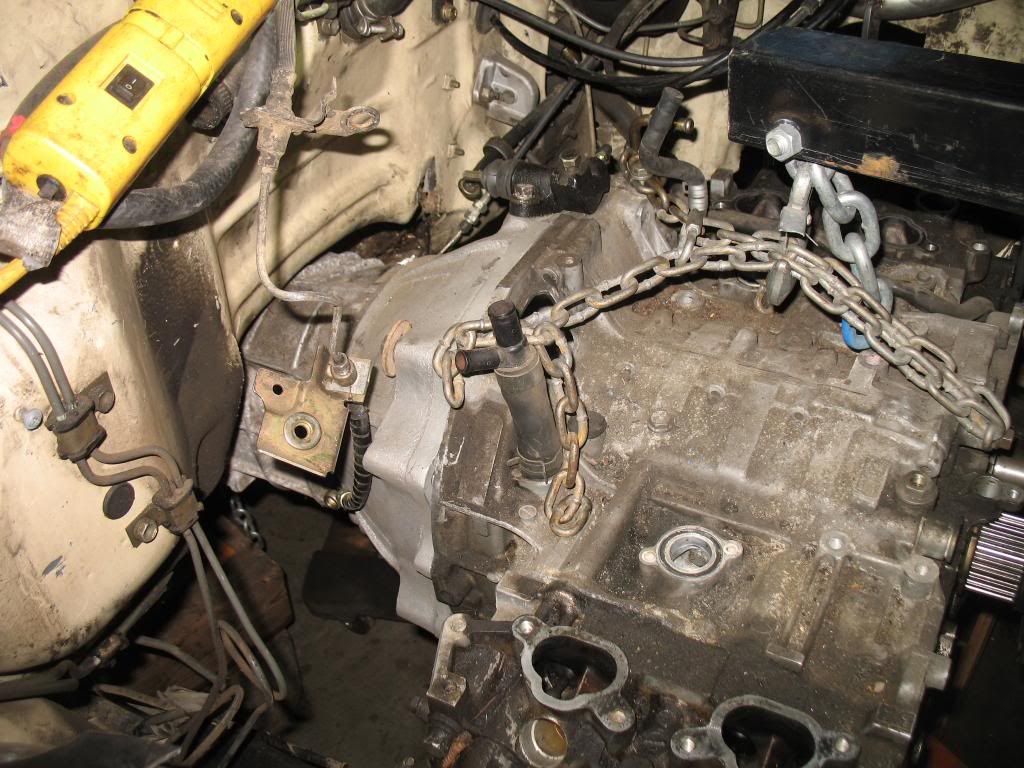
The starter is gonna be a cunthair from the GO pedal....That will be interesting.
IMG_5786_zps361dd83e.jpg


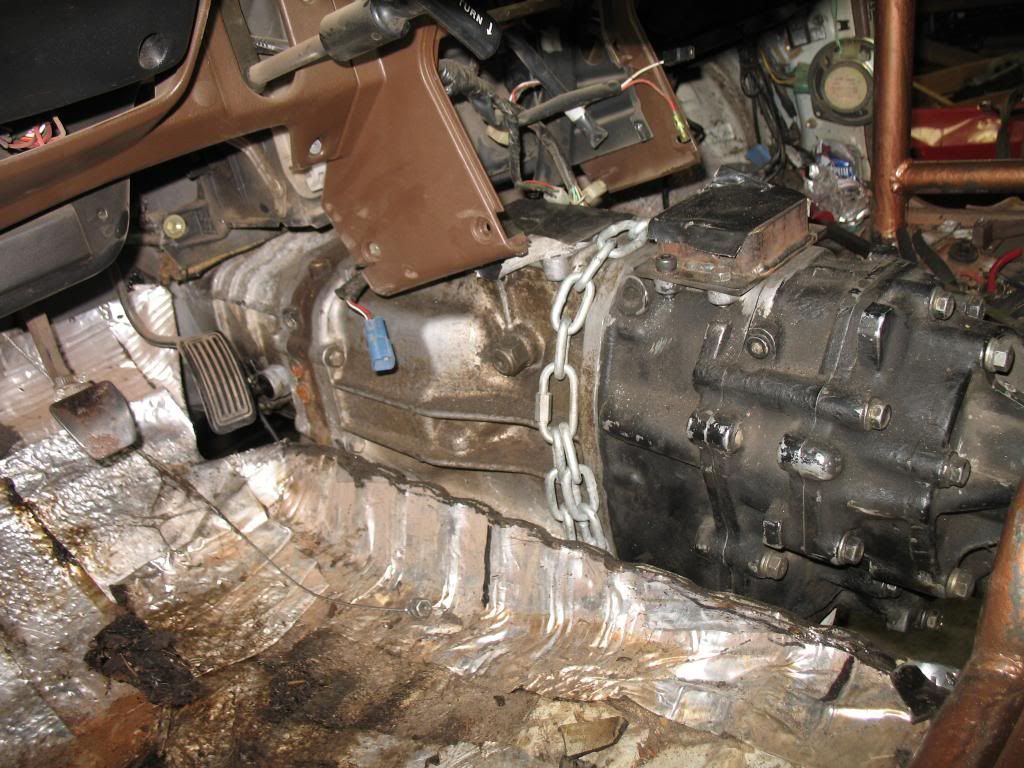
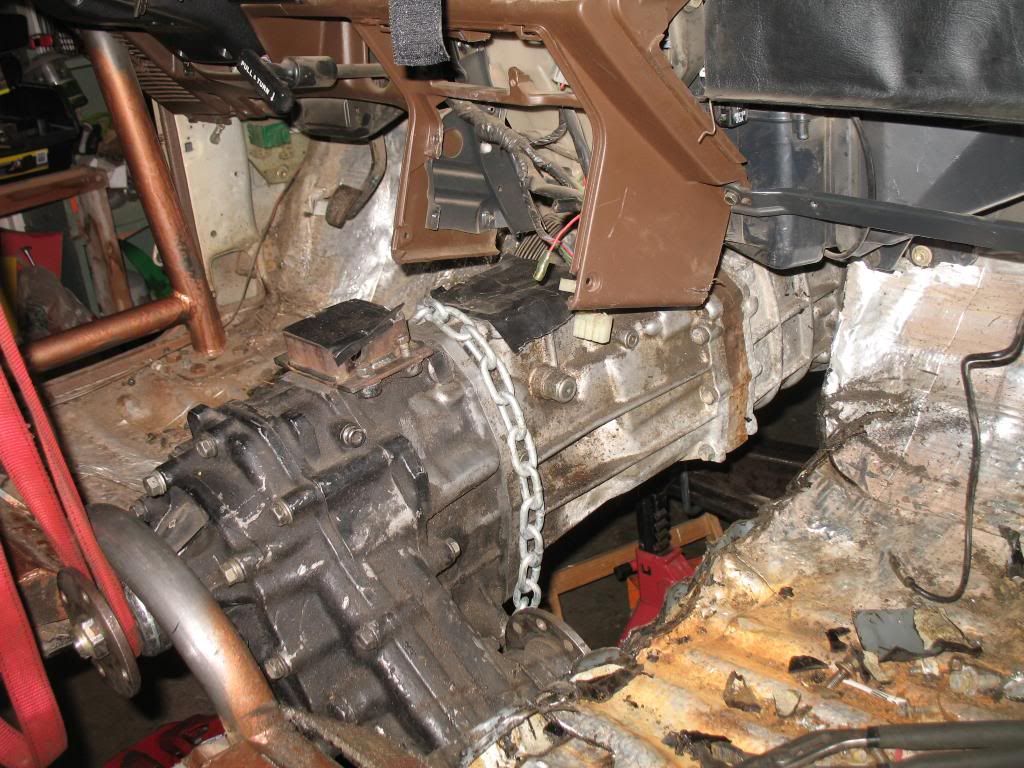
The whole trans got moved forward about 6 inches .The sharpie marks on the floorboard are where the front and back of the "shifter mounts"were located stockish.

IMG_5788_zps6049b1c5.jpg


That moves it out to where I have room for my shift fork, and only the very ass end of the starter will go through the firewall.
IMG_5789_zps24f83442.jpg


AND I don't have to remove and replace my tunnel hoop (no big deal anyway I guess)Just one less thing..
IMG_5792_zps3e6824b1.jpg


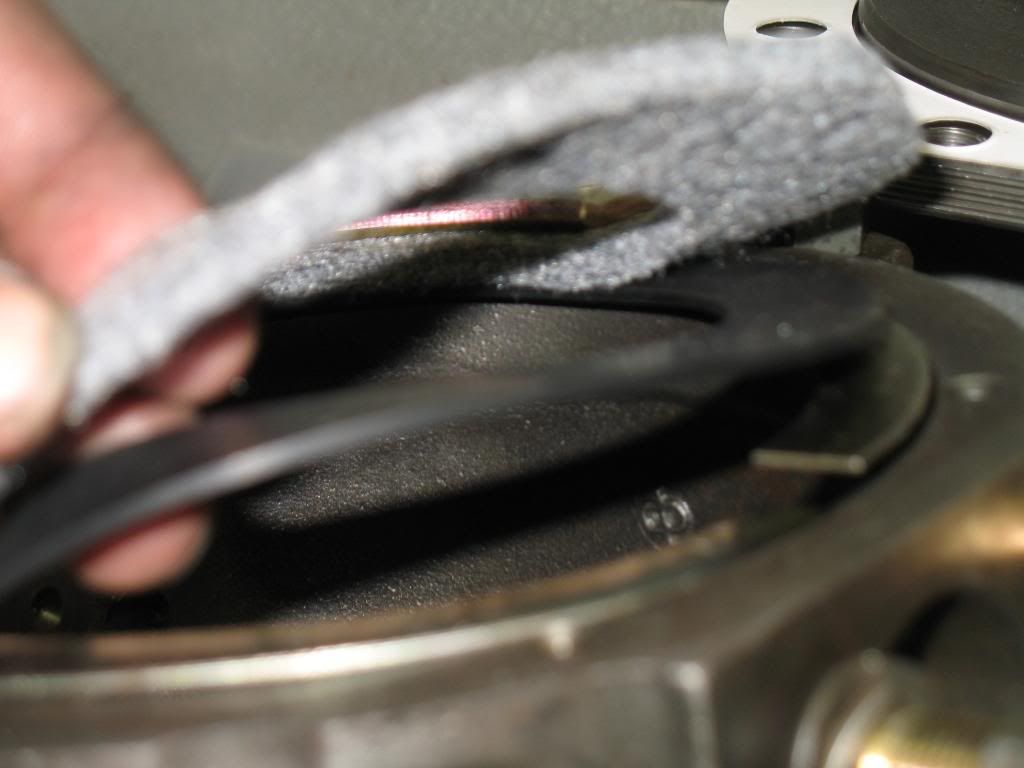
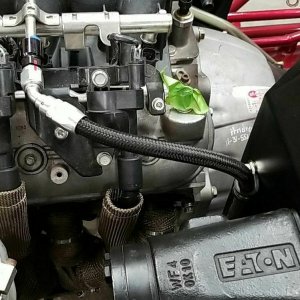
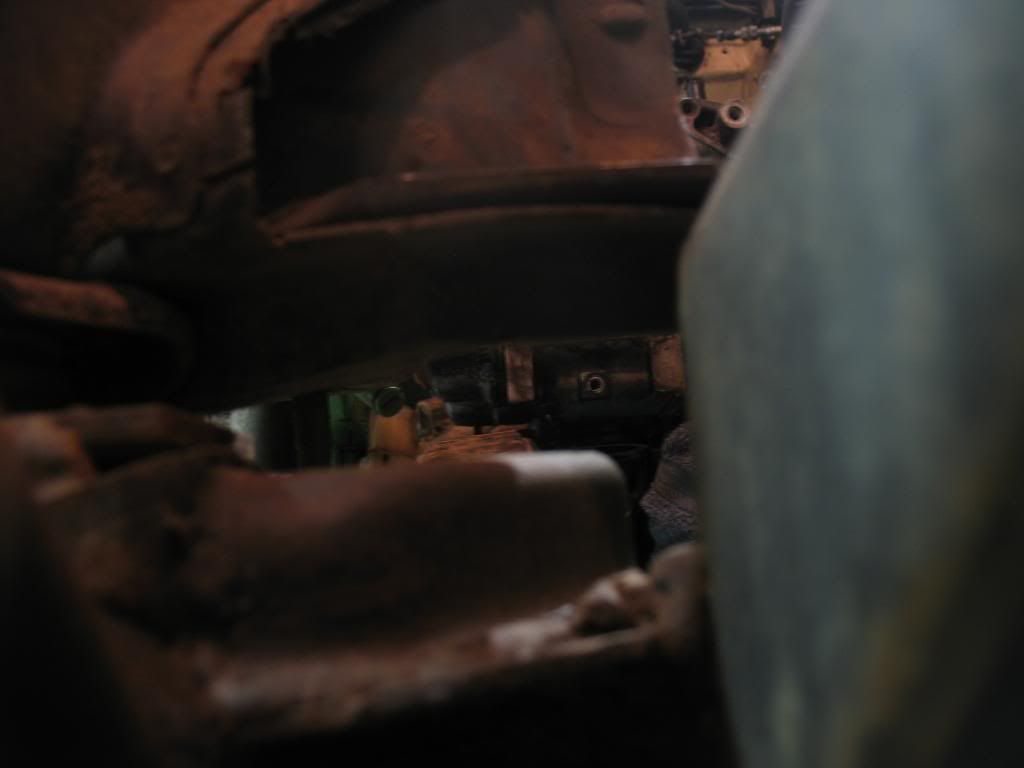
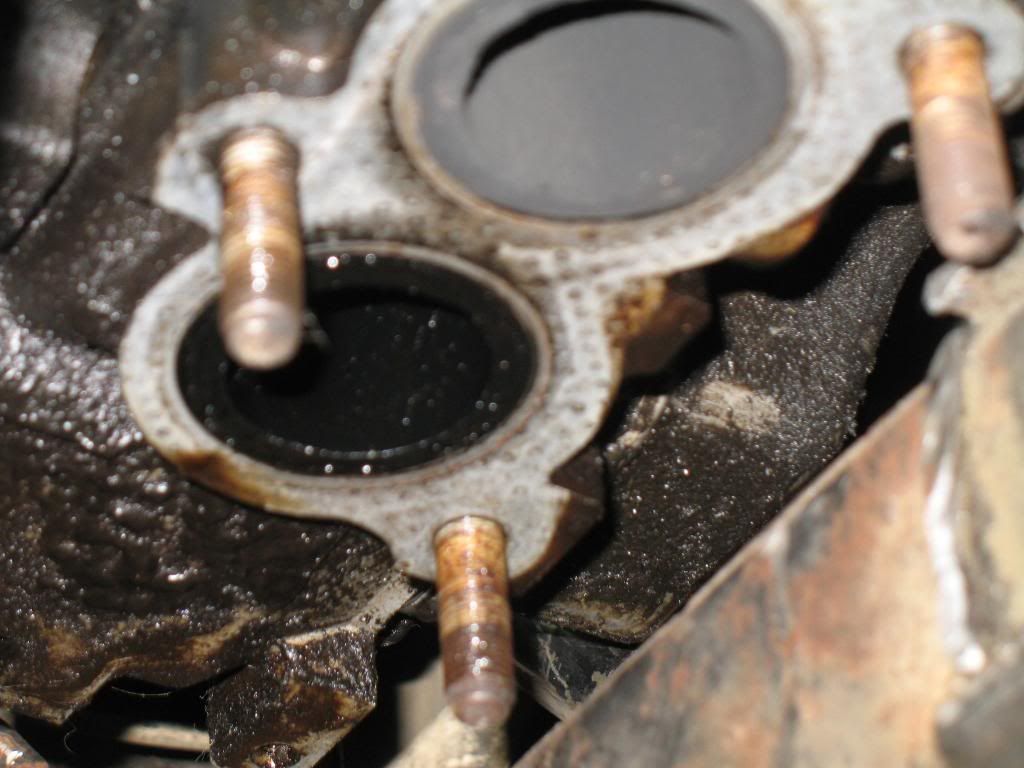
Exhaust stud clearance, MAn this is barely there.But with a custom header I imagine I will just barely sneak right by.
IMG_5793_zpsd166762e.jpg

IMG_5794_zpsd16ff8cf.jpg


So with all of that done(I know , seems like so little:mad:)
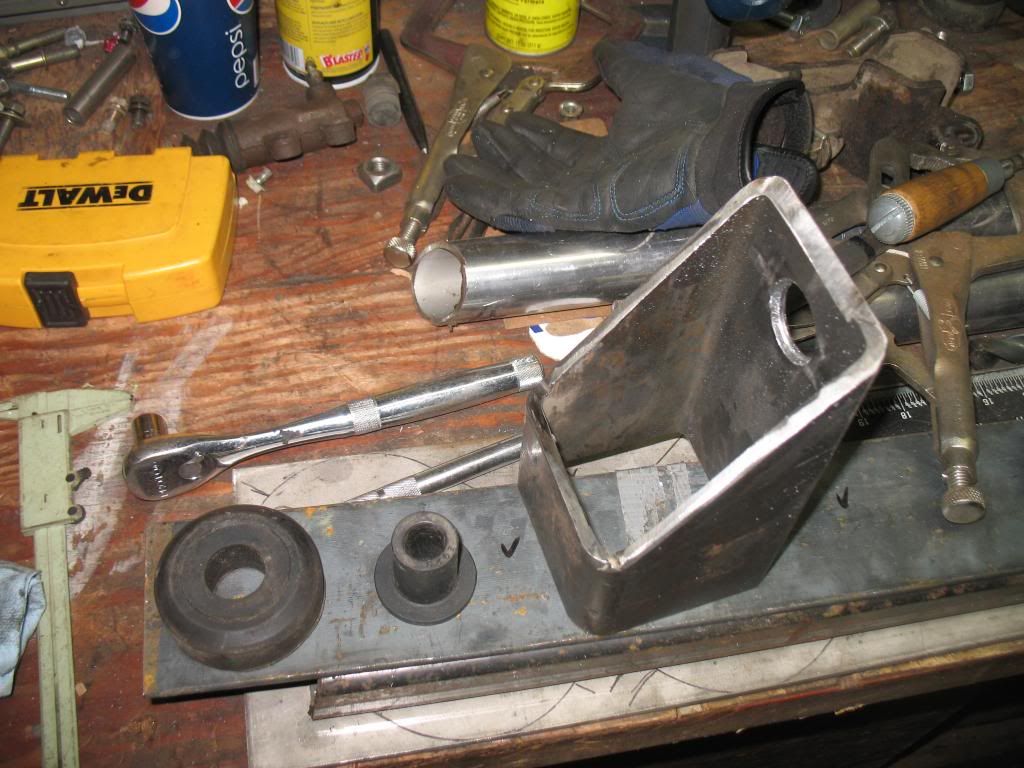
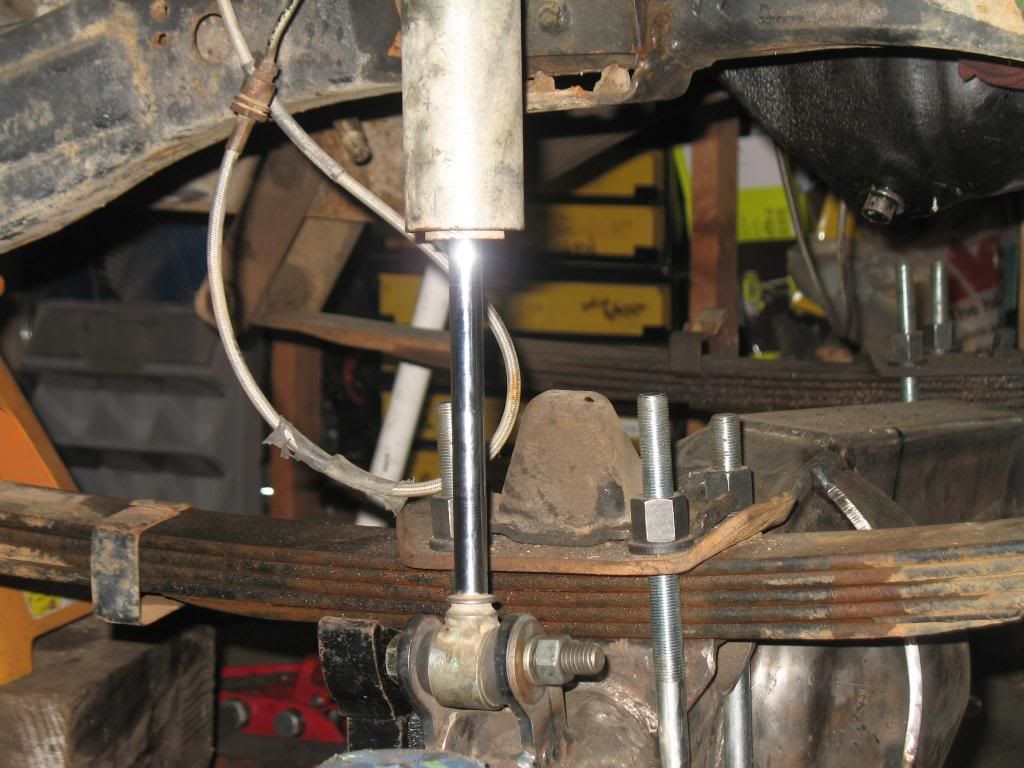
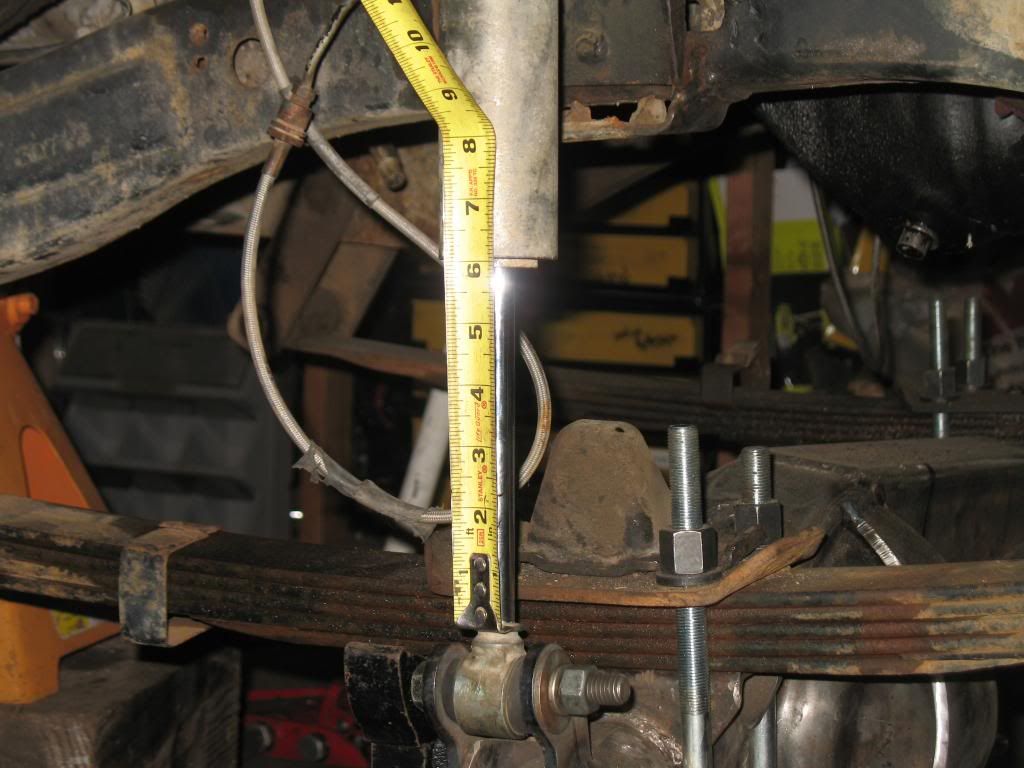
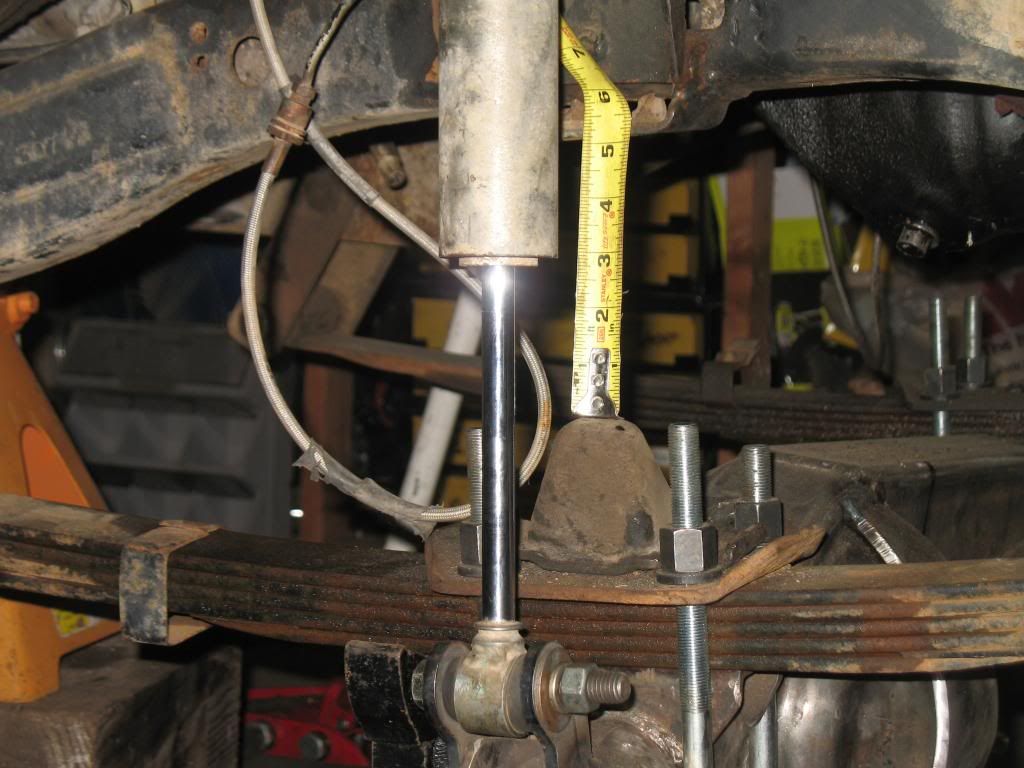
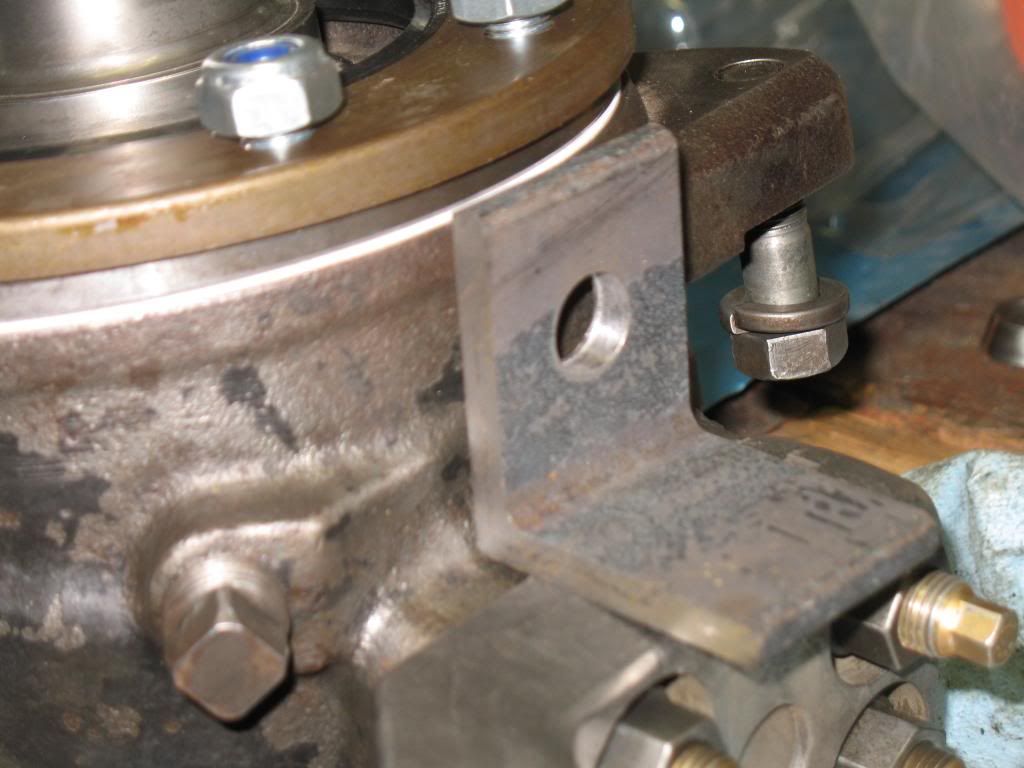
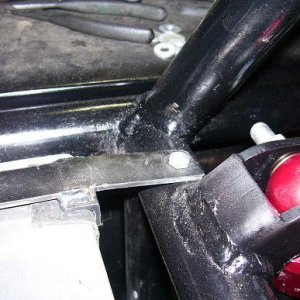
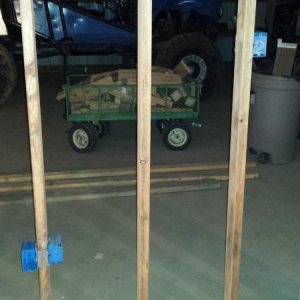
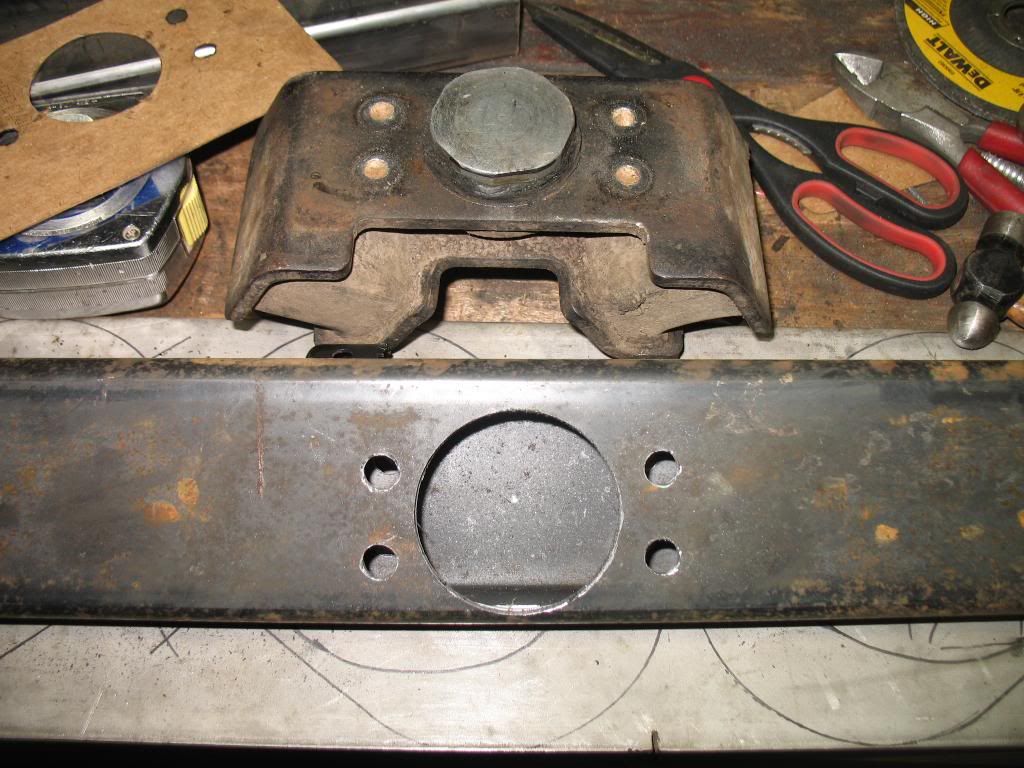
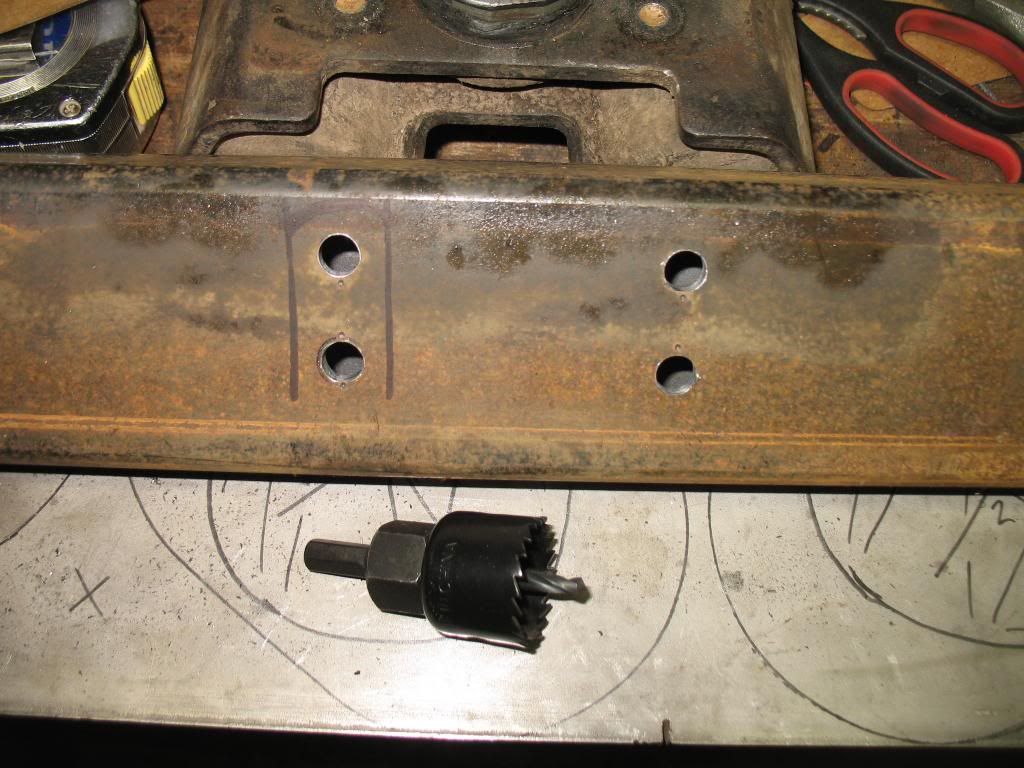
I decided I needed to start on the T-case mount.I had picked up a FROR style plate from pos97tj last week thinking it would work easier when I got to this point.BUt it turns out that the stock mount is literally about 2-3 inches above bottom of frame rail.So, I opted to start making my own mount.Started working things out and then fried a small hole saw:haha: trying to slot the back for access holes..
IMG_5796_zpsa681c6fe.jpg

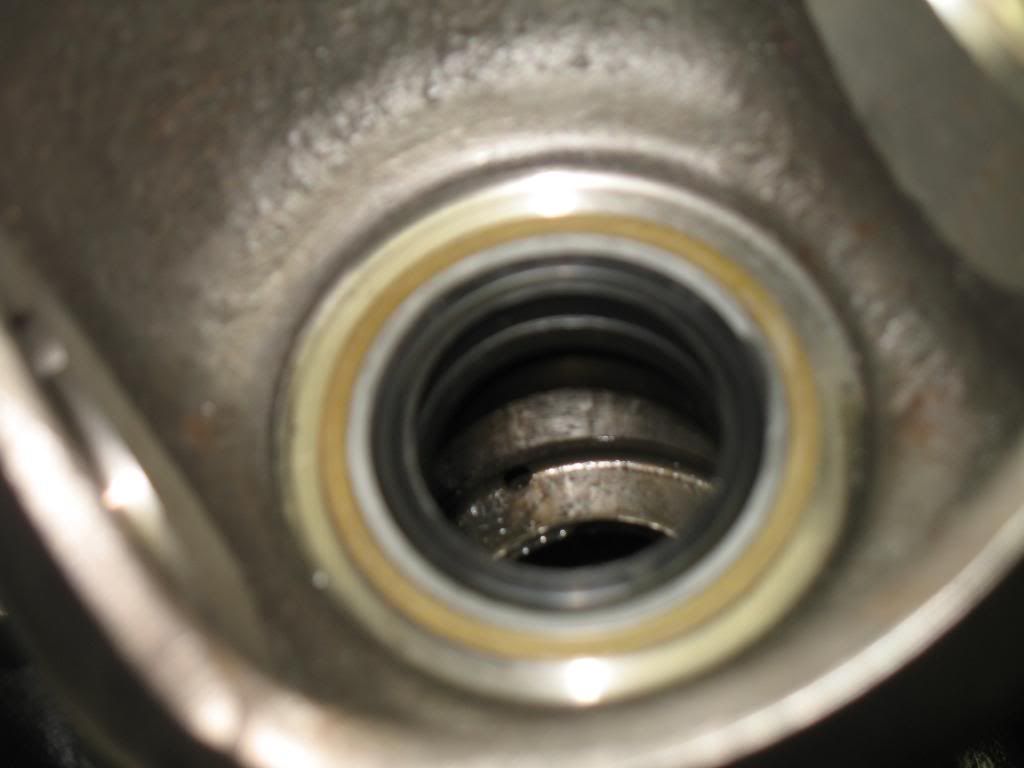
The hole saw before it's demise....:redneck:
IMG_5797_zpsced95e71.jpg


WElp,thats where I am at after last night.Gonna go get a hole saw and continue on the T-case mounting mission.Then on to the Engine hangers....
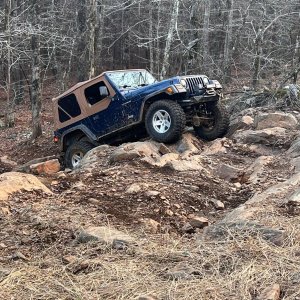
I'd defenitely say it is flatbellied ...
IMG_5798_zpsa935beec.jpg


cheers
 
Last edited:
Flat bellies are bennificial about 10 percent of the time you wheel.

Steep driveline angles are with you 100 percent of the time.
 
Flat bellies are bennificial about 10 percent of the time you wheel.
Oh my christ!!!BRad doesna approve!!!!:flipoff::haha:

Steep driveline angles are with you 100 percent of the time.

Pretty much ONLY have a flatbelly , so I can still have my Subie motor.OTHERWISE, would have kept it as simple as possible.....

On the other hand, after driving cars that I HAD to slide over ****, around **** and , through ****, I would figure that I have wheeled a bit.This ain't my first rodeo.I been a dumbass my whole life.:haha:I need all the help I can get ...:awesomework:
I may not have been wheelin your backyard, or your personal trails, but I been wheelin something that had to earn every fawkin bit of ground it got lately...
Went far.
May not know much about Toyota's.But have driven through alot of different **** :awesomework::fawkdancesmiley:


So, Had to actually start on the T-case mounting
IMG_5803_zps77827135.jpg

IMG_5804_zps279377fe.jpg

fingered out a bushing setup,Toyota and HMMWV bushings :redneck:

Made a hole that big in the frame mounts
IMG_5807_zps66aafa79.jpg


This way...
IMG_5812_zps585d9507.jpg

Or THAT way?
IMG_5813_zps44743178.jpg

So, Number 1 left,right
Number 2 left,right:fawkdancesmiley:
Needed to measure some ****, so.....
IMG_5814_zpsed724a11.jpg

IMG_5815_zps89f1ddf3.jpg

IMG_5816_zpsb004be2d.jpg

With these measurements in mind, Am I thinkin right.Is this about what I am looking for?
cheers:flipoff:
 
Last edited:
Toss a couple scrap pipes or anything straight like a yard stick in there to mimick driveline angles. Lets see the anges you are working with.
 
Toss a couple scrap pipes or anything straight like a yard stick in there to mimick driveline angles. Lets see the anges you are working with.

Pretty sure I can re-mount the spring hangers:fawkdancesmiley::awesomework:
Just buldin a truck ....Not gonna be perfect.Just what I can do:haha::fawkdancesmiley:
Don't really know nothing, but am pretty sure that I can make this work.It's been done before with single case, short framed rigs.Not worried about it here.
cheers
 
actually, If you can give me the measurement from the last 90degree angle of the rear CV I could give an accurate measurement to the rear diff.The front is defenitely ok...
Can't be that different than some of the rigs I have seen...Just sayin..
cheers
 
It just looks from the pics that the bellhousing is alot further in the engine compartment than a toy truck would be and the shifter location also shows how much further forward it is in relation ton the cab. Like maybe 6 or more inches.

Thats a substantial difference shorter than a stock toy, which already has a somewhat short front driveline. The tranny is way up in there and at an uphill angle. This puts the front output pointed down a little and the rear pointing up a a little? The rig has decent arched springs so I just am left to assume it would have a very short steep shaft? Maybe the pics make it out differnt than it is.

I cant tell much by pics, without seeing it Im just speculating. Just trying to help ya avoid problems at the rodeo. :;

Fair enough,Fair enough..
I am Still learning.And have a hard time listening.
It's defenitely a learning curve.I was thinking that the front looked ok when I gandered it.It is barely lifted....The drivetrain is pretty level...bad camera angles:redneck:
I'll be sure to pay attention where it is due.:awesomework:
cheers
 
Last edited:
Oh and backwards.The fornt pointed UP a little, and the rear DOWN a little.:fawkdancesmiley::haha:
cheers
 
:haha:Man , was I drunk last night.:fawkdancesmiley:

I realize I need to be looking at the driveline angles.

I was drinking about it alot last night:redneck:
cheers:haha:
 
So I at least have the frame brackets cleaned off now.
IMG_1204_zps3e1dc4b4.jpg

IMG_1205_zps5d3c2f58.jpg

Still trying to decide which way to go about it.I have some ideas about boxing the whole thing in with some 12ga and leaving the top and bottom a couple inches wide to the outside with a swoop in it for the shock.
Then cutting out the clearance I need and plating that with 1/4 inch strap.
Sound sound?:haha:
I found this hole that appears to be where the weld was , when I was flapping the disc to the frame......
The metal was super thin and just kinda fell out after a couple of seconds.Leaving the remaining hole.
IMG_1203_zpsb8c0f44a.jpg


:fawkdancesmiley:
framerail3_zpsa2a2e5ee.jpg

make sense?
cheers
 
Last edited:
Got some paint on her.
Then polished my balls:fawkdancesmiley:
IMG_1226_zps8124724f.jpg

Then installed the Diff Stud Eliminator I acquired from Tacoma screw.They wanted like 40 bucks or some **** online.i am into it like 20 bucks for front and back.
IMG_1234_zpsaa270775.jpg


Gotta get some tube for the frame work, then can move forward more.
Still gott atap and rebuild the steering box.Buy the hydro assist stuffs.
Get the floor back in and maybe relocate the seast belt tabs.
cheers
 
at least pluggin....

Got some stuffs done.Lots o cleanin for me.
IMG_5824_zpse06014a6.jpg

Installed some of Bobbie's hub gears.
IMG_5827_zps89e82335.jpg

Then put the ARP studs in the tops of the knuckles.
IMG_5826_zps2c54ed4d.jpg

Then some dumb super metal things that I bought when I was drunk:looser:
:haha:They rounded out the cart.:fawkdancesmiley:

IMG_5833_zps4c12ac09.jpg

Like this?**** I hope so:haha:
IMG_5831_zpsd4b9dbcd.jpg

I was hoping this was right
I also got these done.
IMG_5834_zps65b7fd93.jpg


Then started looking at this, I had made these blindly.I will have to make some that fit after finally being at this point.
IMG_5835_zps3f8d5394.jpg

Anyways.Progress is progress.
cheers:haha:
 
Last edited:
I know , I saw:redneck:
Was in the garge.Figured you were wheelin yesterday, then was in the garage today.
I was hopin you had a good answer for me.
Cheers,I'll turn that seal around.
 
looks good I just went through the thread I like it boost the motor palease lol good luck man keep on keepen on!
 
Still gotta finish the front axle.
Lookin at all kinds of this stuff....
5ef5e82a-d302-4d71-aebb-d000029af87d_zps7d380f88.jpg

The red is new.The green is what i Still think i need to do....

Hopefully the TRI Mangulation isn't to bad.:haha:
Felt like I had to trust the truss system.Only got so far.
The above is obviously where I want to be.
THis is where I got to .After cleaning the garage, and the street, and such.


cheers
 
Top