AW10
Well-Known Member
I know the last thing some of you want to hear coming through the woods is another damn street bike motor buggy but I love em and after 2 years of building it I FINALLY have it done. I have nothing to do tonight and a lot of pics so I figured id post this up. Keep in mind that this was built on a budget so when you see some hack job parts... don't be surprised. I have more money now than i did 2 years ago when we put the motor in so I plan on fixing those parts in due time. Ill keep it short and let the pics talk but if you have any questions on how something works after you see the pics just post em up. Also would like to point out that I have done very little work myself because I had no idea how to do it  My friend ( not sure if he wants his name on here ) did everything involving the motor and cage ( his 1st one ), then I had Essentially Off road finish it up with the 4-link and building the axles.
Specs
2007 Suzuki Hayabusa motor. 1.3 liter inline 4, 175hp 100ft lb, red line a little north of 11,000 rpm. with a 6 speed trans built in ( like most bike motors ).
Sammi Trans
Sammi Transfer case (stock)
85 Yota front axle with IFS hubs, 30 spline longfields, longfield flanges, yukon spool, trail gear high steer arms, 4.10 gears, disc brakes
IFS rear Yota axle, stock shafts, yukon spool, 4.10 gears, disc brakes
Full Hydraulic steering, Howe pump, orbital was bought from Coleworx, Northern Tool single end ram
37" BFG Red labels
17" Raceline Monsters
QA1 Heim joints
Custom HD drive shafts
103" wheel base
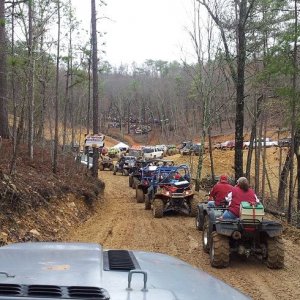
This is what it started as. I wheeled it like this for 4 years or so. Bone stock 88 sammi. Had to take the ***** way out of twister 3.
Clearing out all the mosquito's

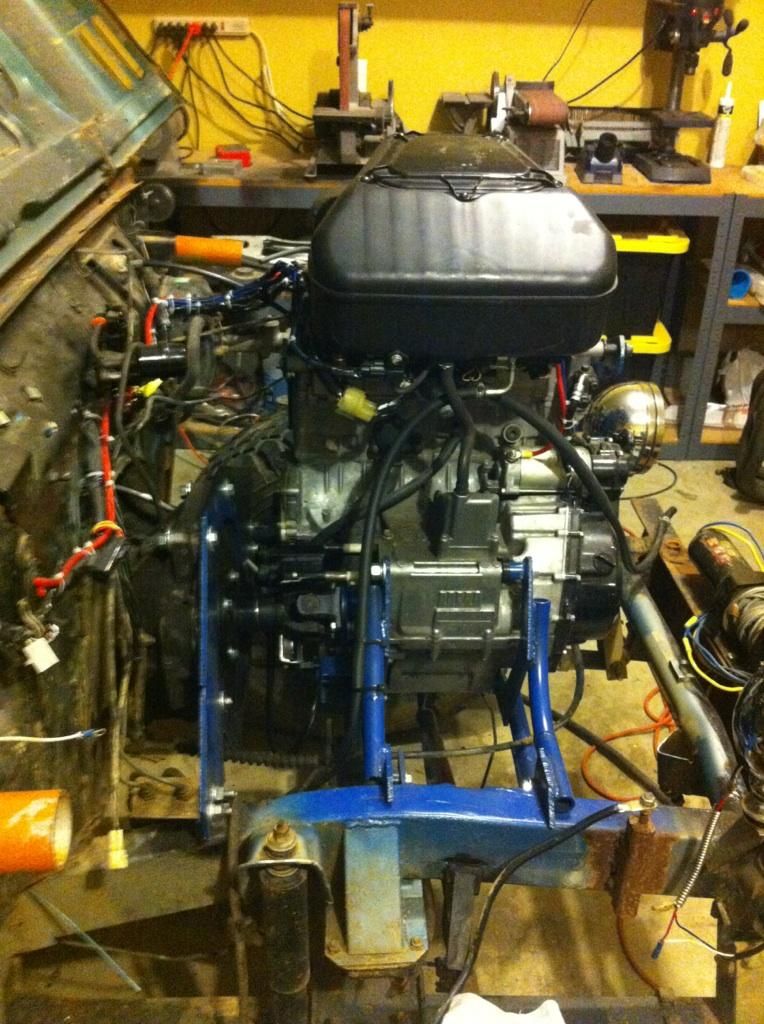
The engine instal took longer than we expected because we had to move the sammi trans to the rite because of the way the motor had to be turned sideways and it was too wide to mount to the trans in the middle. This is also when I realized it wasn't going to be as cheap as I has hoped because the motor had to sit where the steering box was. We also had to cut into the frame and then reinforce it back up to clear the oil filter. With the steering box gone I had to go hydraulic steering which involved engine work to be able to have a pulley drive the pump. Left the gas tank the bike tank because I thought it would keep some of the bike theme and also because it already fit the gas pump... and it has some super man logos on it from whoever wrecked it... so that added at least 10 horsepower. My friend building it is an auto body man and he found me a radiator out of a broncho i believe it was and some fans off a 2012 maxima. Both had broken tabs on them and were thrown away. Couldn't argue with free ;D
Motor in. You can see how the mount from bike to sammi trans works. Take bike sprocket and weld a cut sammi drive shaft on it. Then make a plate on the other end that mounts the the fly wheel to the sammi trans. If your good enough and can mount them straight enough to not have any angle in the bar you can keep the u-joint out of it but it was faster and easier to do it this way for us. It works just as well. The only downside is with the thickness of the u-joint you have to move the hydraulic ram for the bike clutch back. If you look close you can see the black plate behind the u-joint moved back from the motor... that's it. Hayabusas have hydraulic clutches not cable. I don't have any close up pics of this. The engine mounts were made from what ever scrap metal he had in the garage. More free ****.
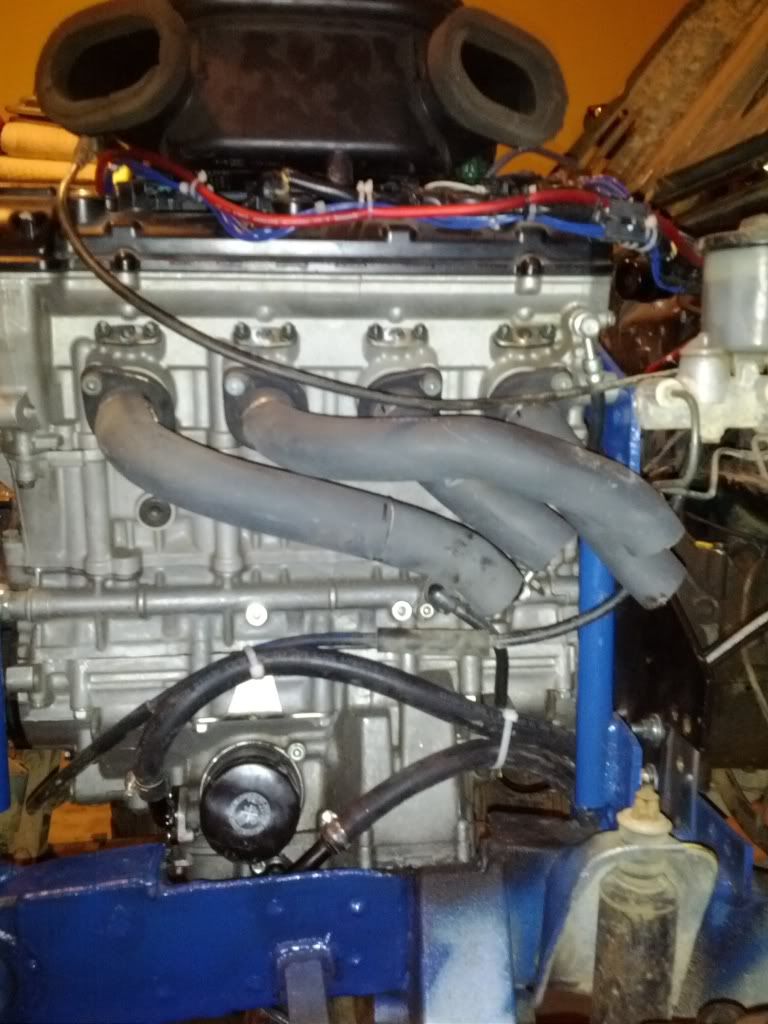
You can see where the frame had to be cut here. Normally this is the view from the front of the bike so the headers go straight down and under the motor. He had to take the stock headers and cut them up and rework them to make them go a different way. Went to advanced and bought a big tip to weld on the end to bring them together.
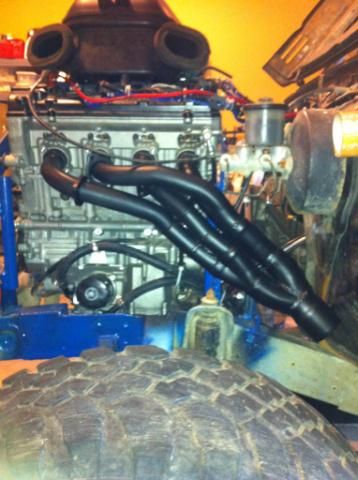
Almost

Finished
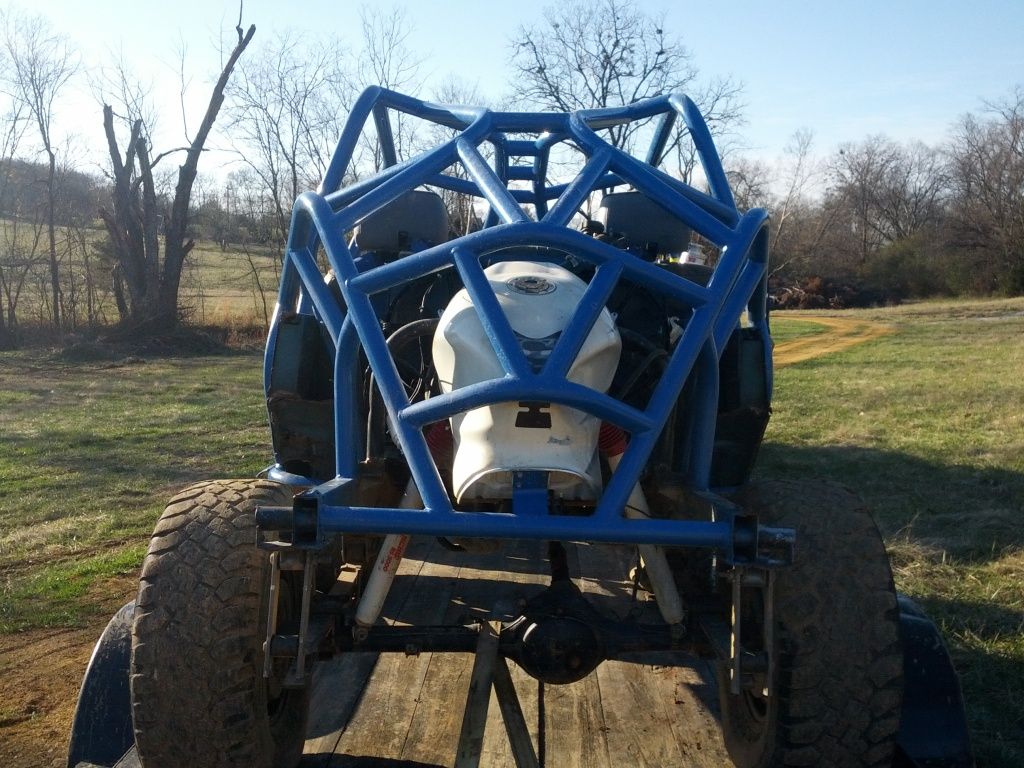
Radiator, Fans, and tank mounted

Mounted the computer and a lot of the wiring on the firewall to keep it out of the way of mud. Mounted battery on the trans hump.

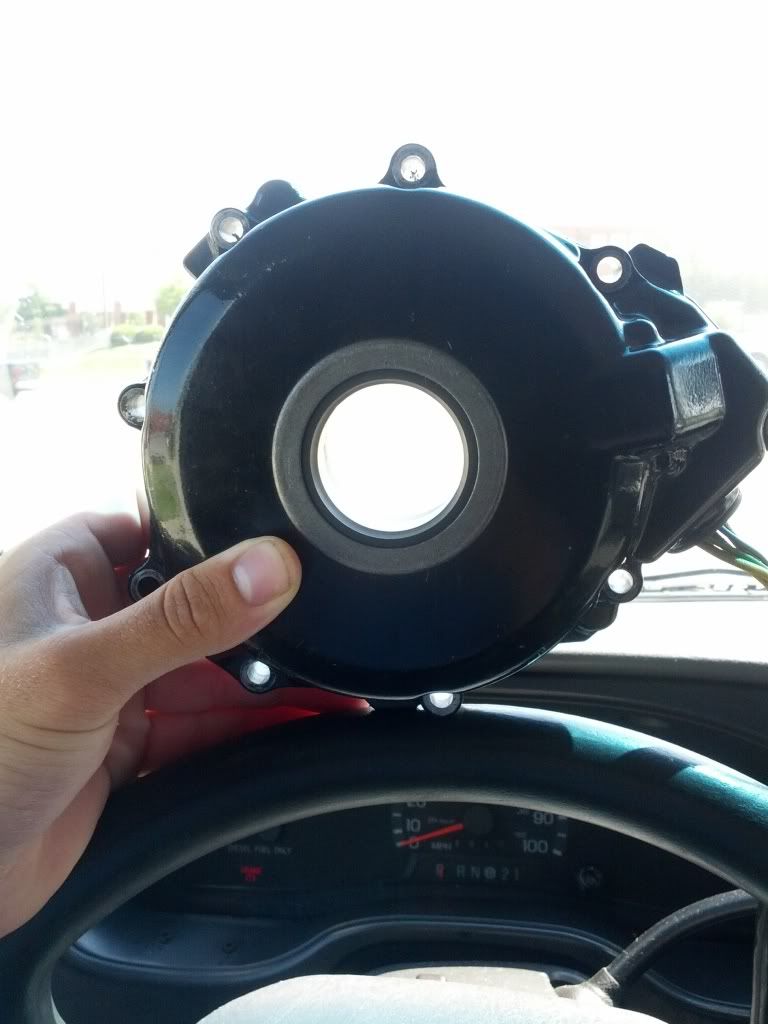
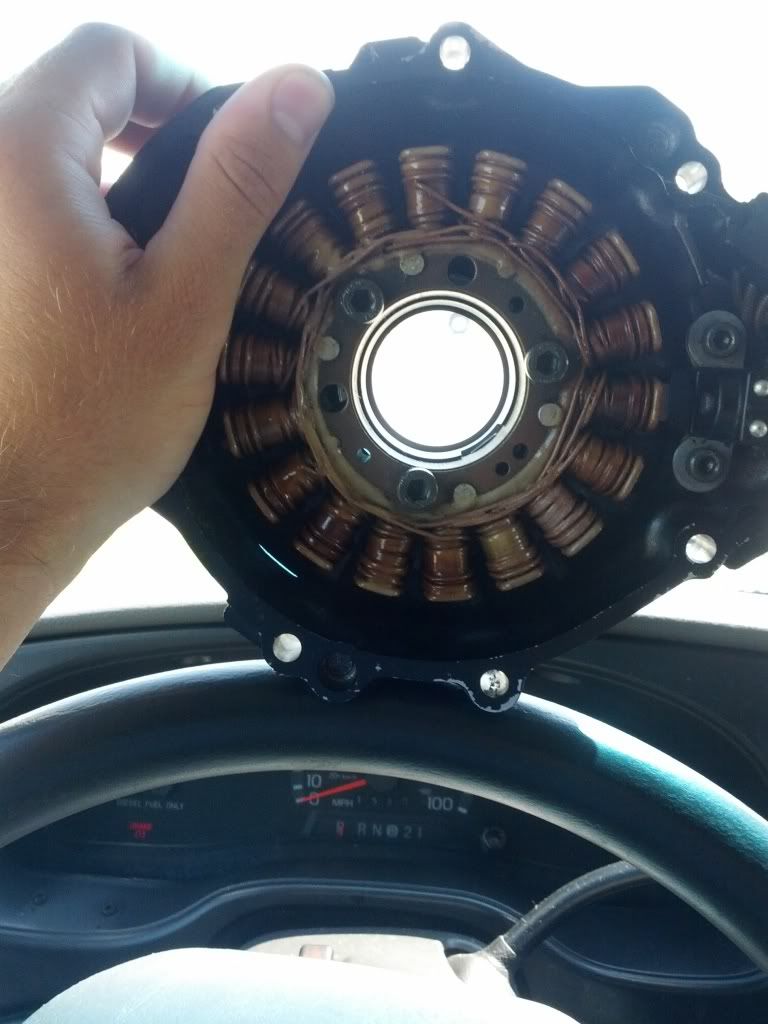
To get a pulley on the motor we took the stator ( basically a built in alternator for those of you who don't know what that is ) and took it to a machine shop and had them cut a hole in the case cover and weld a bar on the plate that would slide through a press fit seal on the cover to mount the pulley to. This goes directly to the crank so the RPM doesn't change with the gears. Whatever the tach sais is what it is spinning.

Started getting some hydraulic stuff
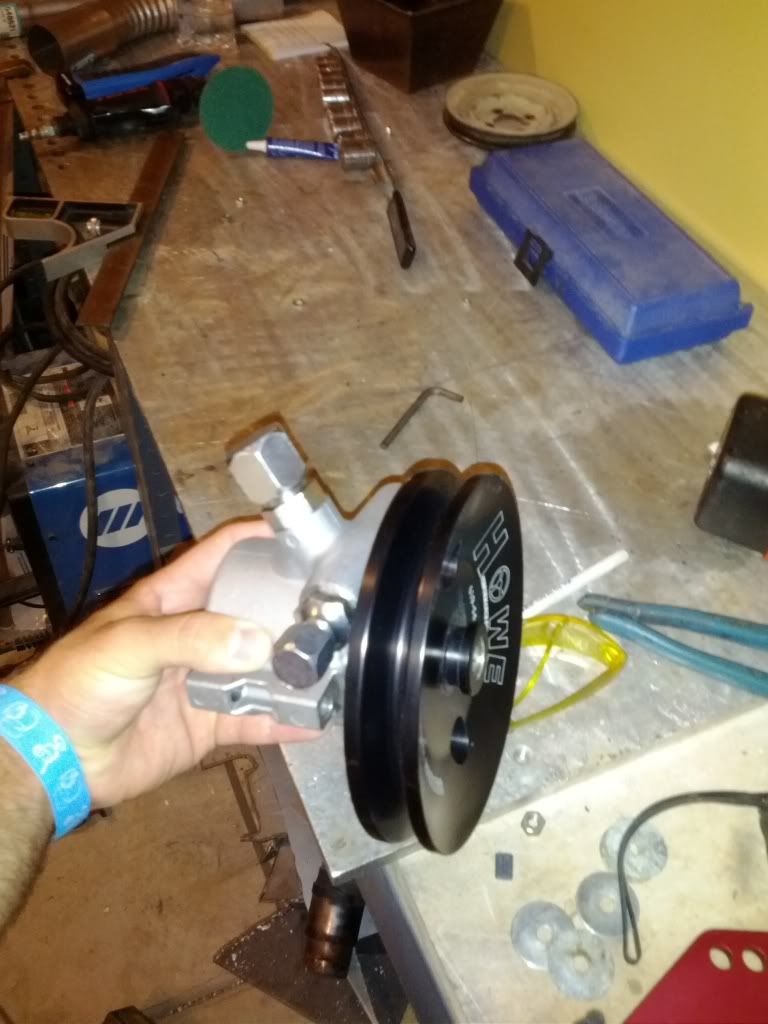
Howe recommended we get the higher end pump to be able to handle the RPMs. Not sure if it was needed but didn't want to chance it, they might just be really good sales people. Big pulley to slow the RPM down. Went with a ribbed one later on for better grip. Damn thing still slips some. Usually when im at full turn.
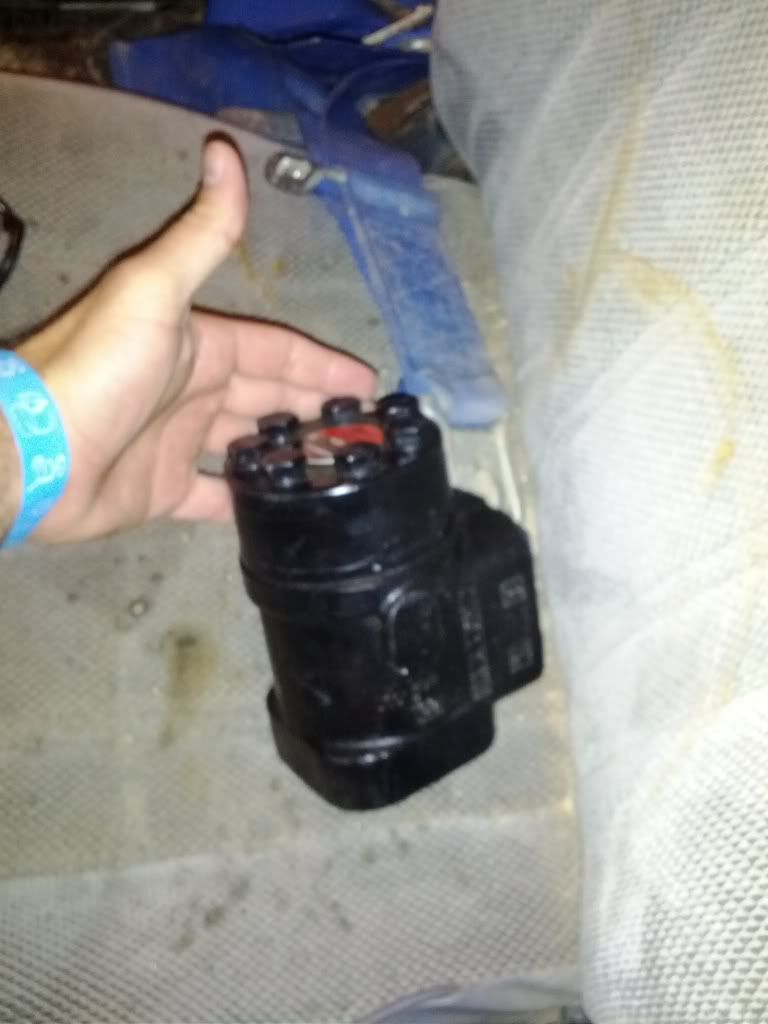
This is the orbital we bought from Coleworx... I know its just an orbital valve... no big deal but it turns my 6" ram from lock to lock in less than a full turn, more like 1/2 a turn. Steering gets a little twitchy when you get going fast... nice in a trail though.
Finally get it all in and take it to WITC for Trucks Gone Wild last year. Everything went well but the clutch on the bike motor was slipping really bad so I couldn't really get the power to the ground like I wanted to. Put some air filters in the air box to make it look a little better.... probably should have mounted them sideways so water wouldn't get in the motor as easy but were going to fix that later. Keeping it covered till then.
After that it was time to get rid of the cage of death. Notice it had no bars on the back anymore unlike the 1st pic ..... they all fell off when I turned it over pulling 3 guys on a car hood in the snow like tubing on water. Whipped them really hard and their weight pulled me over after I already stopped. Good times.
No more cage

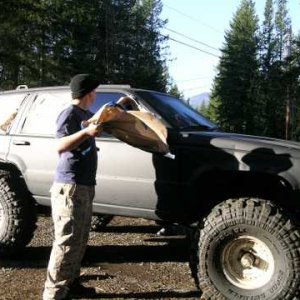
Paint - too poor for powder coat and I can rattle can it back blue after I roll it, went with the best looking blue I could find in a rattle can and that aslo could be bought in a gallon to spray it. Safety blue at TSC . Plus i couldn't really disassemble it like usually happens to paint it correctly,

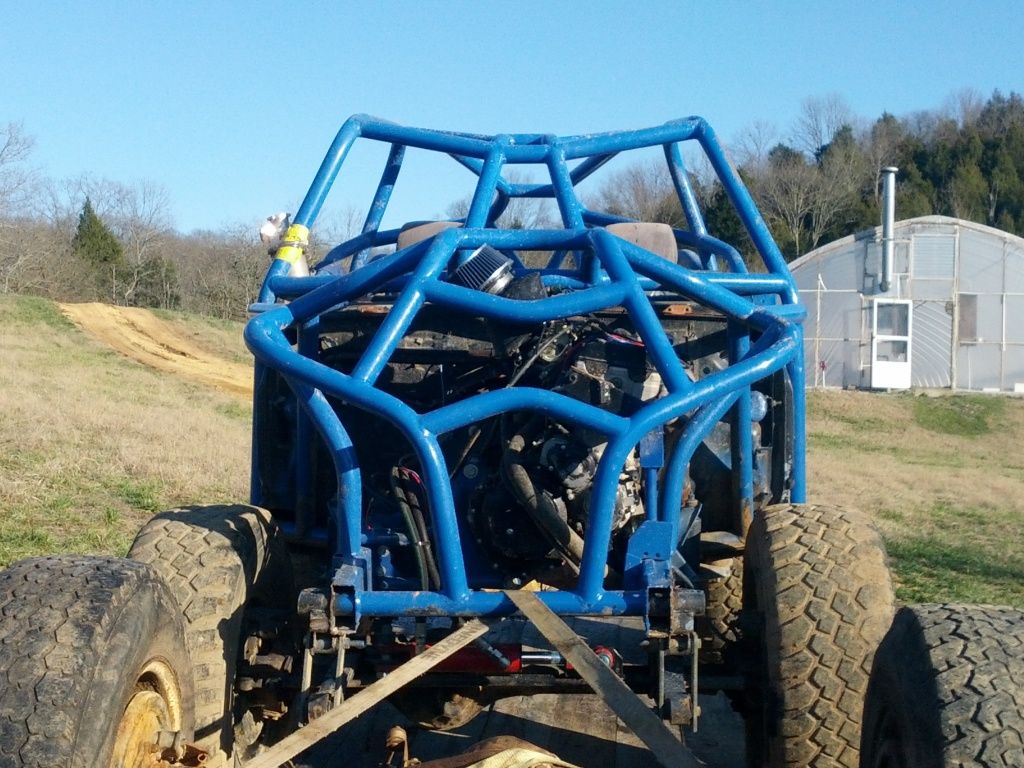
Finished, not too bad for his 1st cage. I like it. ( pics taken after new years ride at WITC... already had its 1st flip under its belt... ashamed to admit it but it happened on tiger trail haha. I wasn't used to the steering yet and it was also the 1st time I had the new clutches in it and the 1st time I floored it and it sat sideways and I over corrected and drove up the rite side on a steep wall and it flipped me over... I was embarrassed as **** but that's when I realized how fast that motor was and was loving it. Only took 4 of us to flip it back over.

This also taken at New Years at the beginning to twister 3... didn't know they dug HUGE holes in it and it swallowed it up. Rolled over trying to climb out of the hole.

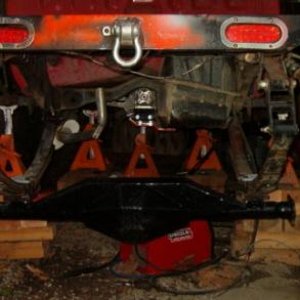
Later that day I broke both front berfields and the rear drive shaft on the ledge. Luckily for me my cousin found an 85 Yota for sale for $500.00 !!! We bought it that day and i took everything but the motor and the body. Scrapped the rear housing and bout an 86+ IFS rear and hubs and sent it all up to EOR to finish it up with 4 link.
Im not 100% sure these are mine because I never really asked but im pretty sure these are my HD drive shafts going together. Not sure what the specs on them are....

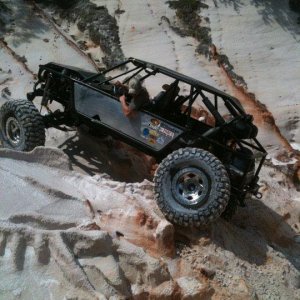
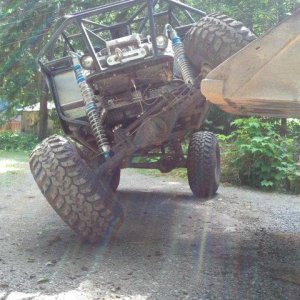
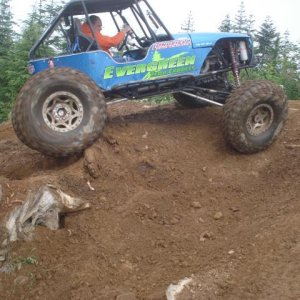
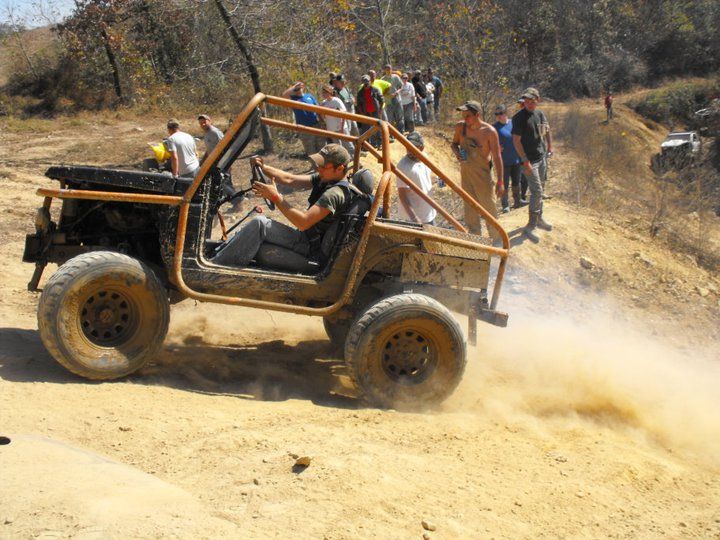
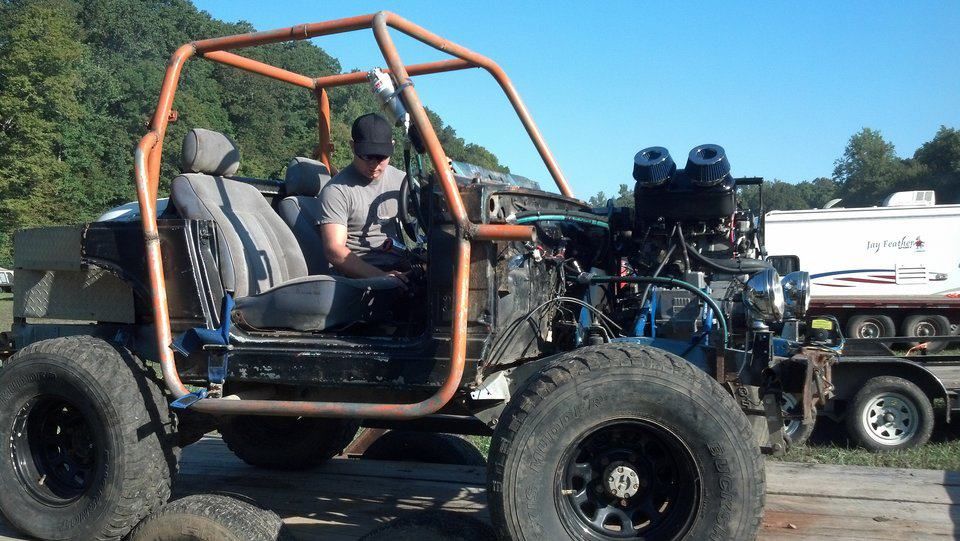
This is it finished. 2 years after I started the build. Picked it up last friday. Still needs a few finishing touches like some paint and what not. I didn't know what it would look like with the new wheel base and and wheels and tires but when I finally saw it I wasn't disappointed. Its quite a bit taller than I would like it to be but that's what I get for keeping the frame and part of the tub.. After driving it its it still really stable and high lean angles. I love it.

Less than 24 hrs later I was at wooleys testing it out... Had a few minor issues with the battery because it hadn't been charged in some months, a radiator hose, and the clutch cable for the sammi at the end of the day got a little loose but its all cheap easy fixes.


Ill end with
http://www.hardlinecrawlers.com/forums/index.php?topic=4737.0
My friend ( not sure if he wants his name on here ) did everything involving the motor and cage ( his 1st one ), then I had Essentially Off road finish it up with the 4-link and building the axles.Specs
2007 Suzuki Hayabusa motor. 1.3 liter inline 4, 175hp 100ft lb, red line a little north of 11,000 rpm. with a 6 speed trans built in ( like most bike motors ).
Sammi Trans
Sammi Transfer case (stock)
85 Yota front axle with IFS hubs, 30 spline longfields, longfield flanges, yukon spool, trail gear high steer arms, 4.10 gears, disc brakes
IFS rear Yota axle, stock shafts, yukon spool, 4.10 gears, disc brakes
Full Hydraulic steering, Howe pump, orbital was bought from Coleworx, Northern Tool single end ram
37" BFG Red labels
17" Raceline Monsters
QA1 Heim joints
Custom HD drive shafts
103" wheel base
This is what it started as. I wheeled it like this for 4 years or so. Bone stock 88 sammi. Had to take the ***** way out of twister 3.

Clearing out all the mosquito's

The engine instal took longer than we expected because we had to move the sammi trans to the rite because of the way the motor had to be turned sideways and it was too wide to mount to the trans in the middle. This is also when I realized it wasn't going to be as cheap as I has hoped because the motor had to sit where the steering box was. We also had to cut into the frame and then reinforce it back up to clear the oil filter. With the steering box gone I had to go hydraulic steering which involved engine work to be able to have a pulley drive the pump. Left the gas tank the bike tank because I thought it would keep some of the bike theme and also because it already fit the gas pump... and it has some super man logos on it from whoever wrecked it... so that added at least 10 horsepower.
My friend building it is an auto body man and he found me a radiator out of a broncho i believe it was and some fans off a 2012 maxima. Both had broken tabs on them and were thrown away. Couldn't argue with free ;DMotor in. You can see how the mount from bike to sammi trans works. Take bike sprocket and weld a cut sammi drive shaft on it. Then make a plate on the other end that mounts the the fly wheel to the sammi trans. If your good enough and can mount them straight enough to not have any angle in the bar you can keep the u-joint out of it but it was faster and easier to do it this way for us. It works just as well. The only downside is with the thickness of the u-joint you have to move the hydraulic ram for the bike clutch back. If you look close you can see the black plate behind the u-joint moved back from the motor... that's it. Hayabusas have hydraulic clutches not cable. I don't have any close up pics of this. The engine mounts were made from what ever scrap metal he had in the garage. More free ****.

You can see where the frame had to be cut here. Normally this is the view from the front of the bike so the headers go straight down and under the motor. He had to take the stock headers and cut them up and rework them to make them go a different way. Went to advanced and bought a big tip to weld on the end to bring them together.

Almost

Finished

Radiator, Fans, and tank mounted

Mounted the computer and a lot of the wiring on the firewall to keep it out of the way of mud. Mounted battery on the trans hump.

To get a pulley on the motor we took the stator ( basically a built in alternator for those of you who don't know what that is ) and took it to a machine shop and had them cut a hole in the case cover and weld a bar on the plate that would slide through a press fit seal on the cover to mount the pulley to. This goes directly to the crank so the RPM doesn't change with the gears. Whatever the tach sais is what it is spinning.


Started getting some hydraulic stuff
Howe recommended we get the higher end pump to be able to handle the RPMs. Not sure if it was needed but didn't want to chance it, they might just be really good sales people. Big pulley to slow the RPM down. Went with a ribbed one later on for better grip. Damn thing still slips some. Usually when im at full turn.

This is the orbital we bought from Coleworx... I know its just an orbital valve... no big deal but it turns my 6" ram from lock to lock in less than a full turn, more like 1/2 a turn. Steering gets a little twitchy when you get going fast... nice in a trail though.

Finally get it all in and take it to WITC for Trucks Gone Wild last year. Everything went well but the clutch on the bike motor was slipping really bad so I couldn't really get the power to the ground like I wanted to. Put some air filters in the air box to make it look a little better.... probably should have mounted them sideways so water wouldn't get in the motor as easy but were going to fix that later. Keeping it covered till then.

After that it was time to get rid of the cage of death. Notice it had no bars on the back anymore unlike the 1st pic ..... they all fell off when I turned it over pulling 3 guys on a car hood in the snow like tubing on water. Whipped them really hard and their weight pulled me over after I already stopped. Good times.
No more cage

Paint - too poor for powder coat and I can rattle can it back blue after I roll it, went with the best looking blue I could find in a rattle can and that aslo could be bought in a gallon to spray it. Safety blue at TSC
. Plus i couldn't really disassemble it like usually happens to paint it correctly,
Finished, not too bad for his 1st cage. I like it. ( pics taken after new years ride at WITC... already had its 1st flip under its belt... ashamed to admit it but it happened on tiger trail haha. I wasn't used to the steering yet and it was also the 1st time I had the new clutches in it and the 1st time I floored it and it sat sideways and I over corrected and drove up the rite side on a steep wall and it flipped me over... I was embarrassed as **** but that's when I realized how fast that motor was and was loving it. Only took 4 of us to flip it back over.


This also taken at New Years at the beginning to twister 3... didn't know they dug HUGE holes in it and it swallowed it up. Rolled over trying to climb out of the hole.

Later that day I broke both front berfields and the rear drive shaft on the ledge. Luckily for me my cousin found an 85 Yota for sale for $500.00 !!! We bought it that day and i took everything but the motor and the body. Scrapped the rear housing and bout an 86+ IFS rear and hubs and sent it all up to EOR to finish it up with 4 link.
Im not 100% sure these are mine because I never really asked but im pretty sure these are my HD drive shafts going together. Not sure what the specs on them are....

This is it finished. 2 years after I started the build. Picked it up last friday. Still needs a few finishing touches like some paint and what not. I didn't know what it would look like with the new wheel base and and wheels and tires but when I finally saw it I wasn't disappointed. Its quite a bit taller than I would like it to be but that's what I get for keeping the frame and part of the tub.. After driving it its it still really stable and high lean angles. I love it.

Less than 24 hrs later I was at wooleys testing it out... Had a few minor issues with the battery because it hadn't been charged in some months, a radiator hose, and the clutch cable for the sammi at the end of the day got a little loose but its all cheap easy fixes.

Ill end with
http://www.hardlinecrawlers.com/forums/index.php?topic=4737.0