clemsonjeep
Well-Known Member
This build started back in 2008 and I've tried to keep it updated on Pirate as I change things up, but I've gotten to where I don't care to spend much time on that site anymore. I do however spend plenty of time here on Hardline :****: If I'm going to spend more time here than there I figured I'd also get more response here as well.
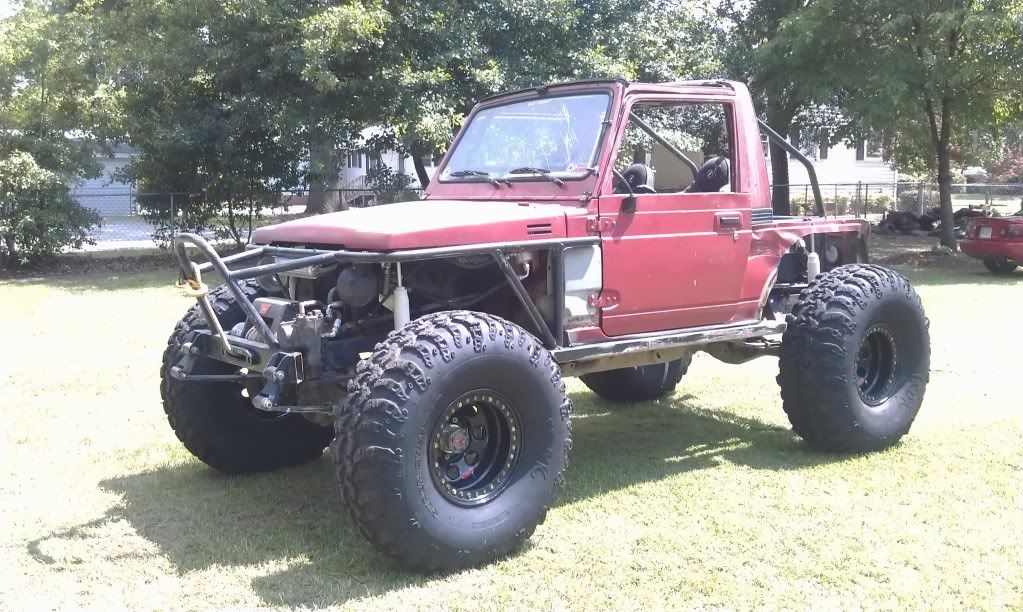
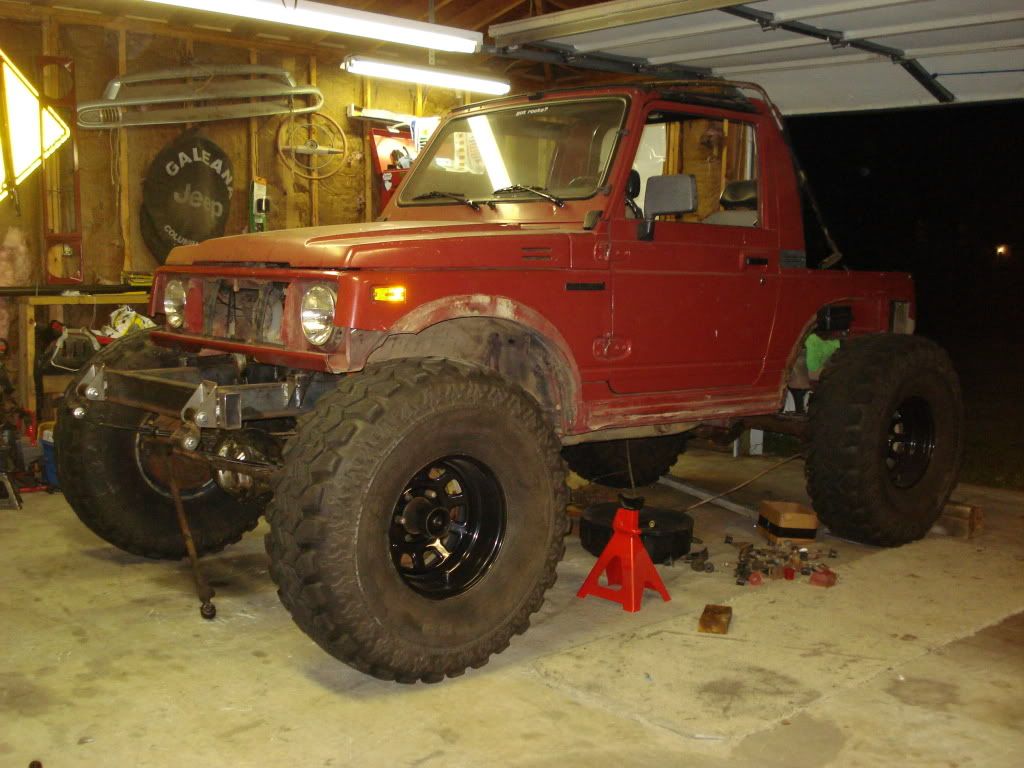
Here's where this build started...

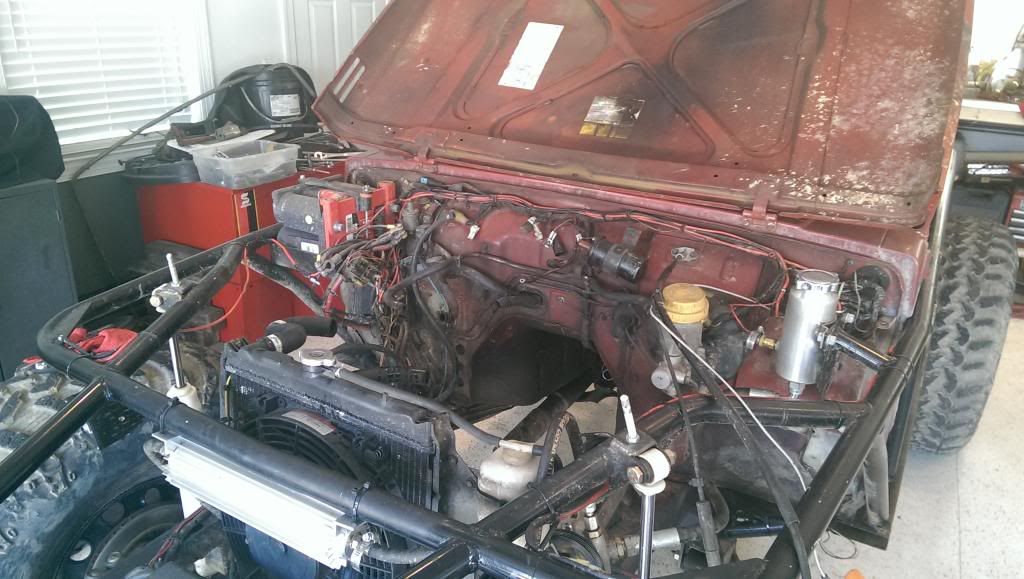
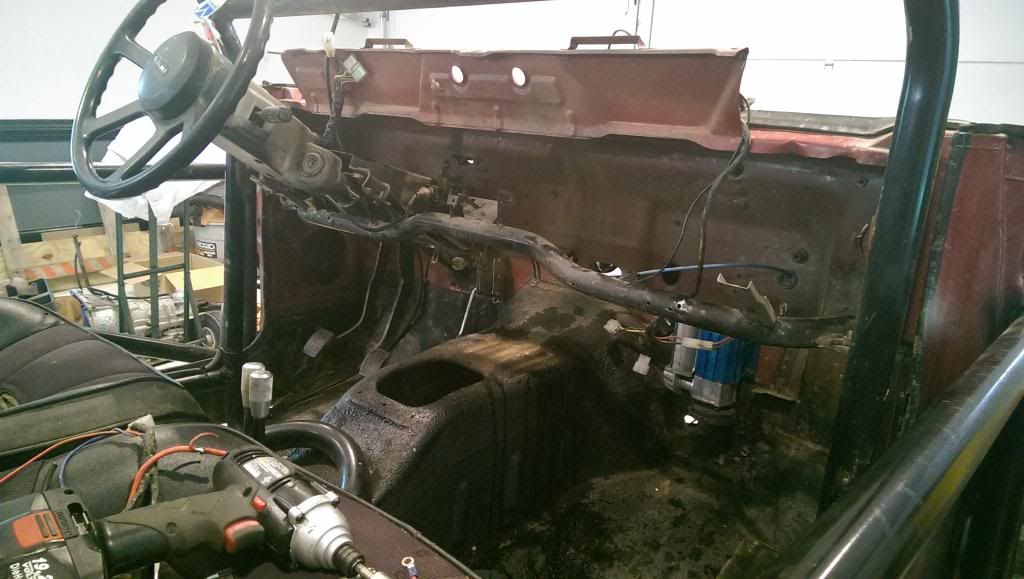
Just prior to pulling it into the shop to strip it down I had been driving it on a daily basis as well as 2hr trips one way to to see a girl I was dating. The little booger got great mileage and was a blast to drive...not to mention everyone giving me the stink eye :flipper:
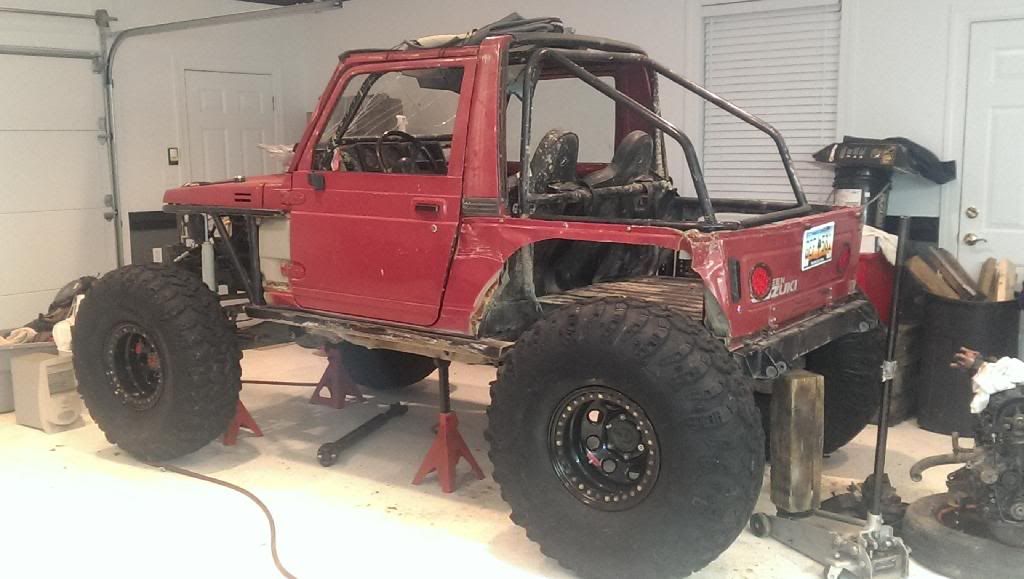
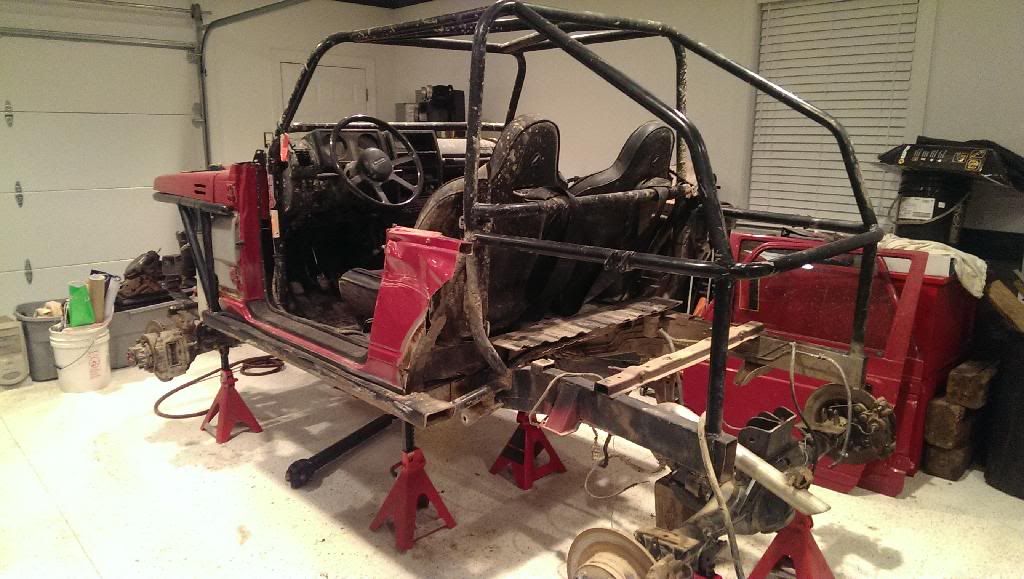
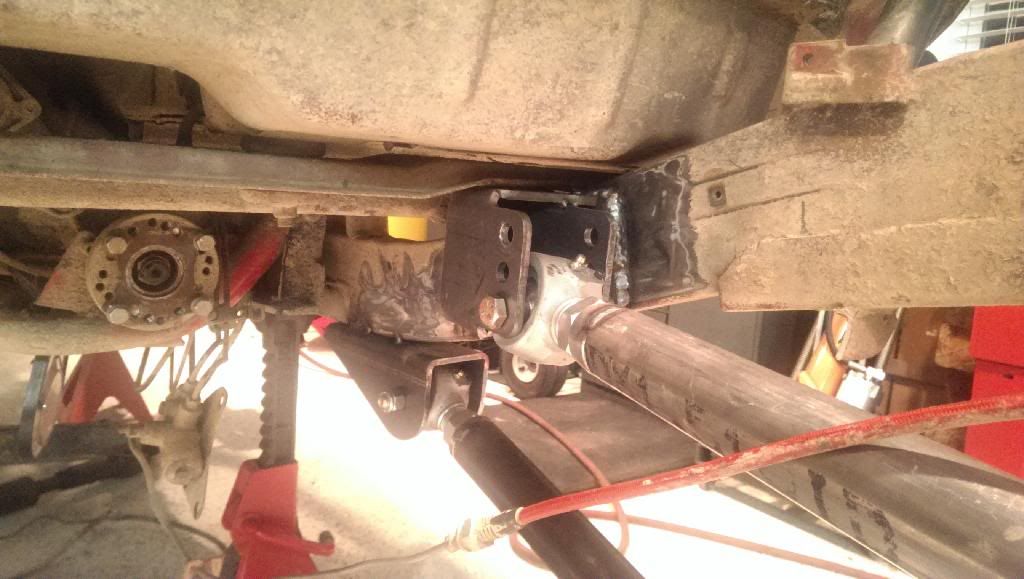
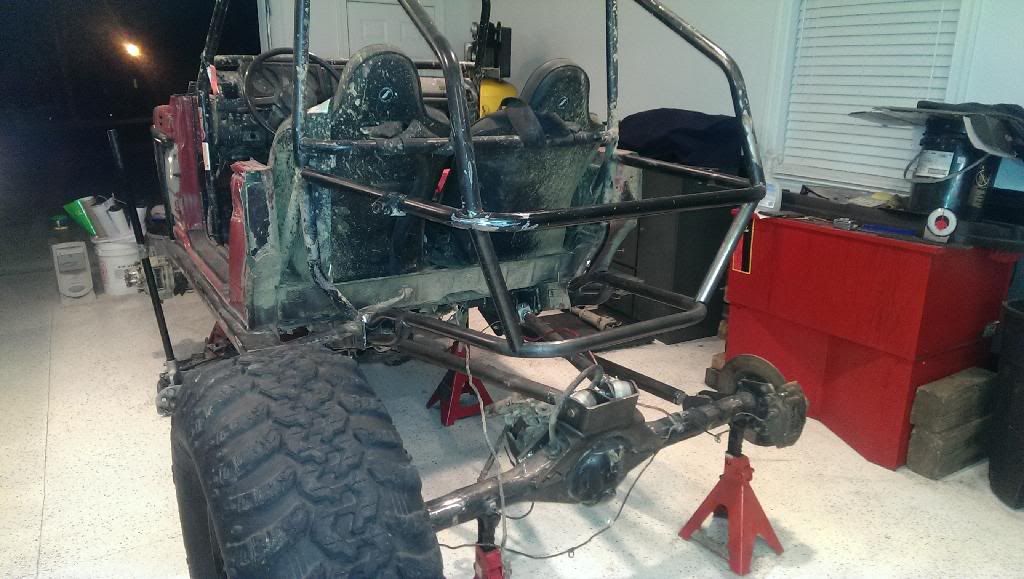
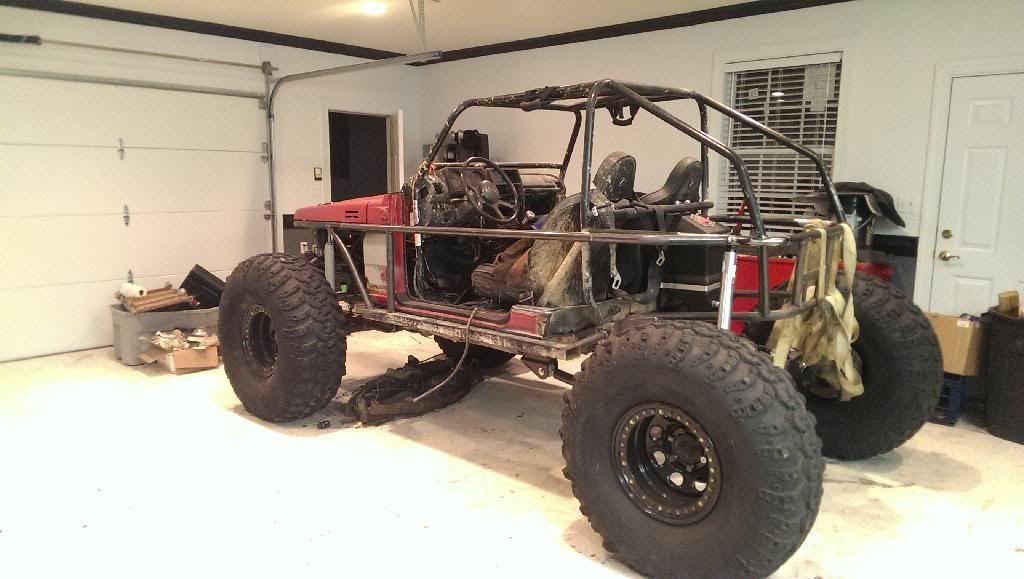
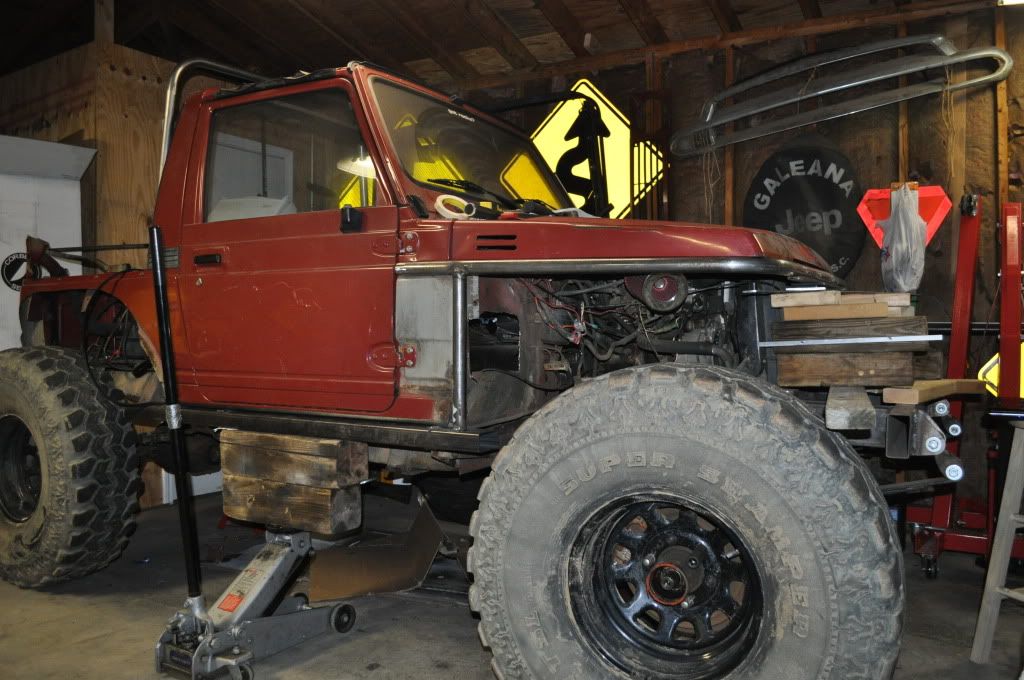
At first the plan was to use a pair of the early Wagoneer axles with the offset rear and this is what it looked like the first time it sat on it's own weight again.
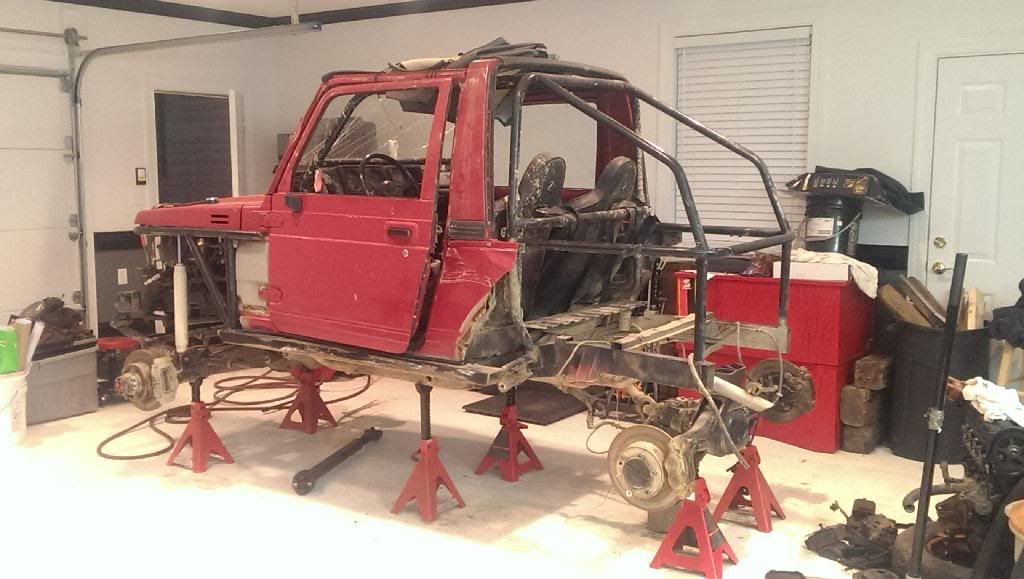
Then I got a bender and things started to take shape...
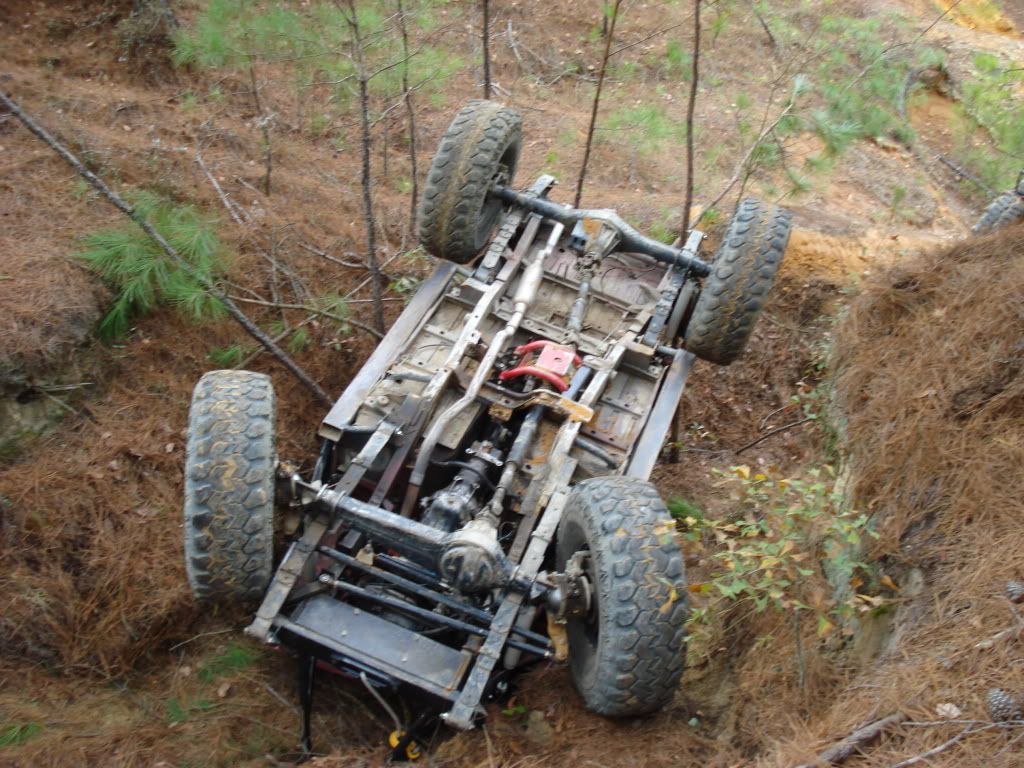
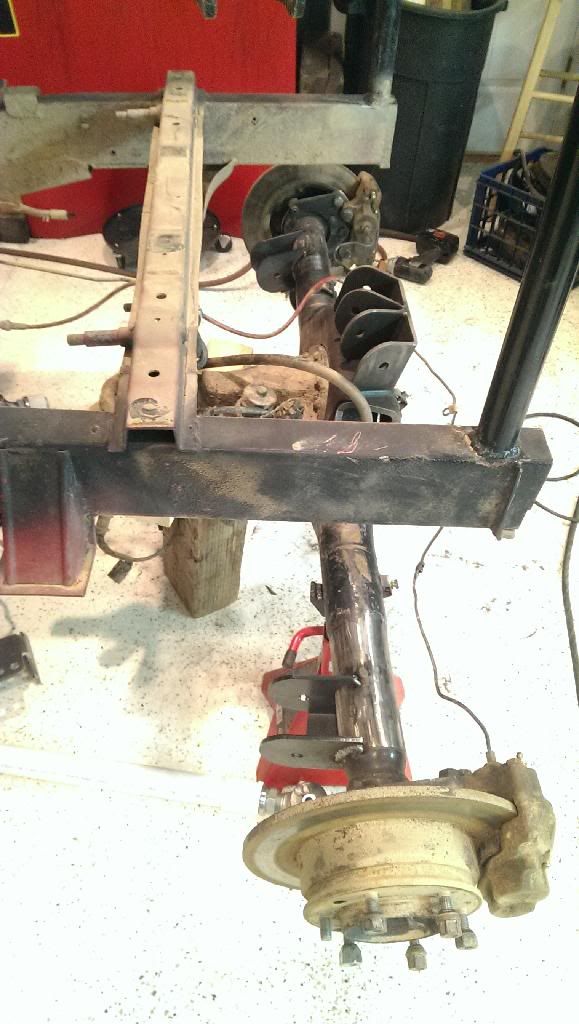
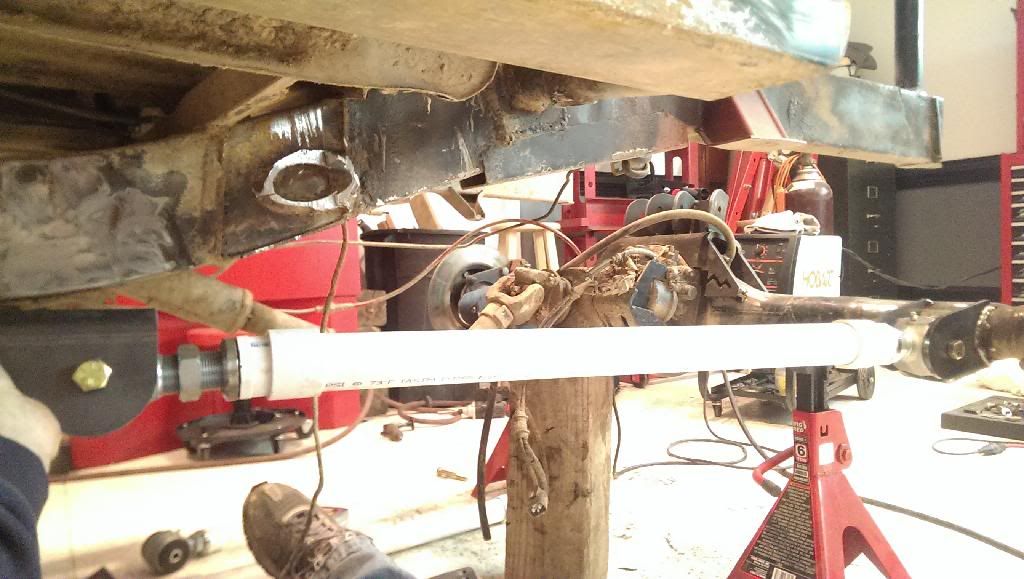
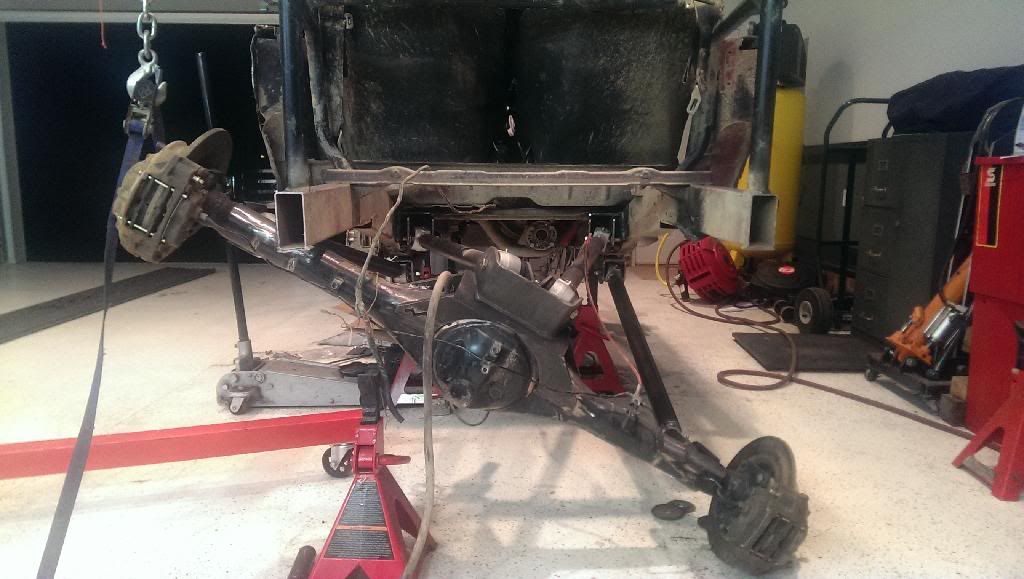
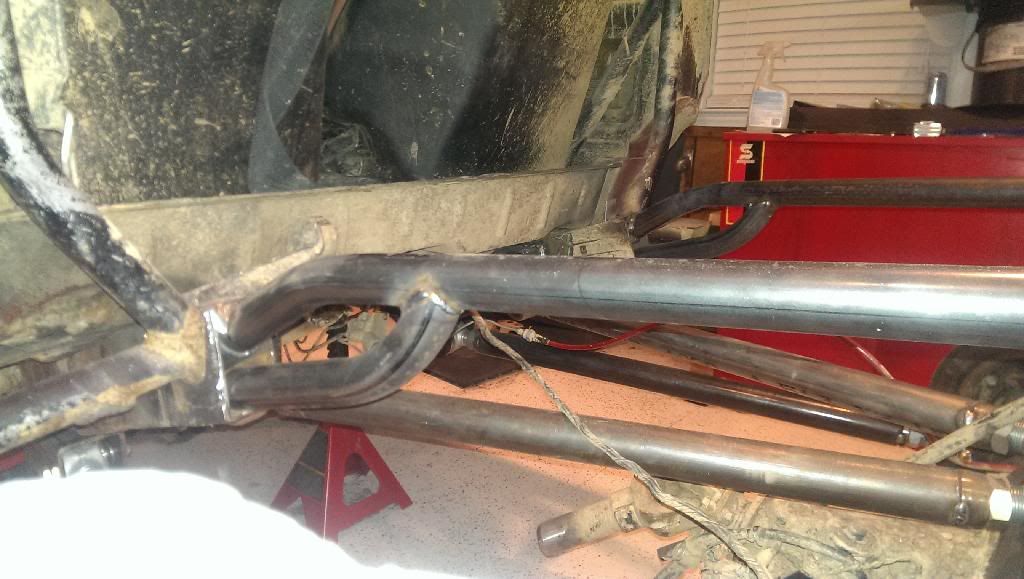
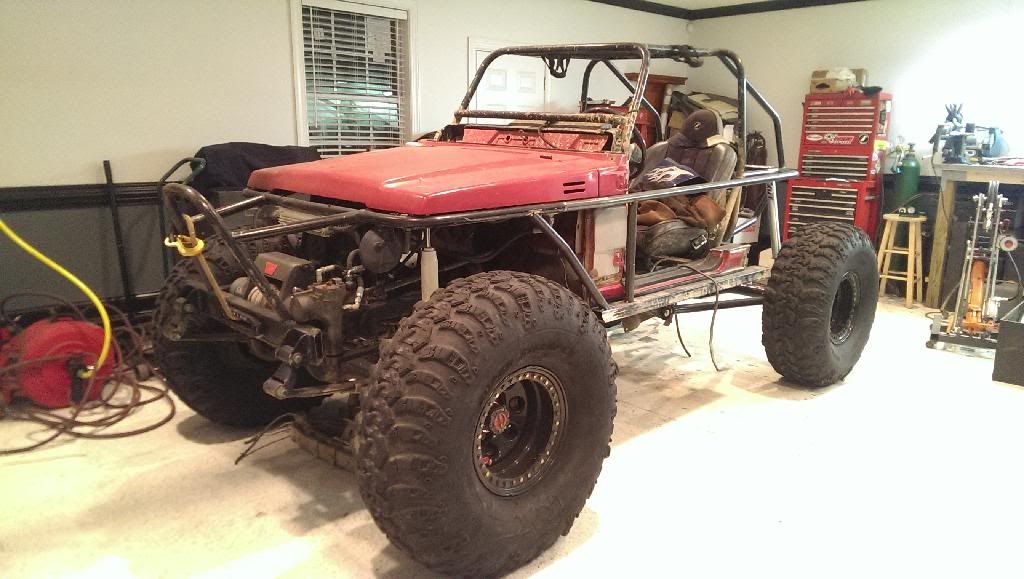
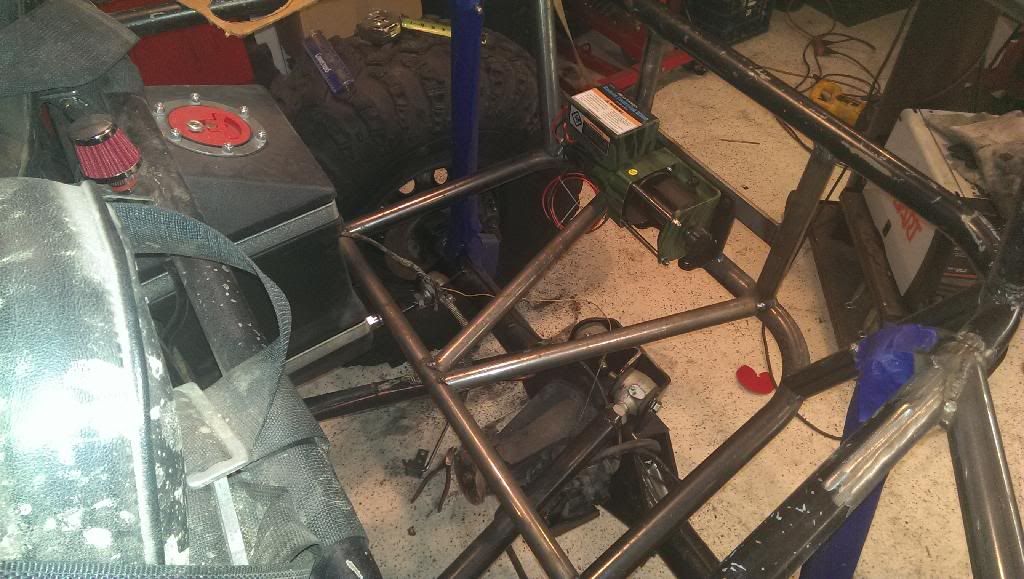
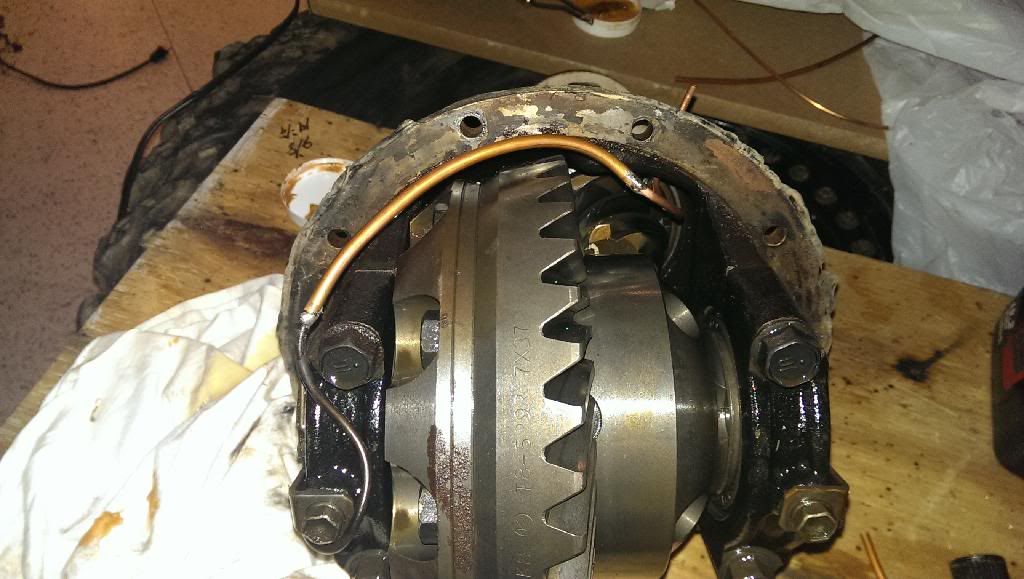
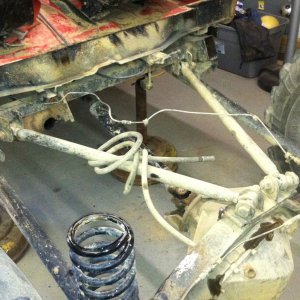
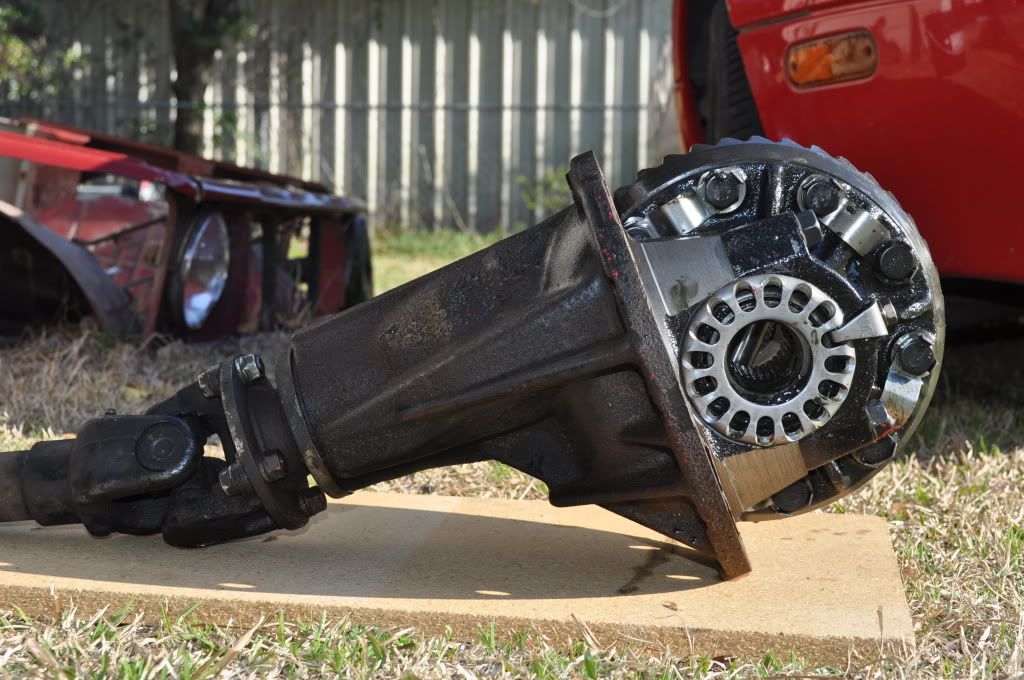
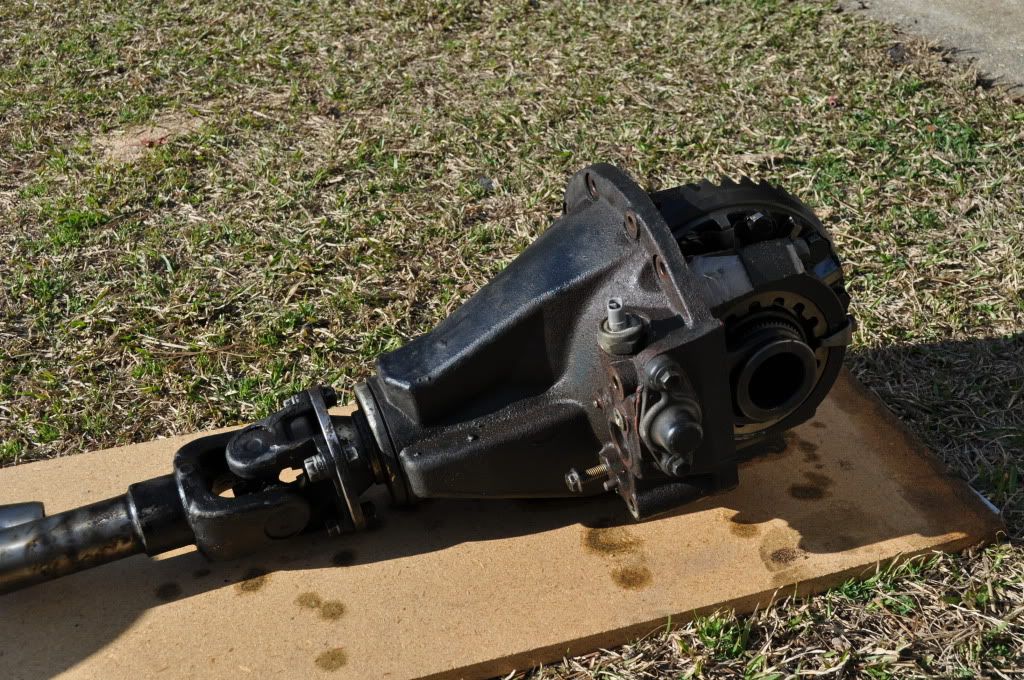
After being frustrated trying to nail down what I was going to do for a steering setup and a few other things I decided to change directions and throw a set of yota axles under it. I took a day off work and visited a handful of salvage yards one day and came back home with a high pinion 3rd, elocker rear, IFS hubs and brakes, IFS rear axle, and other misc. parts.
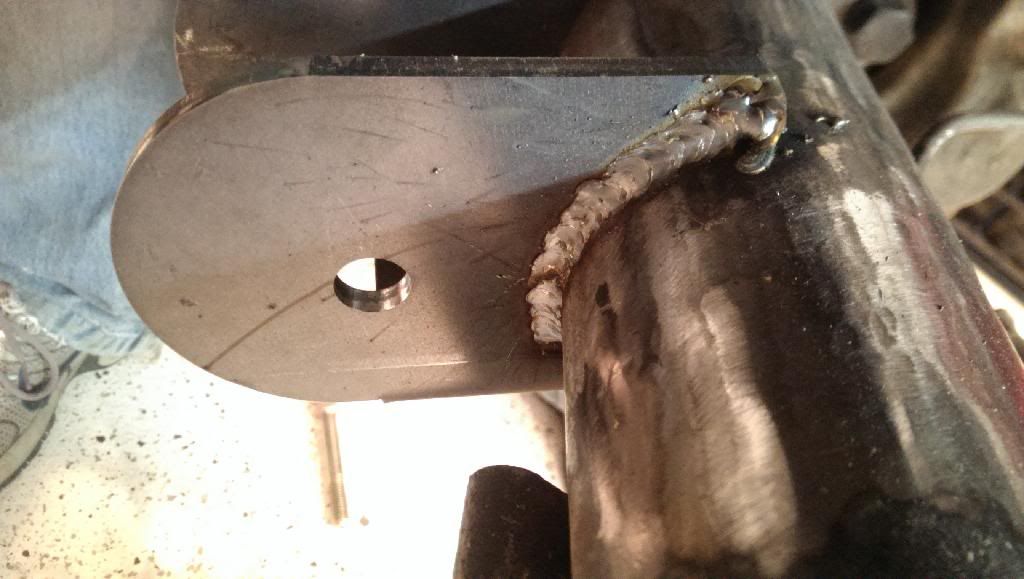
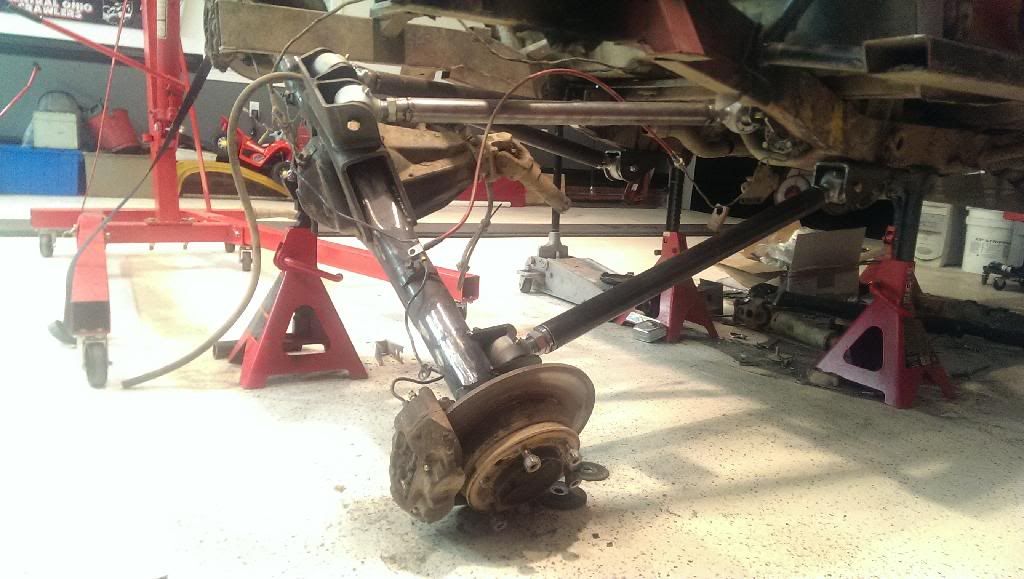
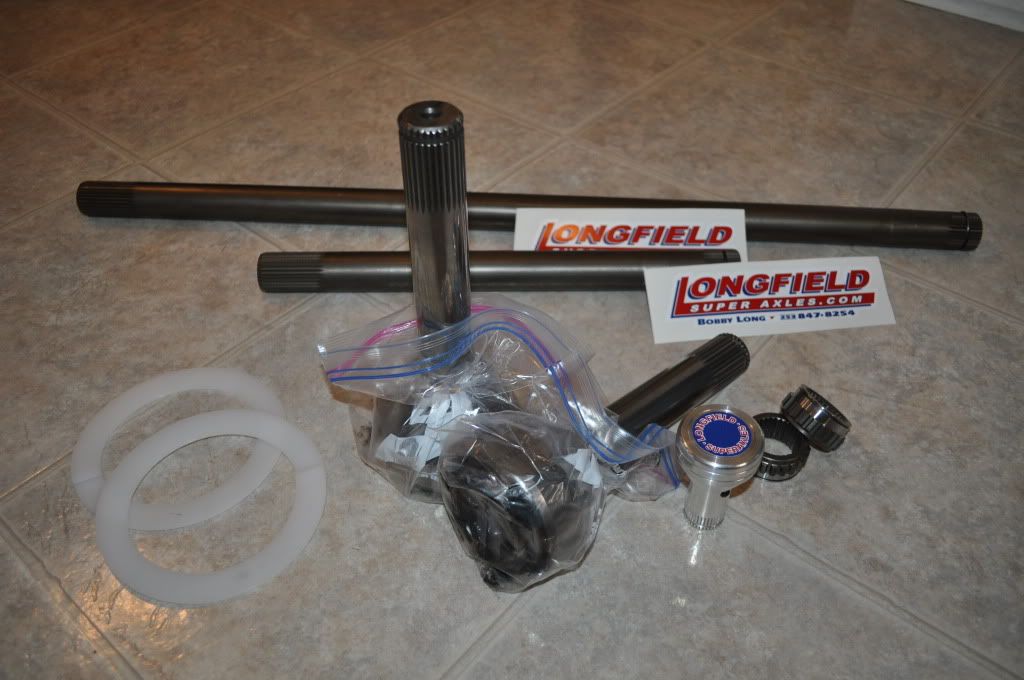
I ordered up some Longfield goodies as well as sending him my ring and pinions to have them treated along with the lock collar and side gears from the elocker.
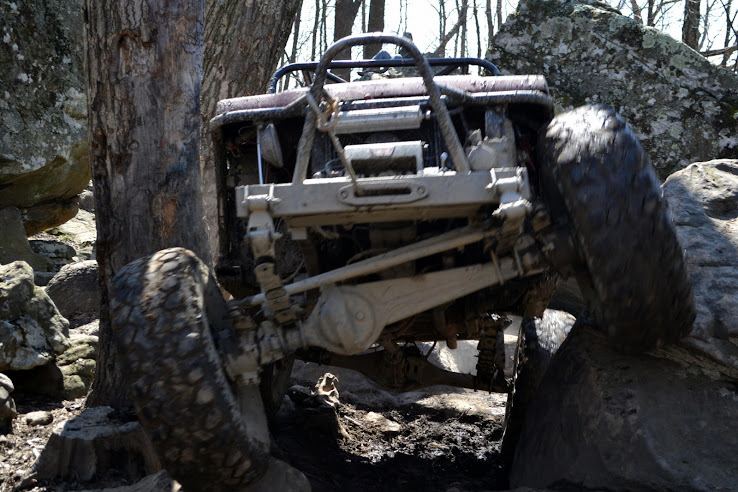
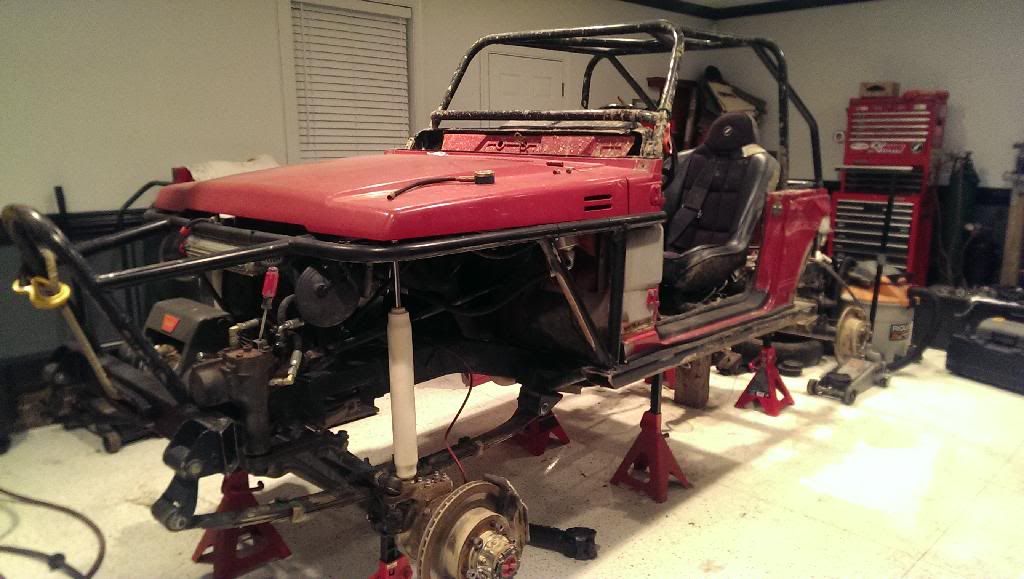
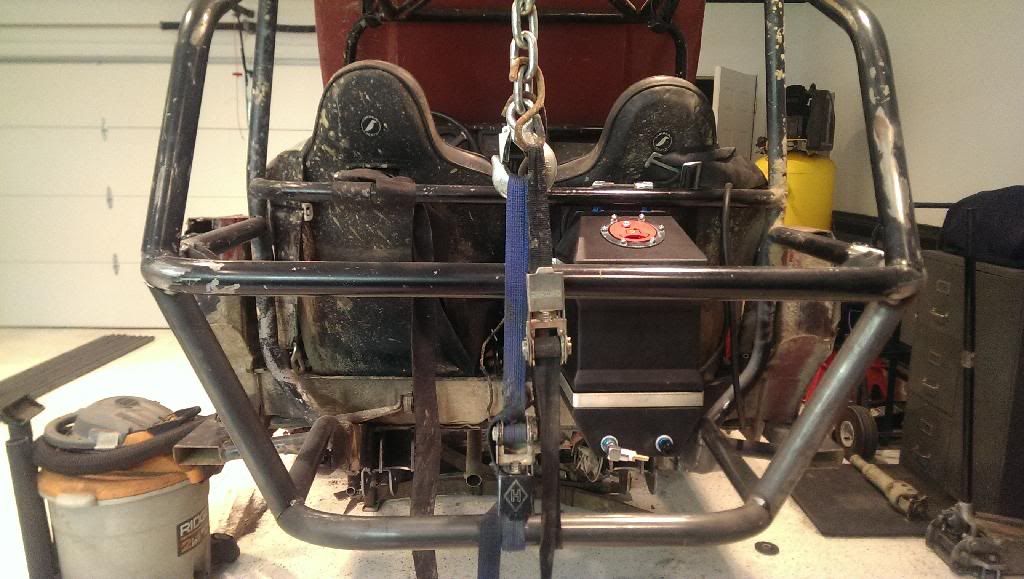
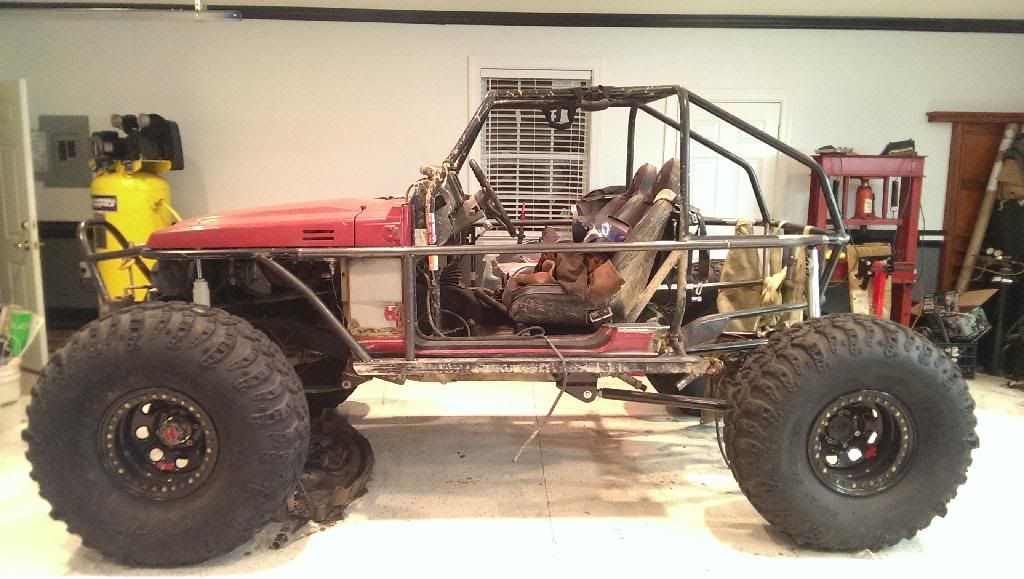
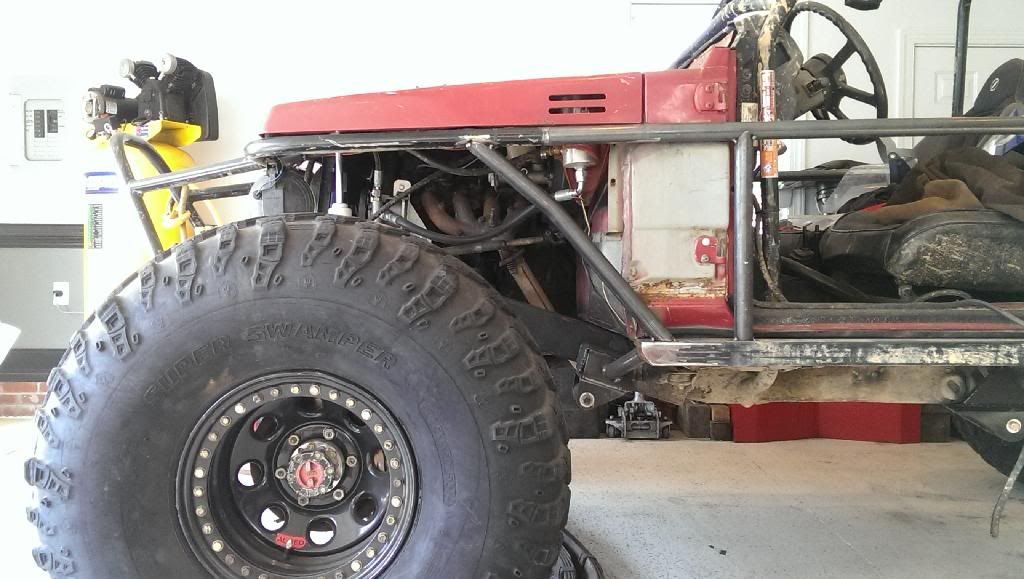
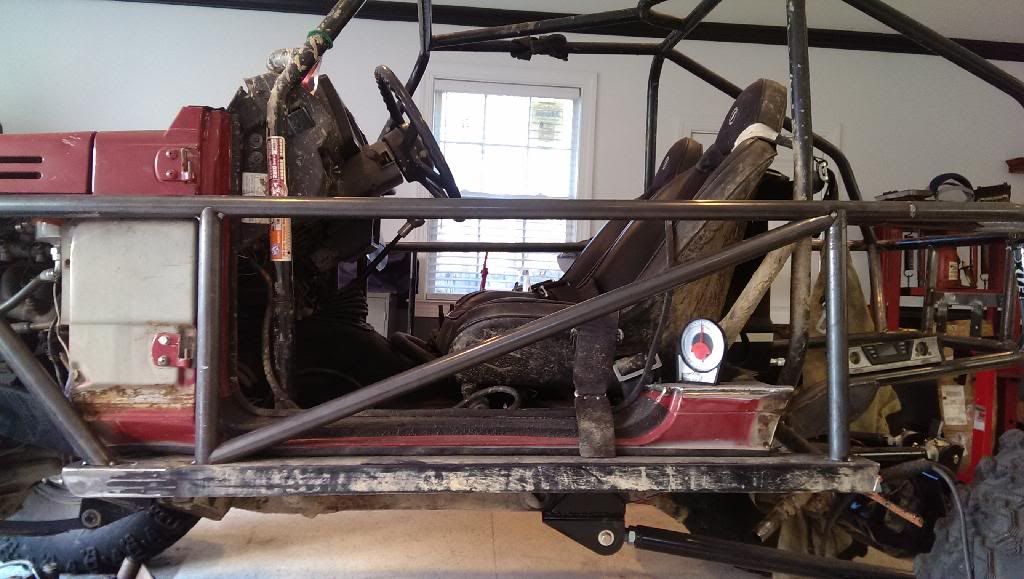
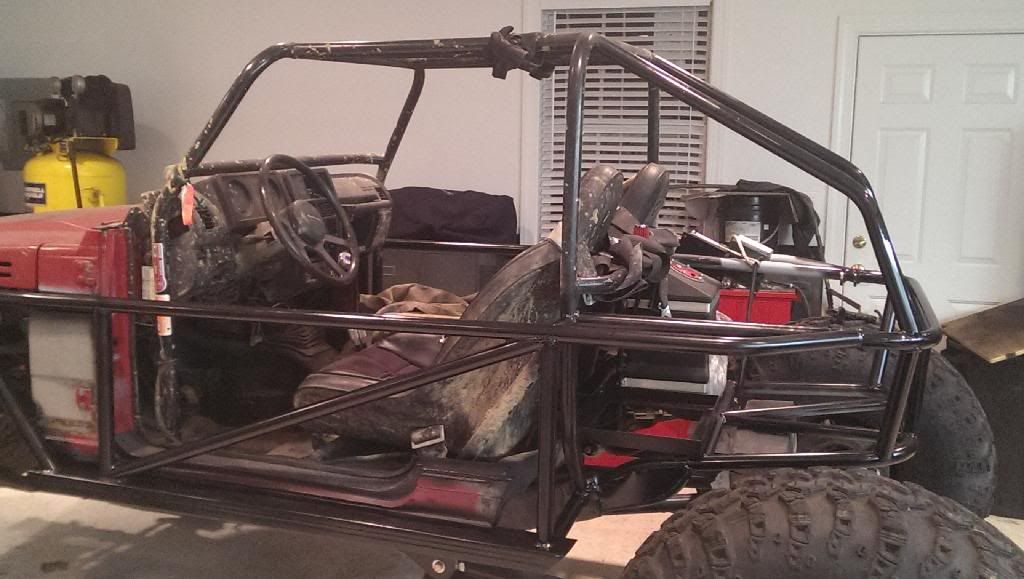
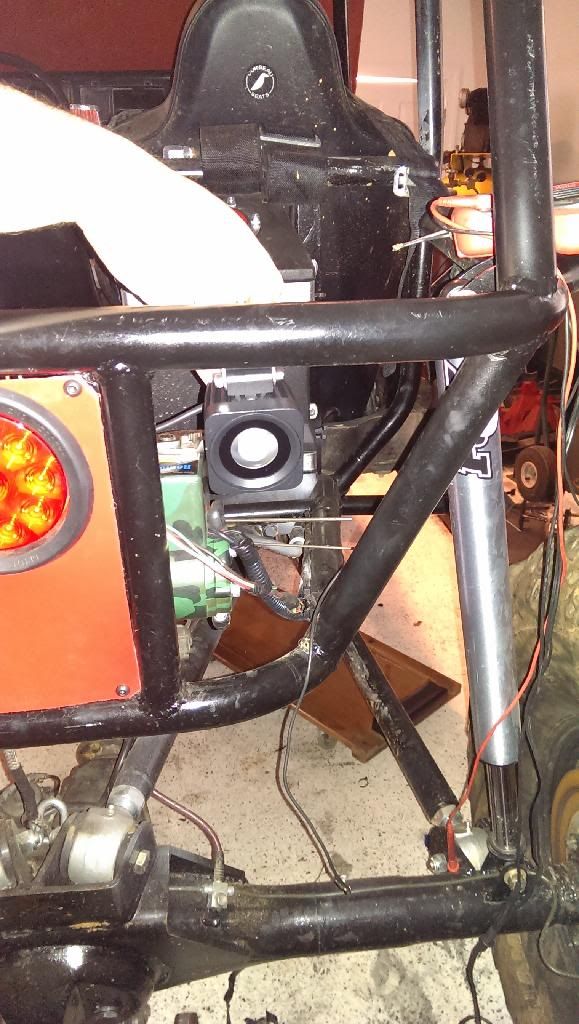
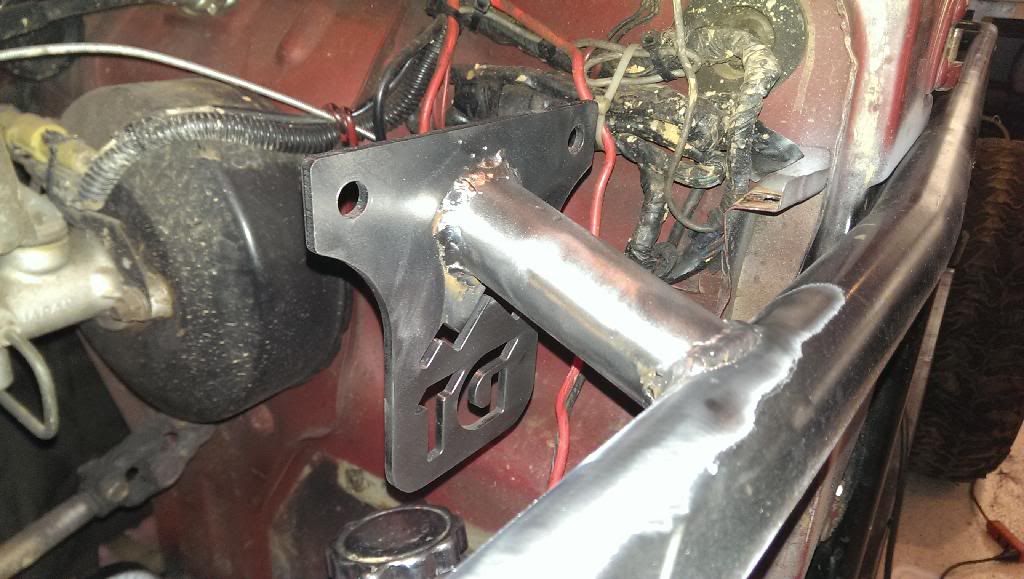
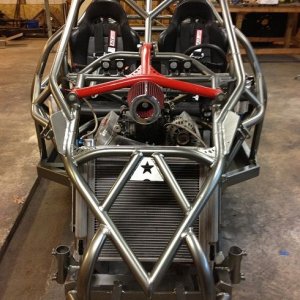
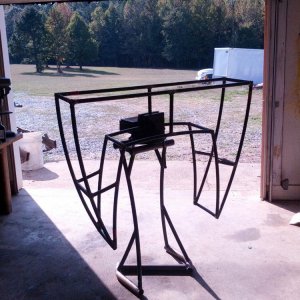
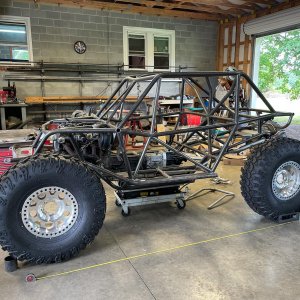
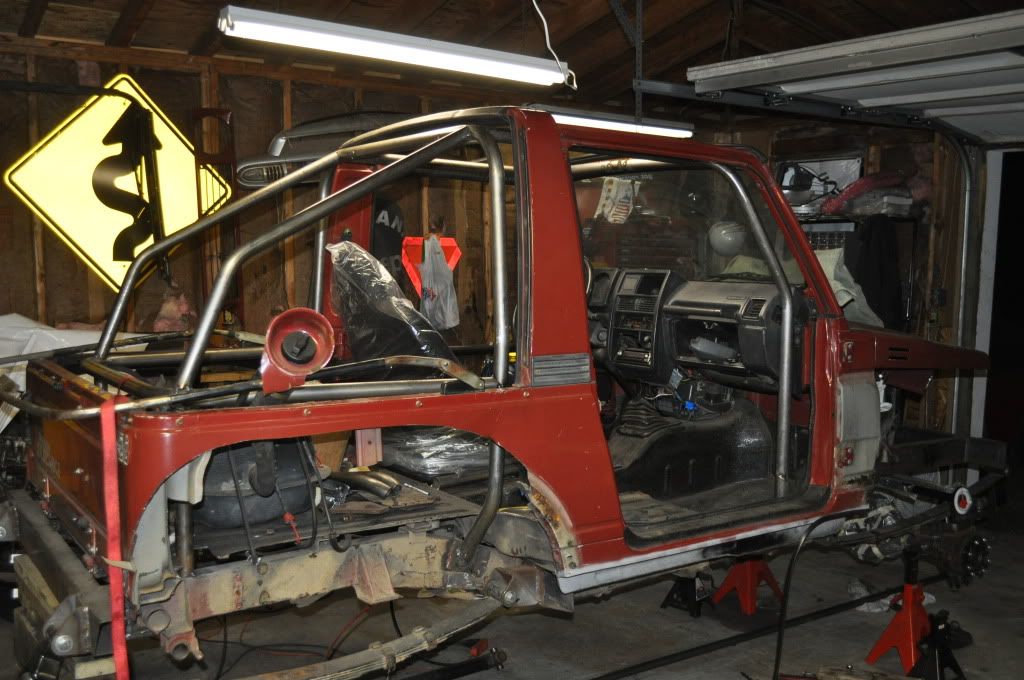
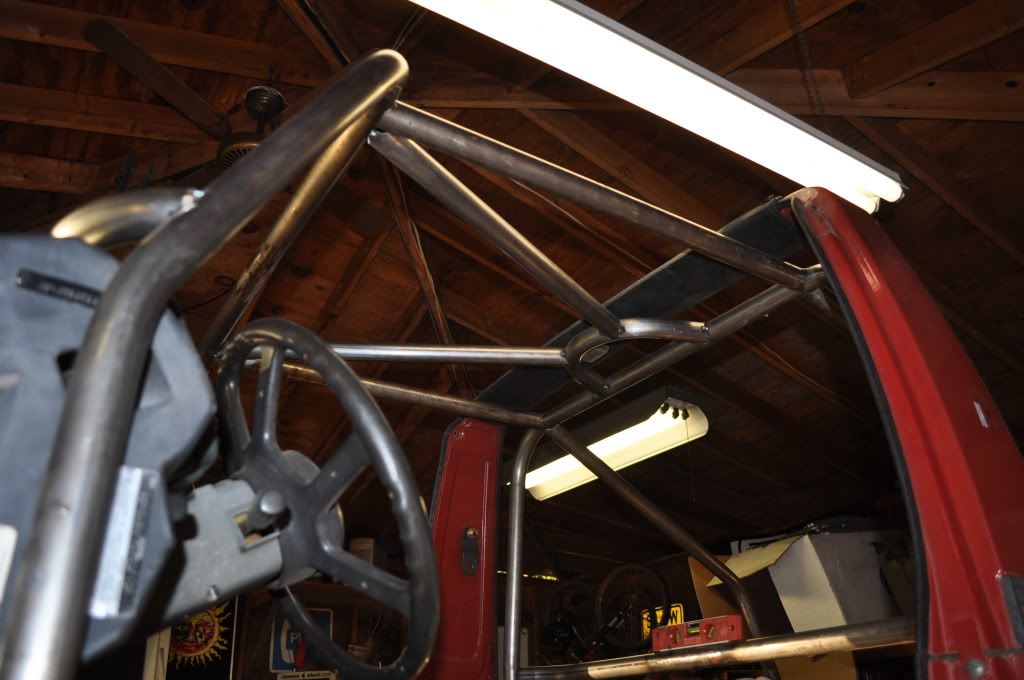
Cage taking shape...
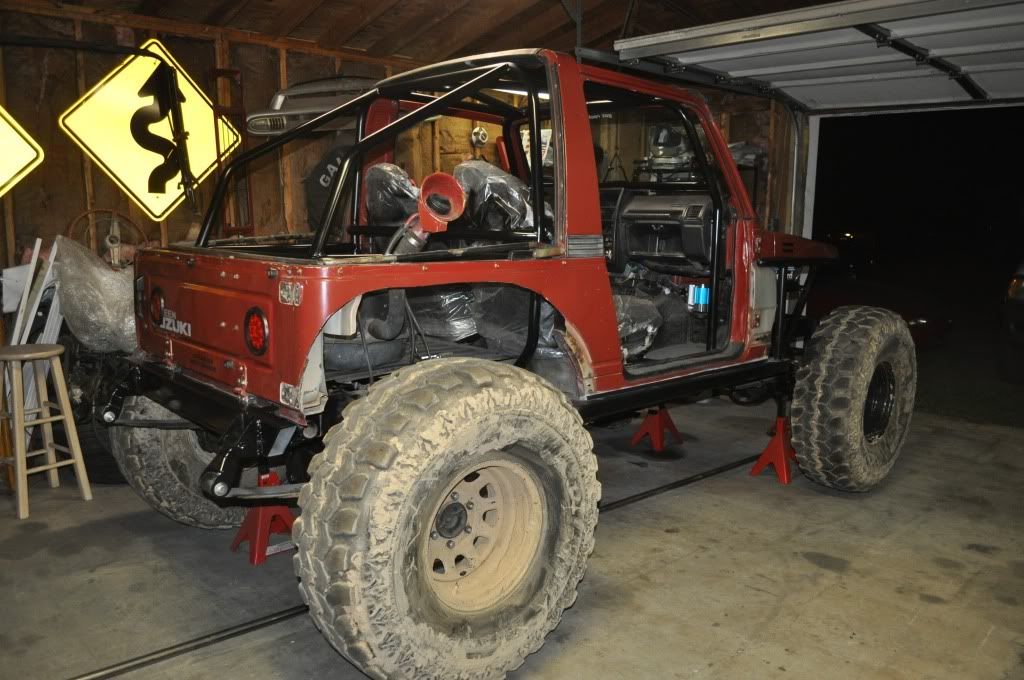
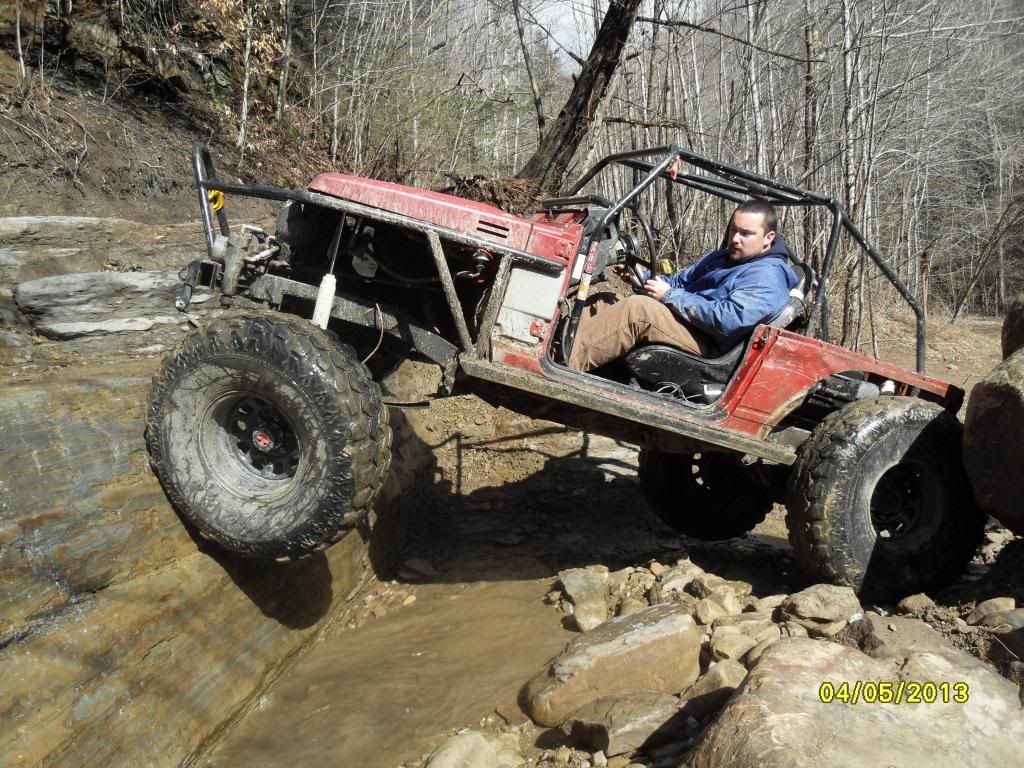
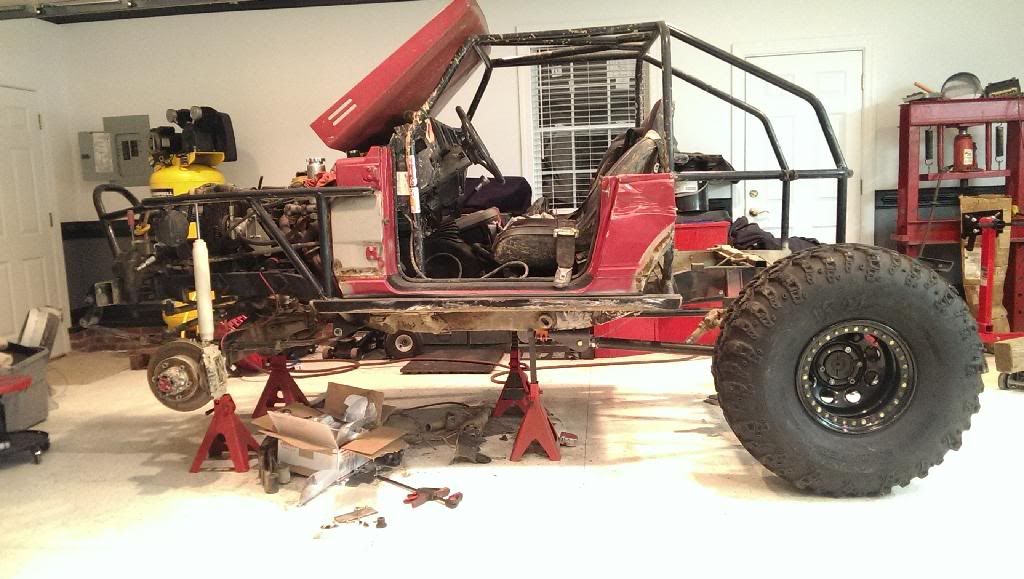
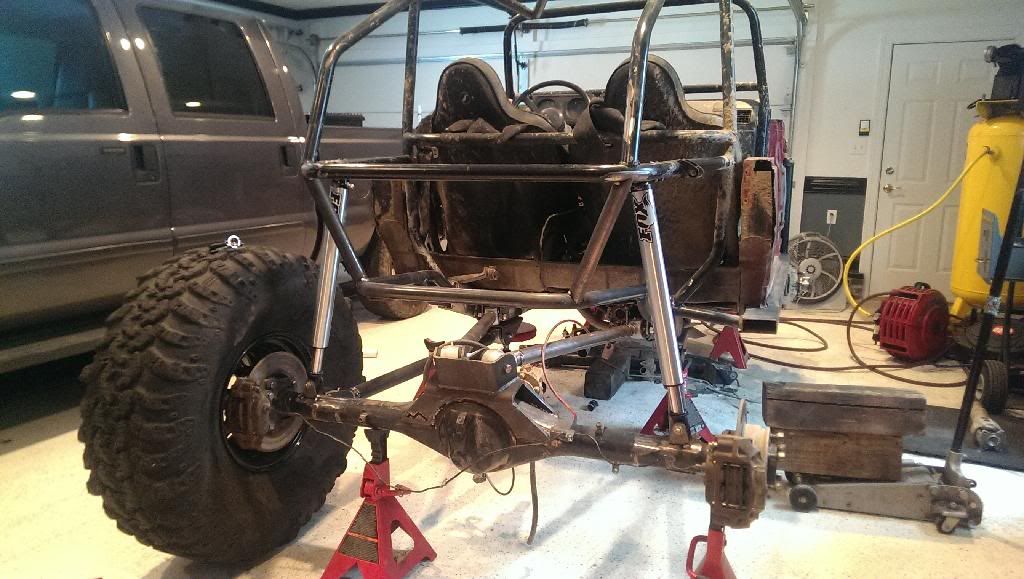
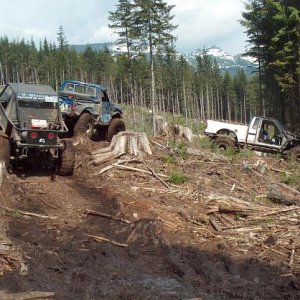
First time out to check clearances and such...
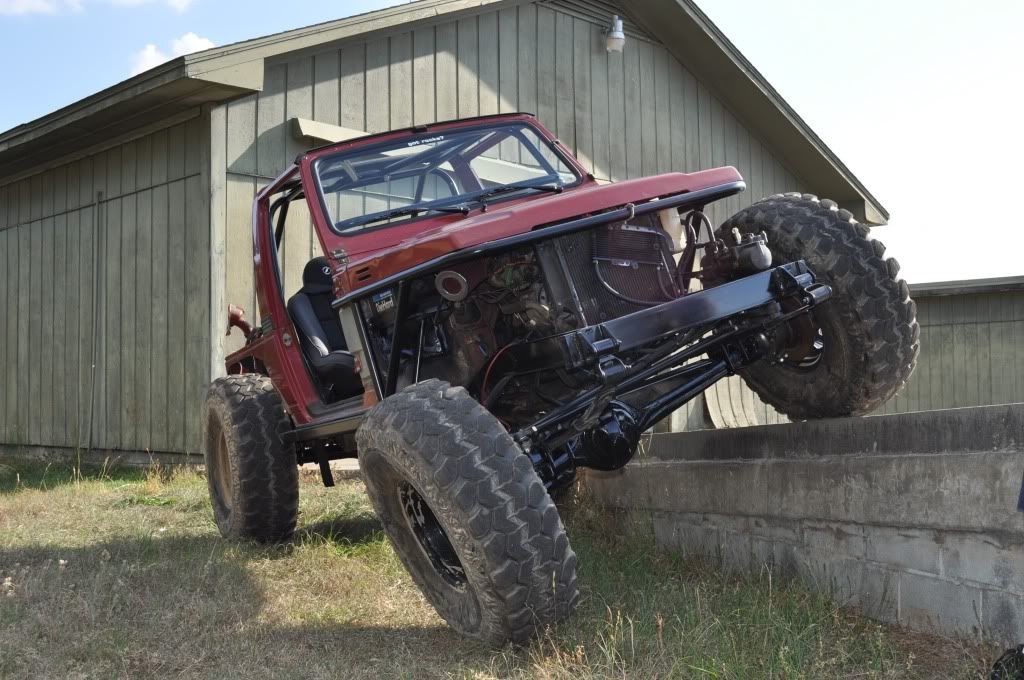
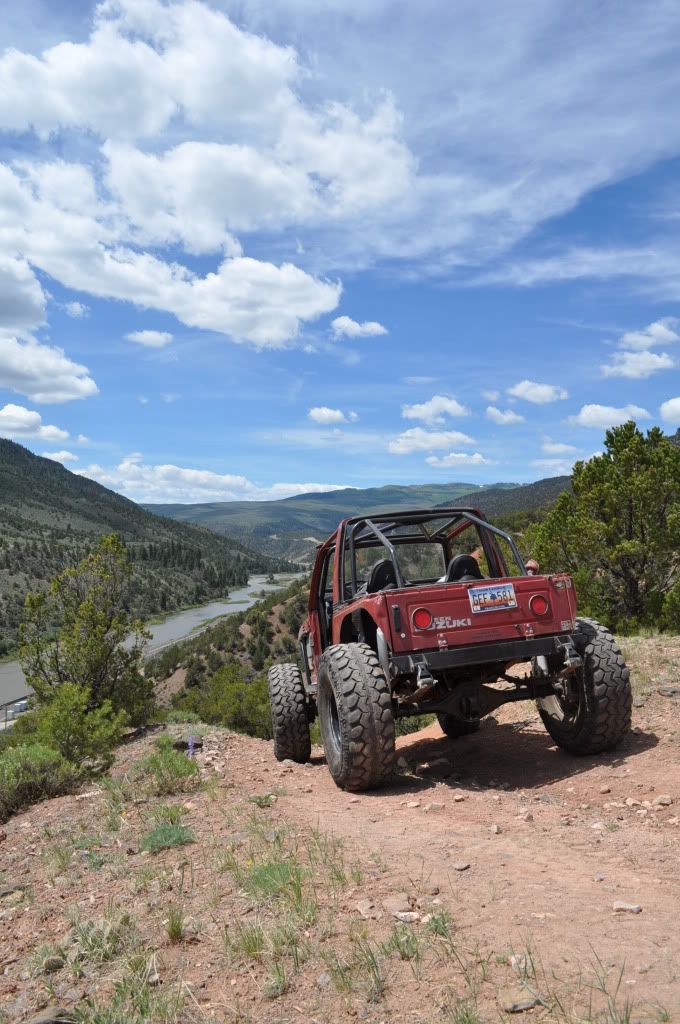
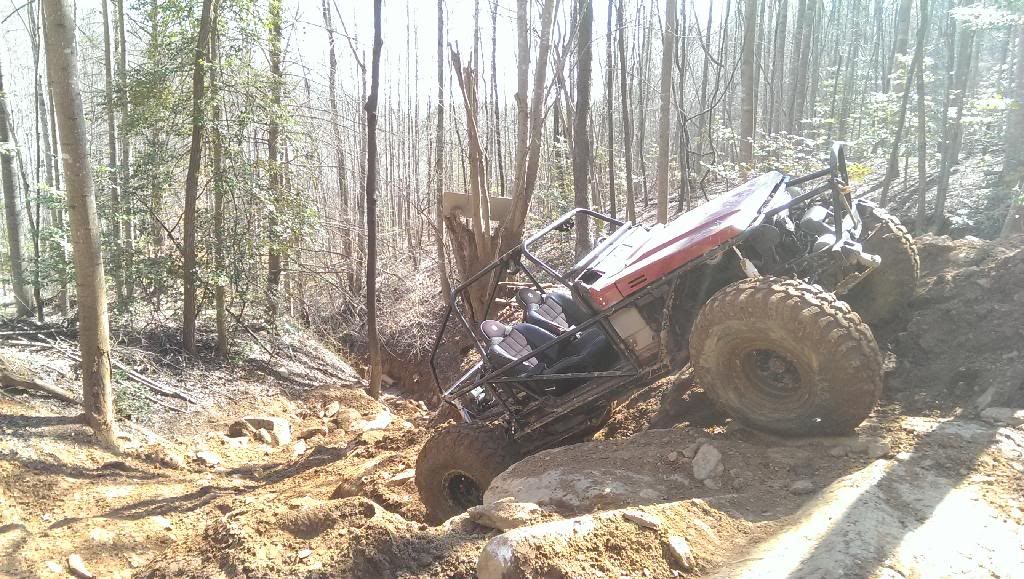
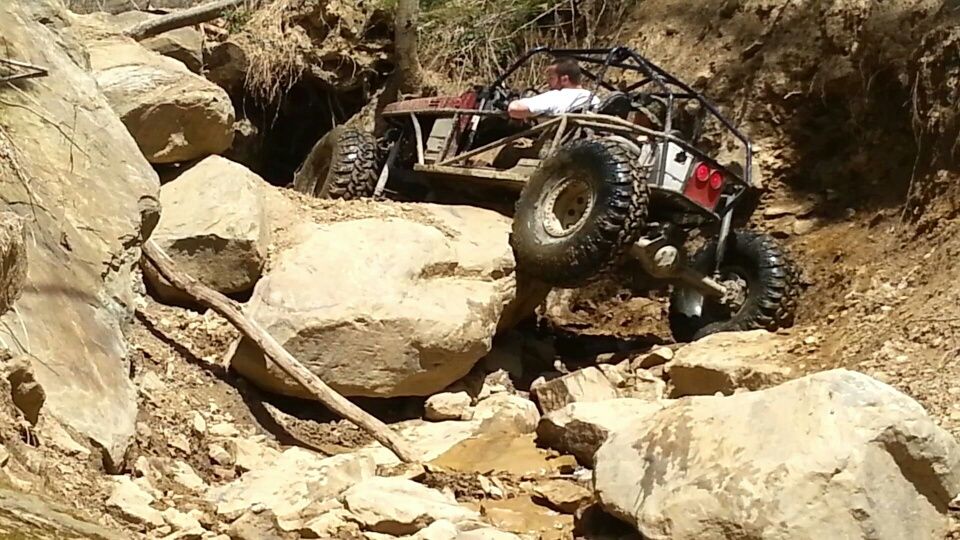
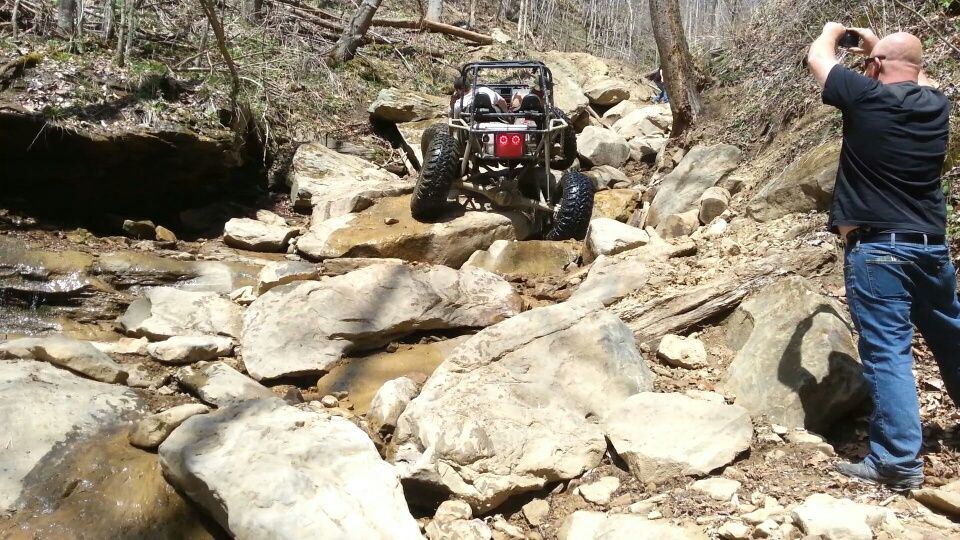
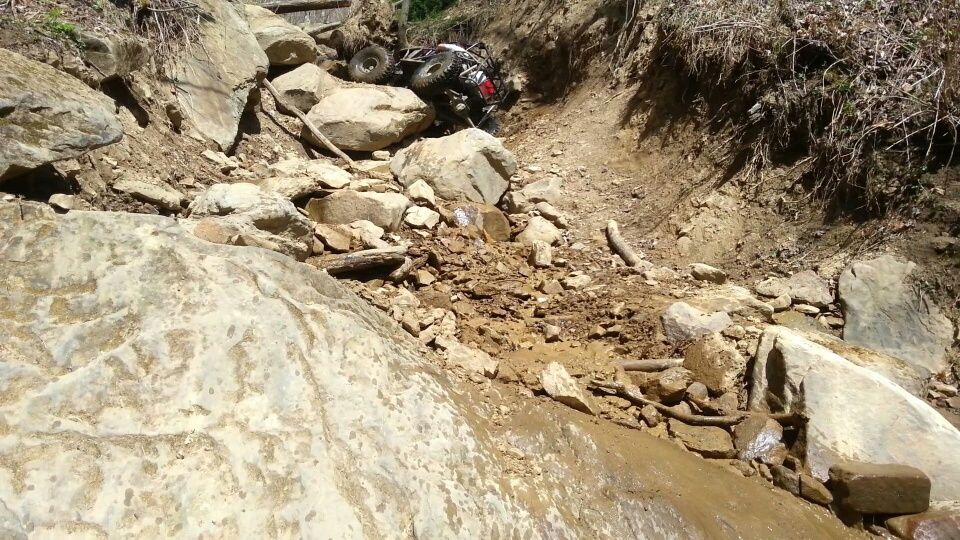
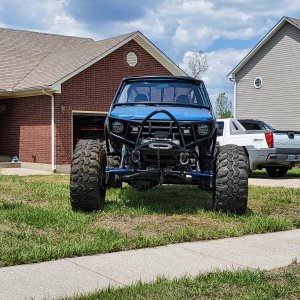
I had busted my ass for several months and sold a motorcycle to fund a few last minute parts in order to have it ready for a trip to CO and UT.
Here's where this build started...
Just prior to pulling it into the shop to strip it down I had been driving it on a daily basis as well as 2hr trips one way to to see a girl I was dating. The little booger got great mileage and was a blast to drive...not to mention everyone giving me the stink eye :flipper:
At first the plan was to use a pair of the early Wagoneer axles with the offset rear and this is what it looked like the first time it sat on it's own weight again.
Then I got a bender and things started to take shape...
After being frustrated trying to nail down what I was going to do for a steering setup and a few other things I decided to change directions and throw a set of yota axles under it. I took a day off work and visited a handful of salvage yards one day and came back home with a high pinion 3rd, elocker rear, IFS hubs and brakes, IFS rear axle, and other misc. parts.
I ordered up some Longfield goodies as well as sending him my ring and pinions to have them treated along with the lock collar and side gears from the elocker.
Cage taking shape...
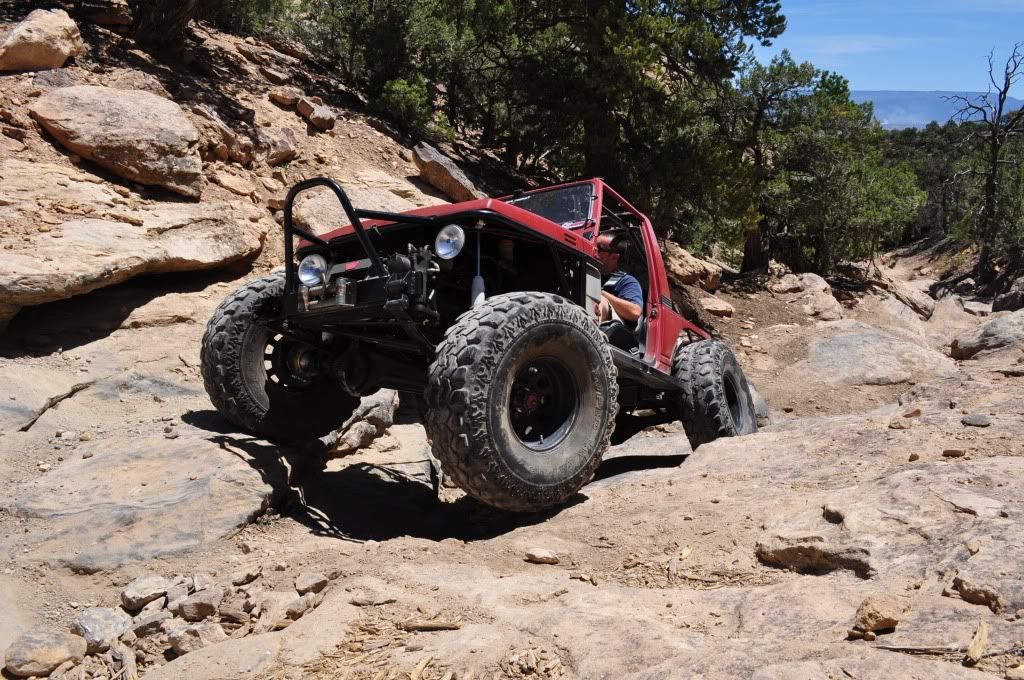
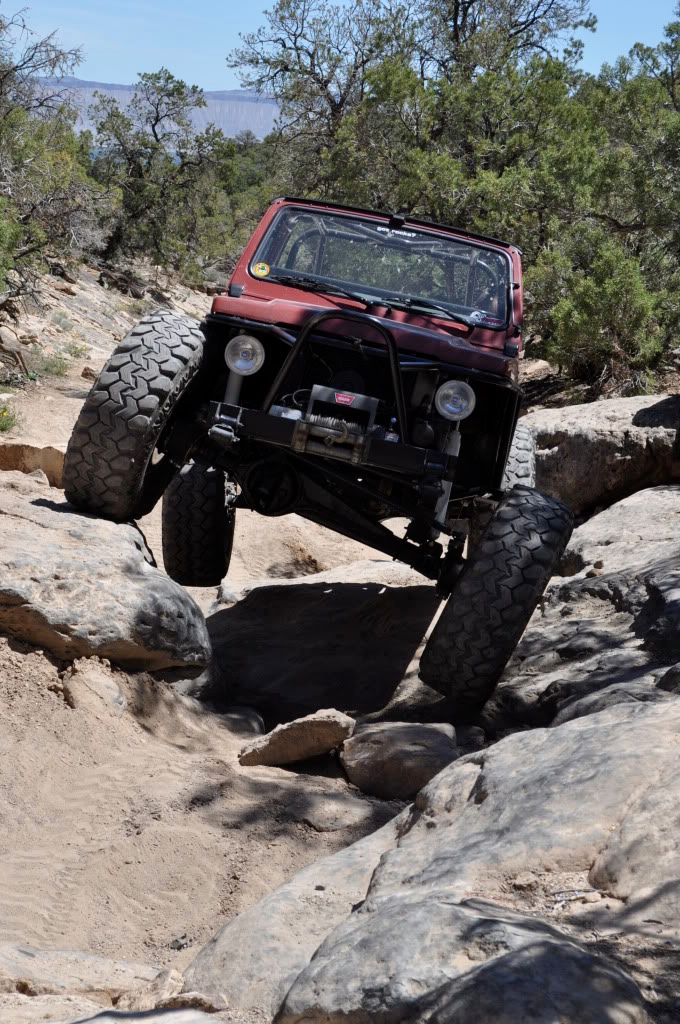
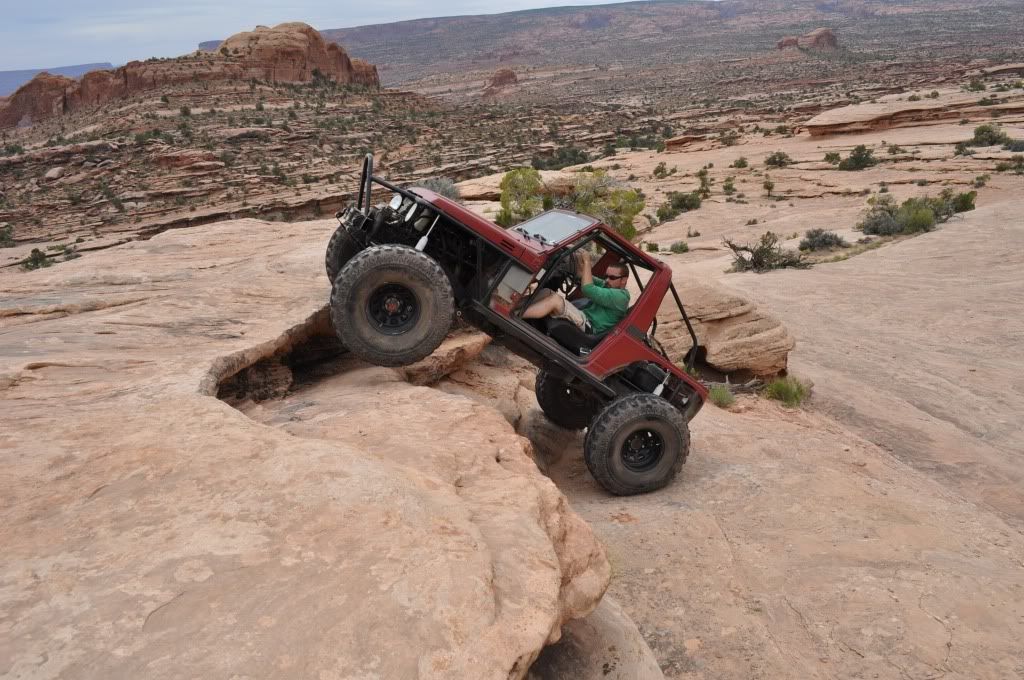
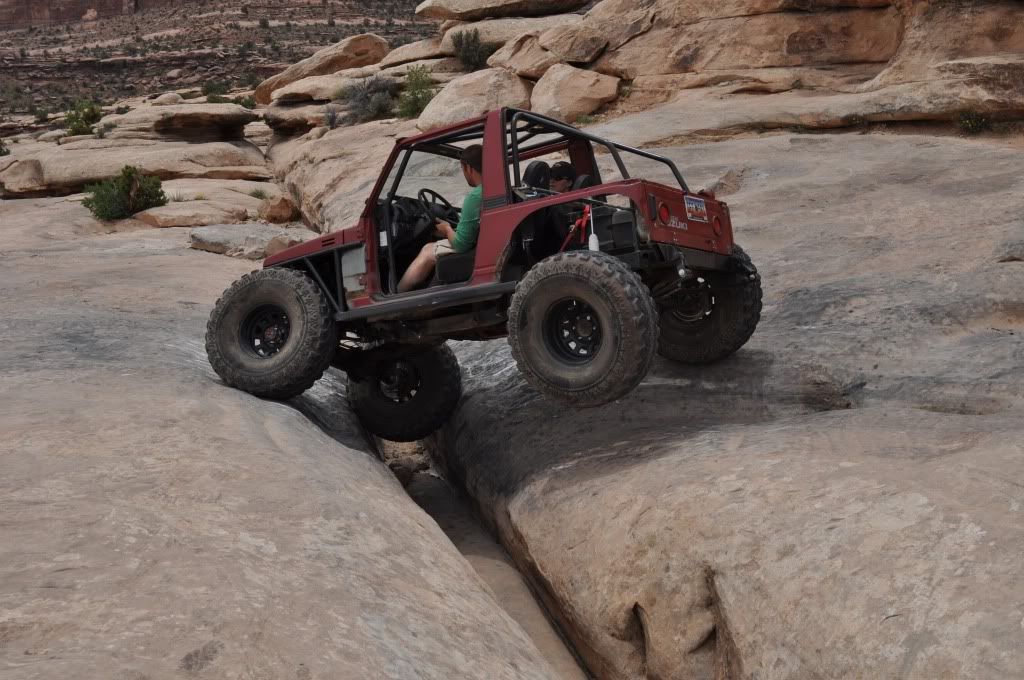
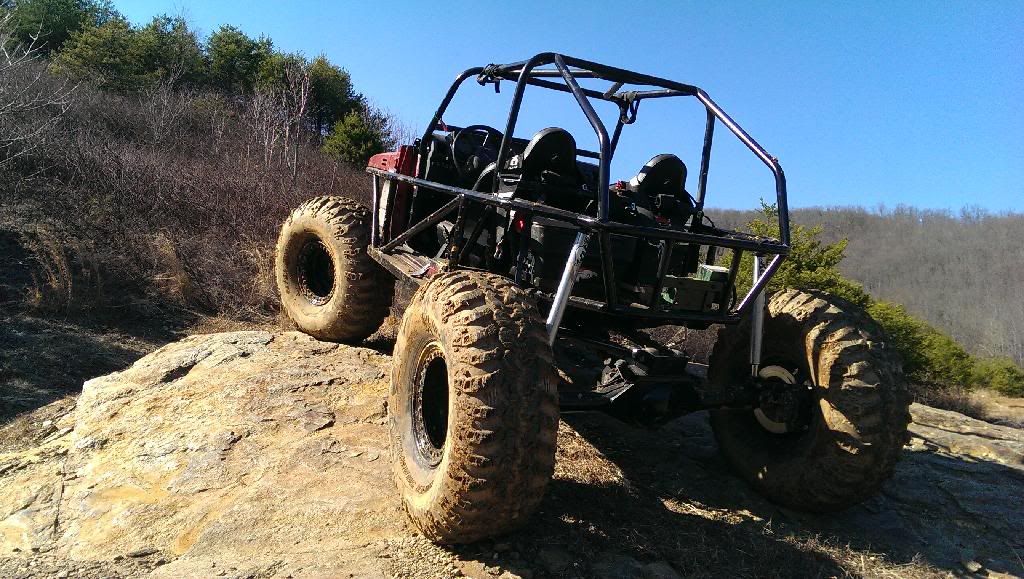
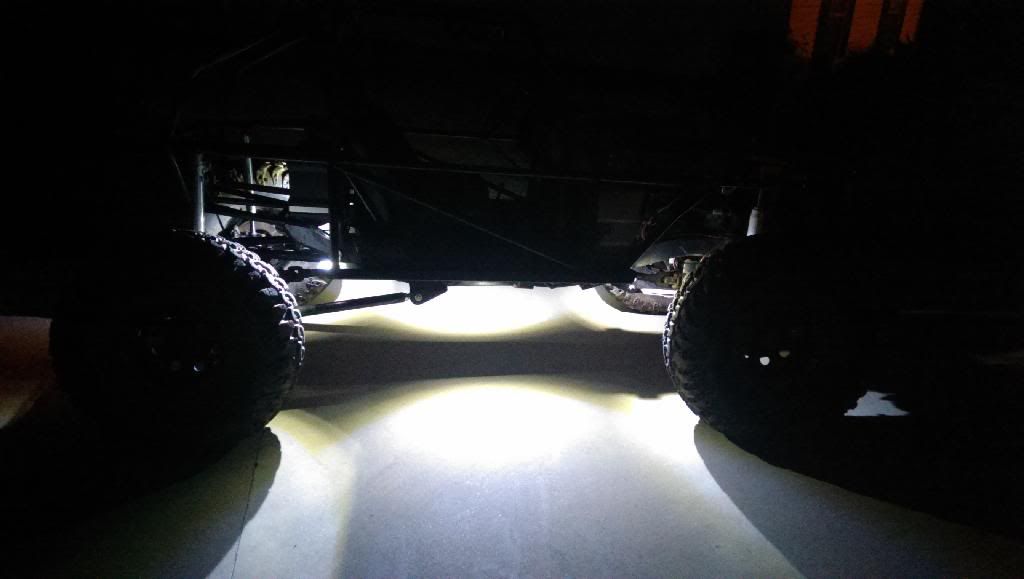
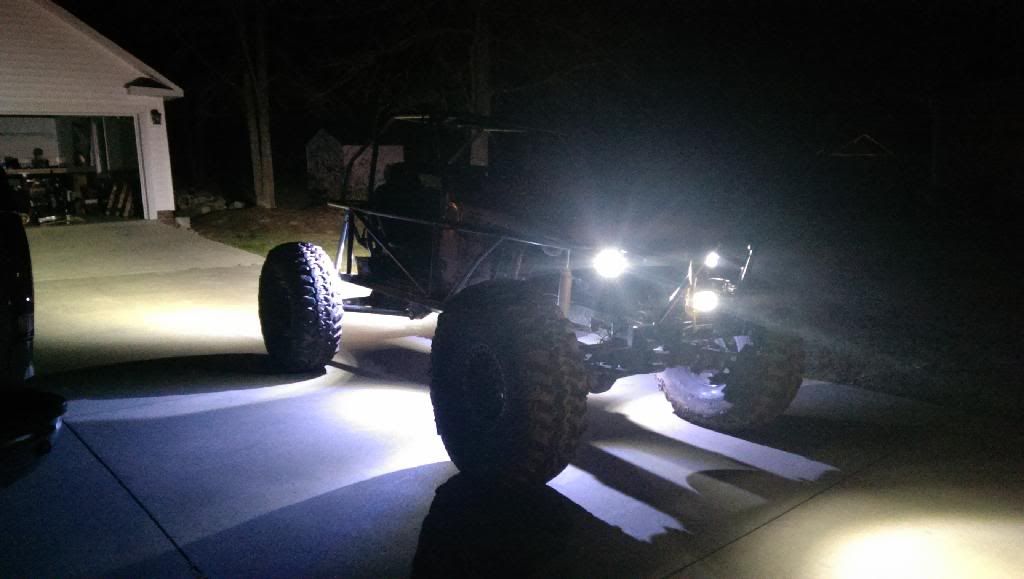
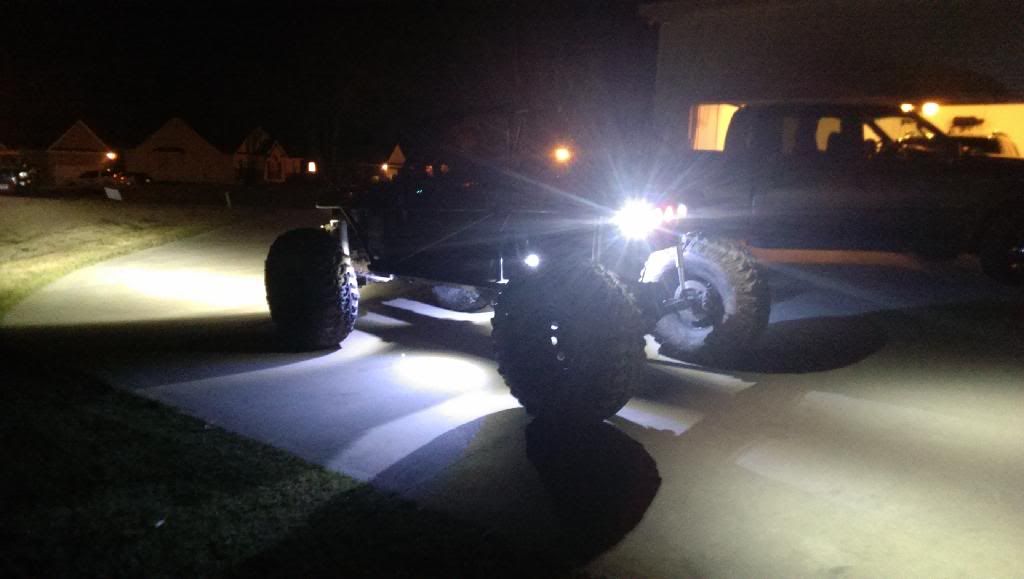
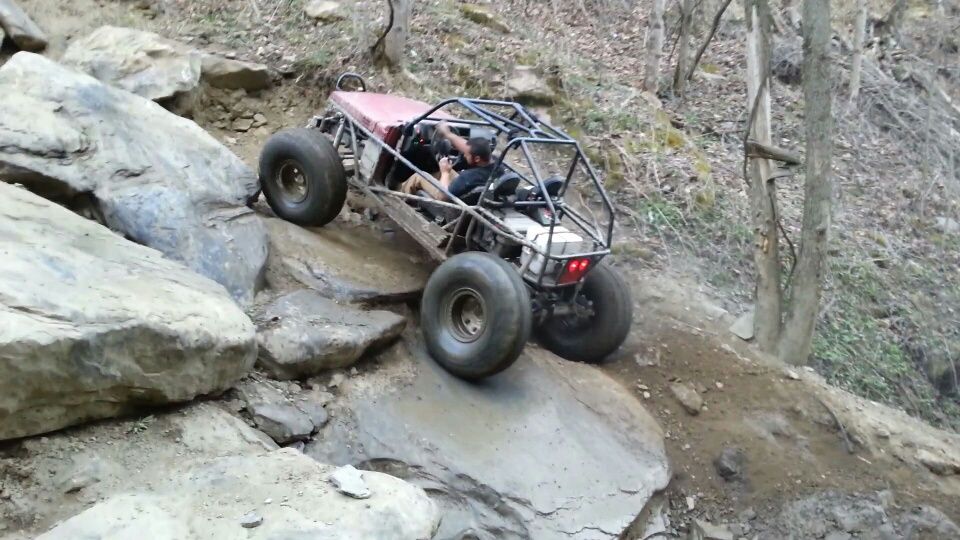
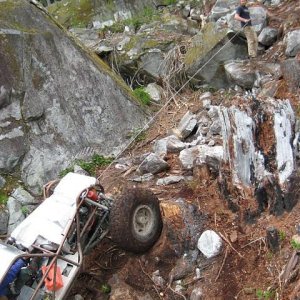
First time out to check clearances and such...
I had busted my ass for several months and sold a motorcycle to fund a few last minute parts in order to have it ready for a trip to CO and UT.