Portals N ****

Hardline Crawlers - Rock Bouncer Builds, Tech & Off-Road Trail Talk

Help Support Hardline Crawlers:

fl-krawler

Well-Known Member
Joined
Aug 27, 2009
Messages
525
Reaction score
1
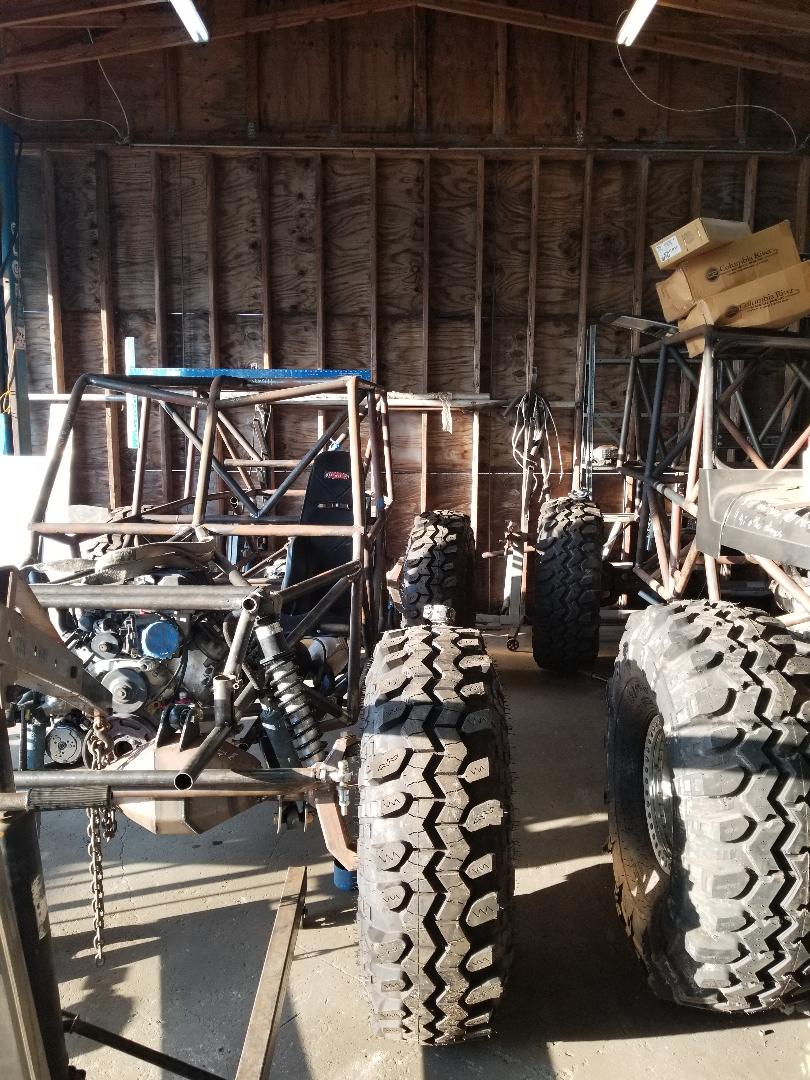
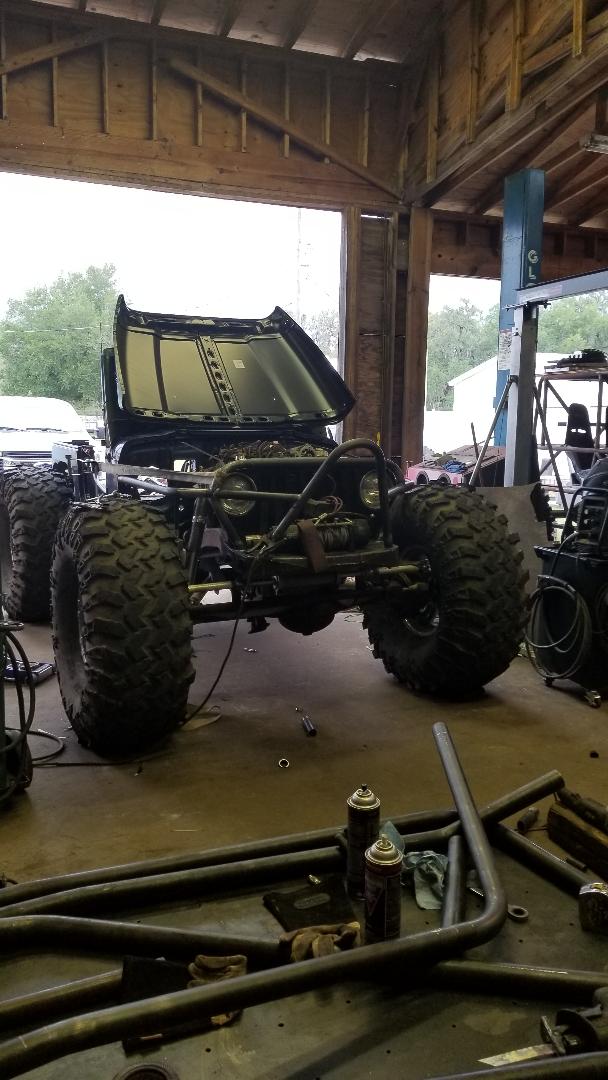
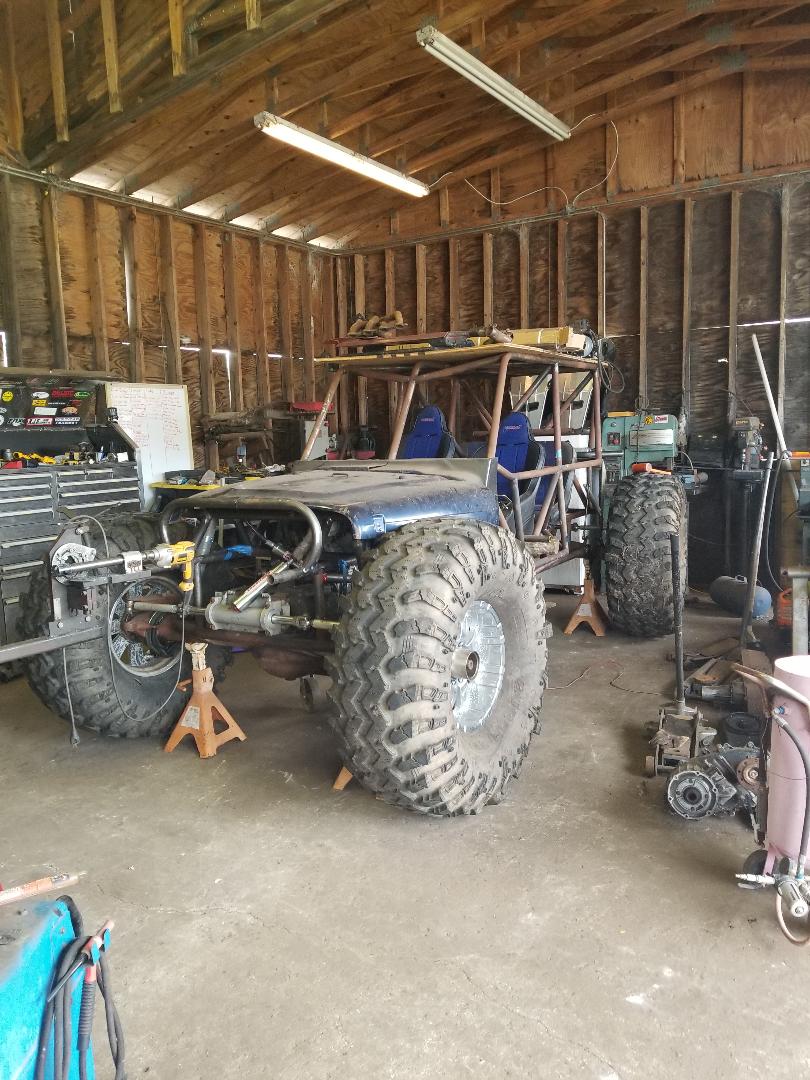
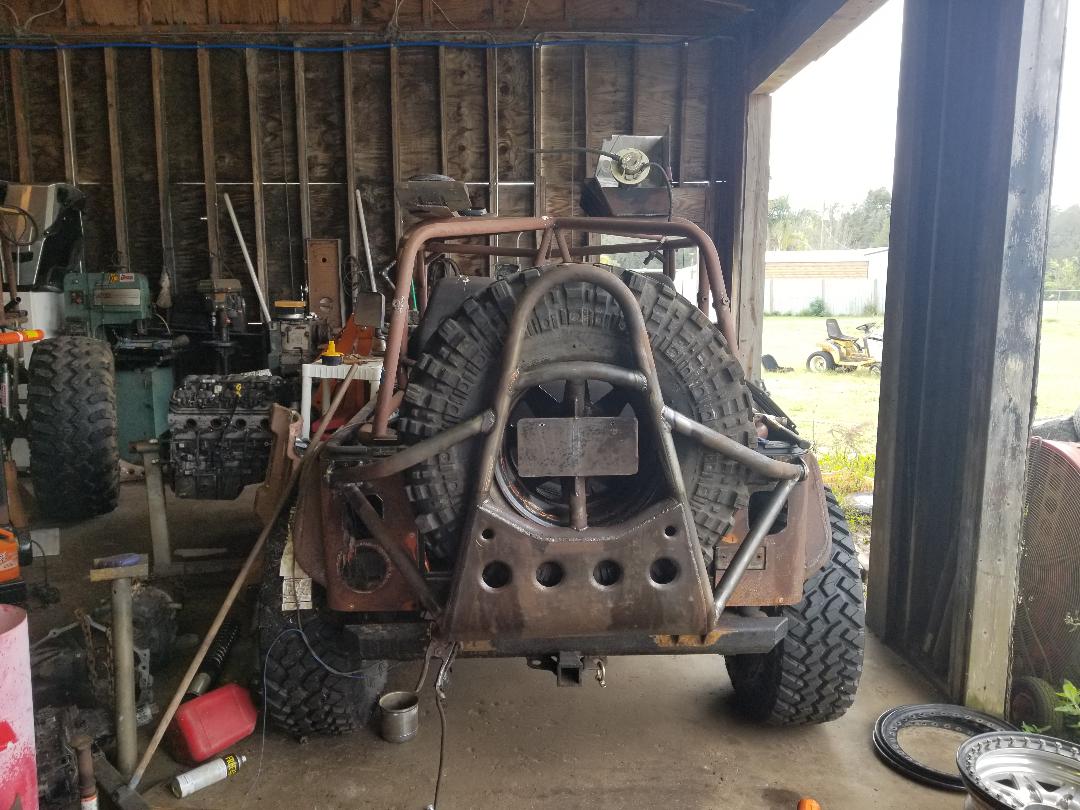
I haven't had my own personal buggy in close to 11 years now. Every time I start a new ride for myself, I end up acquiring new parts that will not work with what I was currently building, or I end up having a customer come by with cash in hand for my partially completed project (everything is for sale for the right price). This year, my new years resolution was to finally build and finish a buggy for myself. I'm pretty sure there is a running pool on how long till this one gets sold among my friends but we will see. This build will also likely be painfully slow as I balance my time between working as a hospice RN fulltime, family time, and doing builds for others in my free time. I am making myself allot atleast a day a week to this build so there will be atleast a once a week update.

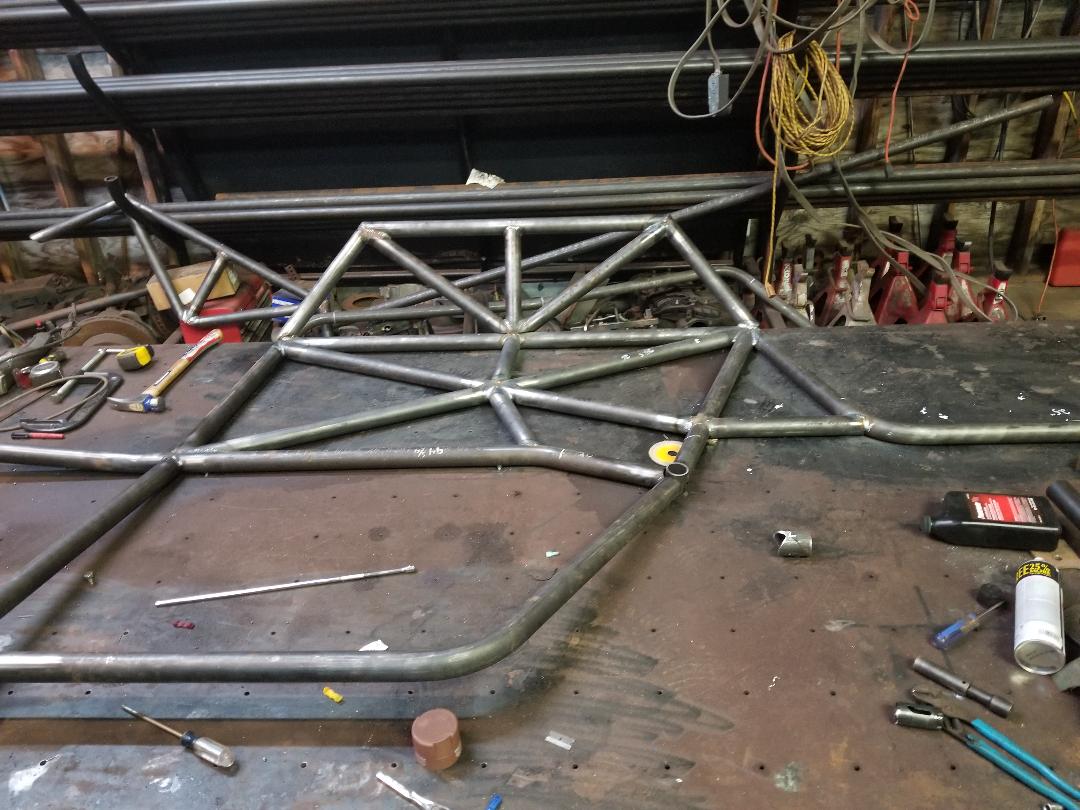
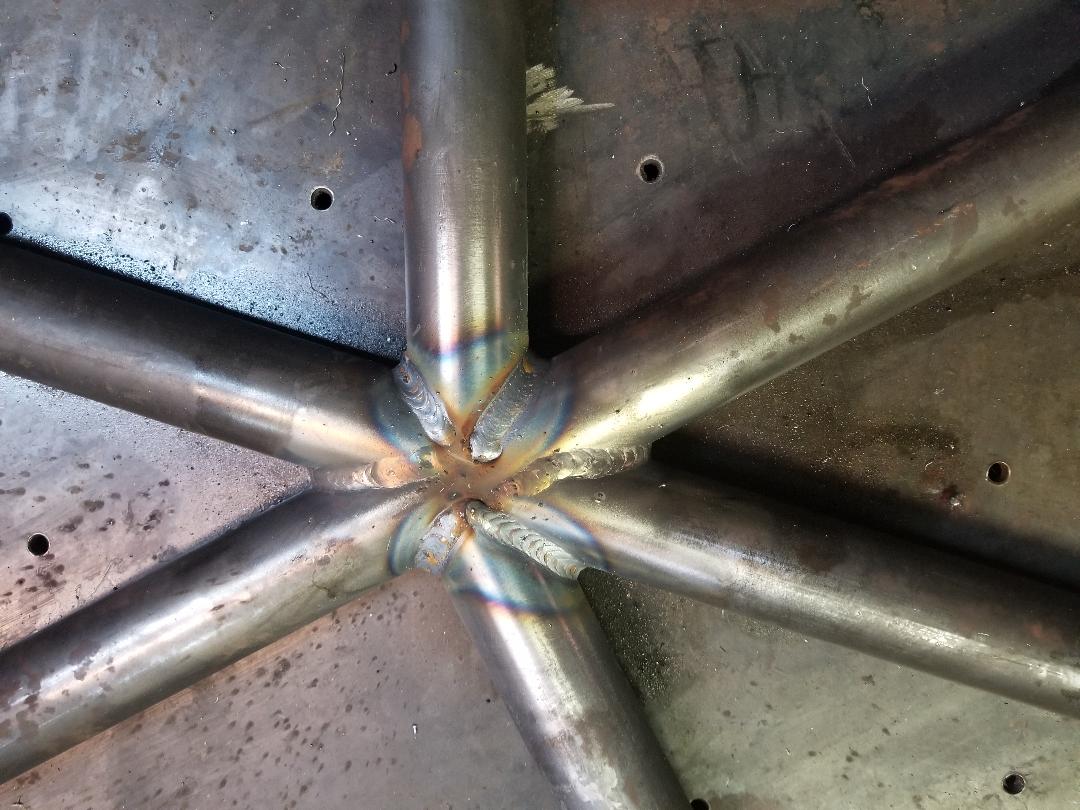
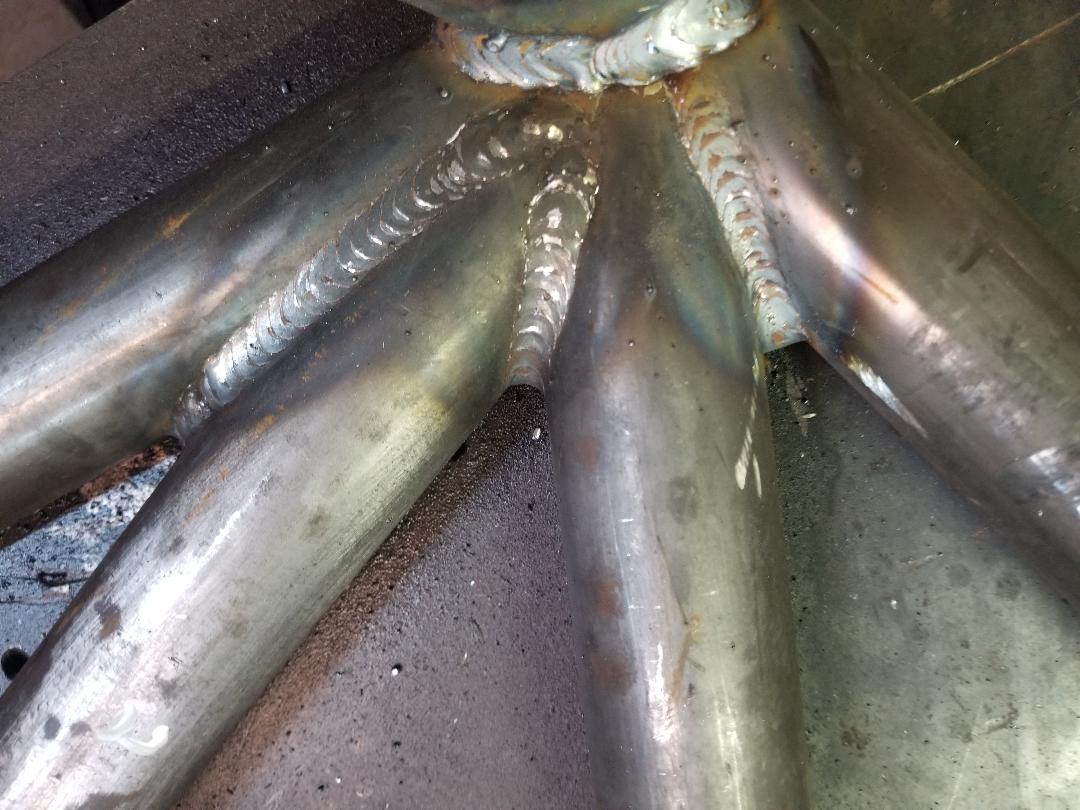
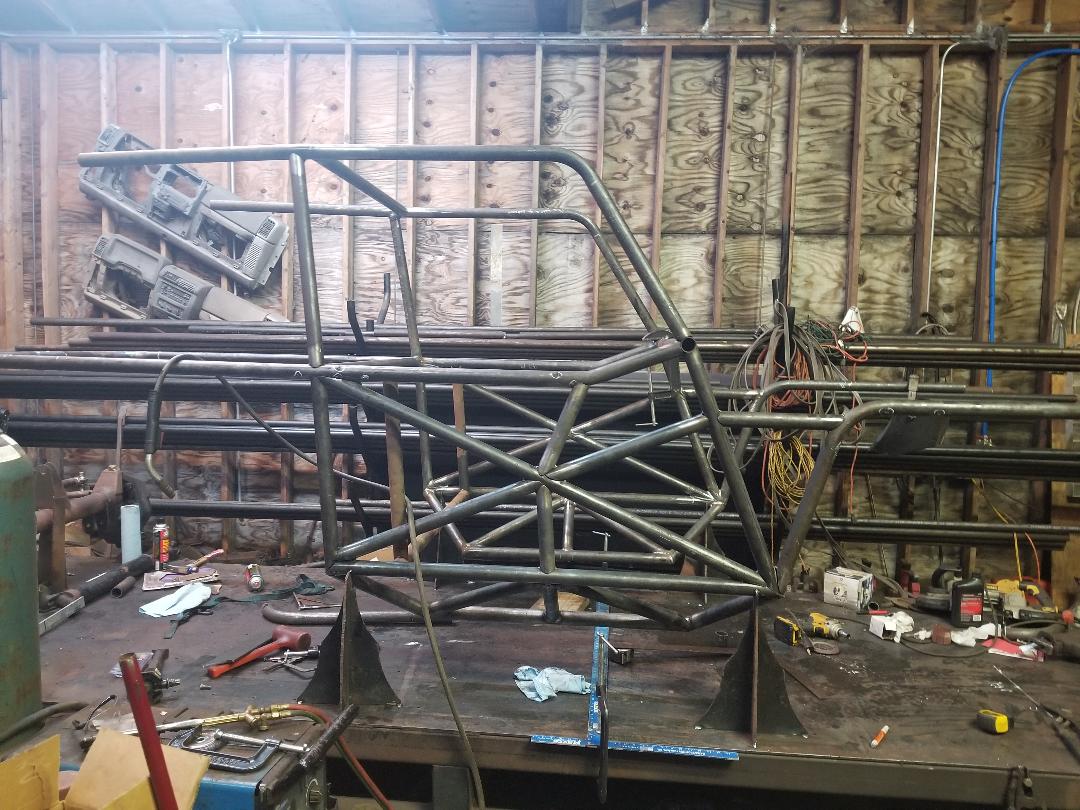
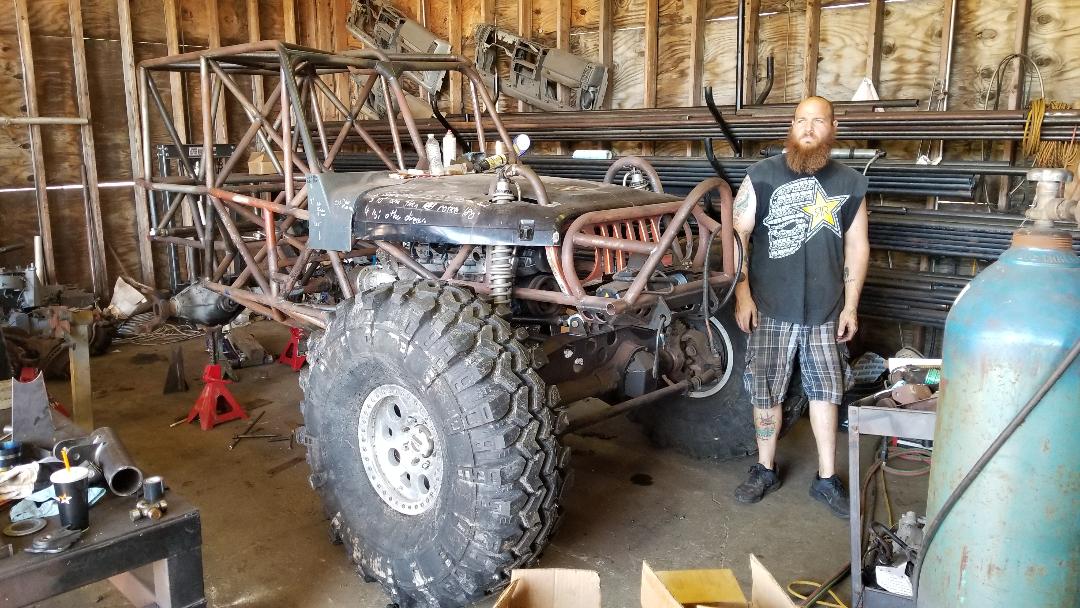
Week 1: Over the last 5 years I have worked to improve my work, and efficiency. I built a fixture table to make it easier to build chassis and axles on. Over the last few years I've also added fixtures that bolt to the table to hold tubes and what not . One constant struggle is keeping things square, and constant battle of keeping parts where they should be as I build a chassis. With this chassis I decided to build it like a clam shell, in 2 halves. Assuming the 2 halves go together and square up easily, I will be building every chassis this way from this point forward. With everything being right on the table, keeping the parts where they belong has been super easy. I'll share the other details of the build as I get to those individual parts. If you notice, all the chassis pillars connect to the beltline, rather than do to the floor as a solid tube. I tend to try stupid lines and end up on my lid so this makes it easier to replace tubes as they get waffled. The chassis will be a combination of 1.75" by .120, .095, or .065 wall tube depending on its location and job. Bare chassis should be sub 400lbs when finished. (working on adding pics stand by)
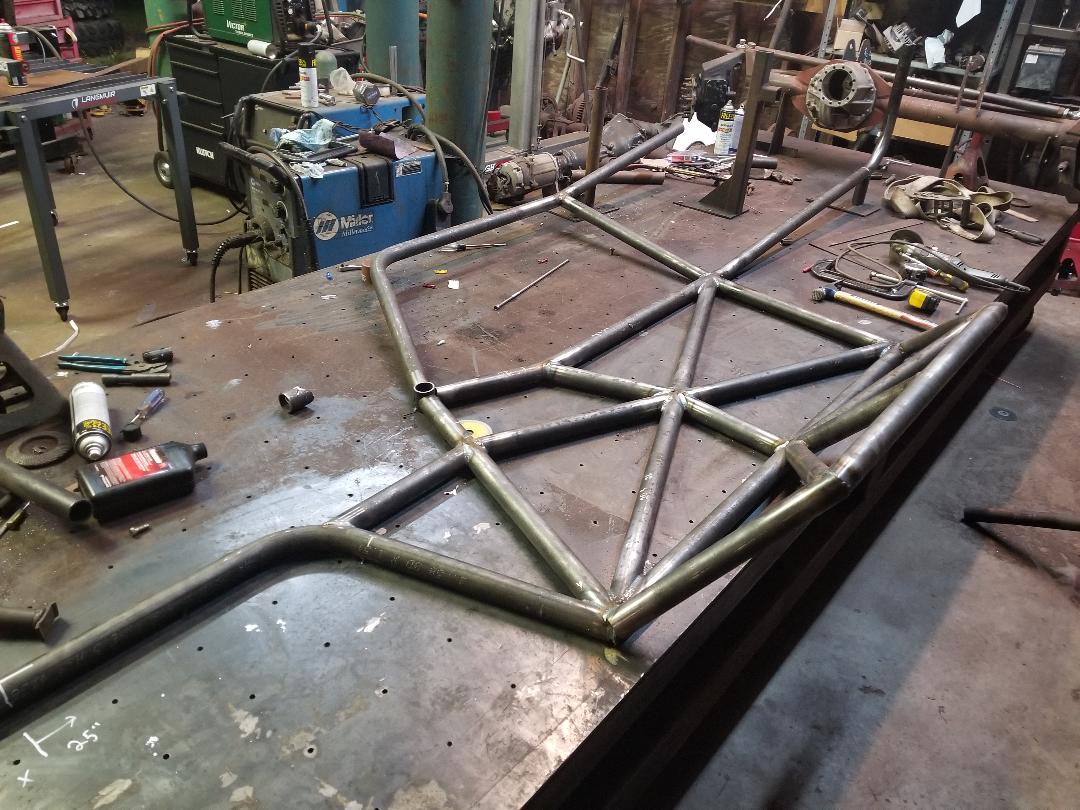
 
pics
 

Attachments

  • 20190118_192627.jpg
    20190118_192627.jpg
    156.9 KB
  • 20190118_192644.jpg
    20190118_192644.jpg
    131.6 KB
  • 20190118_192702.jpg
    20190118_192702.jpg
    127 KB
  • 20190118_192722.jpg
    20190118_192722.jpg
    120.6 KB
single pic update. I only got about 5hrs to work on the chassis this week. Managed to get the left side of the chassis assembled and the 2 halves connected. I have to work at my day job the next 5 days, but the plan is to get the chassis finished and drivetrain mounted the next day I get to work on the chassis. Does anybody else get an internal error when trying to upload pics. If I try to upload any pics with more than a word or 2 typed it gives me an internal error, but if I upload the pics in a separate post, it uploads them no problem
 
I would like to get in on the bet with your buddies. I’ll take 15 months.
I’ve all but given up on loading pics on HL except through tapatalk.
 
As an Amazon Associate we earn from qualifying purchases. Product prices and availability are accurate as of the date/time indicated and are subject to change.
redneckengineered said:
In 15 years or so I've yet to see you have a project make it past this stage :****:

I've finished a few rigs and done quite a bit of fab work for other people in that time, I just haven't shared much if any of that on social media . :flipgotcha: My own projects (which I do share) you are absolutely right. I could name off a million reasons, but at the end day it doesn't really matter. This one should stay on track to get finished. I'm tired of watching my friends get to go wheeling all the time, and with my wife wanting to go fulltime in a 5thwheel toyhauler next year and travel, I'm under quite a bit of pressure to stick with this build and not sell it partially finished
 
fl-krawler said:
I've finished a few rigs and done quite a bit of fab work for other people in that time, I just haven't shared much if any of that on social media . :flipgotcha: My own projects (which I do share) you are absolutely right. I could name off a million reasons, but at the end day it doesn't really matter. This one should stay on track to get finished. I'm tired of watching my friends get to go wheeling all the time, and with my wife wanting to go fulltime in a 5thwheel toyhauler next year and travel, I'm under quite a bit of pressure to stick with this build and not sell it partially finished

That's cool man. You should post some pictures of the projects you've finished so we have something to get fired up about
 
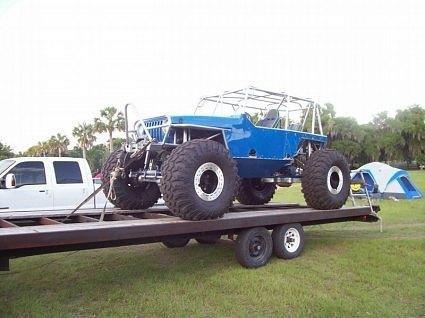
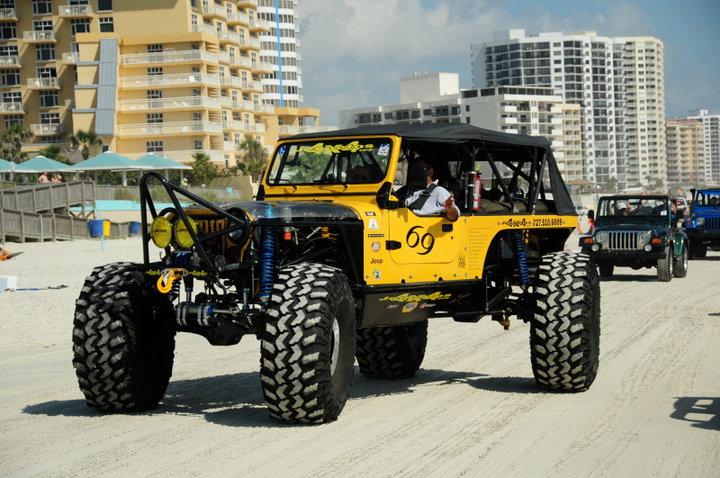
A few pics
 

Attachments

  • 19075_103332839693350_5310768_n.jpg
    19075_103332839693350_5310768_n.jpg
    24.9 KB
  • 30431_125530380806929_6435221_n.jpg
    30431_125530380806929_6435221_n.jpg
    82.2 KB
I have some more but the site is being a PITA to upload pics. I also went through a phase where I didn't really take a lot of pics, and the ones I did were either only uploaded to my computer or just left on my phone. Lost all the computer pics to a hard drive crash, and ruined the sd card on my phone dropping it in a lake after having a little too much to drink.
 

Attachments

  • 20171105_150047.jpg
    20171105_150047.jpg
    157 KB
  • 20180125_212800.jpg
    20180125_212800.jpg
    171.7 KB
  • 20180220_171219.jpg
    20180220_171219.jpg
    186.3 KB
  • 20180407_182407.jpg
    20180407_182407.jpg
    94.8 KB
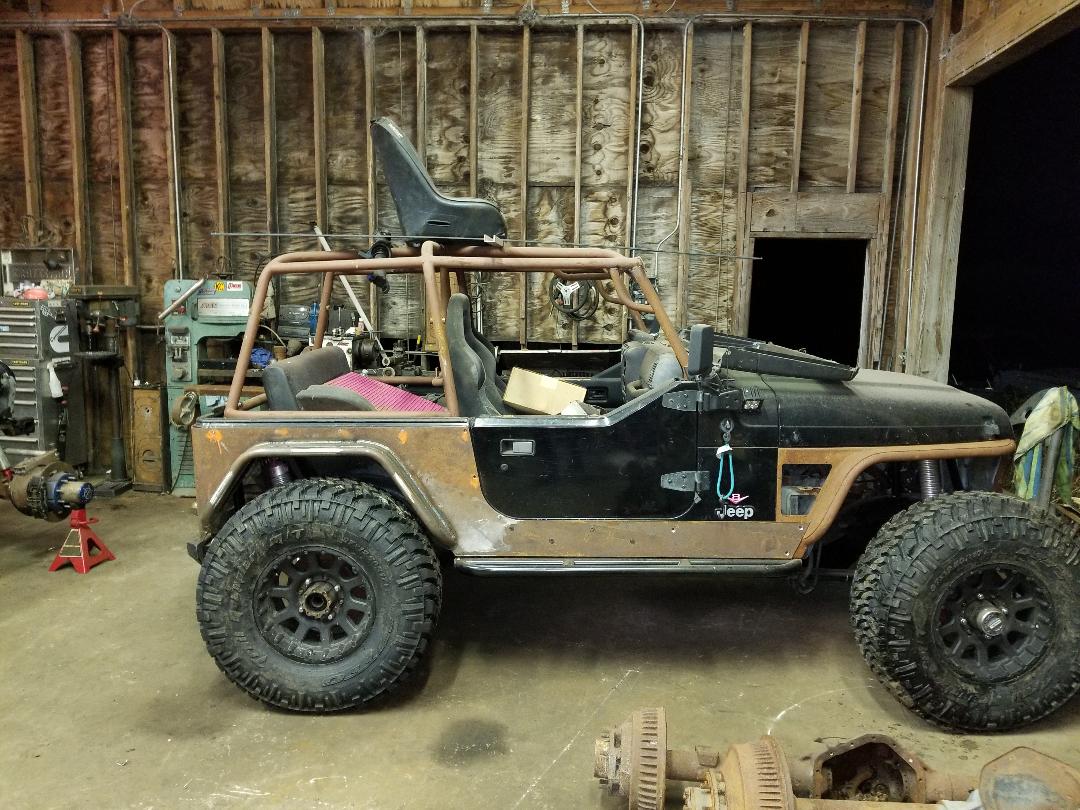
a few more
 

Attachments

  • 20181119_095023.jpg
    20181119_095023.jpg
    161.5 KB
  • 20190109_101643.jpg
    20190109_101643.jpg
    139.9 KB
  • 1392246890688.jpg
    1392246890688.jpg
    19.2 KB
  • 1408968655784.jpg
    1408968655784.jpg
    25.8 KB
  • 1442329390819.jpg
    1442329390819.jpg
    147 KB
blacksheep10 said:
My only note is that in my experience, if it's something you're personally finishing out, leave the door bars out until the interior and plumbing are done.

I usually do if possible. This chassis it wont be possible because the seat mount tubes will be mounted to them, and since I'm going to run a dual radiator setup, in the belly of the buggy the seat tubes will double at the upper radiator mounts. I'll have some updated pics by next weekend. Working on getting the removable belly tubes done today, and hopefully will get all the drivetrain mounted this next weekend
 
slravenel said:
info on this dual radiator setup?

I don't have a lot of real estate to for a radiator. The portal setup, combined with a lot of uptravel leaves little room for a front radiator. I really didn't want an elevated radiator above the belt line of the chassis , due to it limiting visibility, plus it raises the COG. Being a 4 seat buggy, I'm trying to keep the overall length of the chassis as short as possible with keeping enough space behind the backseat for a cooler and tool bag (20lbs of **** in a 5lb bag). I also have to fit a 15+ gallon fuel cell somewhere in the mix (my LSA is thirsty). I went back and forth with running a radiator behind the back seat, and fuel cell in the dead space behind the front seats and belly. Even at the rear of the buggy, a 26 x 18 radiator was going to be about as large as I could fit, and then I would lose my ability to carry a cooler in the back unless I mounted them high. I was also worried about being able to keep my engine cool. I've since settled on putting the fuel cell at the back of the buggy, and running two 22 x 19 x 3 radiators mounted horizontally under the front seats as low as possible in the belly of the buggy. They will draw air from the cabin area, and I plan to duct the hot air out the back of the belly and downward. A surge tank will be the high point of the cooling system under the hood. Currently the plan is to mount my steering and engine oil coolers, as well as a air to water heat exchanger (for the supercharger) at the front of the buggy, then the radiators and trans cooler under the front seats.
 
I'll be interested to see it all unfold. I am in a similar position in my EB.

Are you putting the radiators in series? Think the stock pump can handle pushing through both?

Sent from my SM-G955U using Tapatalk
 
paradisepwoffrd said:
I'll be interested to see it all unfold. I am in a similar position in my EB.

Are you putting the radiators in series? Think the stock pump can handle pushing through both?

Sent from my SM-G955U using Tapatalk


Yes in series. I'm confident the stock pump will be enough, but if not, an inline pump is easy to add
 
I haven't really got a lot done the last 3 weeks. Lots of overtime has been available at my nursing job so its hard to pass up easy money. I managed to get the engine/trans/tcase up in place when its going to and a few fixtures for the front frame rails cut out. I'm hoping I'll be able to get my table cleaned up this weekend and back on it
(edit, I am gonna have t find a better option than uploading pics or using photobucket)
 
Testing (working on pics)


2RKu0Bi.jpg


PFXhdpz.jpg


bZwD3NC.jpg


Ok finally success on a hosting site. Excuse the clutter on the table. It tends to be a catch all for everything in the shop. First 2 pics are from a few weeks ago. Tossed the drivetrain up on the table to start getting everything sat in its final place. Nothing really remarkable going on here. The chassis will have a jeep front clip, primarily because the buggy will be registered as a 76 CJ7. Last pic is with the front chassis lower rails in place. Engine and trans are offset 1.5" to help clear the front axle at full stuff. Buggy will have 7" of up travel at ride height.
 
Small update but it is progress.My original intent was to make the buggy so the drivetrain could be dropped out the bottom of the chassis, or the engine would be able to come out of the top so that working on it would be much easier. I had planned to do two 1/2" bolts mounted horizontal at the chassis going to a poly bushing at the engine. Due to the offset of the engine this wasn't possible. I decided I would just weld in the chassis side of the mount.
3lxcqQr.jpg


Luckily a few days later I needed to pull the engine and trans. When I went to reinstall the engine/trans/tcase I discovered what a colossal PITA it was going to be in the future. So today I cut all that **** out and ended up making some vertical tabs and new motor mounts

Z6AZia7.jpg


PLoR5NI.jpg


Pw7rw4p.jpg


wB3xEgT.jpg


ELE0gR1.jpg


I made the tabs in a manner that will eventually tie into a boxed in gusset that runs under the frame rail.
 
So originally I had all the front tube work planned out, and I intended to run a hood with some sort of built in fender to maintain a resemblance to a jeep. The last time I had a fiberglass hood with built in fenders on a rig, the hood didn't even make it through the first ride before I had pretty much removed both fenders trying to wedge the jeep in places it didn't belong. Somewhere along the lines of dwelling over this for a week or so I decided to add tube fenders to the front of the chassis when I started laying everything out. With tube fenders it altered the original way I was going to do the front tube work. So I started adding tubes

mwByqzi.jpg


452EEFe.jpg


zid14ps.jpg


GM8Rgvs.jpg


By this point the front end was a complete cluster**** of tubes and I wasn't really happy with it. I also had a few issues with where I mounted the engine was going to make routing the exhaust a *****, plus I had originally planned to run tube under the oil pan for a skid, which sat the engine high in the chassis. This made the planned seating position a little higher than I wanted. After stewing over it for a week I threw a junk hood and grill I had up on it .
ShOPySS.jpg


I was hoping that the lines would flow a little better with panels on it, but they just were not. I was also drastically different with how the front tube work was done compared to what I had panned and how I have done other chassis in the past. I ended up torching off the majority of work I had done and went back to plan A.

Before:
4qNO9r5.jpg


After:
pFspdlP.jpg


New tubework in place
hxEhcbr.jpg


sloWRWR.jpg


I still have a few more tubes to add up front, but it is waaaay cleaner and less cluttered now
QWmd9N0.jpg


f4WW1Ek.jpg


I also redid the belly crossmembers , moved the engine back 2" and it now sits 2.5" lower in the chassis. There is only a 3/4" difference between the car and truck pan on the 6l80 so I figured for such little difference I may as well run the truck trans and oil pan and hopefully avoid any oiling issues LS engines are known for.. I'll post pics ot the new engine/trans mounts and crossmembers as soon as I get them finished
 
Last update for a while. I have to play nurse for the next 10 days. This is the trans mount. I added notches for clearance on the shifter cable, and also the trans pan so it will be able to be removed without removing anything else but the skid plate
zWPEHpU.jpg


cMETJc7.jpg


lViHHhF.jpg


Gsr6mAe.jpg


XpT3XfP.jpg
 
Dirt700 said:
Looking good

I'm wanting to put a lsa on my buggy so bad

Watch ebay, they can be found at times for under $500. New from the dealer they are (or were) only $1500 when I bought mine. Several companies make adapters to put them on cathedral port heads
 
One very minor update. Today was going to be my only day in the shop after working the last 10, and I am scheduled to work the next 9 straight. Unfortunately we had some bad weather today that flooded my shop with about 4" of standing water, and knocked power out for half the day. The plan is for the engine to be supported by the traditional engine mounts, plus these off the back of the heads (which aren't finished in the pic). Trans has its own support, and the hero will be supported at both output shafts as well.

vXDJ1Ra.jpg
 
fl-krawler said:
Watch ebay, they can be found at times for under $500. New from the dealer they are (or were) only $1500 when I bought mine. Several companies make adapters to put them on cathedral port heads
I have been looking occasionally on eBay
 
I got off work a few hours early today so I decided to throw a few tubes on the chassis. Chassis has to come off the table tomorrow to build another chassis for someone else, so the updates will be slow for a few weeks. I plan to start the axle builds here this next week, since my new housings are in

KotJgdR.jpg


DGOO8eO.jpg


qghAeY7.jpg


5IraOmn.jpg


Getting rough ideas of how I am going to mount the radiators and if everything will fit like I plan. The idea is a 22x19 on the passenger side, and a 22x13 on the drivers side plumbed in series. I have two ford superduty trans coolers that are very large (20 x 19ish) that I plan to mount on top of the radiators, one for the trans, one for oil. I'm planning to build a cradle in the floor to hold the radiators, and have the seat mounts sandwich them in on top.
39iQV6Y.jpg
 
Gonna put petcocks to vent the air out of the radiators? Should be interesting to see if they get enough air flow mounted under the seats like that.

And on another note, how the heck do you get anything done in the shop?? Ya got **** scattered everywhere!! I feel much better about my mess now laughing1
 
Jduck said:
Gonna put petcocks to vent the air out of the radiators? Should be interesting to see if they get enough air flow mounted under the seats like that.

And on another note, how the heck do you get anything done in the shop?? Ya got **** scattered everywhere!! I feel much better about my mess now laughing1

The way I have it planned to run the plumbing, I shouldn't have any issues with air. There will be a surge tank just behind the supercharger that will be the highest point in the cooling system. with that said, I am planning a bleed screw just in case. Both radiators will pull cool air from the cabin area, just behind the seats. My only real worries are how noisy the fans will be in the cabin area, and how efficient the fans will be trying to pull hot air down and out the back of the buggy, rather than up since heat rises

My shop is a sore subject right now but hopefully will be remedied soon. Literally 10lbs of **** in a 5lb bag. 3 full builds in 1200sq ft, plus 2 other builds for other people offsite right now because I just don't have room for anything. Add into that working 40-60hrs a week as a nurse, and trying to keep a day free to do family stuff and well, the shop turns into a **** show quick and will usually stay that way till I'm forced to take a day to clean it because its too much of a mess. Not having the doors on the shop and the plasma table running 5 days a week with no water or downdraft fume control makes that problem even worse. I'm actively getting quotes to build a new 60 x 40 or 60x100 shop just behind my current one.
 
Back
Top