What is the best setup for power steering im looking for Strength, easy install, and cheap so whatever ideas are out there let me know.. It does not have to be all three at the same time because its probably not going to happen.. I have heard tracker but in my mind it wouldnt be as strong as toyota.. Just want more opinions is all.. :fawkdancesmiley:
You are using an out of date browser. It may not display this or other websites correctly.
You should upgrade or use an alternative browser.
You should upgrade or use an alternative browser.
Samurai Power Steering
- Thread starter Dubshot
- Start date
WHITE TRASH1
fruit stripe
Yota pump with celica box. Super cheap and easy to install. They make brackets for the whole deal as far as I know. But I have a buddy that did it on his own without any real issue.
WHITE TRASH1
fruit stripe
Pre 86, after that there isnt a steering box, they are rack and pinion I believe...
the axle is really close to a bolt in. Not sure of the center pin measurement on a samy but on a yota its 29.5" I think you just slot the holes in the spring pads and voila.
the axle is really close to a bolt in. Not sure of the center pin measurement on a samy but on a yota its 29.5" I think you just slot the holes in the spring pads and voila.
BigBoysToys
Well-Known Member
Toy spring perches are wider than sami but you can redrill the hole 1 inch back and a half an inch inward and it will be ok, it will move the axle forward an inch for firewall clearence. Some people just bolt the toy axles under there, they will fit but the spring bushings will wear out because of the angle.
This is a wheeler only so would it be better to just bolt them in or re drill the pin hole? I will eventually be getting the jp-eater yj spring swap and could possibly correct the hangers then im not sure I have not looked into the kit that much.. Also will the offset be a problem with the rear pinion to transfer case.
zukkev
Cornfuzzled yet again...
Rear wheel drive Celicas (85 and earlier); Also some early rear drive coronas-hard to find though...Does it matter on the year of the celica? Also does anybody know if toyota front axles bolt into the samurai every build ive seen looks like they do.
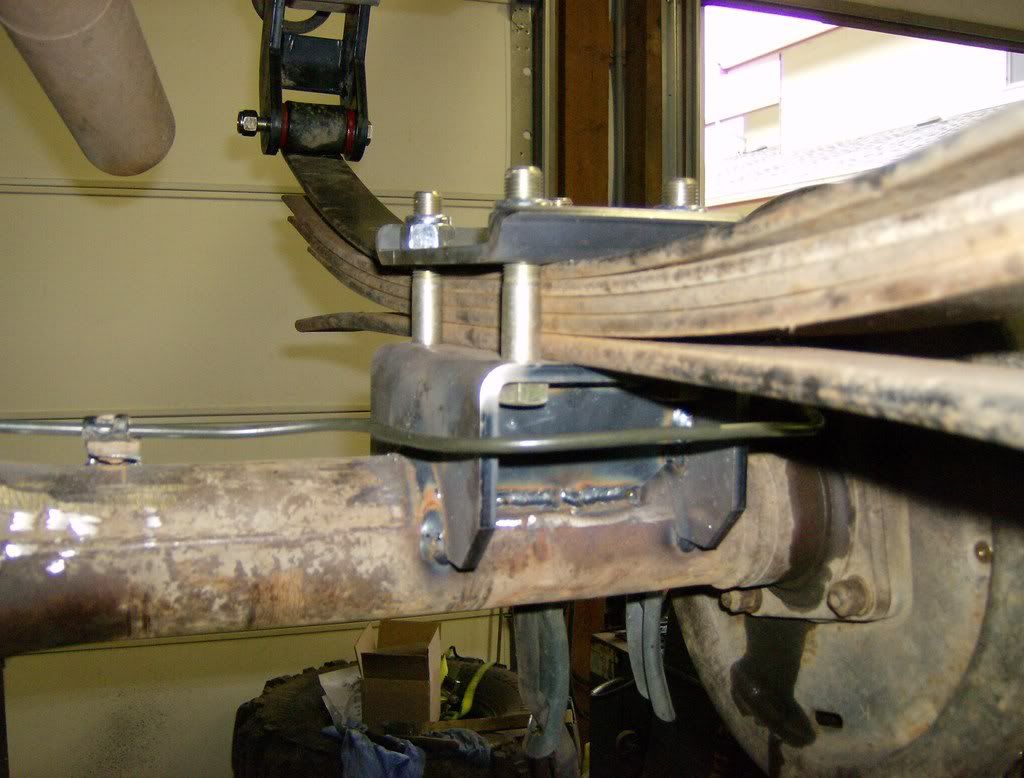
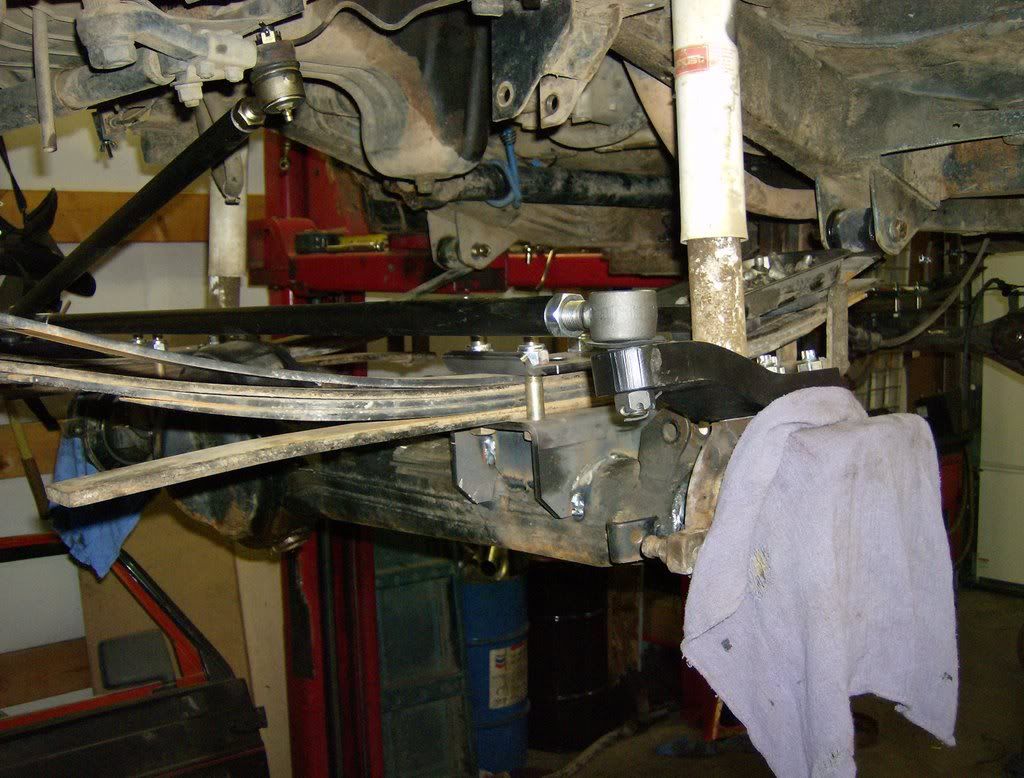
As for the Toy axle swap, it's not quite bolt-in---the front spring perches have to be moved in 1" on each side--gets tricky due to the pumpkin being in the way on pass side, but with a tall enough perch, it can be done---the rears also have to be moved in to match the Sami spring width (.75" on ea side)--other than that, it's pretty straightforward; you will have vibration due to compound angles on ujoints, but can be alleviated with custom double cardan joints.....can be done on a moderate budget if you're patient!! (I/ my wallet wished I was patient!!!) Either way, it's worth it for the strength!!!!
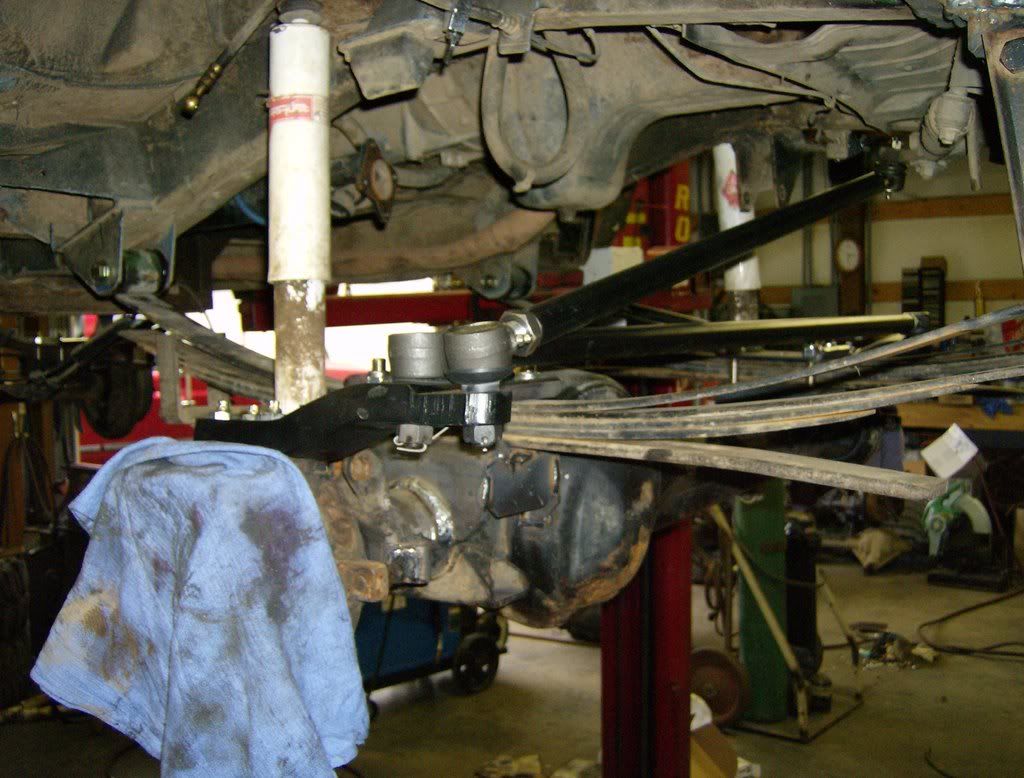
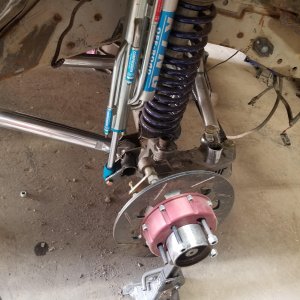
IMO, I would stay away from just re-drilling the perch---better to do it right, and be relatively confident ****'s not gonna fly apart!!!here's a couple pics of my install with Hi Steer....

Last edited:
zukkev
Cornfuzzled yet again...
The perch kit, and the Hi steer both came from Breeze Industries... www.breezeindustries.com/suzuki.htm ; They are just over the border in Coquitlam BC; actually got to meet the owners when I drove up there to get my parts...great people!!! The instructions are pretty good, except for the passenger front corner-one phone call took care of the questions I had, however!!These are the only other pics I have...
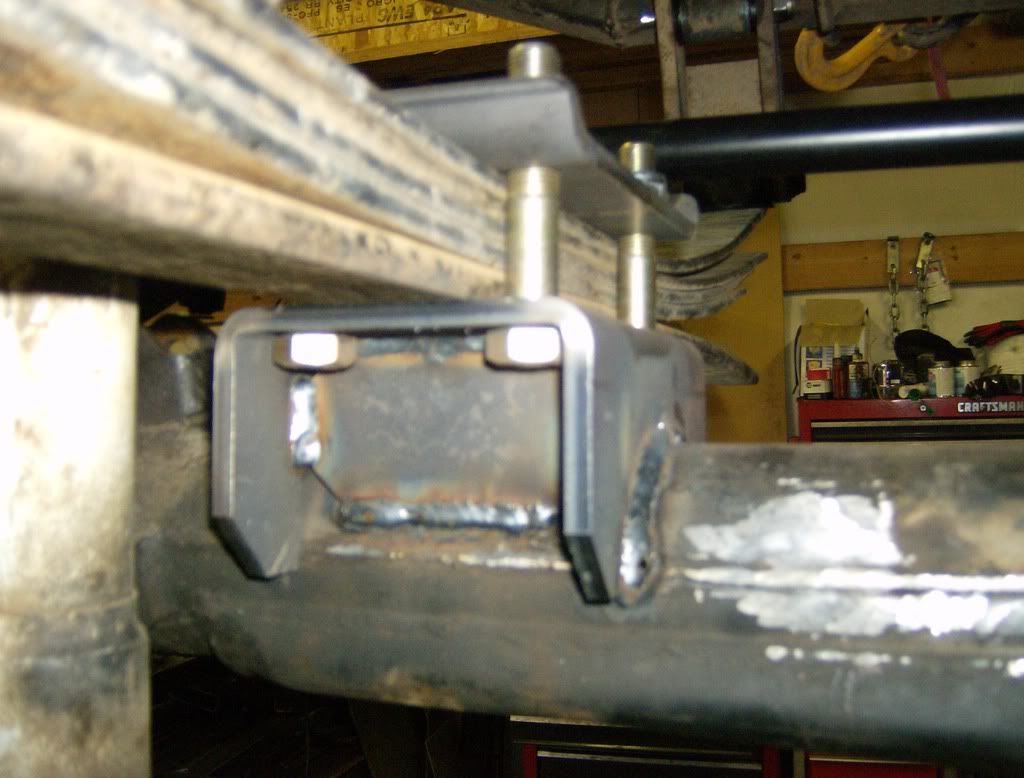
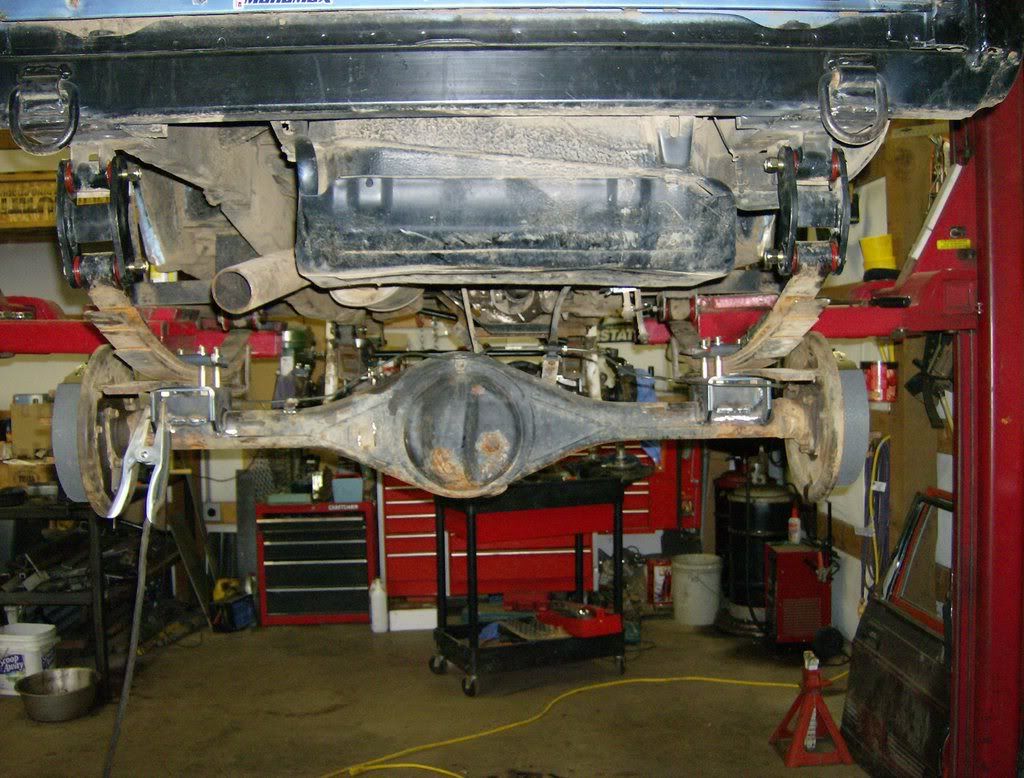
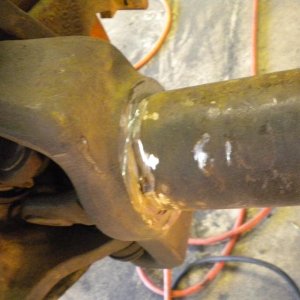
After these pics were taken, I finished welding the perches, carrying the weld around the bottom and up the inside of the perches...I also went with Breeze's shackles during the buildup due mainly to time constraints-plus at $49/ pr it was hard to beat!!! Really nice product!!!:awesomework:
After these pics were taken, I finished welding the perches, carrying the weld around the bottom and up the inside of the perches...I also went with Breeze's shackles during the buildup due mainly to time constraints-plus at $49/ pr it was hard to beat!!! Really nice product!!!:awesomework:
ToyZuki
Well-Known Member
I dont see the perches or the hy-steer on the web site. I'm getting ready to order hy-steer and would like more info.
zukkev
Cornfuzzled yet again...
I dont see the perches or the hy-steer on the web site. I'm getting ready to order hy-steer and would like more info.
Just give Sue a call Monday(or Randy-but he's usually out in the shop); I'm pretty sure they still sell both the perches, and the hy-steer....
![IMG_3159[1].JPG](http://attachments.www.hardlinecrawlers.com/xfmg/thumbnail/4/4716-7b6e4a00bcf97e620db4b6a3e9ad88c4.jpg?1625928476)