You are using an out of date browser. It may not display this or other websites correctly.
You should upgrade or use an alternative browser.
You should upgrade or use an alternative browser.
Southern X-Posure - 85 Toyota Truggy
- Thread starter rswords
- Start date
whiskeymakin
Well-Known Member
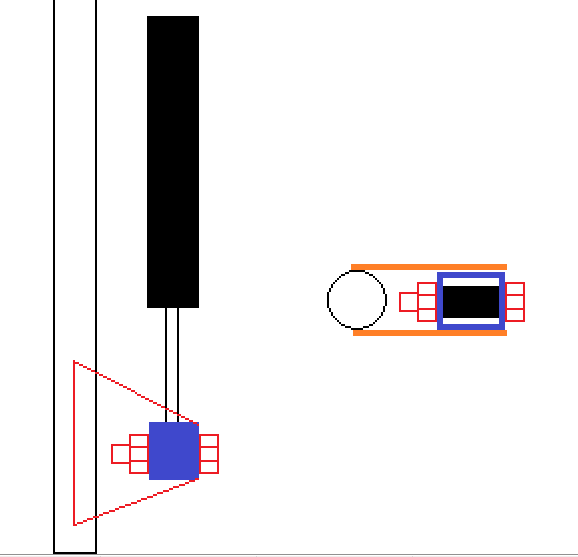
Doesn't the bolt need to be turned 180°? Plates come off the tie rod to a vertical bolt....not sure if I'm lookin at that right or not.
looks like the bolt is just ran thru the eye of the ram end
looks like the bolt is just ran thru the eye of the ram end
jordan7118
Well-Known Member
- Joined
- Apr 20, 2010
- Messages
- 1,555
Well... Alrighty then laughing1
If it's binding on theaxle tie-rod side when the bolt is vertical, you've got problems in your axle-side mount that won't be resolved by anything that happens on tie-rod side. I see it binding up at both ends with the tie-rod side mounted horizontally.
Whatever works!
EDIT: replace "axle" with "tie-rod"
If it's binding on the
Whatever works!
EDIT: replace "axle" with "tie-rod"
The axle side does not bind. It has enough play. If I could get the ram level with the tierod I would not have this problem but then it hits the oil pan. **** is tight!
I still may mock it all up and have issues, I hope not but It has happened before.
I still may mock it all up and have issues, I hope not but It has happened before.
paradisepwoffrd
Well-Known Member
Re:
Most tierods move in/out and up/down through their travel. That's why is preferred to have 1 bolt in each direction
Sent from my SM-N900T using Tapatalk
Most tierods move in/out and up/down through their travel. That's why is preferred to have 1 bolt in each direction
Sent from my SM-N900T using Tapatalk
jordan7118
Well-Known Member
- Joined
- Apr 20, 2010
- Messages
- 1,555
Orbit eye / rod end on at least one side of the cylinder would make it much easier to mount this sucker.
jordan7118 said:Orbit eye / rod end on at least one side of the cylinder would make it much easier to mount this sucker.
WITHOUT A DOUBT!
But I have something like $120 into the whole setup (hoses, ram, Fittings) I kinda wish I had saved up and bought a nicer ram but oh well. This hopefully will work.
paradisepwoffrd
Well-Known Member
Re: Re: Southern X-Posure - 85 Toyota Truggy
What diameter shaft do you have? Is the end welded on or threaded?
Could always take the end off and put a heim on it.
Or weld a bung on the opposite end of the housing, but would need to take the cyl apart during welding to keep it nice inside.
What diameter shaft do you have? Is the end welded on or threaded?
Could always take the end off and put a heim on it.
Or weld a bung on the opposite end of the housing, but would need to take the cyl apart during welding to keep it nice inside.
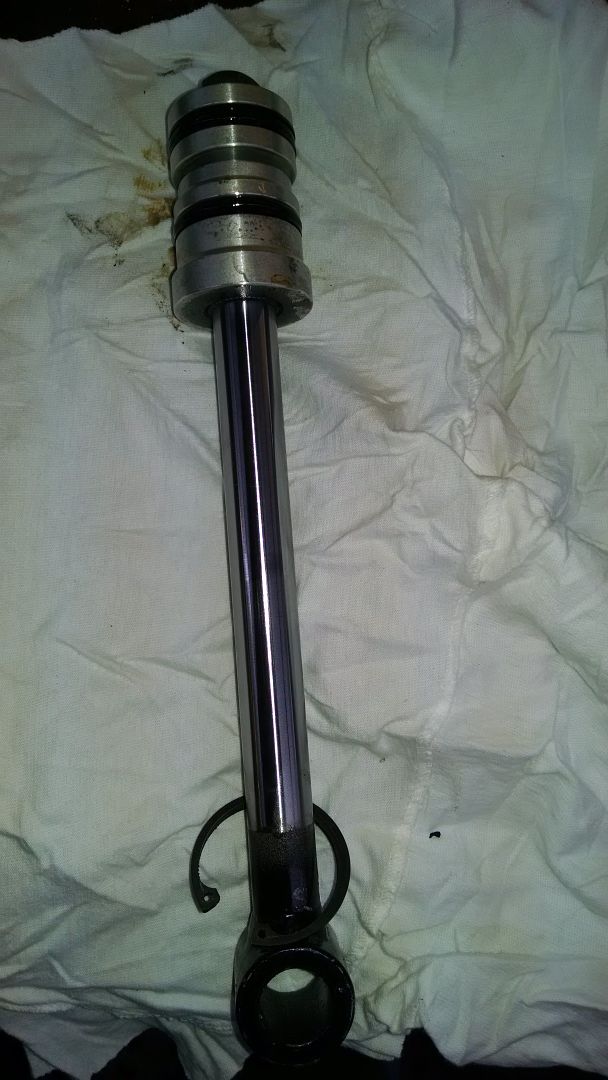
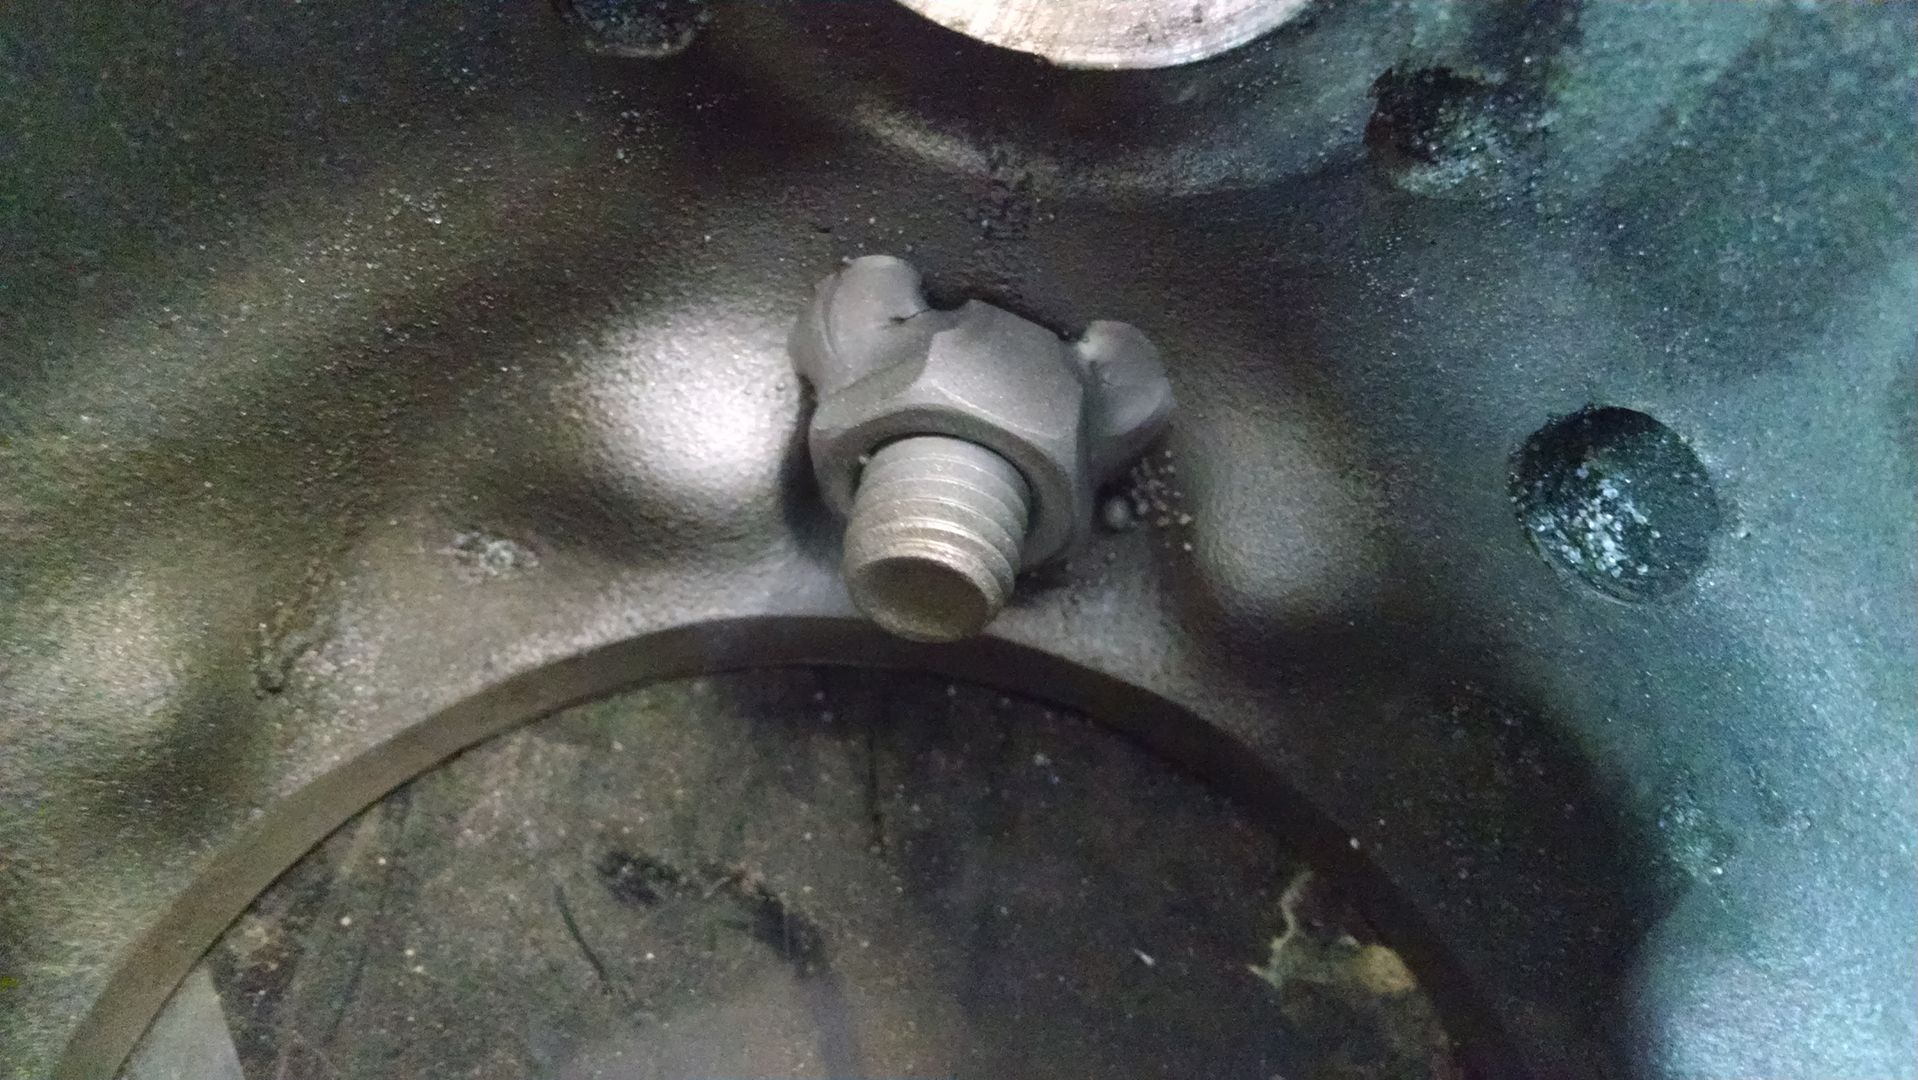
I needed to knock about 1.125" off the stroke of my budget surplus center hydro ram so I jerked it apart tonight.
All that holds the together is a snap ring.
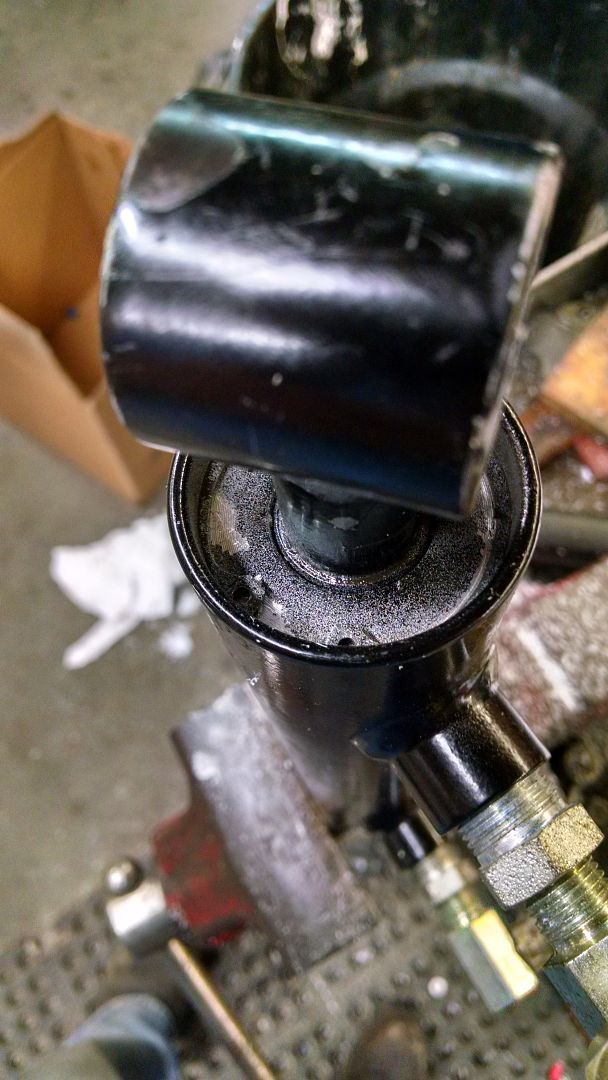
Then simply pull out the shaft
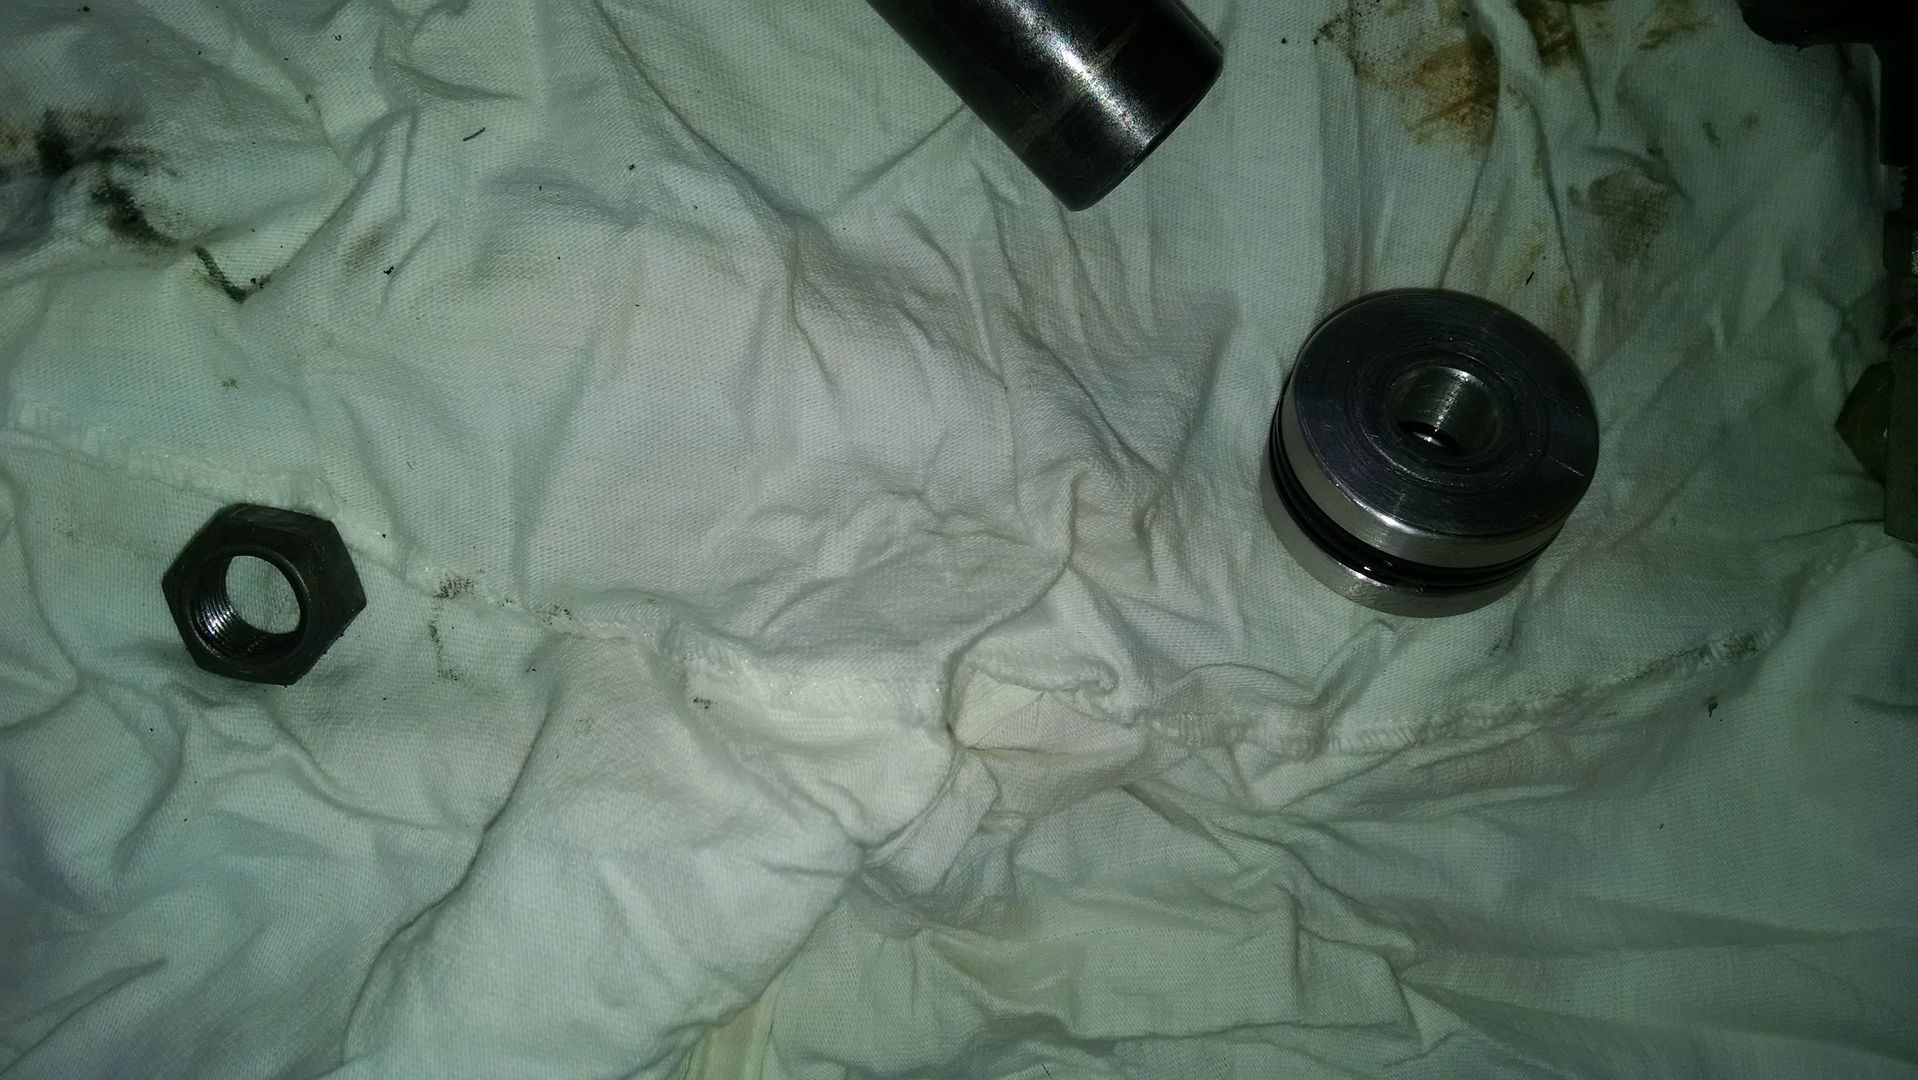
Remove the nut on the shaft the pull the puck off. Make sure to unscrew the o-ring past the threads so you don't tear it. same putting it back on.
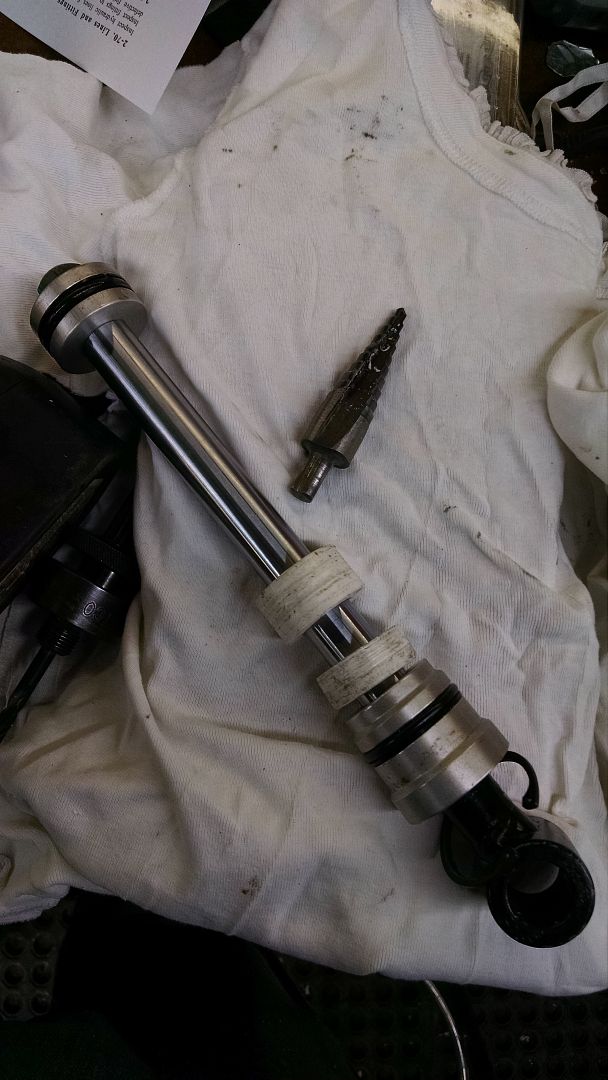
I cut my spacers out of some StarBoard (HDPE) we had laying around the shop. This is easy to find, its the same stuff they make cutting boards out of. Hit it with a hole saw to get the correct OD then drilled the center hole out to just over 3/4. When drilling go slow, you want to cut not melt, especially with the hole saw. I take little bites of about 1/16th of an inch at a time.
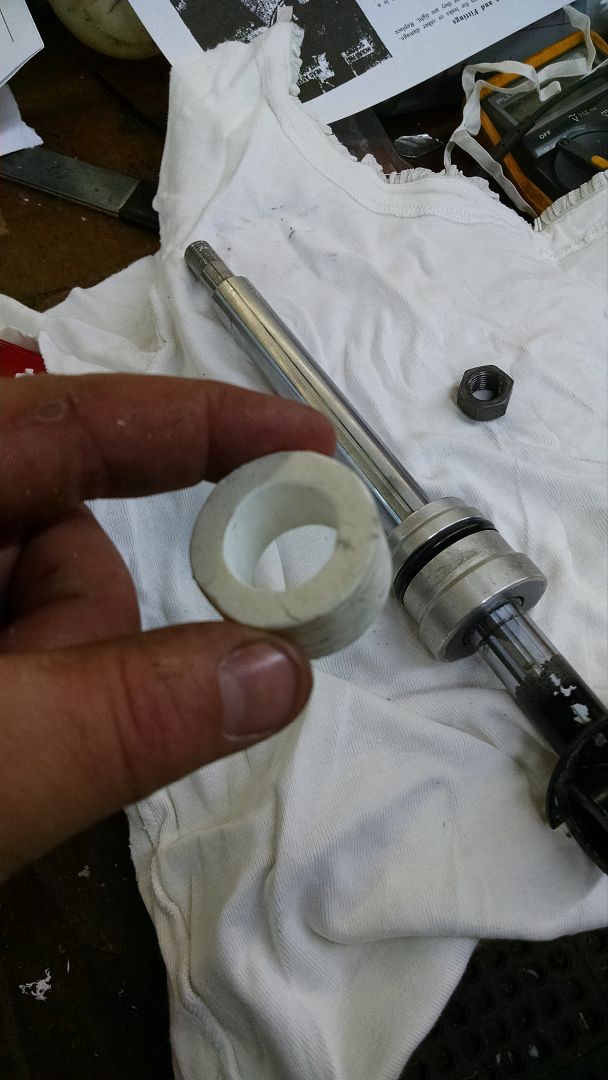
I need two pieces to get to my thickness. A 3/4 and 1/2.
All that holds the together is a snap ring.
Then simply pull out the shaft
Remove the nut on the shaft the pull the puck off. Make sure to unscrew the o-ring past the threads so you don't tear it. same putting it back on.
I cut my spacers out of some StarBoard (HDPE) we had laying around the shop. This is easy to find, its the same stuff they make cutting boards out of. Hit it with a hole saw to get the correct OD then drilled the center hole out to just over 3/4. When drilling go slow, you want to cut not melt, especially with the hole saw. I take little bites of about 1/16th of an inch at a time.
I need two pieces to get to my thickness. A 3/4 and 1/2.
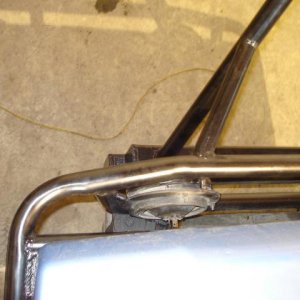
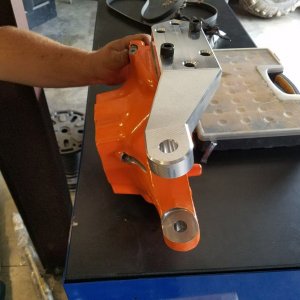
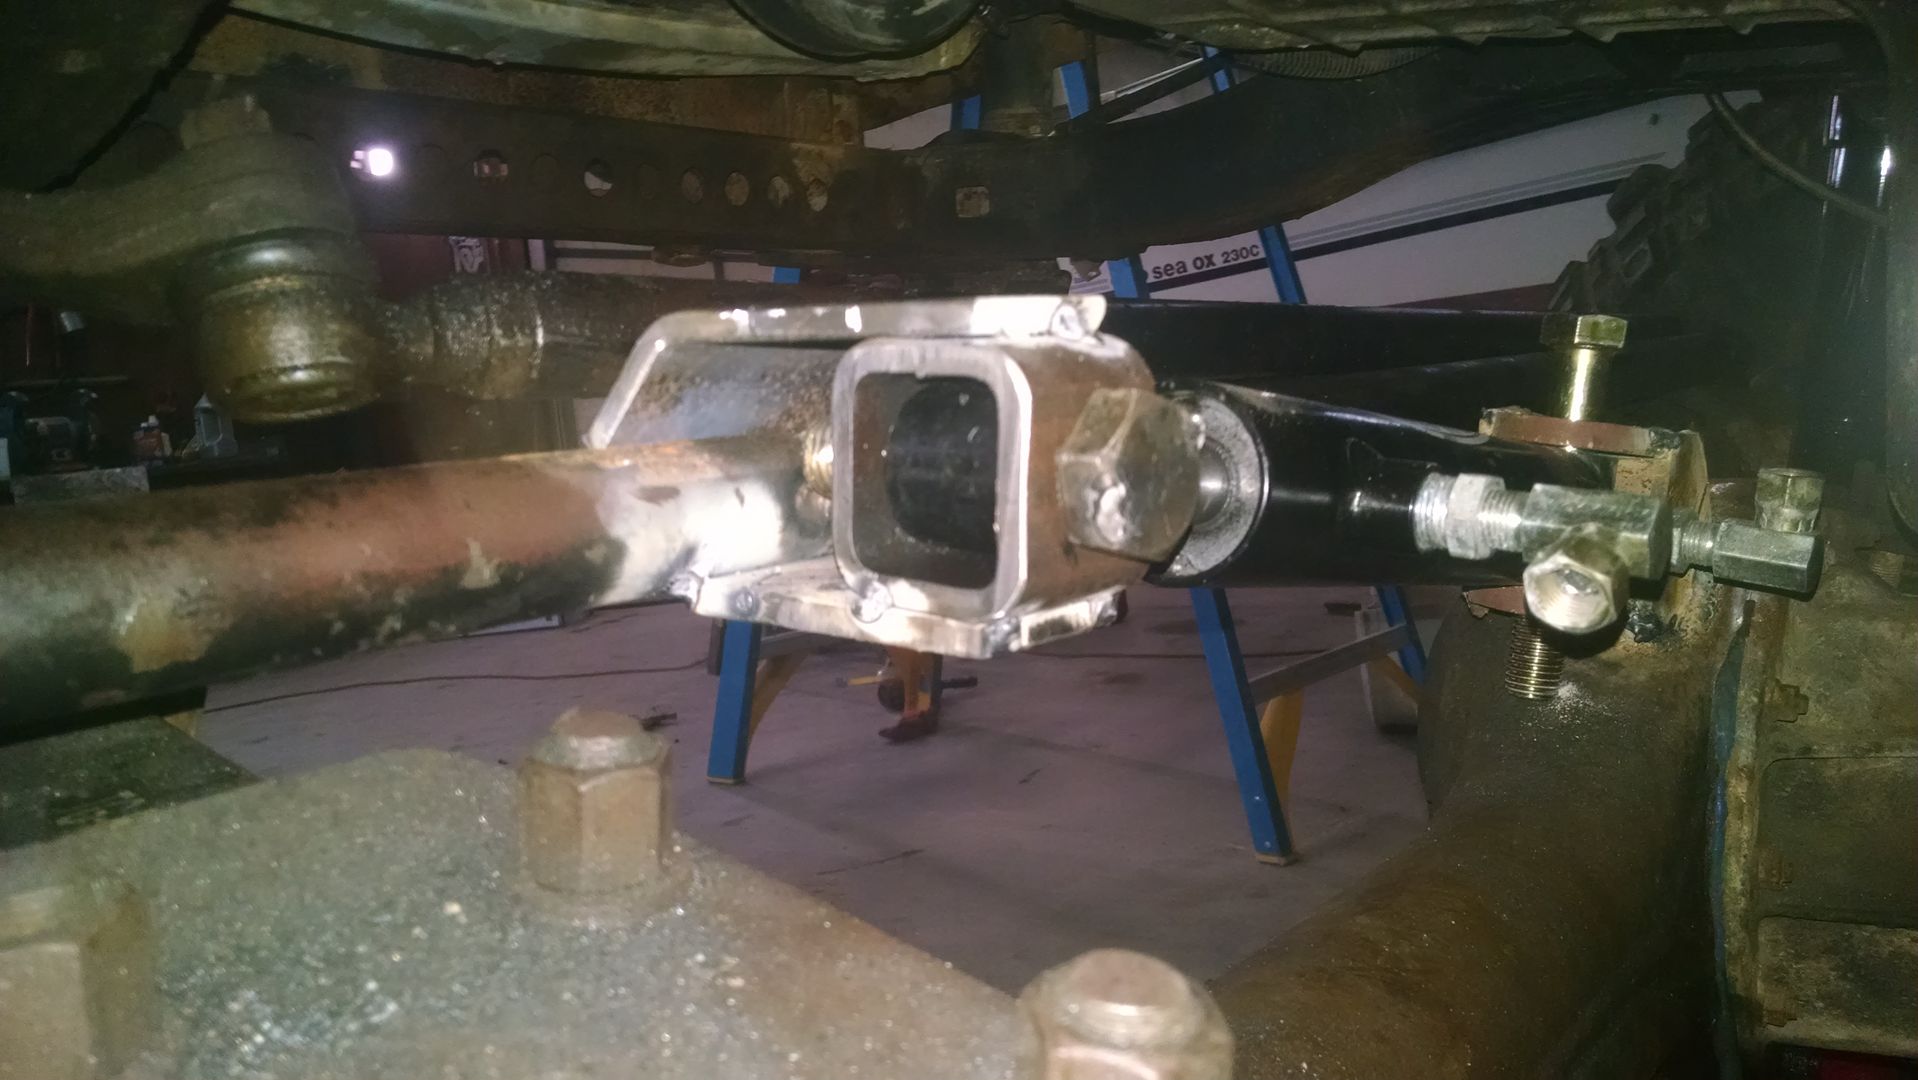
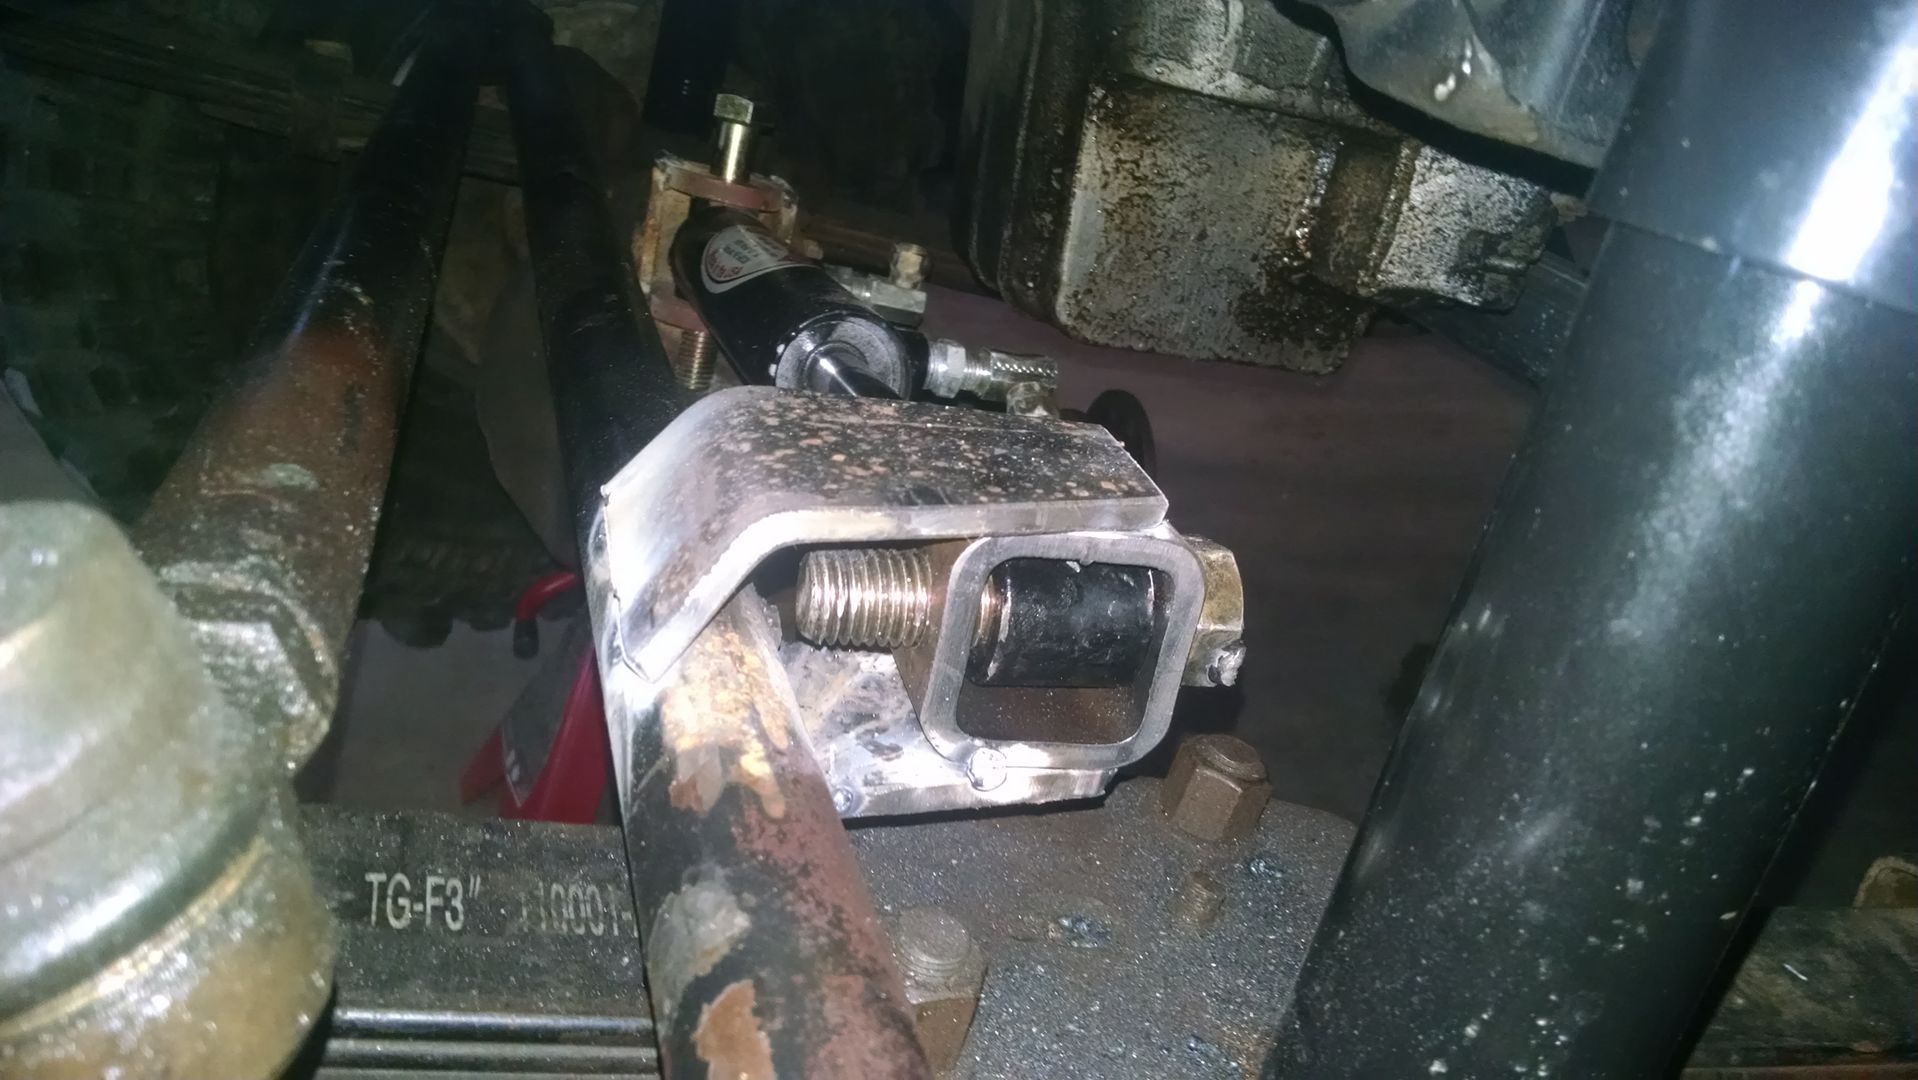
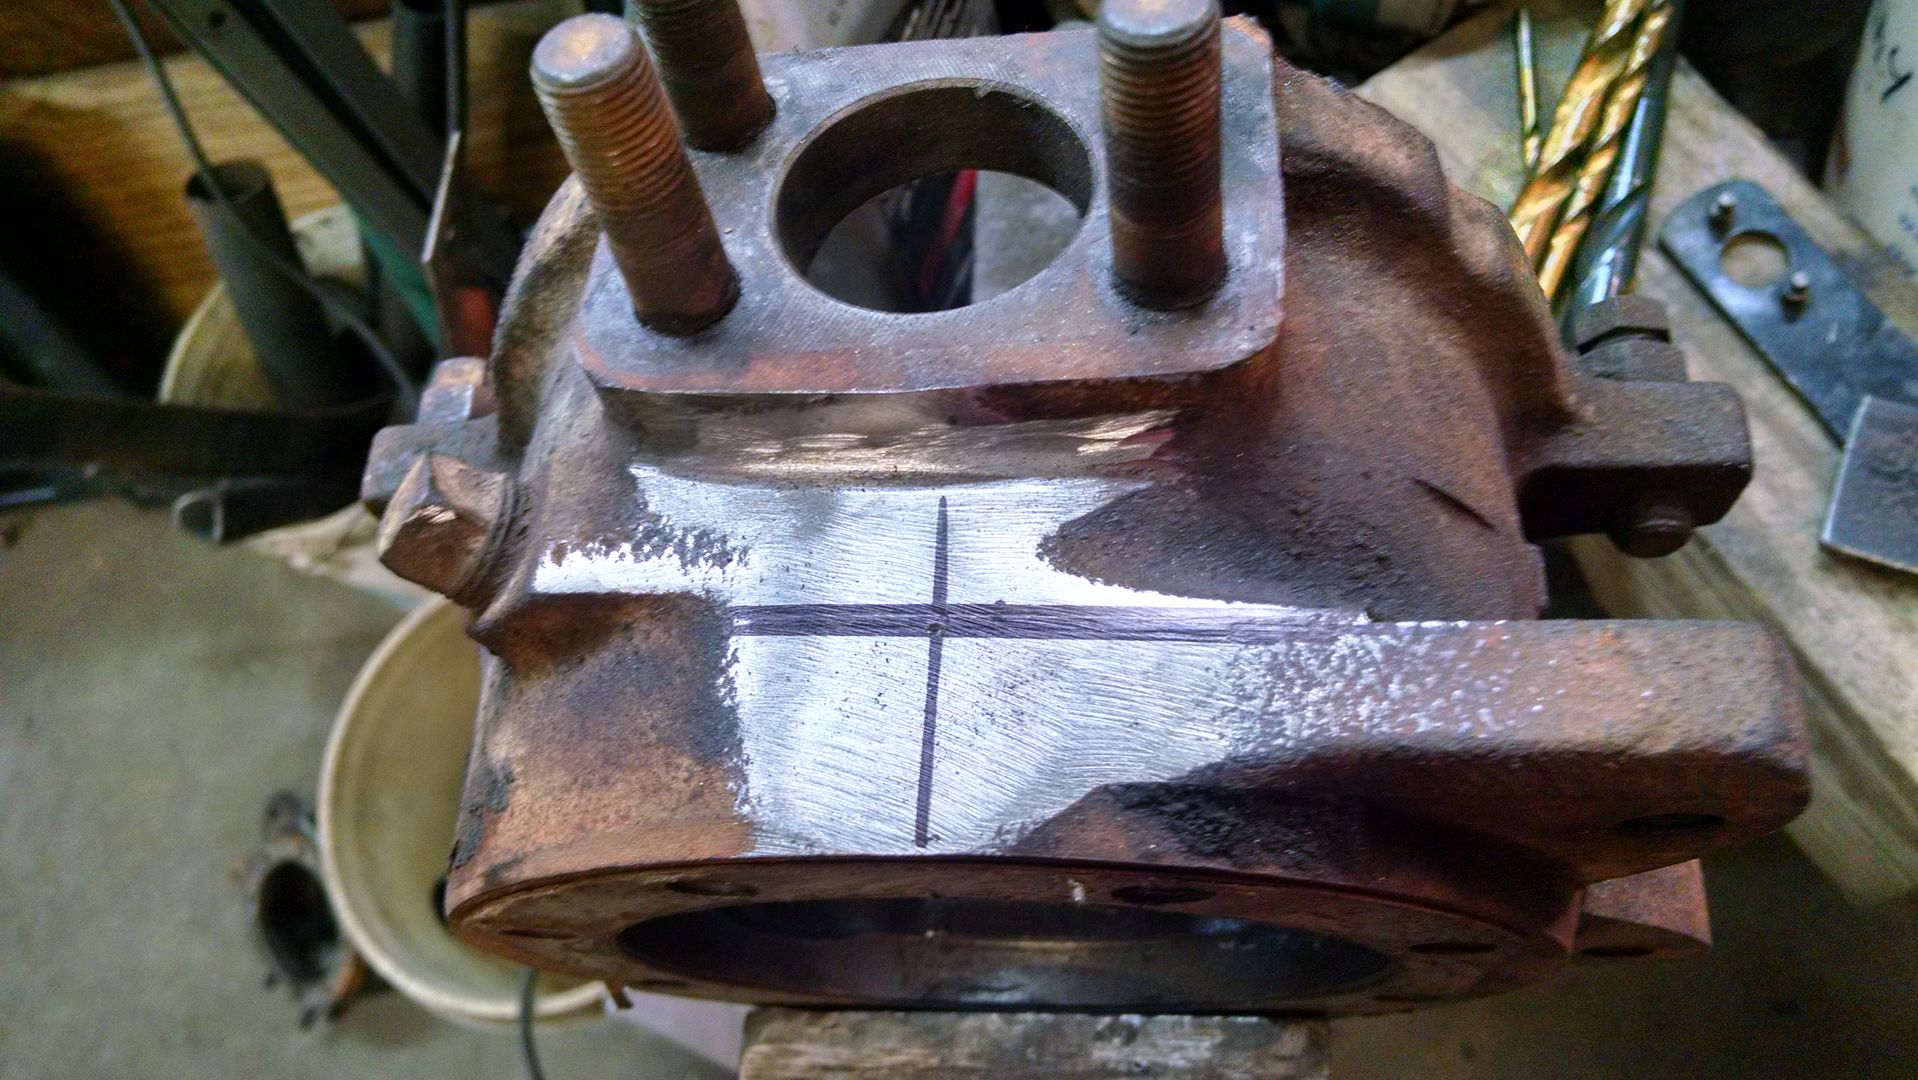
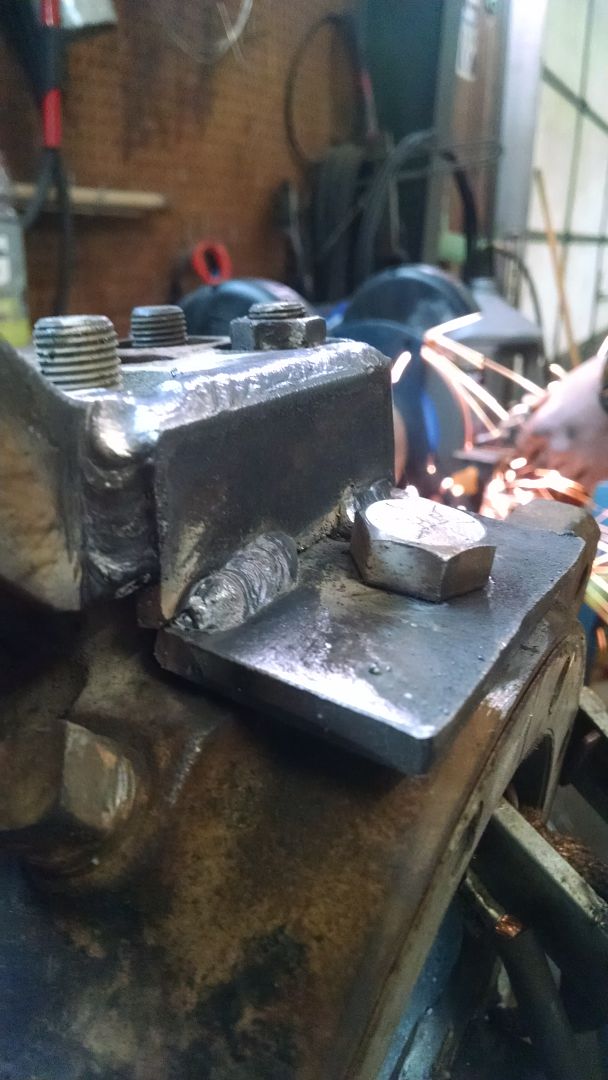
Provence came by the shop Sunday and we busted out some 5th studs.
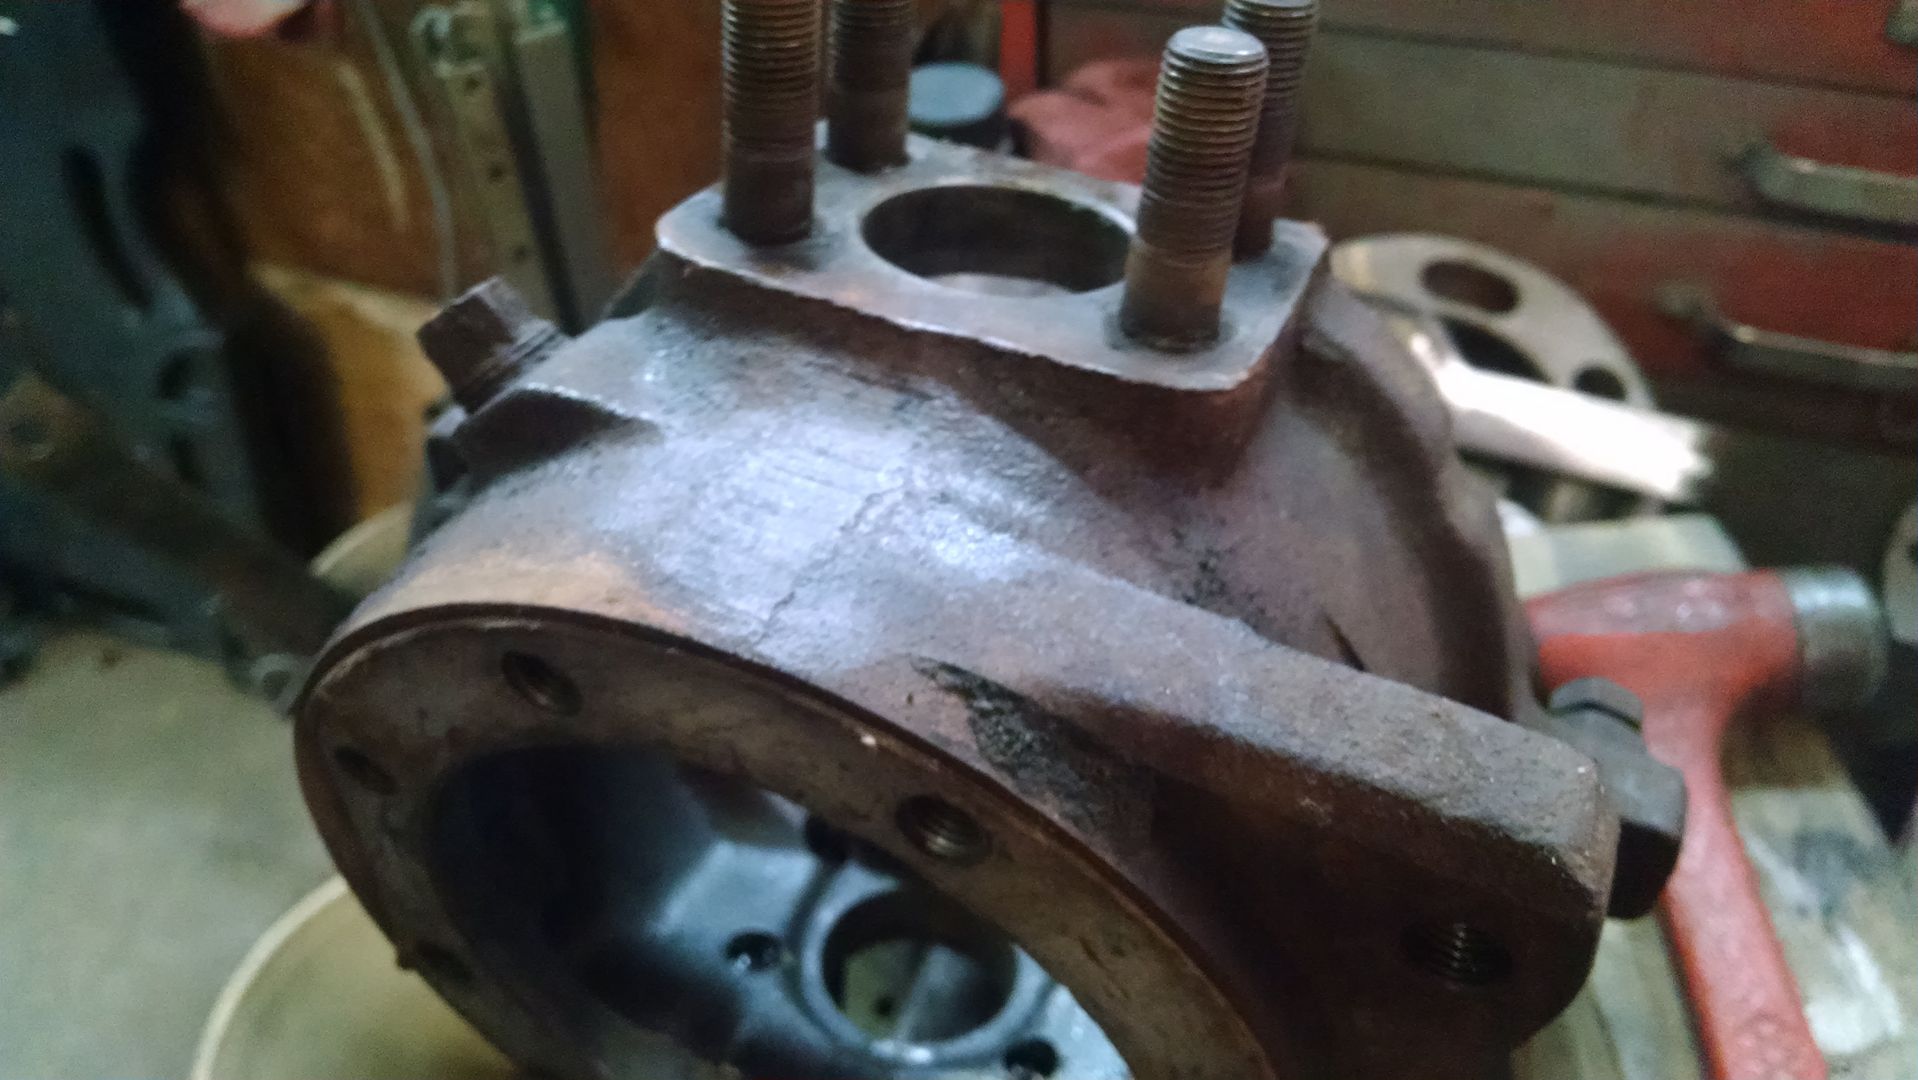
Grind the top flat and mark for the hole. if you go right off the casting line you can fit a 9 /16 bolt with a bit of grinding to the nut.
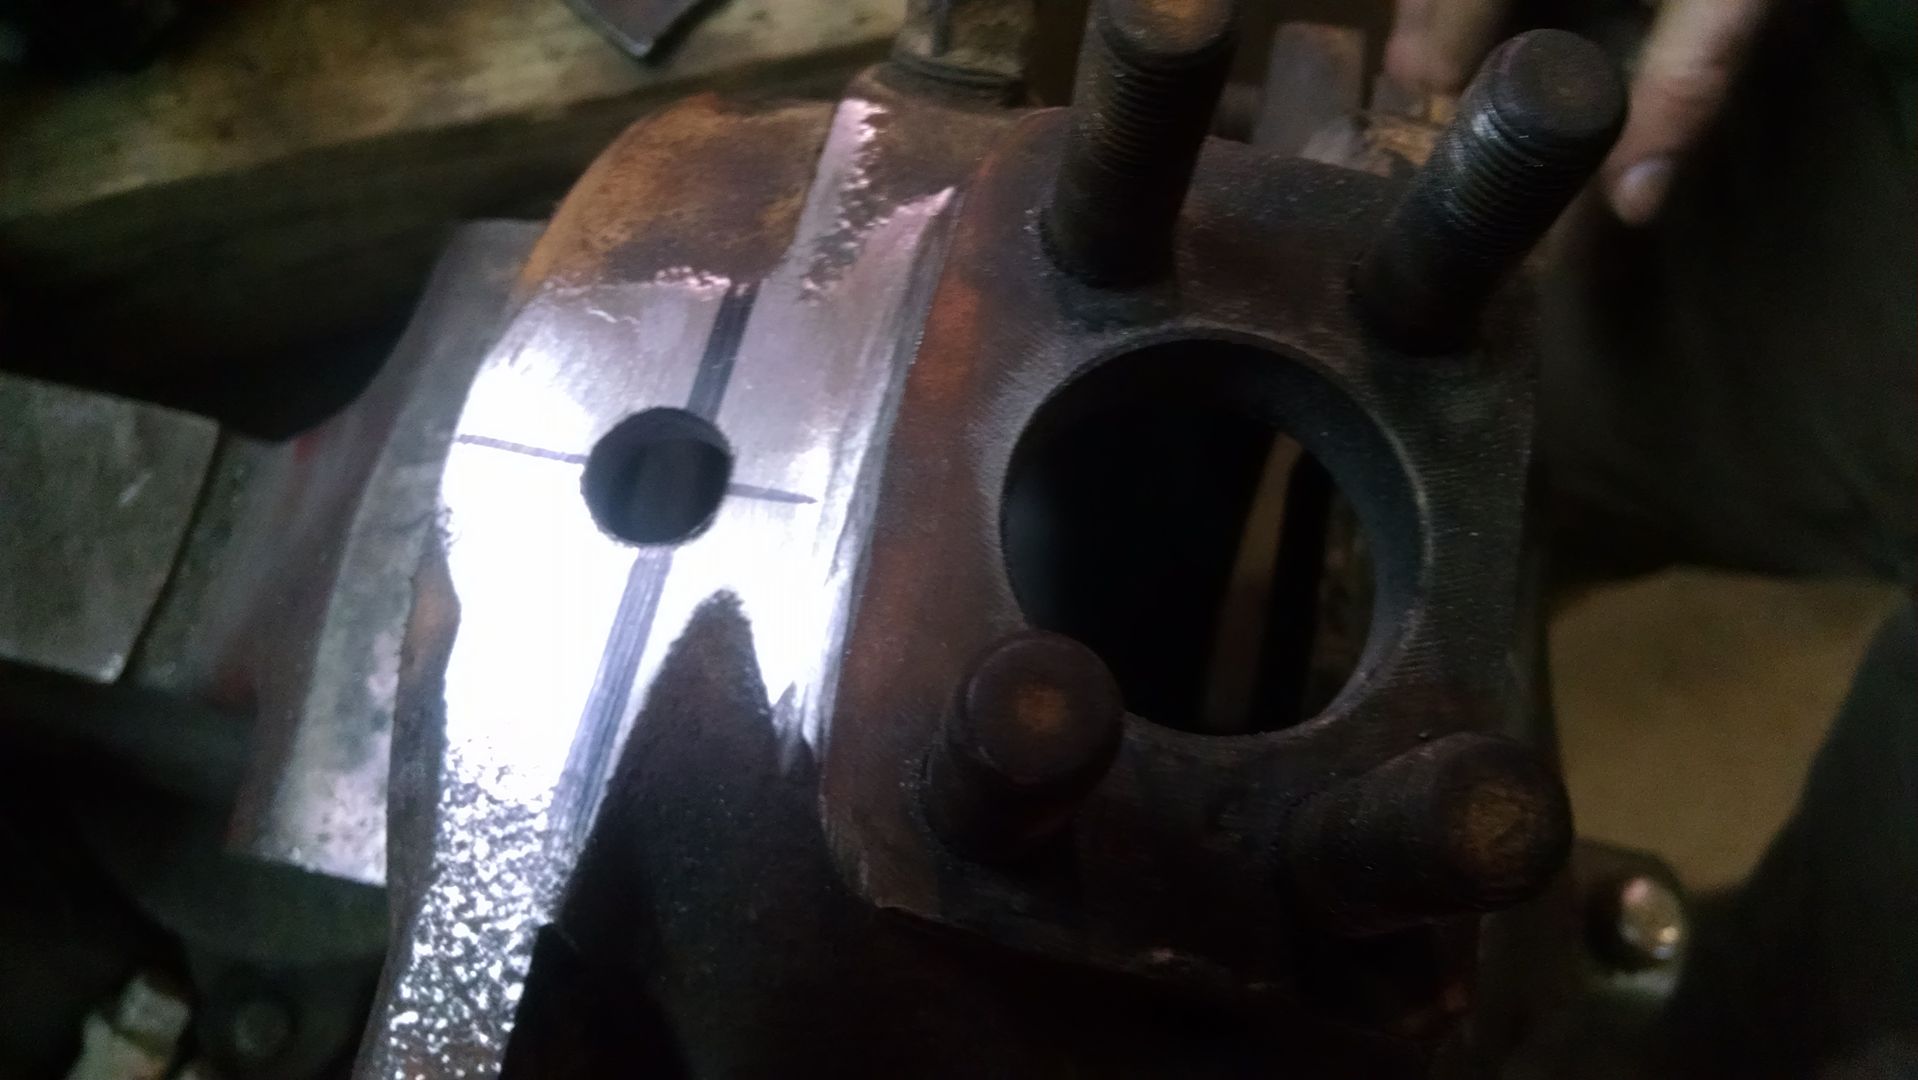
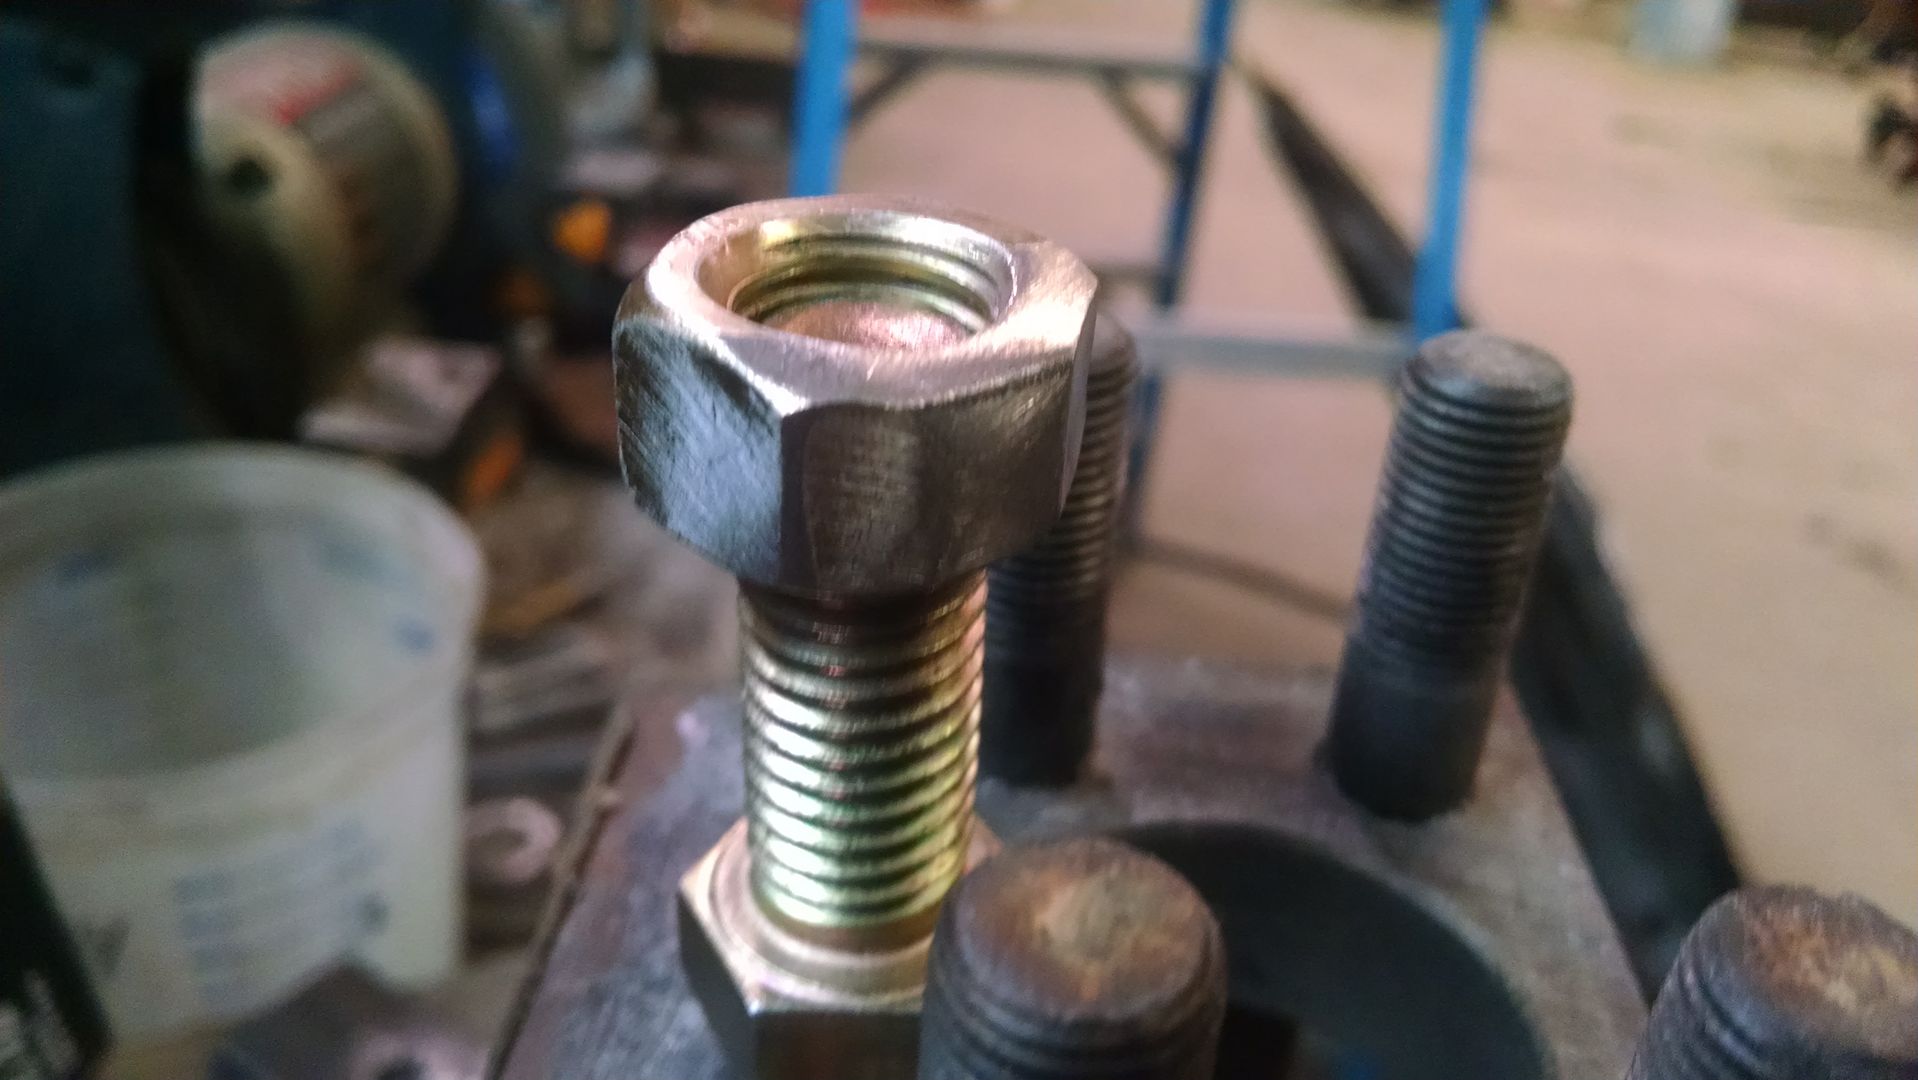
Cut your plates and drill, bolt them in place nice and tight and tac the nut on the bottom.
Put the steering arm on with shims and then the plate for the arm, hold it all together with a clamp, tack it on a few side and weld it up. Leave it all tight until everything fully cools.
Grind the top flat and mark for the hole. if you go right off the casting line you can fit a 9 /16 bolt with a bit of grinding to the nut.
Cut your plates and drill, bolt them in place nice and tight and tac the nut on the bottom.
Put the steering arm on with shims and then the plate for the arm, hold it all together with a clamp, tack it on a few side and weld it up. Leave it all tight until everything fully cools.
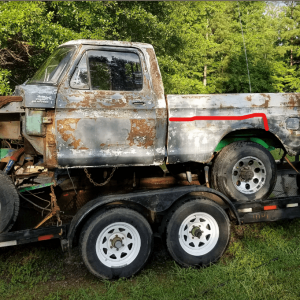
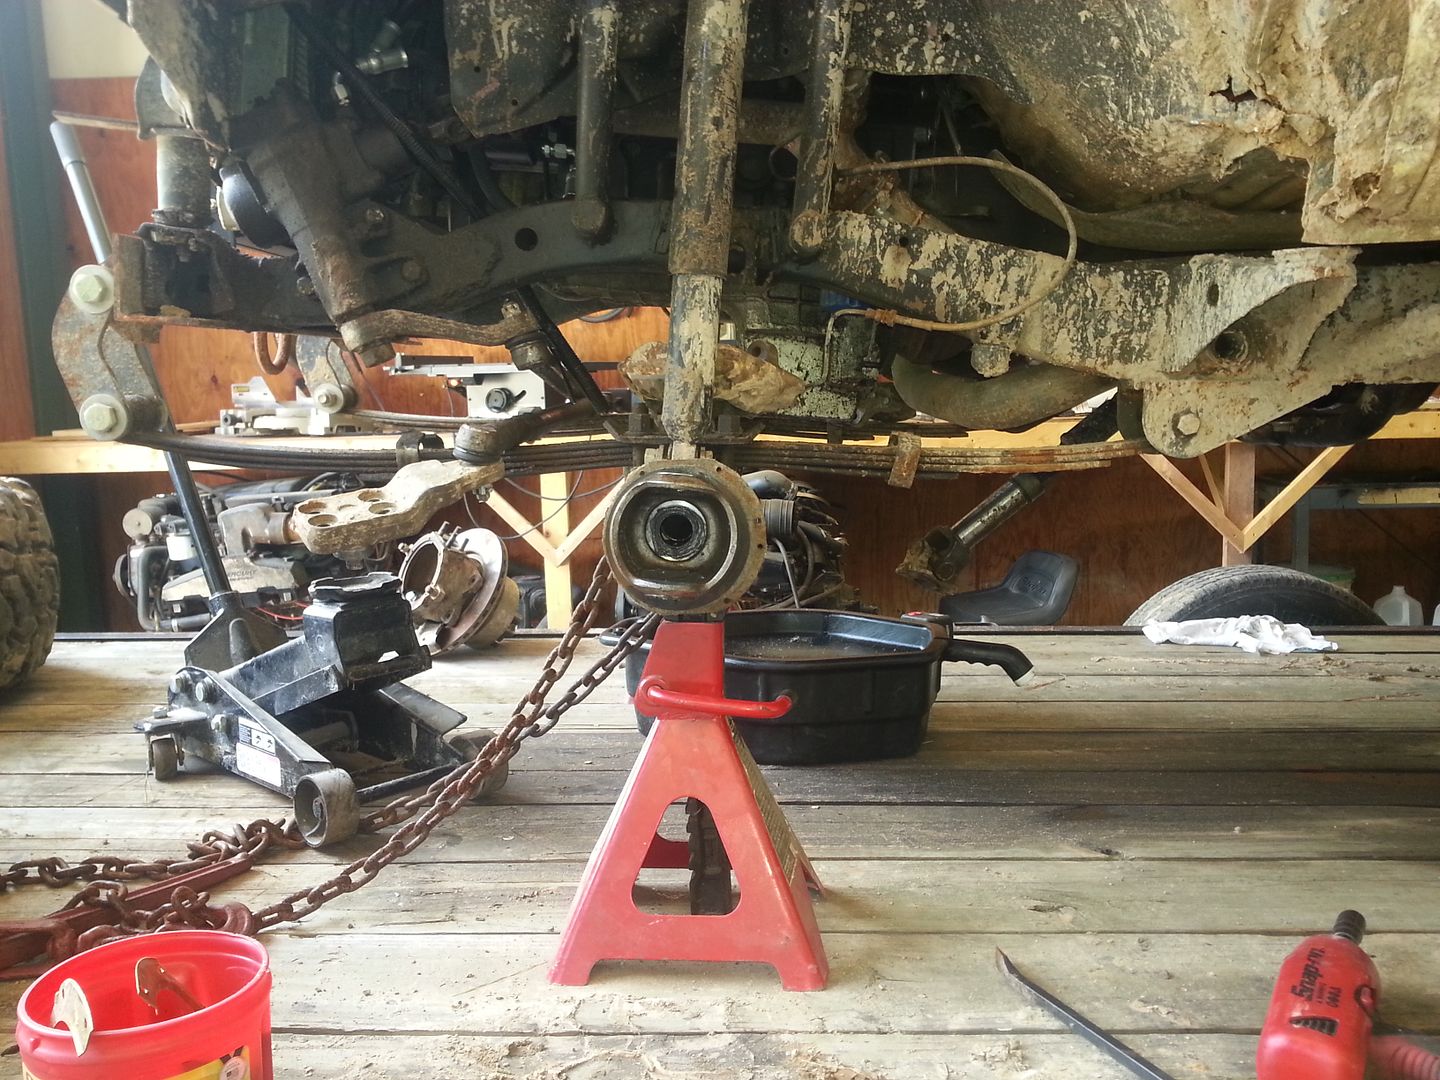
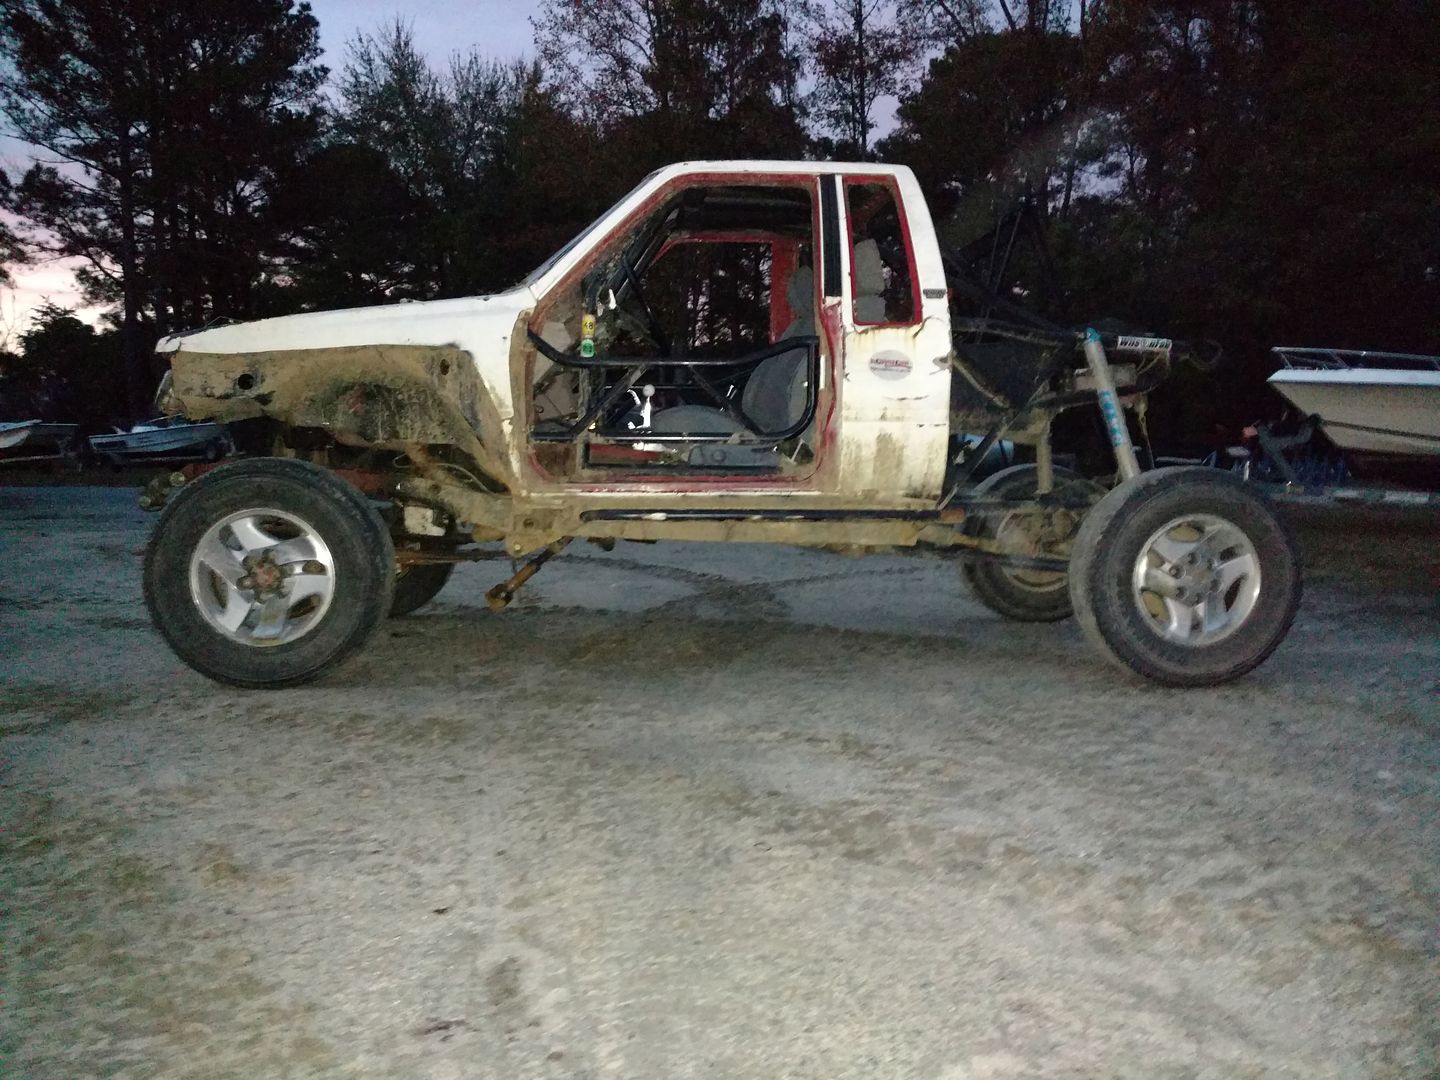
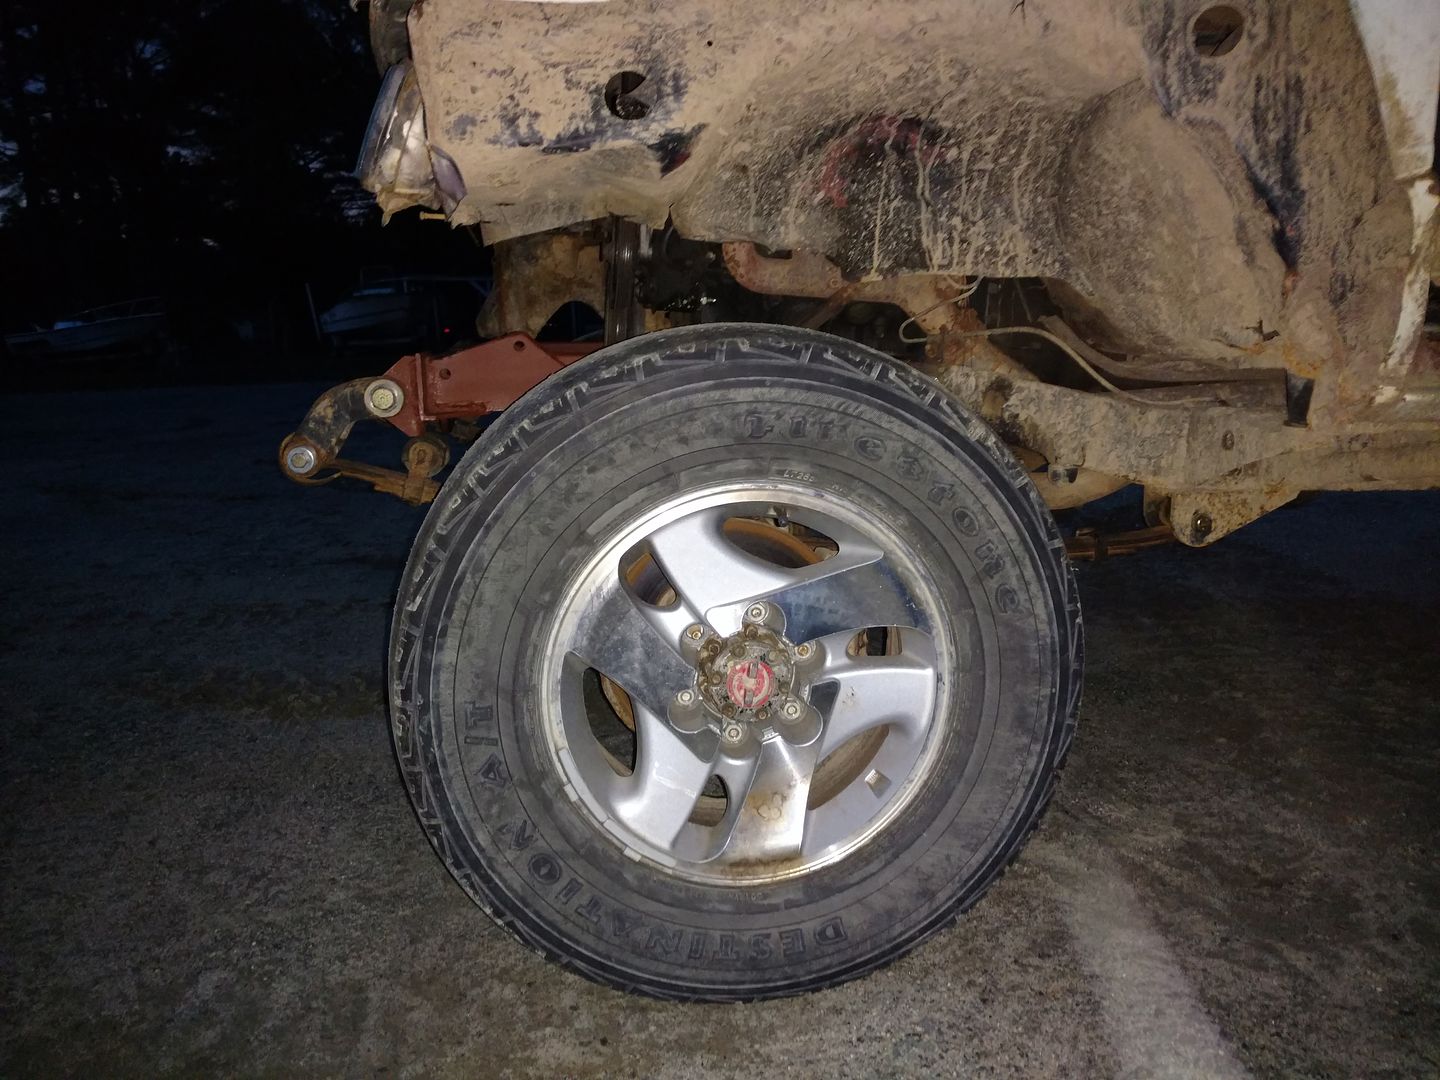
Decided to give front shackles a try to solve some driveline issues. The mounts are set up for a longer pack of springs, Hopefully I can find time to move the steering box again and build the longer pack.This will push the axle forward a few more inches too to help with approach angles.

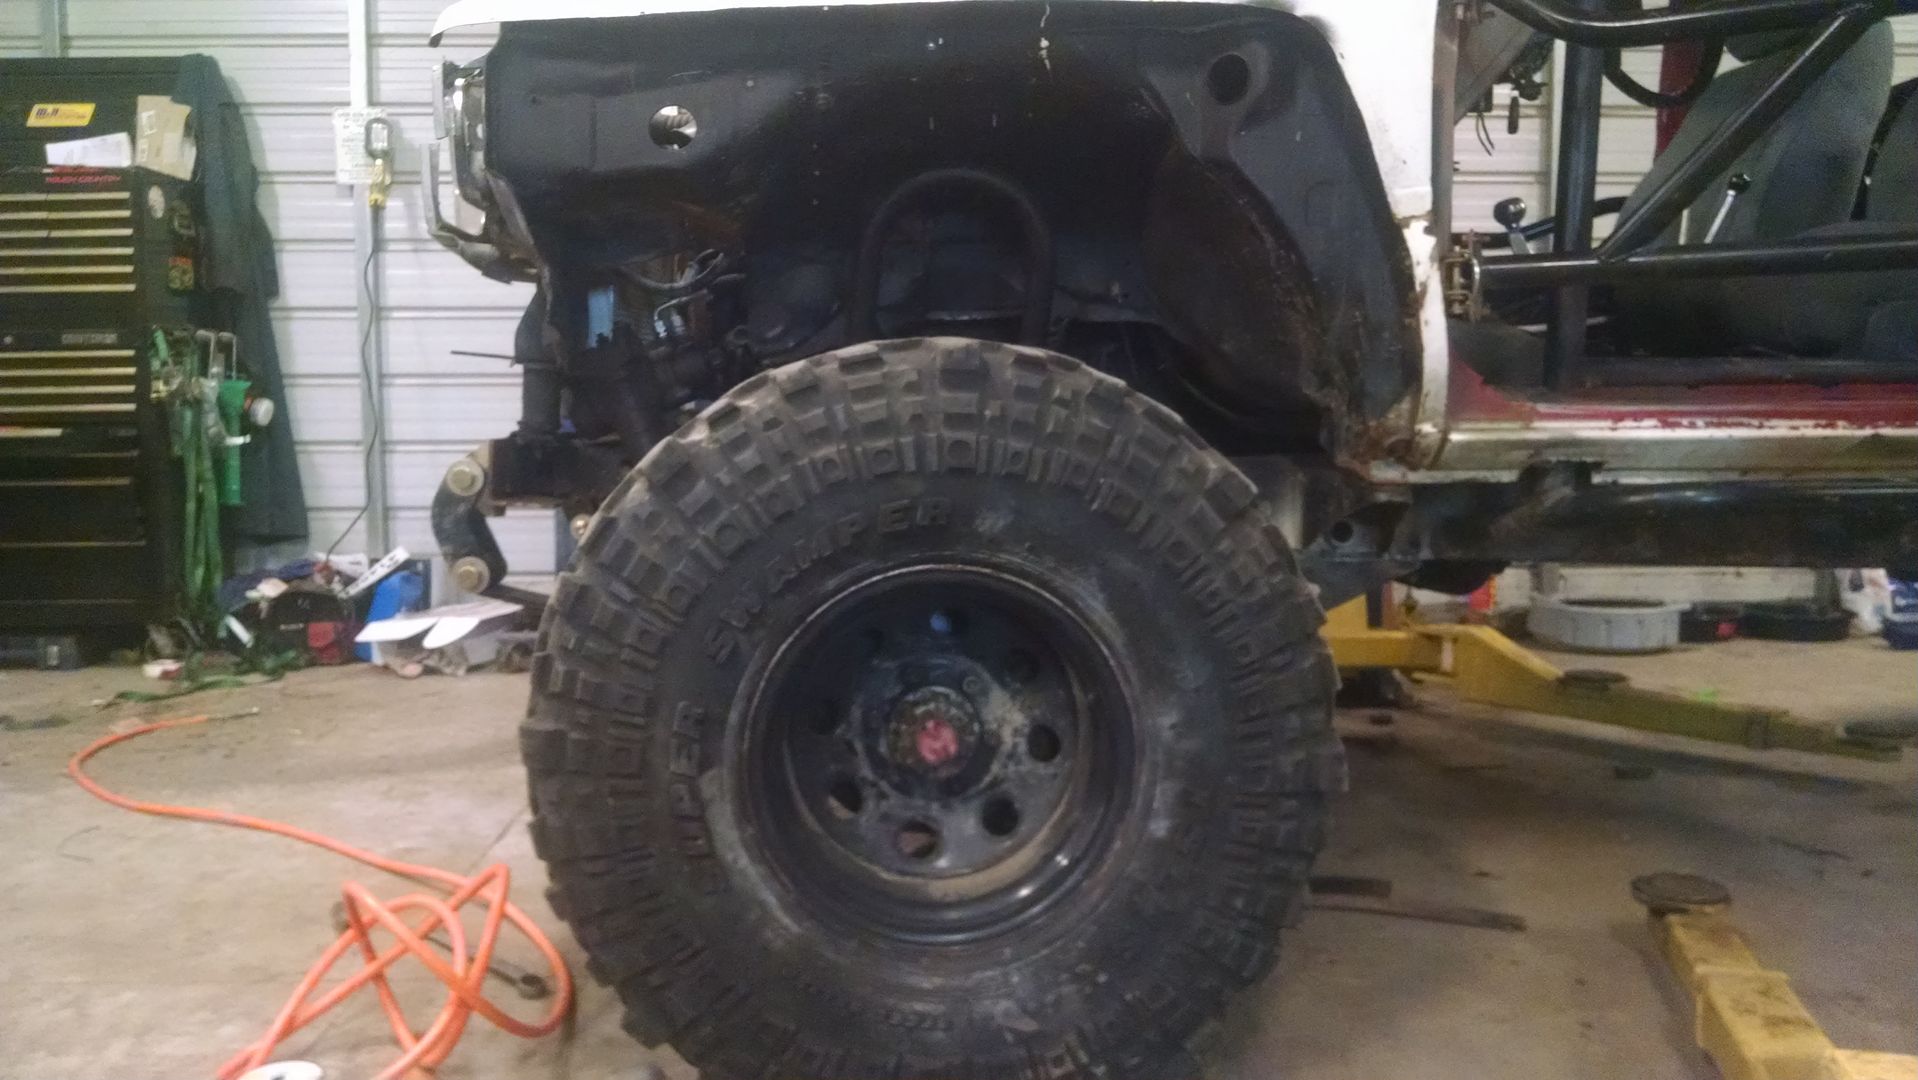
Also picked up a set of 39.5" Pitbulls on 8 lug beadlocks. I need to order some adapters to run them on my toyota axles for now but I'll be set when it comes time for tons.
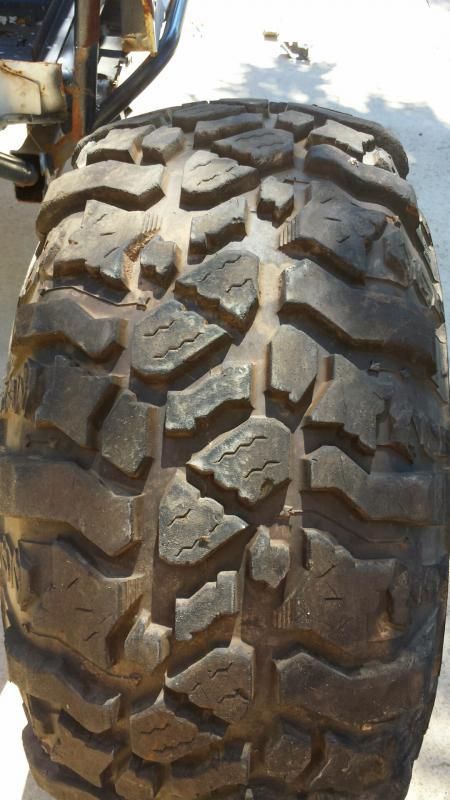
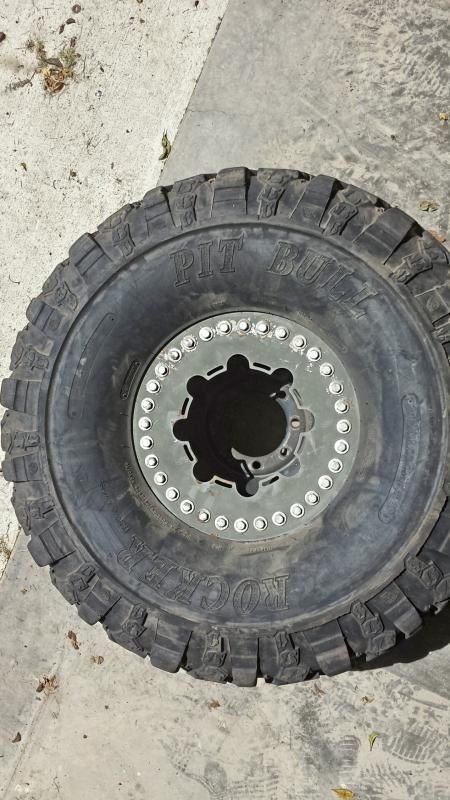
Also picked up a set of 39.5" Pitbulls on 8 lug beadlocks. I need to order some adapters to run them on my toyota axles for now but I'll be set when it comes time for tons.
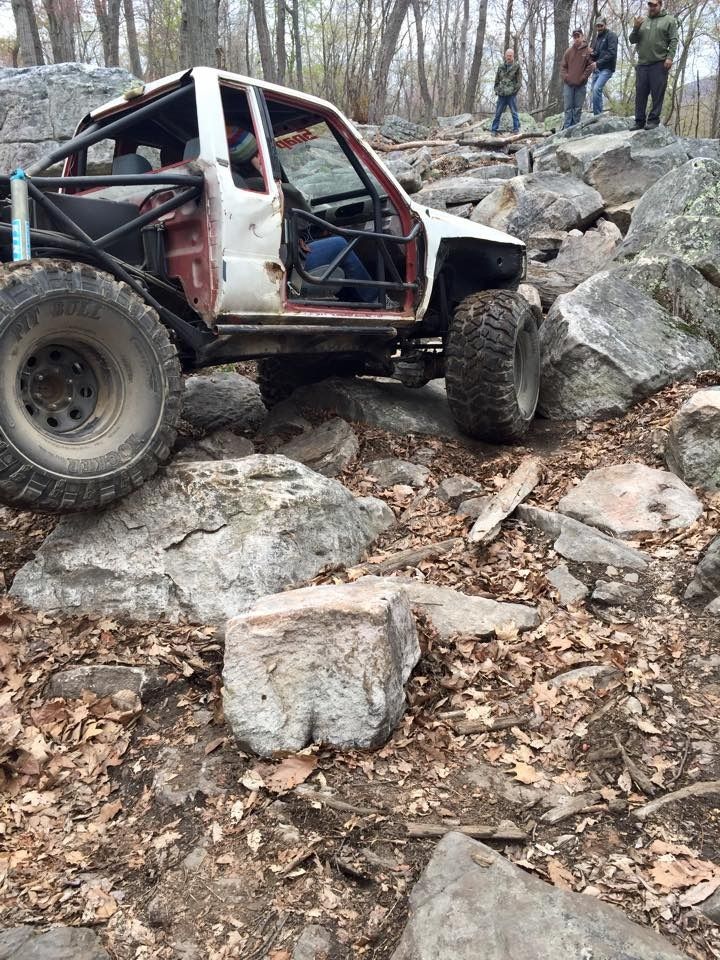
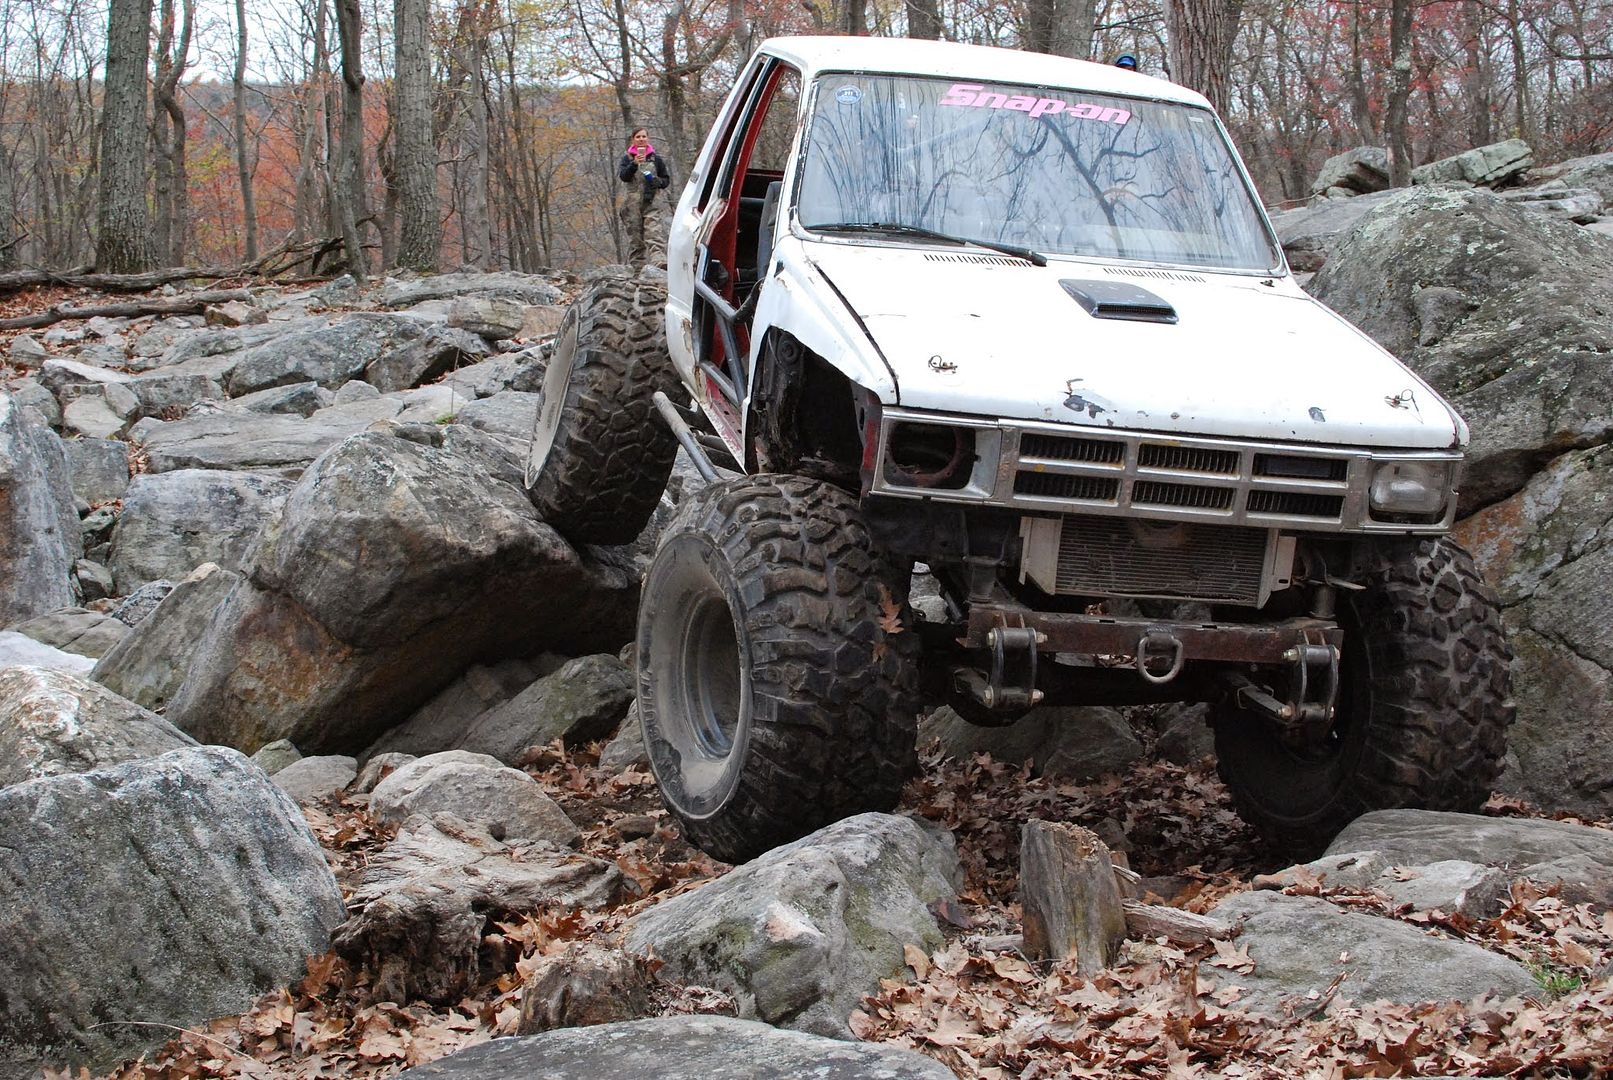
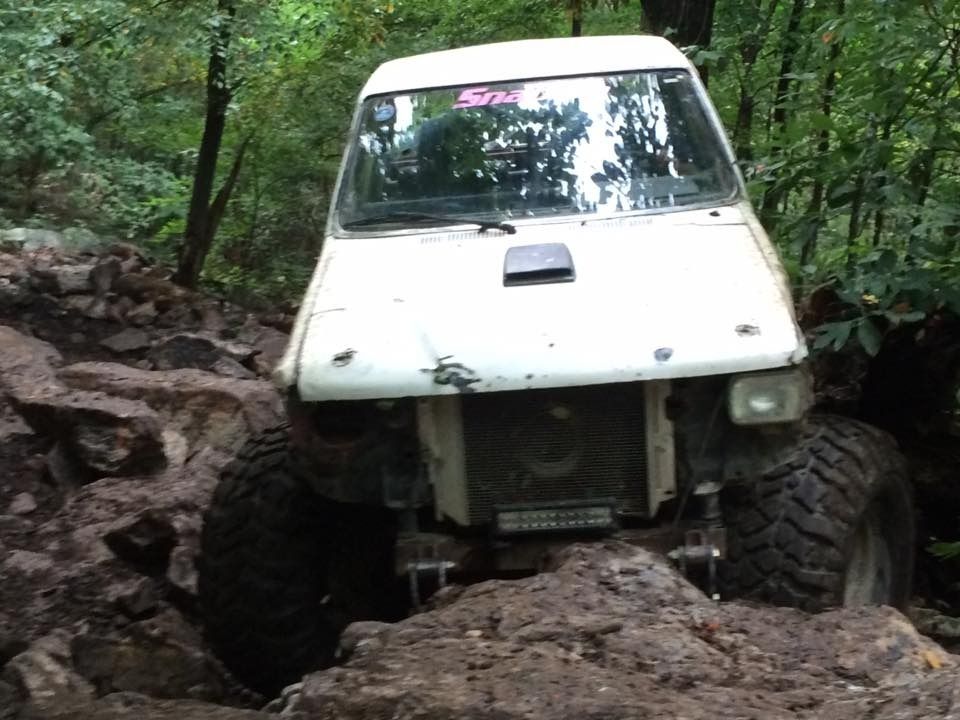
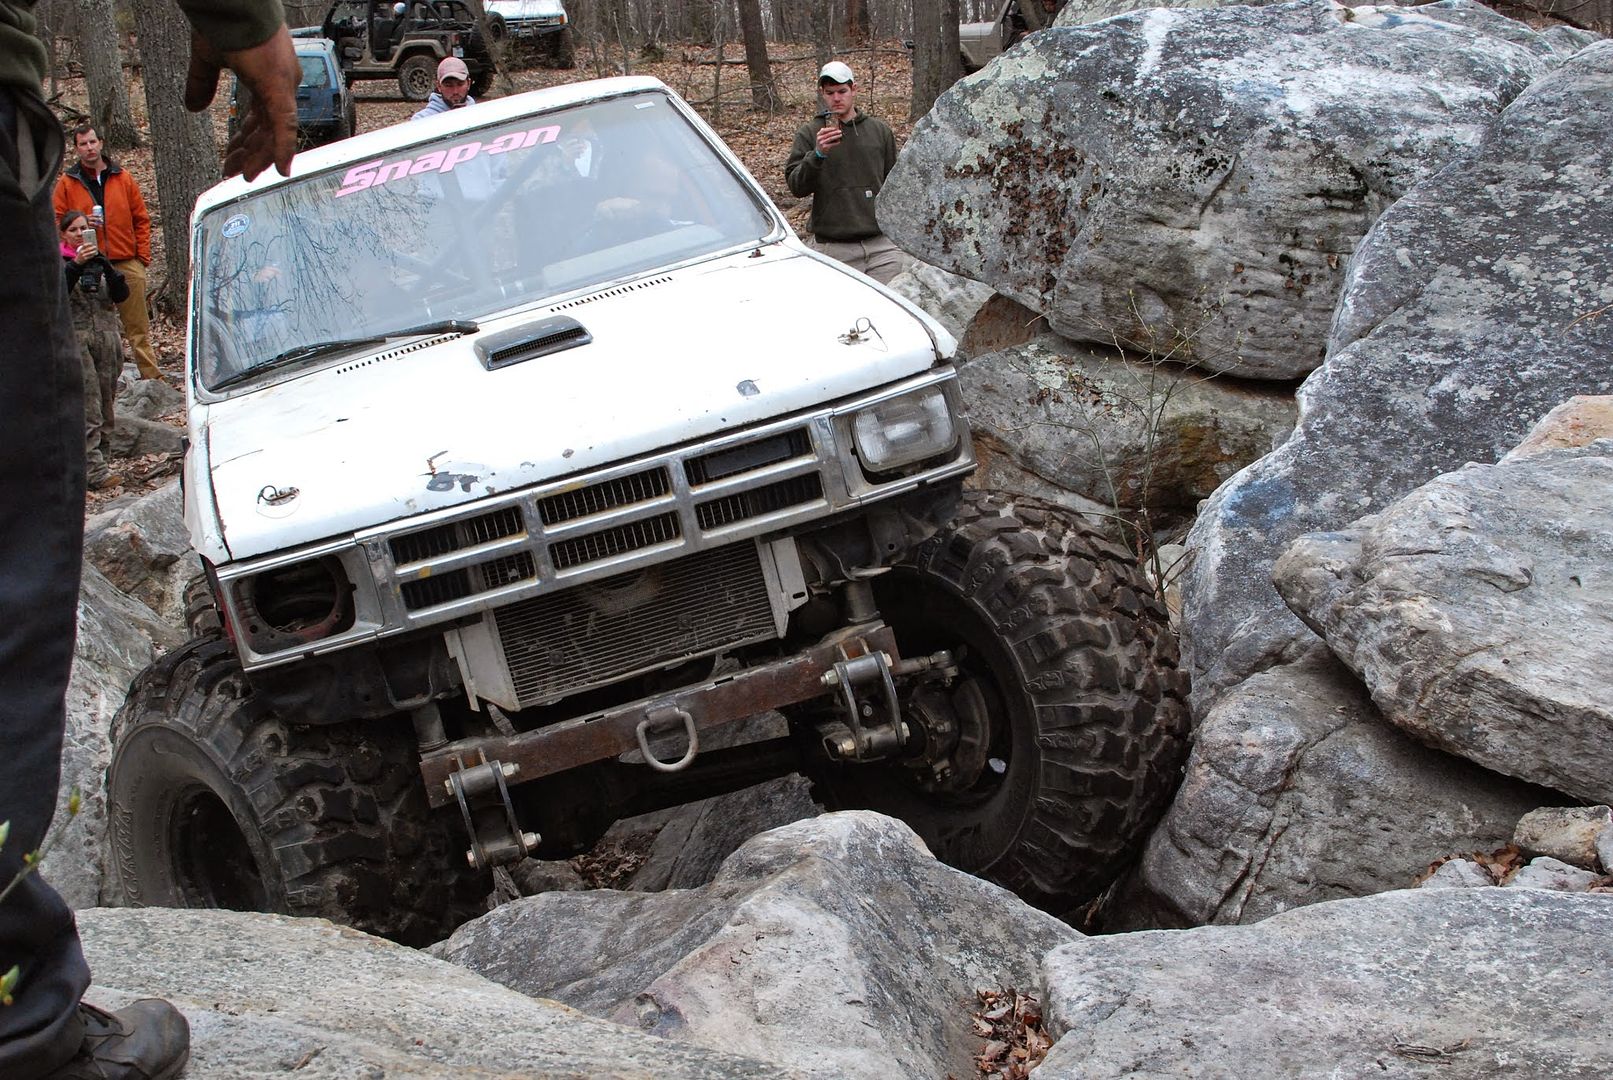
Took the truck to the Bog Dogs offrad Ice breakers. Only issues the whole weekend are the PS pump works intermittently and the cable for the shifter fell on the exhaust and melted it so we had to rig up a shift mech with some vise grips.
The truck worked very well as far as I'm concerned. Feels very stable and it just hooks and goes.
https://www.youtube.com/watch?v=KMRF7W_-UBc&feature=youtu.be
https://www.youtube.com/watch?v=LLZFaPu8BwI&feature=youtu.be


The truck worked very well as far as I'm concerned. Feels very stable and it just hooks and goes.
https://www.youtube.com/watch?v=KMRF7W_-UBc&feature=youtu.be
https://www.youtube.com/watch?v=LLZFaPu8BwI&feature=youtu.be
AW10
Well-Known Member
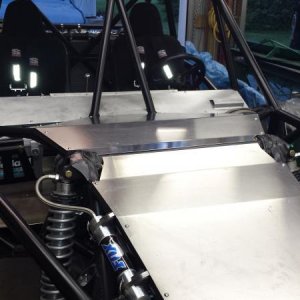
Probably one of my favorite back half designs I've seen. I don't know why but I always like the non-practical agressive look. When you start adding room for coolers and tool bags it starts to look to big in my opinion... it sucks when you run out of beer or tools and have to go back to the truck but you look good doing it 8)
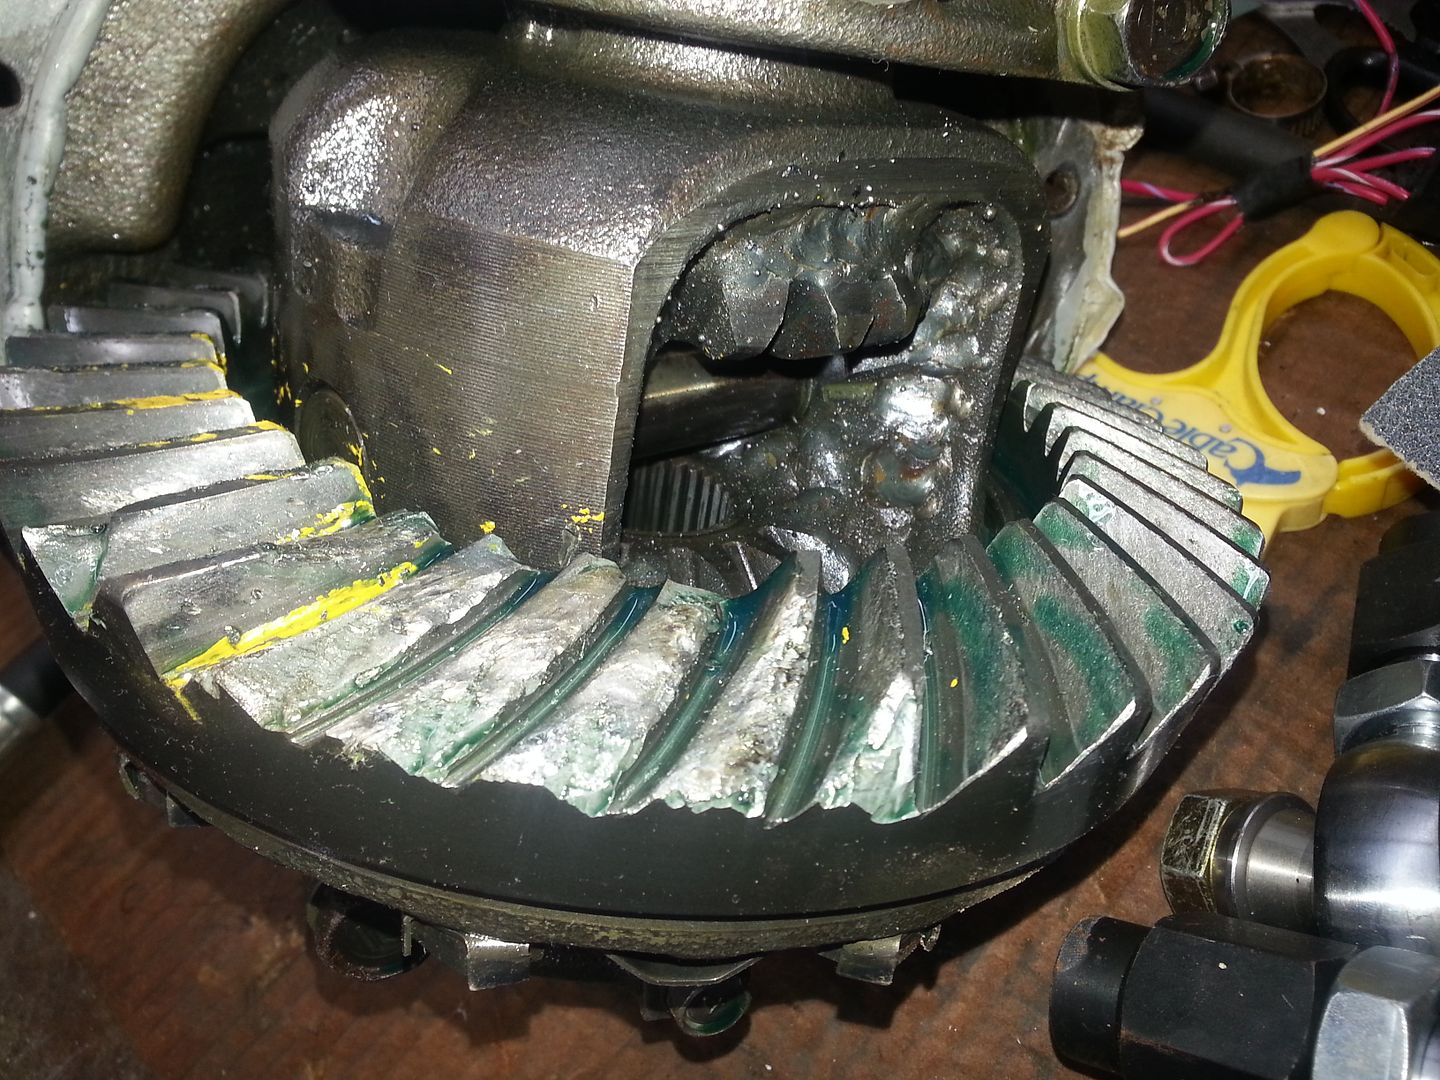
After playing around on soem land we have here, I lost another gear set.
https://www.youtube.com/watch?v=xEg1B-bgjGY
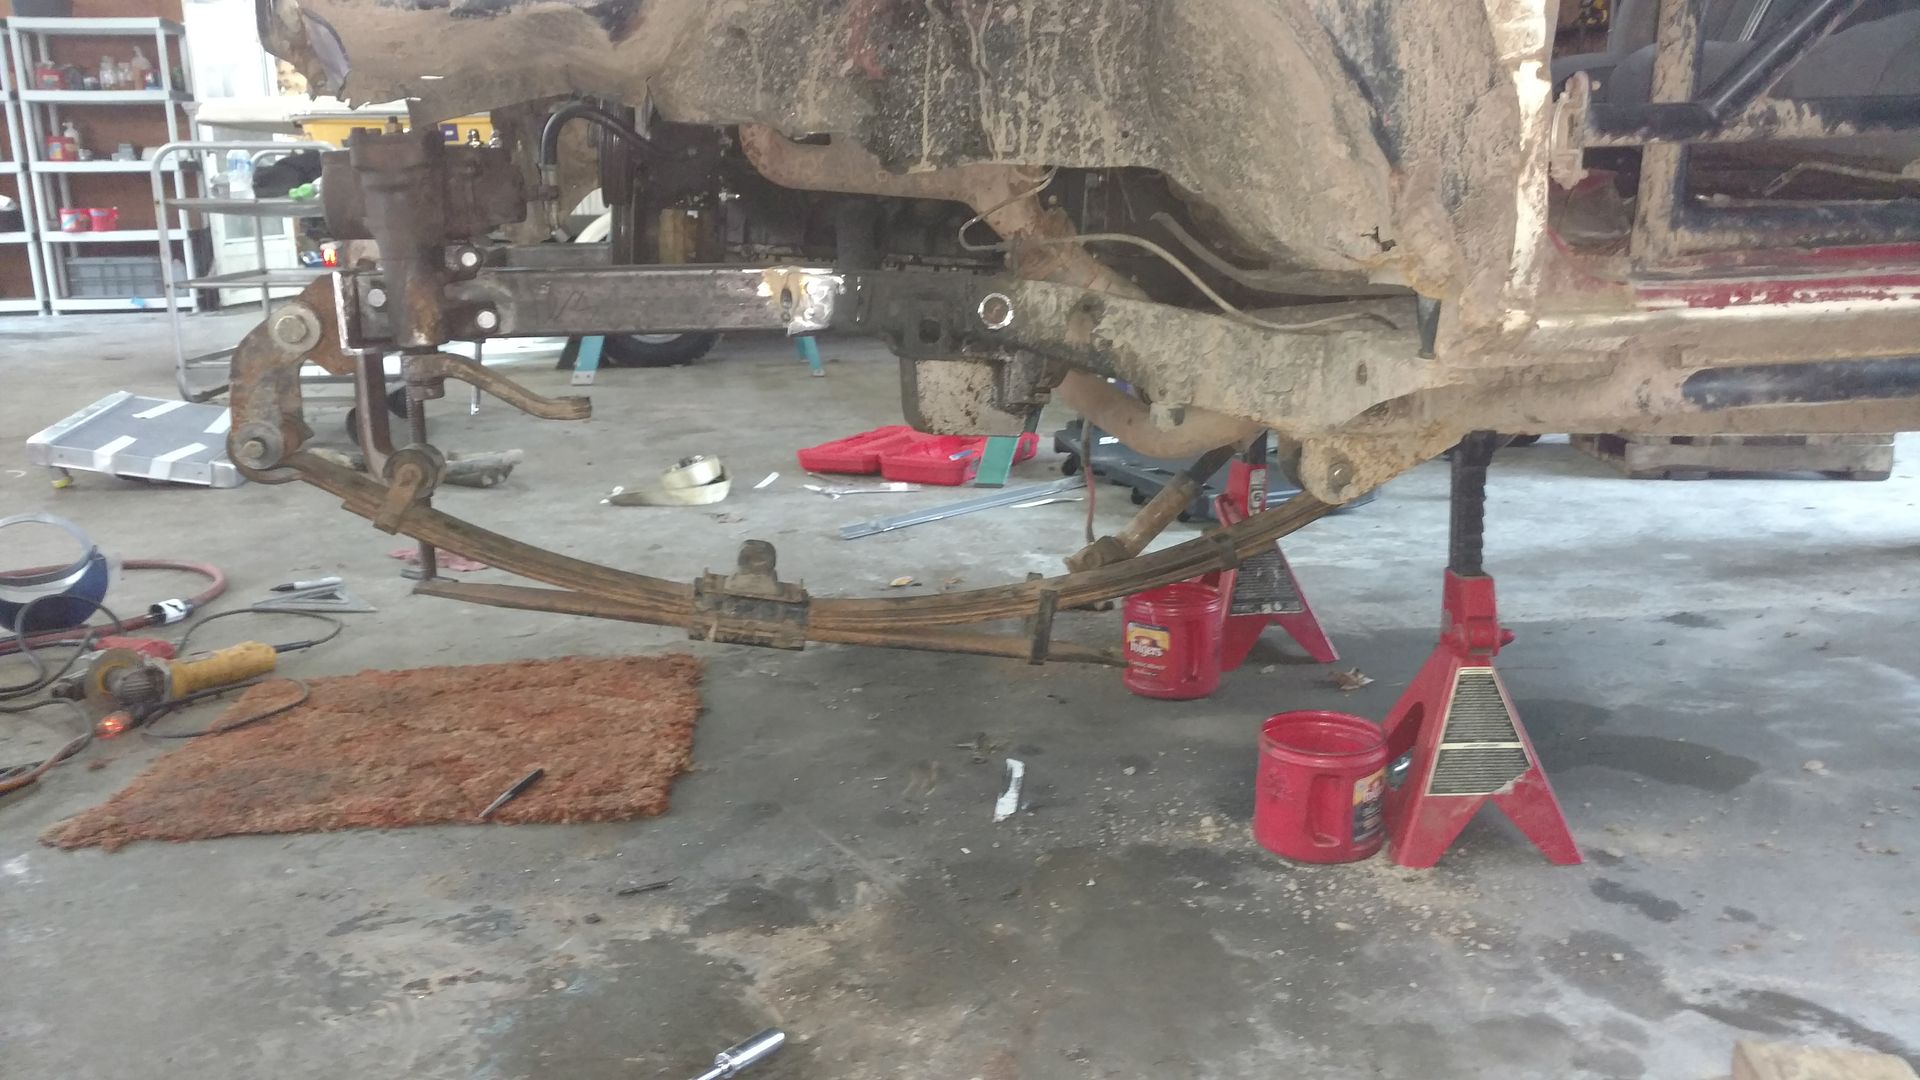
And I needed to add a couple leafs to my front springs
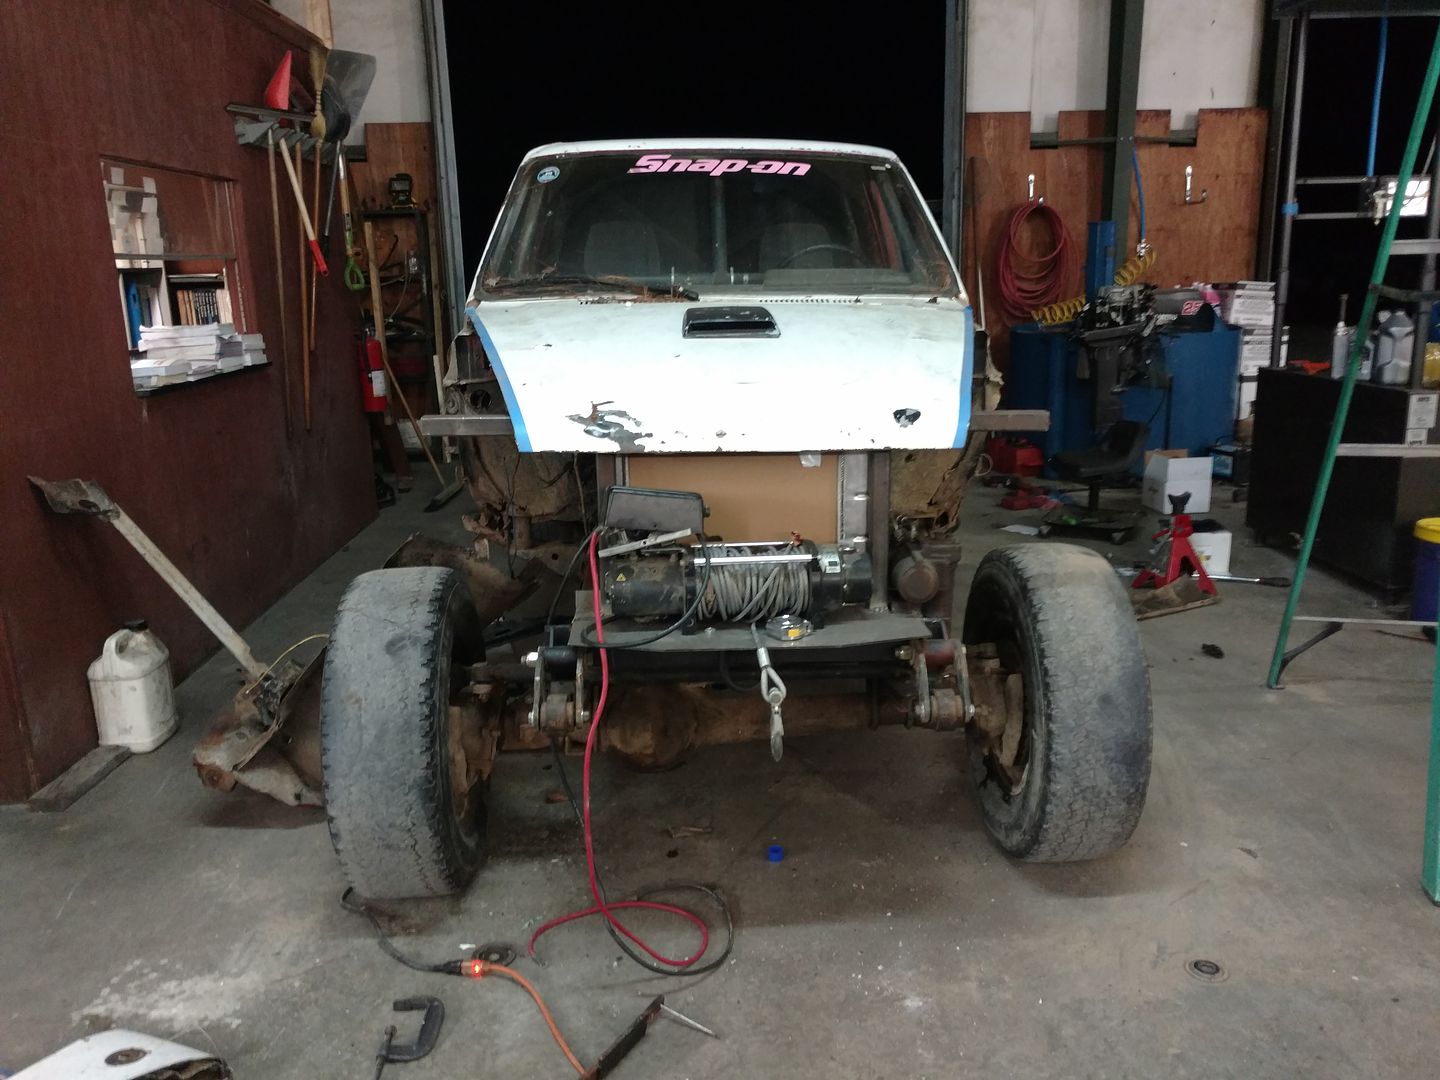
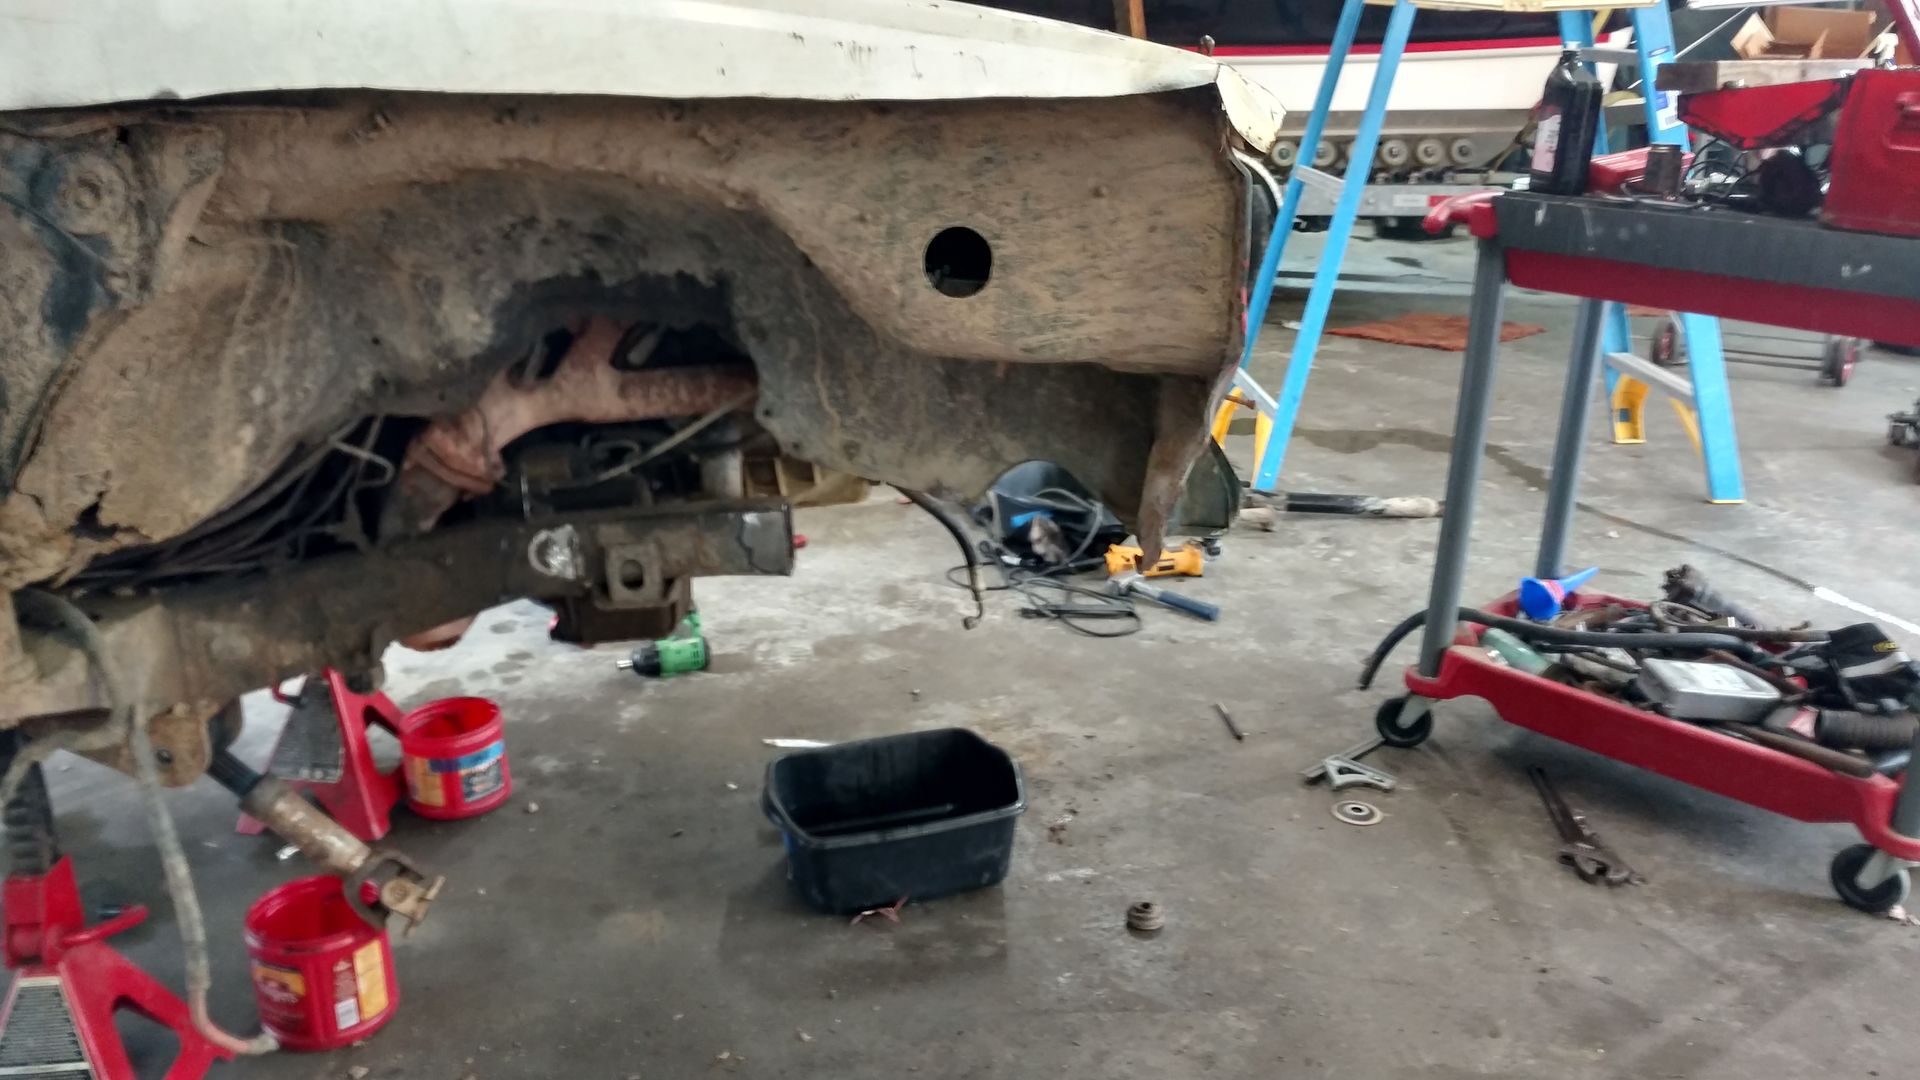
Also, It's no secret that the front of the truck was ugly, like real ****ing ugly. Every time I see it, it pisses me off. I'm not saying that the back of my truck is the best looking back half with the best lines, but the front was dragging its down and just didn't match, it was obvious the front was done with out giving a ****. It was tossed together fast to make a trip with the "I'll fix it right later" attutude and finially.... 8 months later... its time.

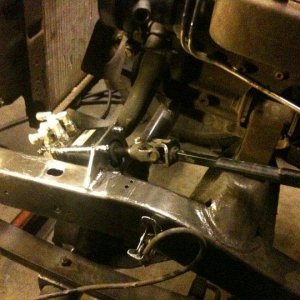
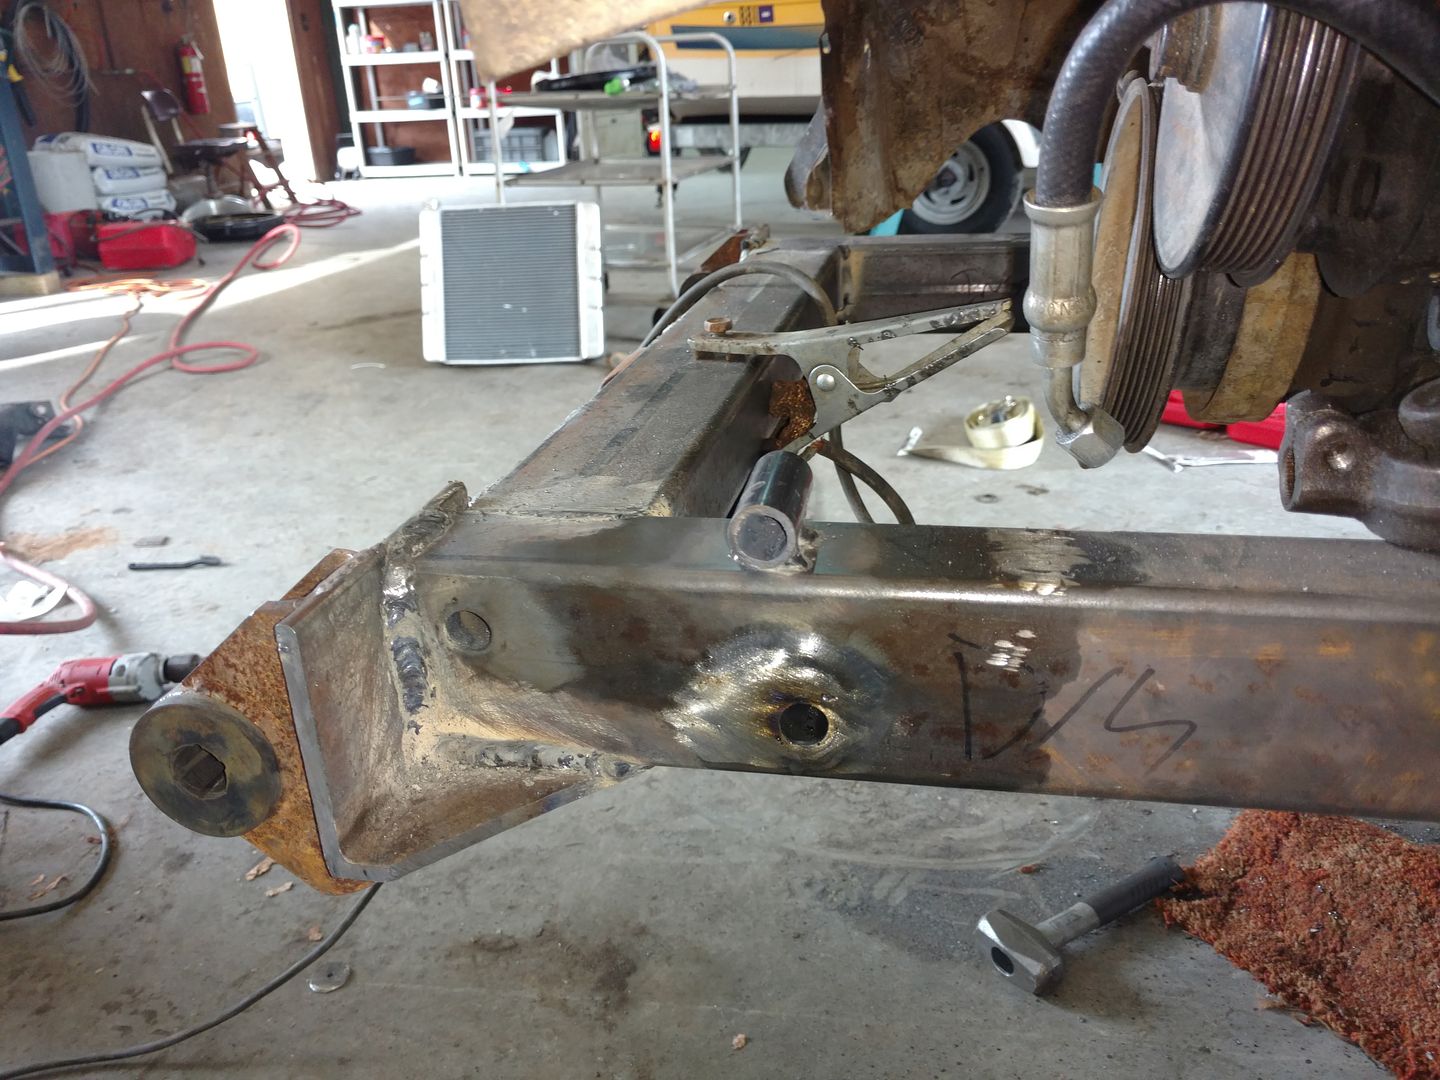
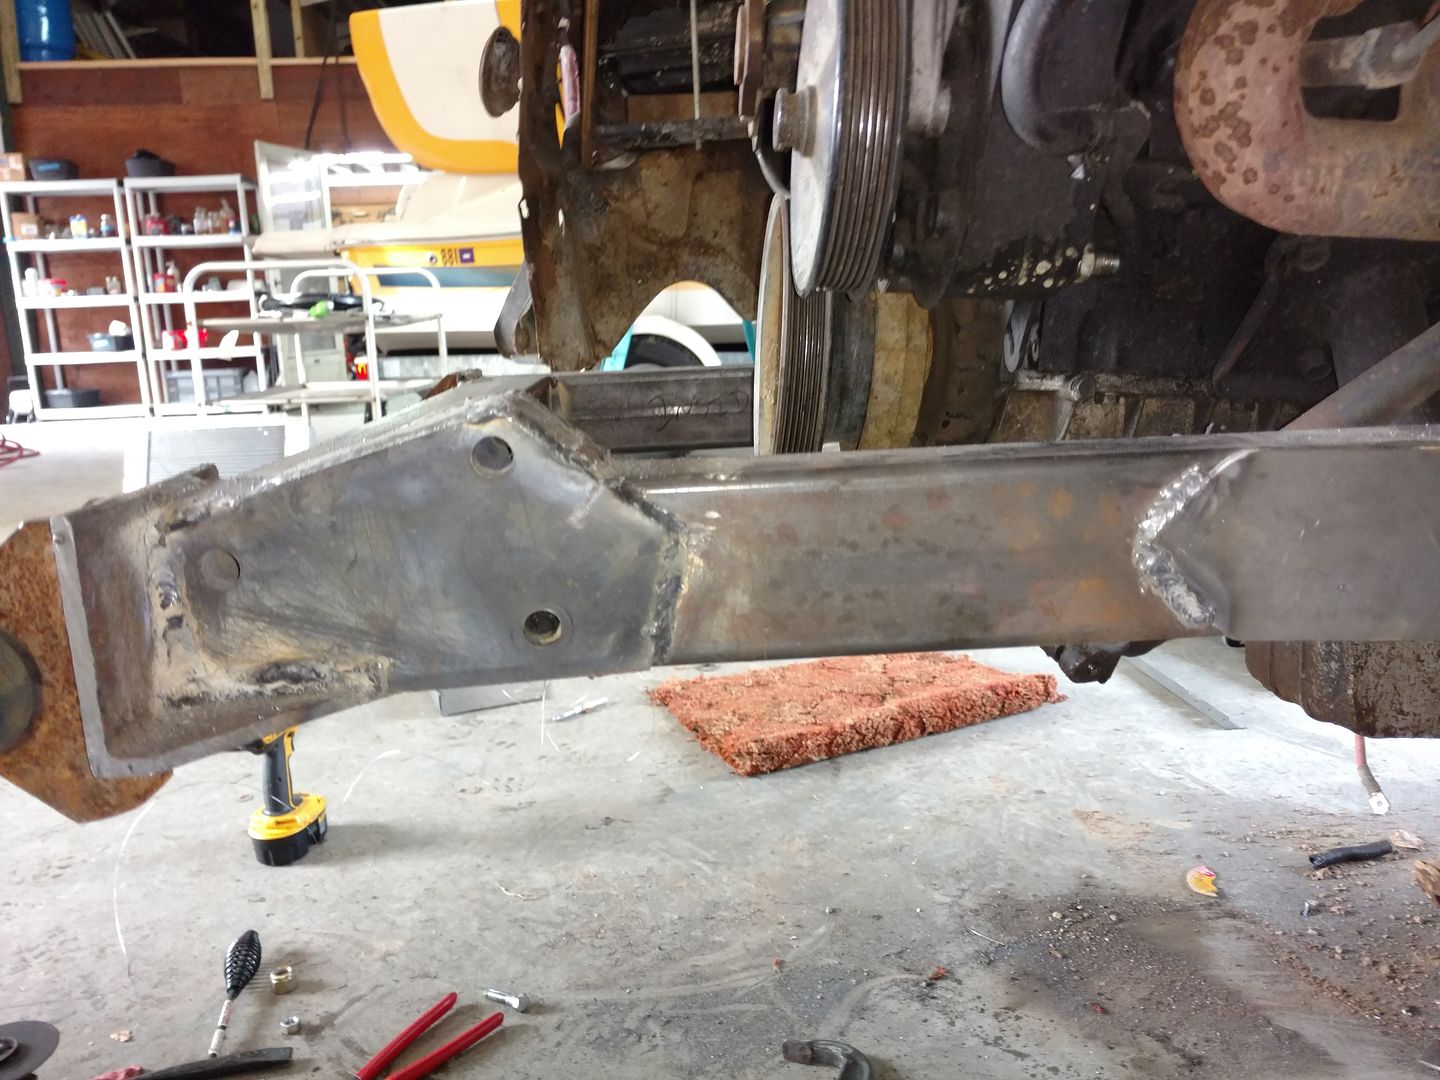
Cut the frame just before it starts its down slope
Notched the top 2" back, drilled a couple holes for some plug welds, and slid the 2x3x1/8 wall tube in.
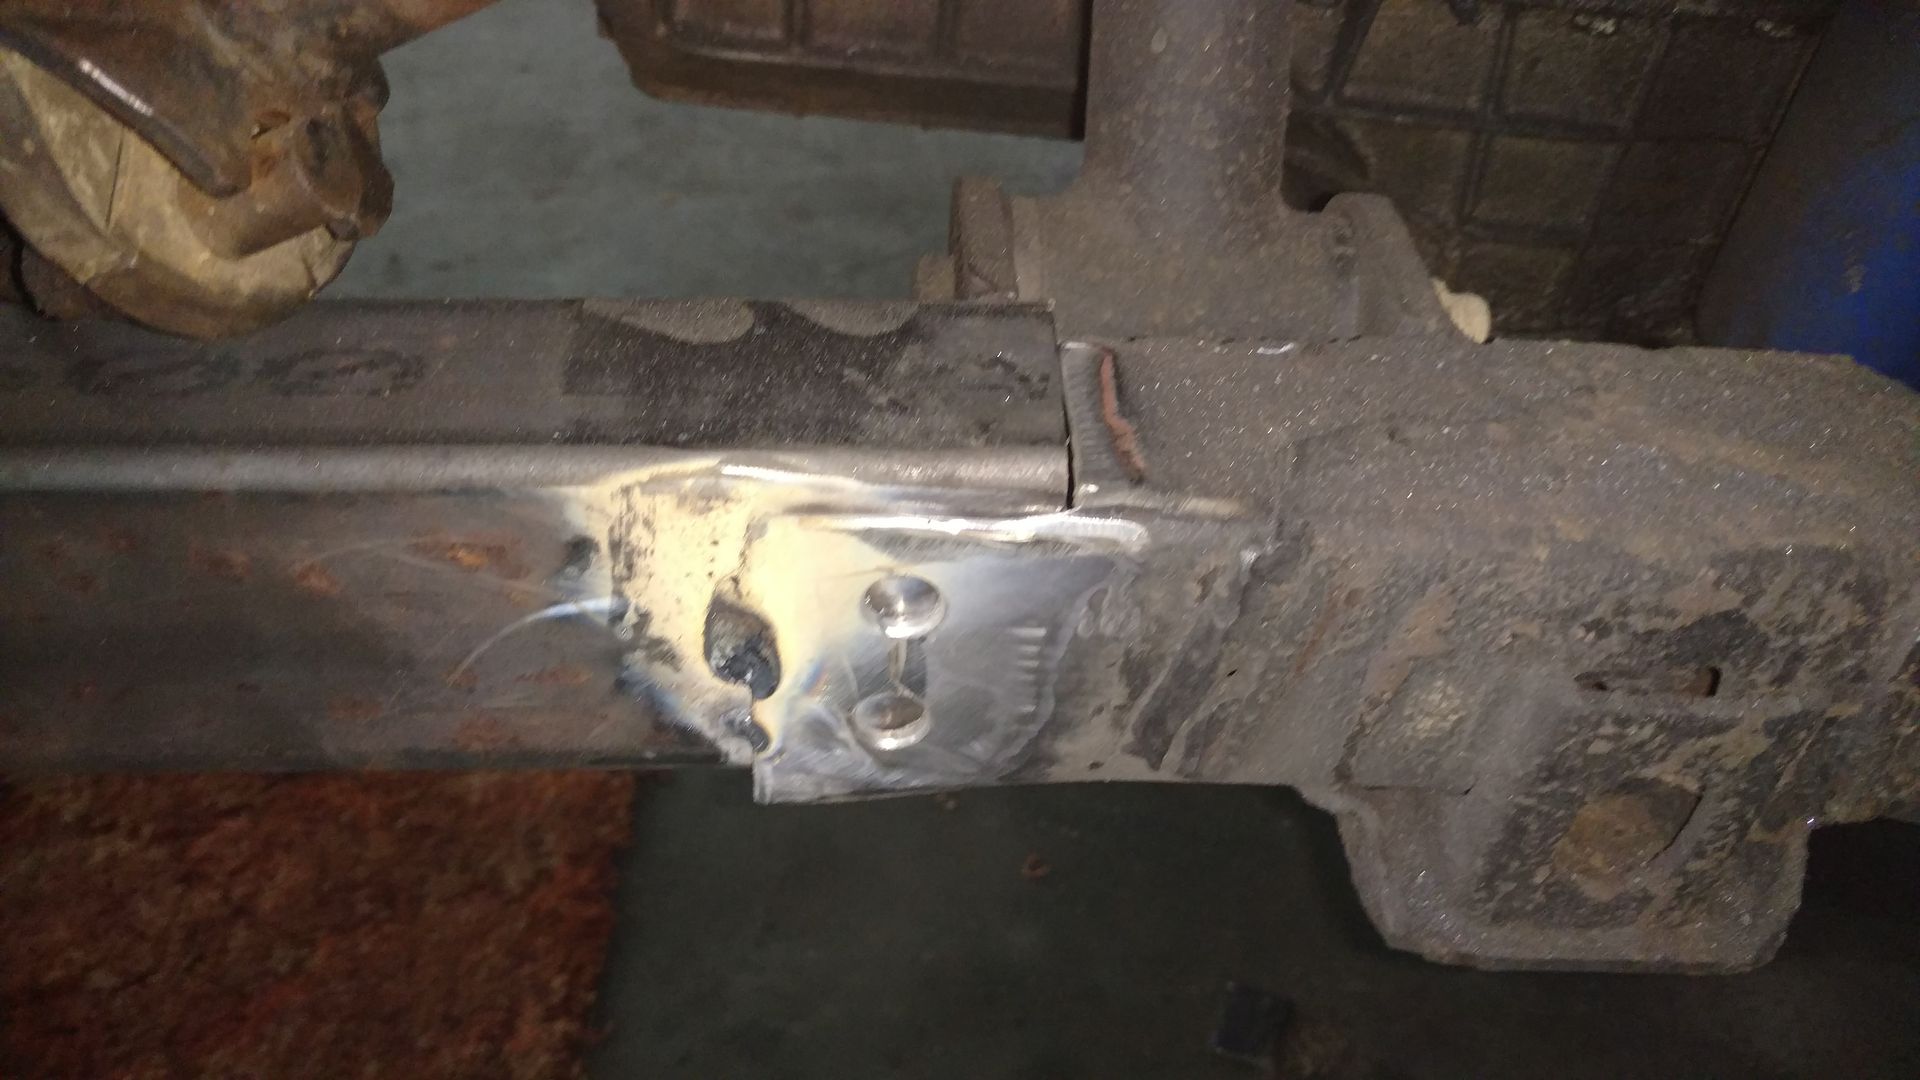
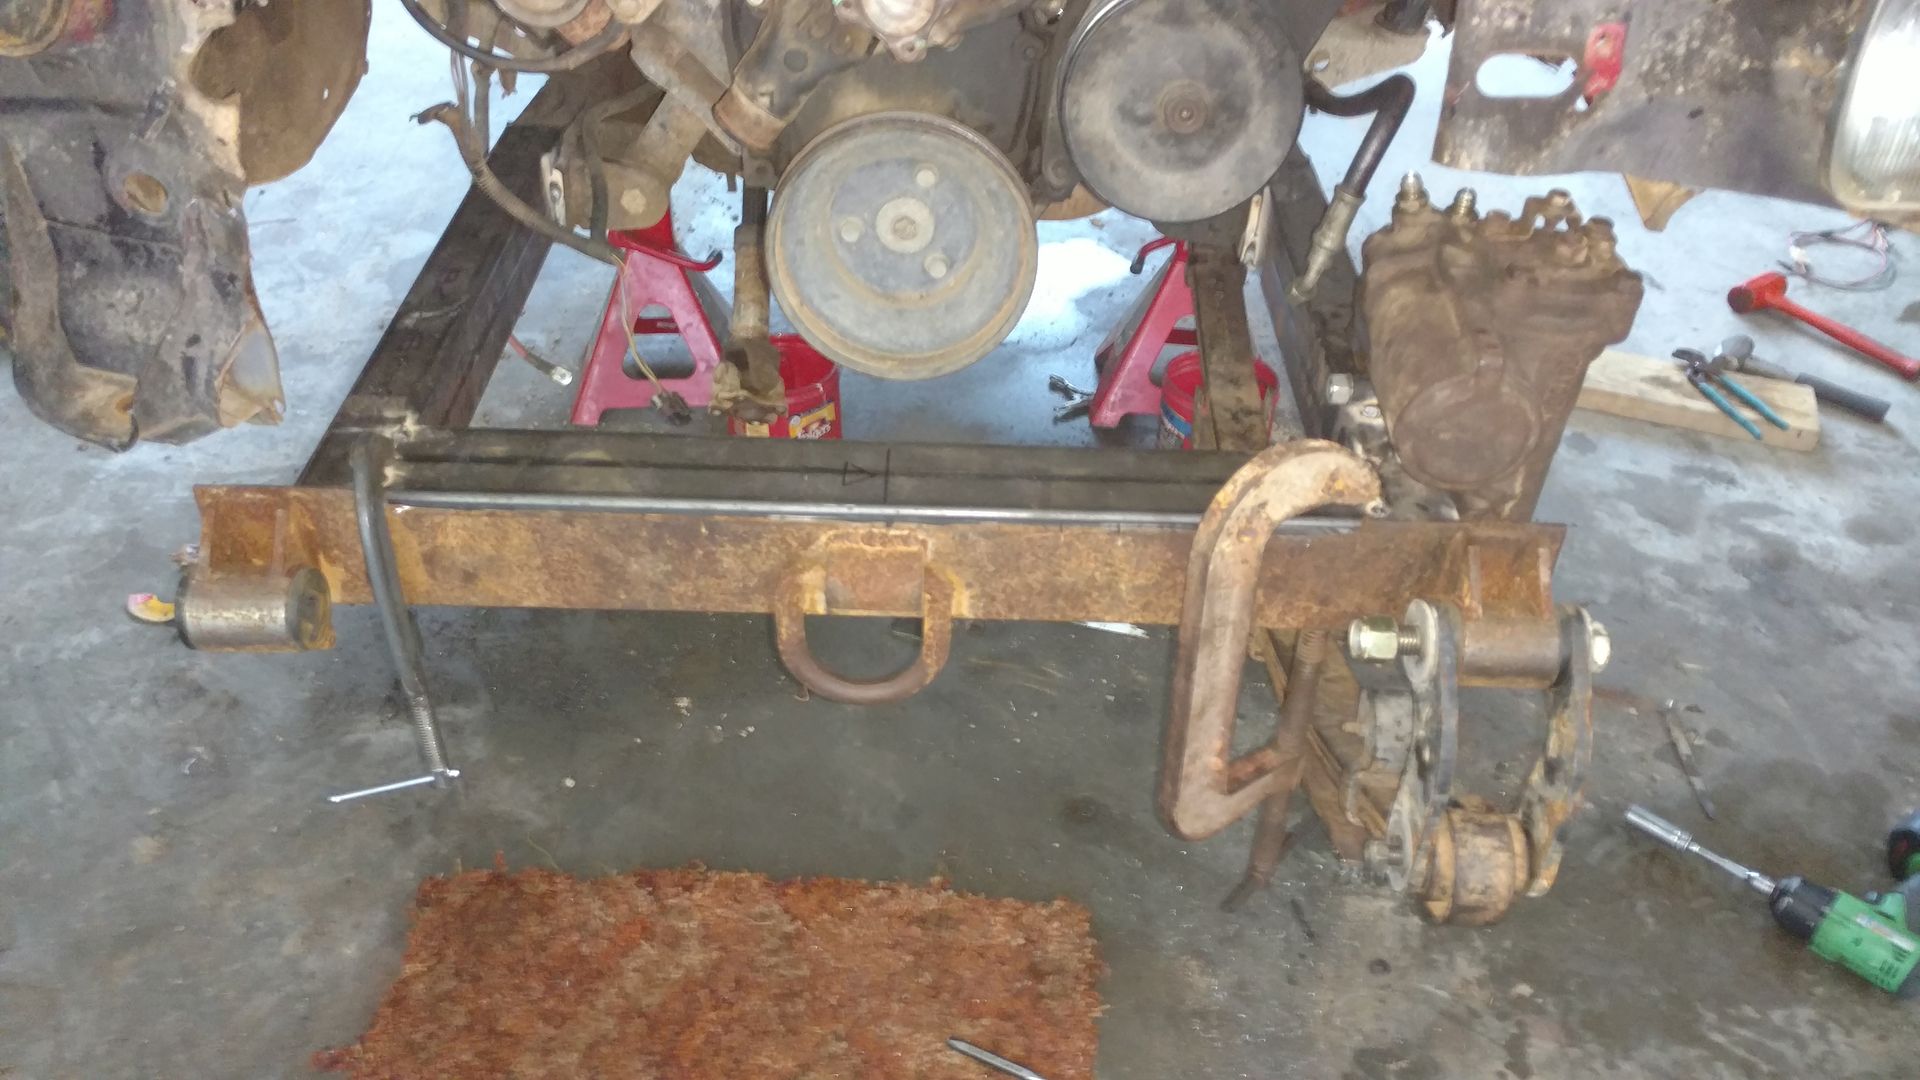
I was able to reuse the angle iron front cross member I made last time, I trimmed the wild ends down and it will get blasted and painted this time. Also the D-ring is coming off and a receiver will go in its place.
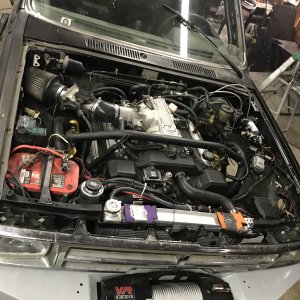
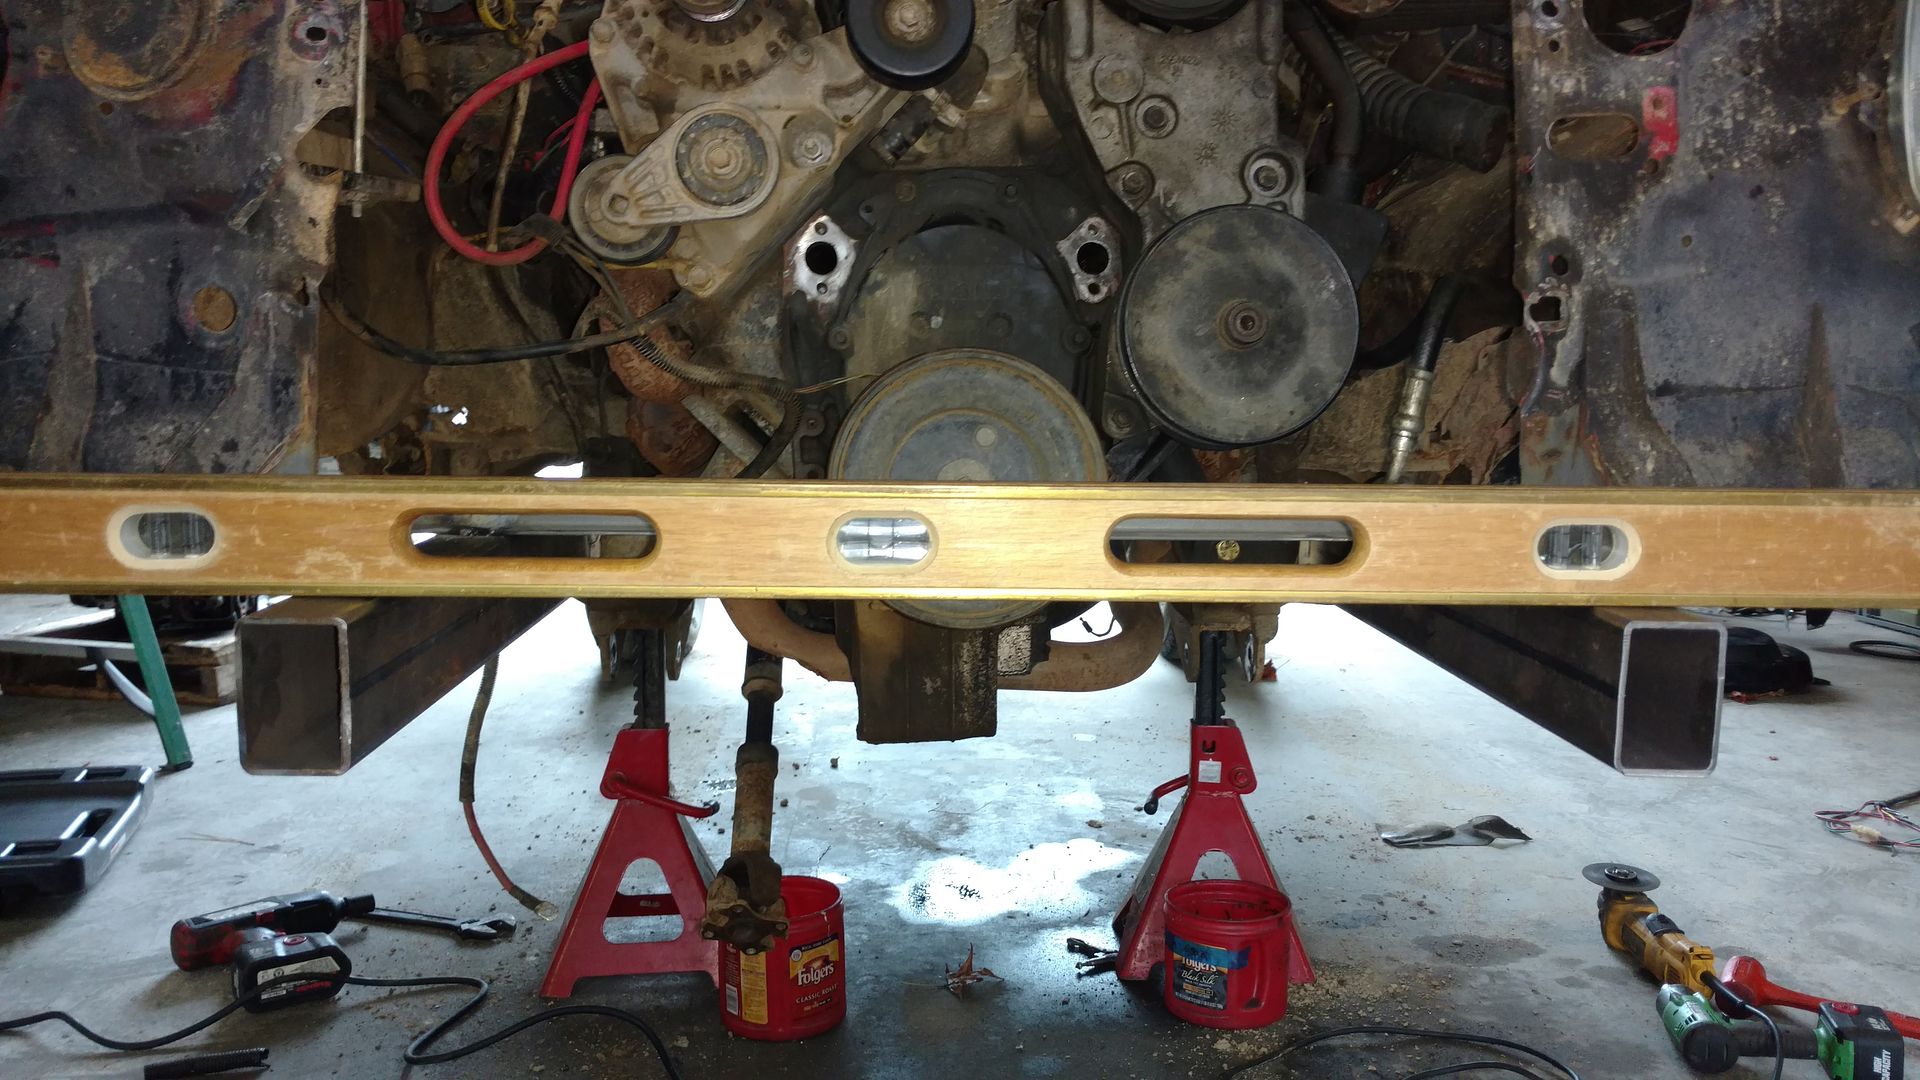
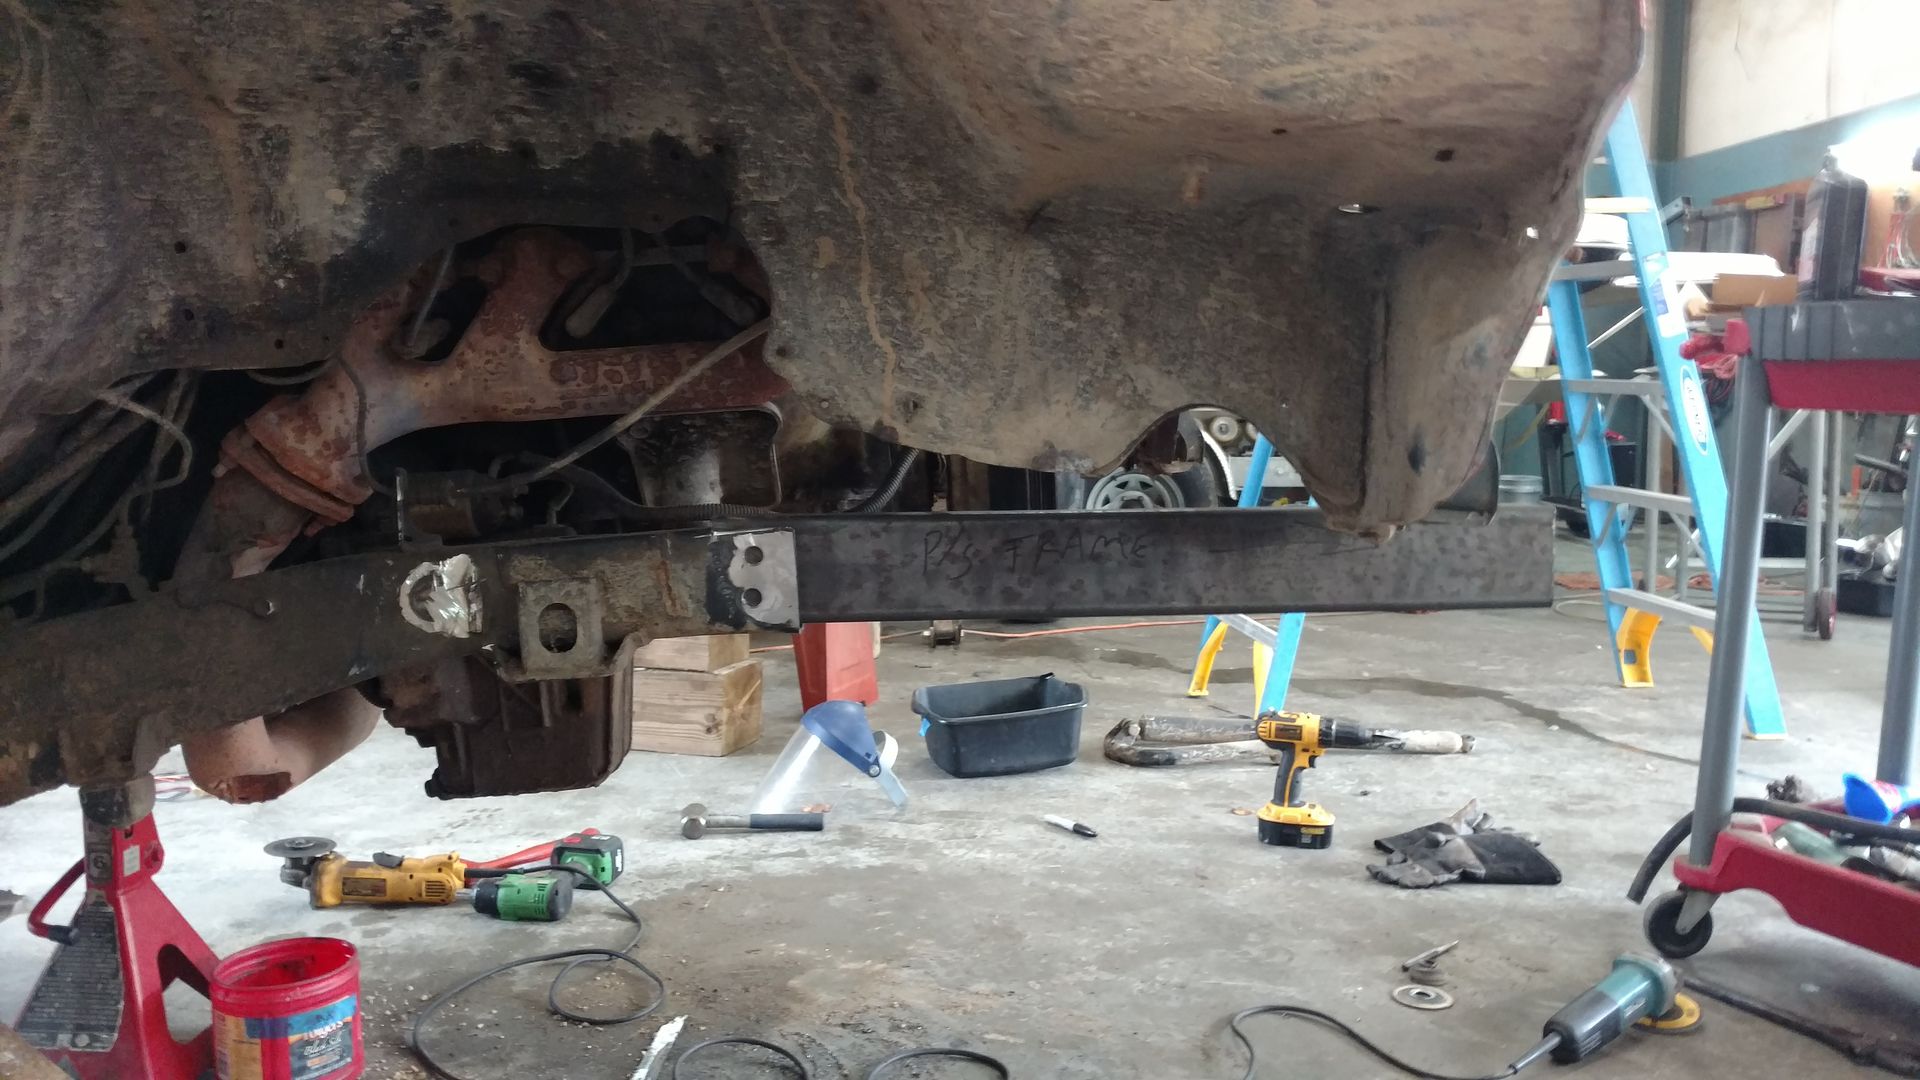
With these 52" rear springs the axle is going to be something like 9 or 10 inches forward from stock. This meant the IFS box had to go WAY forward, The front crossmember is the same distance forward as factory, the box is all the way to the end. The shaft for the pitman arm is actually forward of the radiator sore support.
https://www.youtube.com/watch?v=xEg1B-bgjGY
And I needed to add a couple leafs to my front springs
Also, It's no secret that the front of the truck was ugly, like real ****ing ugly. Every time I see it, it pisses me off. I'm not saying that the back of my truck is the best looking back half with the best lines, but the front was dragging its down and just didn't match, it was obvious the front was done with out giving a ****. It was tossed together fast to make a trip with the "I'll fix it right later" attutude and finially.... 8 months later... its time.
Cut the frame just before it starts its down slope
Notched the top 2" back, drilled a couple holes for some plug welds, and slid the 2x3x1/8 wall tube in.
I was able to reuse the angle iron front cross member I made last time, I trimmed the wild ends down and it will get blasted and painted this time. Also the D-ring is coming off and a receiver will go in its place.
With these 52" rear springs the axle is going to be something like 9 or 10 inches forward from stock. This meant the IFS box had to go WAY forward, The front crossmember is the same distance forward as factory, the box is all the way to the end. The shaft for the pitman arm is actually forward of the radiator sore support.
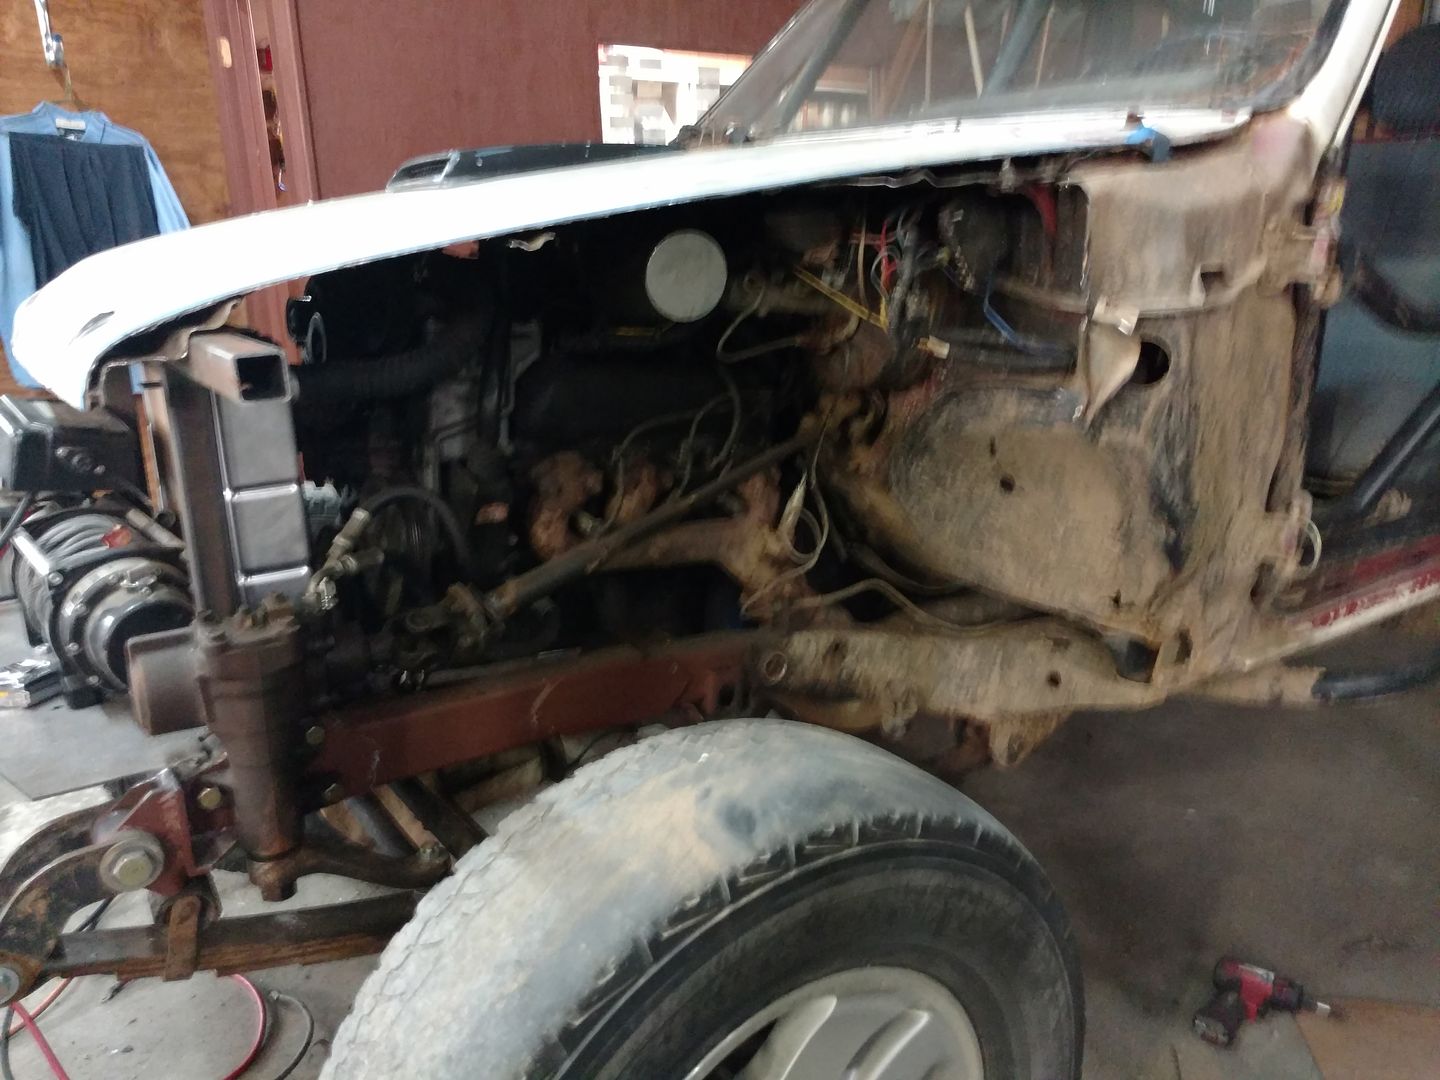
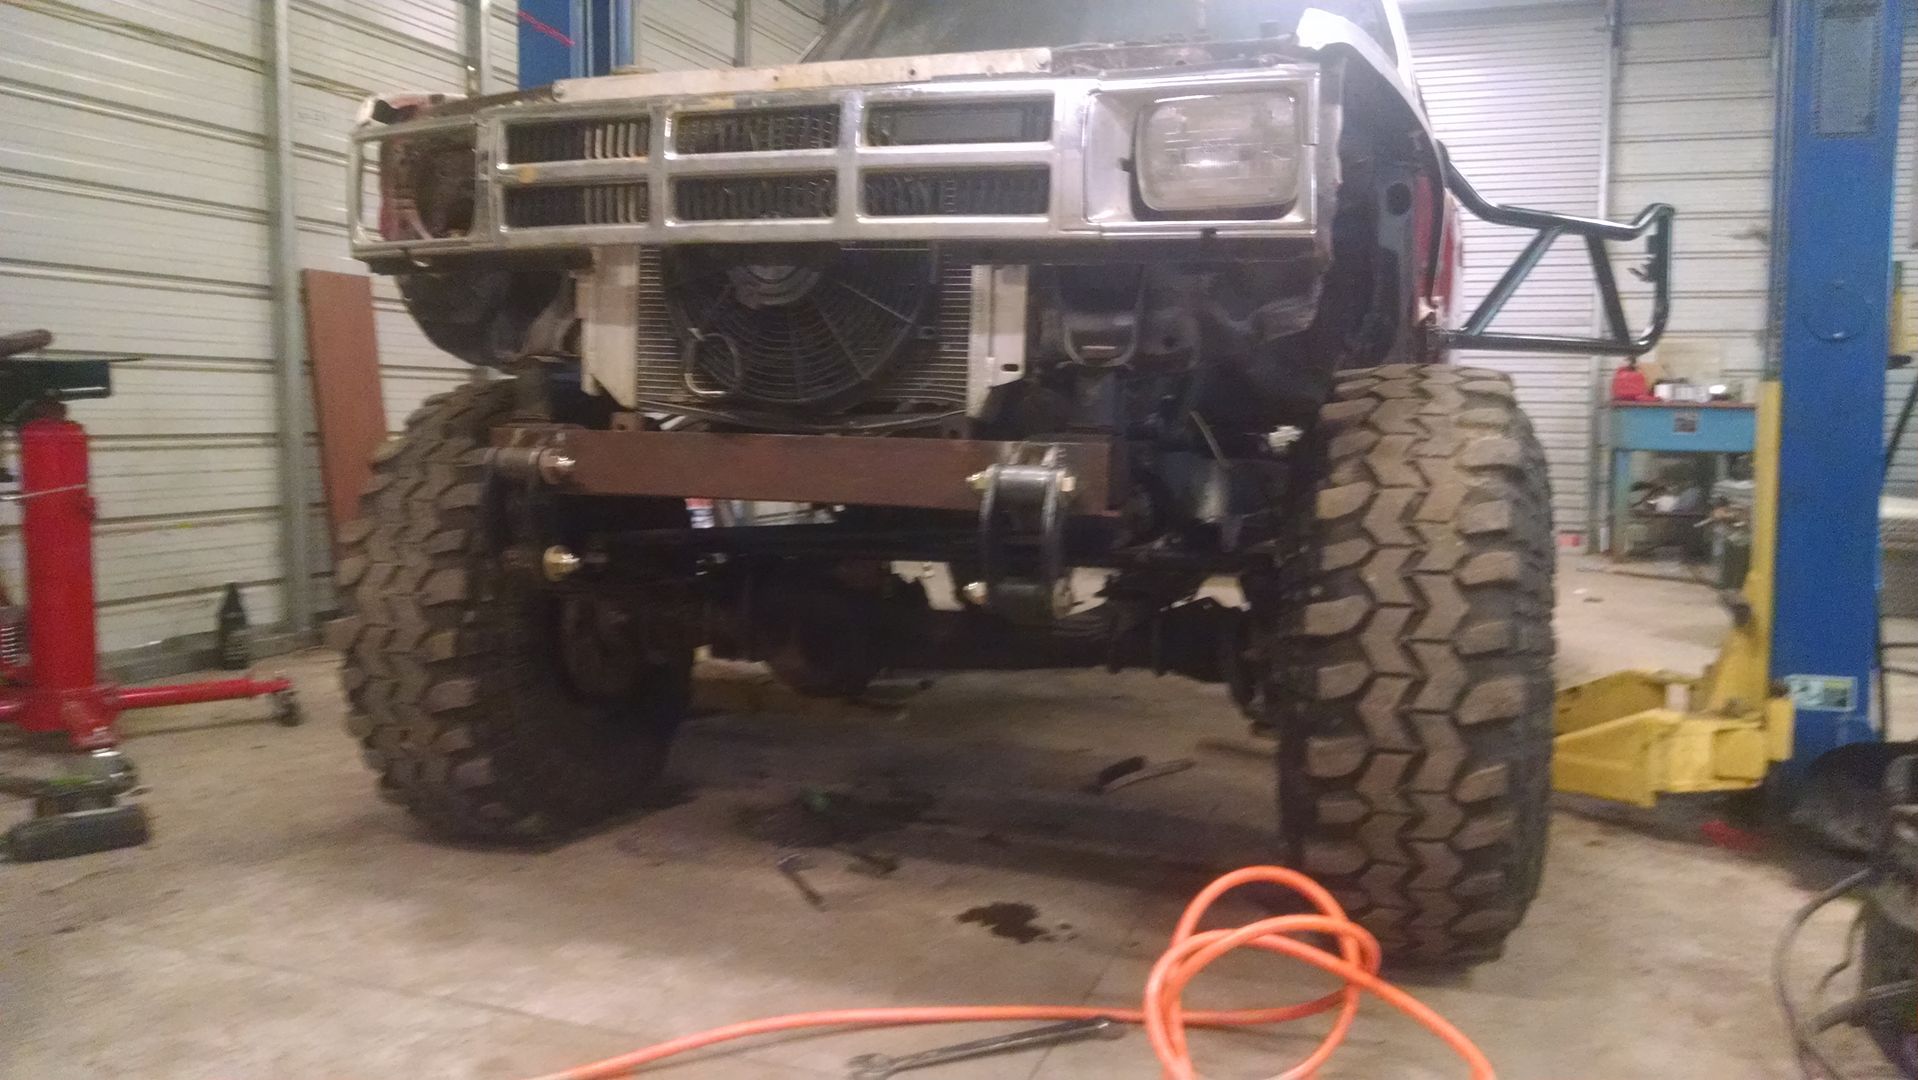
Today I got everything finish welded and braced up the steering box.
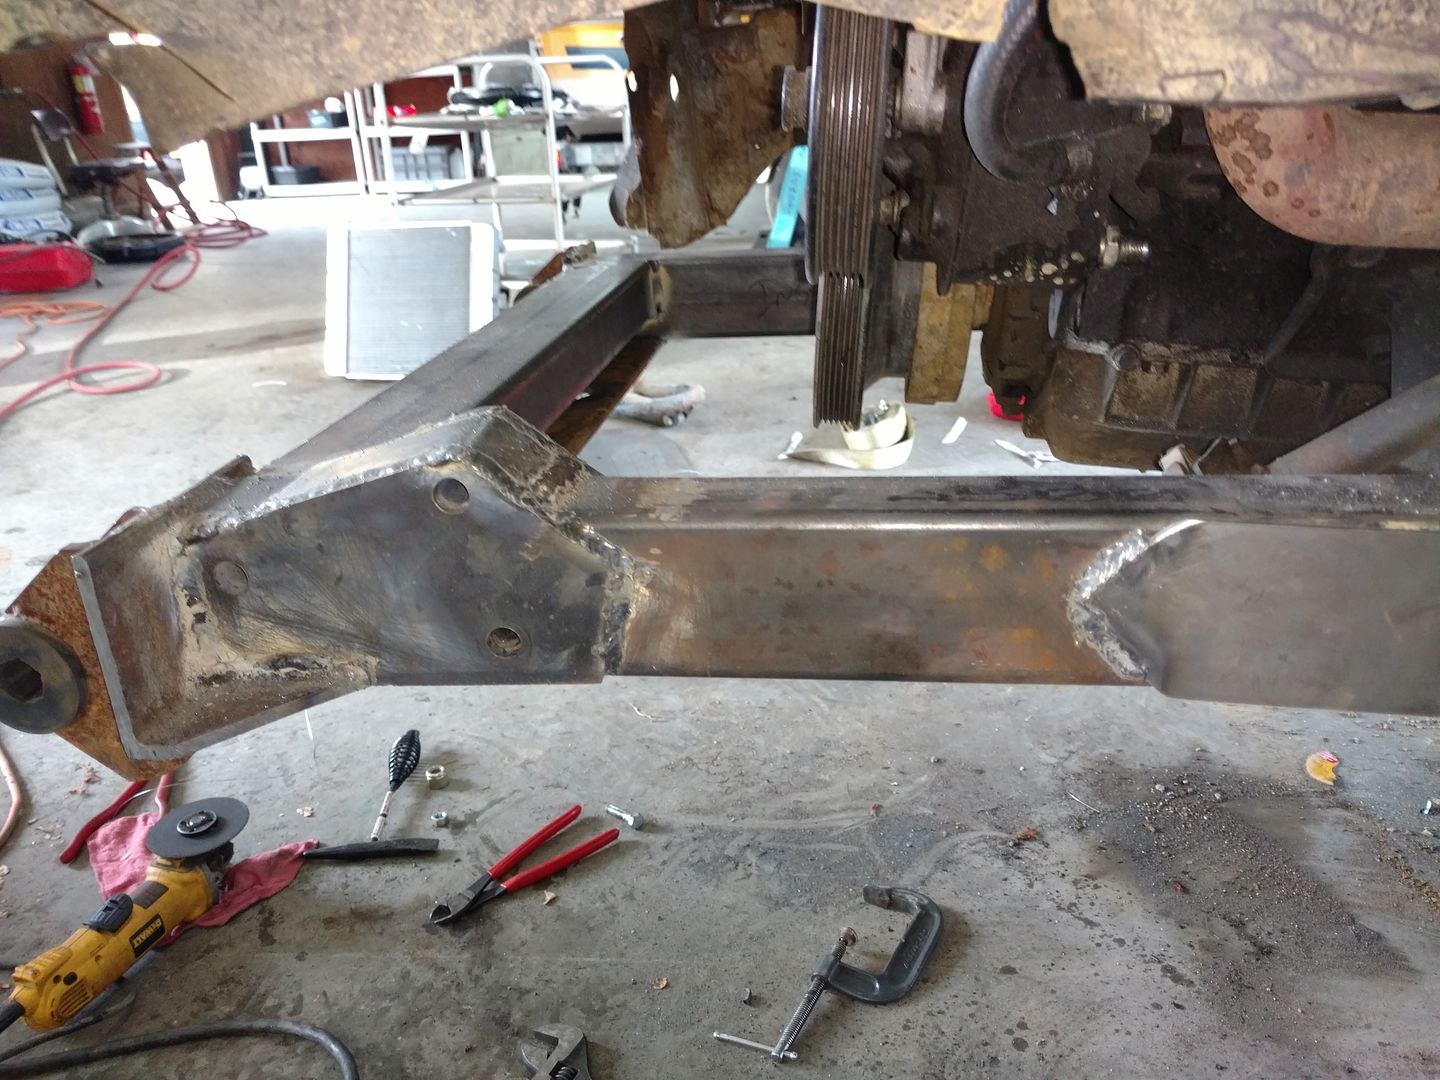
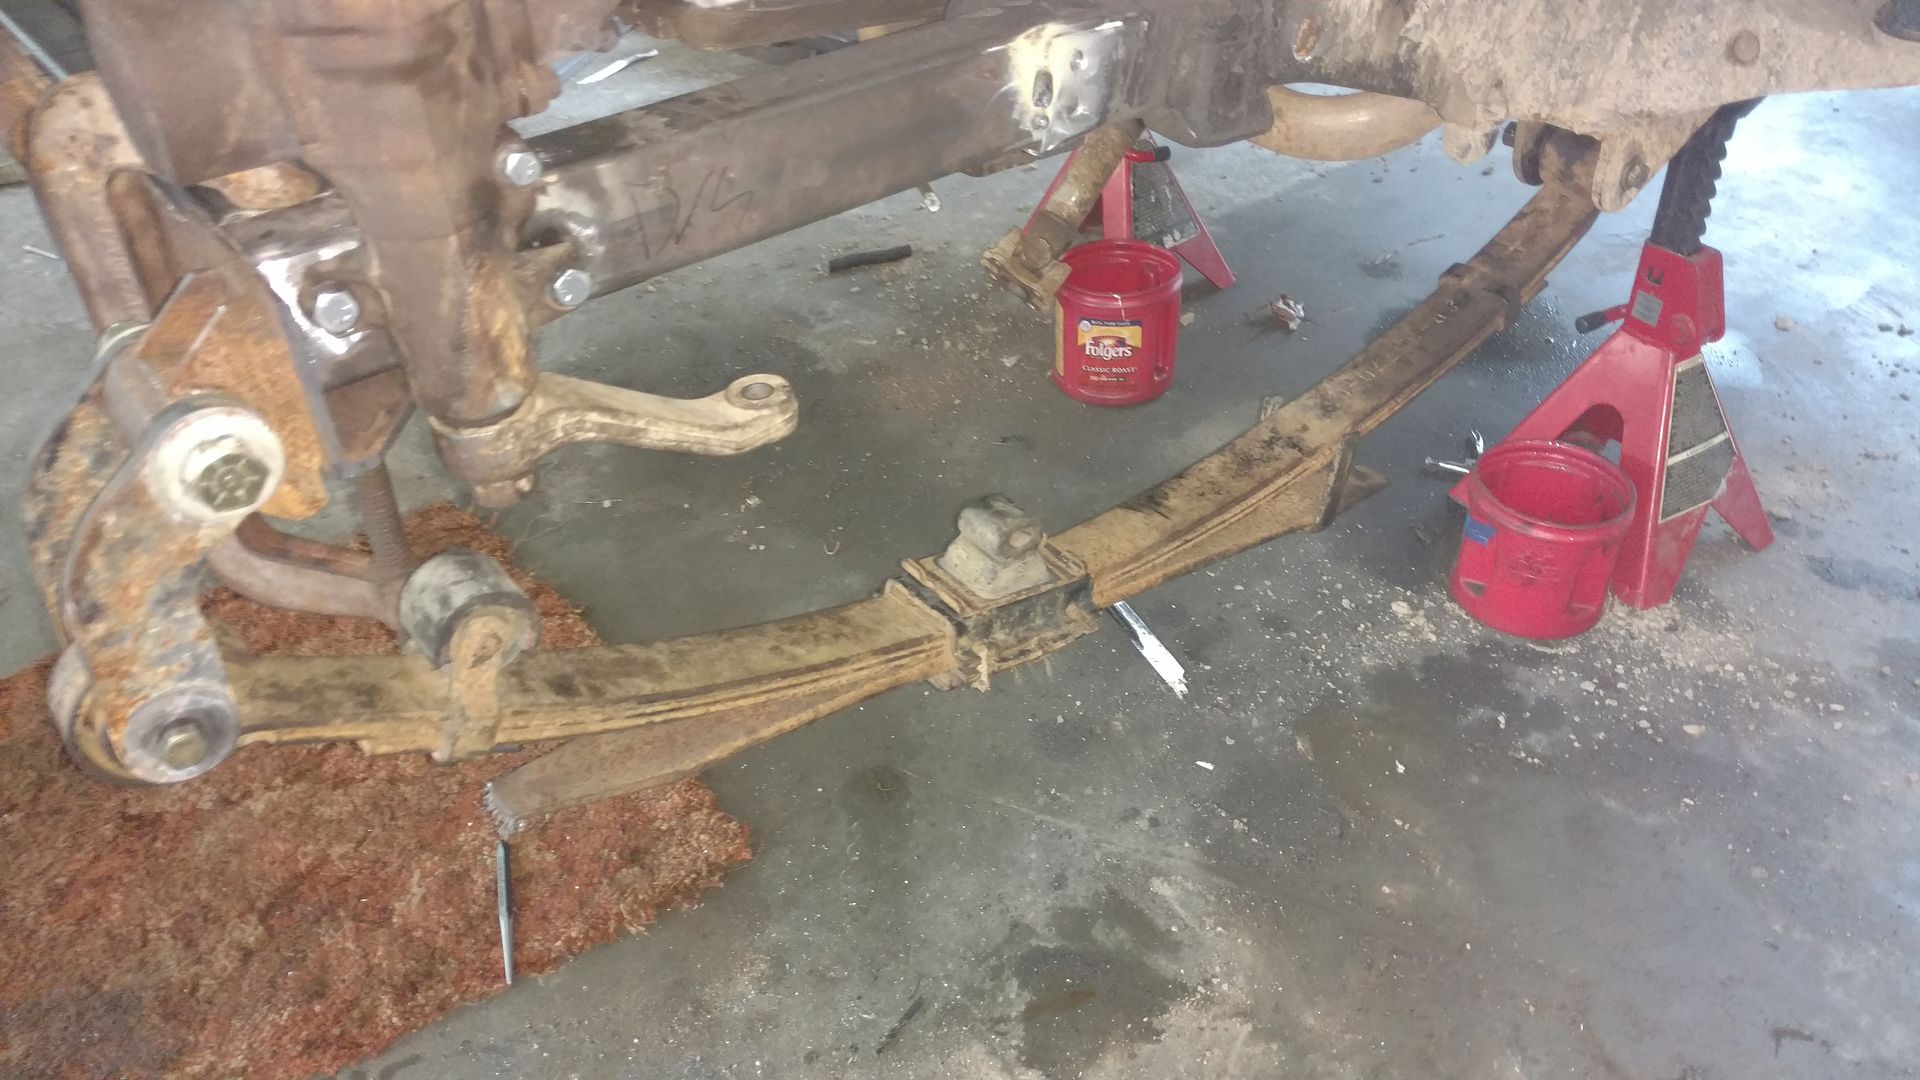
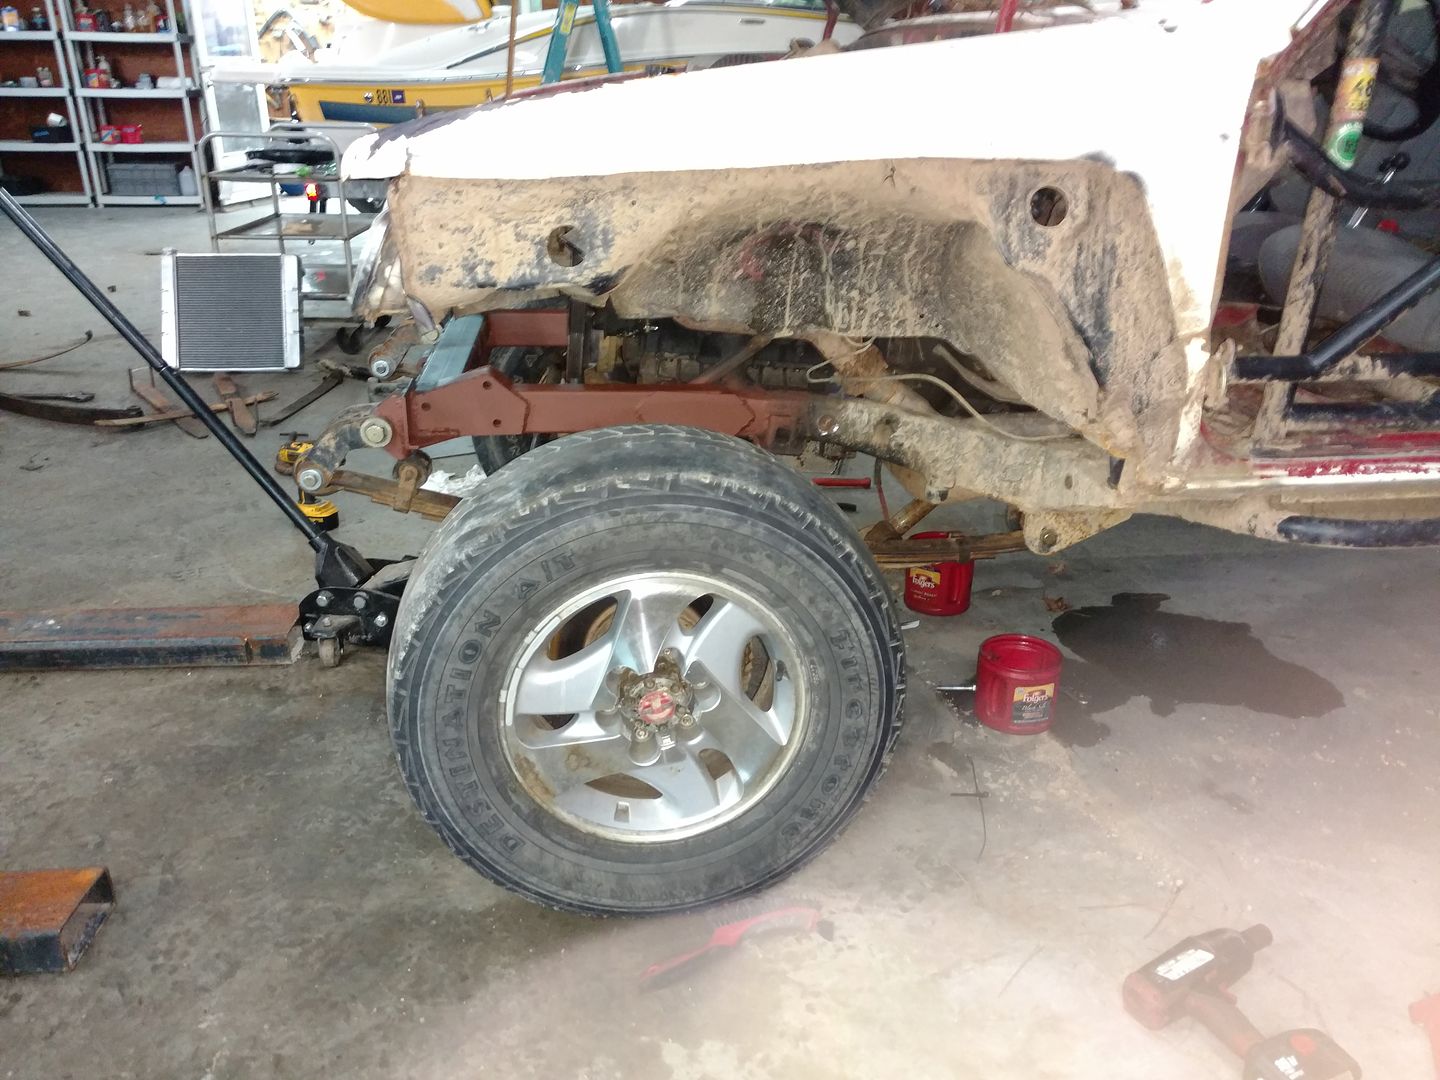
Got the springs on, need to order some bushings. This was the point that I said.... Holy ****... these things are long and what am I doing? :laughing:
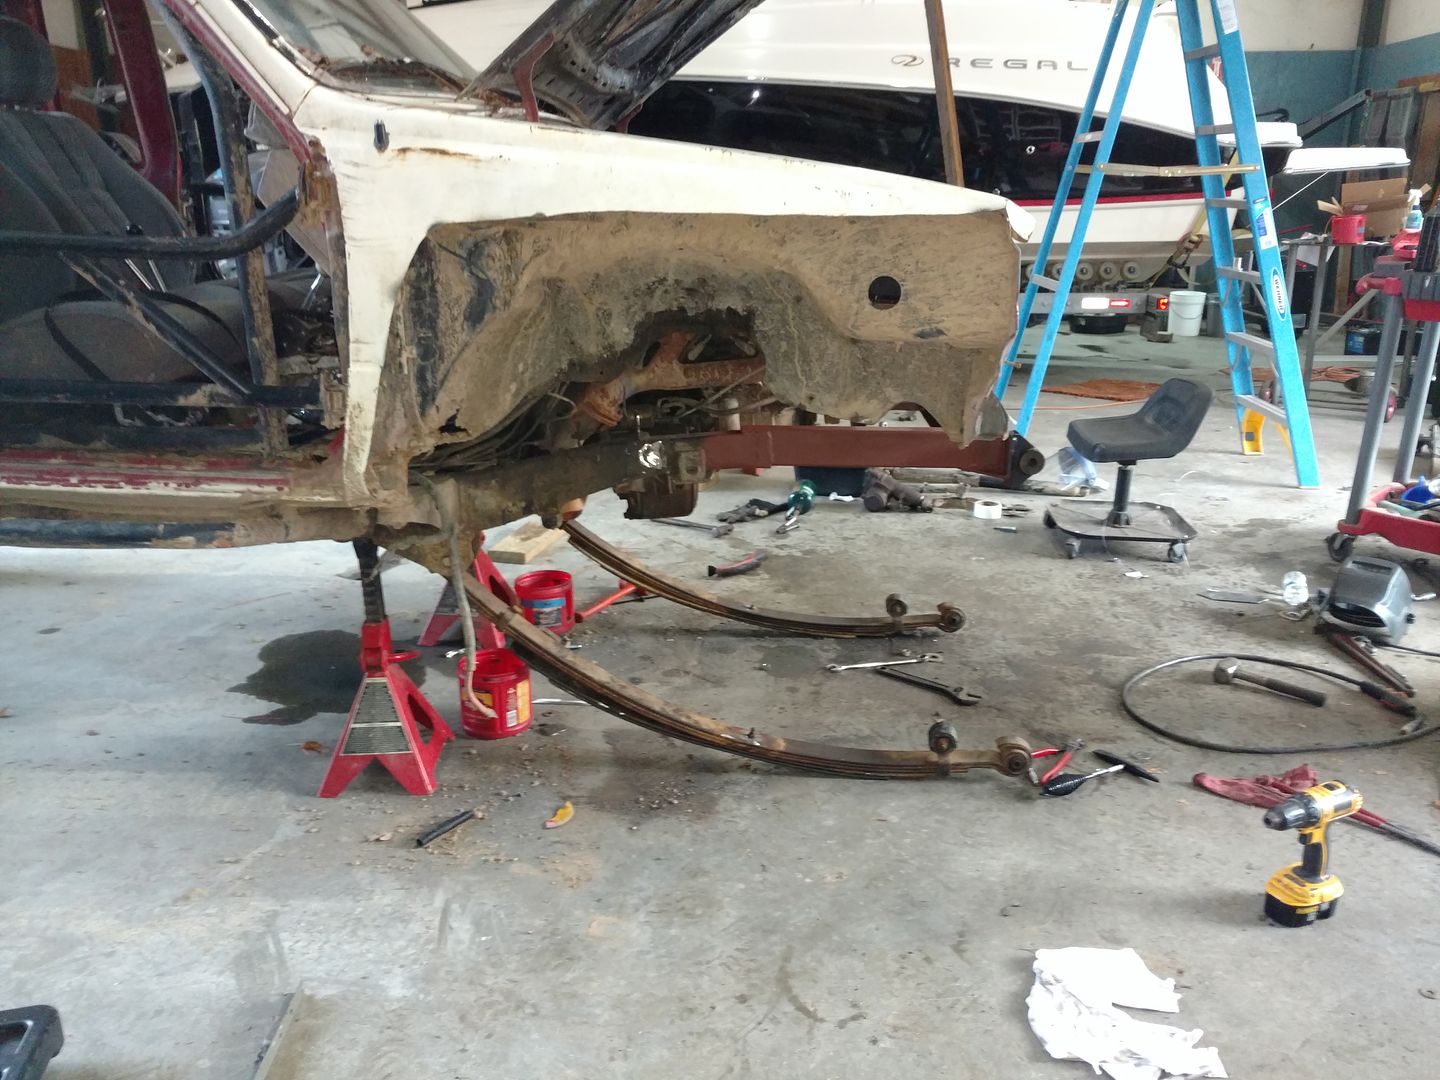
Need to get about another inch out of them. The two leaves I added from my old pack where pretty much wore out and didn't have any arch to them.
Got the springs on, need to order some bushings. This was the point that I said.... Holy ****... these things are long and what am I doing? :laughing:
Need to get about another inch out of them. The two leaves I added from my old pack where pretty much wore out and didn't have any arch to them.