Droopy
Well-Known Member
- Joined
- May 19, 2008
- Messages
- 199
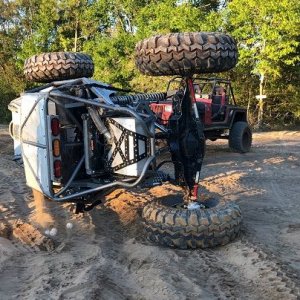
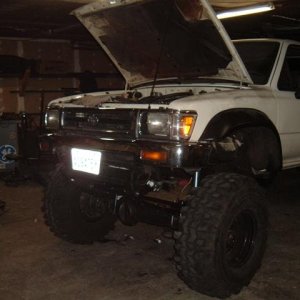
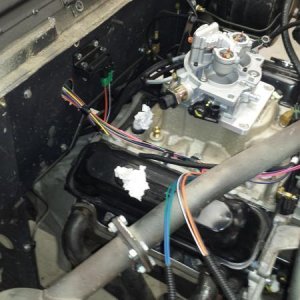
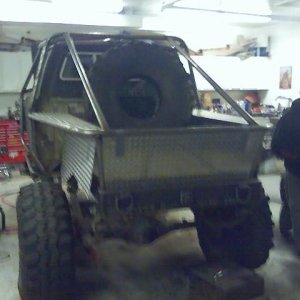
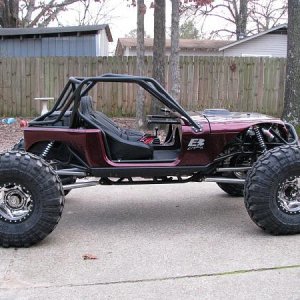
We've been working on this buggy ever since we got back from the last arena race to prep it to go to California. Just wanted to get this thread out there to thank Todd, Stevie, and Adam for all the help while the buggy is taking up residence at the Funky Fabworks garage. We have all put in a lot of time completely going over this buggy front to back. Last week we ran into a roadblock when tearing down the rear axle for inspection.
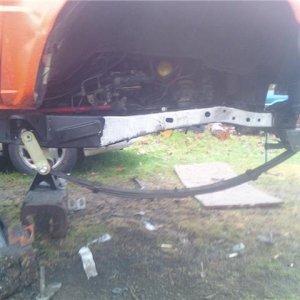
We were simply going to pull the shafts, look at the third member, throw new shafts in and call it good. Well...we pulled the driver's side cover off and couldn't even pull the drive slug out...much less the shaft. So...next step was just take the 4 unit bearing bolts out and pull out everything. That didn't work out so well. As soon as we loosened the last bolt in the unit bearing the whole unit bearing and shaft popped forward and sounded like a gunshot going off. Hmmm....something's not right. ??? After pulling the passenger side with ease, Todd had to run a steel rod through the passenger side through the third member and beat on it with a sledge to pop out the driver's side shaft. When it finally was beat out, we checked it out. The shaft was fine...splines were just twisted very minor. We knew then the housing was very bent. After pulling the third member and looking through the ends of the housing you could see it. It was BAD. It was then Todd put together a game plan.
Todd decided to make a jig and use logging chains, a torch, and a bottle jack. Not long after that we had a perfect housing. (Sorry for the crappy cell phone pics.)

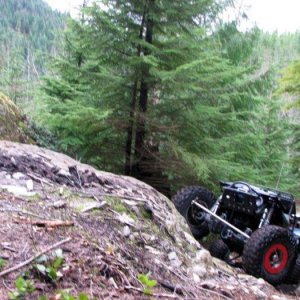
Adam and Todd popping a bead the easy way.

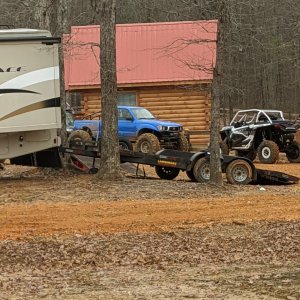
random pic...

With the spare tire carrier...putting fuel in was going to be a bear...so we decided to order the junk for a fill neck. Todd whipped up the mount real quick.

We didn't like just relying on the plastic mount on the GPS, so Todd copied it and made it out of aluminum and made a cool little mount for it as well.

Todd is finishing up the rear tire carrier Monday...it's a cool piece. We got to replace a few bolts that were bent, install the new rear lowers that are supposed to be here Monday from Branik, and get the hood from Kim's dad after he put some funky stripes on it...we'll be good to go I hope.
We were simply going to pull the shafts, look at the third member, throw new shafts in and call it good. Well...we pulled the driver's side cover off and couldn't even pull the drive slug out...much less the shaft. So...next step was just take the 4 unit bearing bolts out and pull out everything. That didn't work out so well. As soon as we loosened the last bolt in the unit bearing the whole unit bearing and shaft popped forward and sounded like a gunshot going off. Hmmm....something's not right. ??? After pulling the passenger side with ease, Todd had to run a steel rod through the passenger side through the third member and beat on it with a sledge to pop out the driver's side shaft. When it finally was beat out, we checked it out. The shaft was fine...splines were just twisted very minor. We knew then the housing was very bent. After pulling the third member and looking through the ends of the housing you could see it. It was BAD. It was then Todd put together a game plan.
Todd decided to make a jig and use logging chains, a torch, and a bottle jack. Not long after that we had a perfect housing.
(Sorry for the crappy cell phone pics.)Adam and Todd popping a bead the easy way.
random pic...
With the spare tire carrier...putting fuel in was going to be a bear...so we decided to order the junk for a fill neck. Todd whipped up the mount real quick.
We didn't like just relying on the plastic mount on the GPS, so Todd copied it and made it out of aluminum and made a cool little mount for it as well.
Todd is finishing up the rear tire carrier Monday...it's a cool piece. We got to replace a few bolts that were bent, install the new rear lowers that are supposed to be here Monday from Branik, and get the hood from Kim's dad after he put some funky stripes on it...we'll be good to go I hope.
 uke: But, the ease of putting gas in makes it worth it I guess. Best part is not having to mess with that damn fuel cell lid again. I hated that thing. I grinded the edges down on it when we first got it and it made it a little easier, but that thing was painful.