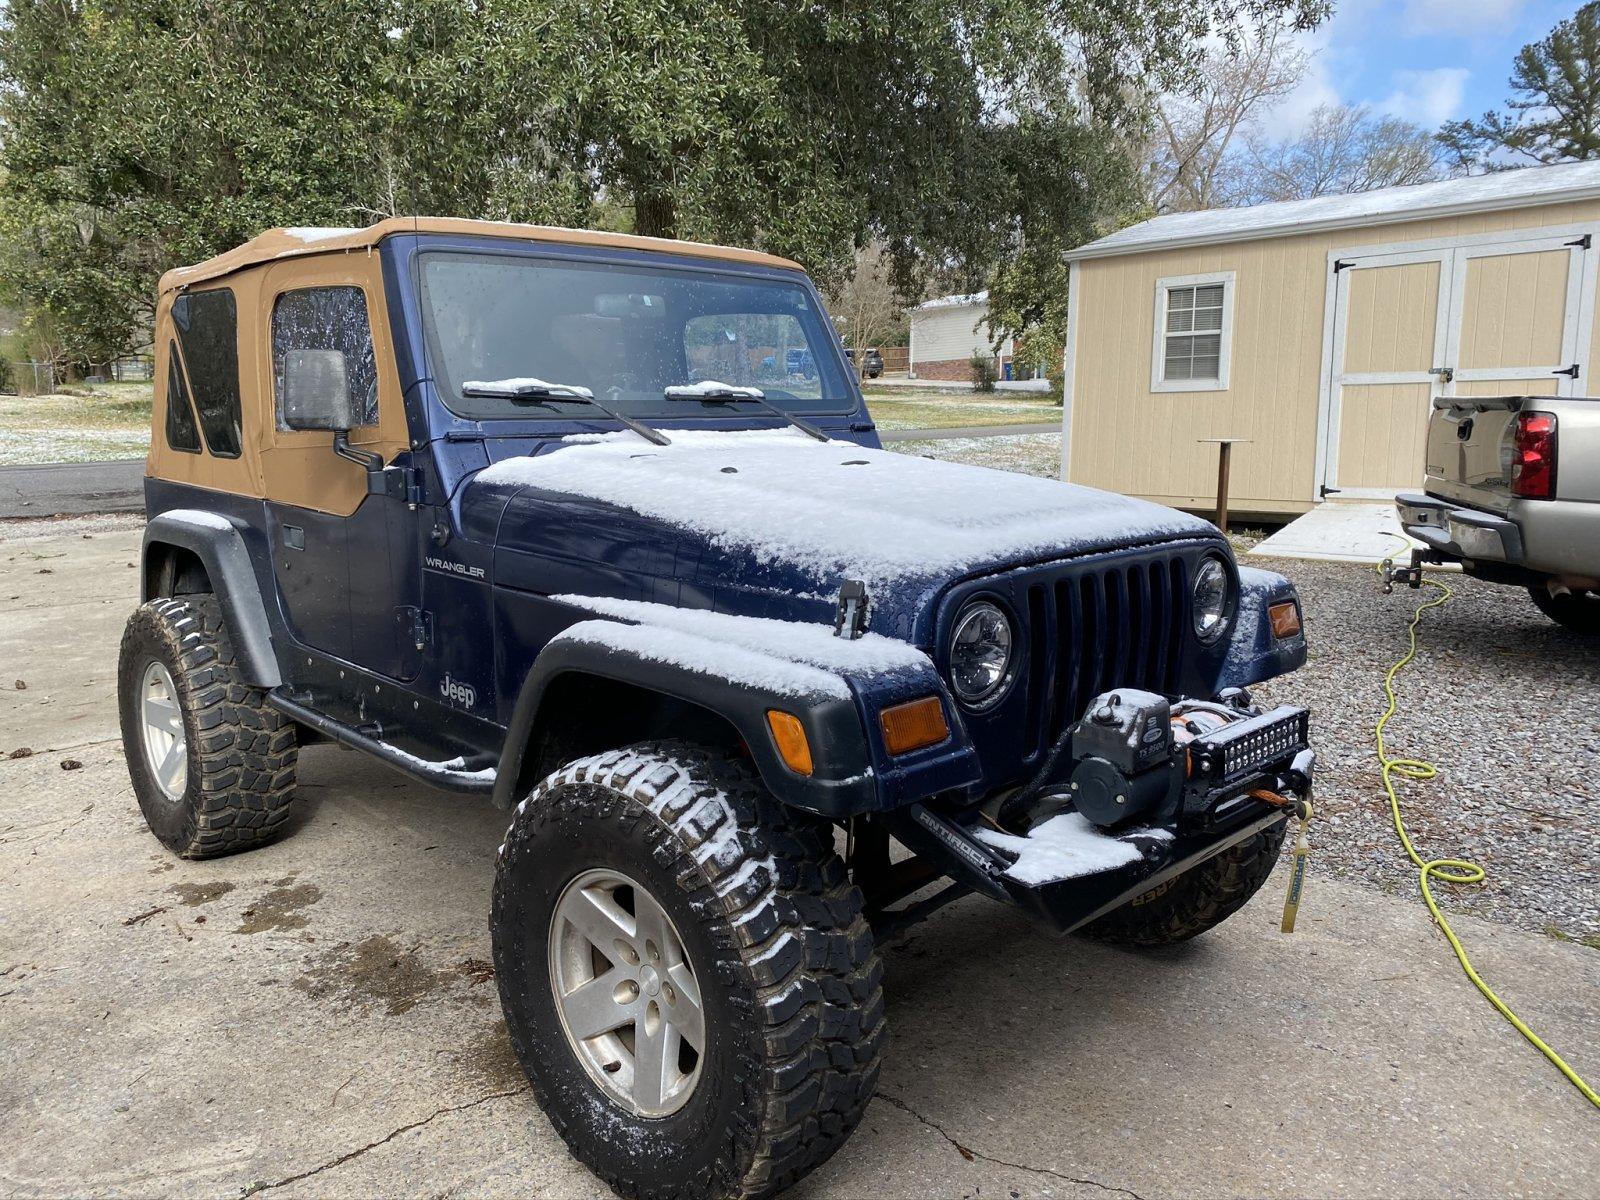
Trying to get it mostly right the first time: A 5.9 Magnum and 46RE swapped, Tummy Tucked Daily Driven Jeep TJ

Hardline Crawlers - Rock Bouncer Builds, Tech & Off-Road Trail Talk

Help Support Hardline Crawlers:

Found a individual in my area with a hp tuner and had him deactivate the ASD security mode. Jeep thought it was in theft mode. Fired right up and runs great. Literally every forum I’ve read everyone says they jus put the motor trans and computer and harness in and it fired right up. Next step Gotta figure out how to get the lj gauges to work. But other then that drives good
Good deal. That's typically the issue when it will run and then shut right back down.

What year was your donor? Assuming it was a ZJ, consult the google machine on CCD vs PCI Bus. I'm far from knowledgeable on that topic, but I have run across a thread that went into detail about the differences and how to make one talk to the other.
 
Last edited:
I finally have something that gives the resemblance of progress!


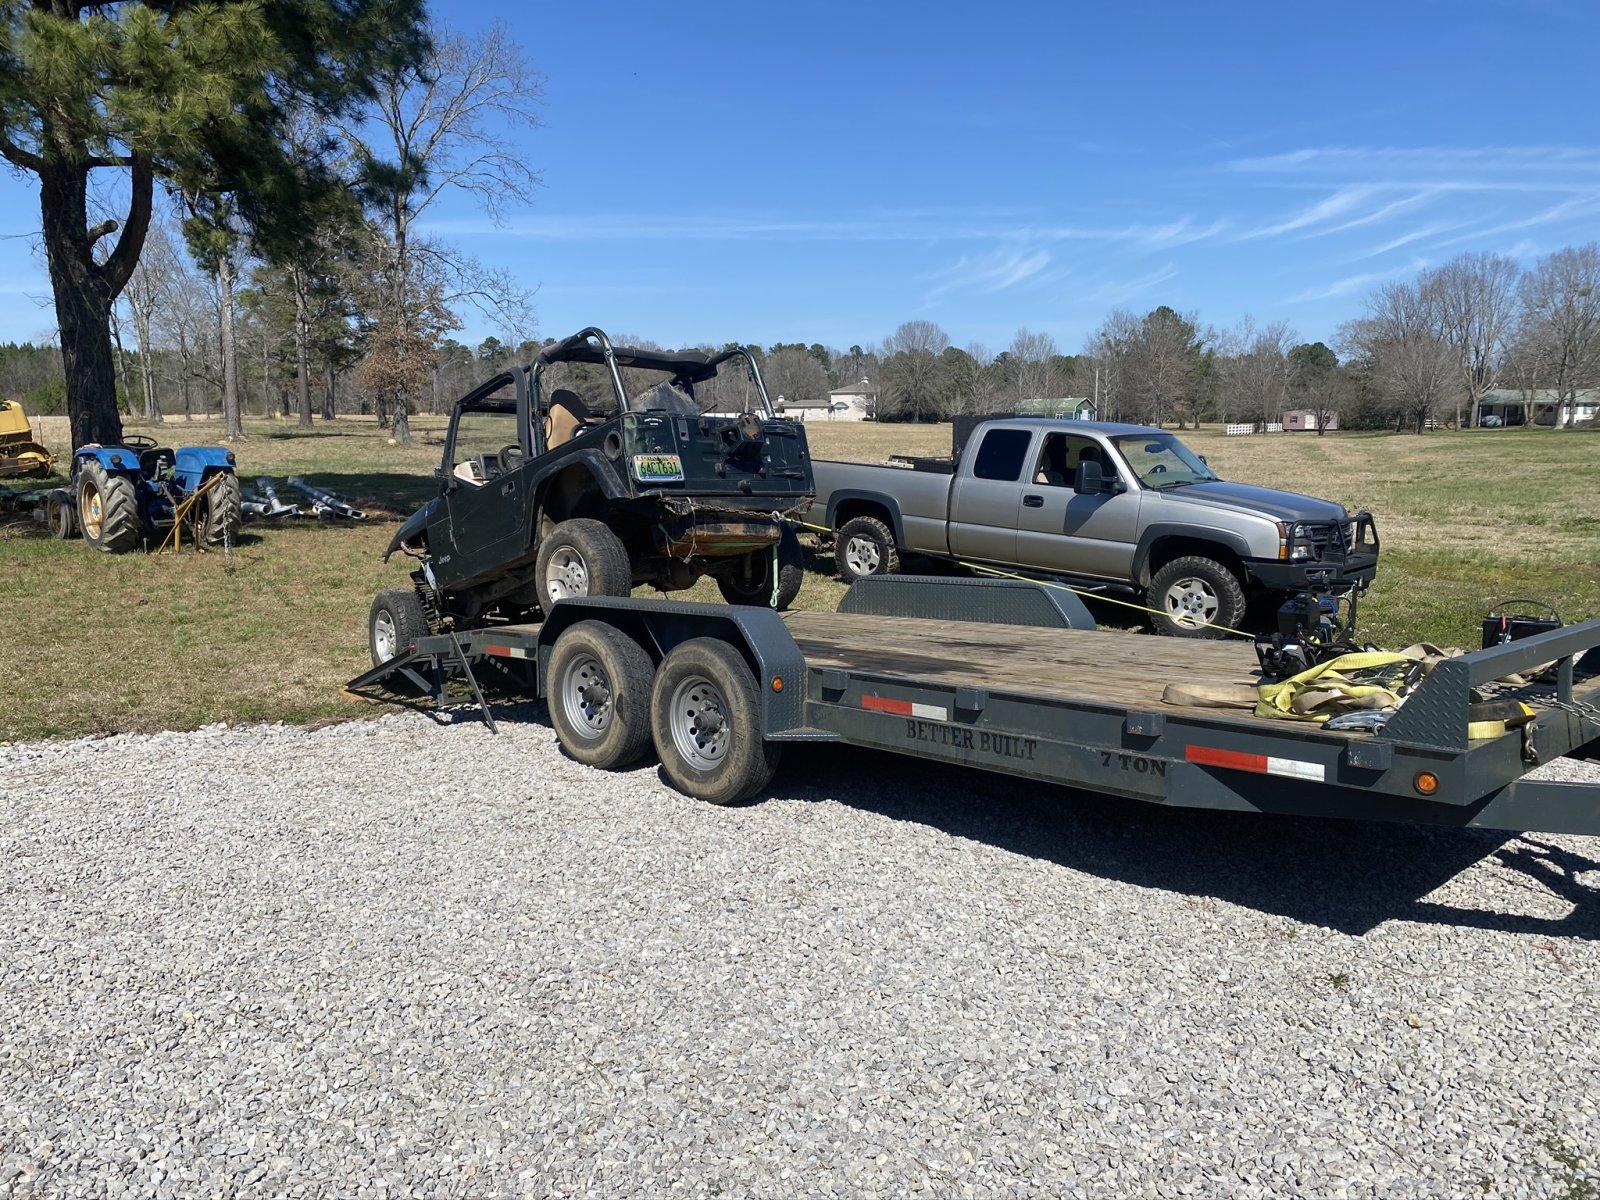
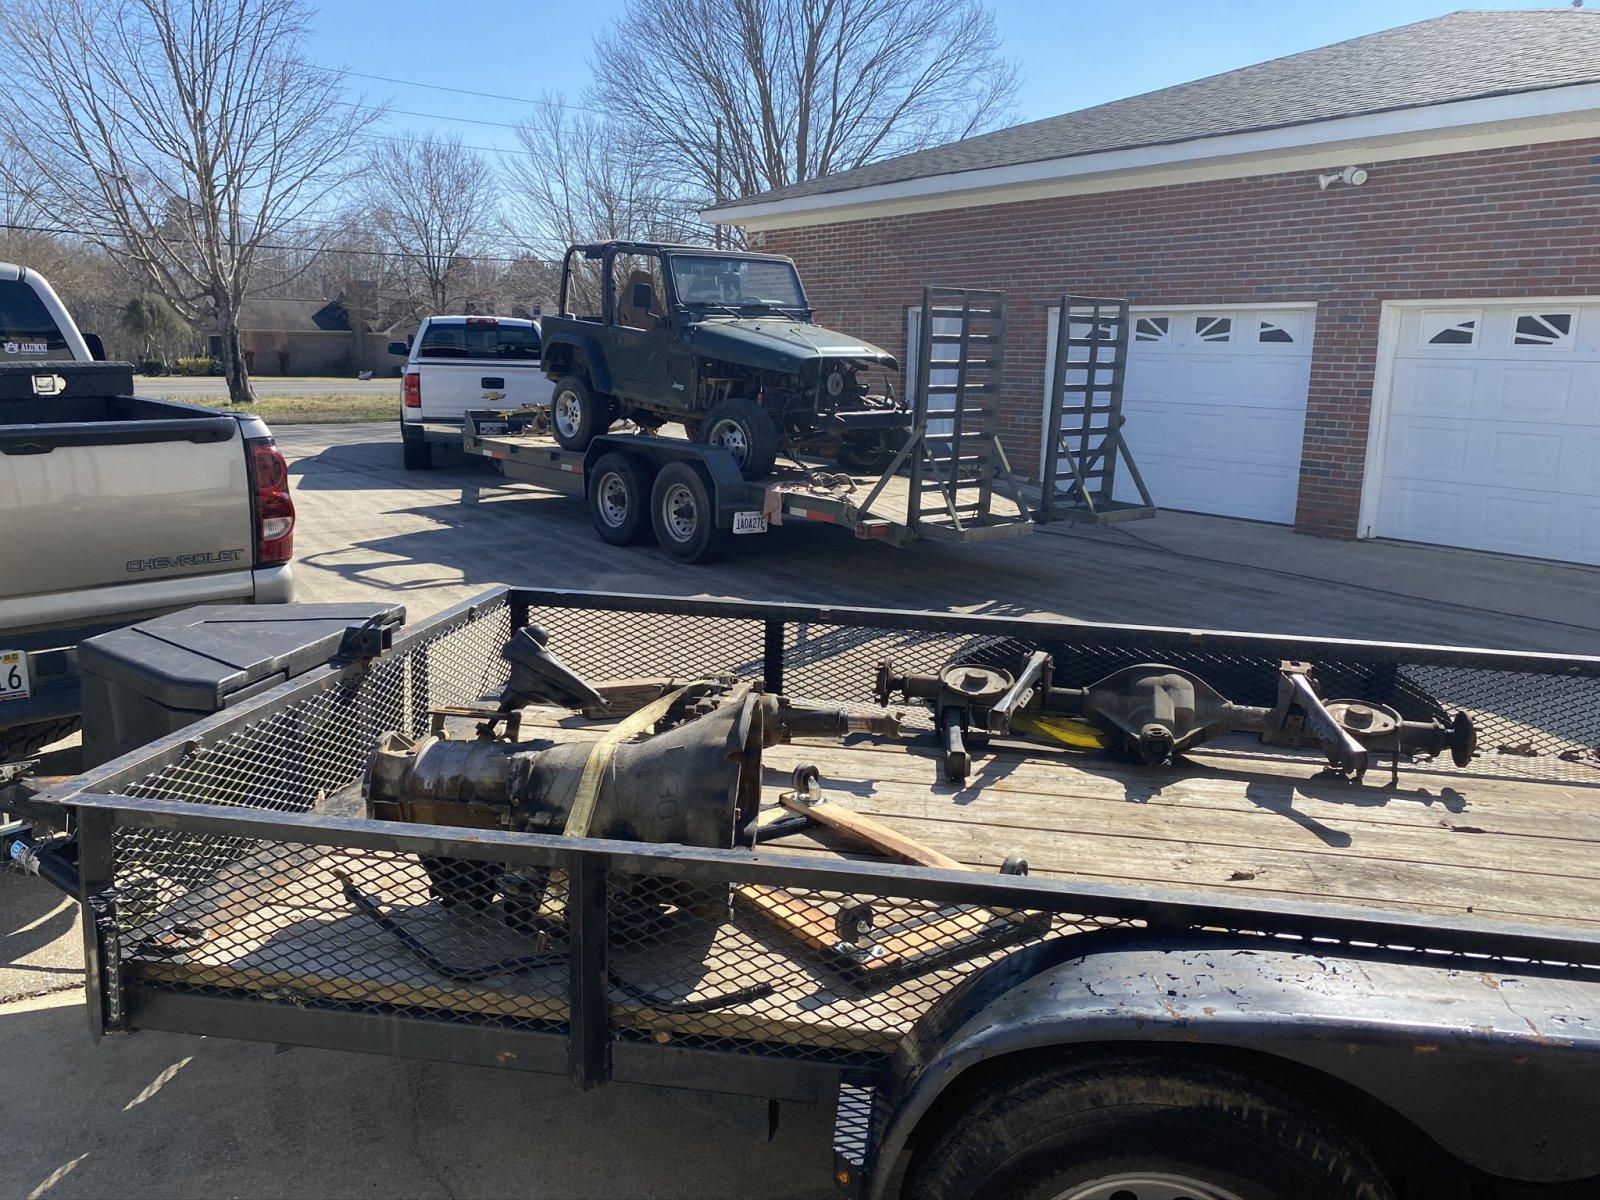
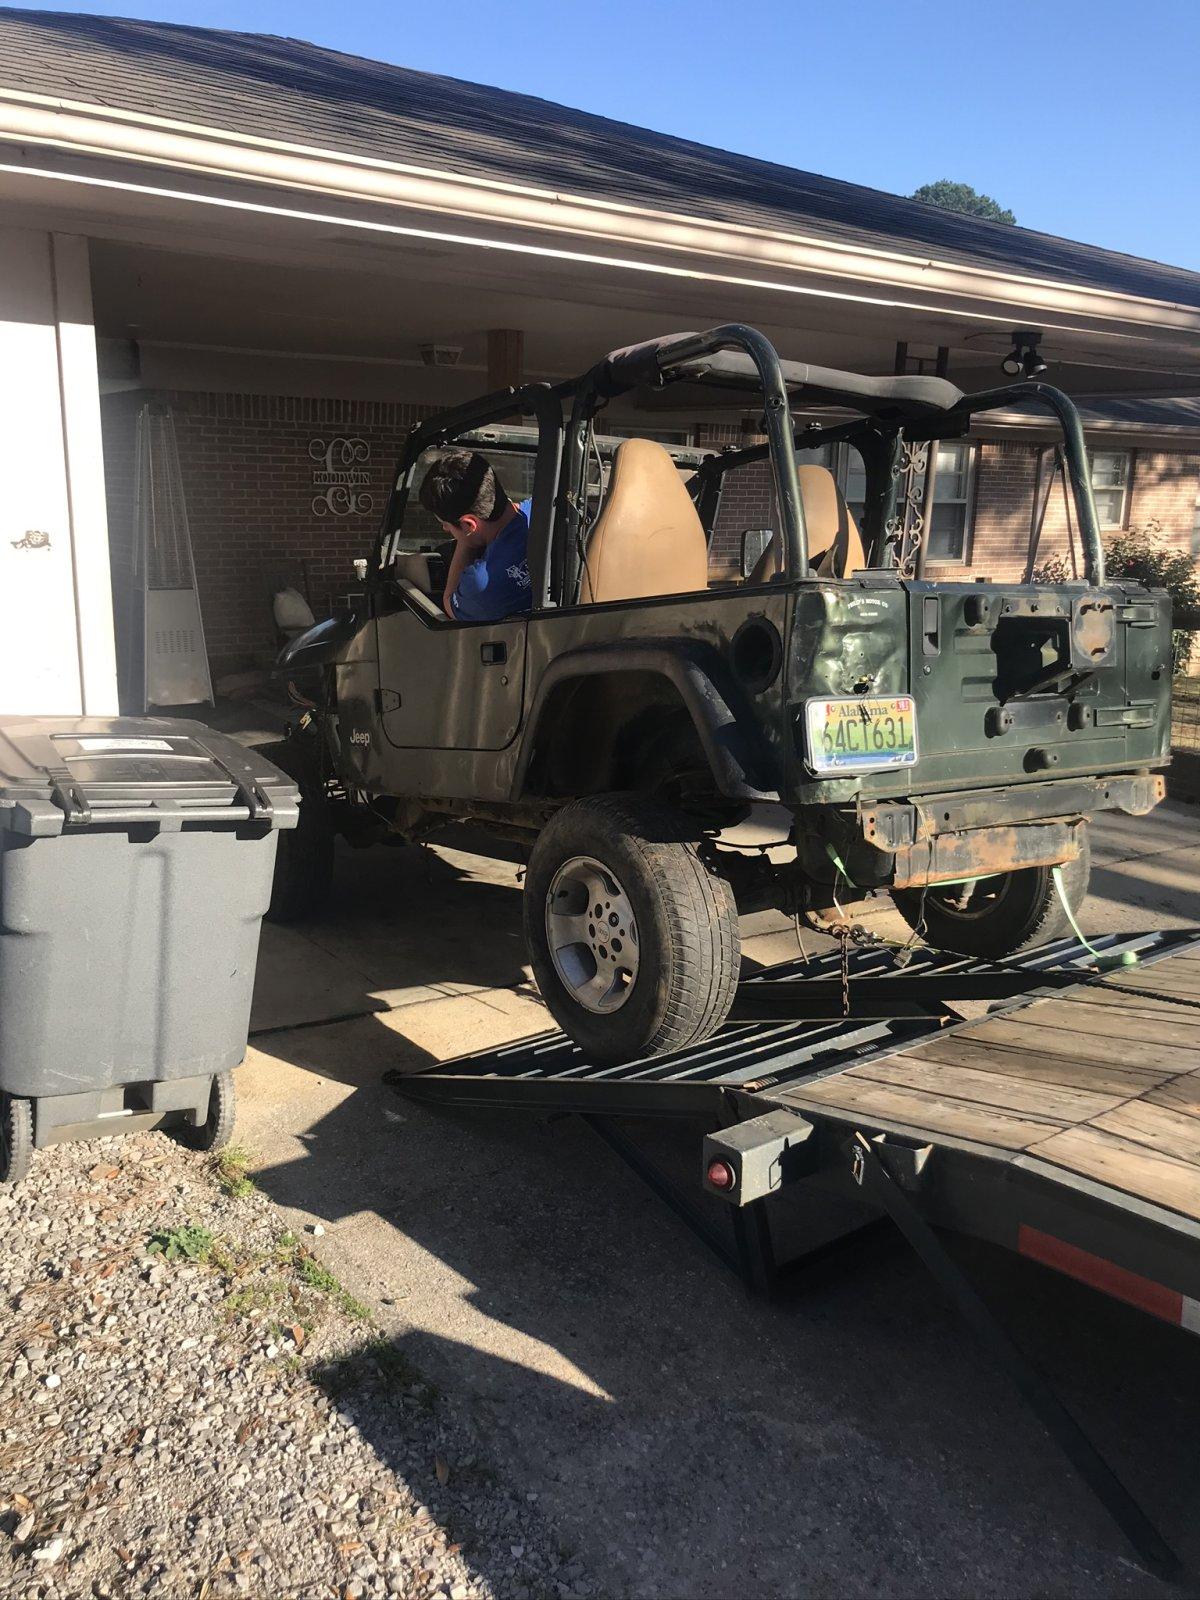
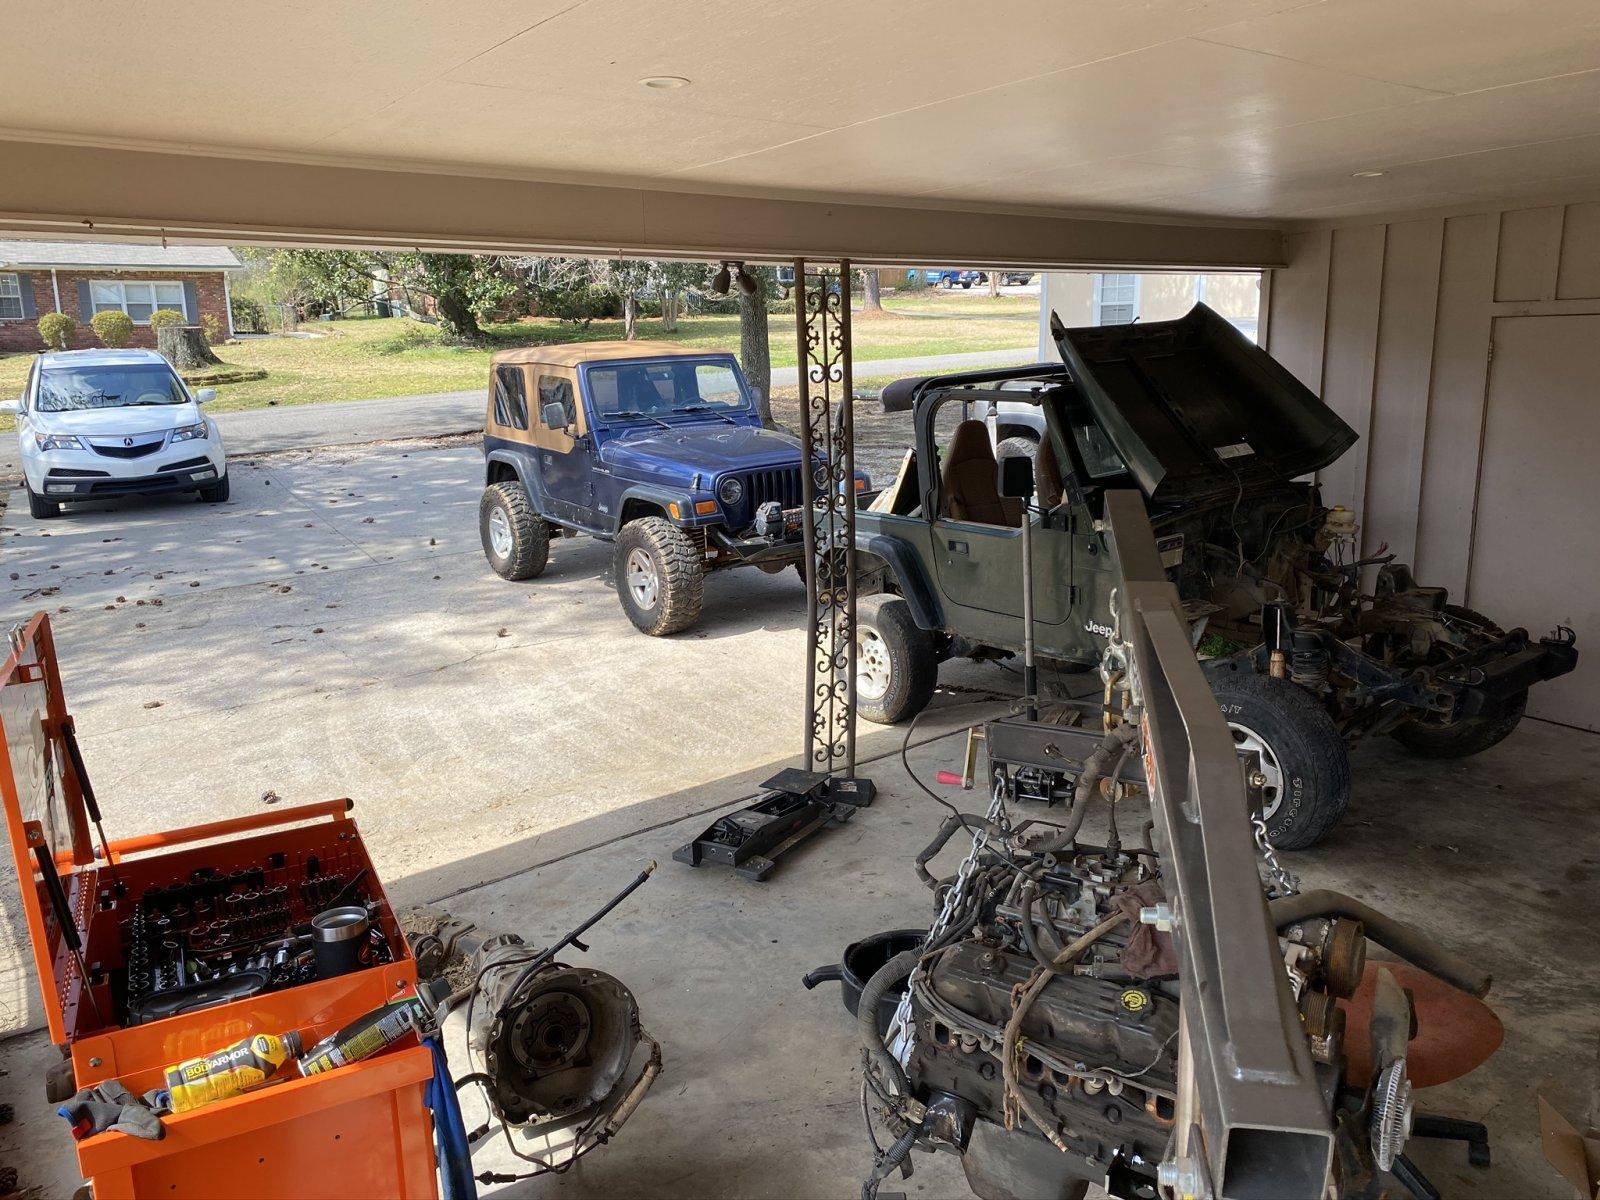
Since Alabama weather in March is a mixed bag, I've tried to have stuff to do both in my shop and outside so I can maintain progress no matter the weather. With a BEAUTIFIL weekend of weather forecast, I enlisted the help of my dad to help me drag the green TJ out of storage on March 3rd​ (remember, I want to hear this run on the weekend around April 1st​.)

01ac24d40030bdb8315d62d8a9bd32ff35be2dc22a.jpg


01b6d3f6093006928aaf1032c1a62ada6ef7168c88.jpg


Side note – I have a few Badlands winches from HF and bought their Apex wireless controller so it can be used on multiple winches. I've had really good luck with the winches and absolutely love the remote. It was used heavily this weekend.

018168521ea833f000a68e5251b1ae3f39cee5c1e2.jpg


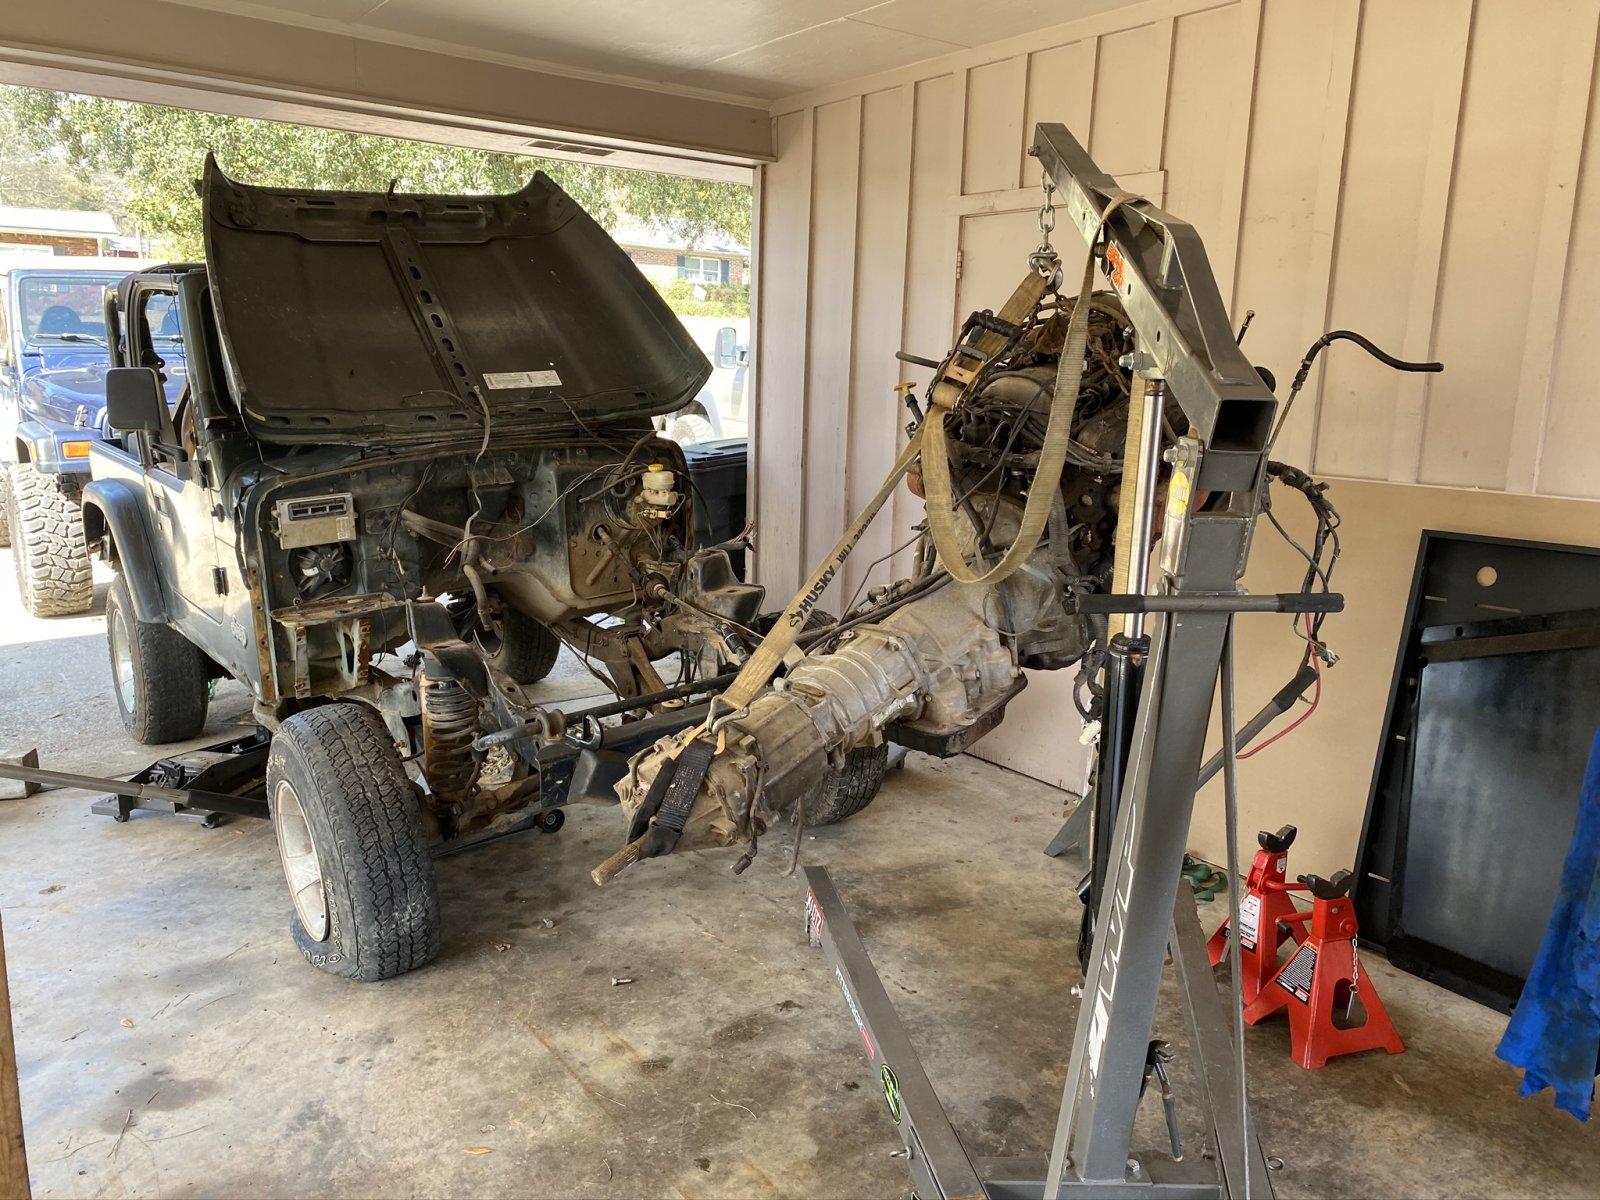
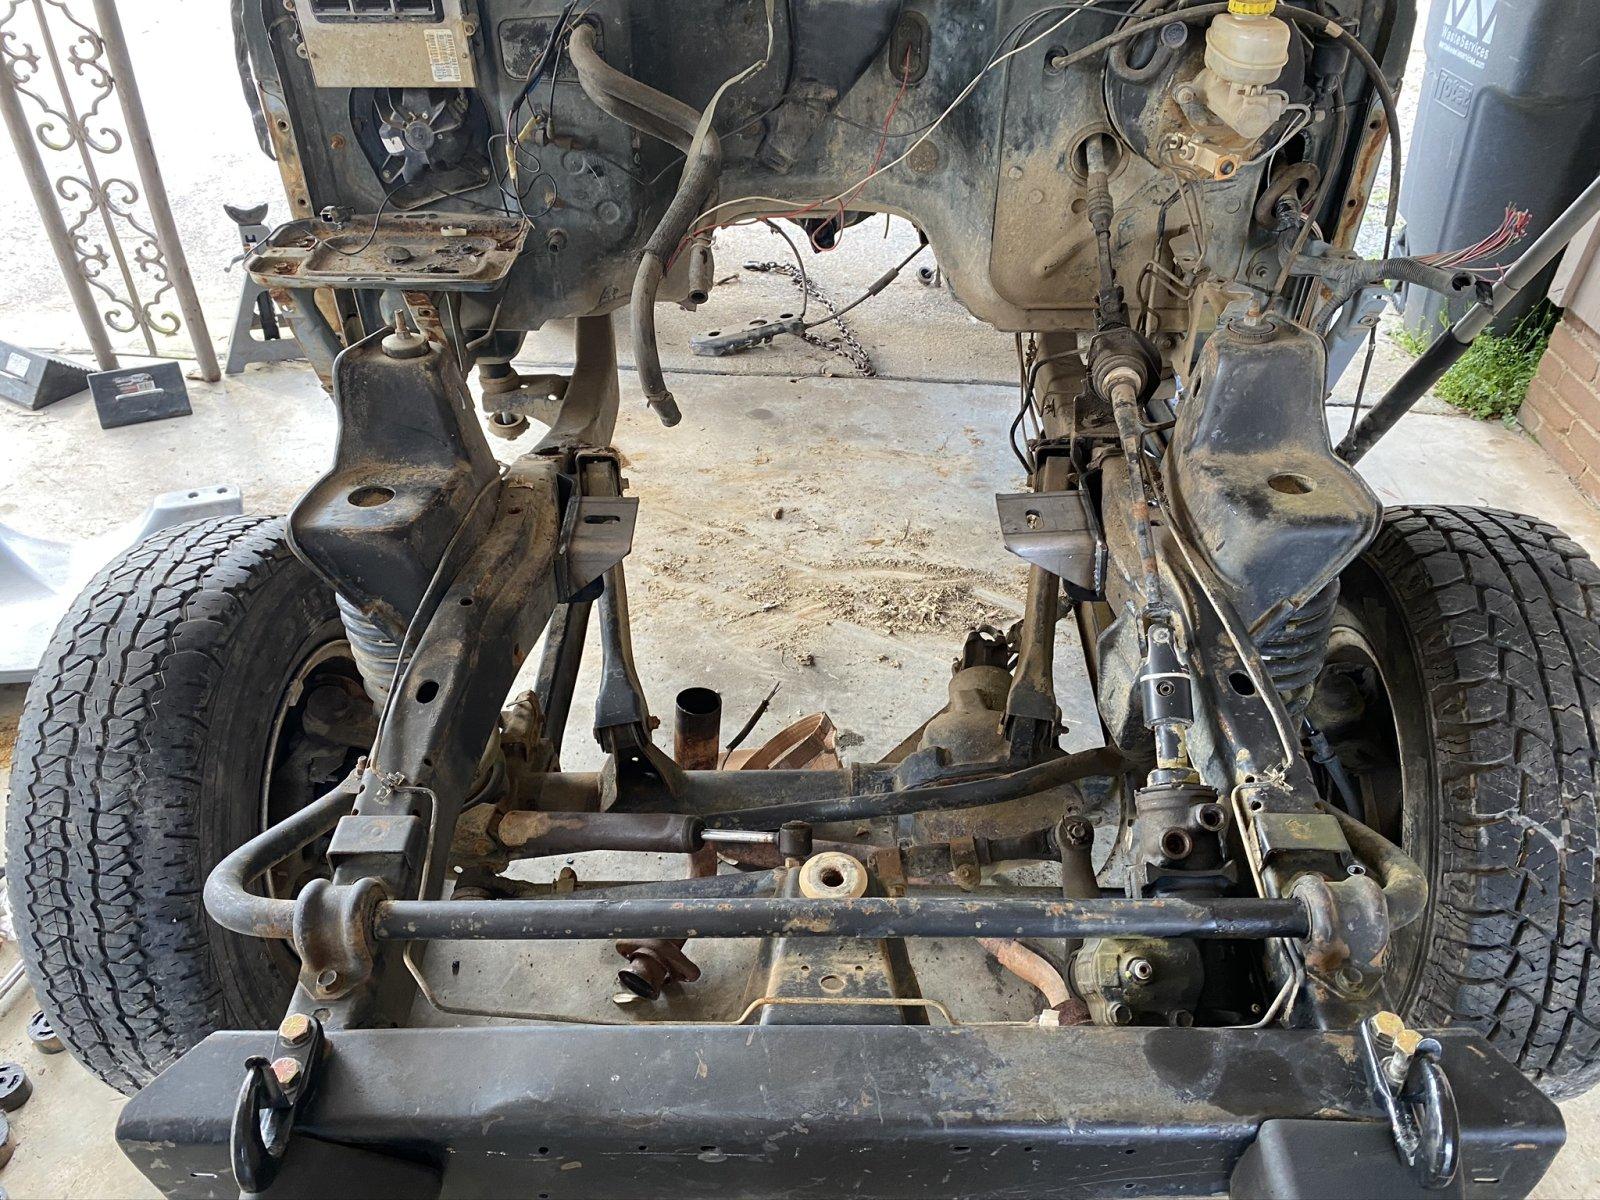
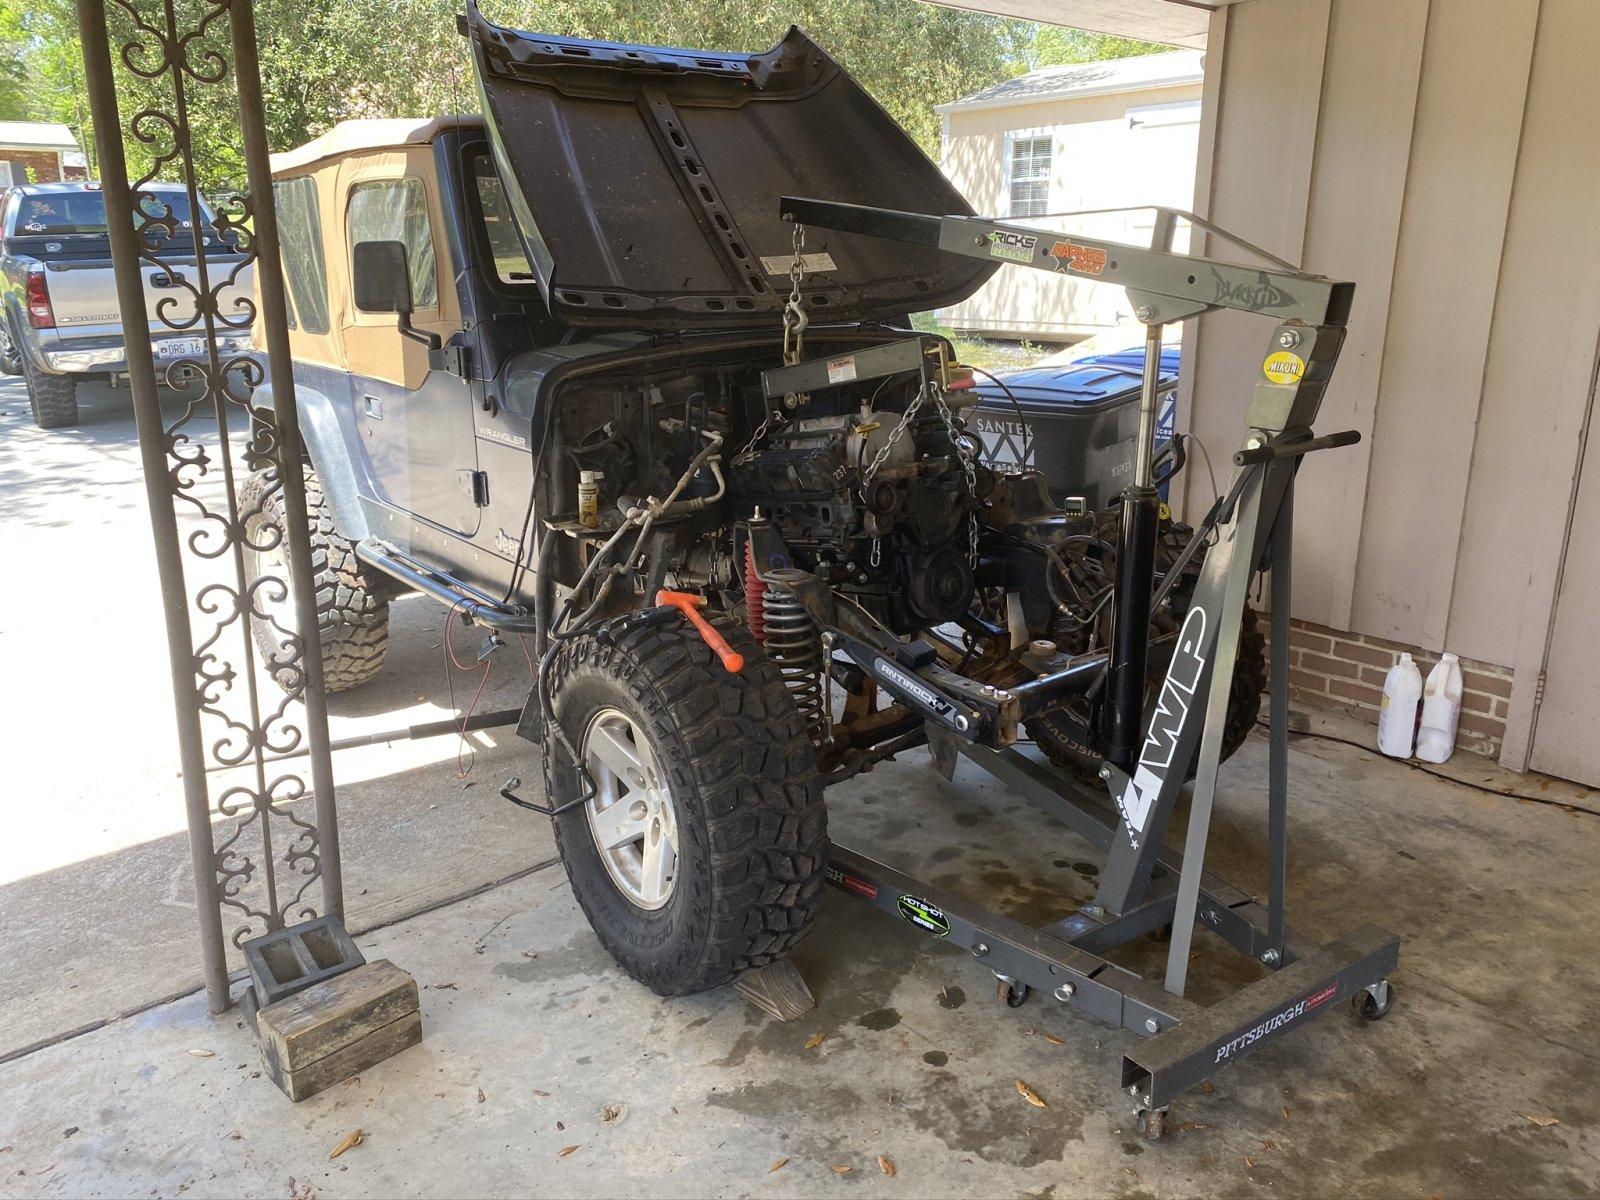
If you recall, the green TJ had a 5.2/44re/231 out of a GC sitting in it, so the first order of business was to pull that out.

0106626c68e4d17703ad845af29d9326c878d409d0.jpg


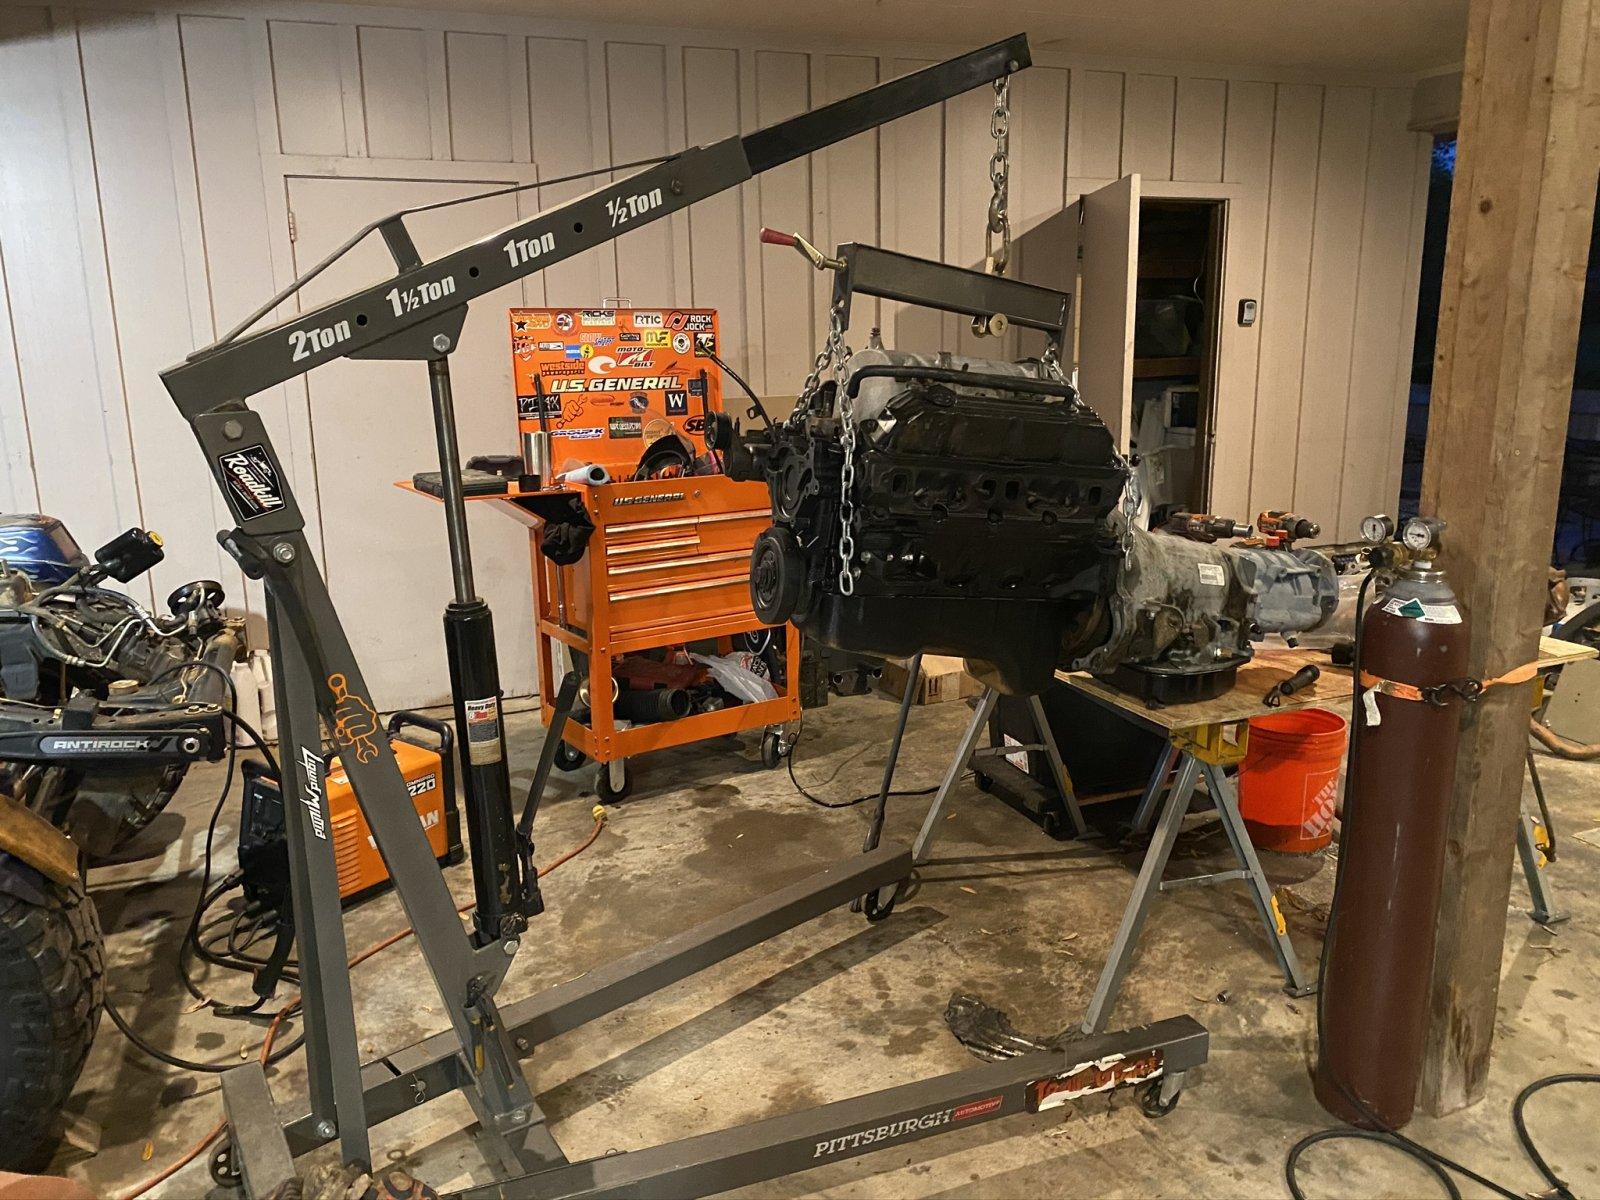
Since my 5.9 was in my shop getting a refresh, I opted to use the 5.2 as a mock up. I swapped the 46re transmission and the Durango exhaust manifolds onto the 5.2 to duplicate the final product. I'd thrown the 3in body lift that my TJ came with into the parts bin a few years ago thinking I might use it for something later (I'm kind of a parts hoarder). The body lift was brought out of retirement, cut down to 1.25" and installed to replicate what I have on my 97 TJ.


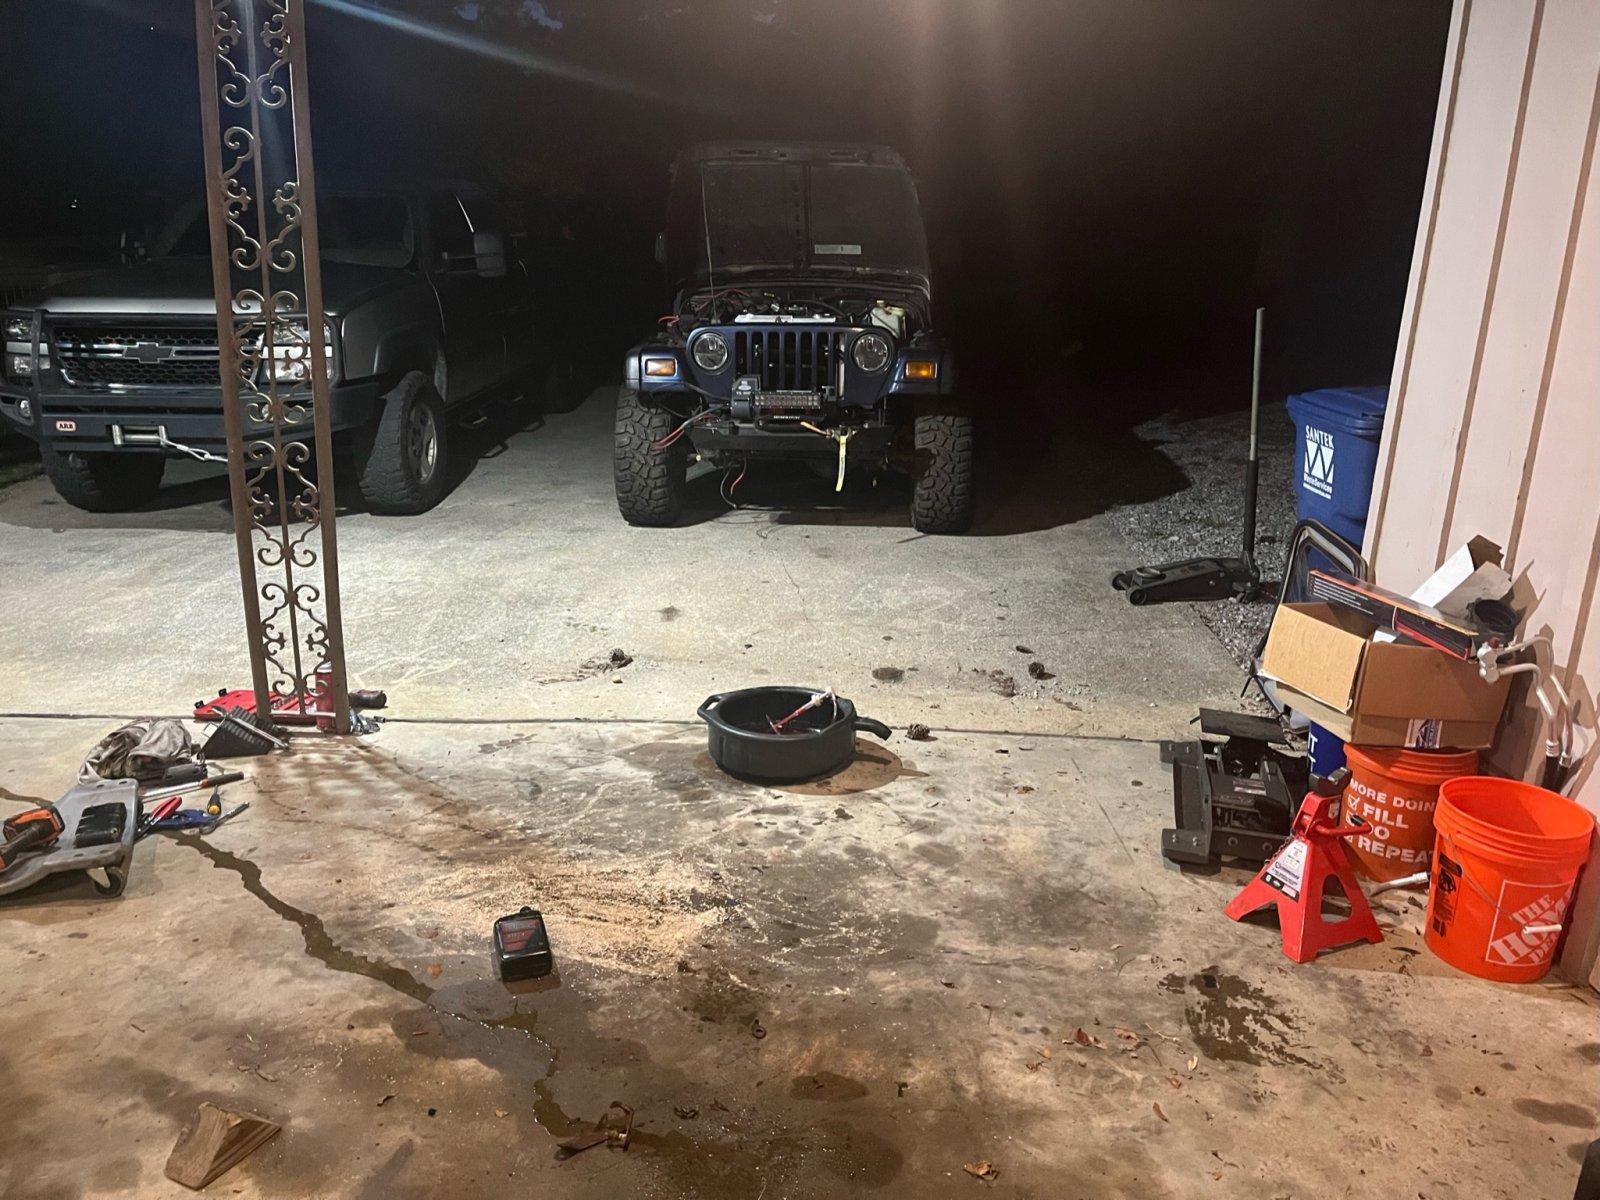
My wife says I can't ever live somewhere with an HOA. I can't quite figure out why...

017cc7cd7097f8ce9c9acdfbb2a828936a2ca2d985.jpg


The Advance Adapter mounts are (allegedly) designed to work with a 5.2/5.9 and an automatic transmission, so I set them in their recommended place and tacked them in. Using a digital angle finder, the mounts were angled back 5* relative to the flat frame section under the tub and tack welded into place. I researched several tummy tuck threads and most all of the builds required some form of MML. Since a Magnum swapped TT wasn't very well documented, I assumed there was the likelihood I would need a MML, so I opted to keep the AA engine mounts in their recommended location and build some spacers should the engine need any vertical adjustment. Using the frame as a reference again, the engine is currently angled back just shy of 4*, so I currently don't plan to add any spacers.

01e213a2b440e1e53b6e03fa894fbed63dc87bd4cb.jpg


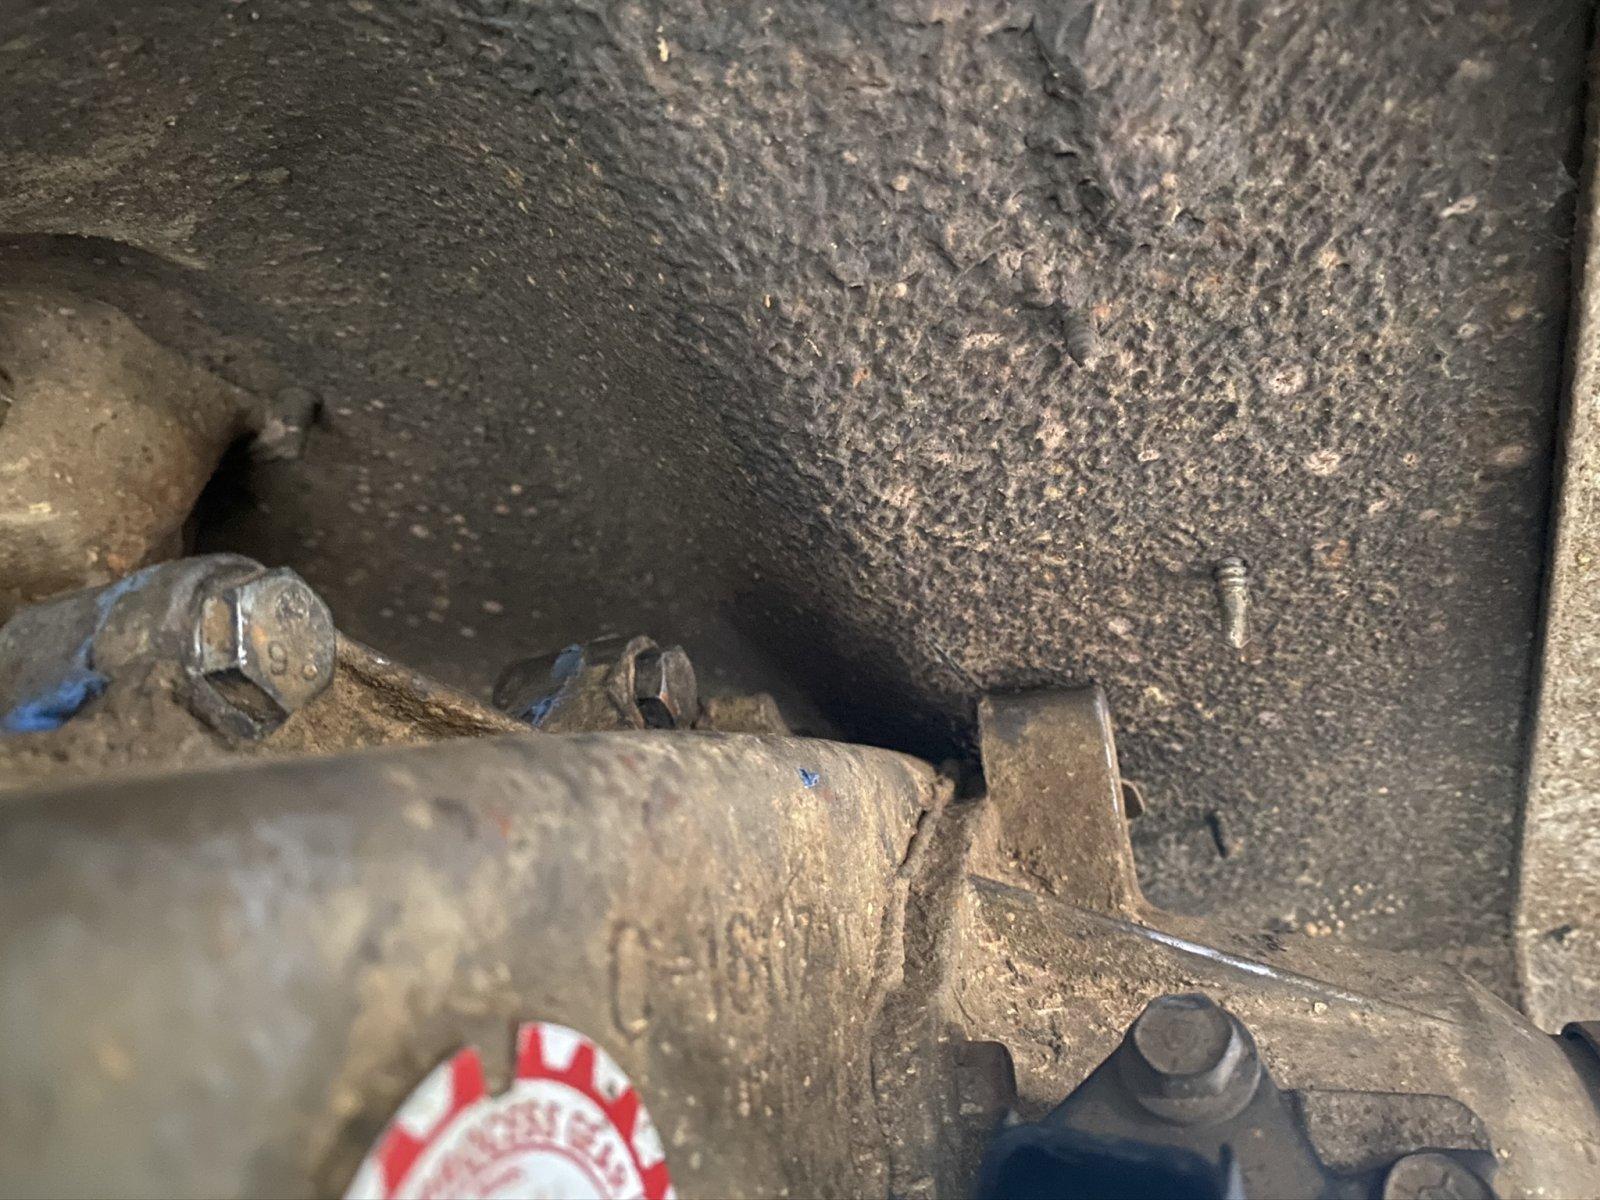
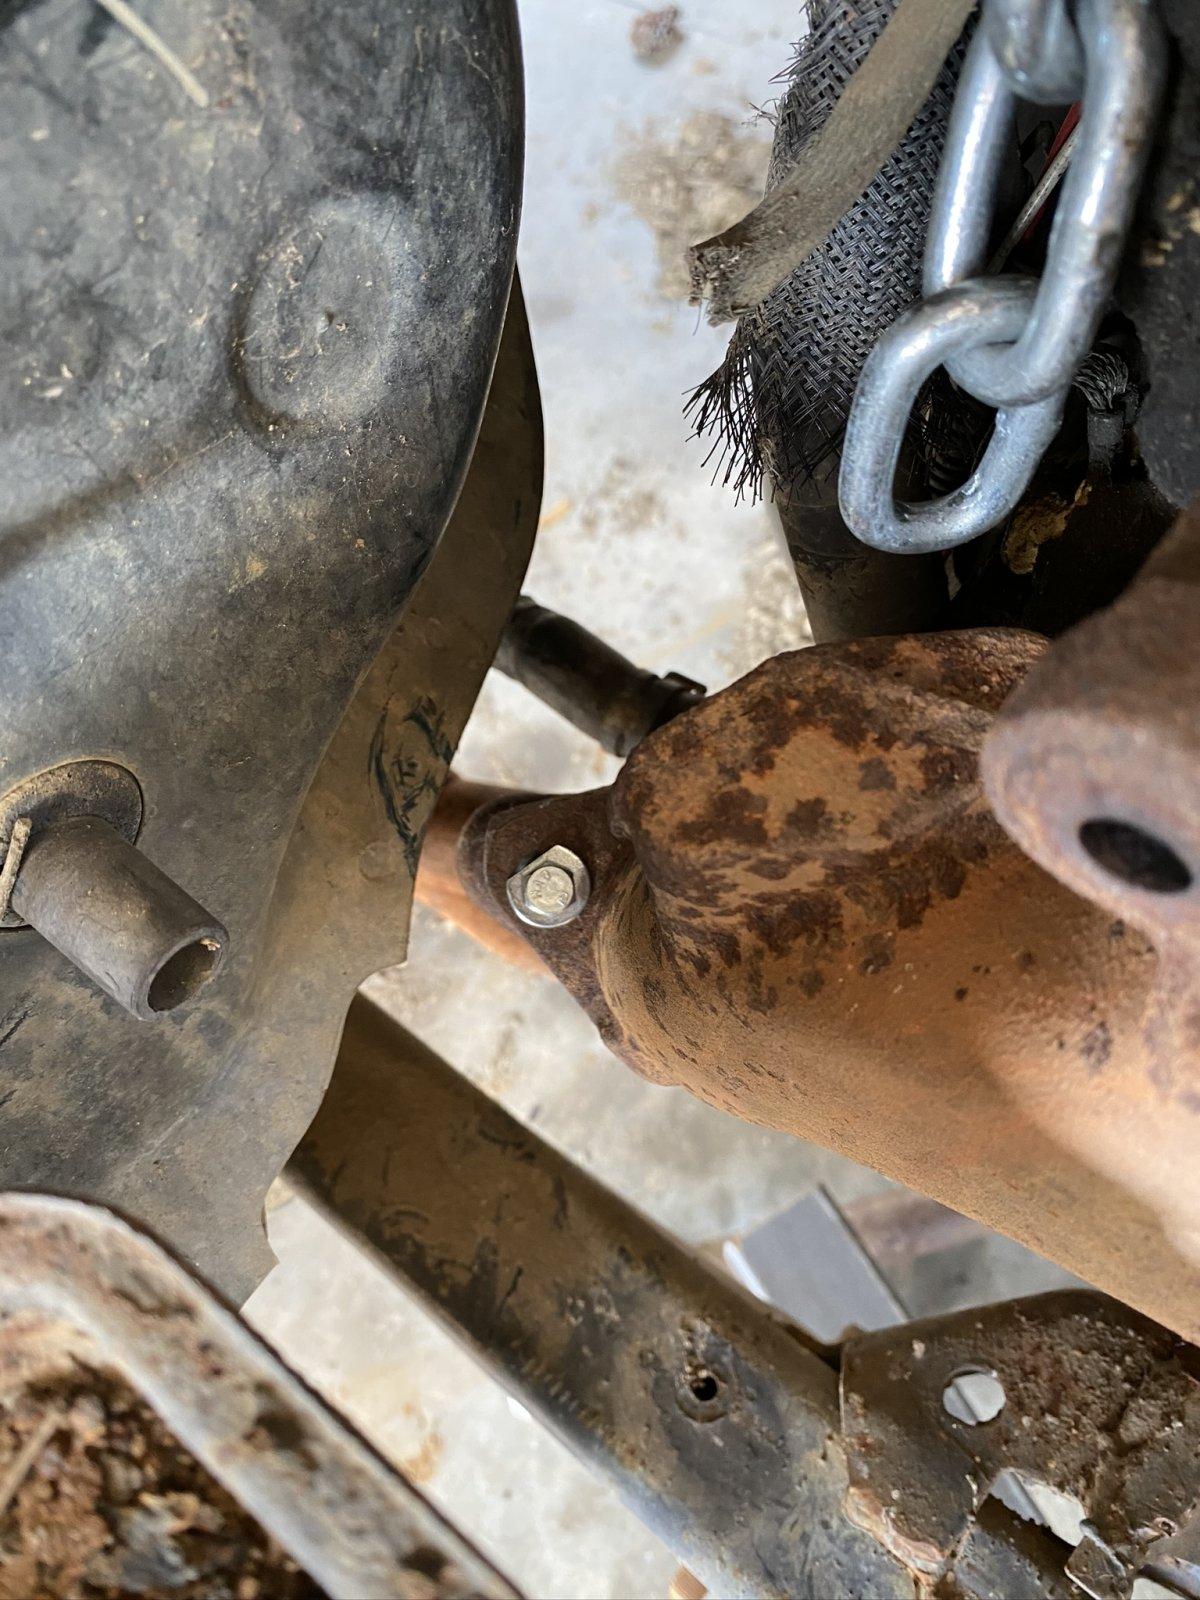
I raised the transfer case up within a 3/4" of the tub to give myself some room for the drivetrain to move. That tab contacting the body will go away with the SYE.

014070ce733b9bdc5350b2e0400a87bceb1011defe.jpg


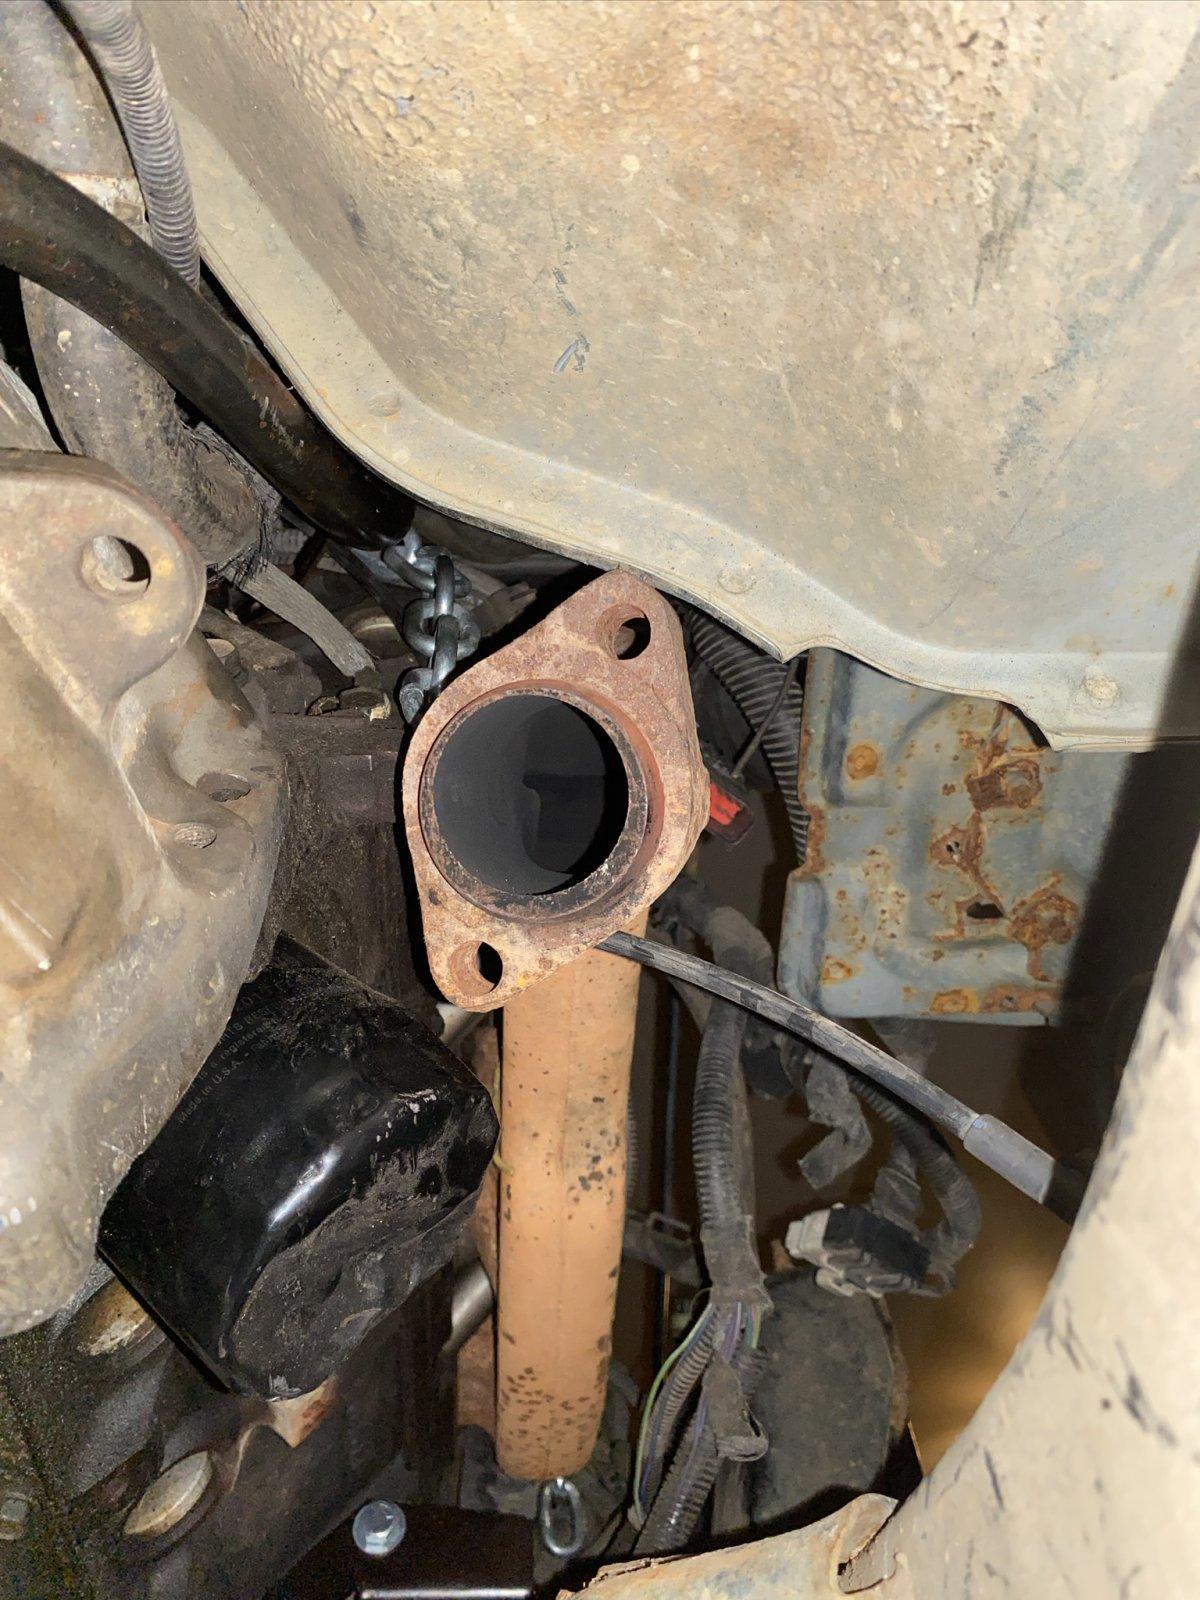
Up to this point I had intentionally not ordered any headers in hopes that the Durango manifolds and Y pipe fit as-is, mostly for the sake of the time it would save. Much to my satisfaction, everything fit like a glove. Score!

014804e49e12c761c18c418024d5298bf7f876fe90.jpg


01b3a7c1928095cb1c3b059f902a2b677e7a4dcc02.jpg


Just take my word that the Y pipe fits. It didn't photograph very well when its all right in your face.

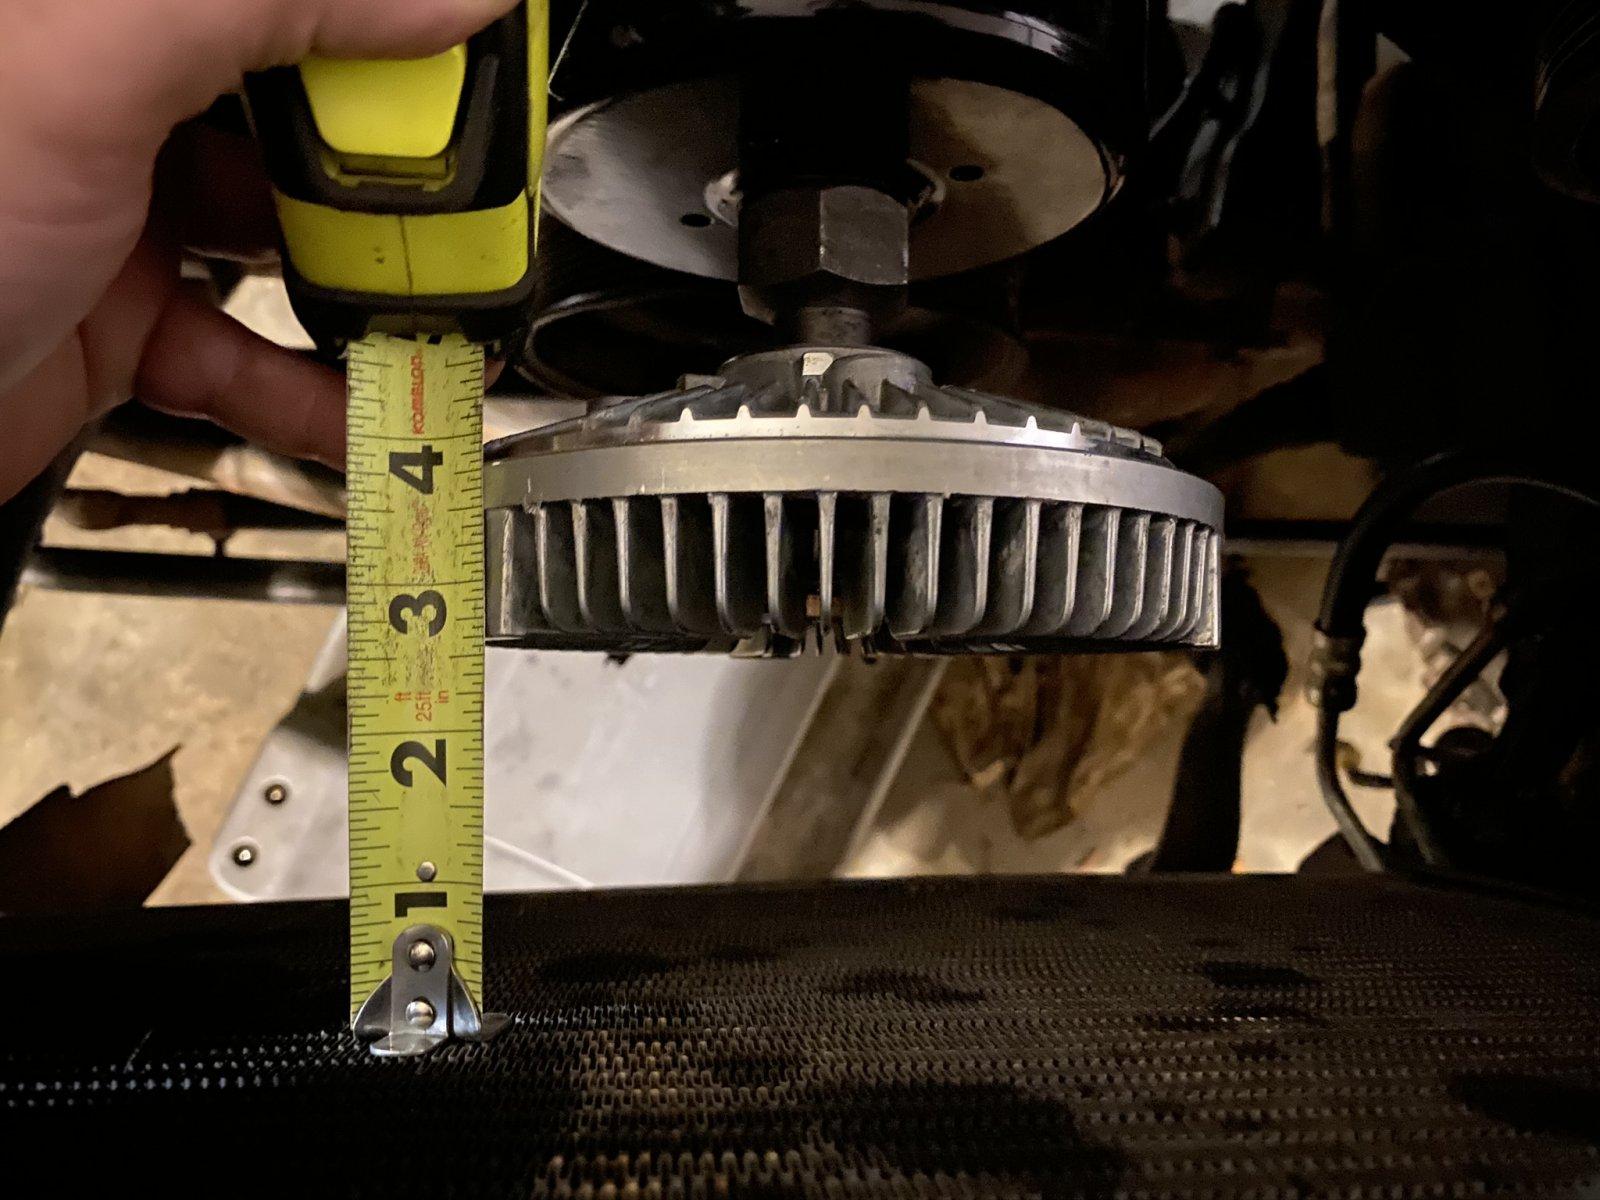
I bolted the Summit radiator onto the grill to verify fitment with the GC fan. It clears the radiator by ¾". I plan to run electric fans, but still wanted to keep the option to go mechanical.

With the engine on the mounts, the transmission / transfer case sitting roughly in their final home, and the manifolds and Y pipe installed I grabbed a cold beer and studied for a bit. Here were my initial observations:

  • The Durango manifolds and Y pipe fit well, but wouldn't allow the engine to come back any further if needed. Not sure why it would need to though.
  • Just by eyeballing the transmission mount in relation to the center skid plate bolt, it looks like the 46re mount would sit back down in the factory skid plate holes (or at most require the Barnes 4wd skid plate)
  • A completely flat skid plate is definitely possible, but you'd have to either bolt the transmission to the skid plate or get creative with the crossmember. The distance from the bottom of the frame to the underside of the CV joint on the front driveshaft is your limiting factor here – its about 1.25".
  • This swap might be doable without a BL if the AA mounts were moved slightly forward.


This brings us up to Friday March 11th.
 
I took off work on Friday the 11th​ to spend working on the Jeep. The goal for the day was to get the transmission crossmember completed and start on the exhaust.

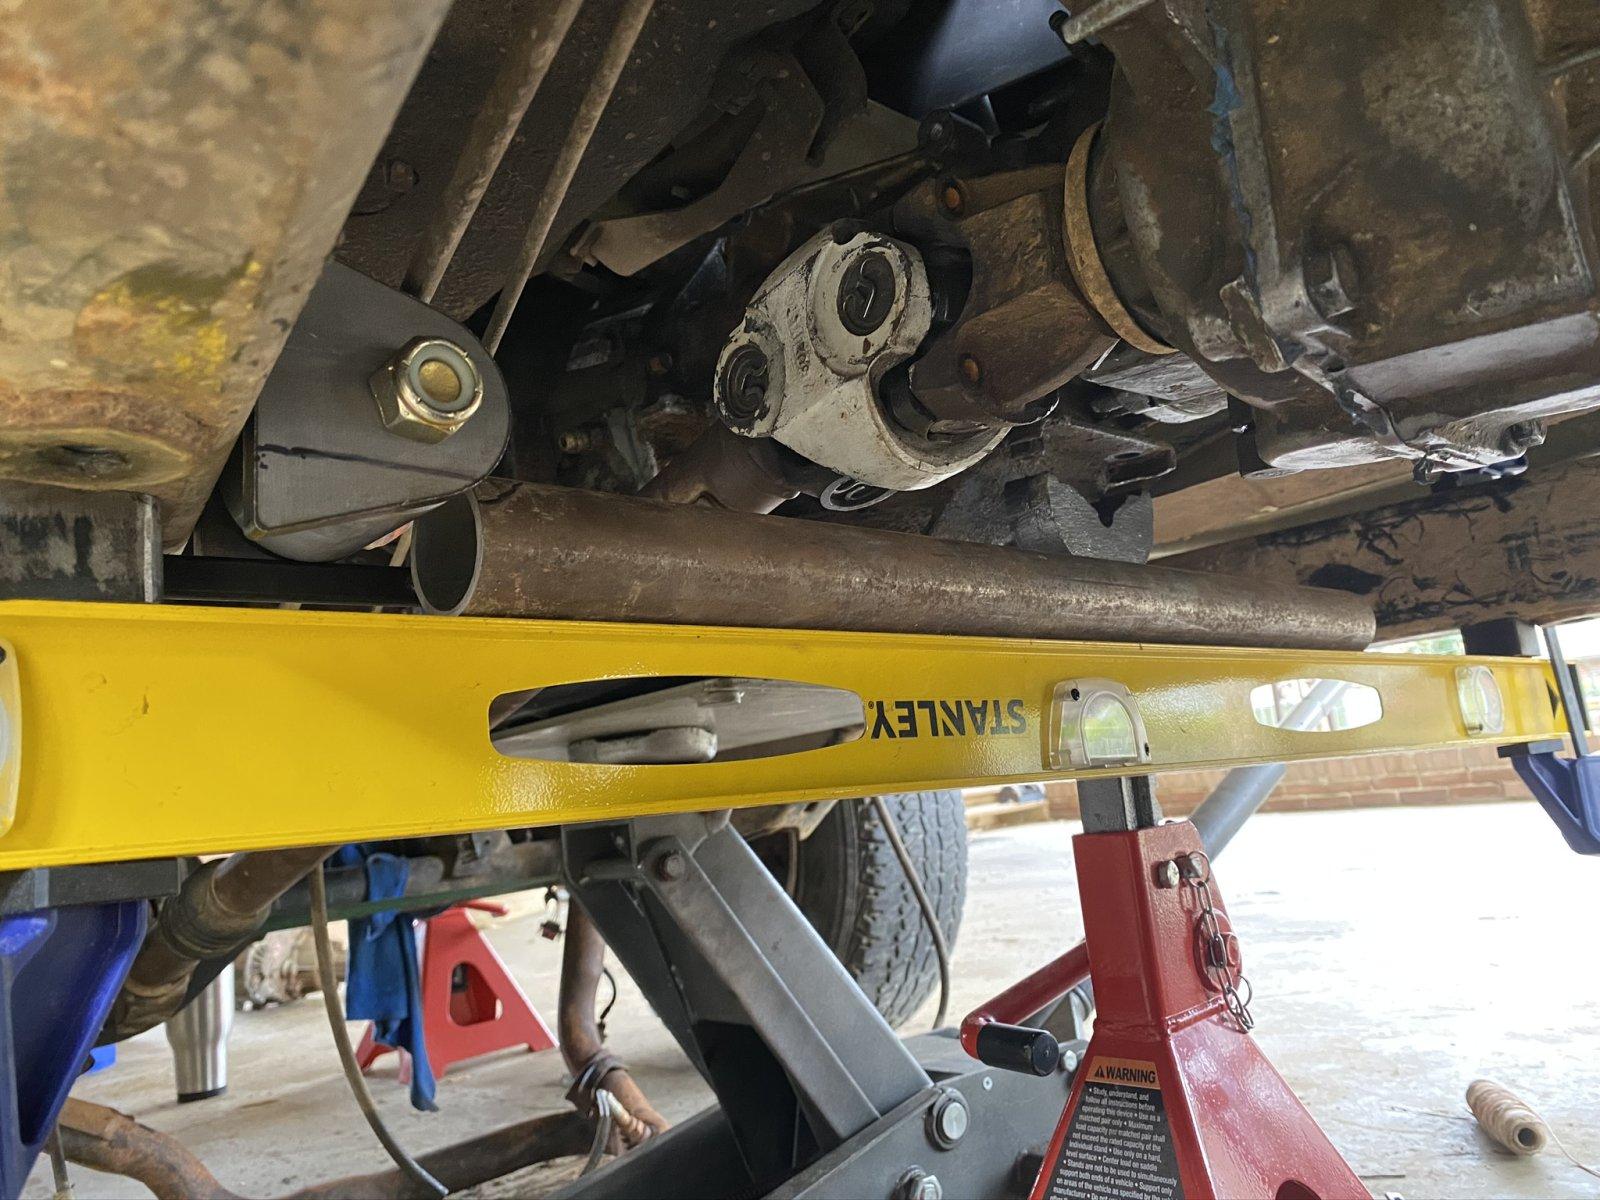
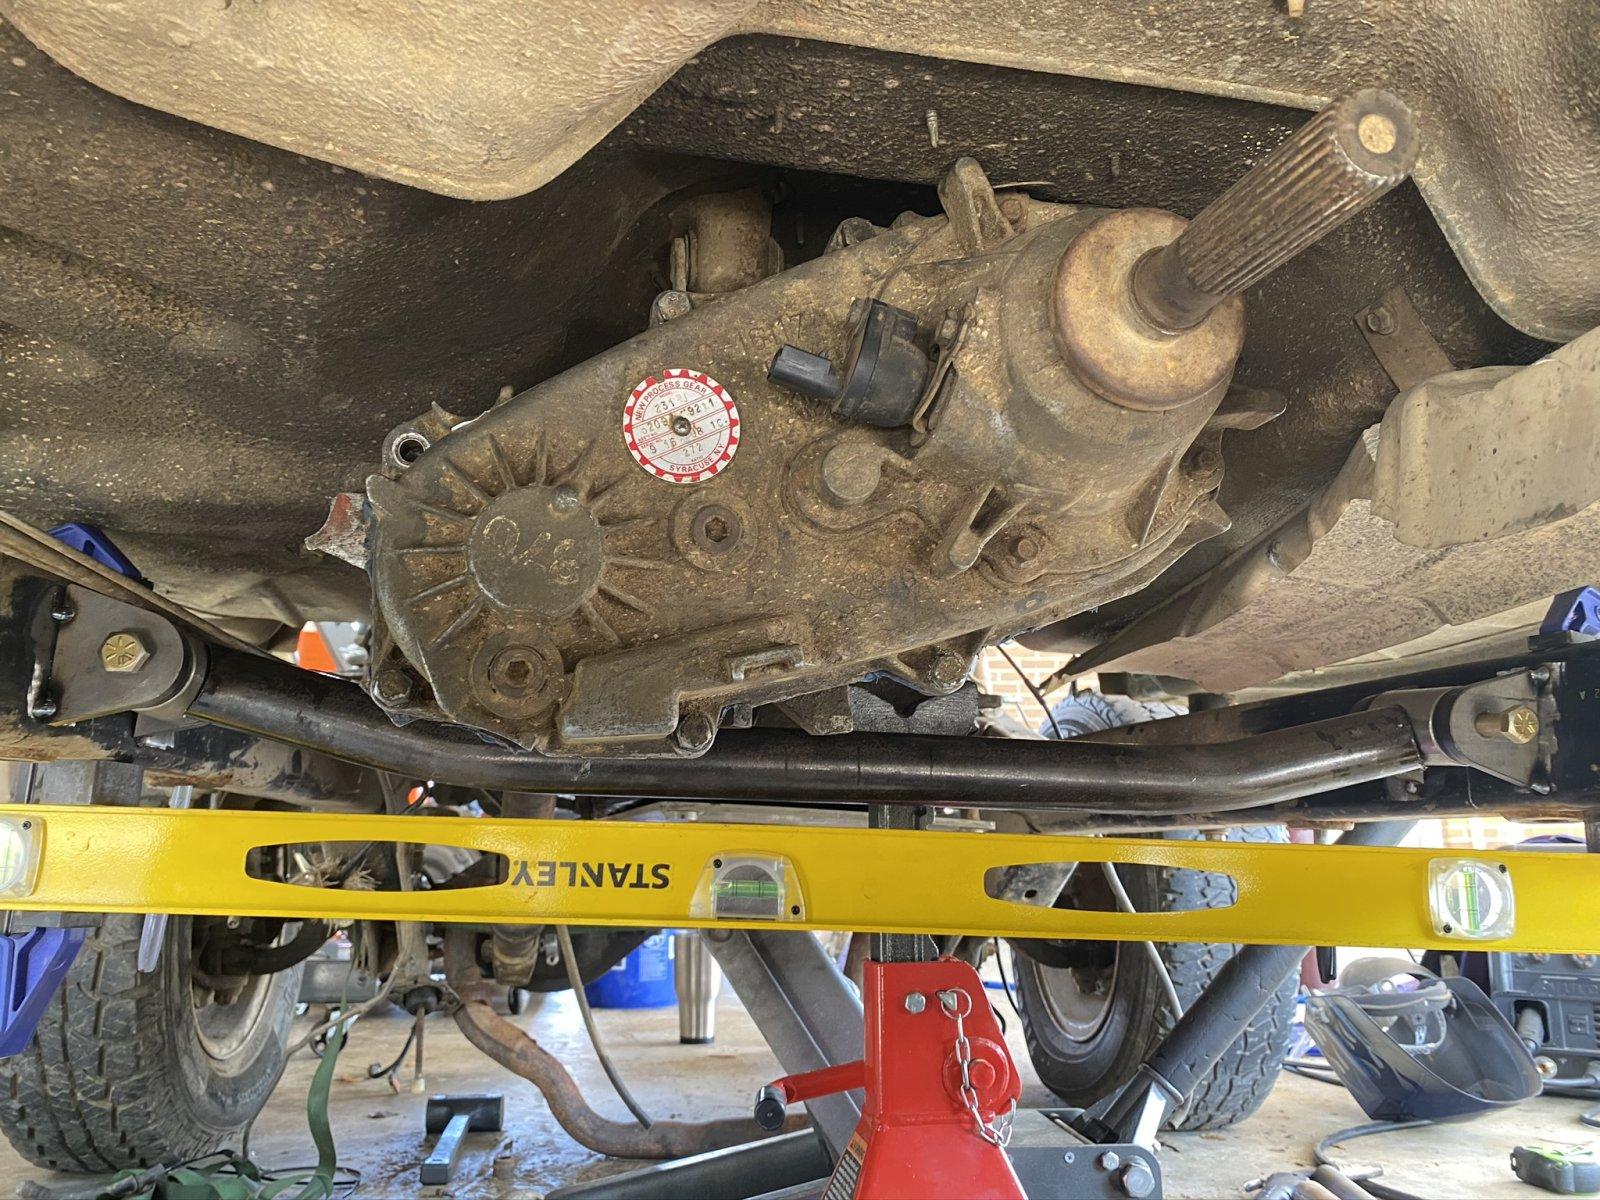
I purchased the Barnes 4WD Crossmember Mounting Set to serve as the foundation. Since the TJ frame tapers in and I wanted the bushings to be parallel with each other I used a straight edge on the UCF skid plate to mark and trim the mounting tabs. I am quite a ways from claiming to be proficient at tube bending, so take my building process as a grain of salt. My skid plate has a 1" drop (measured from the mounting flange to the top of the skid), so I cut 2 1" spacers and clamped up my level to use as a straight edge and figure out the bends. The tube had to be directly under or behind the front CV joint for it to clear the drive shaft, so I opted to put it directly under the joint.

01e7ec1cf8fbedd06ea103c648d1889efd59cd119f.jpg


After 2 bends and a few trips back and forth to the notcher, this was the final result:

0150ab11b4827bdf3e1b2e23b236817dc23ff30ef5.jpg


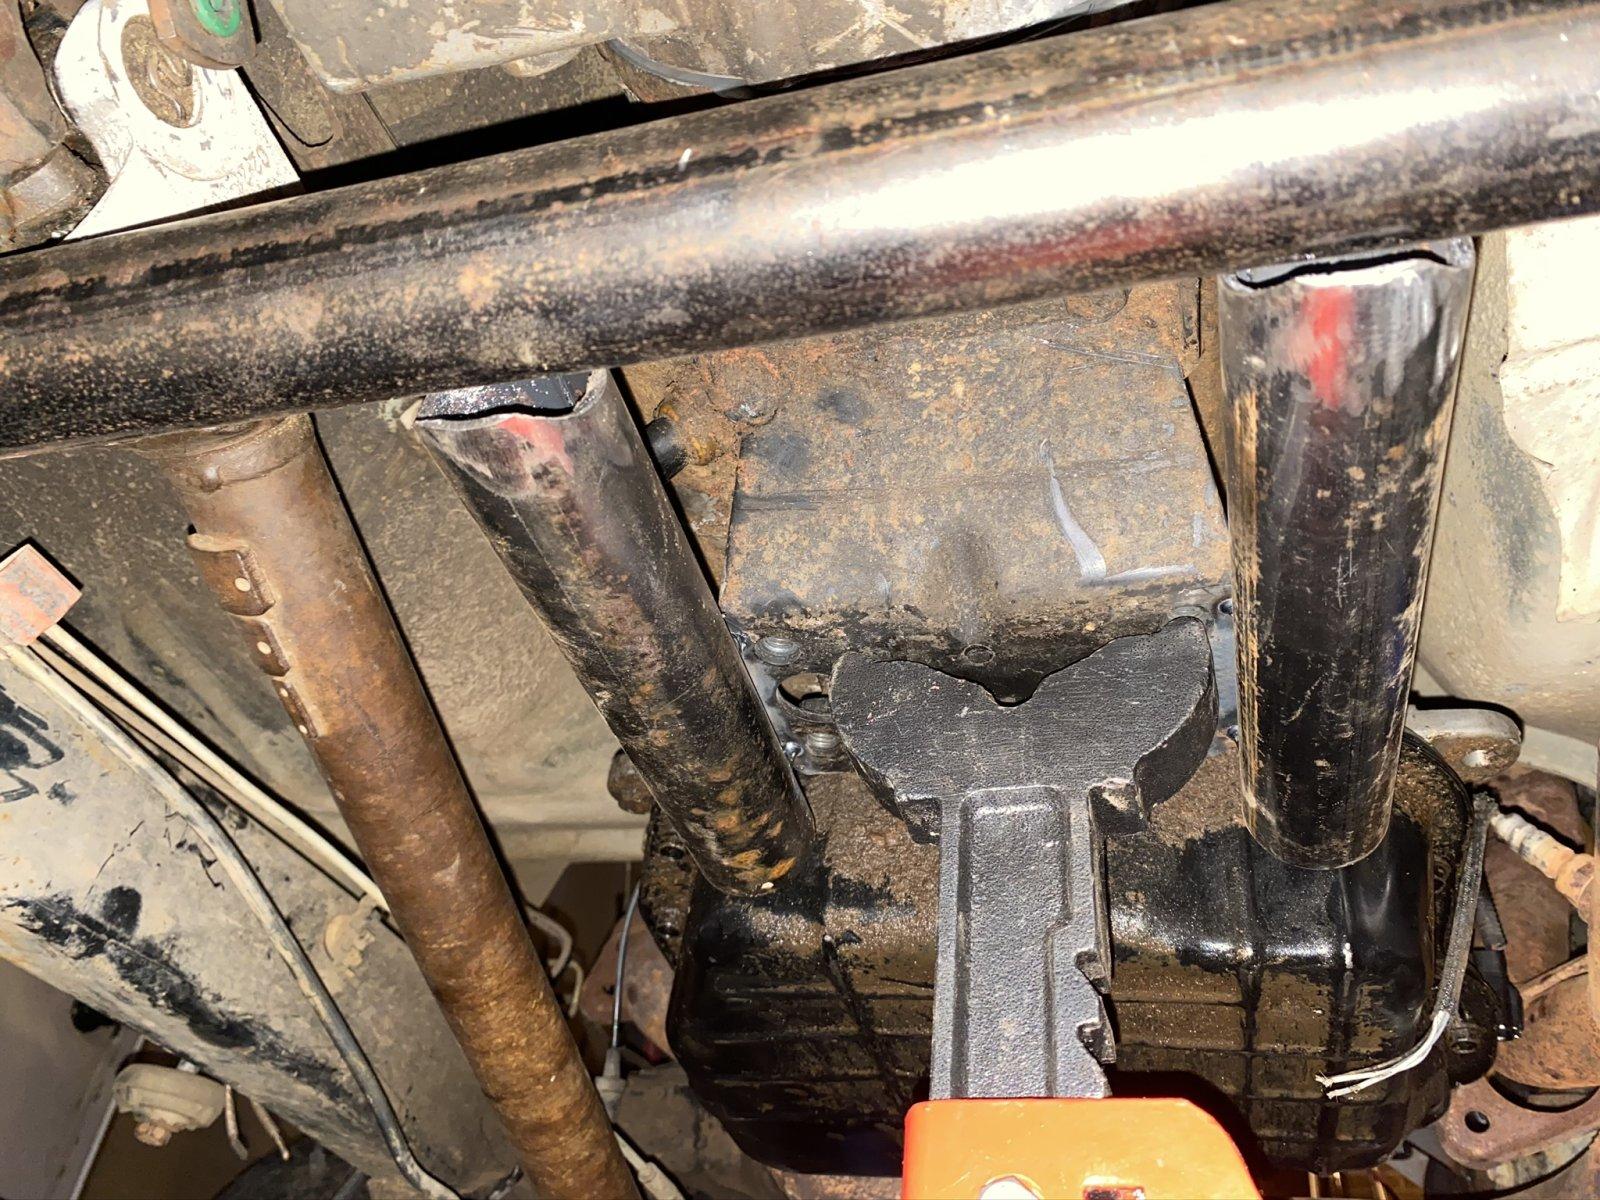
I opted to use the factory transmission mounting plate as part of the crossmember. It's not as elegant as I wanted, but it was simple and worked. I cut and notched 2 short tubes to tie this mount to the crossmember. And no, I didn't weld those huge gaps – the tubes were readjusted after this was taken.

0143faf57b065f61259f407662b53a124e4358782d.jpg


With the crossmember tacked together, the exhaust was the next piece to tackle. The Durango used 2.5" exhaust, and since I was utilizing the Durango manifolds and Y pipe I chose to maintain that size on my Jeep. Had I started from scratch I would have likely done a 3" all the way back.

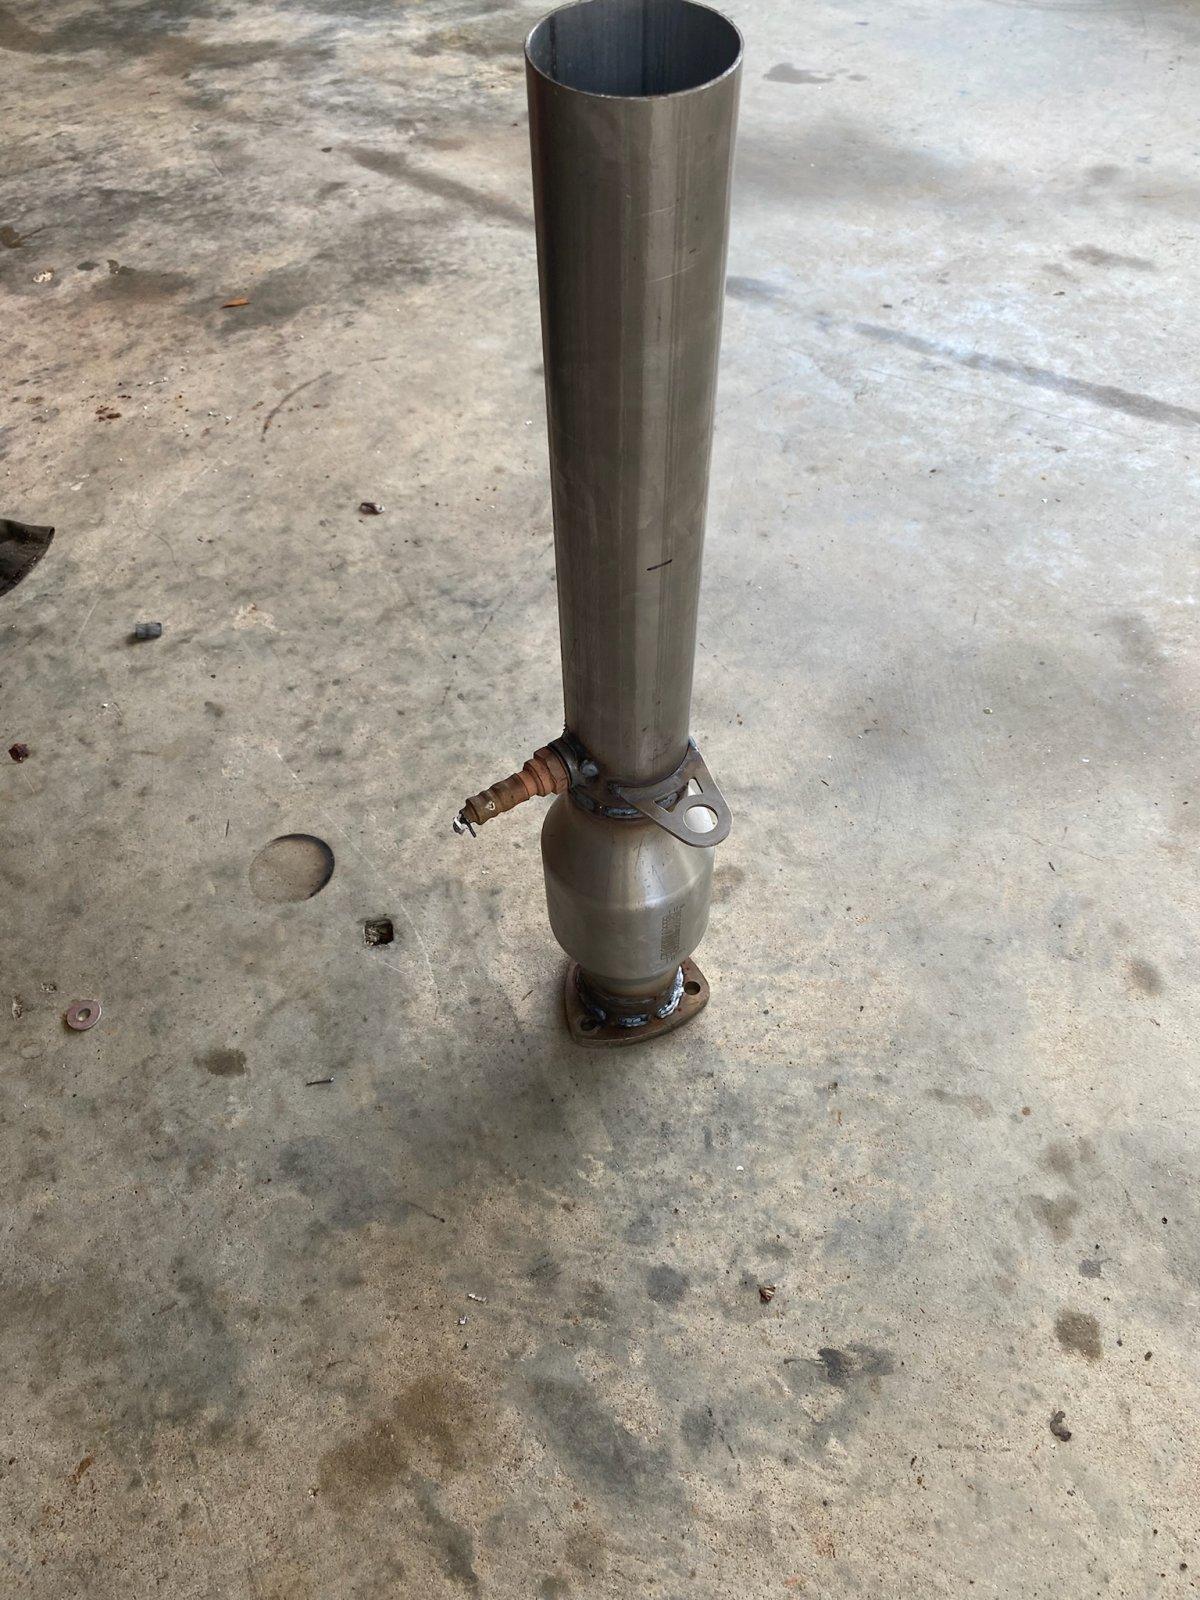
The addition of the crossmember made routing the exhaust a tight squeeze, but a fairly simple ordeal. I welded on a pair of 3 bolt exhaust flanges from Summit Racing to mate the new exhaust to the Durango Y pipe and ran the new catalytic converter and muffler straight back to the factory exhaust hanger. An O2 sensor bung was added behind the cat to maintain the stock configuration. I'll let an exhaust shop bend a new tailpipe for me once I have this running and driving.


Spoiler alert: I didn't get ALL this done on Saturday. I can't have y'all thinking I work that fast....
 
Last edited:
Remember the mixed back of weather I talked about? It was mid 70s the day before. The next morning?


0123bf535acdb185d31cc1e79fa65258975d8be16f.jpg


I don't like to bounce around on a project, but I can't help the weather. I spent the next 2 days checking items off my to-do list for the 5.9 since I couldn't just toss this motor in the Jeep after all the other work I've done. I decided to do the following:

  • Install a Melling oil pump and Felpro oil pan gasket
  • Install the Hughes Engines plenum plate kit. PS – this is a really nice and complete kit. Their directions are pretty great too.
  • Install a new Melling timing chain set and Felpro gasket.
  • Replace all the spark plugs and wires.
  • Install a new belt, tensioner, water pump and a ZJ PS pump bracket.


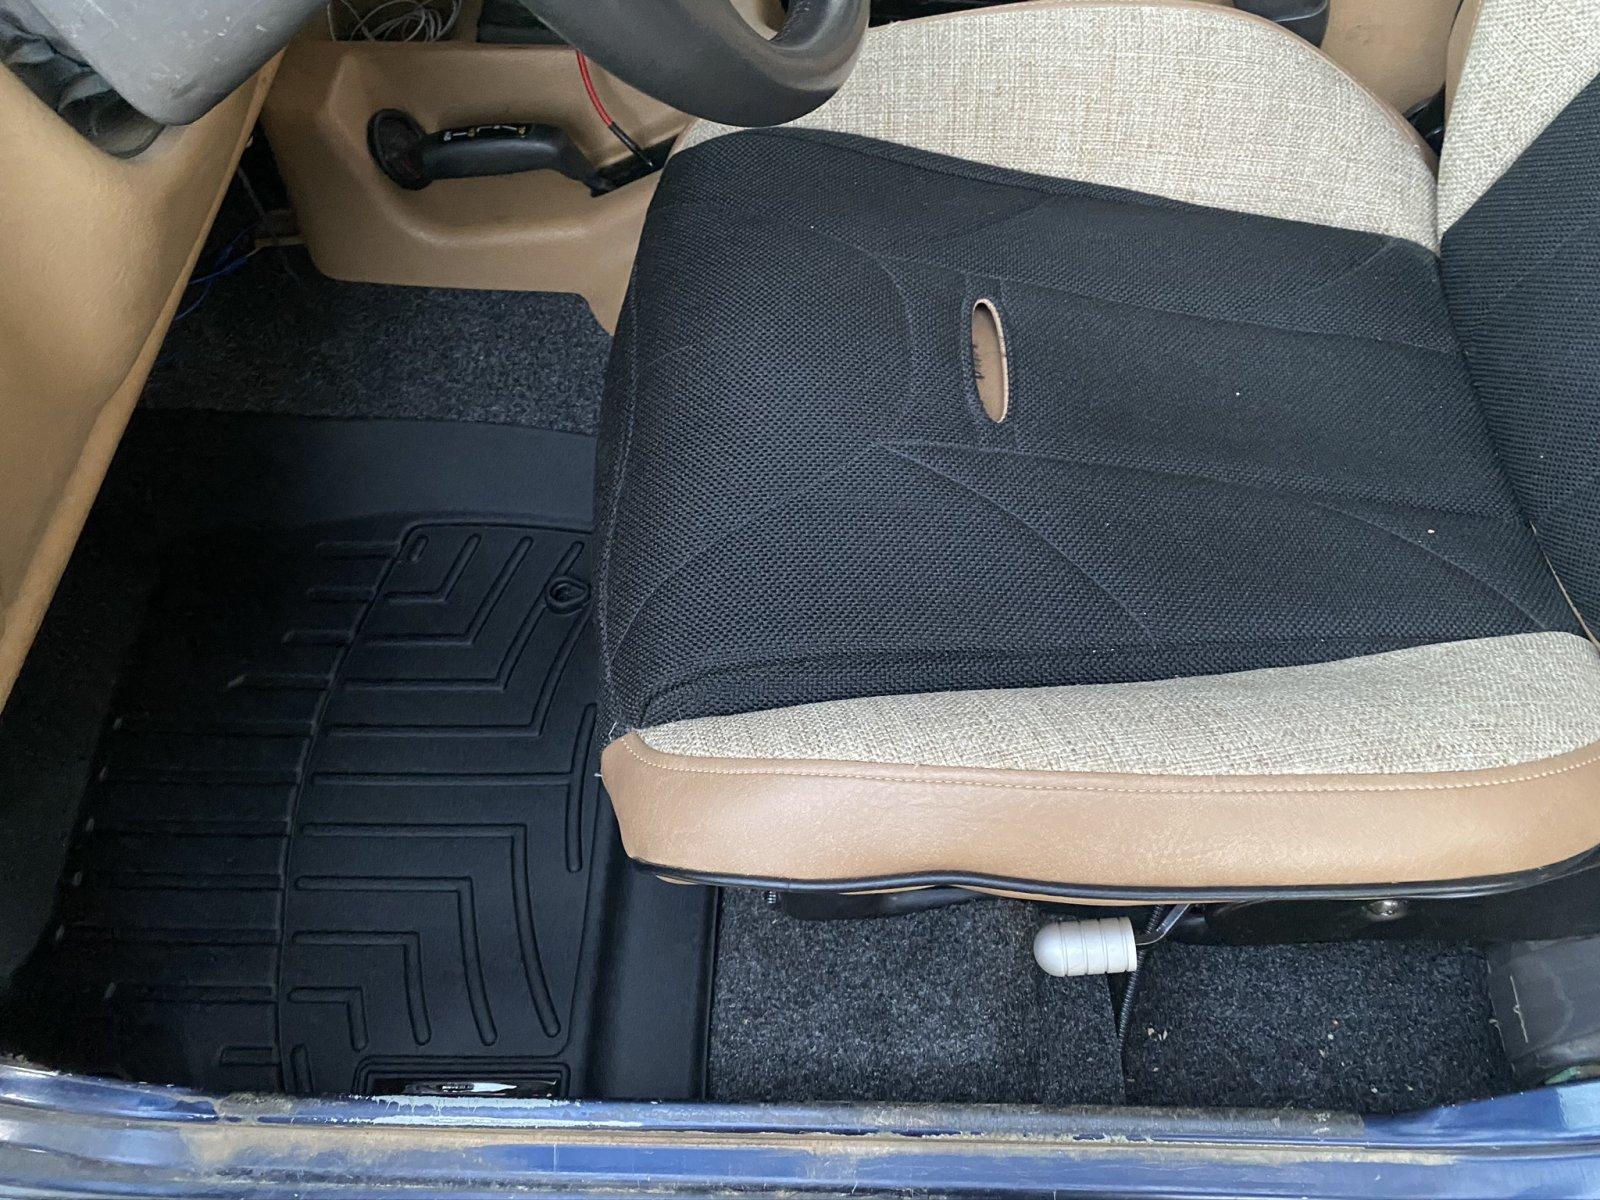
At my wife's request, I ordered new Weathertech mats for the front. Its almost comical how big of a difference new mats make on an interior.


01b84a228cc112e9891b8708be98702418ccadfb26.jpg


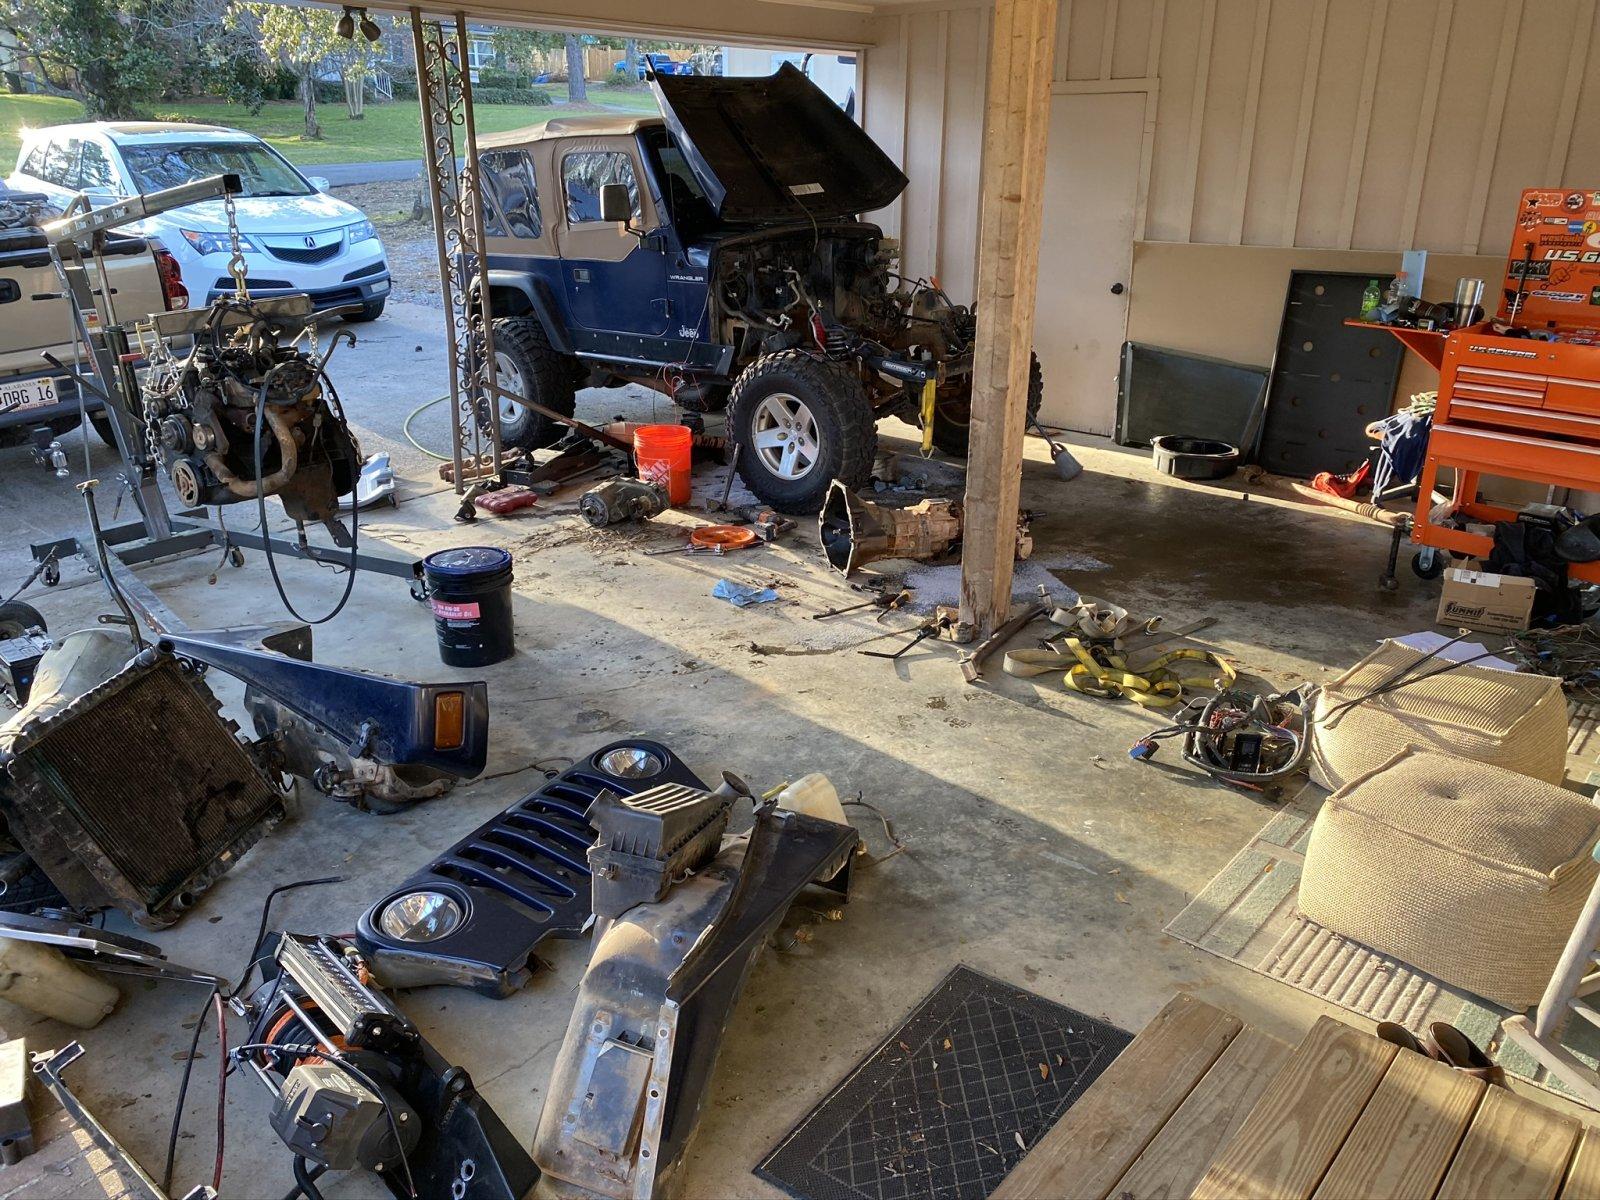
I blinked and my deadline of hearing the Jeep run was here and I was nowhere close to being ready for that. With the mock-up complete enough, I decided it was time to start hustling on the final product. After about 7 hours on Saturday I had a destroyed carport and had managed to sell the 2.5 engine, ECU and air intake.


01913bd975a62a9947feefa10668cda448773e8aab.jpg


I spent Sunday getting re-organized and returning the 98 TJ back to storage. I'll focus on getting it sold once the swap is complete. My next goal is to have the motor and transmission in the TJ by 4/11.
 
At this point I've given up on deadlines and am simply putting in the hours until this is done.

With the 2.5 out, it was time to rinse and repeat and get the drivetrain set in its final home. A Sawzall, grinder and air hammer (sorry neighbors) removed the old engine mounts. I set the mounts to the same 5* angle back I'd mocked them up for, fully welded and painted them.

The engine refresh was completed, so I turned my attention to the transmission and transfer case. The transmission received a new Wix filter and pan gasket, new overdrive housing (I cracked the old one-oops), new torque converter (another oops – I scrapped the old one) and a sending unit mounted in the pan for the Glow Shift gauge. The pan in the 46RE had some clutch material and minor metal flake but not enough to concern me so I'll run this transmission until it needs a rebuild.

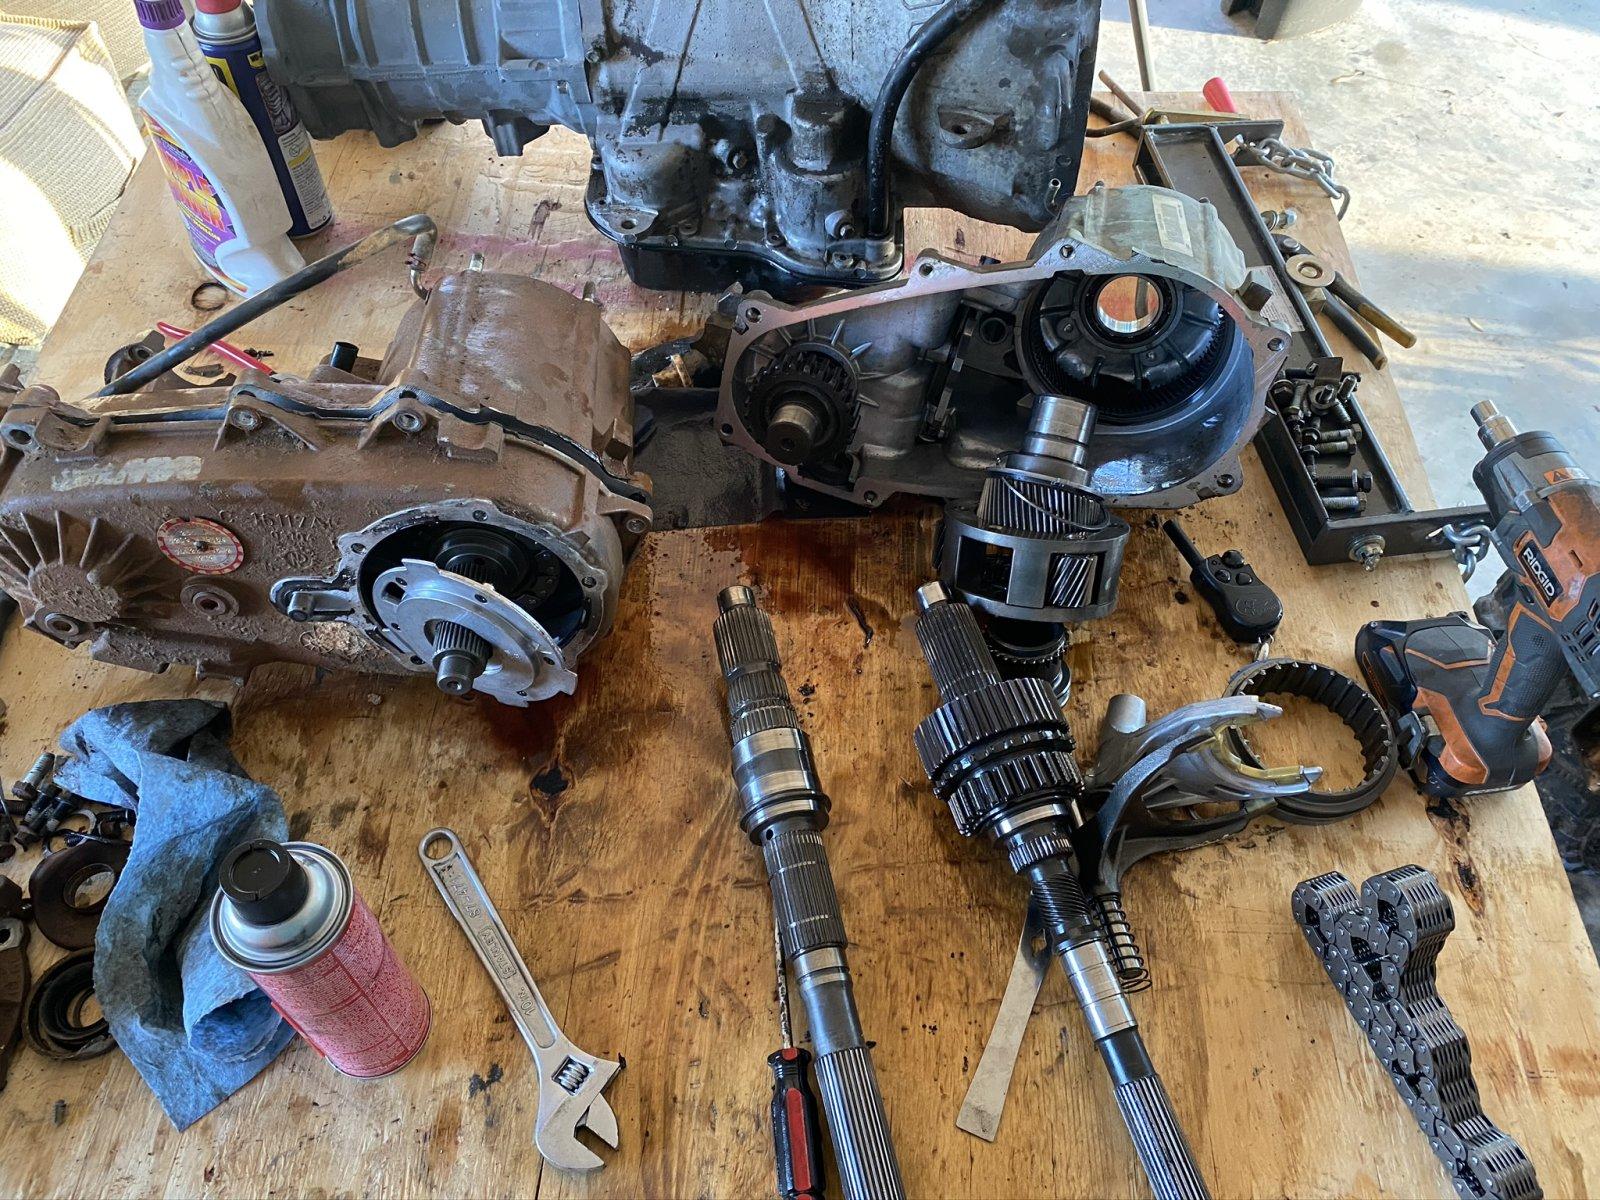
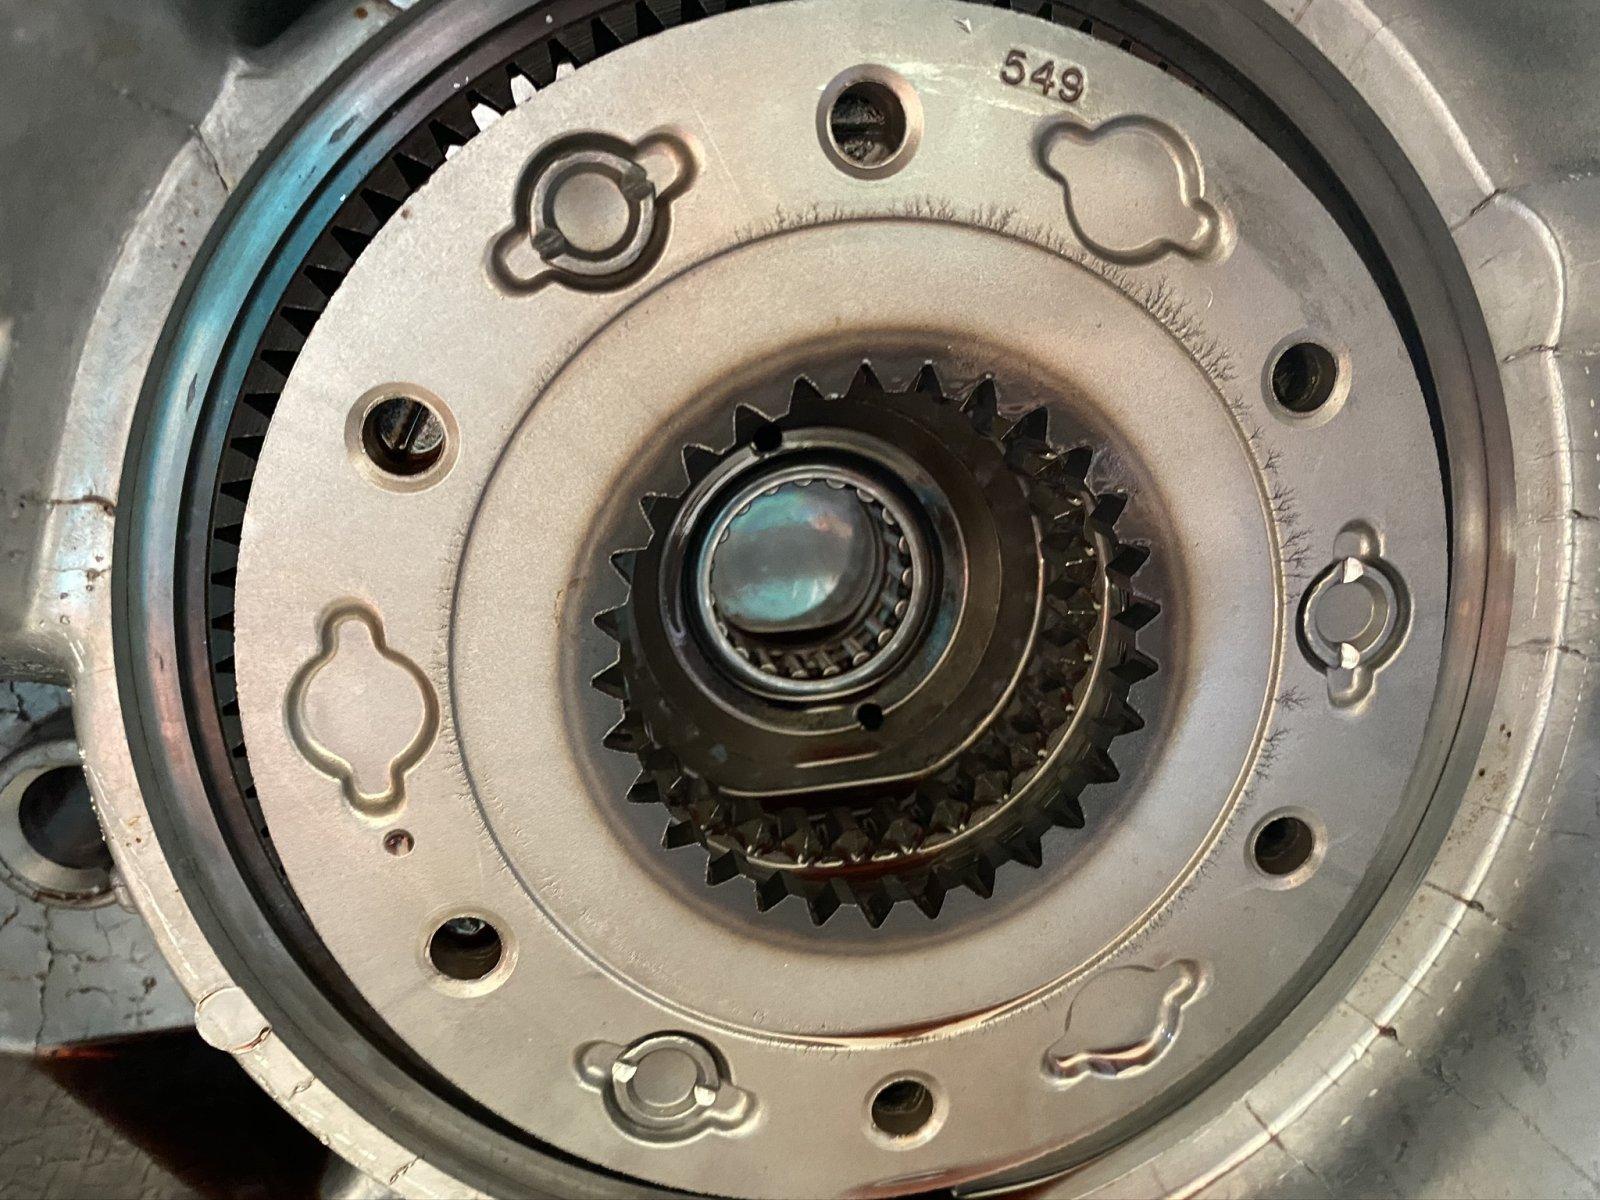
Next was to install the JB Conversions SSSYE. Since the AX-5 transmission that comes behind the 2.5L has a 21 spline input and the 46RE has a 23 spline input I needed to swap the input shaft. I bought a pair of lock ring pliers off Amazon [DG1] and went to work. The only difference I found between the NP231D and NP231J was the output shaft and shaft housing, but since I'm swapping in a SYE that is now irrelevant. I opted to keep my Jeep case and swap everything into it.

01e503ab98af48680ae4ebdb332bf5e8db1bcd41fd.jpg


There's really not much to the NP231, so installing the SYE was a matter of disassembling both cases, swapping parts around and reassembling. I'd read on other threads about folks buying and swapping in an HD chain, 6 gear planetary and input shaft and here is an advantage to buying a Dodge as a donor (not sure if this is applicable to a GC or not) – my Dodge NP231 already had 2 out of the 3 so there's no need to buy anything.

My NP231D had the same 3 pinion planetary, so no upgrade there. The input shaft was removed and installed into the Jeep case.

014b9be3a79d6dd01167356a39967dd0630c63d43c.jpg


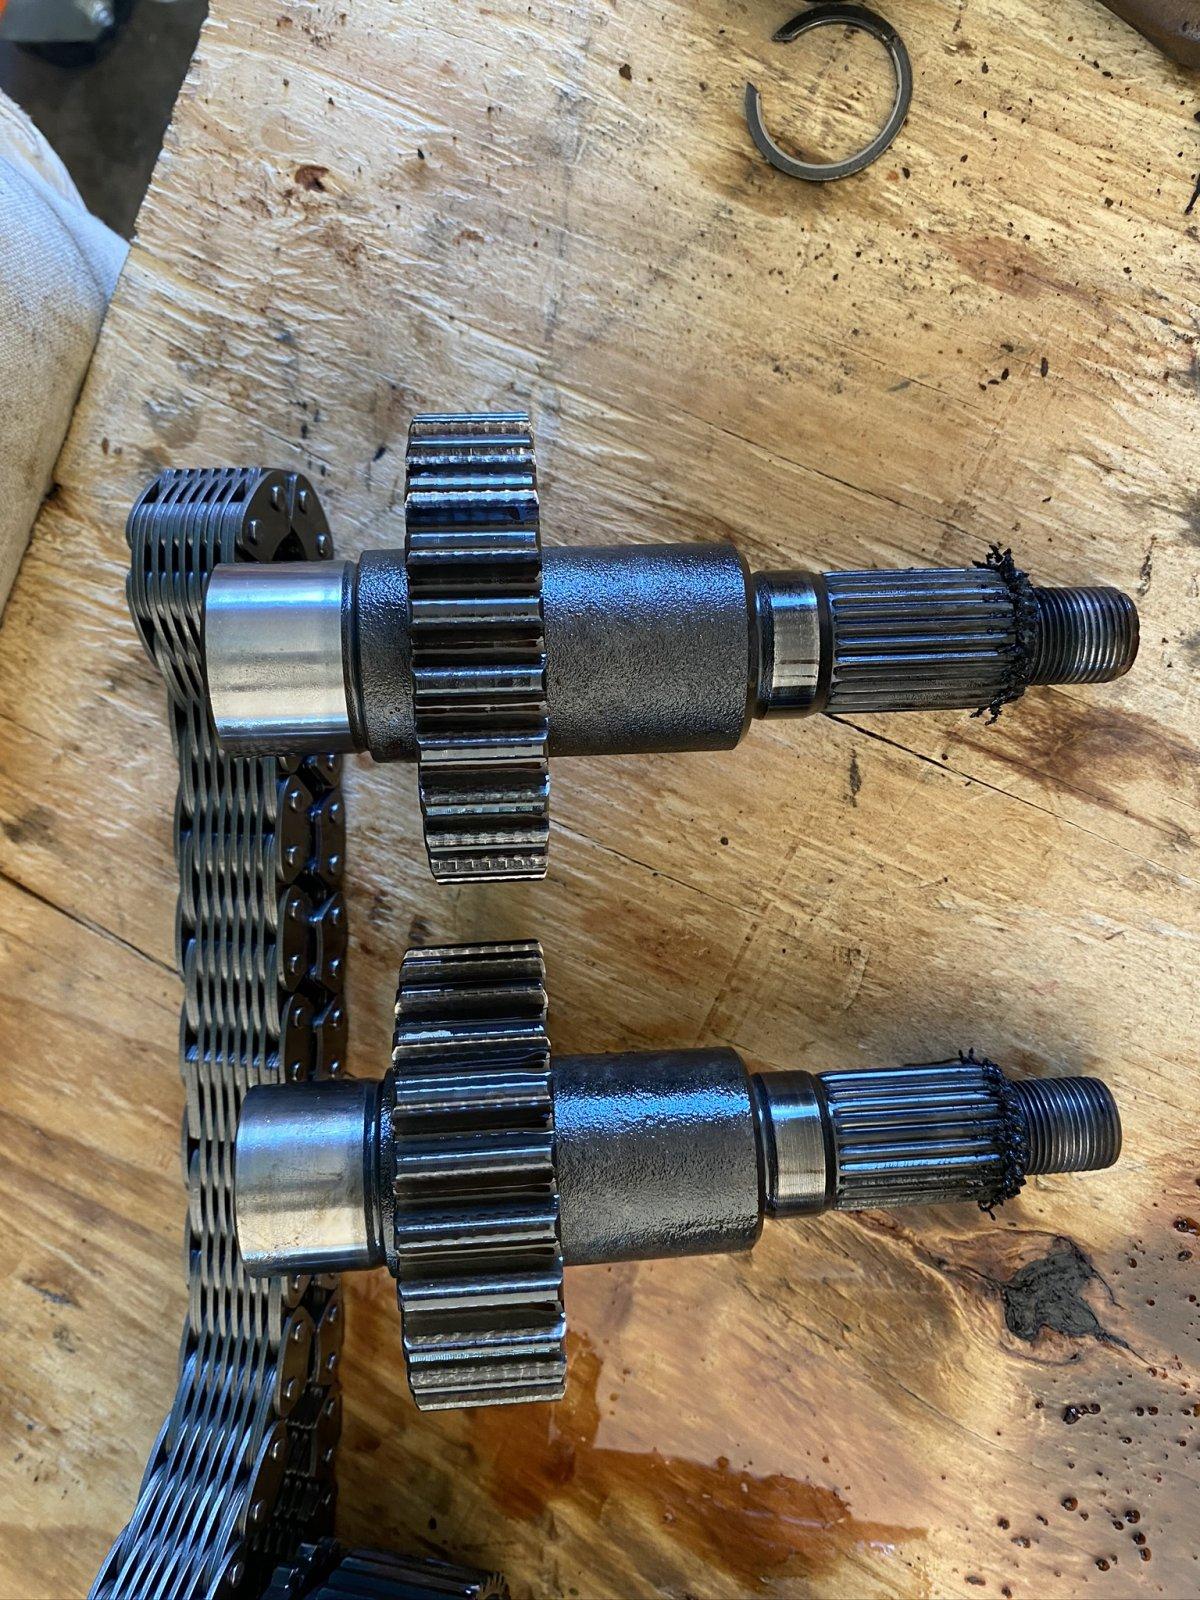
It did have the wider HD sprocket and chain:

012dc87f10b73cca42ae4aceade6be06fb07dc73fd.jpg


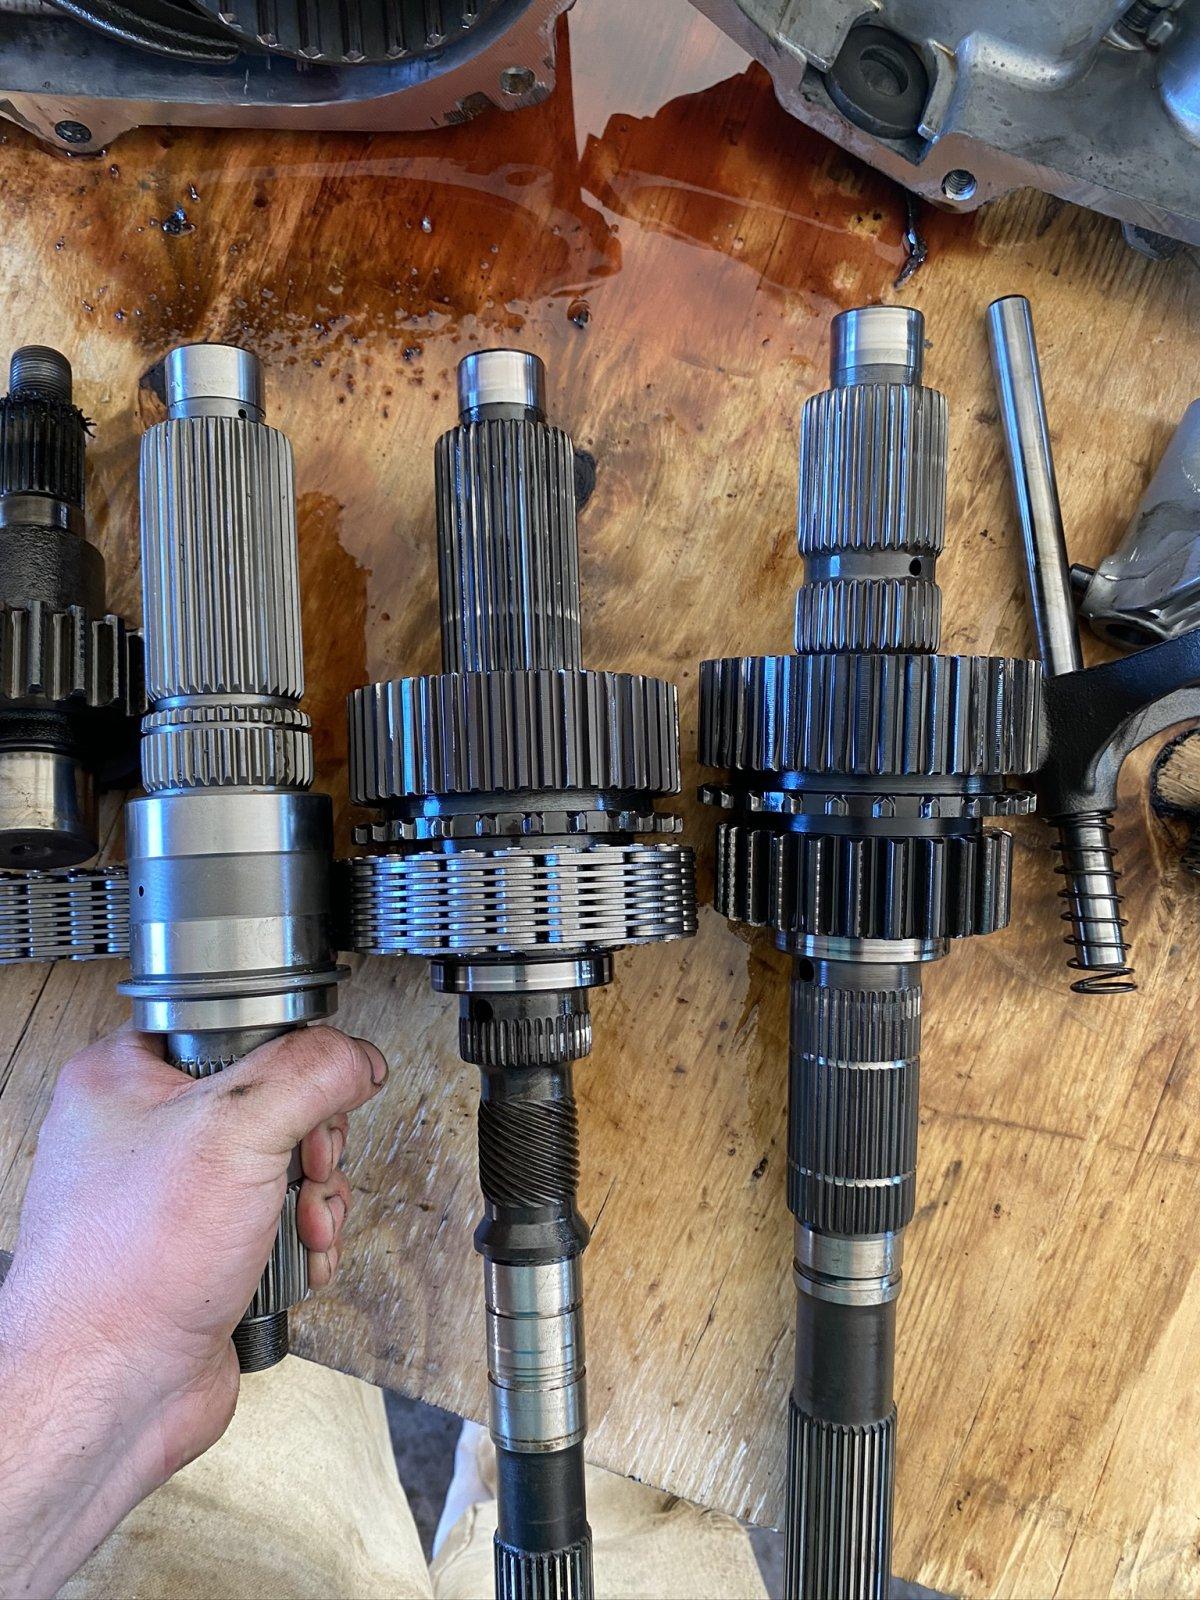
This shows the differences in the input shafts. From Left to Right: JBC, NP231J and NP231D. Look how short the JBC SYE is!

016b55479686a12e3e1e1a4bd7a5e7e9513a969250.jpg


I installed a thin bead of ultra grey RTV to the case halves, torqued everything to spec and bolted the transfer case back up to the transmission.

01c9034b51cf0820849816fc74964153d1d12097fc.jpg


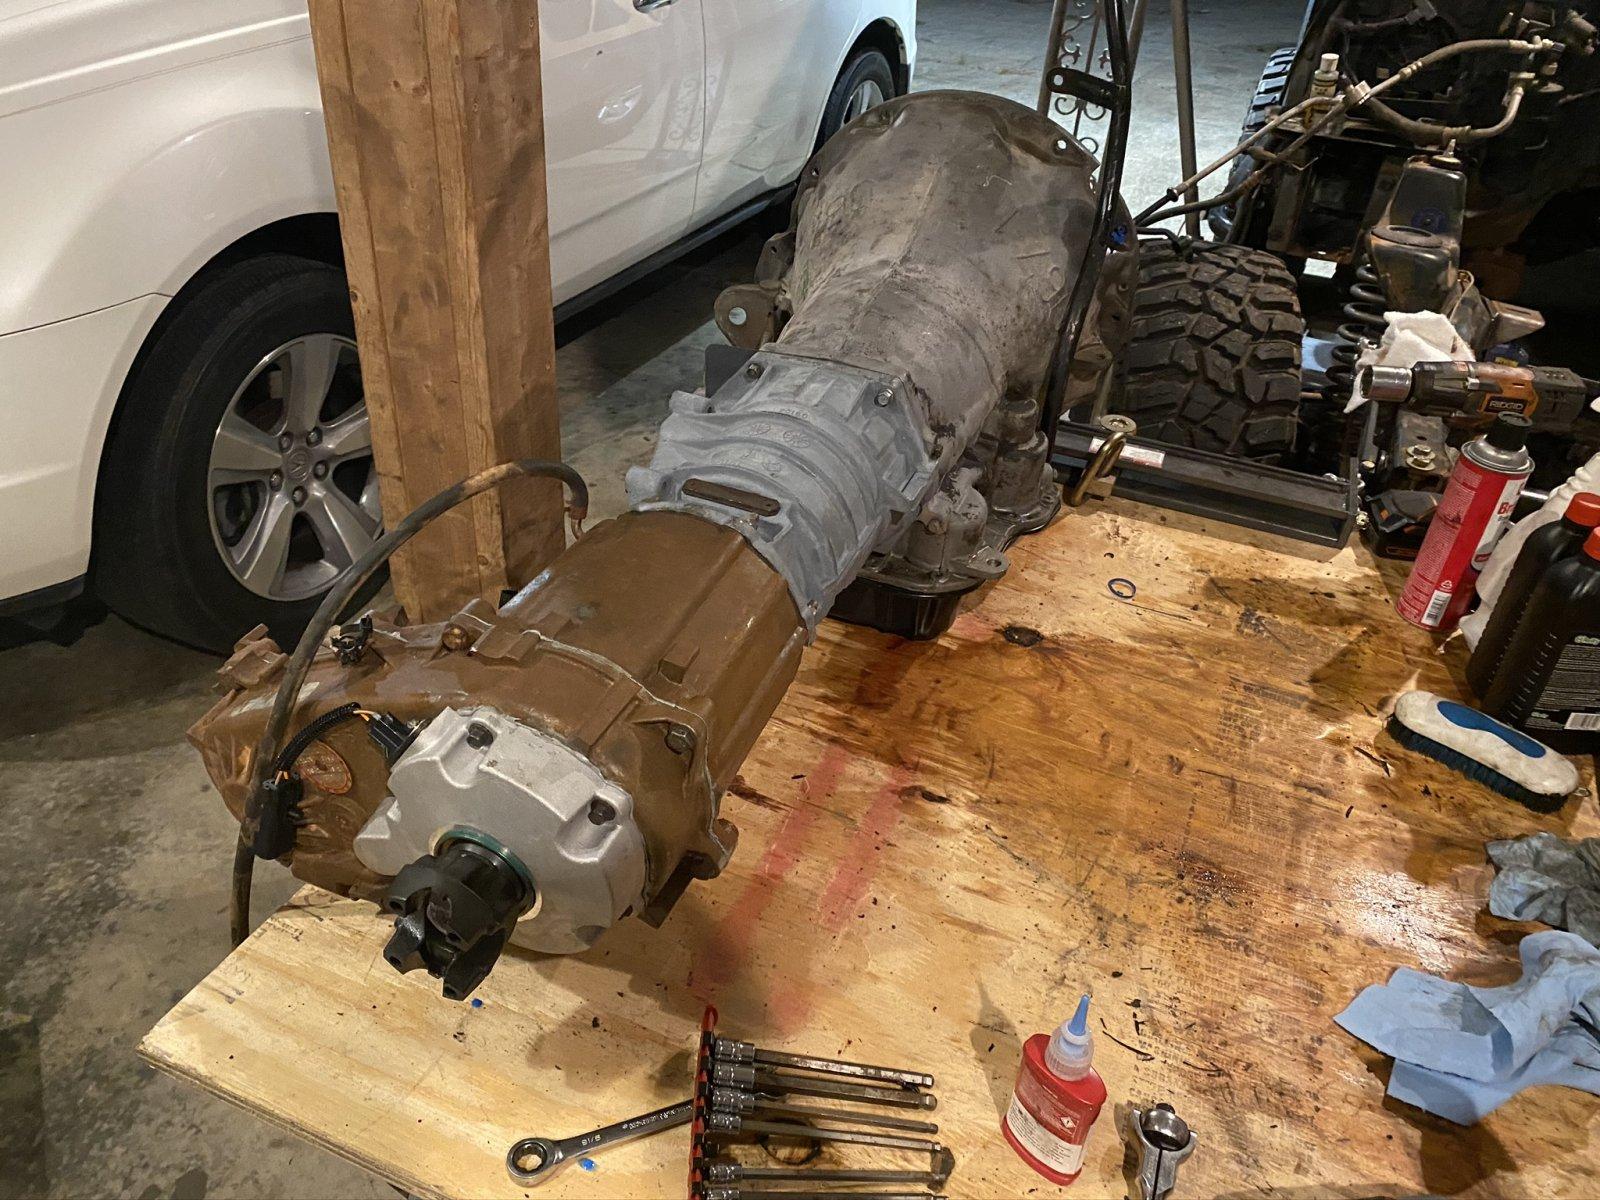
The transmission was married back to the engine and the entire assembly went into the Jeep for what should be the final time.

0100140989ce76ffc5ddae890e8f61199115c621cb.jpg

0151bfb635890b282cef8adba517ba6dfa71b25476.jpg
 
As an Amazon Associate we earn from qualifying purchases. Product prices and availability are accurate as of the date/time indicated and are subject to change.
Glad you are making progress and skipped the idea of deadlines. Cool to see side by side comparisons of the transfer case innards.
 
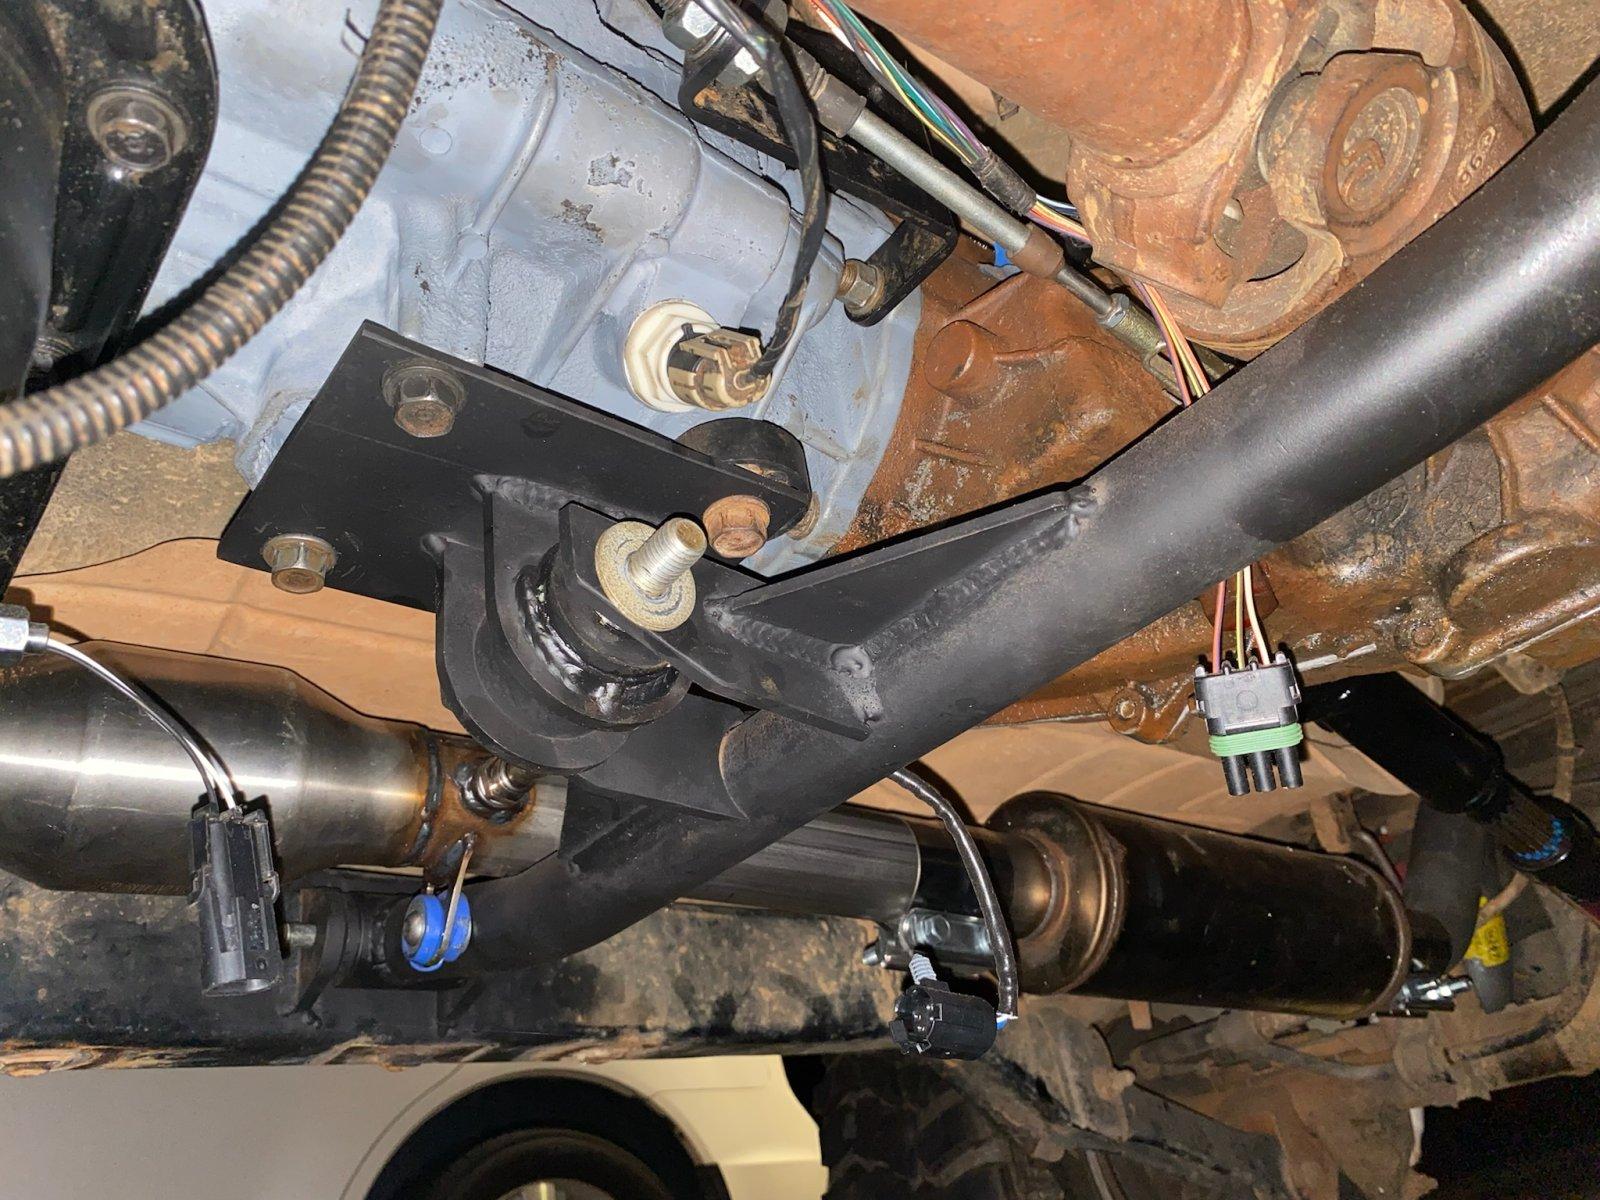
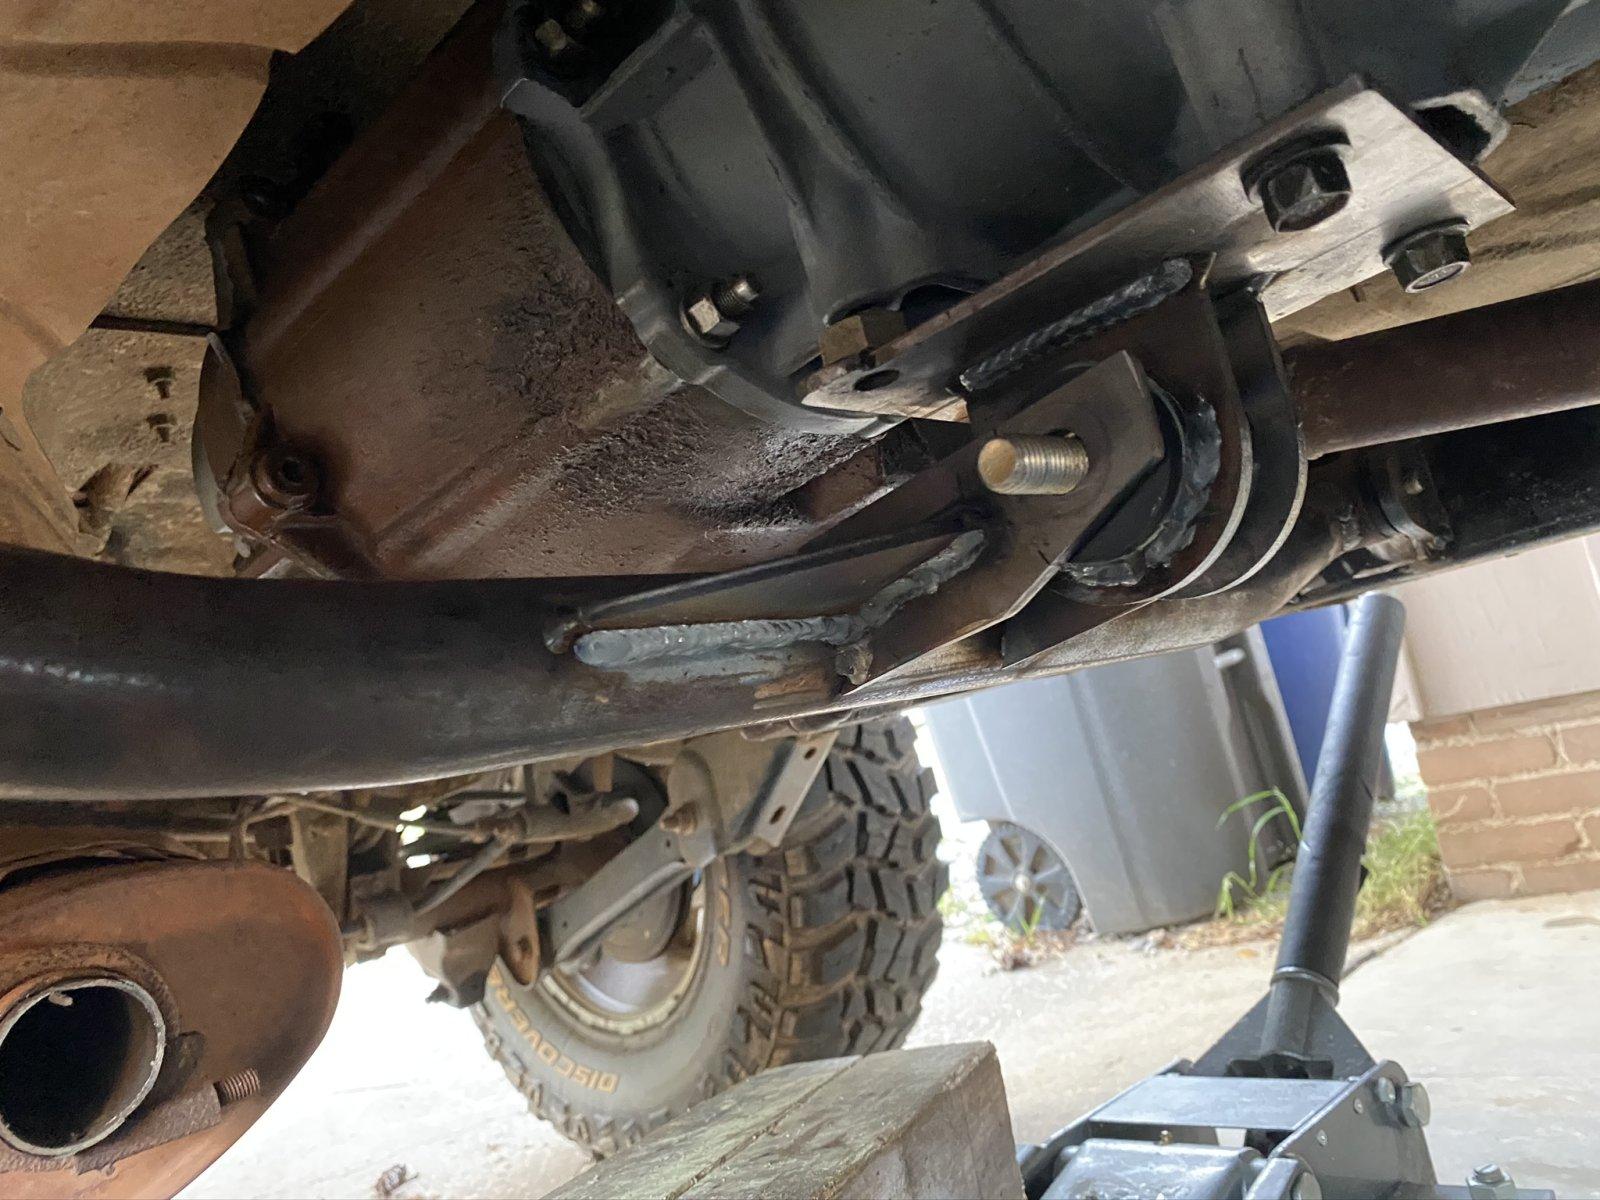
Next was to install the crossmember. If you're using tabs in a double shear setup, here's a tip to allow easier installation after welding. Whether you're installing a heim joint for steering or a harness mount, install an extra washer or some spacer between the tabs prior to welding. This prevents the tabs from pulling together and making your crossmember, seatbelt, etc. nearly impossible to install. Another note if you're using bushings – be careful not to melt your busing when welding.

I bolted the tabs to the crossmember, tacked the mounting tabs in place then pulled the crossmember. The bushings from the Barnes 4wd kit have a 3" mounting width so I cut a piece of scrap tube at 3.125", bolted that between the tabs and grabbed the welder. You could also do this with all-thread.

Truth be told, I never really liked the transmission mount I'd mocked up before and was on the fence about changing it and after feedback from another forum I opted to change it. The drivetrain wants to rotate around the crankshaft, so the transmission needs to be able to rotate around that axis as well. The way I'd previously designed the mount the transmission was essentially fixed and would have likely broken the weld on the mount or cracked the transmission housing.

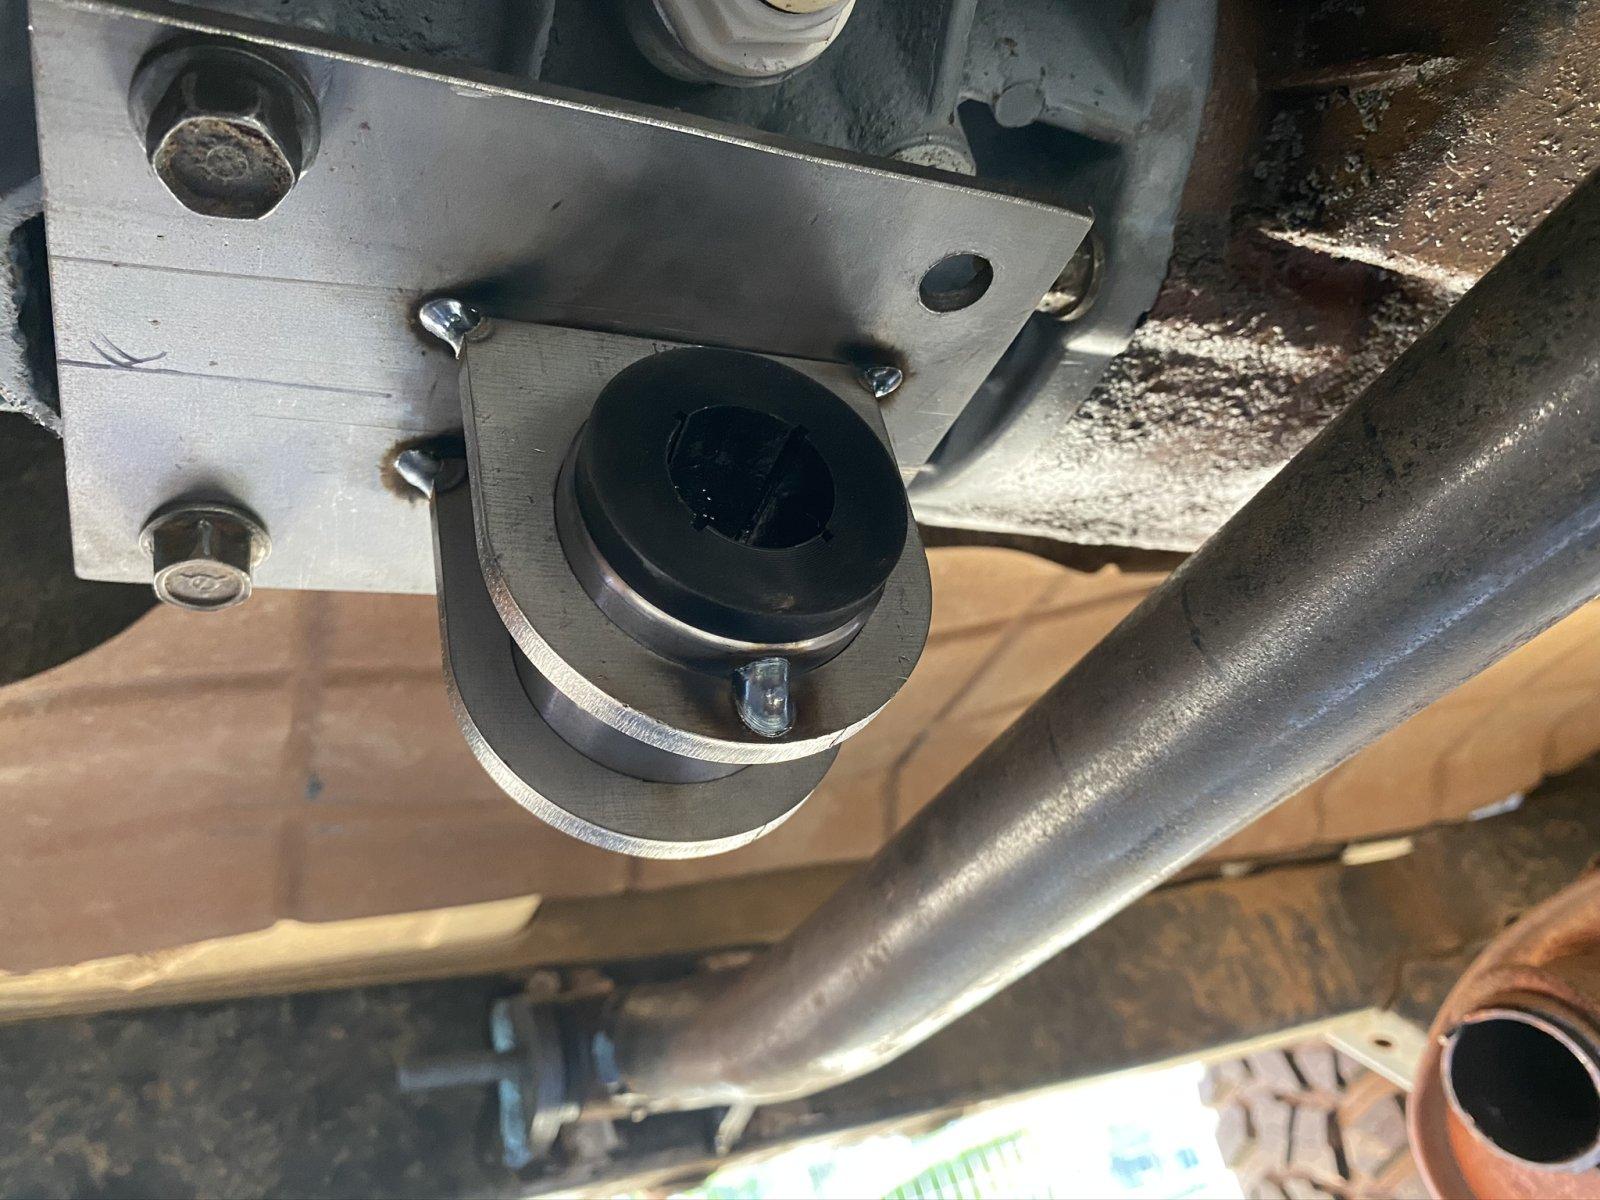
The factory Dodge transmission bracket centers the TJ rubber mount over the front 2 mounting bolts, moving it away from the crossmember. Unfortunately, it's far enough away that it creates too much of a moment on the crossmember for me to be comfortable with. I decided to build a custom mount out of 3/16" material and a Barnes poly bushing kit and mount. Here was the final result:
01048961c5a893fe447b4c945ee7278b77c3a1236c.jpg


01d3ded4ade45a0ec05979b51d622f6b2aa646e025.jpg


The transfer case was 20.25" from the driver side frame rail to the center of the rear output shaft, so I matched that dimension here. I intentionally shifted the bushing to the rear to make the mounting tabs as short as possible. Yet another tech tip for overhead welding – wear some earplugs to avoid getting sparks down your ear. It's really unpleasant.

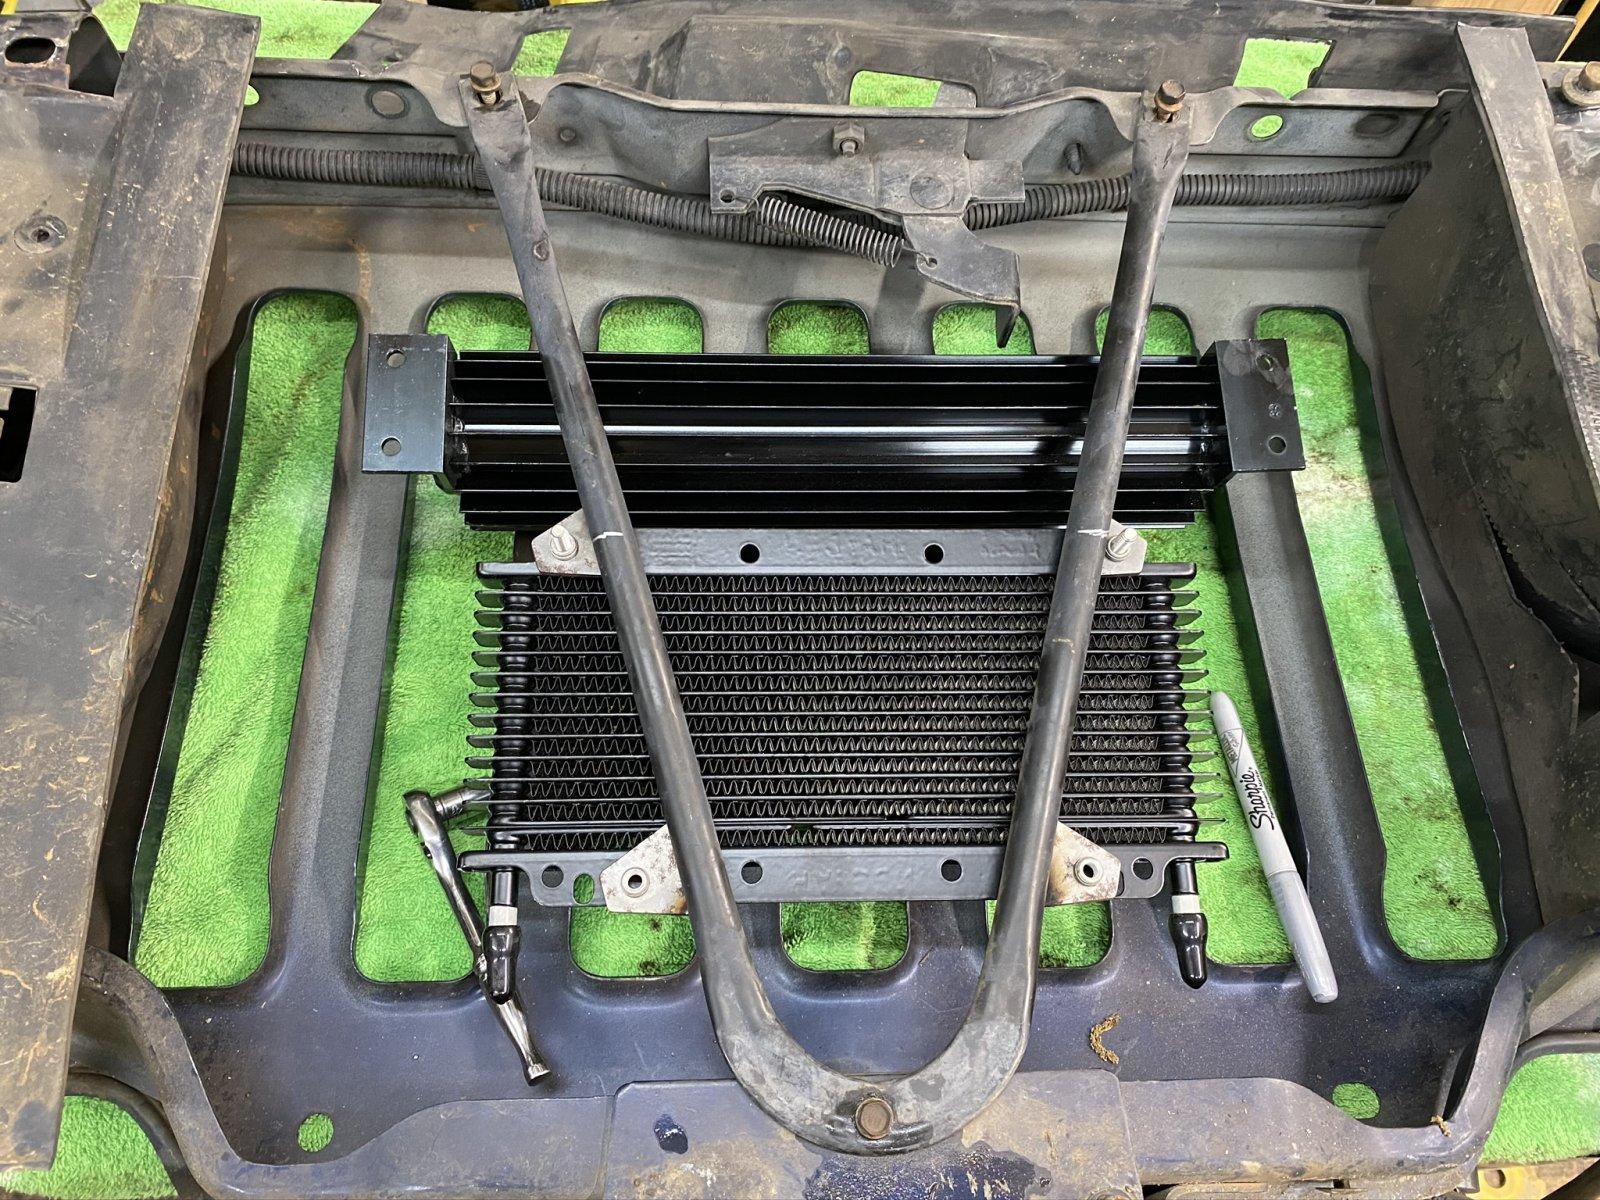
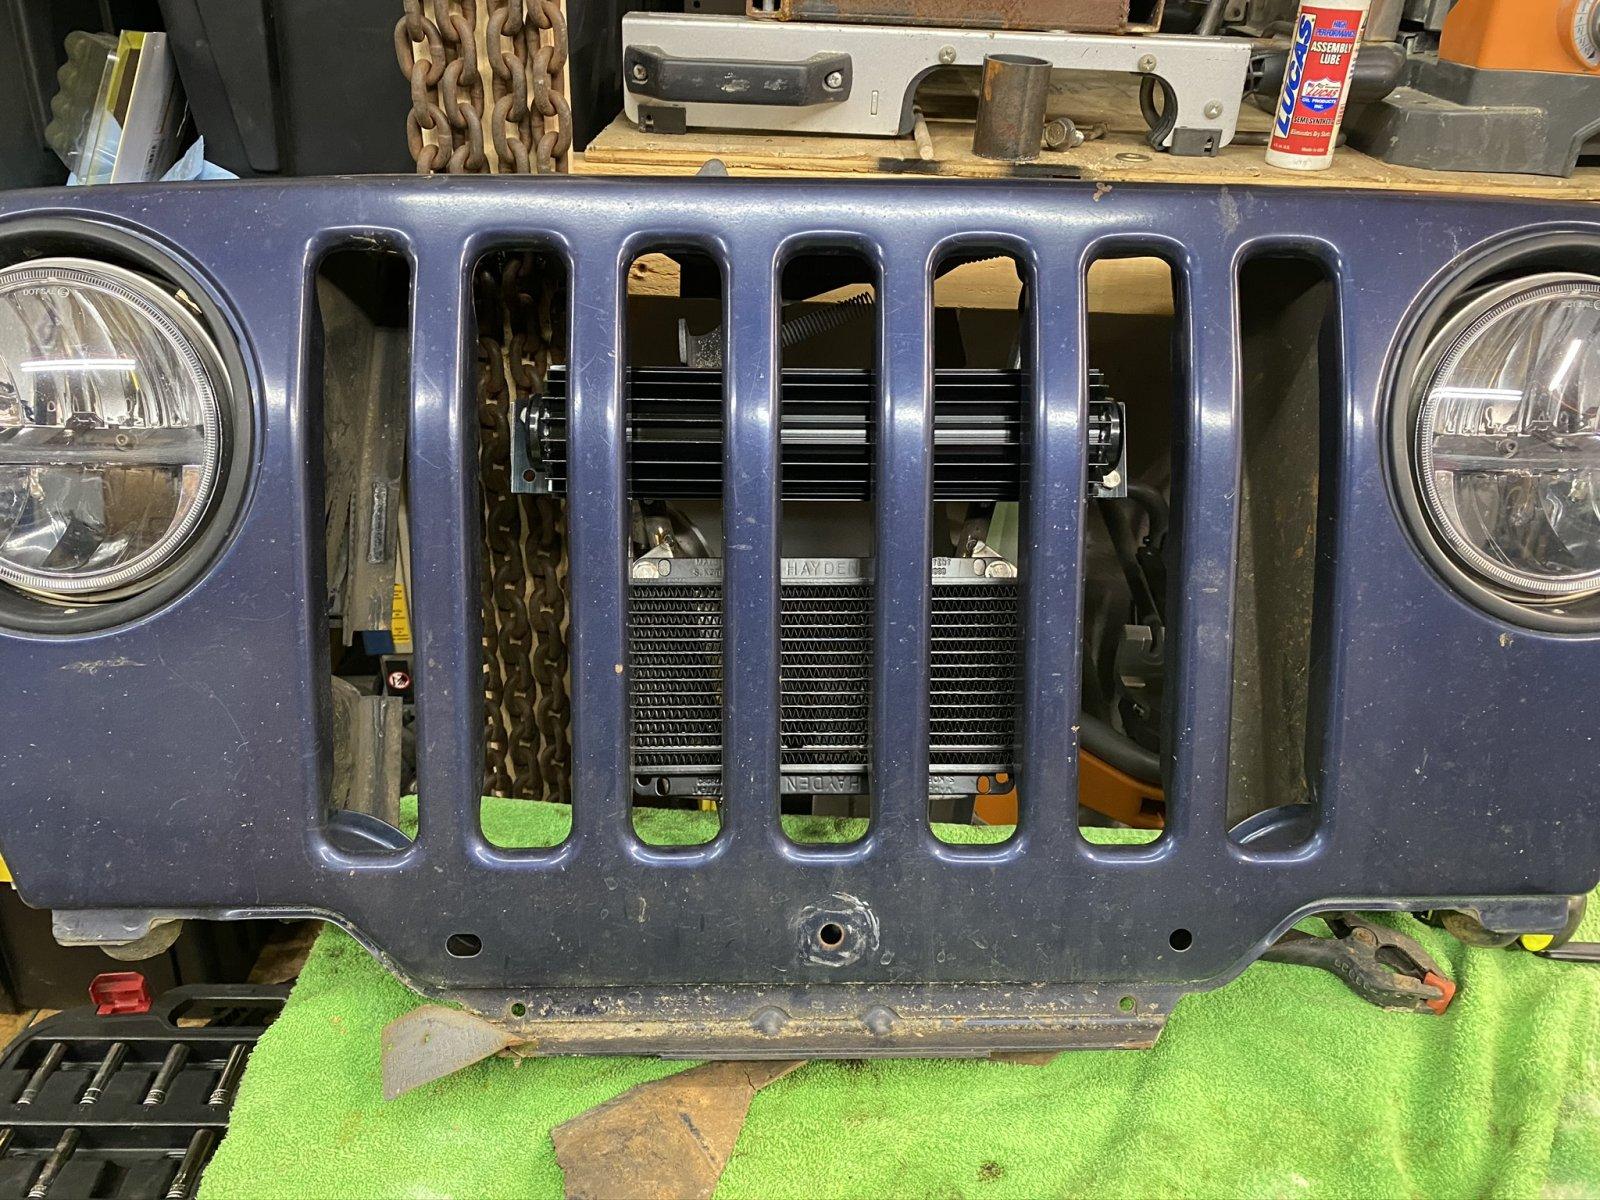
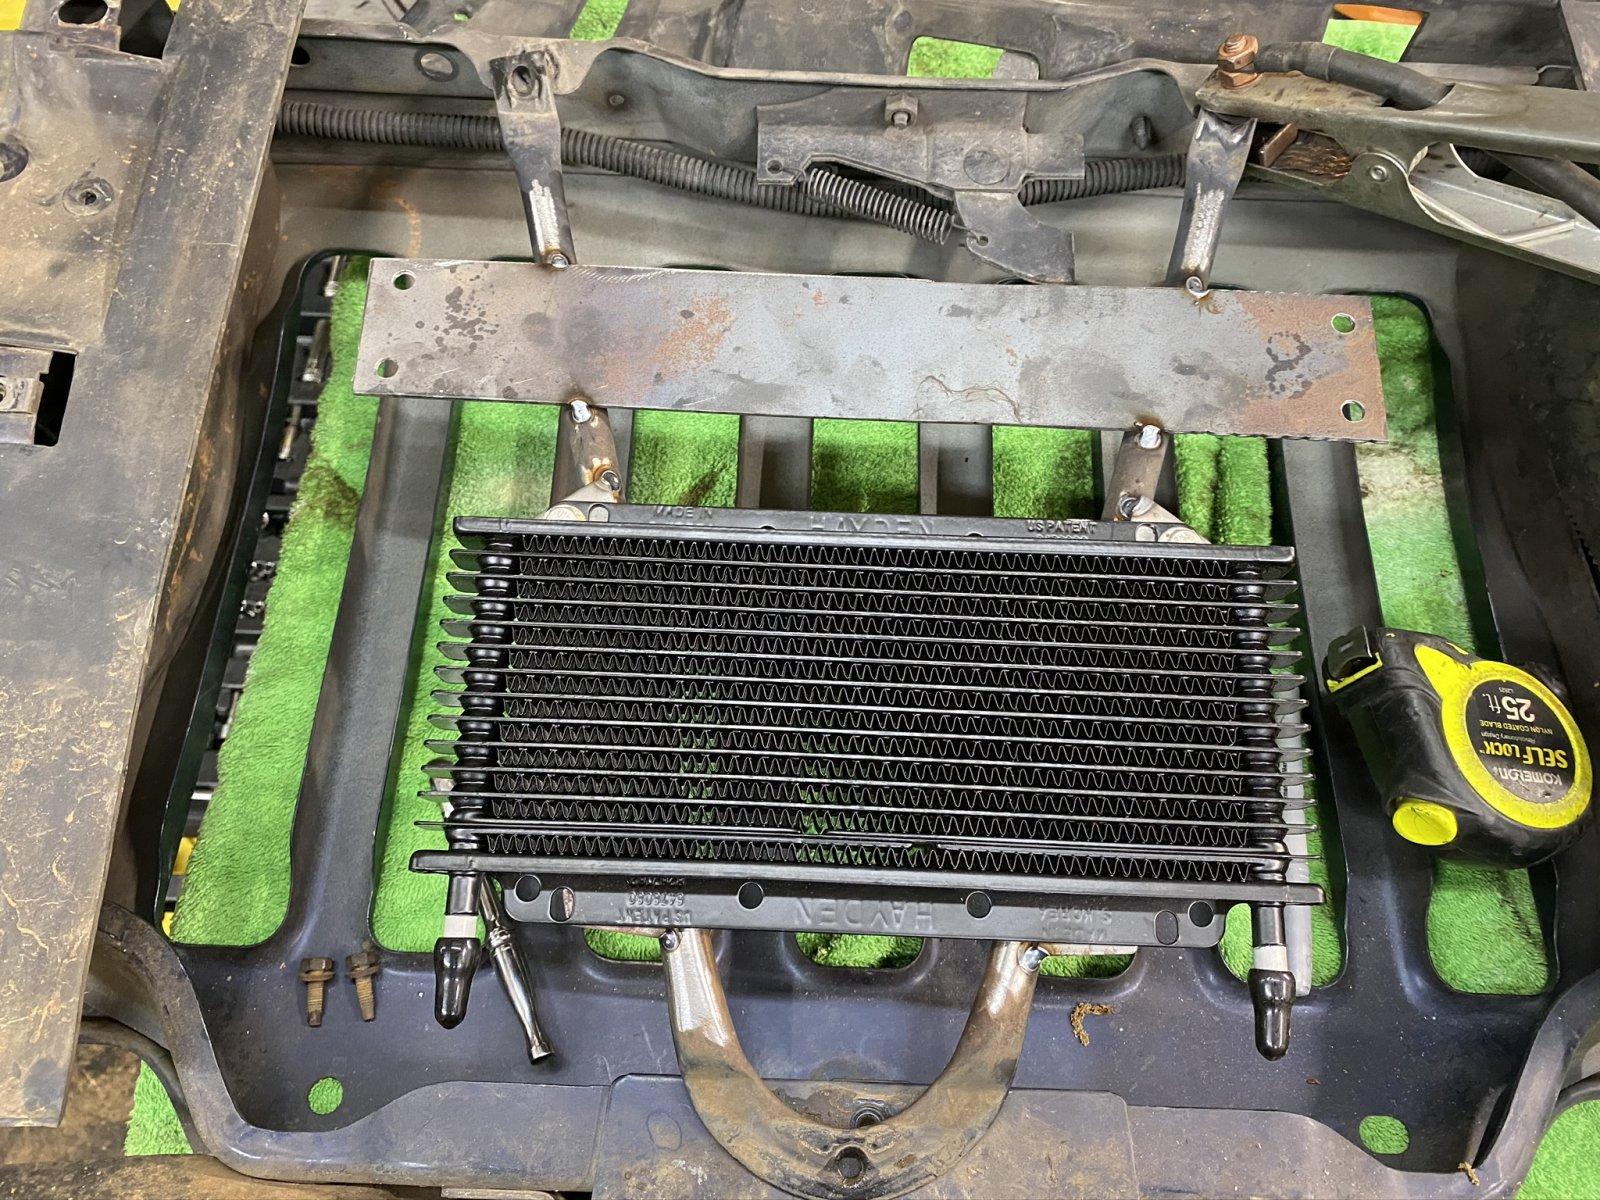
I had a few hours after work this week to tackle a small project and decided to mount the transmission and power steering cooler. The transmission cooler mount is simply threaded trick tabs welded to the brace behind the grill. The power steering cooler bolts to a 14ga mounting plate welded above the trans cooler.

0105ff7f9ba965be899819139be9b5eb94772b6732.jpg


01f4358791753dbc197f9ccec6d61501b13c49a394.jpg


011b8c347c399bc5674e7d0297a63dc6ece4871346.jpg


Next on the to-do list is to finish the exhaust, install the wiring harness and get power to the starter so I can hear the engine fire up, hopefully this weekend.
 
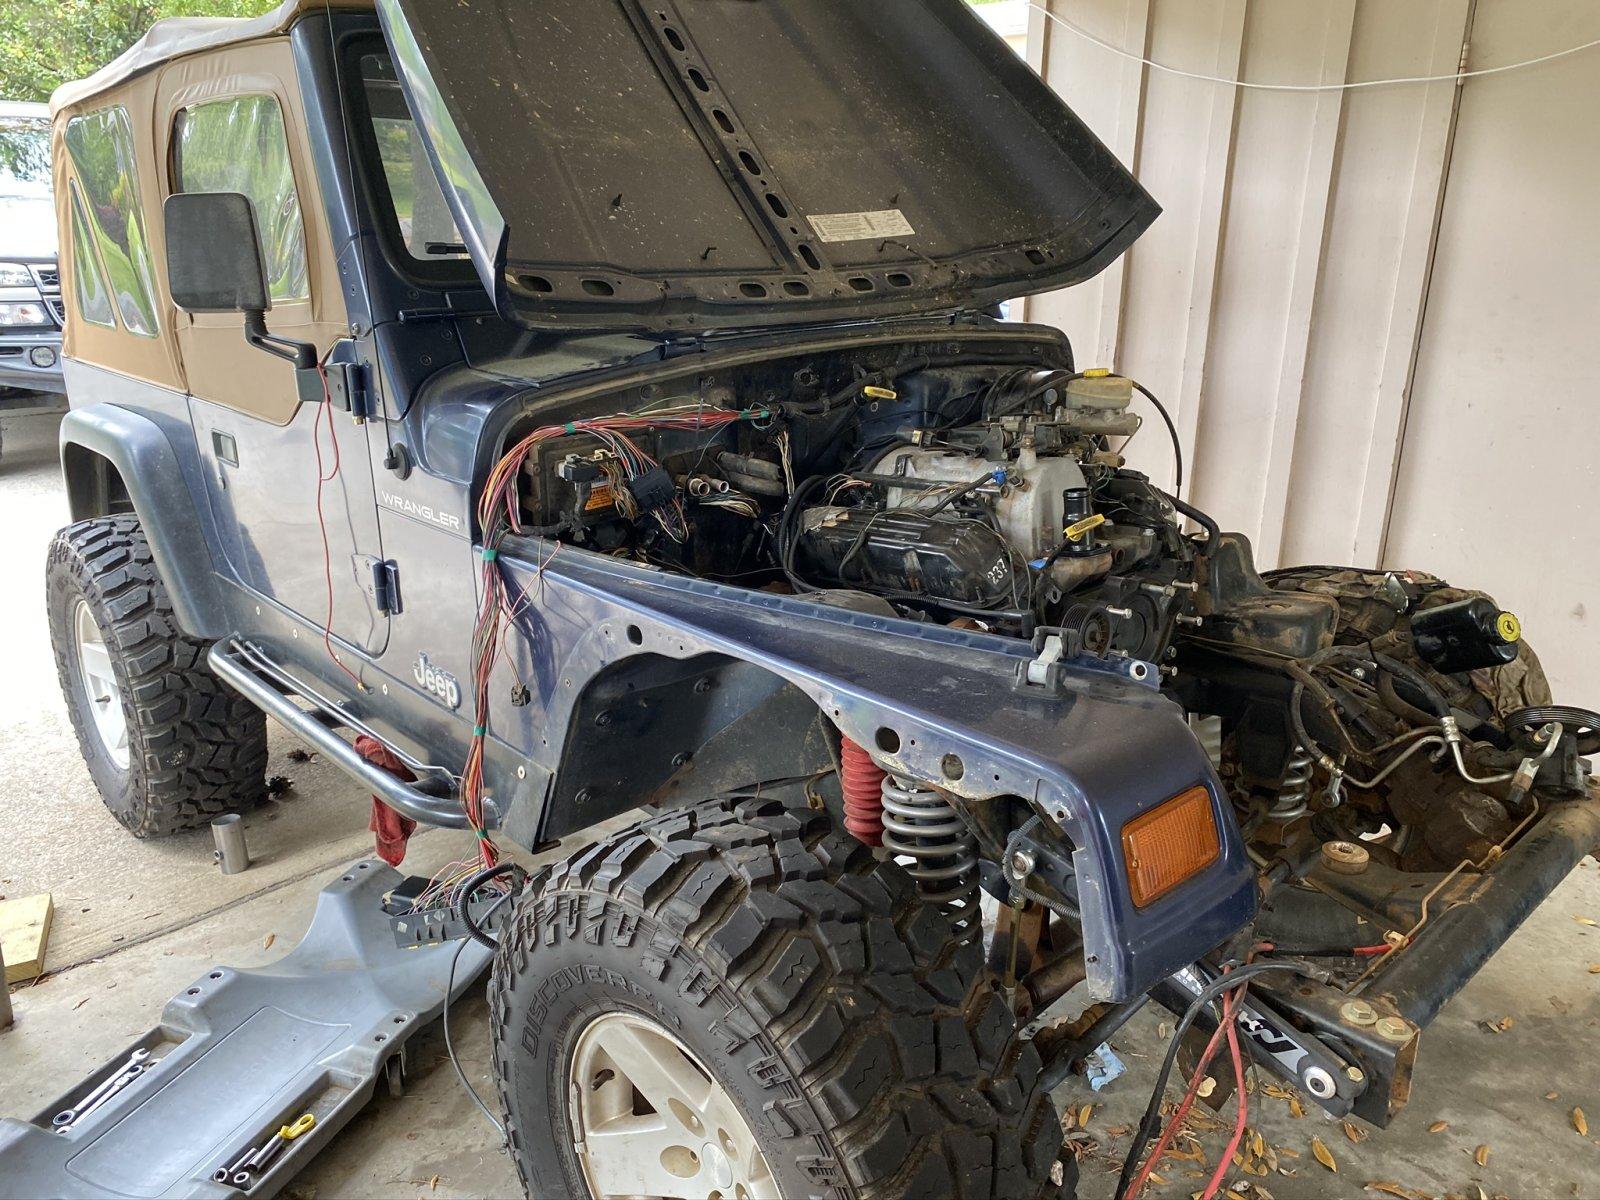
Next up was to start installing the front clip to allow progress on the wiring and plumbing. The goal was to hear it run, so I installed the passenger fender and front grill, leaving the driver fender off to ease of access to that side of the engine bay if needed. The last 10% of a project takes 90% of the time and that has been no different here.

0118cda0c7f1da486bfd30290759c0a95ab17d28bf.jpg


An engine needs 3 things to run: fuel, air and spark. To get the spark, the wiring harness, PDC and battery were installed and plugged in for testing and all new 4GA marine grade wire was run to the starter, PDC, engine ground and chassis ground. I build all my battery cables with marine grade wire with tinned lugs that are crimped (not soldered) on, with marine grade heat shrink on top of that, all protected with split loom and held on with heat shrink at either end. Additionally, all new spark plugs, plug wires, and coil were installed. The accessory drive was re-installed, as well as the throttle body to provide the air.

This left fuel delivery. I'd saved the fuel line from the Durango since I'd read that it was a plug and play – I found this to be incorrect for Durangos. Instead of trying to track down an OEM hose, I opted to purchase an Evil Energy AN-6 hose kit to plumb the fuel line (and will later use this for the transmission cooler). The kit has great reviews and is very well priced so I opted to give it a try.
The new fuel line was assembled and installed, so now we had fuel. And of course I had to see if this garbage ran. With the transmission in park, fresh oil in the motor and a few quarts of ATF I turned the key and was greeted with no gauges, but the starter did turn over. I pulled the harness and corrected a 5V supply wiring error. With the harness reinstalled, the gauges now worked and I cycled the key a few times to prime the fuel rails. As a note, the TJ only runs the fuel pump for 3 seconds until the engine is running. No leaks. I turned the key to start


And it fired right up.


It was alive, though only for a split second before shutting itself off. I'd read and assumed the Durango ECU would give me an issue, either from SKIM or triggering the security feature (yes, those are different features) from the lack of a BCM. I was greeted with a transmission code and an EVAP related code, so I had communication with the ECU… I'll call that a win. Since I had another ECU from a 99 Ram that I'd hoped was SKIM free, I moved on to installing the cooling system and transmission cooler to allow the engine to run for a bit longer.

This is where this project starts to put up a fight.
 
I purchased 2 finishing clamps (LINK) and used the leftover AN hose to plumb the transmission cooler. The transmission has a ¼" NPT fitting that I needed to adapt to AN-6 – Summit Racing had the adapter I needed for this (LINK). I used 2 45 degree fittings from the kit to come off the transmission and routed the hoses along the driver side frame rail and up to the barbs on the cooler. I'll try to get some pictures of this – it's difficult to photograph once installed.

The power steering cooler was plumbed in using hose from the transmission cooler kit. This was as simple as removing the return hose and routing the new hose.

The AC condenser was re-installed and then the Summit Racing radiator. And here's where the issues come up. :

  • Motor mounts installed in the AA recommended location do allow the use of stock exhaust manifolds. This saves a lot of time and cost being able to re-use stock parts.
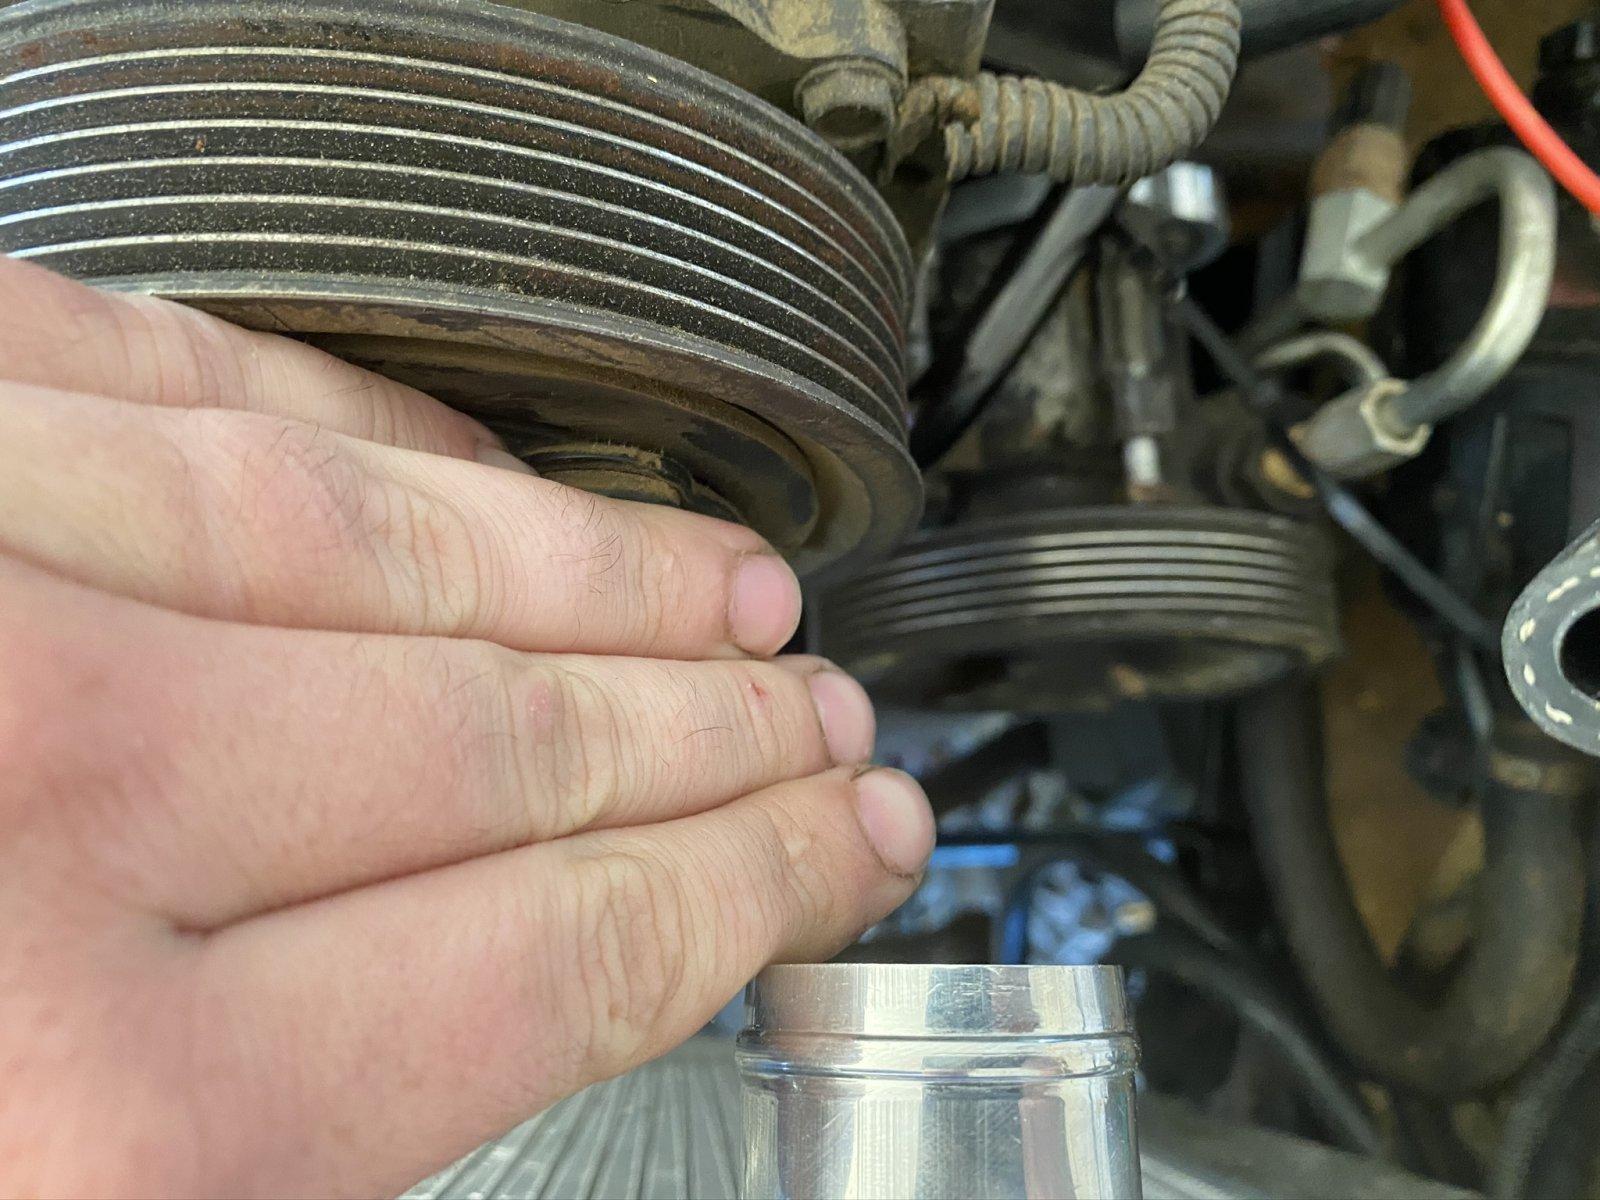
  • I have less than 2.5" from the threaded fan mount of the water pump pulley to the condenser - there's not a combination that I've found to be that narrow and I've looked at both electric and mechanical. With a V6 Dakota fan clutch installed, I have 2.5" from it to the condenser, only slightly more room than a stock radiator. Proform advertises a Slim Fit radiator and fan combo that would fit, but there is alarmingly little information and forum chatter about it and its $700.
01ae90c408cd7fdbf3acd0d41cfc495e3494fd43fc.jpg

  • Very few V8 swap radiators on eBay have provisions to mount a shroud or electric fan. You'll have to pony up and pay for a quality radiator to get those mounts or run an upgraded stock replacement. These guys are local to me and have a great reputation: https://cgj.com/product-category/radiators/antique-performance-radiators/jeep-radiators
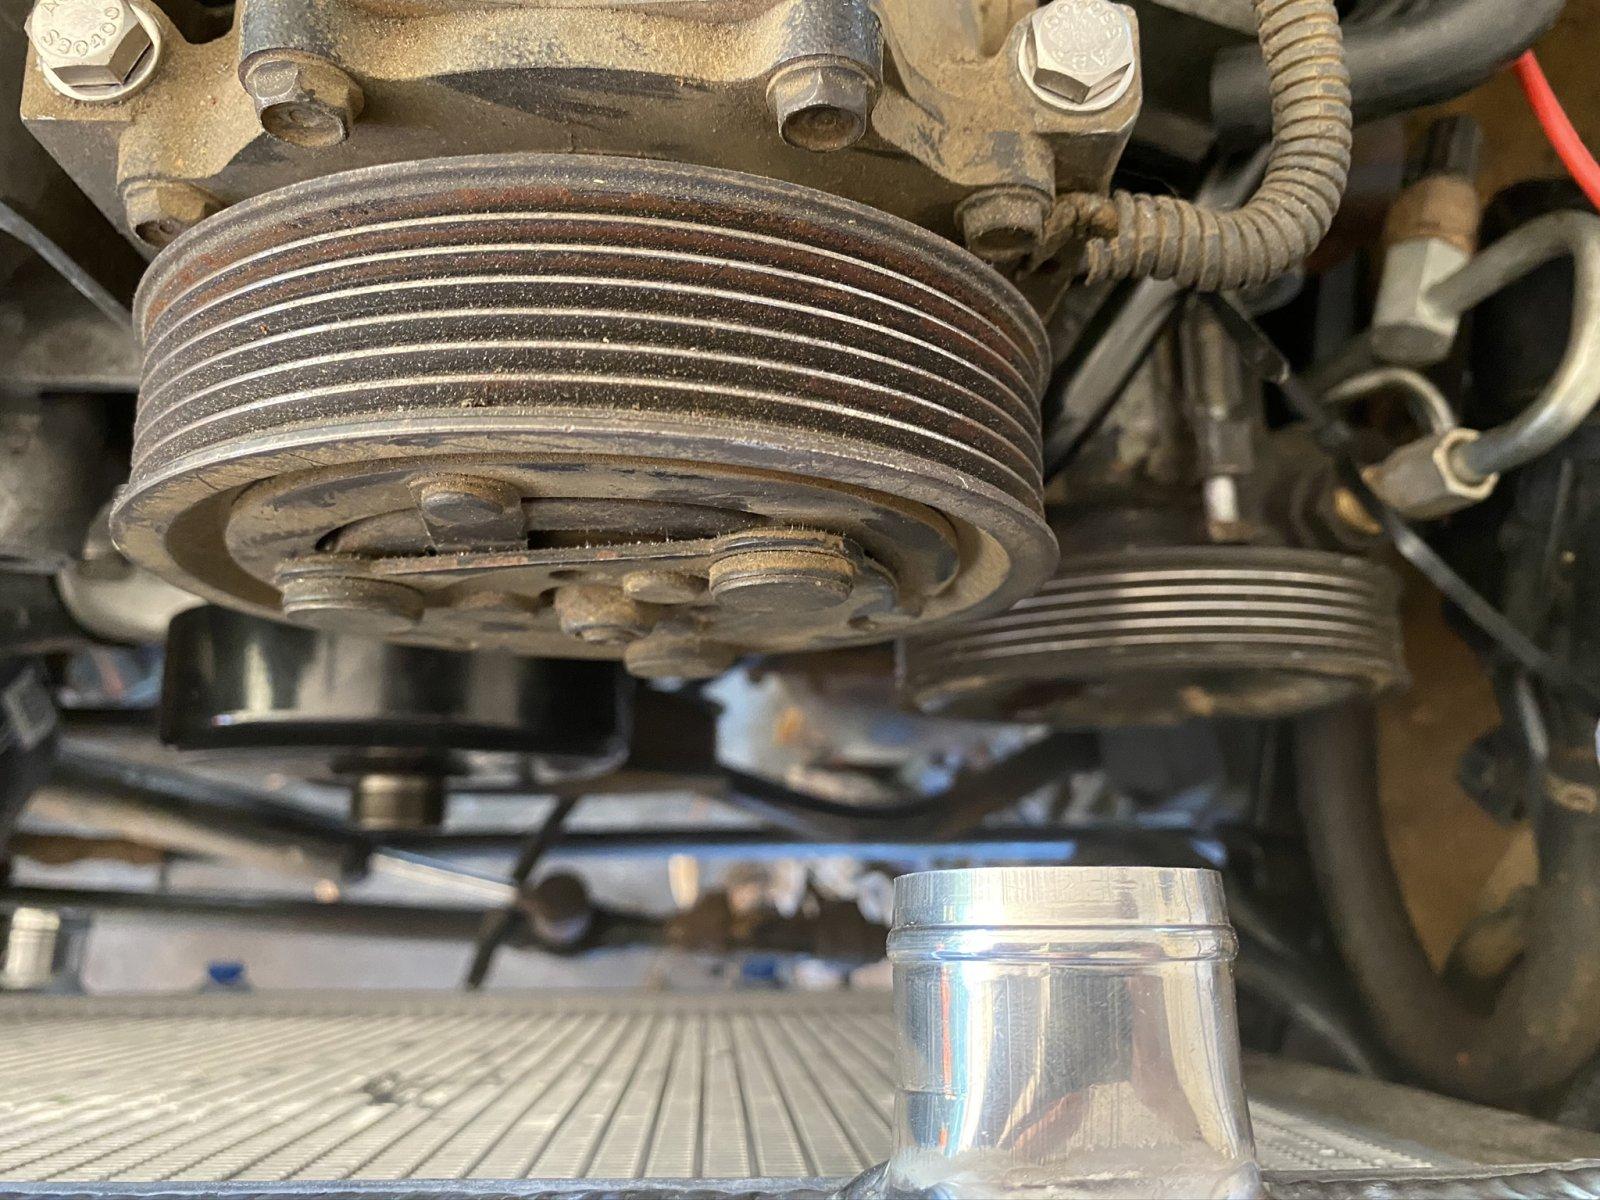
  • Additionally, many V8 swap radiators flip the inlet and outlet as compared to the stock TJ setup. In doing so, the radiator outlet is halfway covered by the AC compressor with little room to make the turn. This is not unique to Summit - any V8 swap radiator with horizontal tanks and a driver side outlet will have this issue. A radiator with either the stock orientation or an LS swap radiator (in/out on the passenger side) would fix this.
01a149d80b14dcd3e5b96393b86ef0e72d34cf1659.jpg

01efaf88bbdb3a25bf3bd4629a2c2ba7440cfa92a1.jpg

  • I've not found hard evidence, but many say that the stock 4.0/2.5 radiator will cool a 5.2 but not a 5.9. A stock replacement upgraded radiator might be adequate to cool the 5.9. I purchased a stock replacement aluminum radiator and am hoping it will adequately cool my 5.9. An oil cooler and hood louvers are my Plan B. Plan C involves a grinder and a lot of re-work.
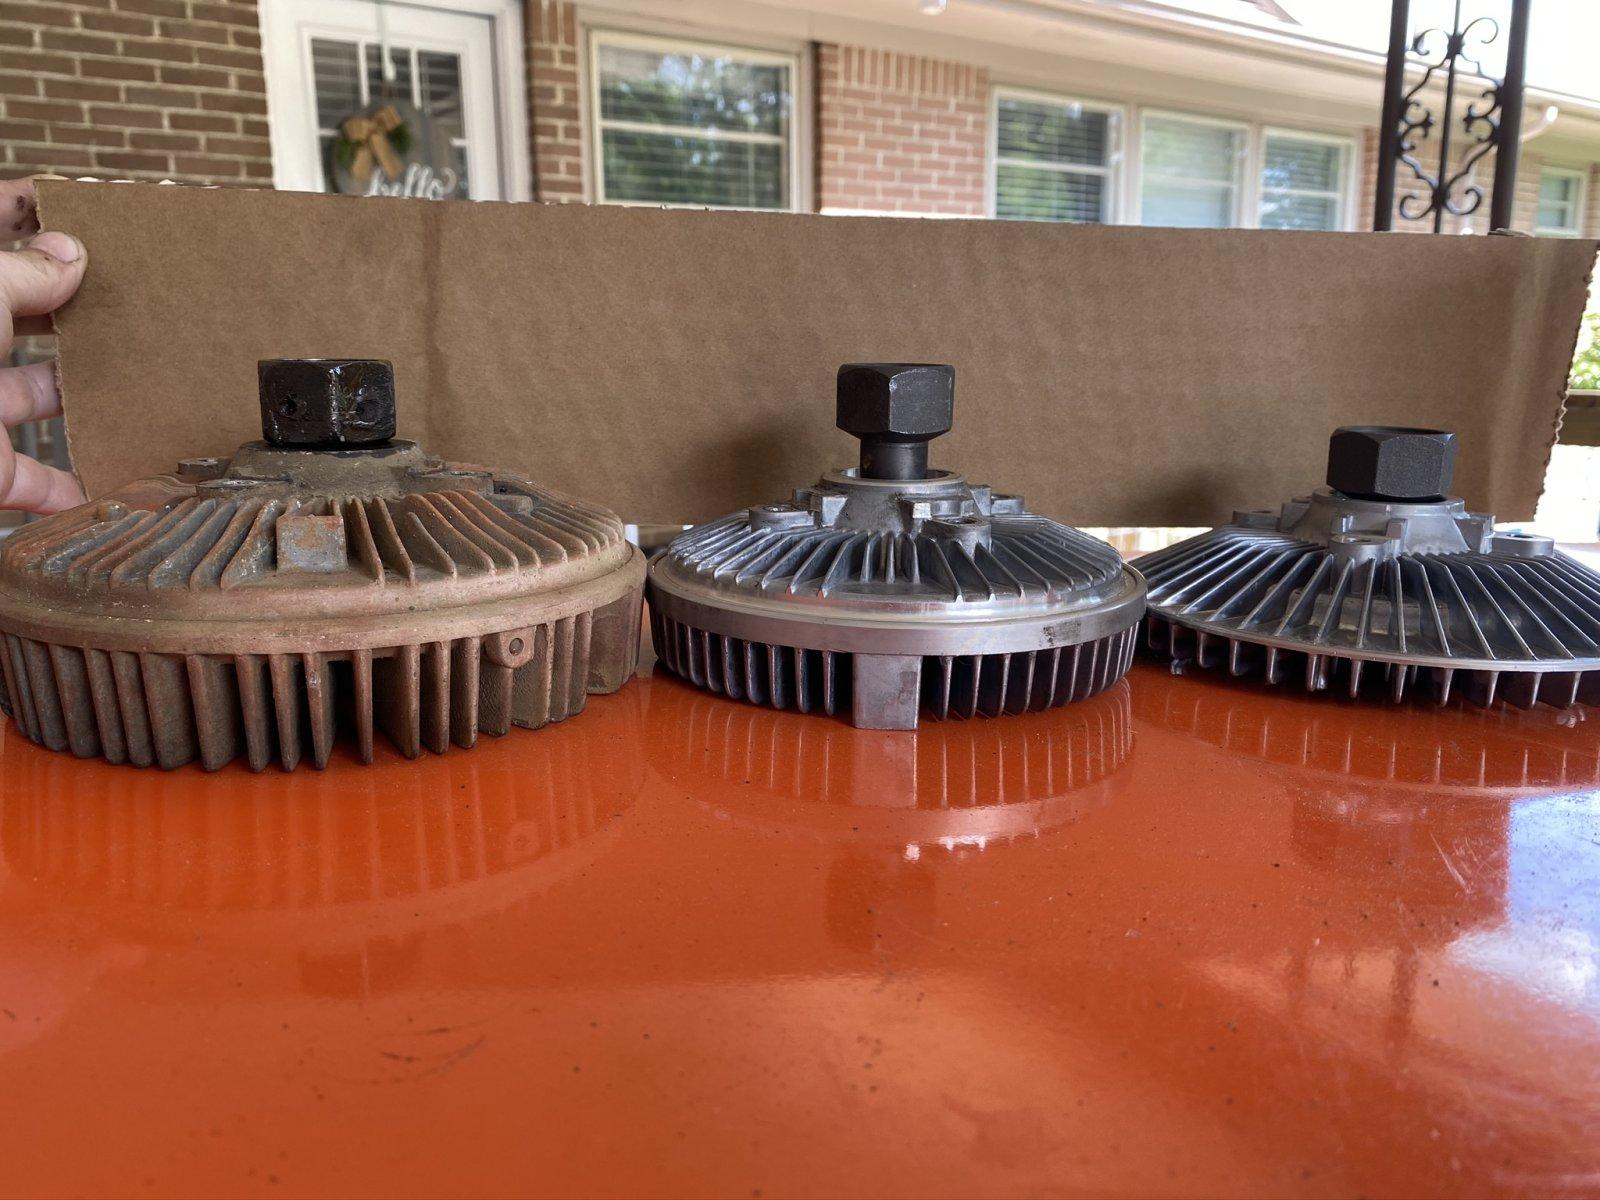
  • The ZJ fan clutch is the same height as a Durango fan clutch at 3.5" and contacts the lower tank of my aftermarket radiator when I install the radiator. This would make any water pump or radiator replacement a nightmare as the grill shell would have to be unbolted. It does clear a thinner stock (OReilly replacement) OEM radiator.
  • A 1997 Magnum V6 Dakota clutch is 2.97" and allows the lower radiator tank to clear on installation. It still doesn't allow the thicker Summit radiator to fit. This combination does allow a stock 4.0 TJ fan shroud to be attached, but since I have a tummy tuck the fan is no longer centered of the shroud. I could shim the motor if I wanted to make this work, but that will make future work on the accessory drive difficult. From left to right: 99 Durango, V8 ZJ, Dakota.
012538bc8d6b02d9ce2087f000a742431468d4bb29.jpg

  • This leads me back to electric fans and my final solution. My current Mishimoto fan is 3.5" deep and pulls around 1800 CFM. With the aftermarket TJ radiator installed, I only have 2.75" between the water pump pulley and radiator. I found a Spal fan (30101516 ) that's under 2.5" deep and is rated for 1600 CFM.
In short, the AA recommended placement does allow use of stock driveshafts, exhaust manifolds and fan/ radiator but can really limit your cooling system if you need more cooling capacity. You can build an exhaust to fit - you can't make a radiator and fan fit where the space doesn't exist.

With the radiator hoses back in the stock location, my final hose selection for the upper is from a 4.0 ZJ (Dayco PN#71659). The lower is a combination of FLEXIBLE HOSE, STOCK DURANGO HOSE, and an ADAPTER.

We're almost caught up!
 
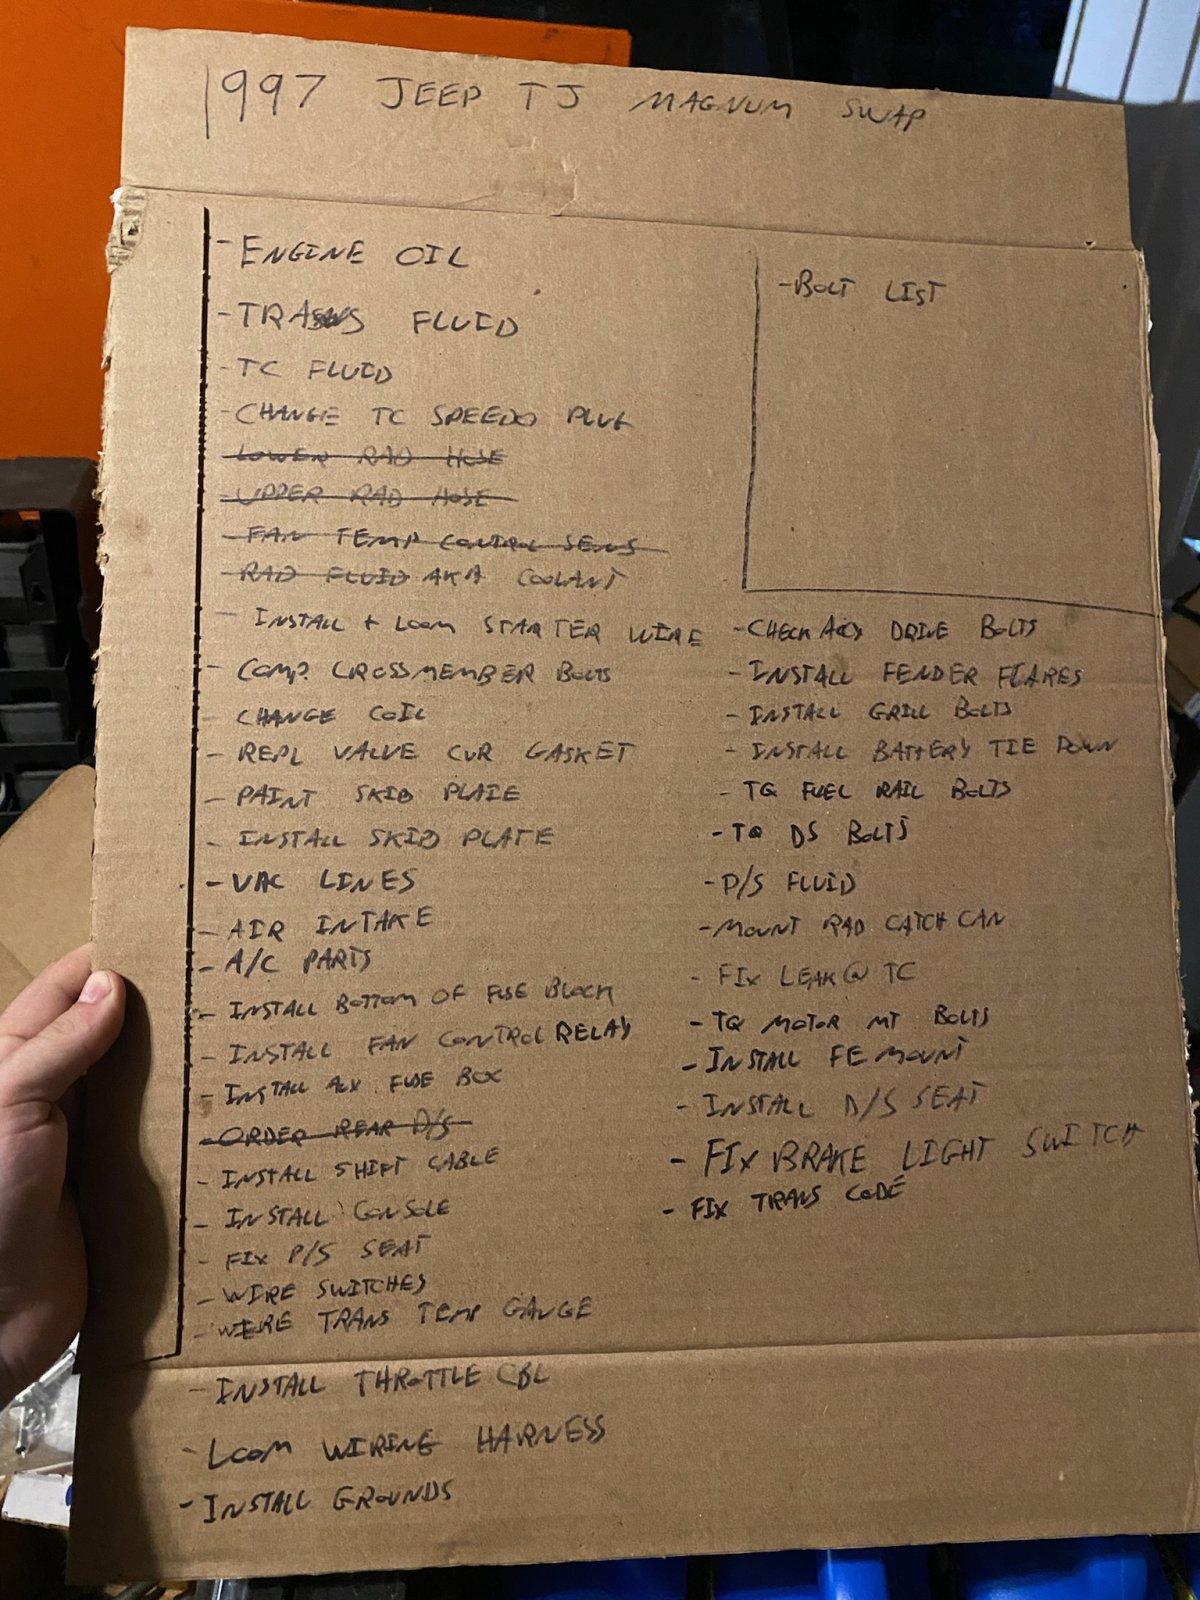
I made a to-do list on cardboard to both keep organized and enjoy the satisfaction of crossing things off the list. I had several things started and almost complete, so I wanted to focus on finishing some items.

018e68a5c3d3df6b5a5113ee692915792616c872c6.jpg


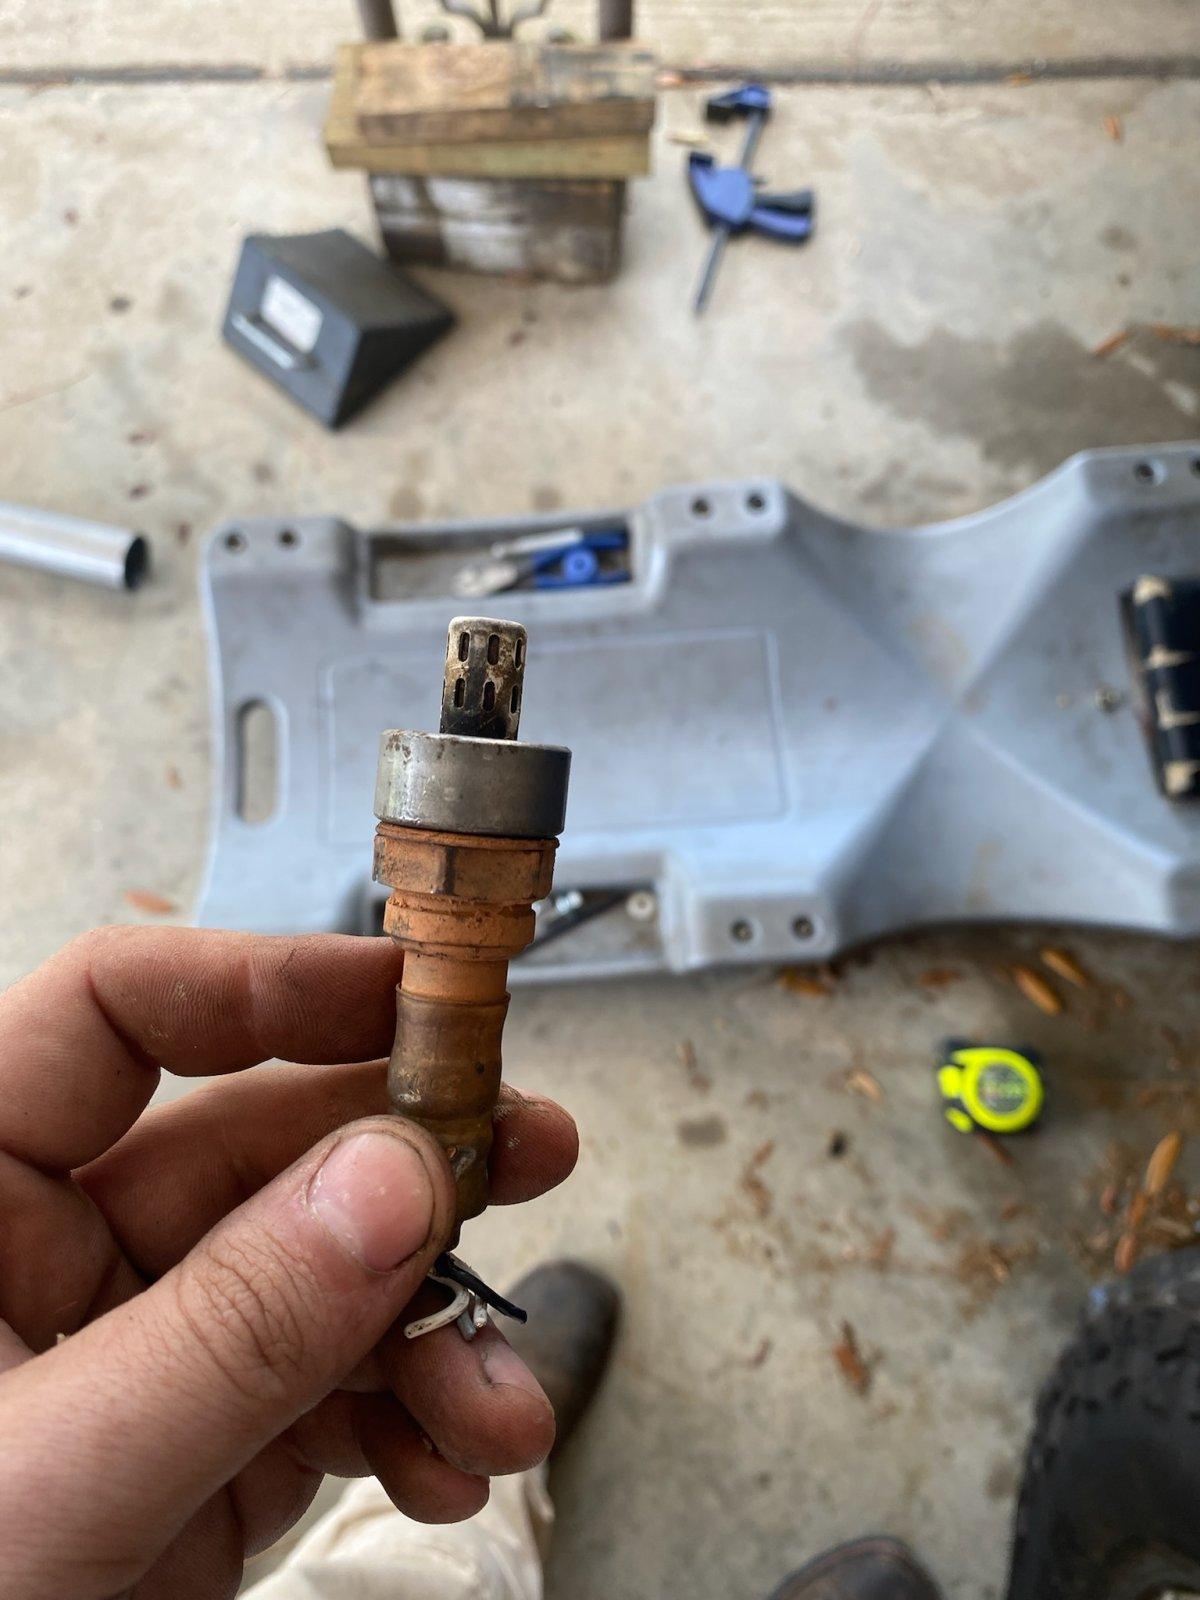
One of the items I'd started and not finished was the exhaust, so I decided to get that knocked out. I'd need the O2 sensors for the engine to run properly anyway. I like to build my exhaust to be serviceable and adaptable over time if I choose to swap mufflers and my old design put the catalytic converter behind the crossmember, which would ultimately limit the length my muffler could be. I decided to move the cat in front of the crossmember to allow future changes to the muffler. Here's an exhaust fab tip – keep your old O2 sensors around for welding in the new bungs. This will help ensure the threads aren't distorted during welding.

01198c67f35e81815e5e587d1d13b664b198bcdc7d.jpg


Here was the final result:

01bbeebd37213e9b74936a2ccf971015e2ea355bdd.jpg


The muffler is attached with a band clamp on either side. Since my exhaust is 2.5", I found a Dynomax tailpipe (PN# 54287) that bolted in to the stock locations. And here is a terrible quality picture of the whole system installed in the TJ:

01078c9649c55ff3783b477034ca8092933a57e805.jpg


I promise to get some better pictures when I can get this on a rack or at least jack stands.

The ECU was swapped out, radiator full of coolant and I was ready to hear the Jeep run – or so I thought. When I went to crank the engine, the starter struggled to spin it over like it was hydro locked. Weird. I pulled the spark plugs and was greeted with coolant pouring out of multiple cylinders.

Yep, curse words were spoken.

Now is when I started to connect the dots from things I noticed during the disassembly of the donor – no thermostat and little to no coolant (can't remember if it was dry or low). I'm having serious doubts about this motor as a whole at this point.

In a bit of, well, desperation, I pulled the intake and changed gaskets hoping I might have messed up when installing the Hughes plenum kit. Nope. No change. It still leaked live a sieve. I pulled out my inspection camera (which if you don't have one in your toolbox, I highly recommend it.) to try to verify where the leak was coming from. Here is what I found:

012ea47f19a37d016371f303de21e1a301b43d311e.jpg


Coming from the top of the cylinder either means I have a head gasket that failed spectacularly or a severely cracked head, which these Magnums are known for. Due to other obligations and a pending family vacation to Las Vegas, the TJ was put on hold for a few weeks.
 
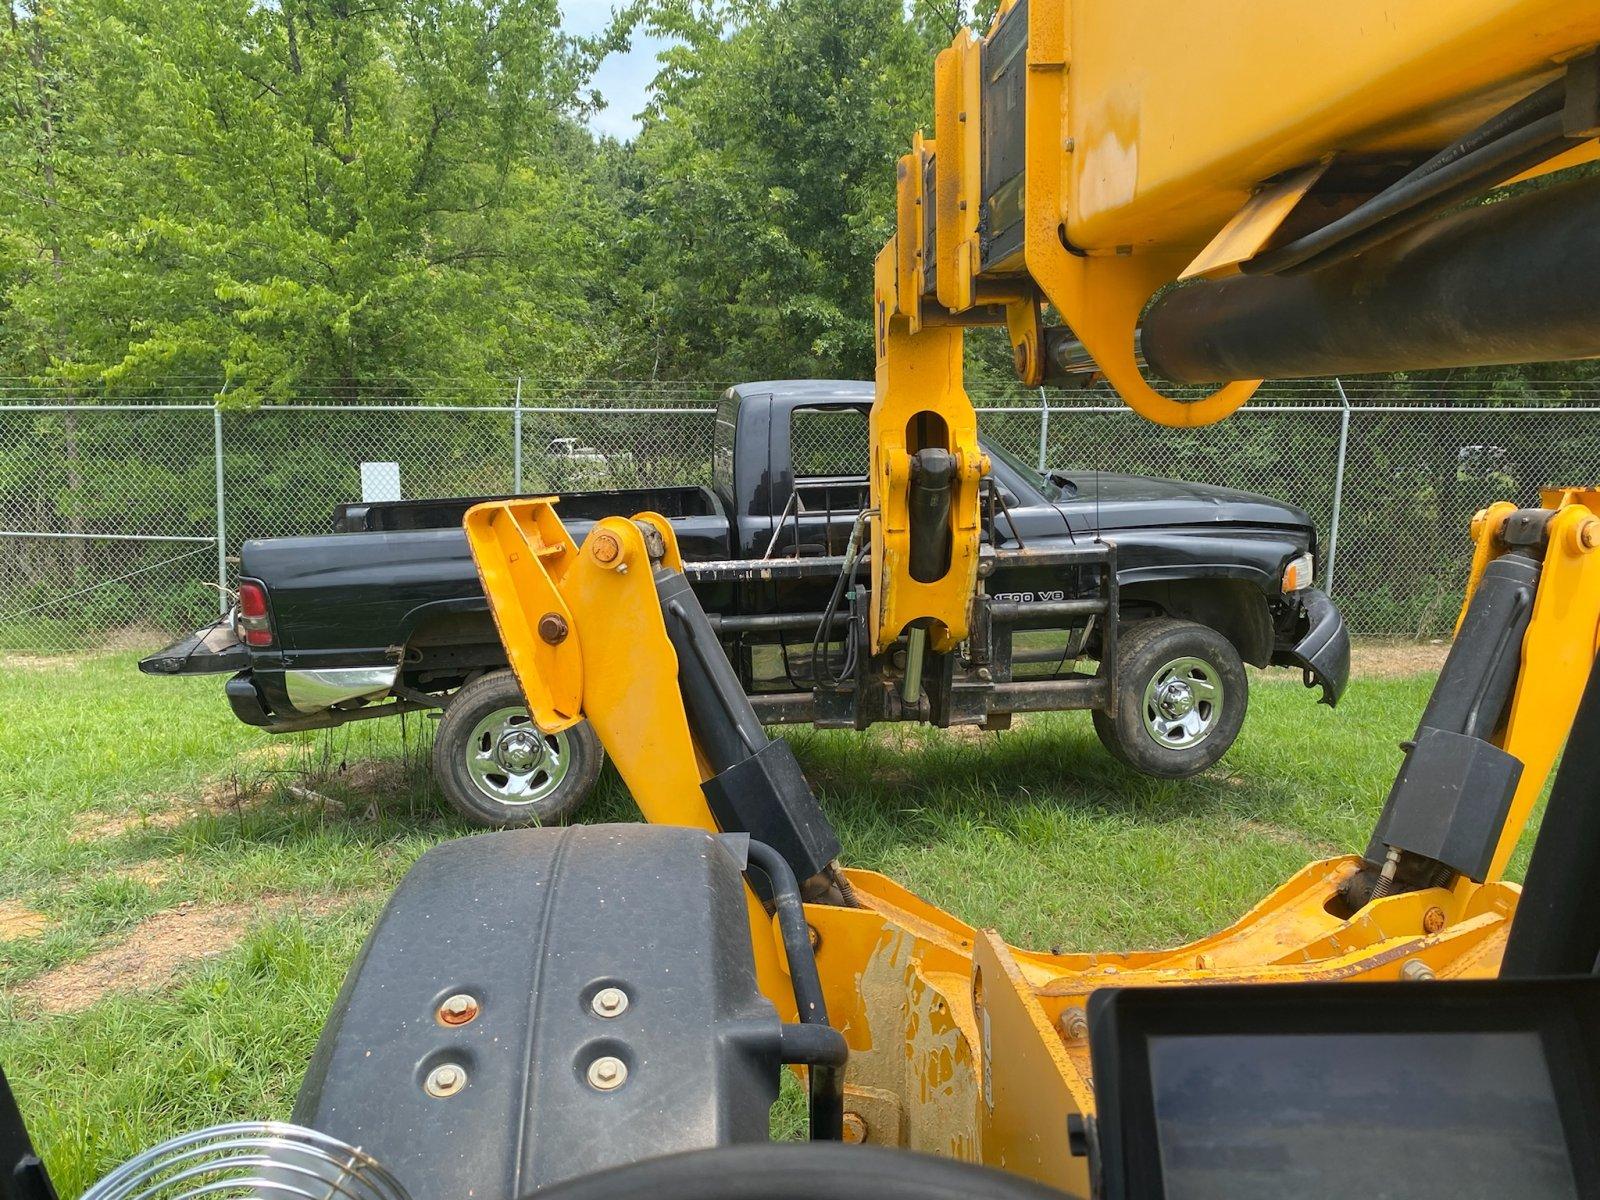
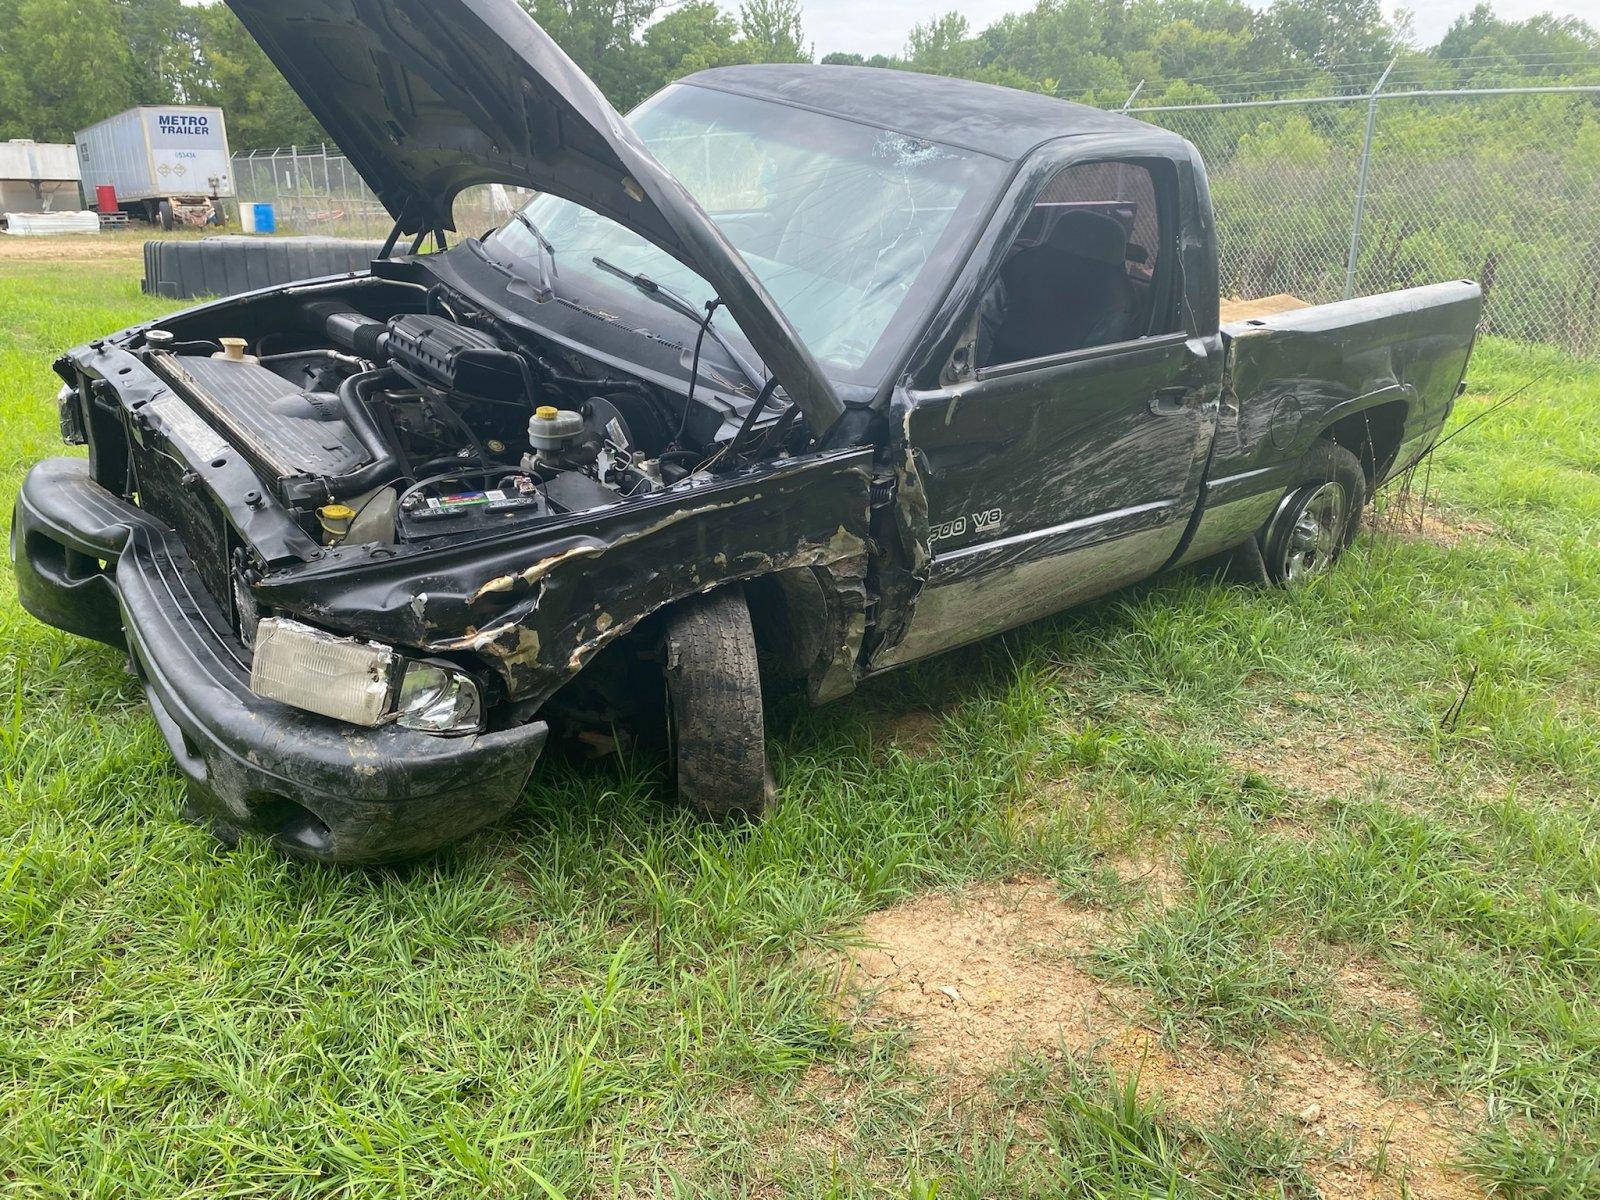
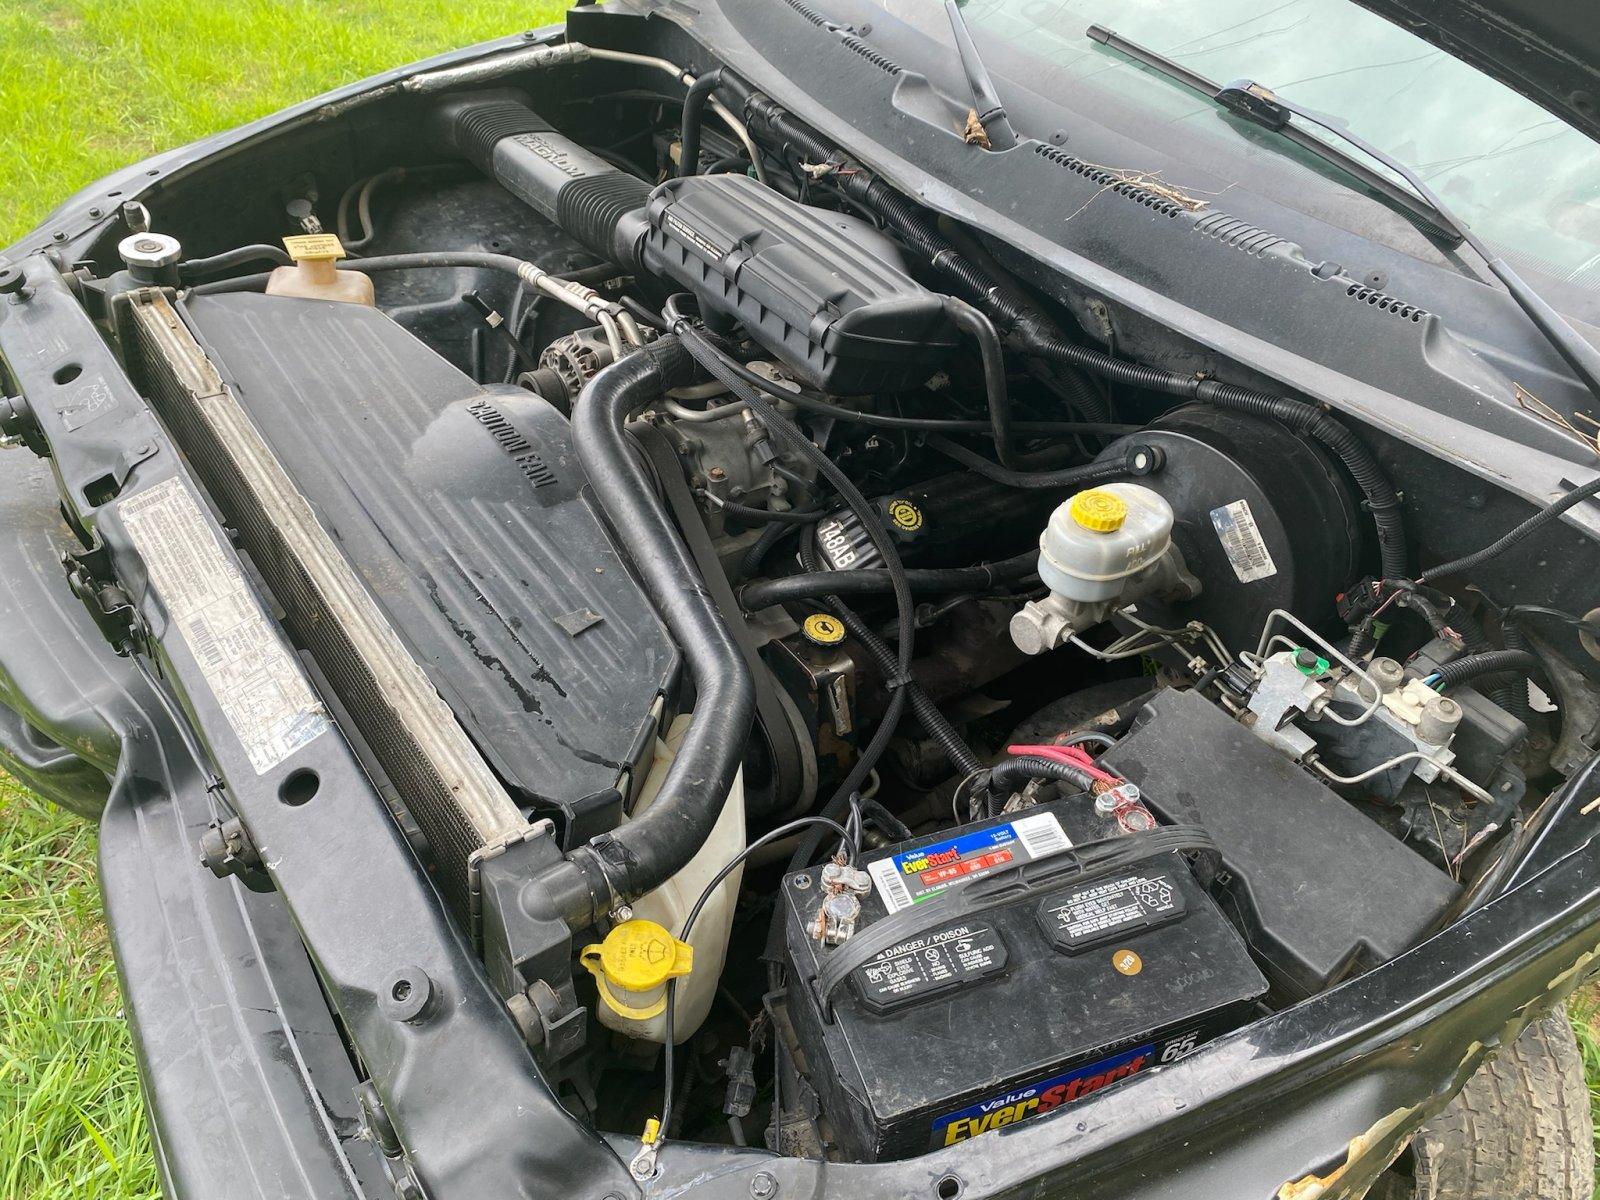
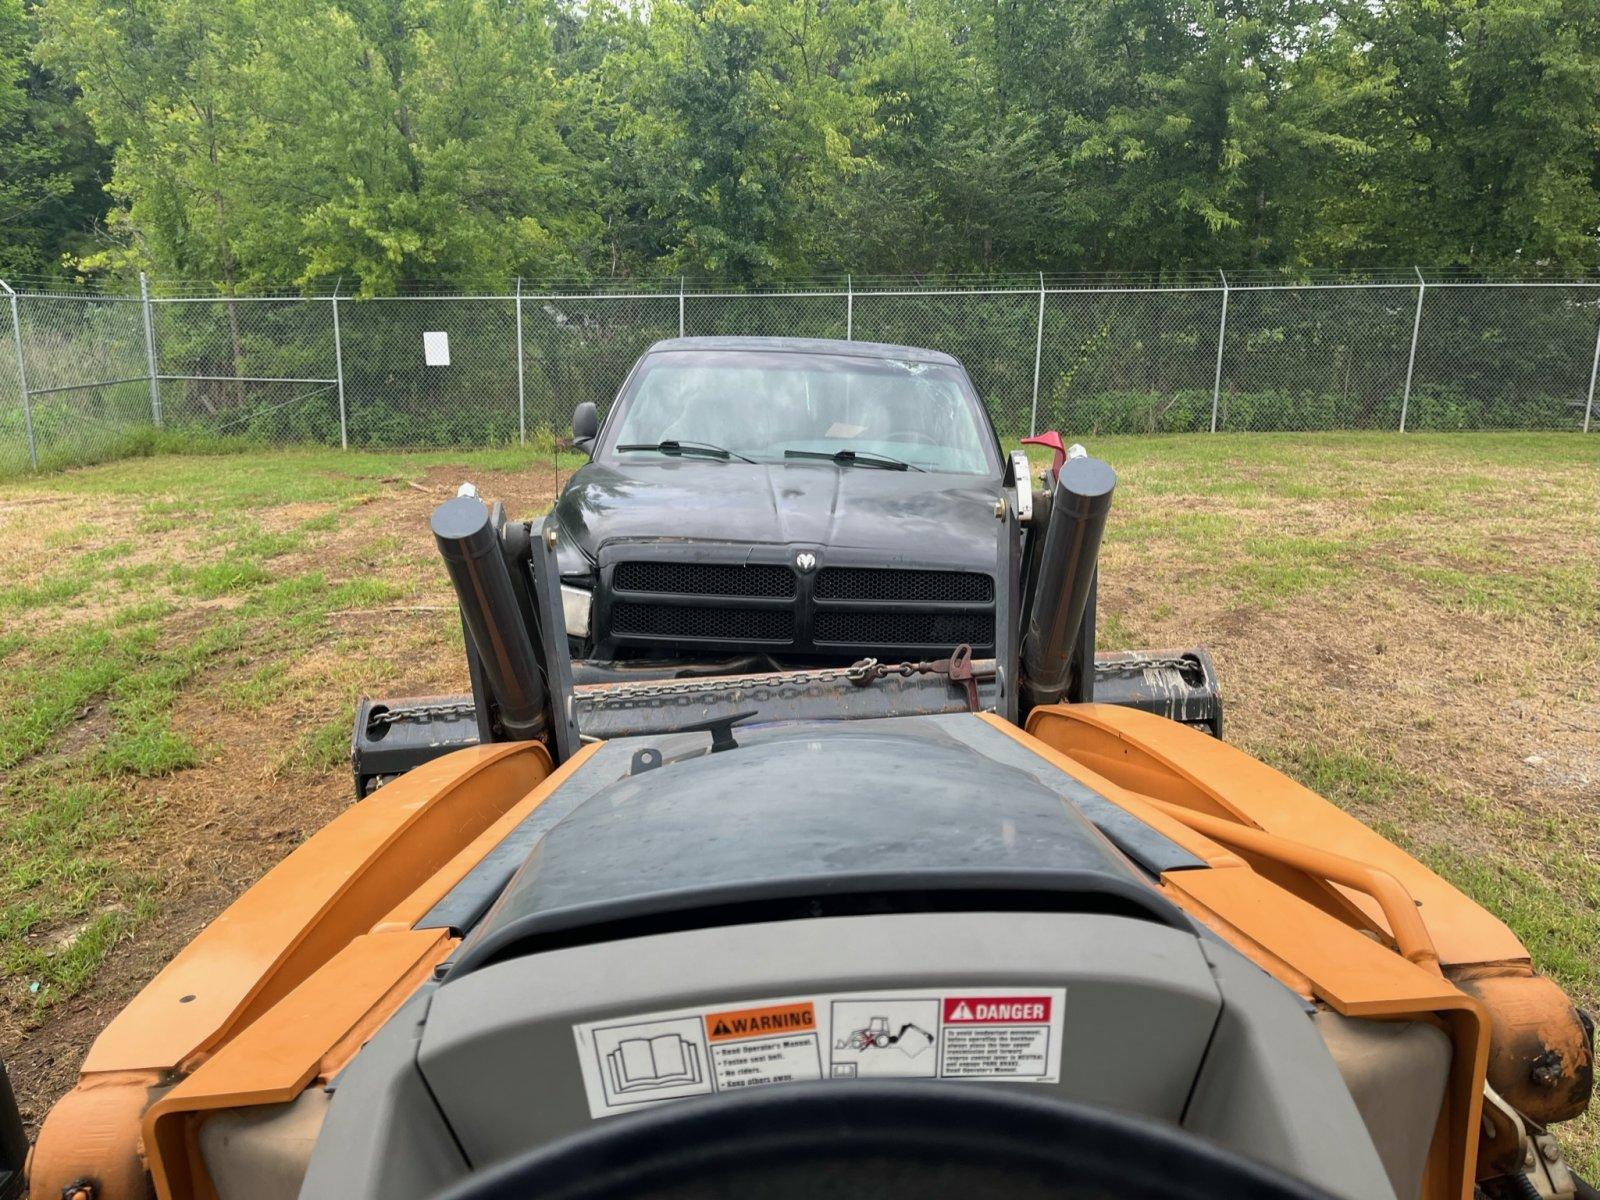
I'd thought through several different scenarios and fixes, from remanufactured heads to a brand new crate motor – I was all over the place. My preference was the new motor (at $2300), I just had a hard time stomaching that right now. I kept a watch on FB Marketplace just in case and happened up on a deal I couldn't pass up – a 2wd 99 Ram 1500 with a 90k mile 5.2L and rebuilt transmission. The best part is I got it delivered to work for not much more than the cost of reman'd heads, so in the off chance my 5.9L is an easy fix I can get my money back out of this truck. Nope, its not a 5.9, but at this point I'm not being picky. I won't know the difference anyway.

019053cb138fc825bd132982ba24df63149a1be821.jpg

01f12fe3d100d63d39c5cd7c2171f18f884c4cc293.jpg


This is the kind of clean you can't fake - it's obvious this truck has been cared for.

0152b5b0131f16e2db83fb2b2a3e2238967e3972f2.jpg


The truck runs flawless (it actually starts with a key!) and gives me confidence this will be a good donor. I'm taking this week to re-organize parts and tool and slam a Wave Runner back together before the summer gets away from me. After this weekend, its full bore back on the TJ.
 
Those blue exhaust isolators from summit, suck. I melted them first trip out on my buggy. I bought some Patriot exhaust ones that are supposed to be rated at 300 degrees. Hopefully they work better than the blue ones. I am using a Ford Taurus fan on my rig, i will have to measure the depth but I believe it was 3.5 inches or under and it pulls around 3500cfm on high.
 
Love the level of detail you put into the posts but hate to read about all the trials and tribulations you are having to go through.
 
Those blue exhaust isolators from summit, suck. I melted them first trip out on my buggy. I bought some Patriot exhaust ones that are supposed to be rated at 300 degrees. Hopefully they work better than the blue ones. I am using a Ford Taurus fan on my rig, i will have to measure the depth but I believe it was 3.5 inches or under and it pulls around 3500cfm on high.
Good to know on the exhaust isolator.

Space was what limited my fan selection, so I'm hoping what I have will be adequate. I've read the 5.2s run significantly cooler than the 5.9 (many guys use the stock TJ radiator with good luck), so that could potentially be a good thing if I do swap engines. If heat is still an issue I'll look at managing it with header wrap, louvers, etc. before I do anything drastic.

Love the level of detail you put into the posts but hate to read about all the trials and tribulations you are having to go through.
Thanks for the compliment. All the challenges will just make this taste a little sweeter when I'm done with it!
 
Good to know on the exhaust isolator.

Space was what limited my fan selection, so I'm hoping what I have will be adequate. I've read the 5.2s run significantly cooler than the 5.9 (many guys use the stock TJ radiator with good luck), so that could potentially be a good thing if I do swap engines. If heat is still an issue I'll look at managing it with header wrap, louvers, etc. before I do anything drastic.


Thanks for the compliment. All the challenges will just make this taste a little sweeter when I'm done with it!
If you still have heat issues, just do what Roadkill does and take the hood off. :rolf:
 
Could you run 2 smaller fans, or a pusher? I know its not ideal, but might fit better.
I could run 2 smaller fans with a custom shroud. Since they'd be sitting on either side of the water pump I could get away with thicker fans.

If this only overheats on the trails you best believe I'll zip tie a pusher on the grill and rock out!
 
I've managed to make some really good progress over the last few weeks (to get back to where I was 2 months ago…)

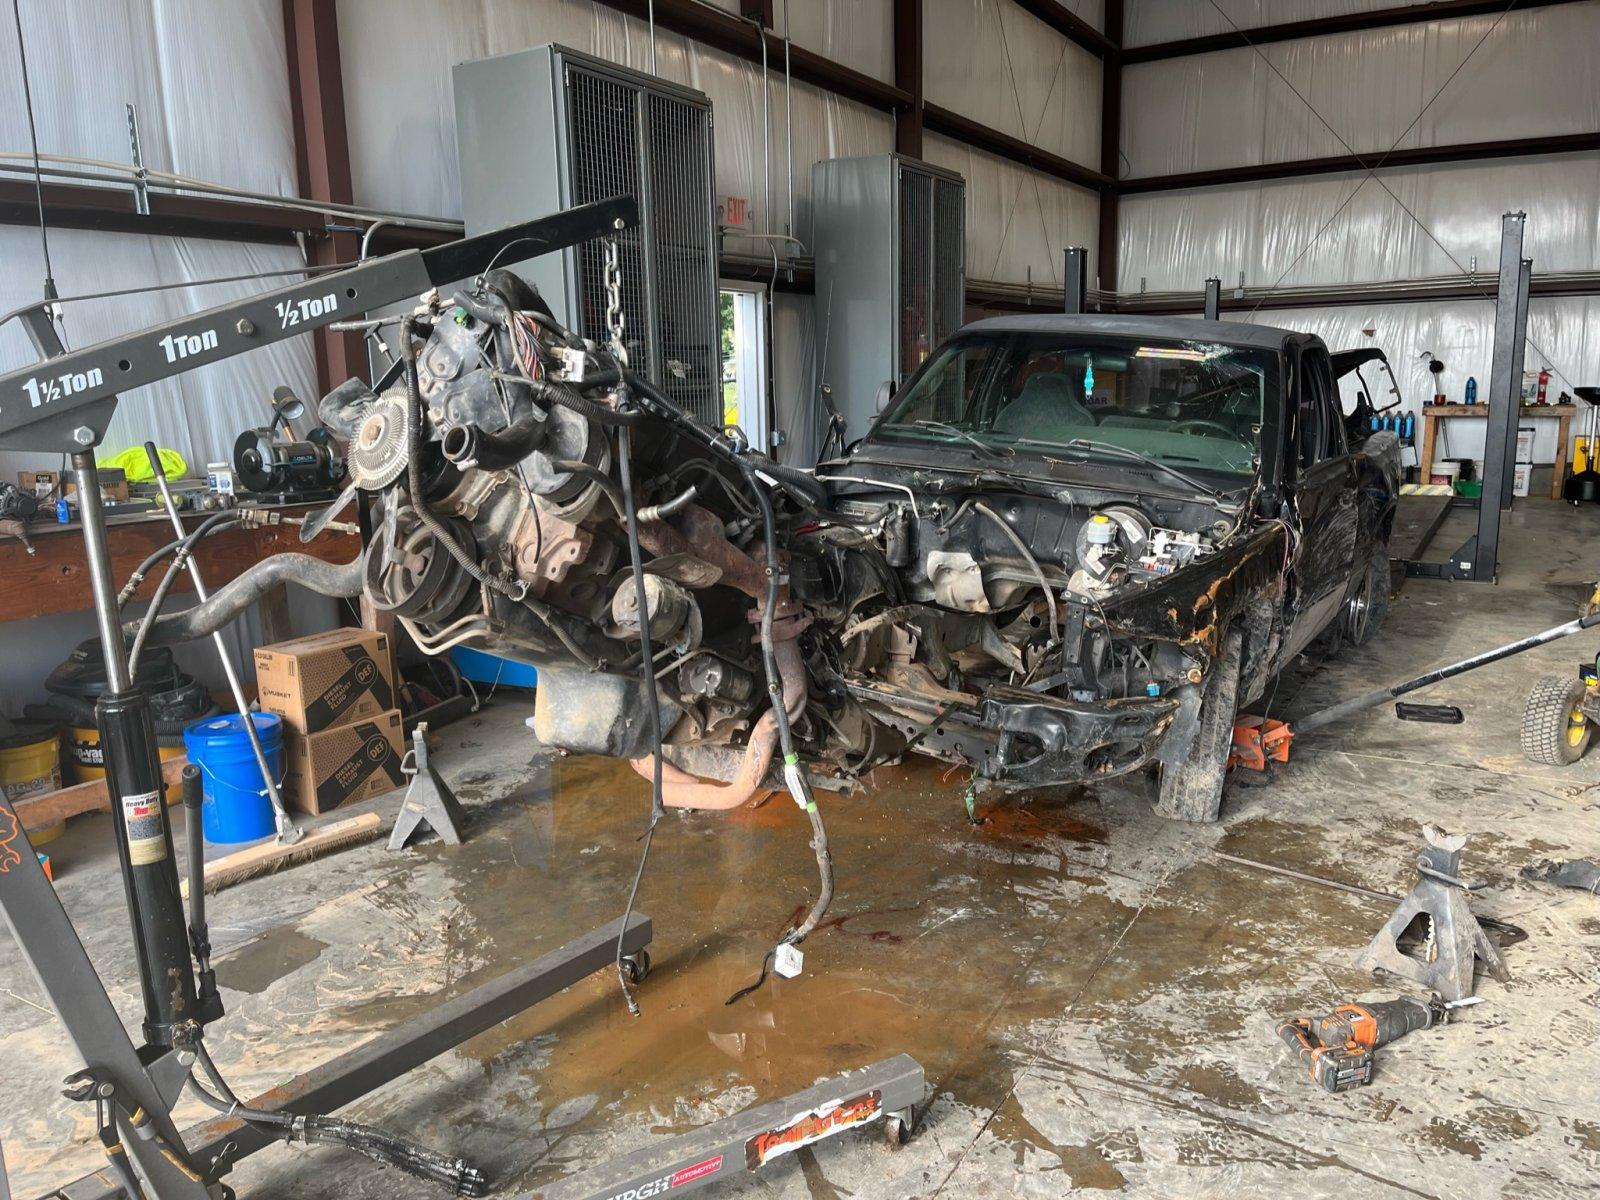
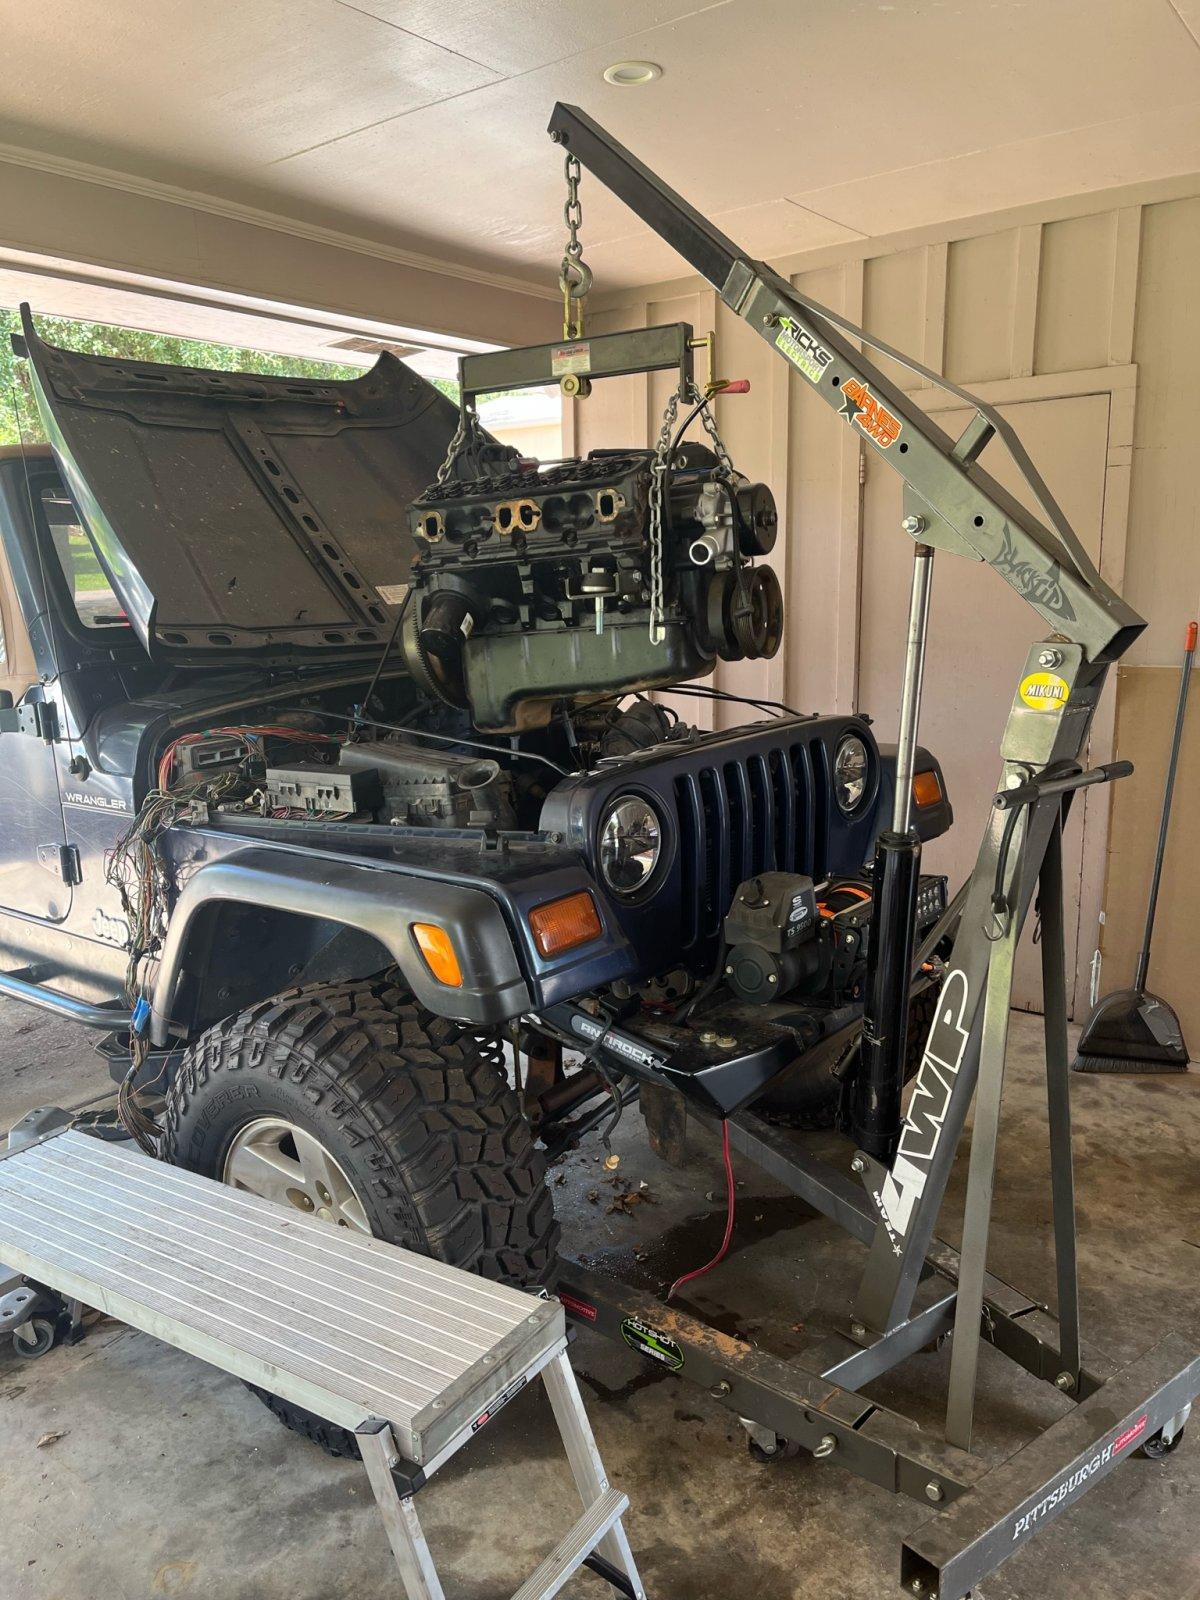
The first order of business was to free the new engine from the donor truck. A few hours spent on a Friday after work:

01dea5ddb26d392aa0502e73c4068b46345dac5081.jpg


01565089294a8f3f441519d365395a99738923106b.jpg


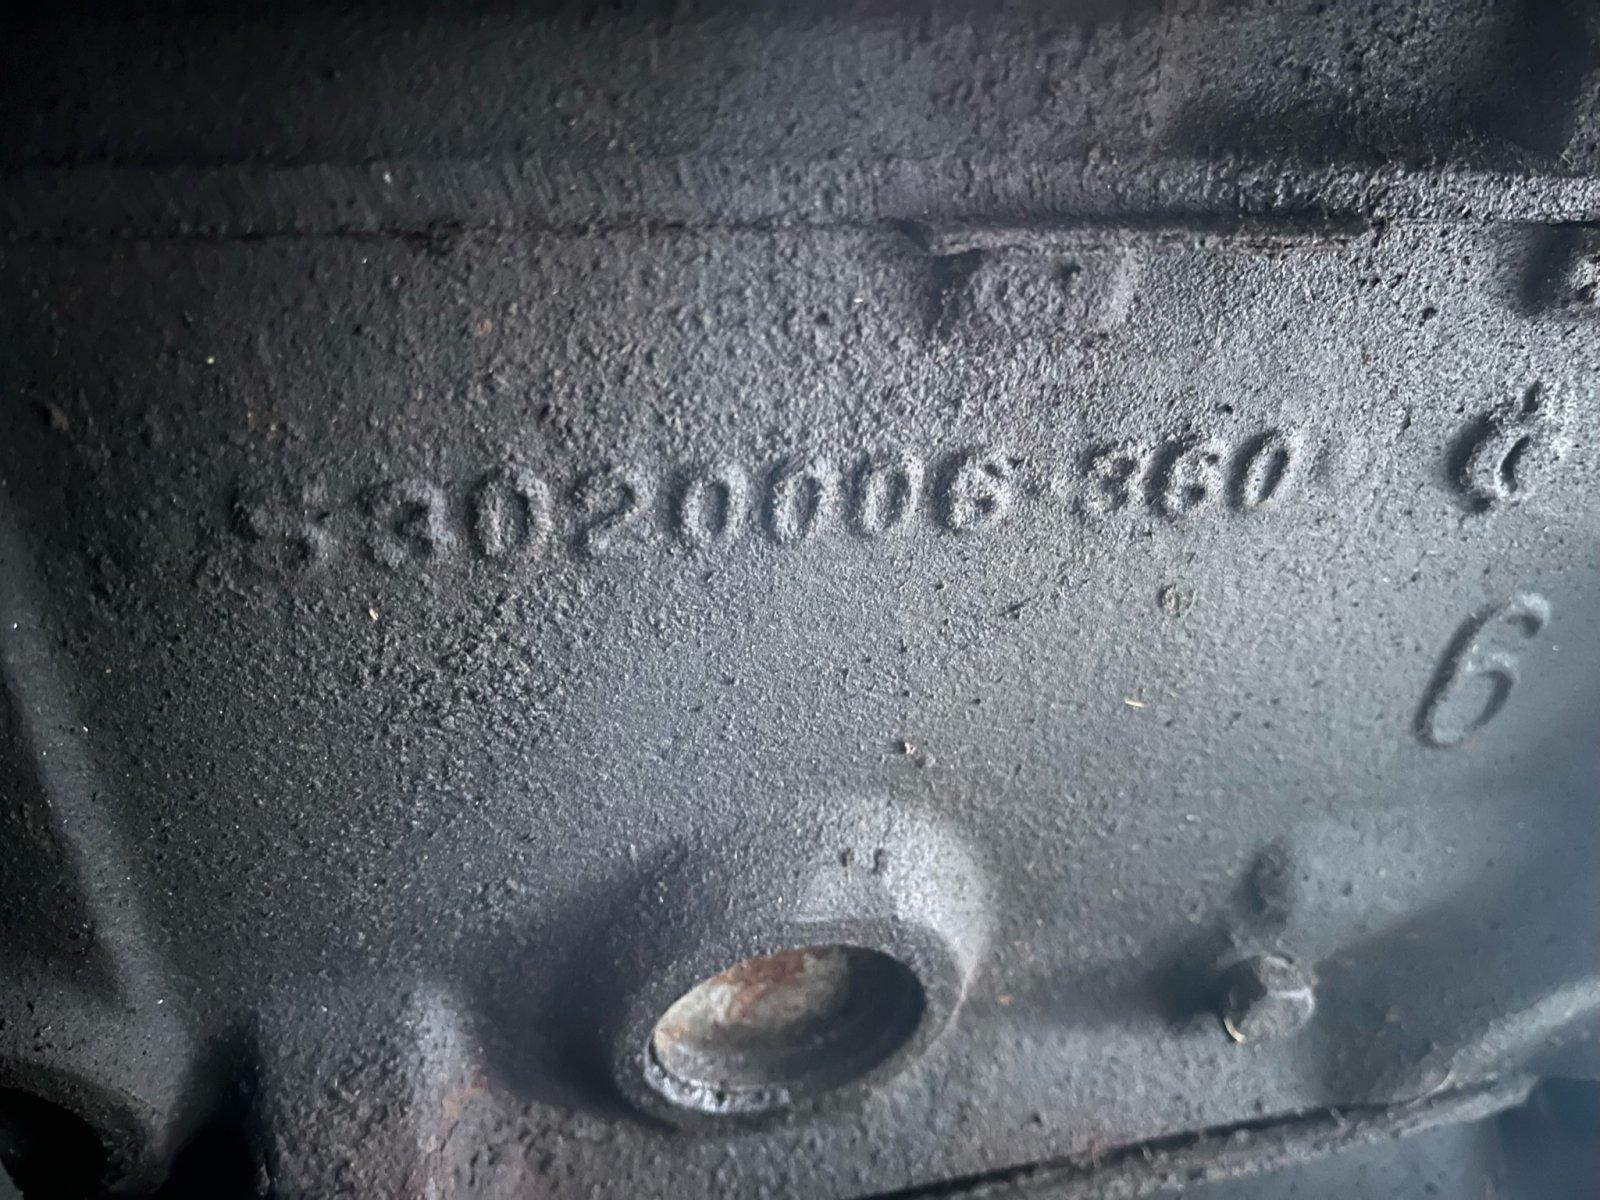
I bought the truck knowing it had a 5.2L in it, but I was in for a surprise! Check out the casting number on the block!

01a2387dbeb608616af01a8fd591b8c77a8cbbc254.jpg


From here on it was a straight forward deal that I didn't take many pictures of – old motor out of the Jeep, swap the oil pump, intake and timing chain to the new motor, throw some paint on it and reinstall.

01f6702e721a932bfd527333fdc8cd0b3f03134c38.jpg


I got all that done last week, but did learn something in the process…

5.2s are internally balanced whereas the 5.9Ls are externally balanced via the harmonic balancer and the flex plate - or so I thought. The engine had the correct harmonic balancer but no weighted flywheel. Odd. After research I discovered that prior to 1996 Dodge balanced the 5.9L via the torque converter, not the flex plate. I knew this engine had been changed at some point, so I found the casting date on the block to figure out what year this engine is – survey says 3/1994. That means that I should have had a weighted torque converter but since the truck and transmission is a 1999 it wasn't weighted. I swapped the flywheel over from the old 5.9 and all was good.

My wife was out of town last weekend, which left me and the dog to work on the Jeep. We're going to the beach at the end of this month and I'm determined to drive the TJ there – that meant this weekend needed to go well. The new motor was dropped in Friday night after work and hooked up for a test fire by Saturday morning. As a recap, the Jeep had started with the Durango PCM but immediately shut down likely due to SKIM or the Security feature (I've learned that there's a difference between the 2 as well). I swapped in the PCM from the donor Ram, turned the key…

And it runs!

(Without shutting off)

I was both ecstatic and relieved to hear it run, really for the first time. I still have to sort out a P0753, P1764 and P0176 trouble codes but I'm guessing that's related to a wiring issue with the transmission relay circuit I added. The rest of the day Saturday and part of the day Sunday were spent doing the last 10% of a project that seems to take 90% of your time (and really isn't that interesting to read about).

I went ahead and ordered a new driveshaft from Adams so I can drive the TJ around with the D35 for now. From my research, the 8.8 with a 1350 adapter flange should allow me to re-use this shaft with the new axle. With the new driveshaft in, the TJ moved under its own power Saturday night.

011f17b1220c3dd3371685be73006b8e4c7afd0e90.jpg


I have 14 days to get this done (enough) to drive 4 hours to the beach. Game on!
 
Man that's a great update. Good luck to you the next week or so till your beach trip! Sounds like you're motivated to get it done by then.
 
Man that's a great update. Good luck to you the next week or so till your beach trip! Sounds like you're motivated to get it done by then.

Welp, my momentum on this project took a big hit. Used transmissions are always a gamble and a rebuild should be carried in your budget for a project like this.

Evidently my transmission rebuild is happening...now. Either the torque converter (which is brand new) or the pump in the transmission wiped itself out after the second test drive around the block, which was confirmed by the nice metallic / pearl color in the transmission fluid. It sucks, but its all part of this hobby and dealing with used parts. The plan now is to start selling and scrapping what I can to pay for the new transmission, keep finishing all the little details (that needed to get done anyway).
 
Welp, my momentum on this project took a big hit. Used transmissions are always a gamble and a rebuild should be carried in your budget for a project like this.

Evidently my transmission rebuild is happening...now. Either the torque converter (which is brand new) or the pump in the transmission wiped itself out after the second test drive around the block, which was confirmed by the nice metallic / pearl color in the transmission fluid. It sucks, but its all part of this hobby and dealing with used parts. The plan now is to start selling and scrapping what I can to pay for the new transmission, keep finishing all the little details (that needed to get done anyway).
That stinks to read about the setback!
 
I doubt the rear ds will work once ya install the 8.8. It’s actually a little longer so the ds will be too long and will need to be shortened. My buddy just done a sye on a tj and he has the 8.8 and the driveshaft he ordered musta been for a d35 cause it’s too long. Hope you have better luck than he did
 
@Dan_Goodwin got any updates?
I'm working on a post to bring this thread up to speed, but the short answer is yes. Thanks for checking in!

It's been running and driving around the block for about a week but I have a lot of little things to do before it's really road worthy.
 
I'm working on a post to bring this thread up to speed, but the short answer is yes. Thanks for checking in!

It's been running and driving around the block for about a week but I have a lot of little things to do before it's really road worthy.
That’s great.
 
Back
Top