After a couple of years of wheeling with me in my XJ my wife wanted something of her own. I let her drive the XJ whenever she wanted but she didn't feel comfortable with it and was always afraid she would break it. Which didn't really make much sense to me considering I break it all the time. :scratchhead: But, I never claimed to understand women, plus it was an excuse for another rig. :redneck:
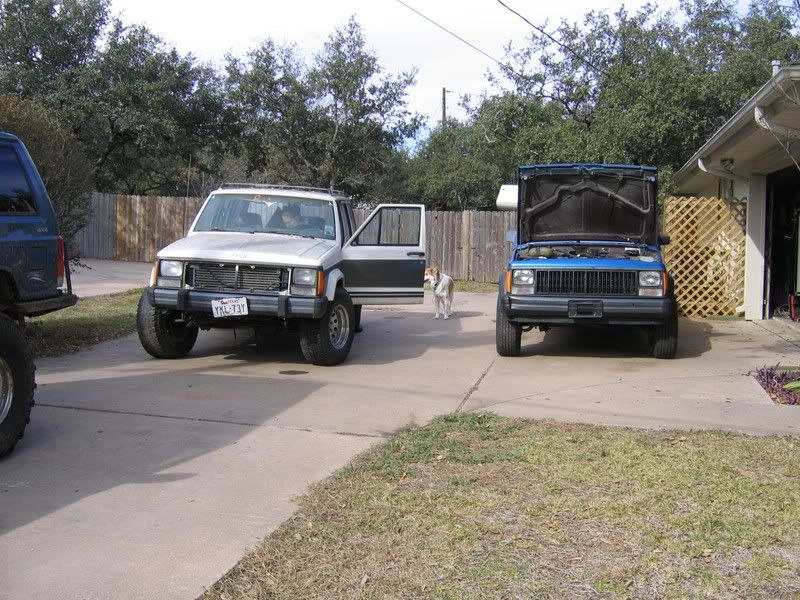
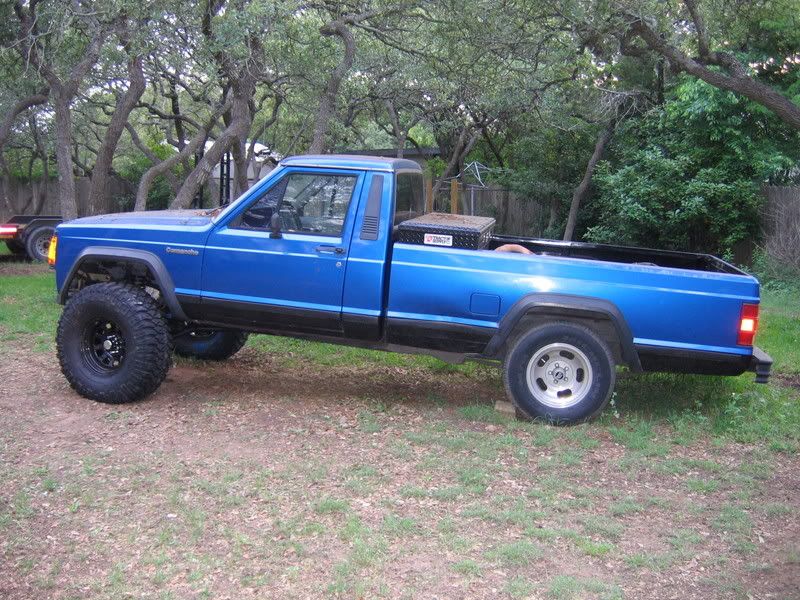
We casually looked around for a few months on eBay and CraigsList. She wanted a truck so we initially started looking for Toyotas. One night we drove by a parking lot where this was sitting with a for sale sign.
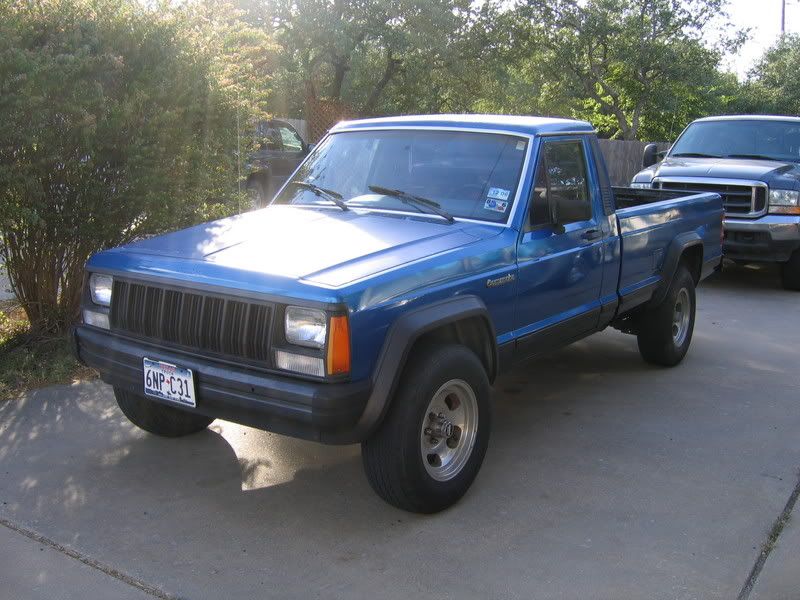
'88 2WD, Peugeot 5 speed, D35, 4.0, fancy rims, and very clean. A few negotiations and it was sitting in our driveway.
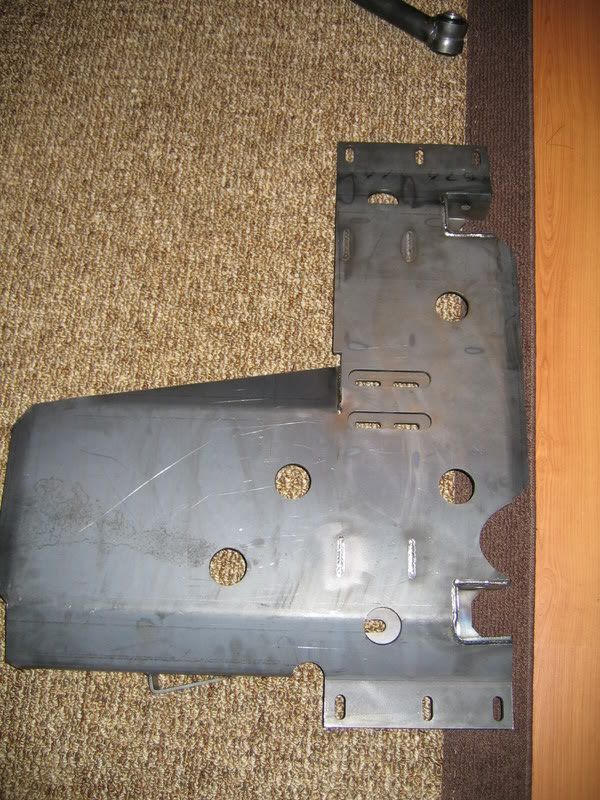
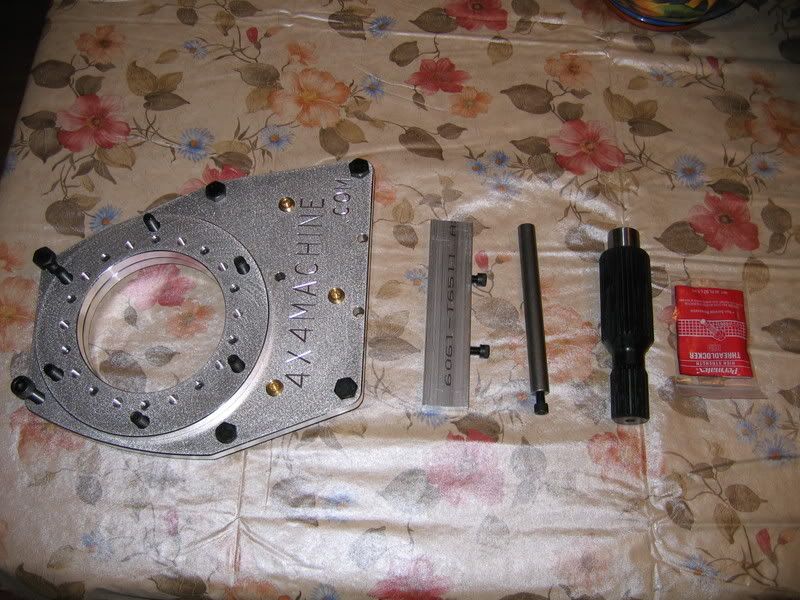
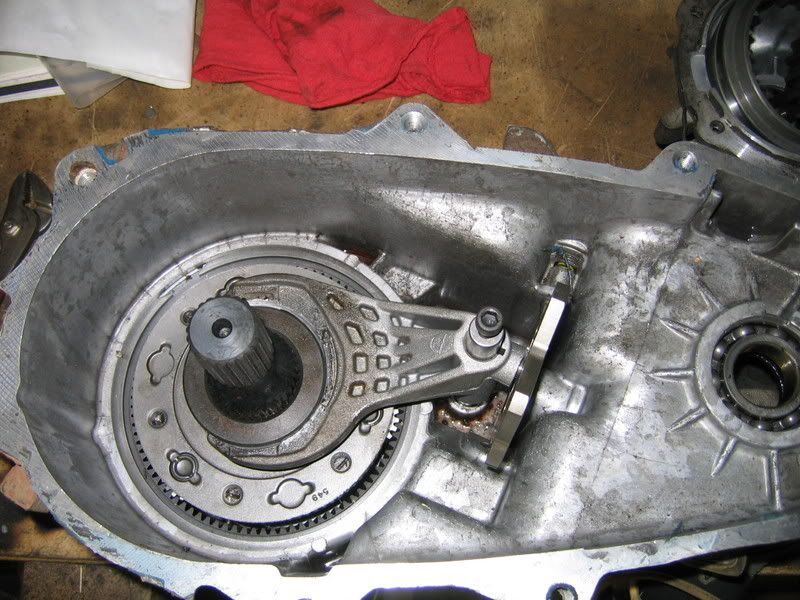
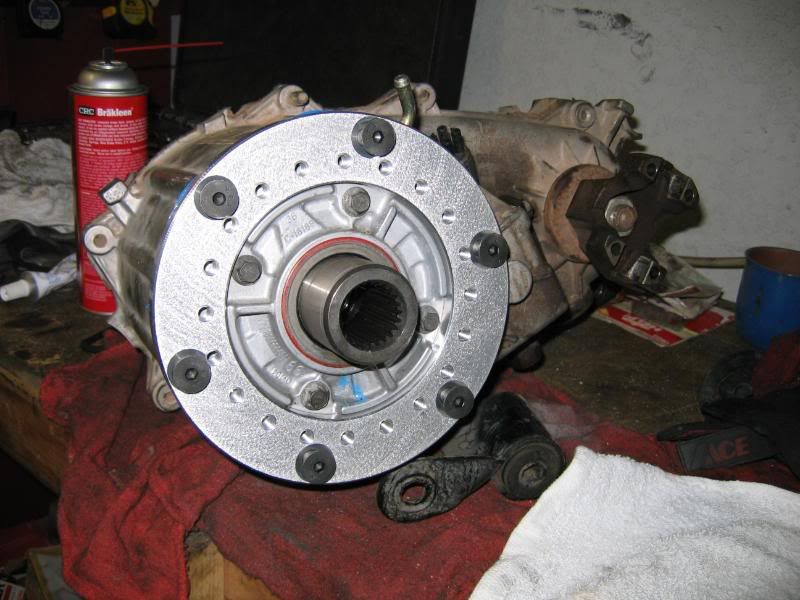
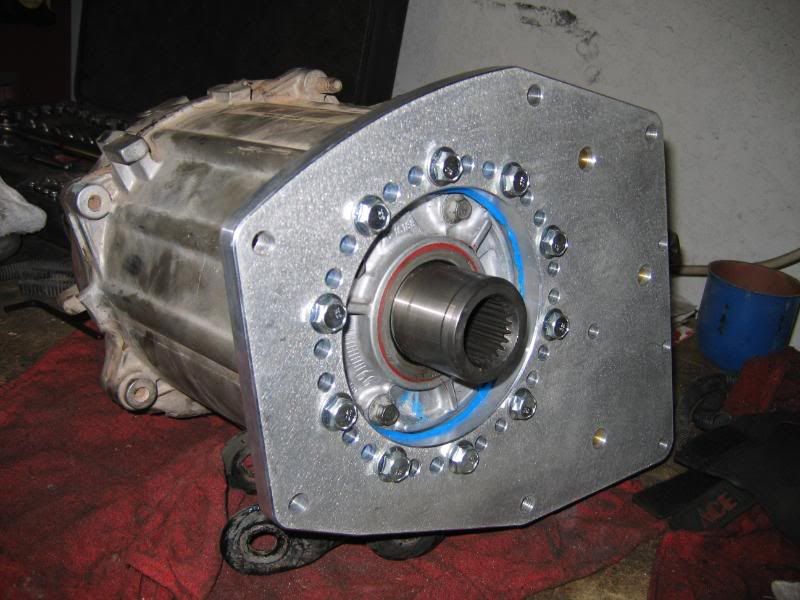
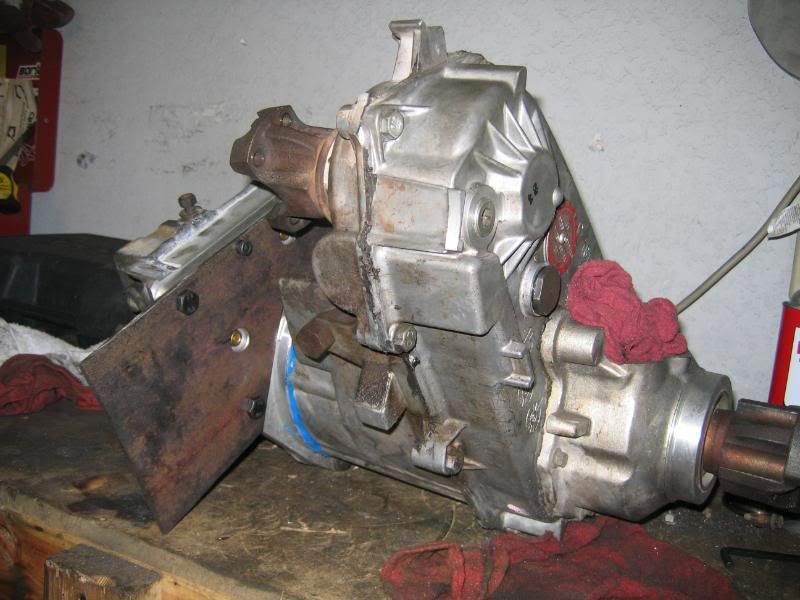
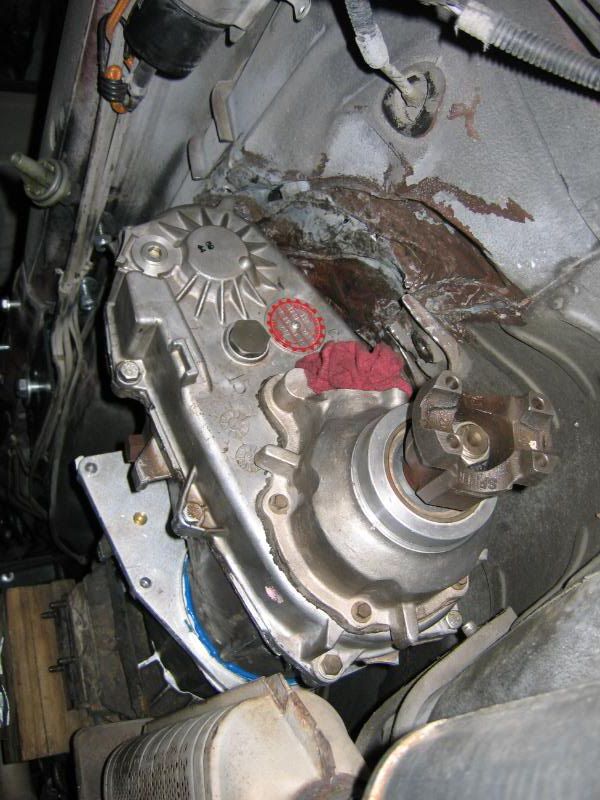
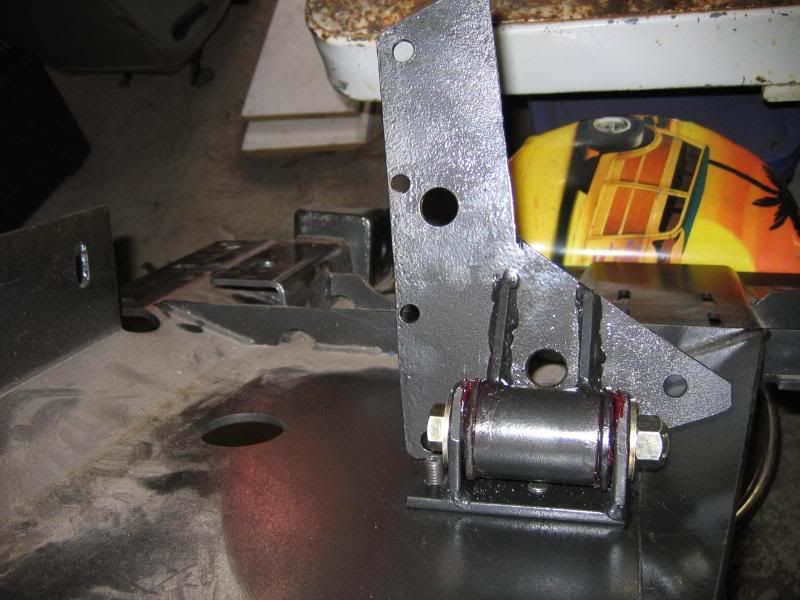
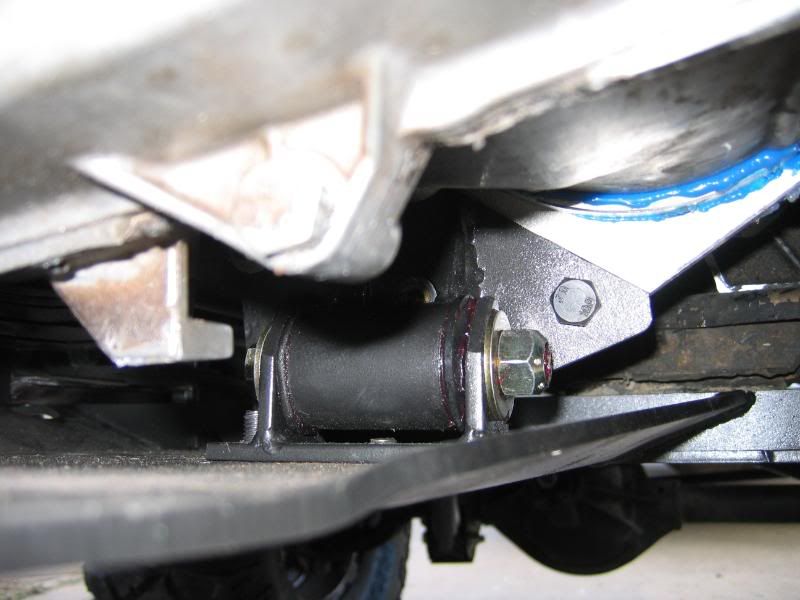
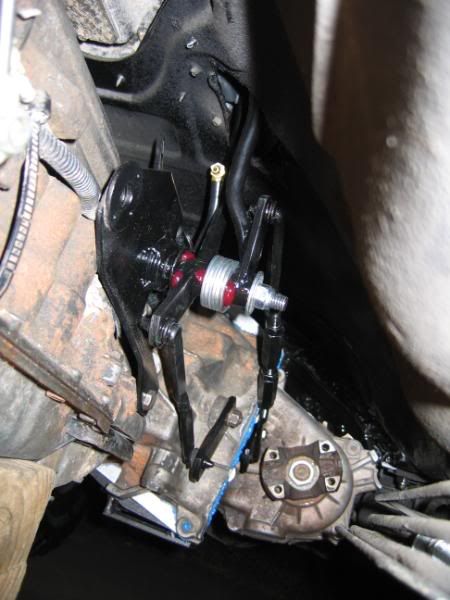
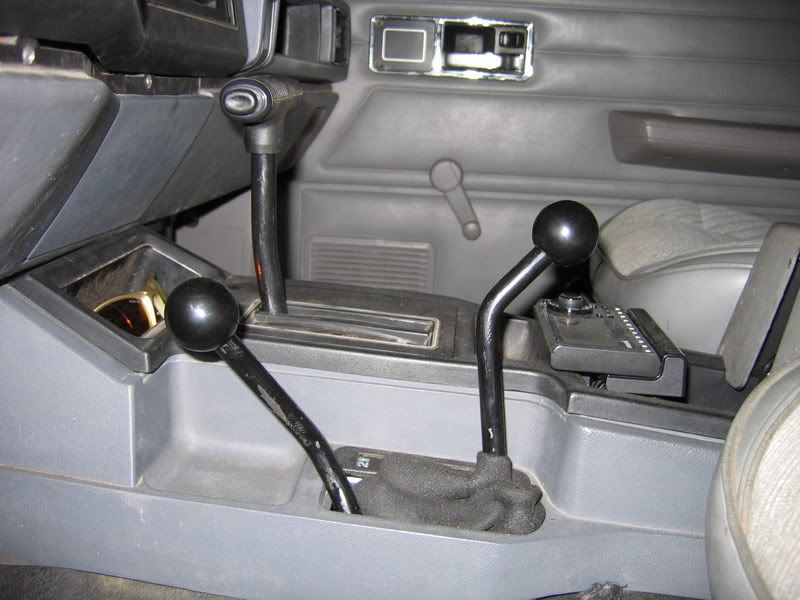
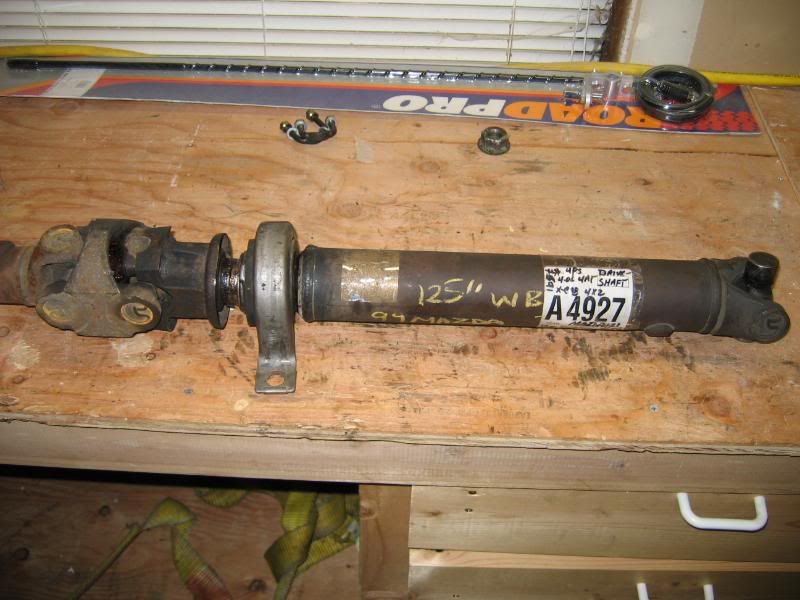
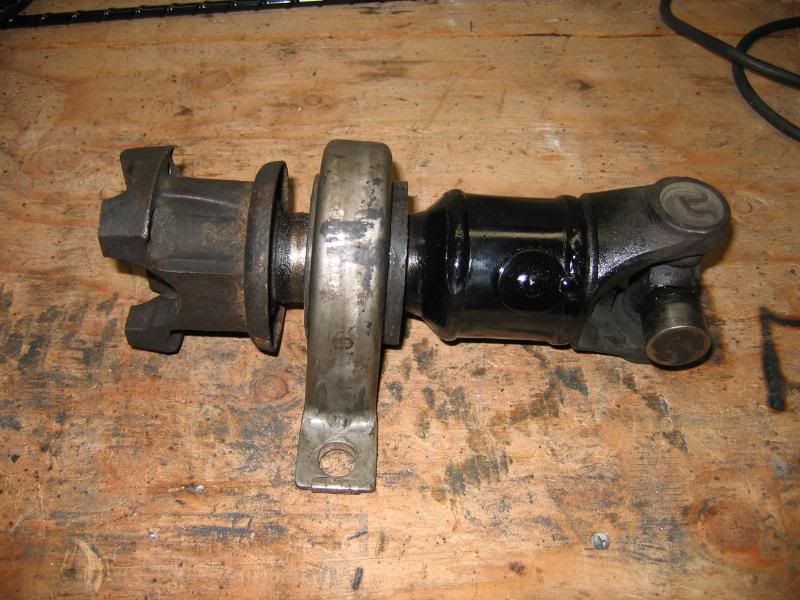
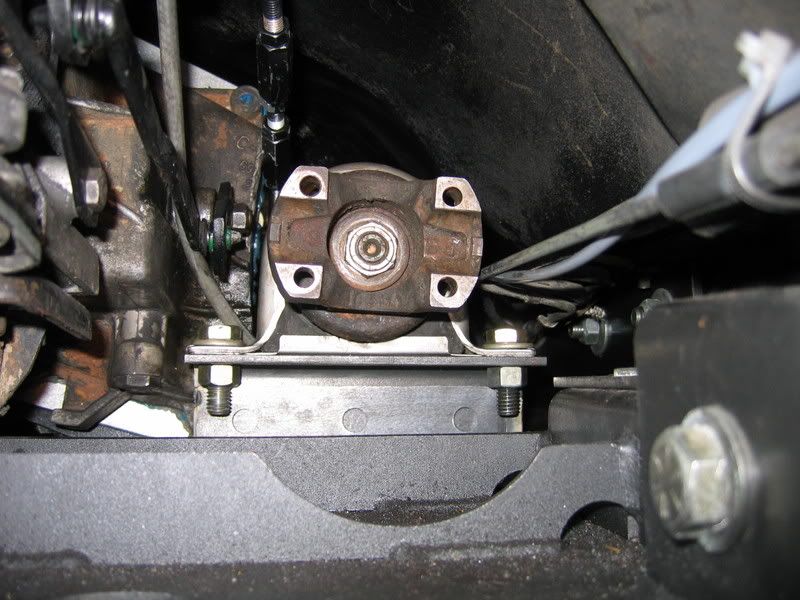
I already had most of the parts to convert it to 4WD besides the transmission. The Peugeot had to go no matter what. I had originally considered replacing it with another manual, but after a couple of "lessons" with the wife I thought better of that. About this time a buddy came across a parts XJ for $200. There were four of us that all wanted parts from it so I ended with a AW4 and lots of other miscellaneous parts for $50. :cheer:
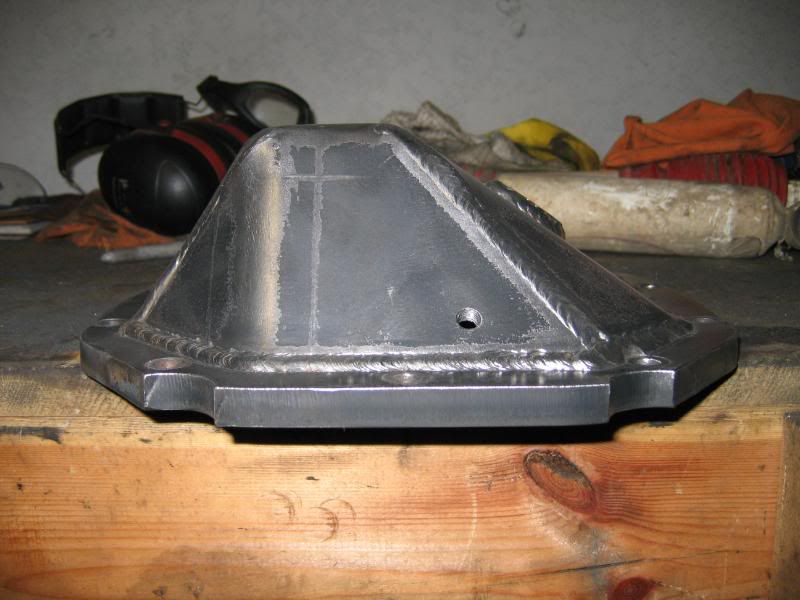
Besides the AW4 and 4WD, I had a few other plans for it.
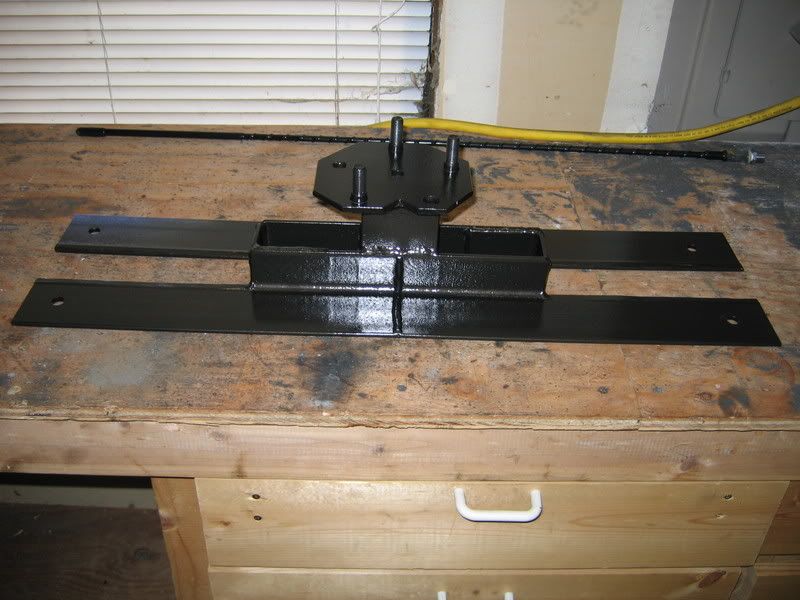
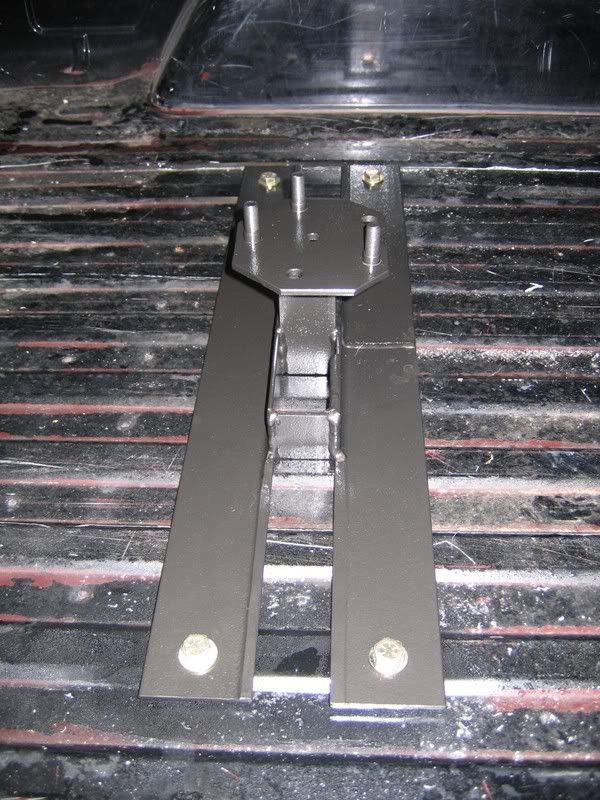
- 231 doubler
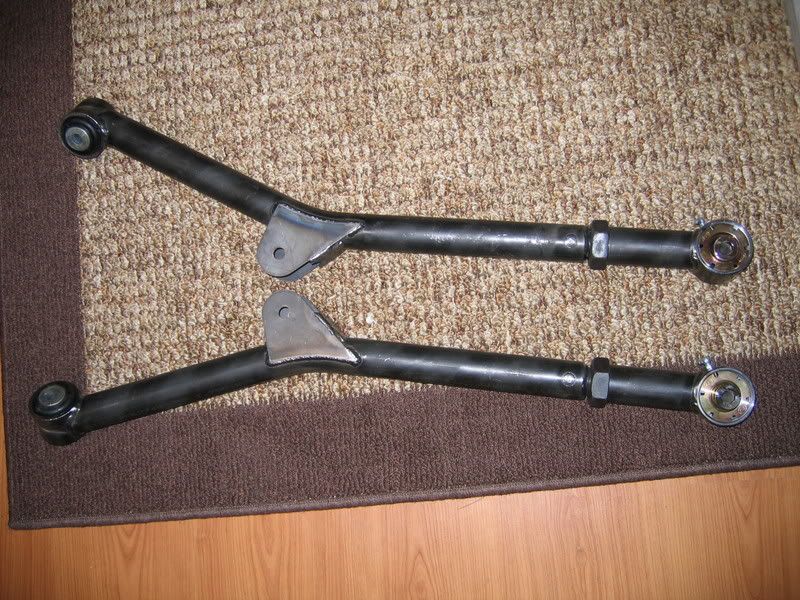
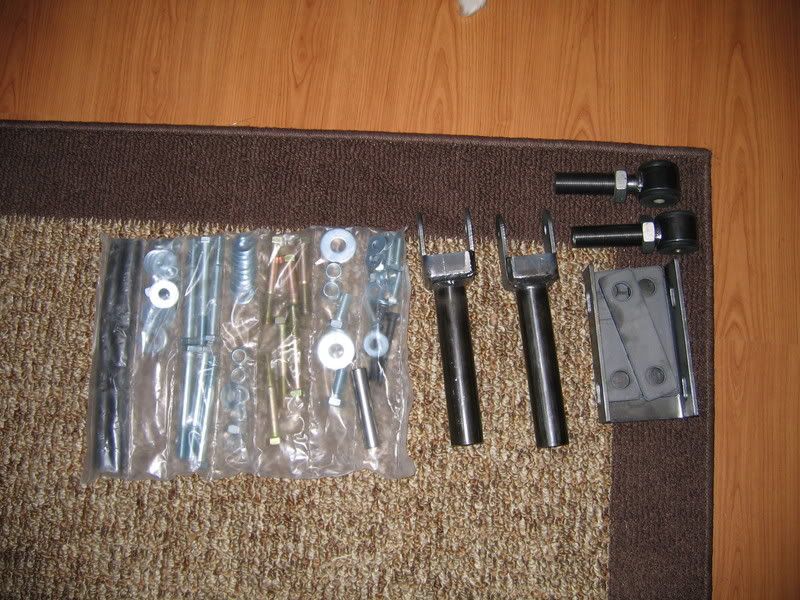
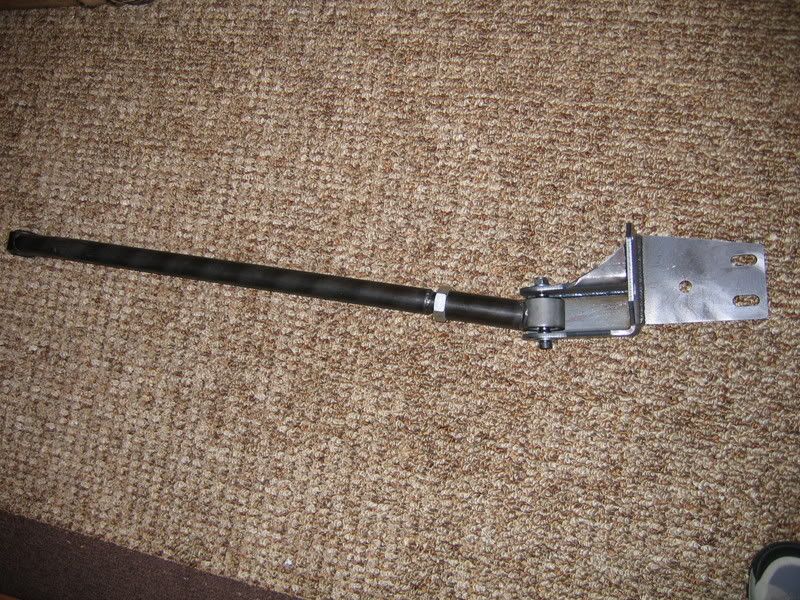
- TNT long arm front suspension
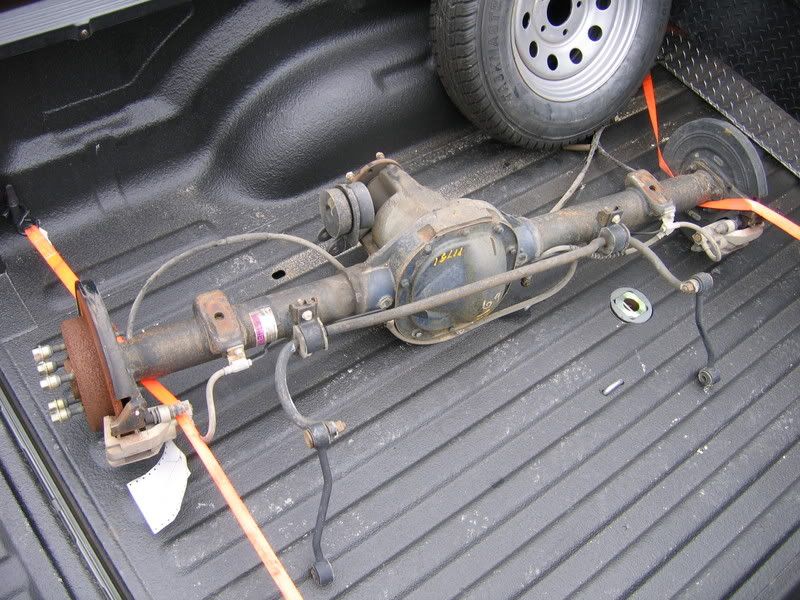
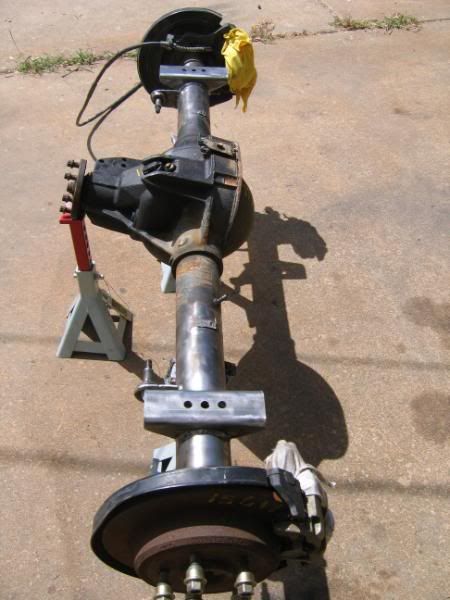
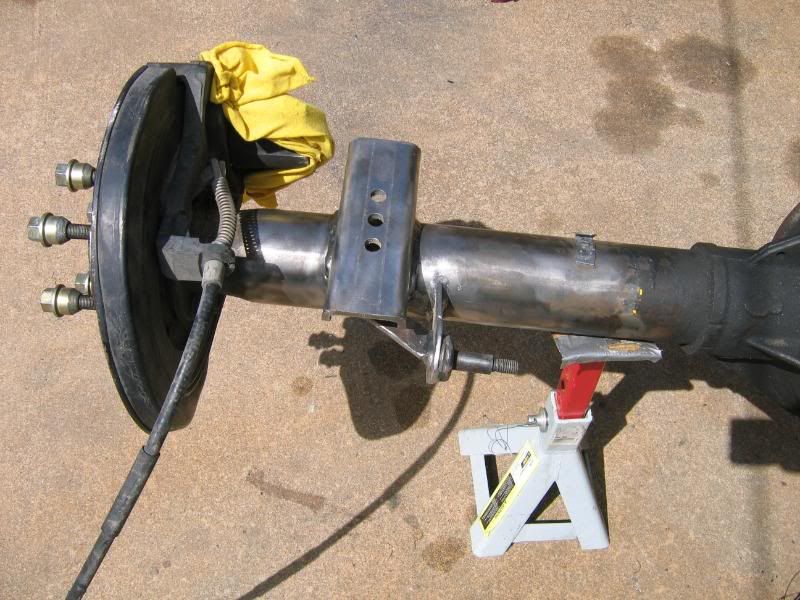
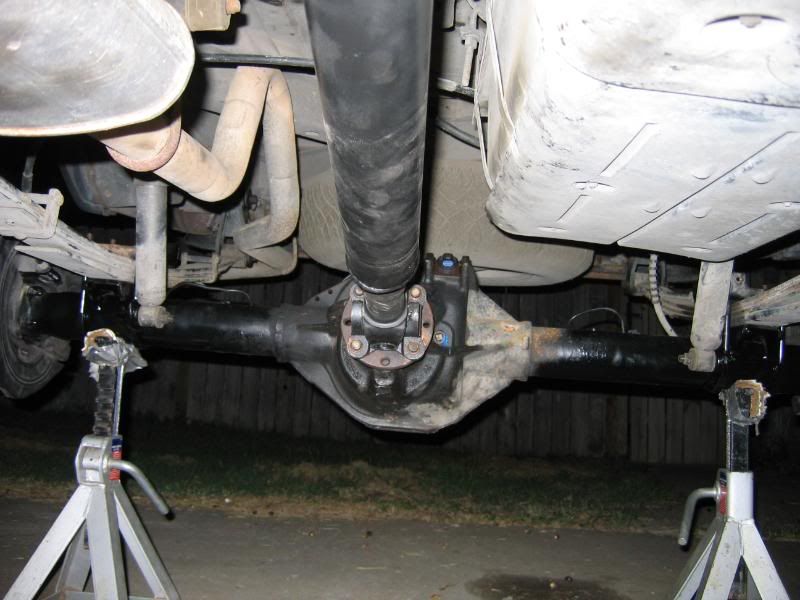
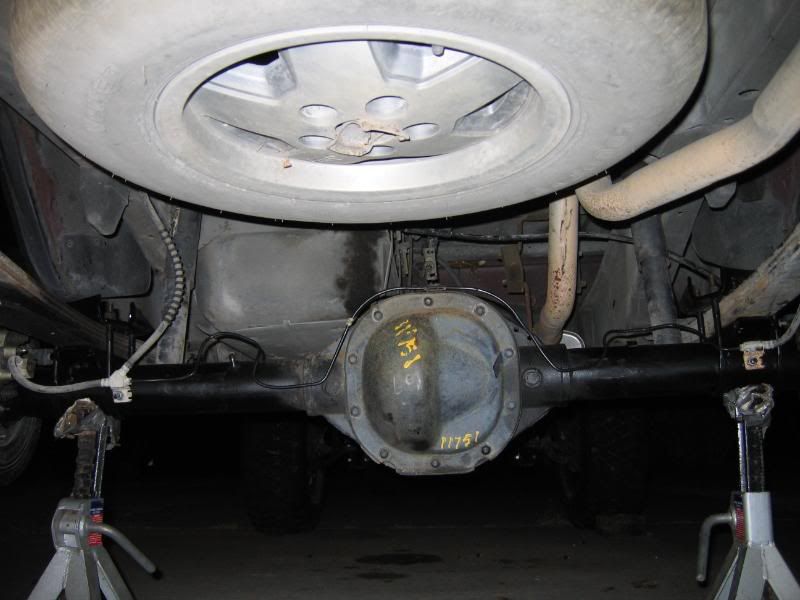
- Spring over with 8.8 rear
- ECTEDs front and rear
- 4.88 gears
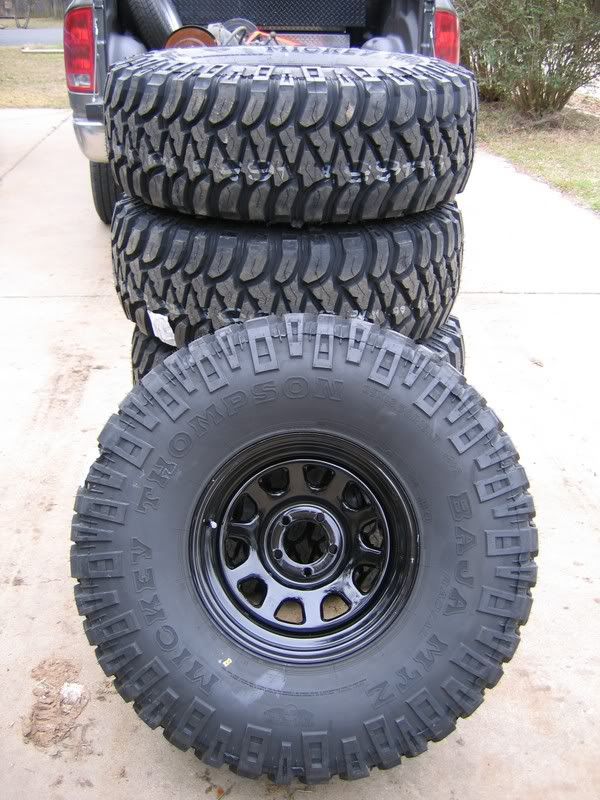
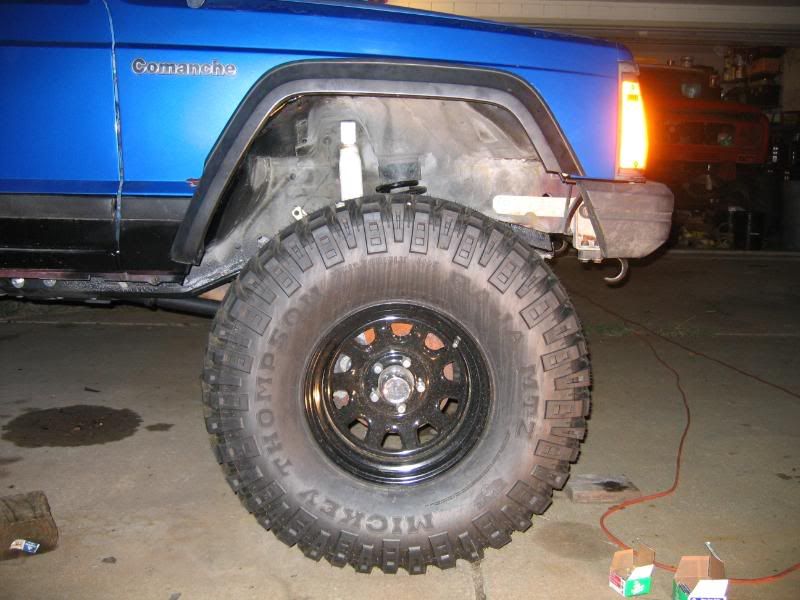
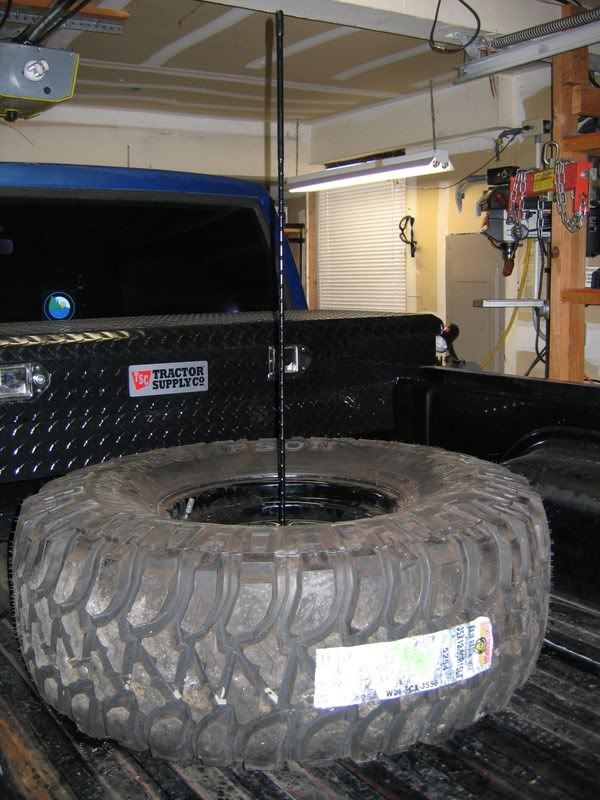
- 35" Mickey Thompson Baja MTZs
- Lots of other fun stuff :clappy:
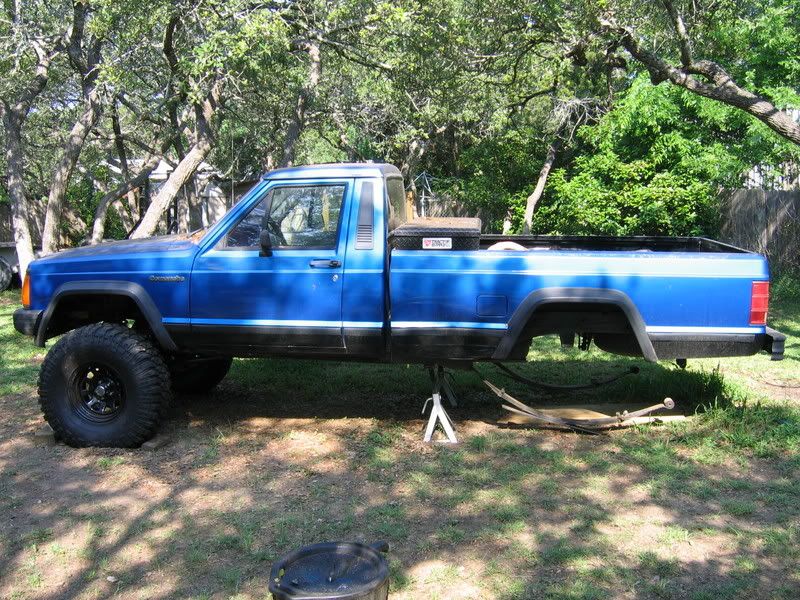
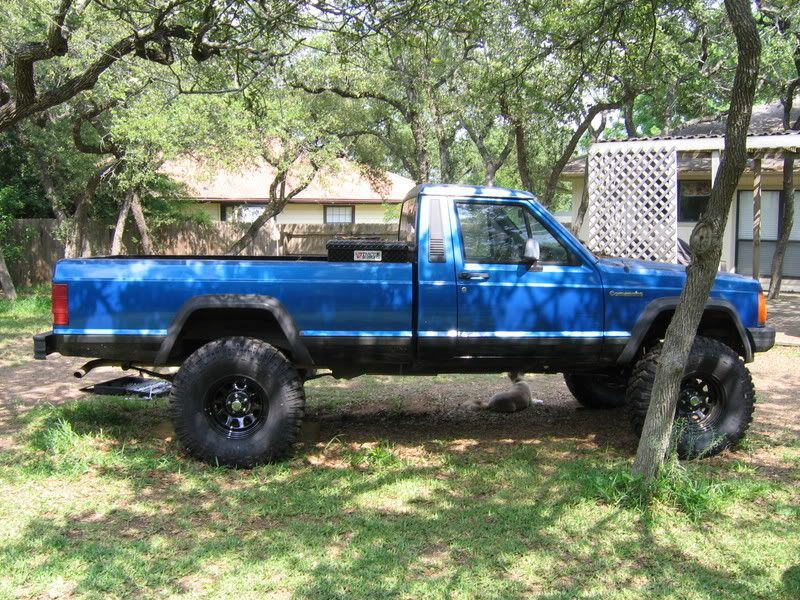
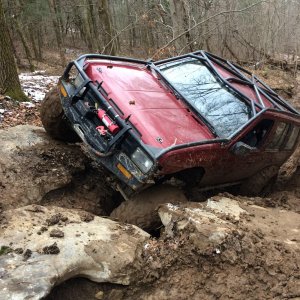
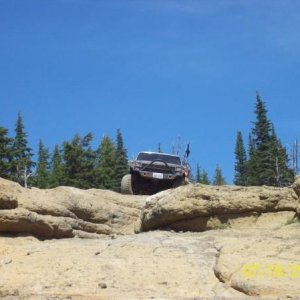
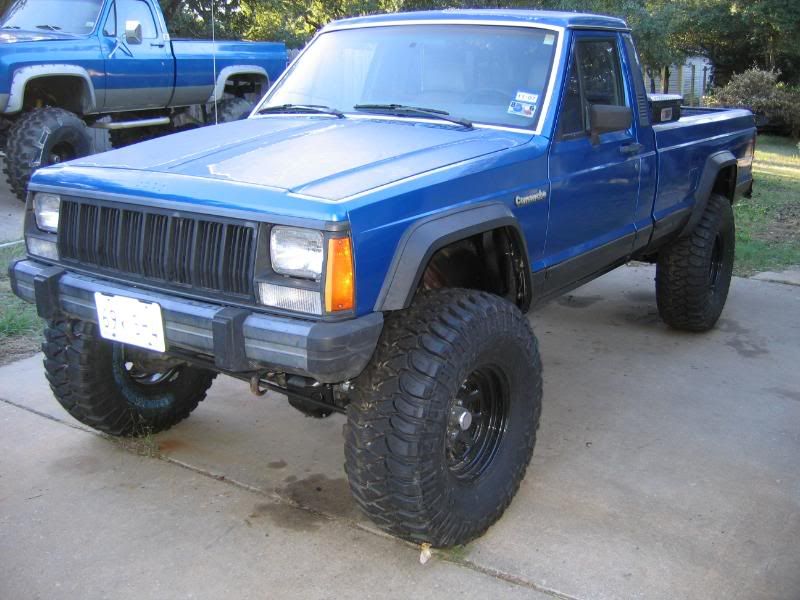
Here it is after most of that stuff.
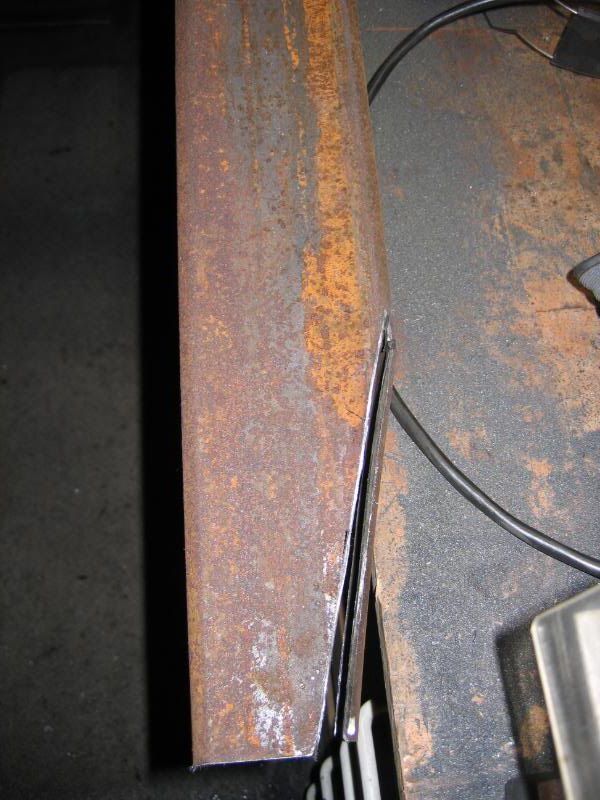
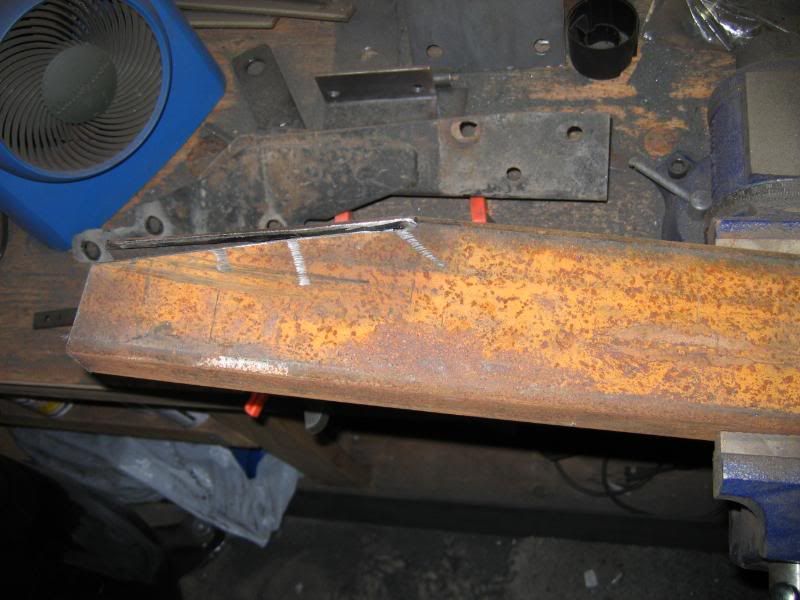
I've got plenty of progress pics that I'll post up as I get time. Here are a couple of the latest updates.
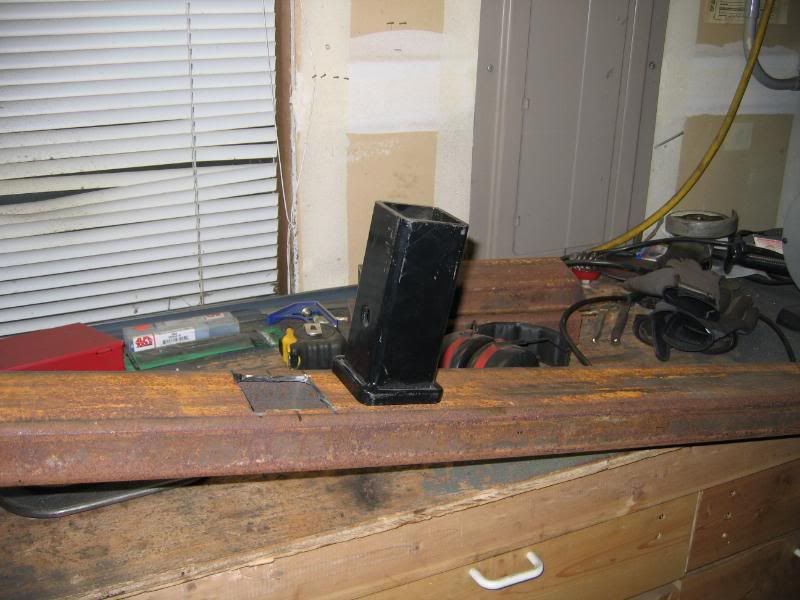
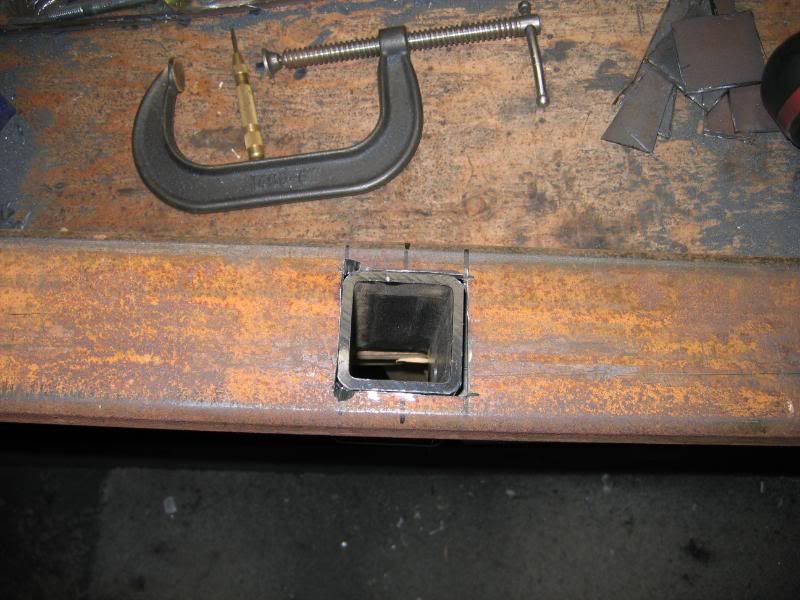
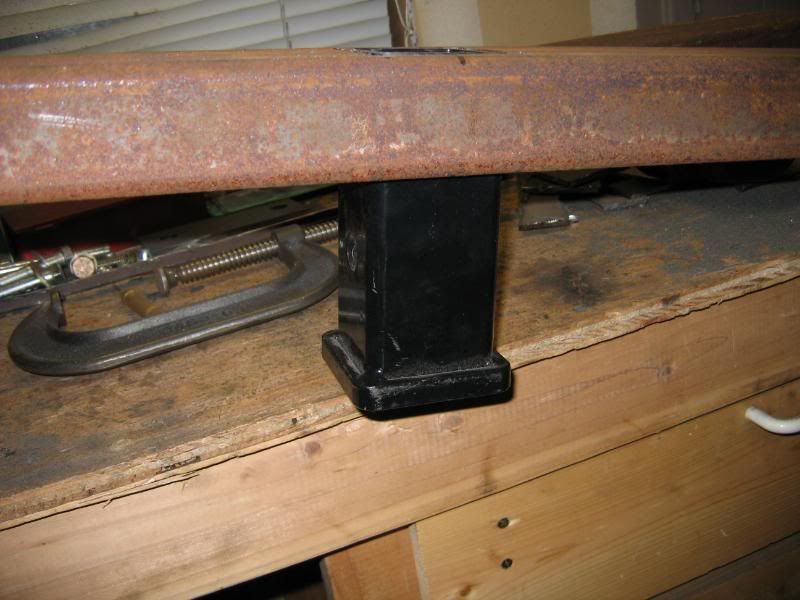
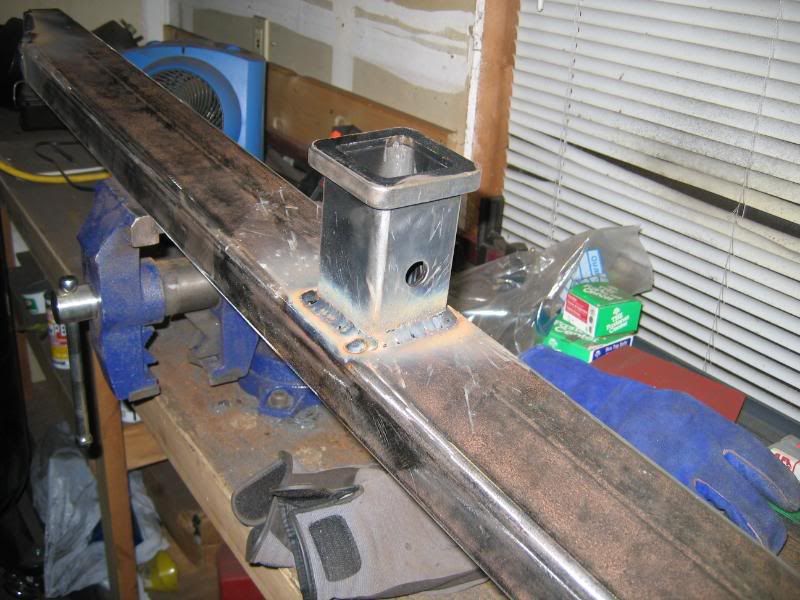
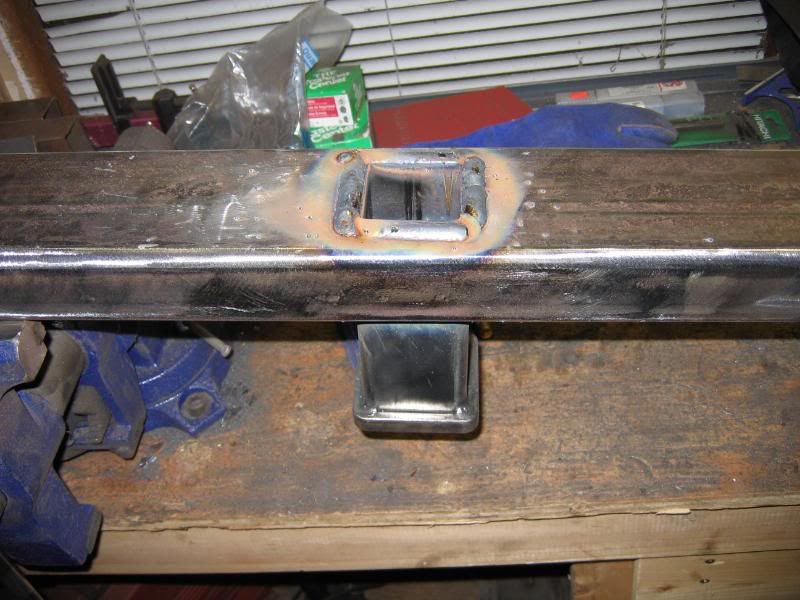
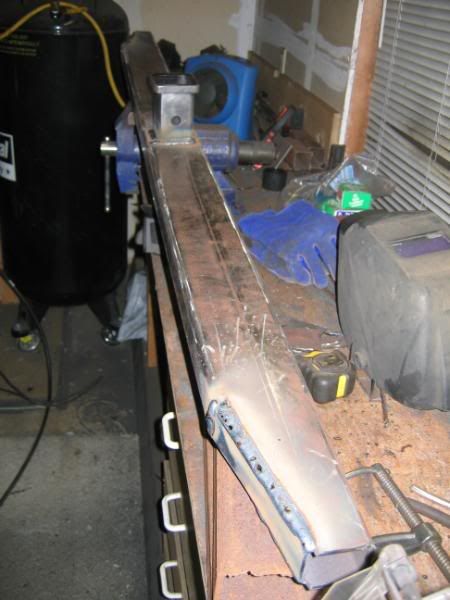
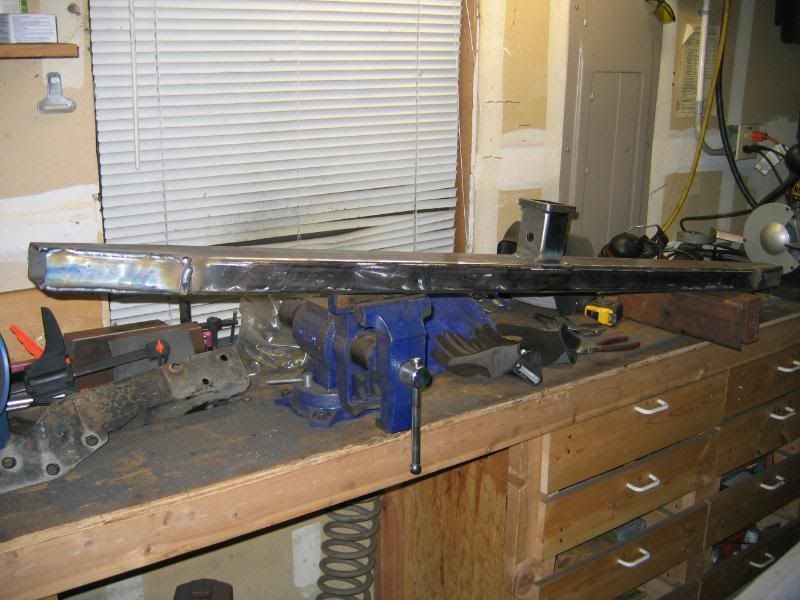
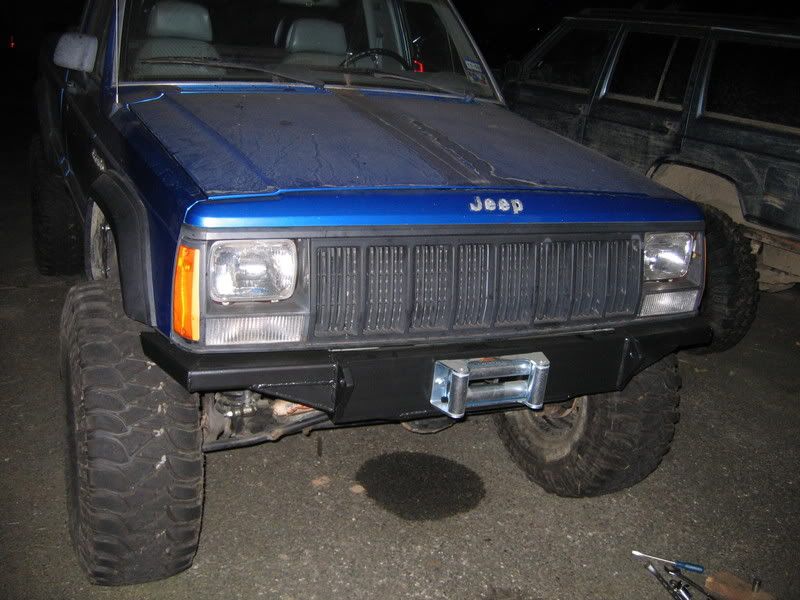
Front bumper:
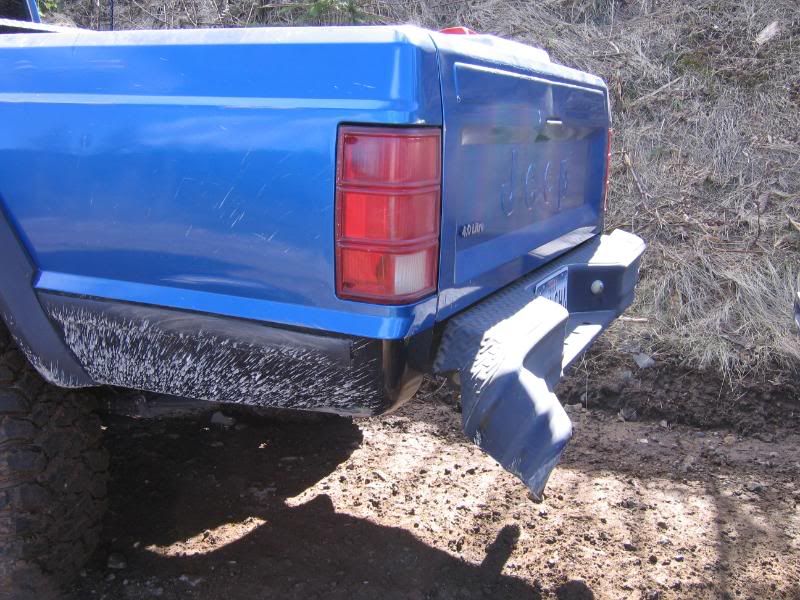
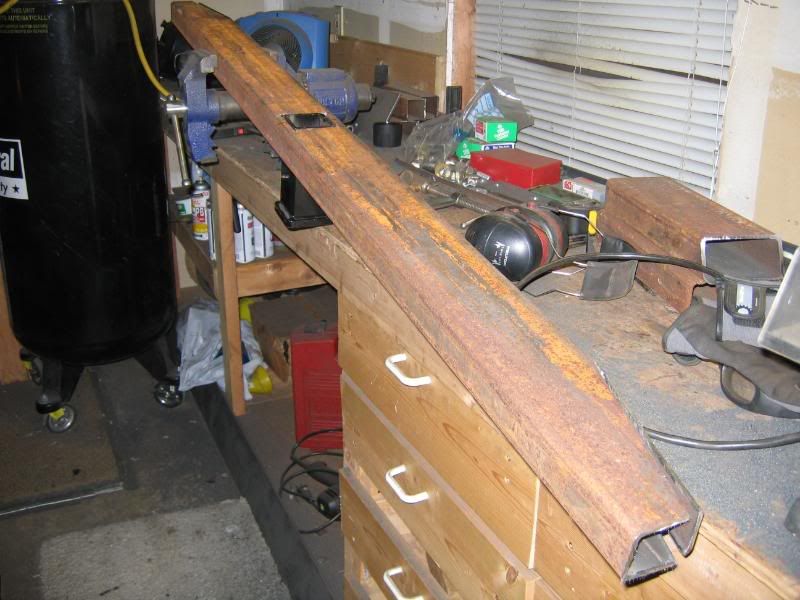
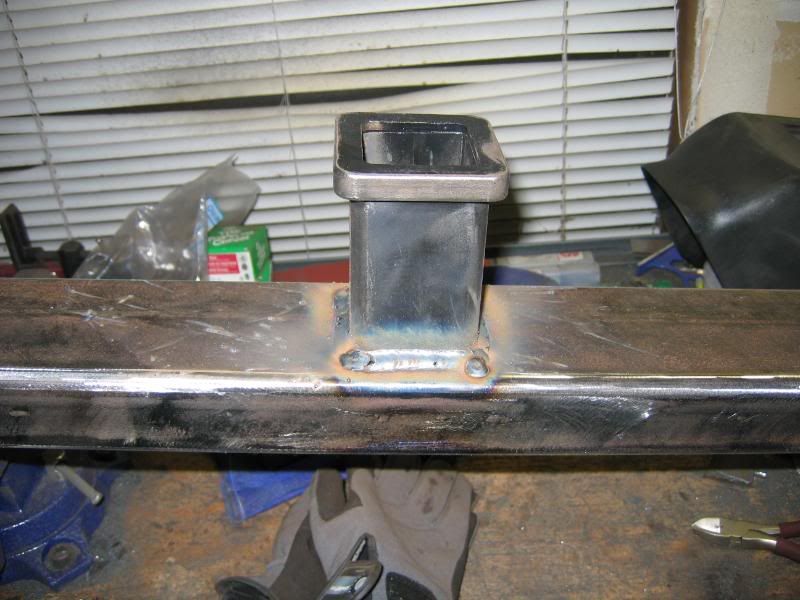
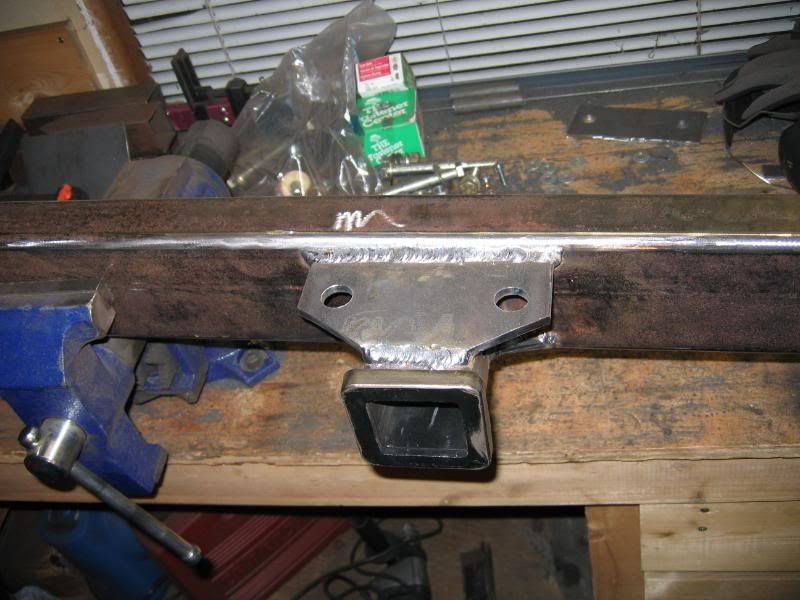
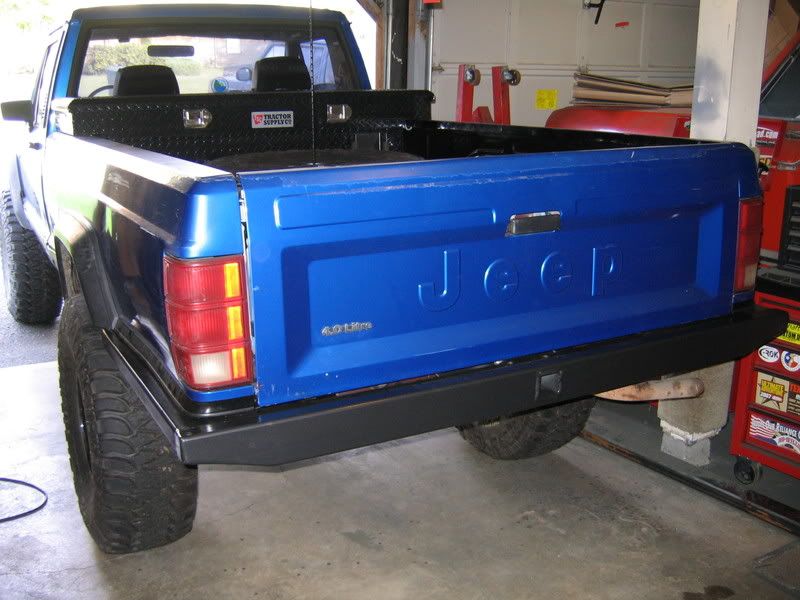
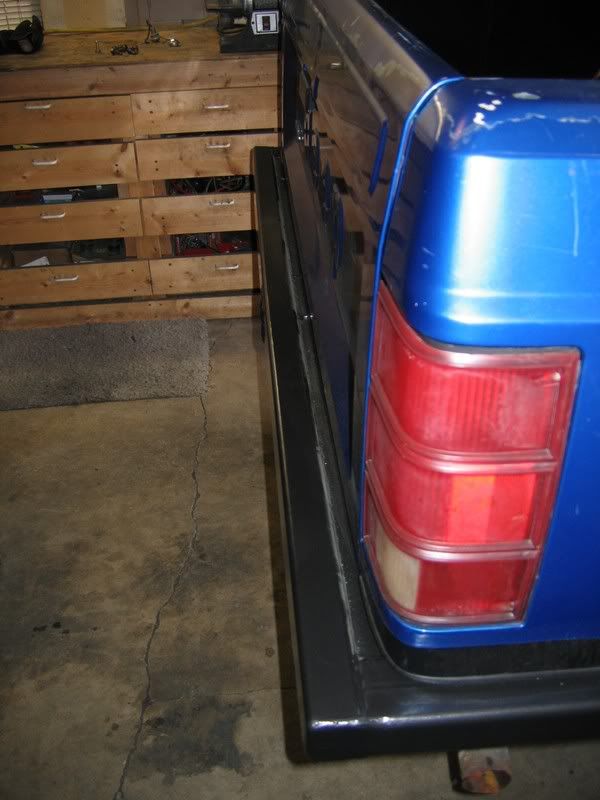
Rear bumper:
Willy
We casually looked around for a few months on eBay and CraigsList. She wanted a truck so we initially started looking for Toyotas. One night we drove by a parking lot where this was sitting with a for sale sign.
'88 2WD, Peugeot 5 speed, D35, 4.0, fancy rims, and very clean. A few negotiations and it was sitting in our driveway.
I already had most of the parts to convert it to 4WD besides the transmission. The Peugeot had to go no matter what. I had originally considered replacing it with another manual, but after a couple of "lessons" with the wife I thought better of that. About this time a buddy came across a parts XJ for $200. There were four of us that all wanted parts from it so I ended with a AW4 and lots of other miscellaneous parts for $50. :cheer:
Besides the AW4 and 4WD, I had a few other plans for it.
- 231 doubler
- TNT long arm front suspension
- Spring over with 8.8 rear
- ECTEDs front and rear
- 4.88 gears
- 35" Mickey Thompson Baja MTZs
- Lots of other fun stuff :clappy:
Here it is after most of that stuff.
I've got plenty of progress pics that I'll post up as I get time. Here are a couple of the latest updates.
Front bumper:
Rear bumper:
Willy