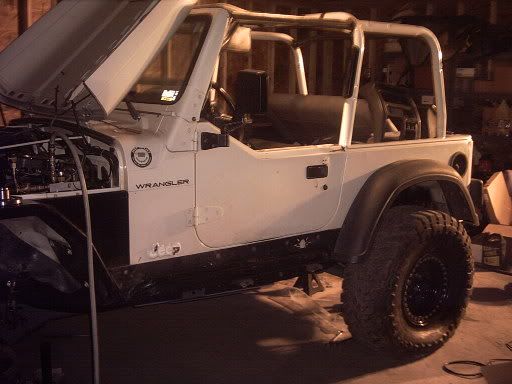
War-Jeeper
Mailbox Killing War-Ho
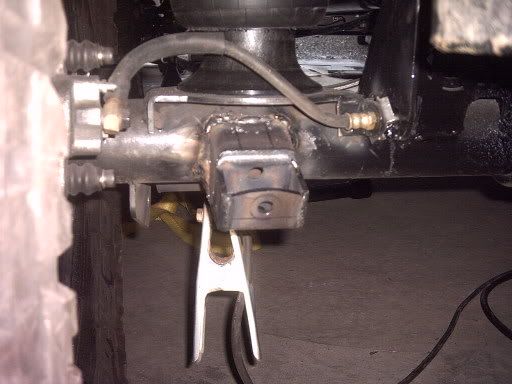
Sweeet! Nice welds by the way
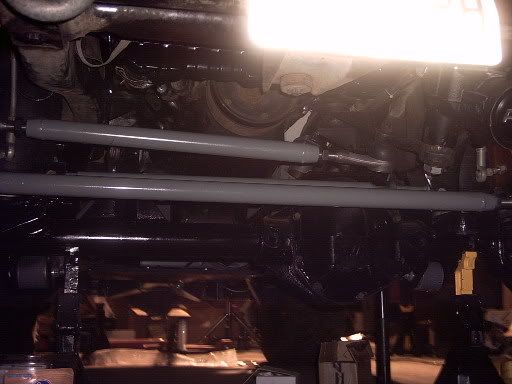
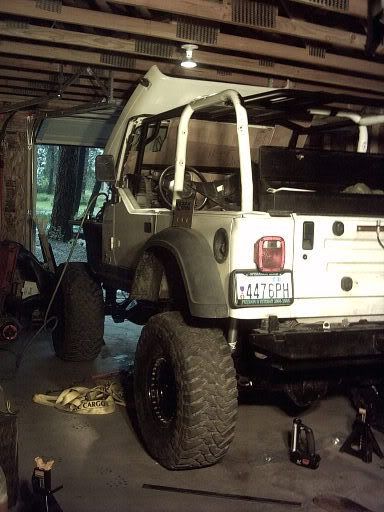
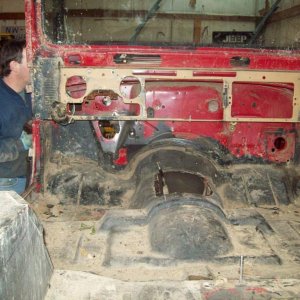
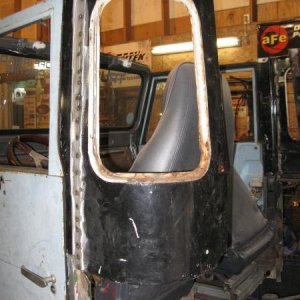
yjkrawlin said:wow nice job , were you nervous when you were cutting the frame?
your going nuts with that thing , cant wait to see it done!
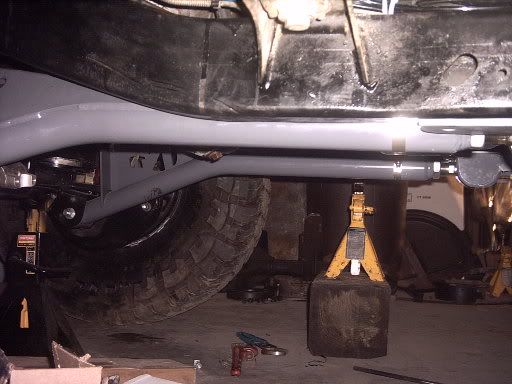
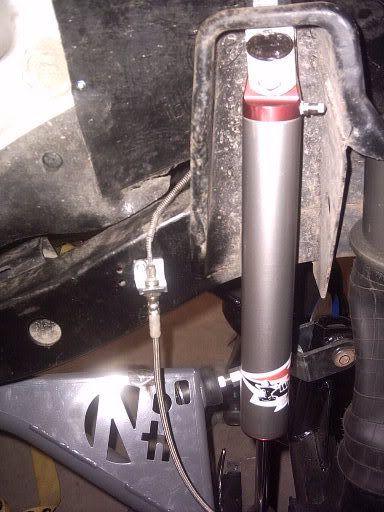
cameron_garrison said:interesting using airbags instead of the coils do those work good i have heard of people using them but havent really seen it
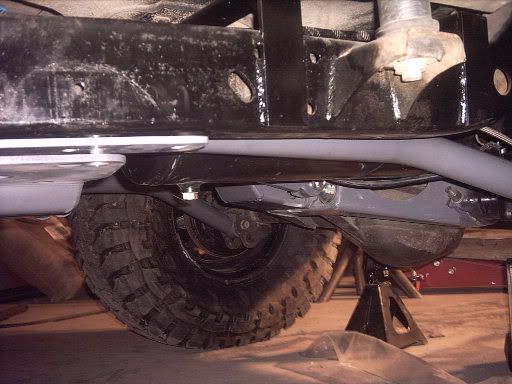
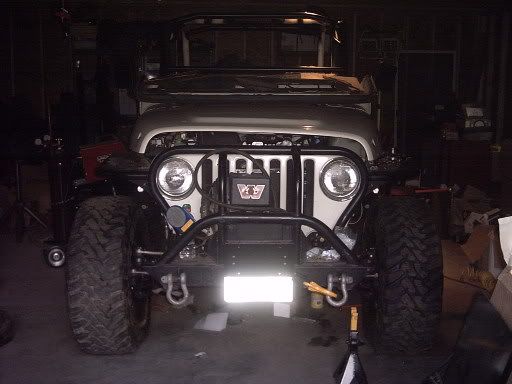
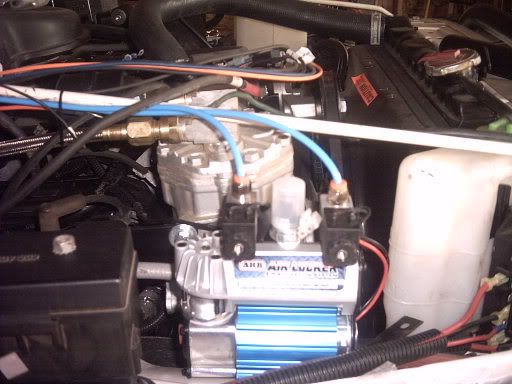
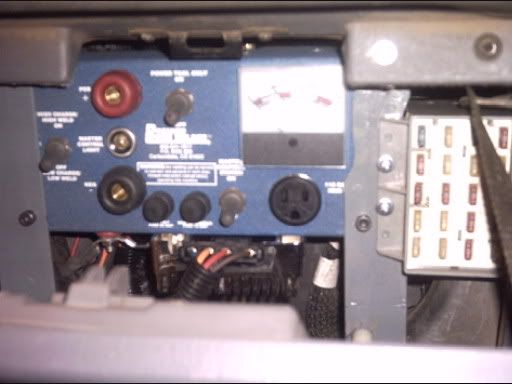
Jobless said:Dude...it's crazy how much equipment you've been able to get into that rig.
Have you seen/wheeled with any other rigs with the Nth Degree kits on them?