Goatbuilt JHF buggy build

Hardline Crawlers - Rock Bouncer Builds, Tech & Off-Road Trail Talk

Help Support Hardline Crawlers:

crazybluerider1

Well-Known Member
Joined
Sep 6, 2007
Messages
894
Reaction score
0
City & State/Province
Portland
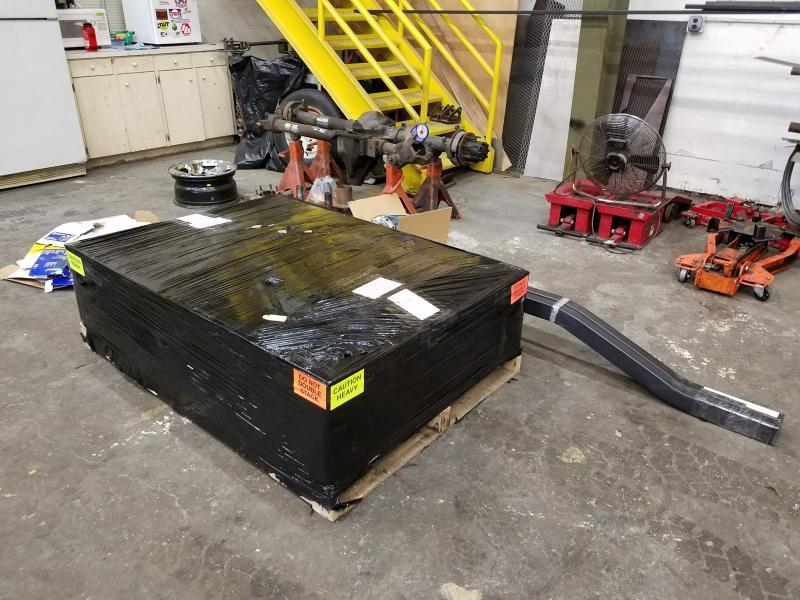
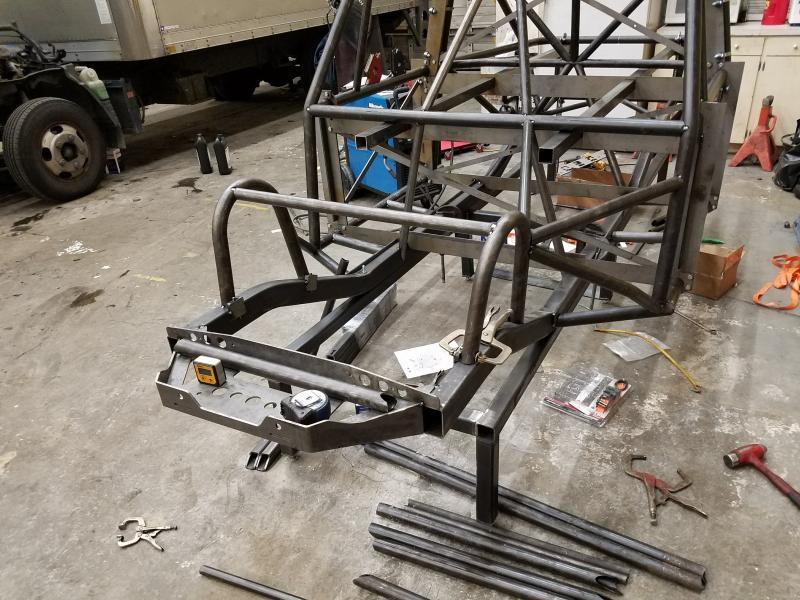
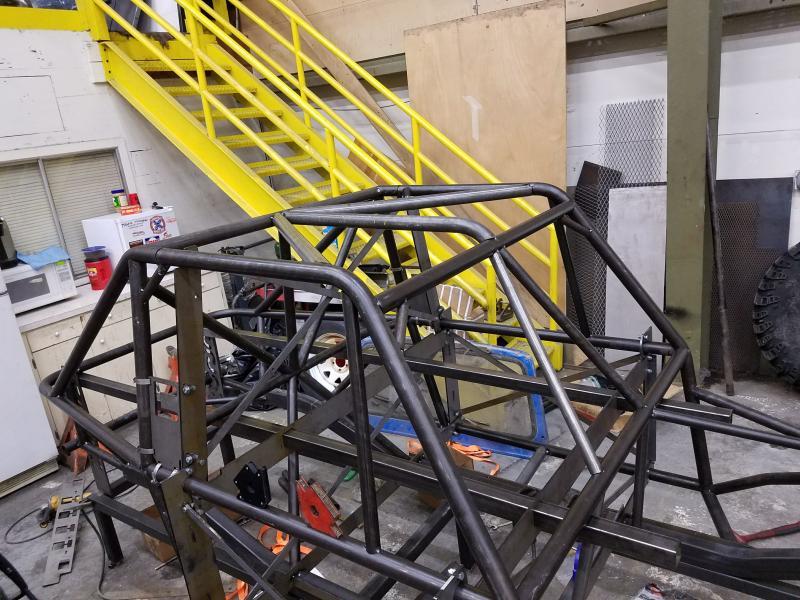
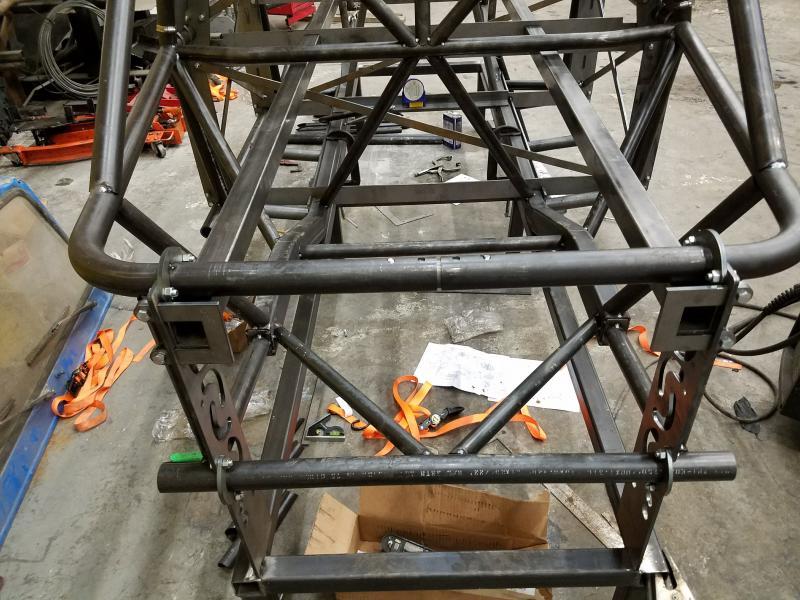
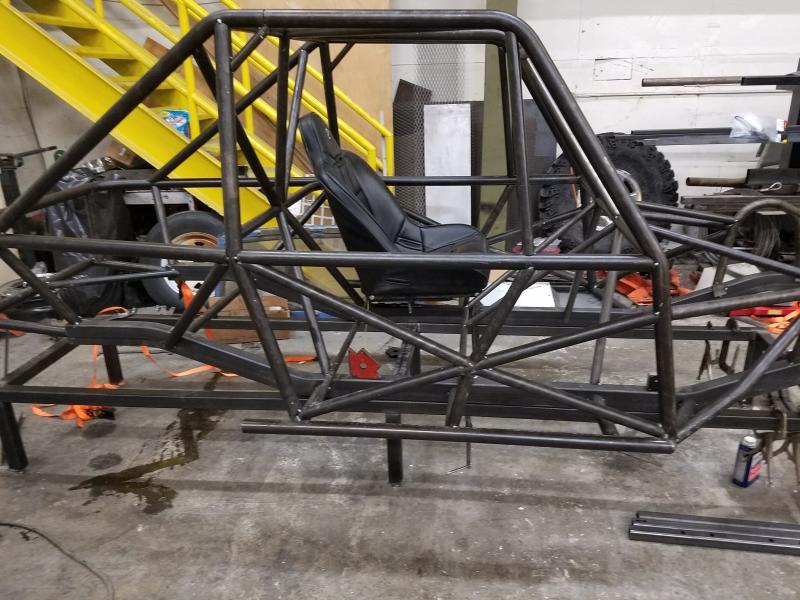
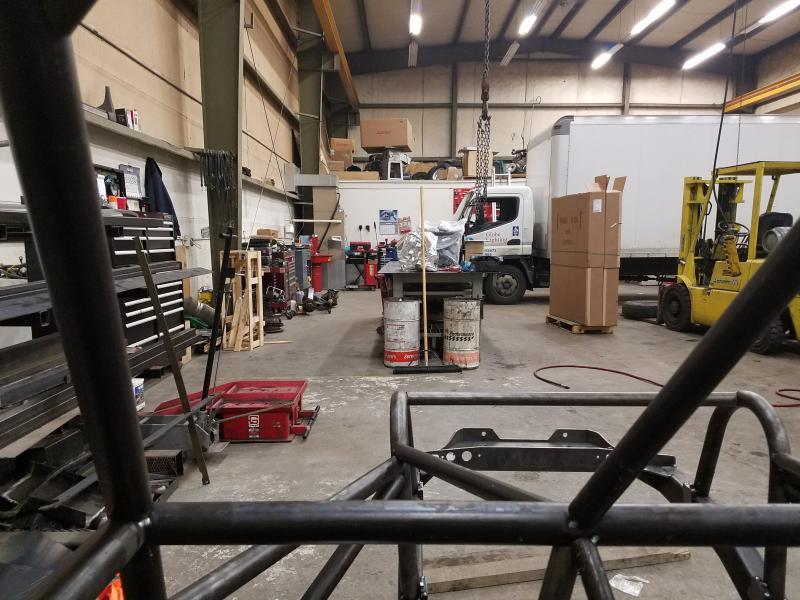
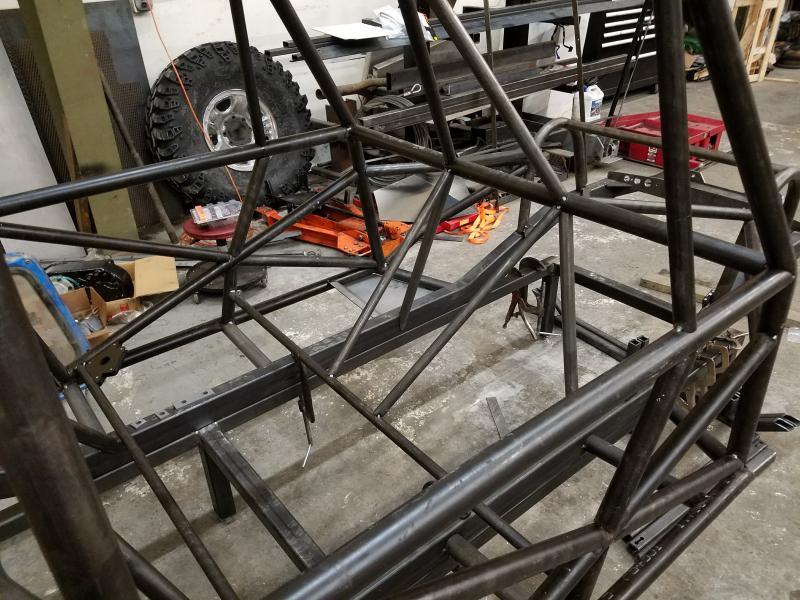
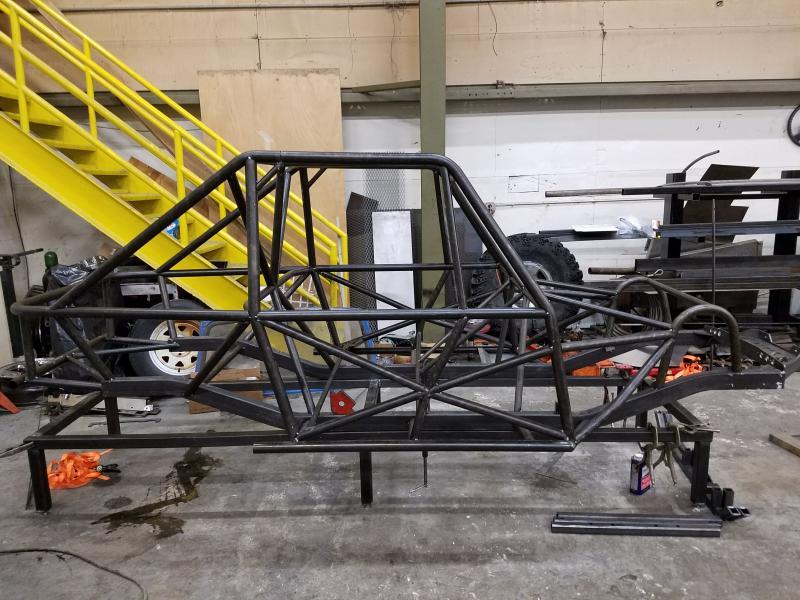
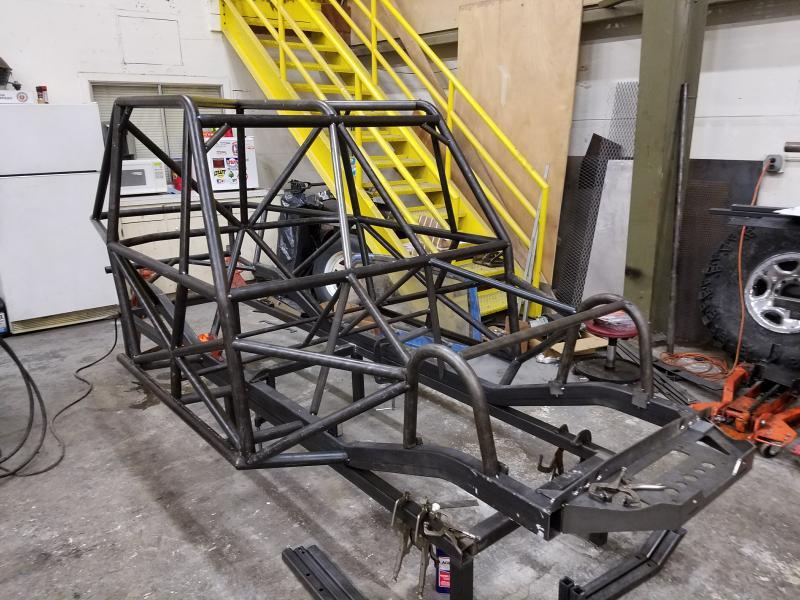
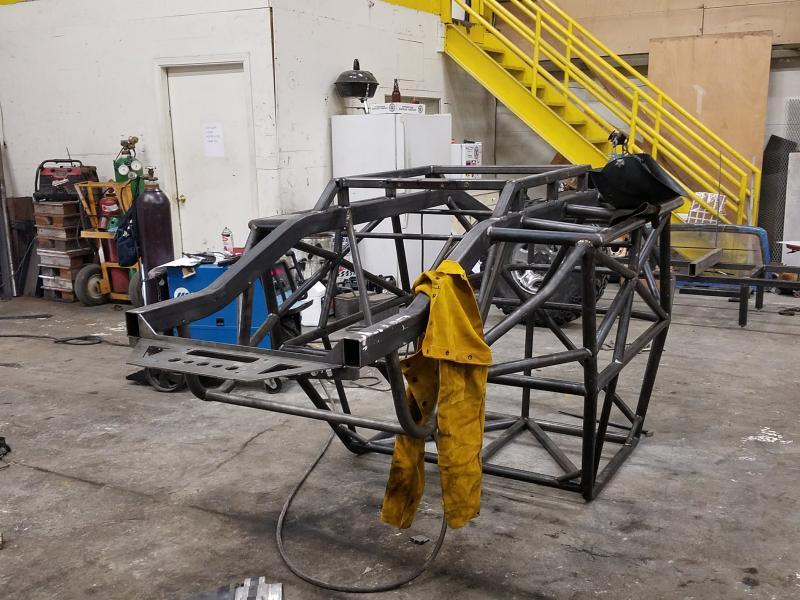
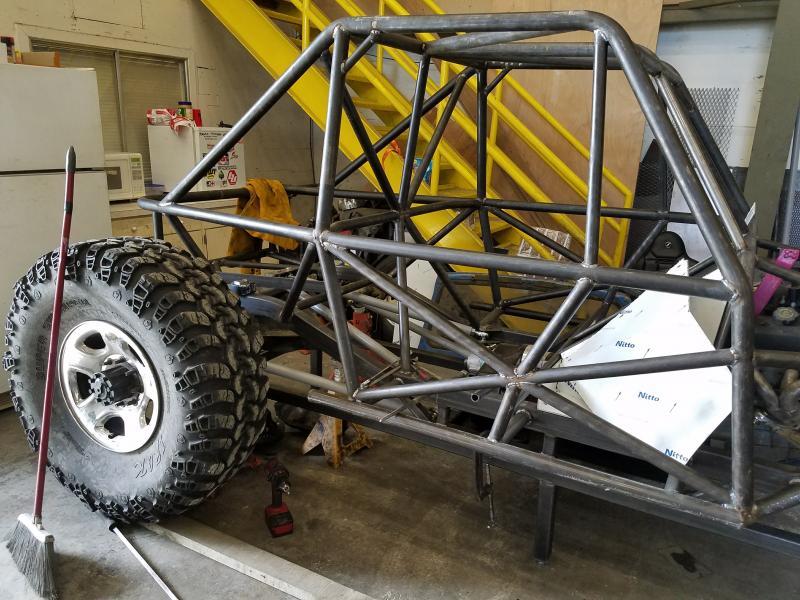
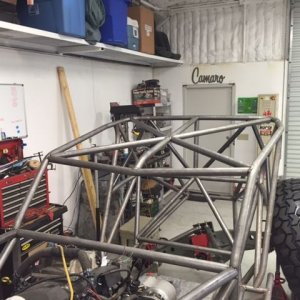
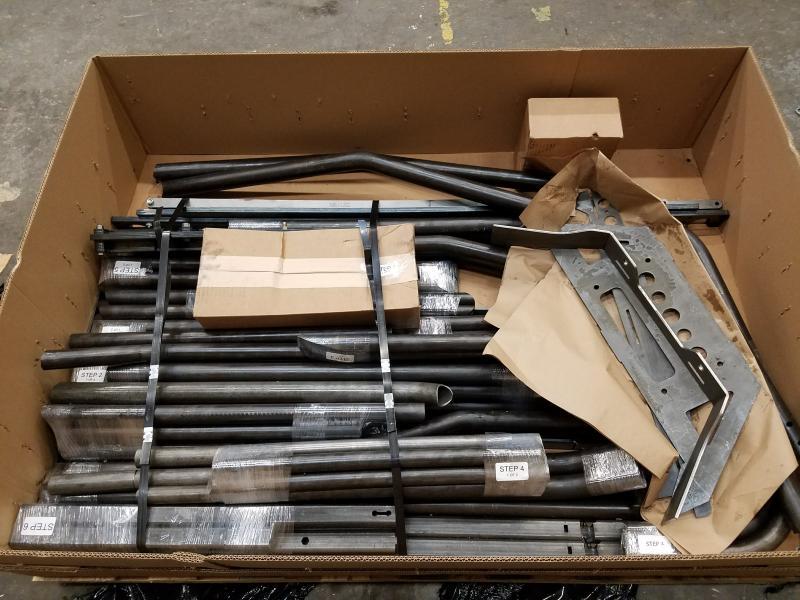
Ever since the part out of my last buggy I have been collecting parts to build a replacement. A lot of the first round of parts I collected ended up in my 1980 Toyota so I had to replace many of them. Last summer I started looking for a chassis, after a few phone calls to builders and a whole bunch of looking around I discovered that all the builders I actually wanted to buy a chassis from were either way to far out for time or way out of my budget. I had looked at the IBEX chassis and I really like the weld it yourself kit but it was just not a good fit for what I wanted in a buggy size wise. Then Jesse Haines and Drew announced their corroboration. It was perfect. Anyways enough words, onto the pictures.
 

Attachments
  • 20180214_094910.jpg
    20180214_094910.jpg
    77.7 KB
  • 20180214_094147.jpg
    20180214_094147.jpg
    89.2 KB
Last edited:
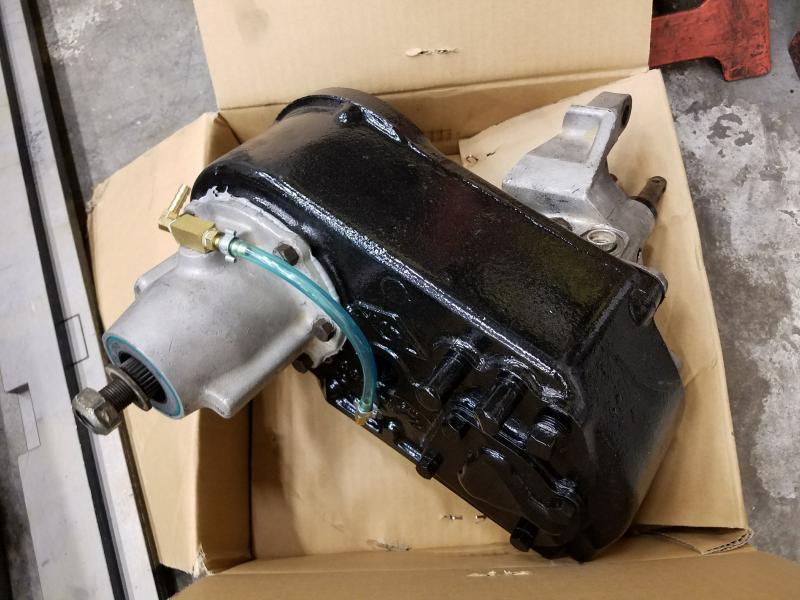
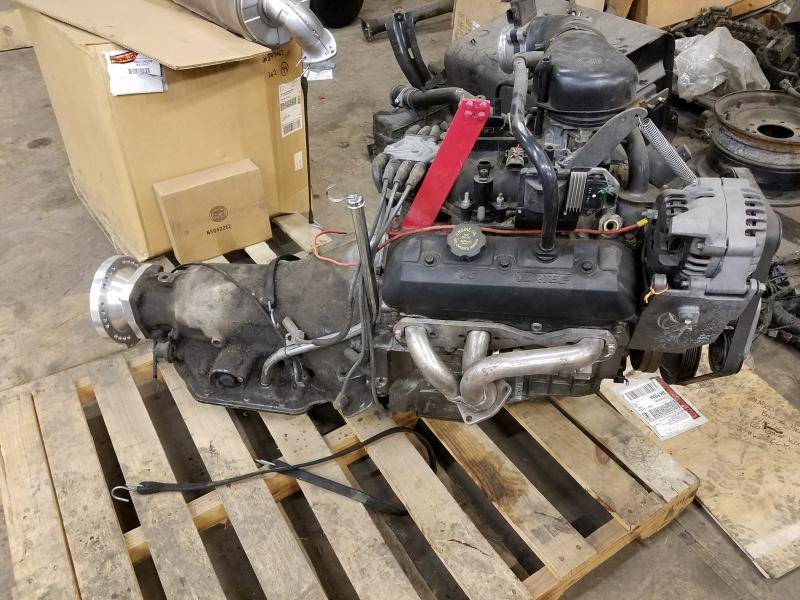
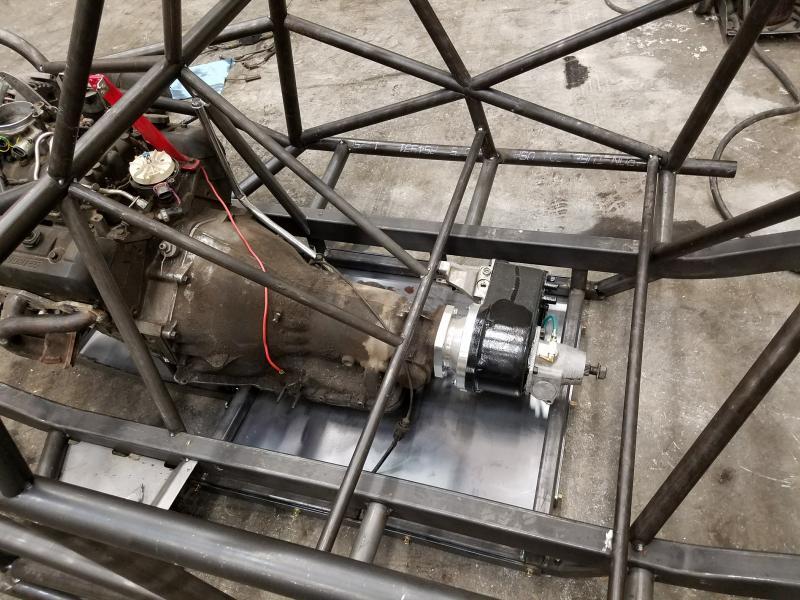
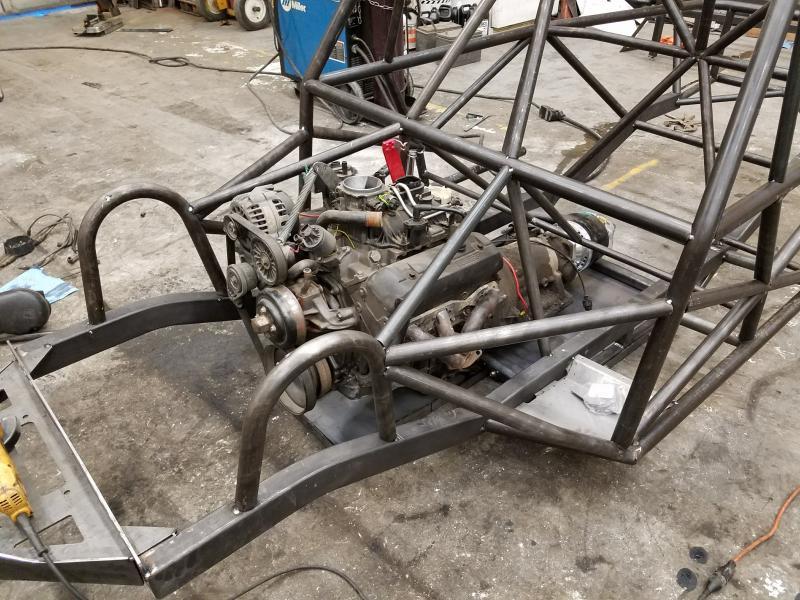
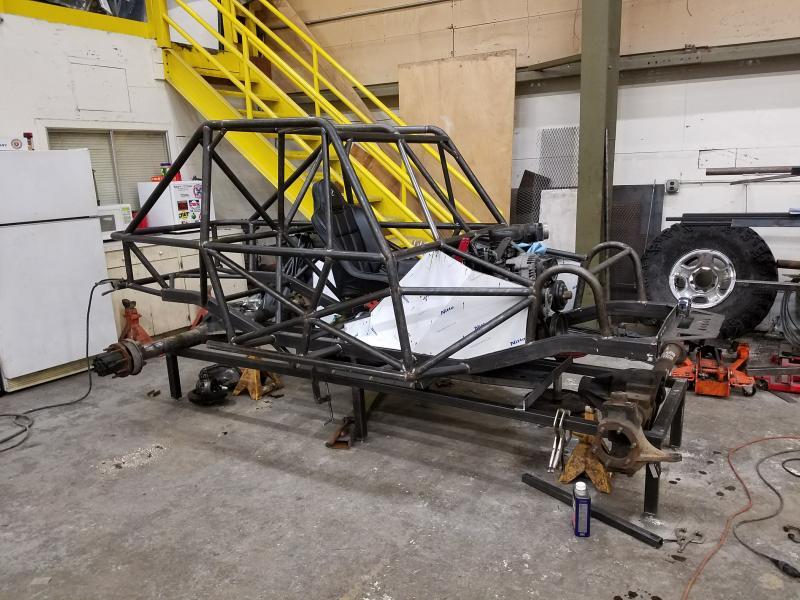
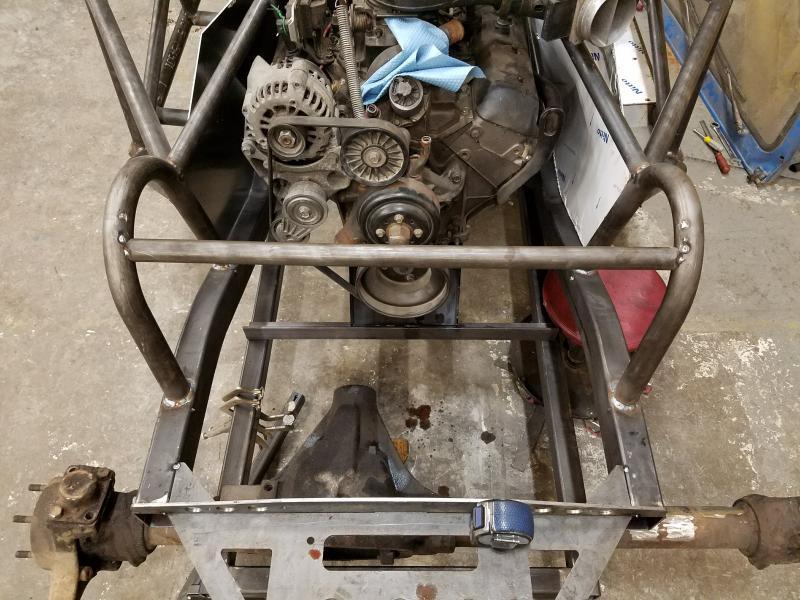
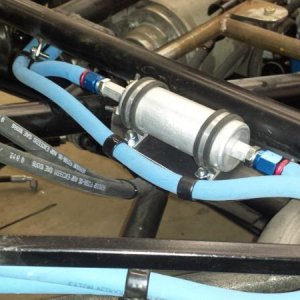
Power train parts consist of a late 90's 4.3l backed by a TH350 and a 4:1 dana 300.

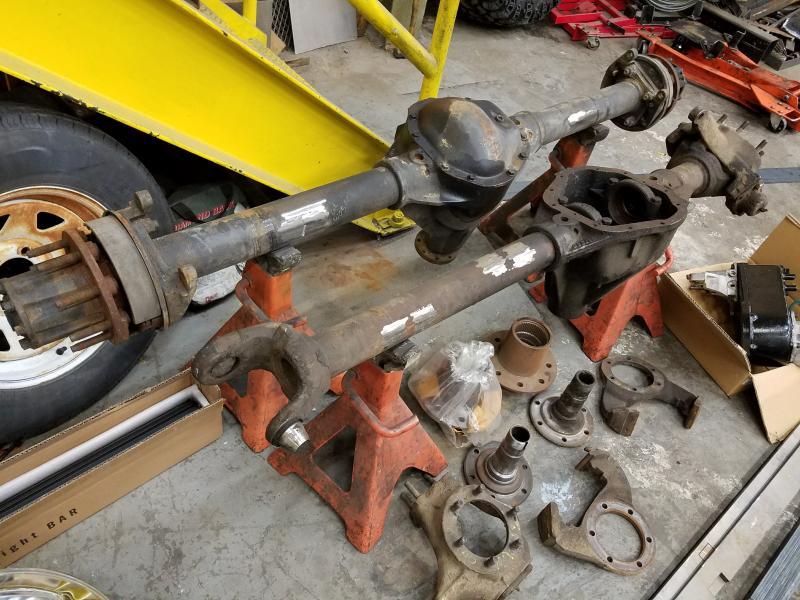
Axles are a Chevrolet kingpin front and a 03' E350 dana 60 rear. The E-350 is a cool axle as it will accept 35 spline axles without any screwing around and has a smooth bottom along with factory disc brakes, a 8 on 6.5 bolt pattern and the correct width.

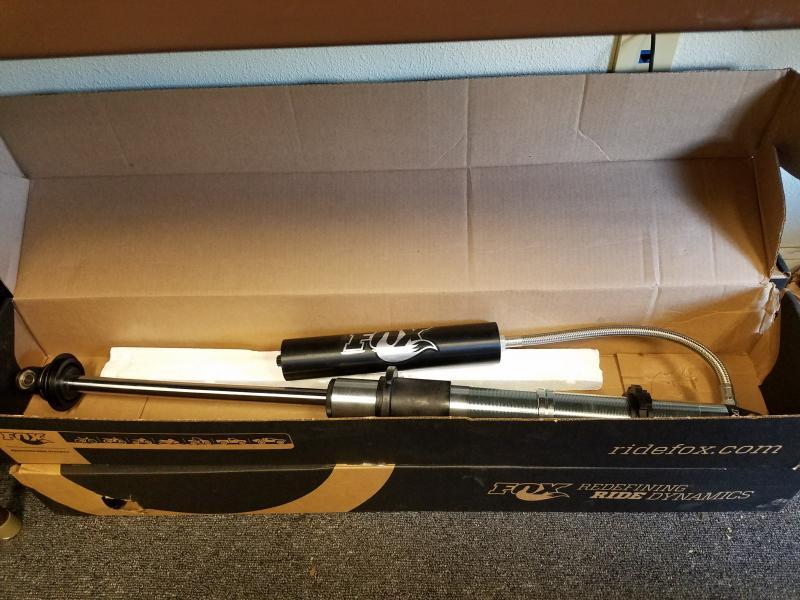
Suspension will be a set of FOX 2.0 coil-overs with reservoirs sourced from Full Stack Motorsports. Still not real sure on where I'll end up for bumps and possibly sway bar/s.
 

Attachments

  • 20180216_150353.jpg
    20180216_150353.jpg
    68 KB
  • 20180216_150401.jpg
    20180216_150401.jpg
    91.1 KB
  • 20180214_104006.jpg
    20180214_104006.jpg
    71.2 KB
  • 20180214_103626.jpg
    20180214_103626.jpg
    91.6 KB
Looking forward to the Build. Don’t do Facebook so all I see on the chassis is what gets posted on the thread over on pirate. The jig you can get for it is a great idea, it’s like legos for big kids.
 
As an Amazon Associate we earn from qualifying purchases. Product prices and availability are accurate as of the date/time indicated and are subject to change.
If ya liked the cpi--you will love the SCPI... And that the Novak adapter?
 
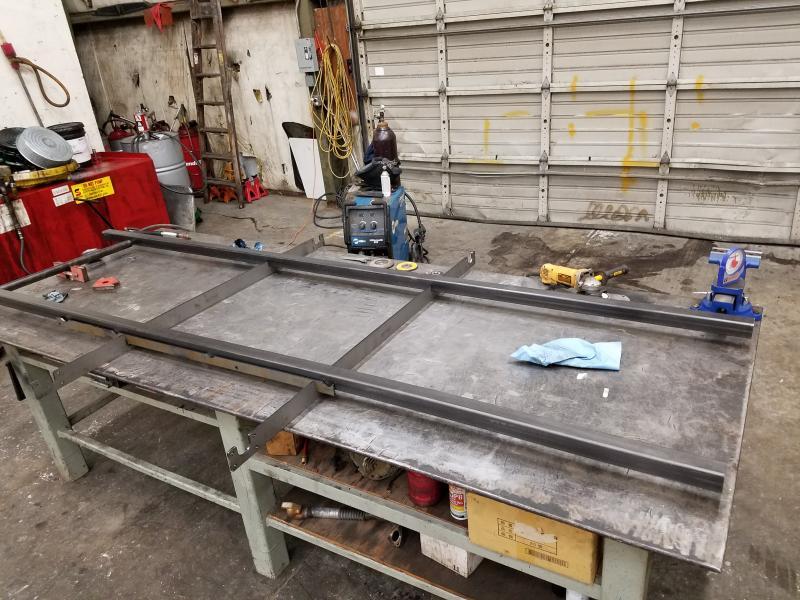
Got the frame table all put together. I built it 2 feet longer than they recommend so that when I'm done building the chassis I can also use it to jig up the axle locations. I also put legs on it and made them adjustable so that I can compensate for the slope of the floor.
 

Attachments

  • 20180217_130954[1].jpg
    20180217_130954[1].jpg
    96.4 KB
  • 20180217_135718[1].jpg
    20180217_135718[1].jpg
    63 KB
  • 20180217_142933[1].jpg
    20180217_142933[1].jpg
    85.7 KB
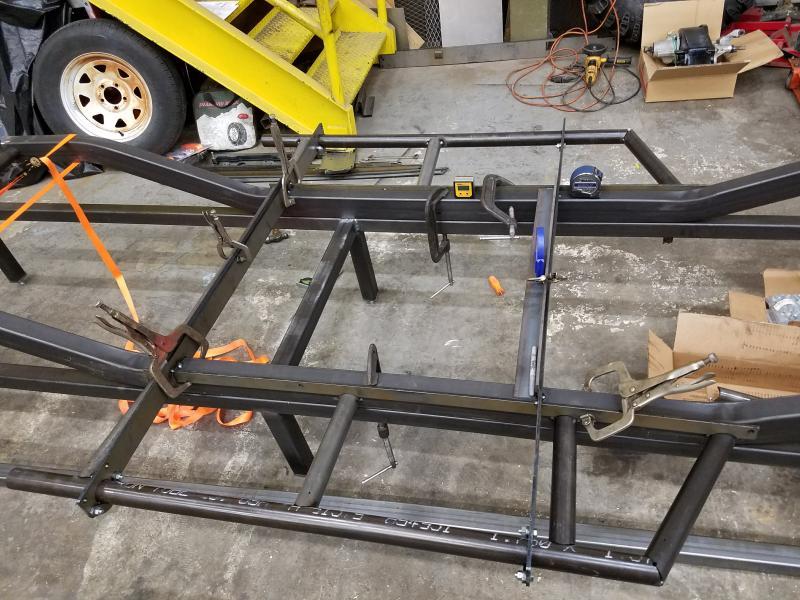
Then I went to work on getting the frame rails jigged up and located. Then I discovered that I was missing a pair of bolts I needed to get the outer tubes jigged and tacked in so I decided to call it a night.
 

Attachments

  • 20180217_144314[1].jpg
    20180217_144314[1].jpg
    87.7 KB
  • 20180217_150449[1].jpg
    20180217_150449[1].jpg
    86 KB
  • 20180217_161207[1].jpg
    20180217_161207[1].jpg
    95.4 KB
This morning I finished getting the frame squared up and tacked in the outer bars.
 

Attachments

  • 20180218_125008.jpg
    20180218_125008.jpg
    93.3 KB
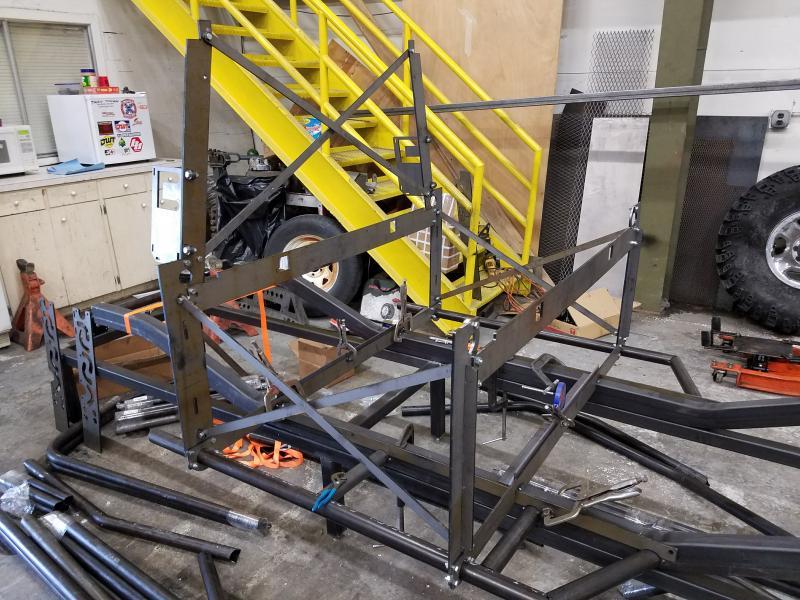
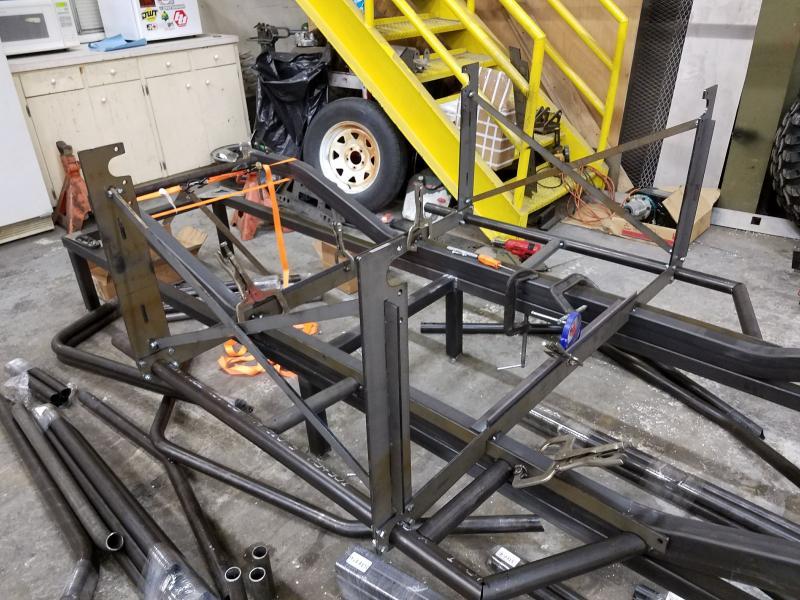
I received the rest of my jigs today, along with a bunch of link parts from ruffstuff. Back to work. :awesomework: Got the jig all assembled and started laying in some of the main cage tubing.
 

Attachments

  • 20180222_143746.jpg
    20180222_143746.jpg
    99 KB
  • 20180222_181844.jpg
    20180222_181844.jpg
    94.1 KB
  • 20180222_181903.jpg
    20180222_181903.jpg
    97.7 KB
  • 20180222_135844.jpg
    20180222_135844.jpg
    95.9 KB
I received the rest of my jigs today, along with a bunch of link parts from ruffstuff. Back to work. :awesomework: Got the jig all assembled and started laying in some of the main cage tubing.

Looking Good! You throw that 300 away and get an atlas yet? :D
 
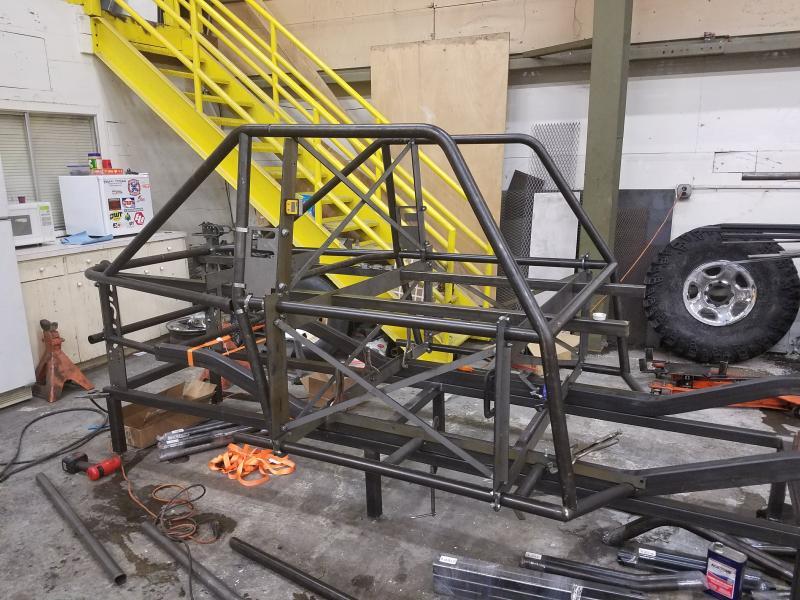
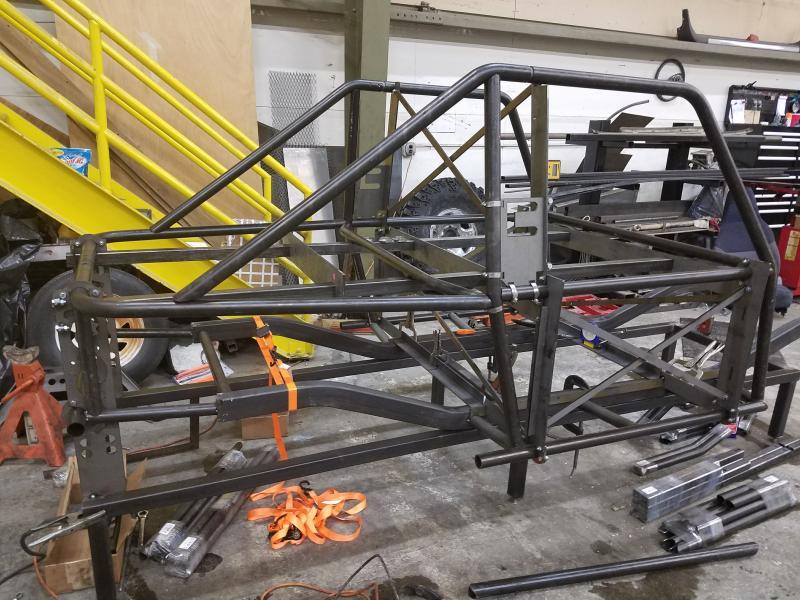
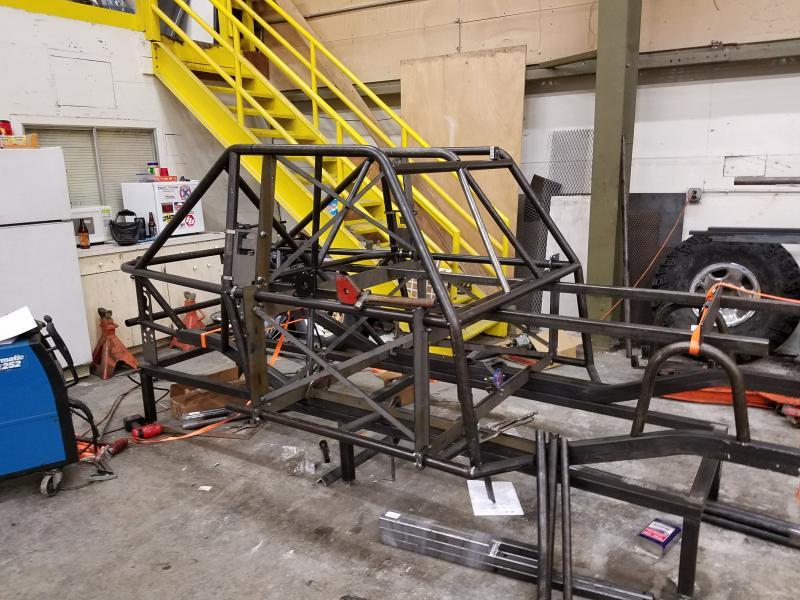
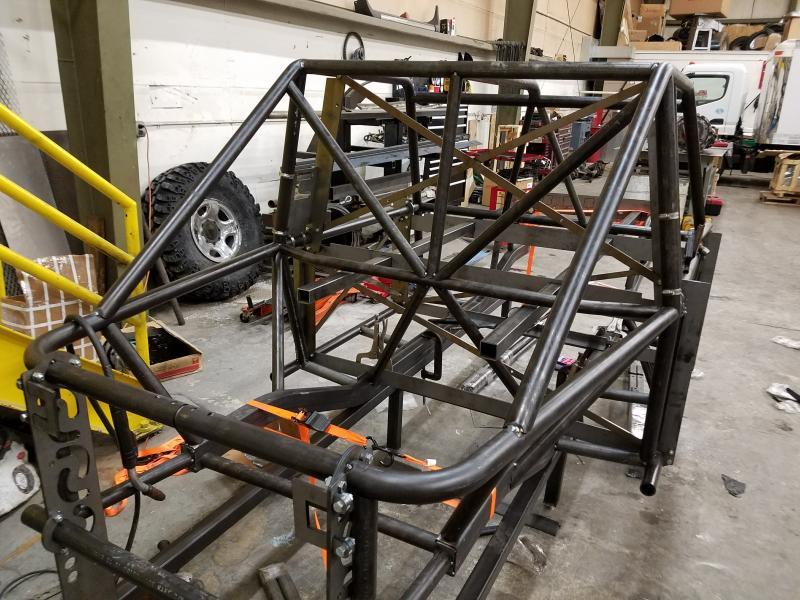
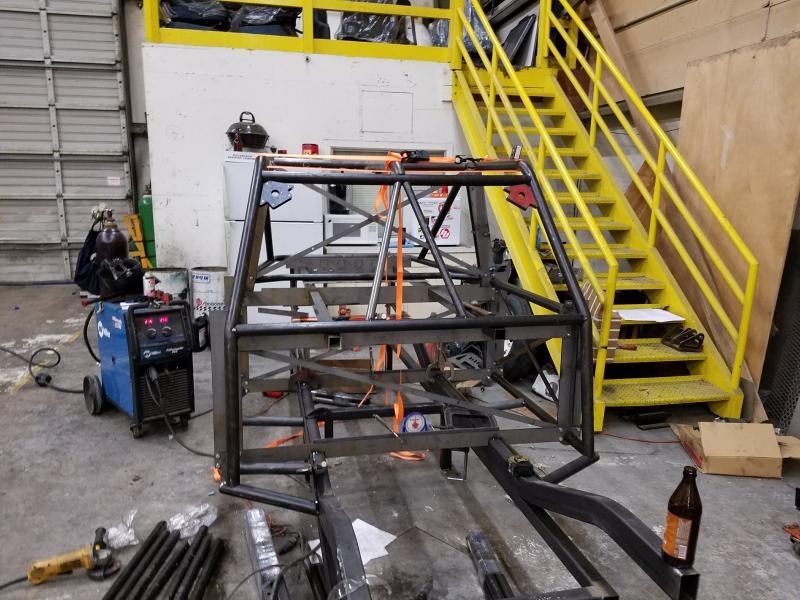
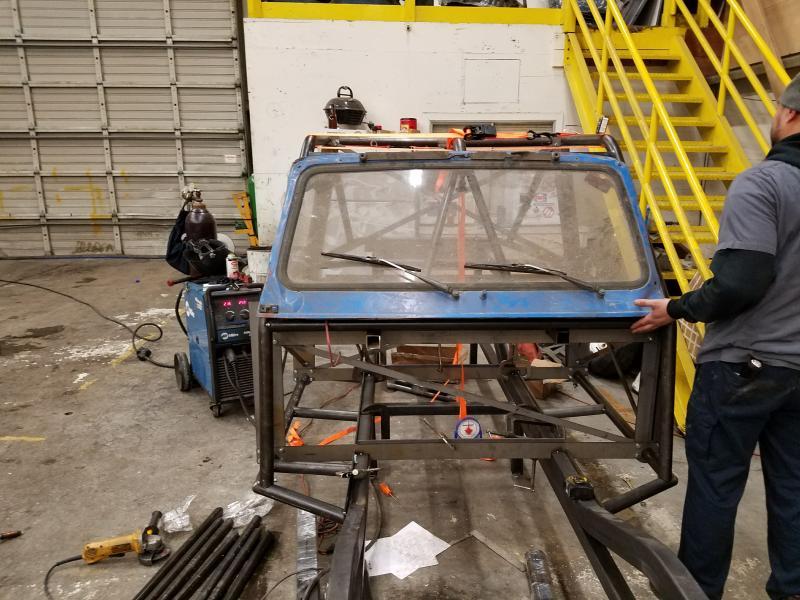
Got a bunch more pieces tacked in after work today. Really starting to look like something. I'm planning on chopping up a spare samurai tub that I have for skins so I figured I see how the windshield off my old zuk/buggy fit. Actually lines up pretty good. I should be able to make it work for the winter trips.
 

Attachments

  • 20180223_191719.jpg
    20180223_191719.jpg
    97.8 KB
  • 20180223_191722.jpg
    20180223_191722.jpg
    92.7 KB
  • 20180223_191731.jpg
    20180223_191731.jpg
    100.1 KB
  • 20180223_180147.jpg
    20180223_180147.jpg
    90.8 KB
  • 20180223_175759.jpg
    20180223_175759.jpg
    87.3 KB
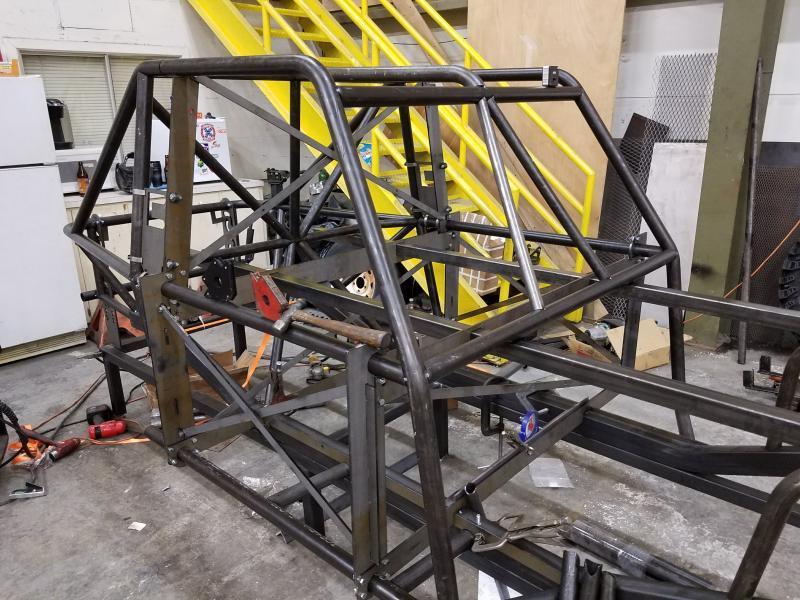
Been slowly plugging along getting the rest of the front end bars in place and putting in more of the cross bracing. I received two driver side bars for one of the front shock mounts so that is on hold for the moment. Getting extra tacks put on all the joints so that I can pull the jig and finish up the door bars. Then its on to final welding. I hoping to get that done by the end of the week end.
 

Attachments

  • 20180227_181957.jpg
    20180227_181957.jpg
    96.5 KB
  • 20180227_182006.jpg
    20180227_182006.jpg
    97.8 KB
  • 20180227_182020.jpg
    20180227_182020.jpg
    94.6 KB
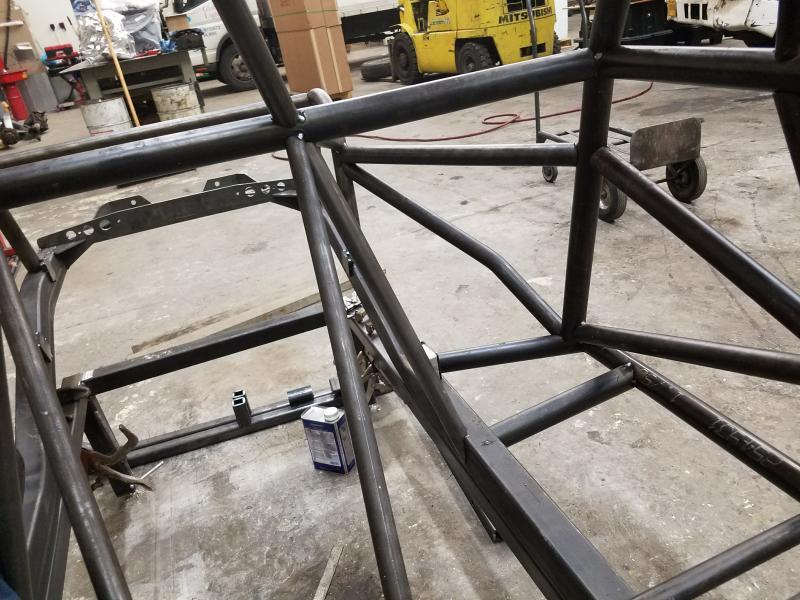
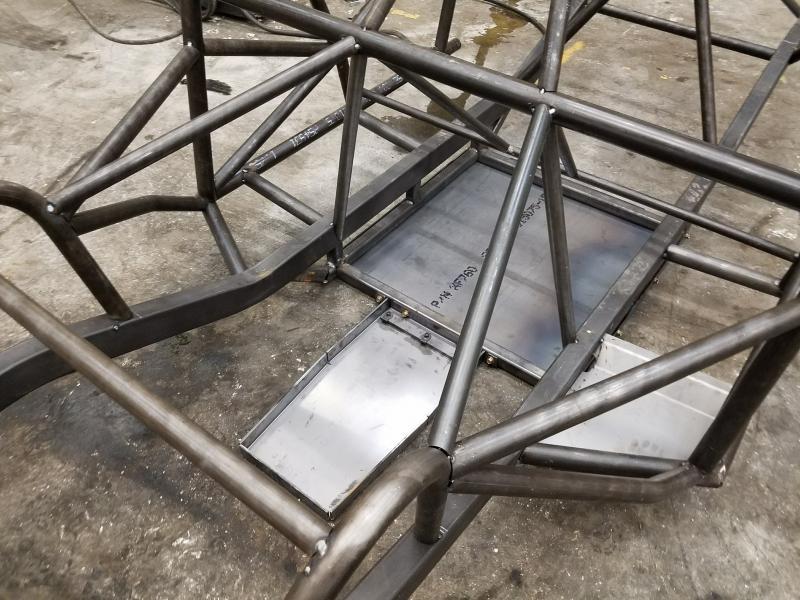
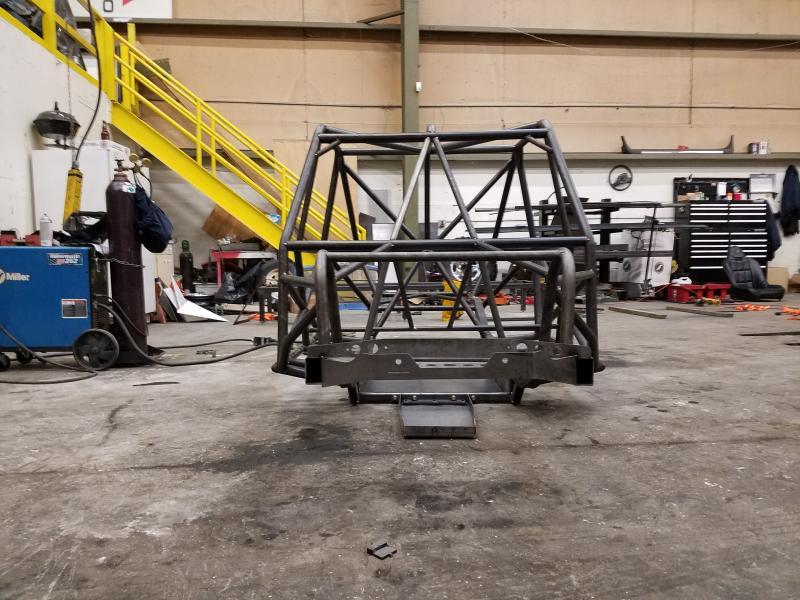
Got the rest of the cage structure tacked up tonight. Just have the sub frame to tackle tomorrow and then its on to final weld out. Visibility looks like it is going to be really good. Just a little lean to the passenger side and I can see the outside of the frame rail through the foot well. Should be able to see all 4 tires pretty well.
 

Attachments

  • 20180301_184523.jpg
    20180301_184523.jpg
    87.2 KB
  • 20180301_183921.jpg
    20180301_183921.jpg
    82.5 KB
  • 20180301_183057.jpg
    20180301_183057.jpg
    96.1 KB
  • 20180301_183050.jpg
    20180301_183050.jpg
    89.6 KB
  • 20180301_183037.jpg
    20180301_183037.jpg
    93 KB
  • 20180301_183857.jpg
    20180301_183857.jpg
    88.6 KB
Last edited:
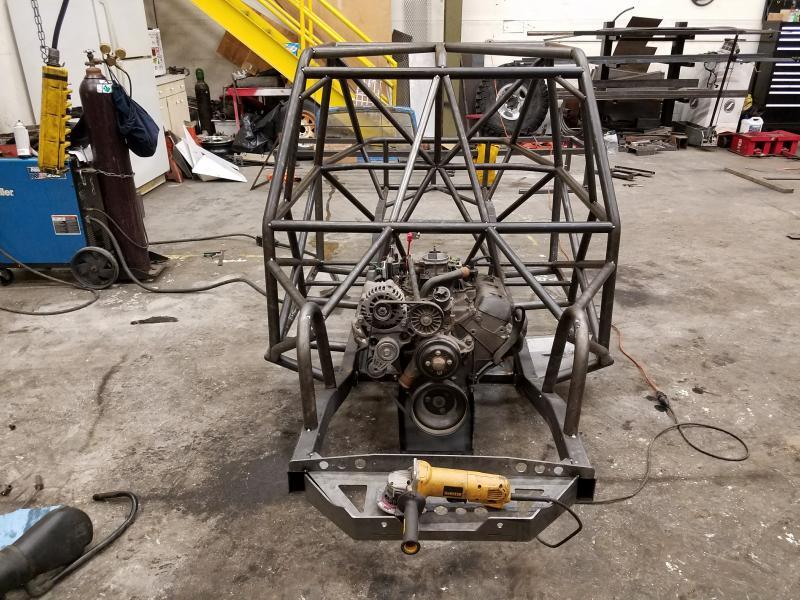
Got the subframe welded on and dropped the powertrain in tonight to make sure everything was gong to clear. It all looks good. Weld-a-thon this weekend.
 

Attachments

  • 20180302_184134.jpg
    20180302_184134.jpg
    88.9 KB
  • 20180302_184211.jpg
    20180302_184211.jpg
    89.4 KB
  • 20180302_180045.jpg
    20180302_180045.jpg
    105.2 KB
  • 20180302_180025.jpg
    20180302_180025.jpg
    93.7 KB
  • 20180302_180018.jpg
    20180302_180018.jpg
    104 KB
  • 20180302_174128.jpg
    20180302_174128.jpg
    88.3 KB
  • 20180302_174123.jpg
    20180302_174123.jpg
    86.8 KB
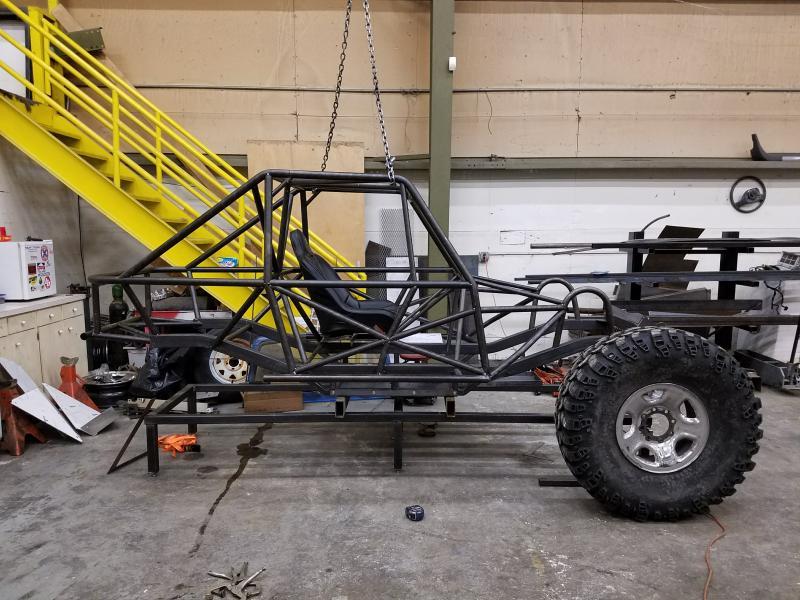
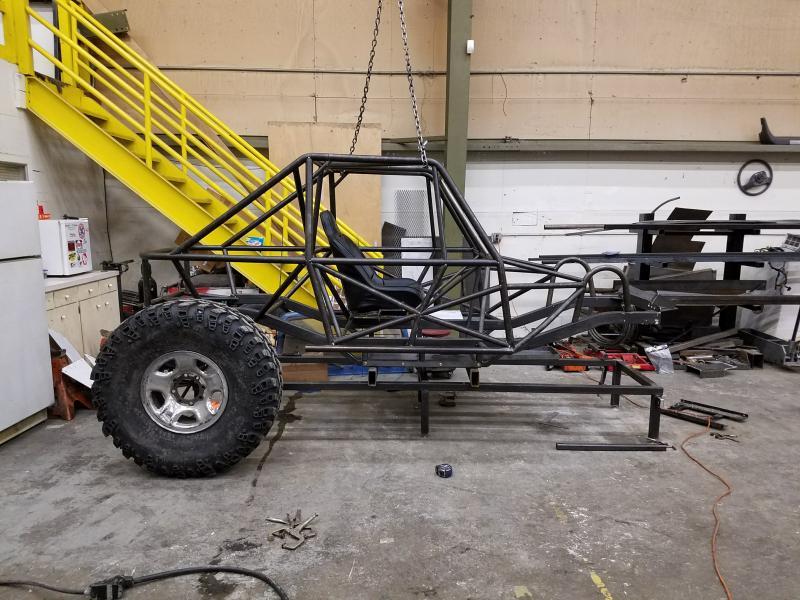
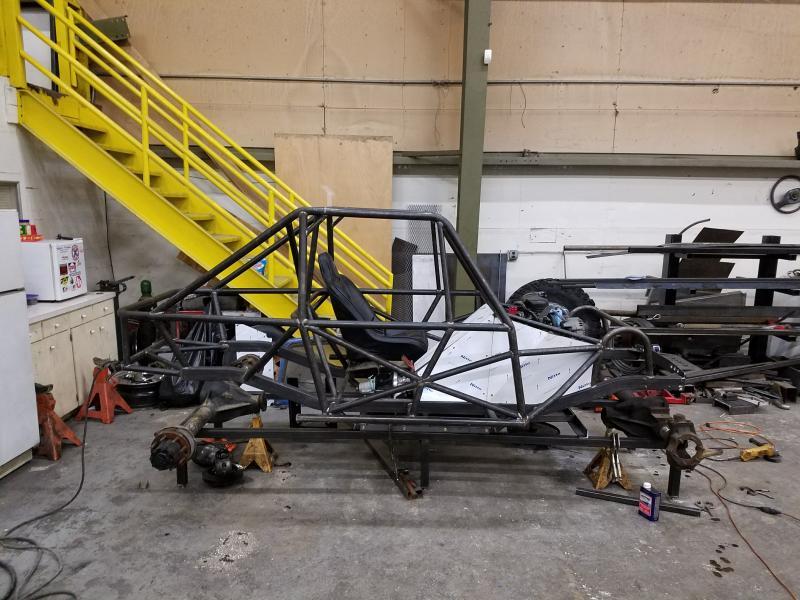
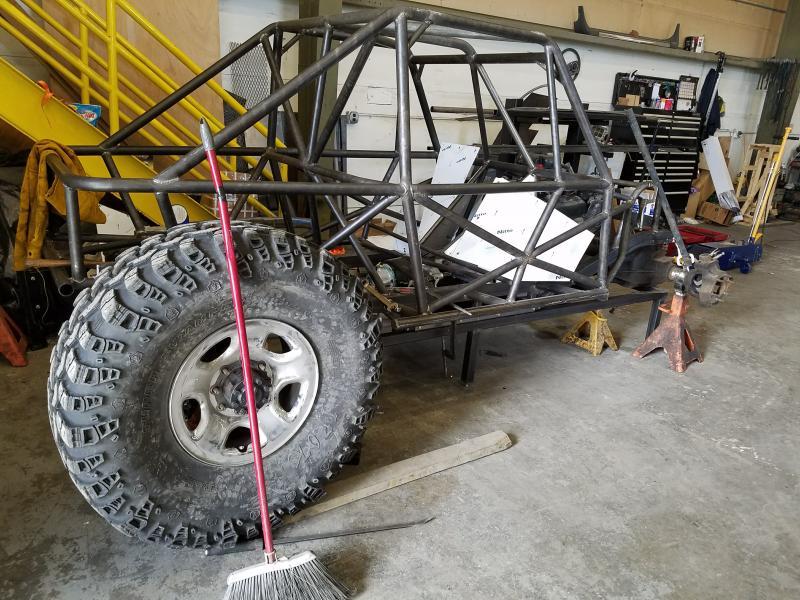
Got the chassis welded out this weekend. Having a crane is great for rolling the chassis around while welding.:redneck: When I got done I dropped the powertrain back in so I could start figuring mounts out. Also threw the axles up on the table so I could get an idea of how it was all going to fit. Now the fun part begins, making it all fit.
 

Attachments

  • 20180304_123235.jpg
    20180304_123235.jpg
    88.7 KB
  • 20180304_144426.jpg
    20180304_144426.jpg
    88.8 KB
  • 20180304_144444.jpg
    20180304_144444.jpg
    89.2 KB
  • 20180304_144516.jpg
    20180304_144516.jpg
    83.1 KB
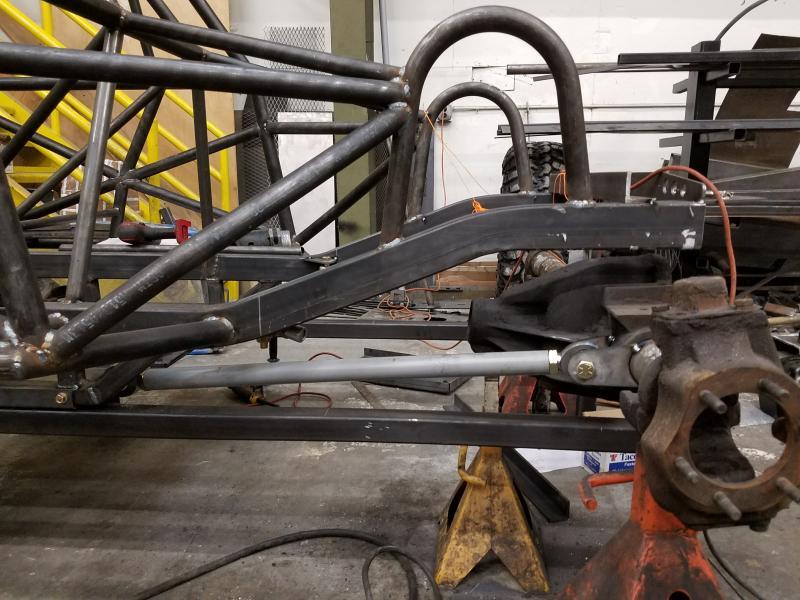
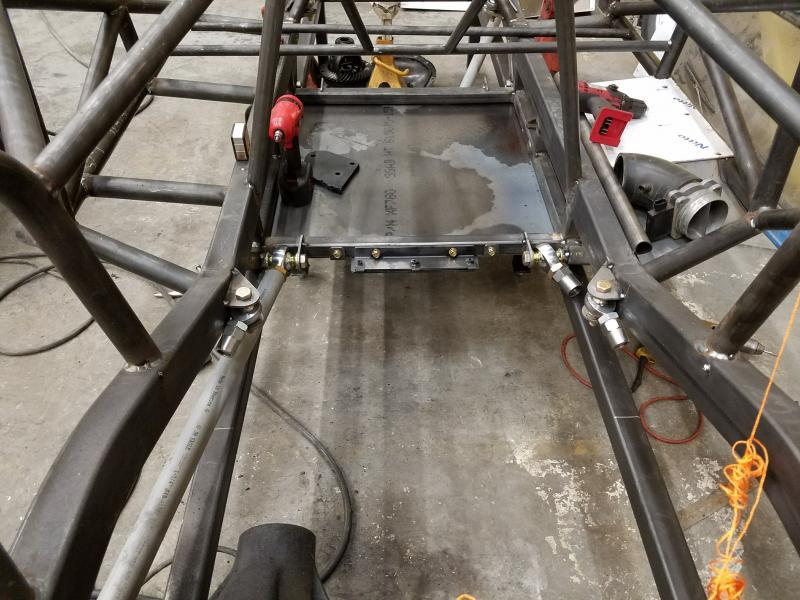
I've been slowly working on getting the suspension where I want it an figuring out clearances and link mounts. I've set it up so that with a 20" belly on a 42 inch tire I'll have 6 inches of up travel.

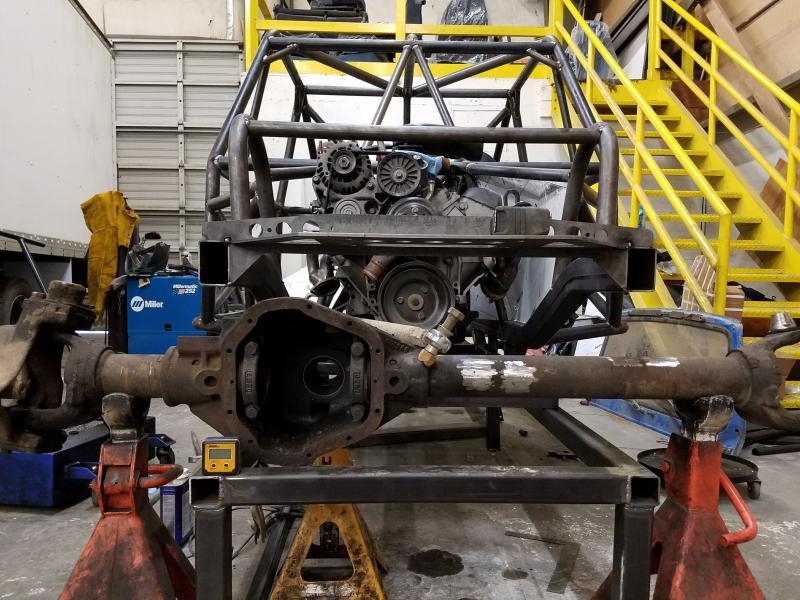
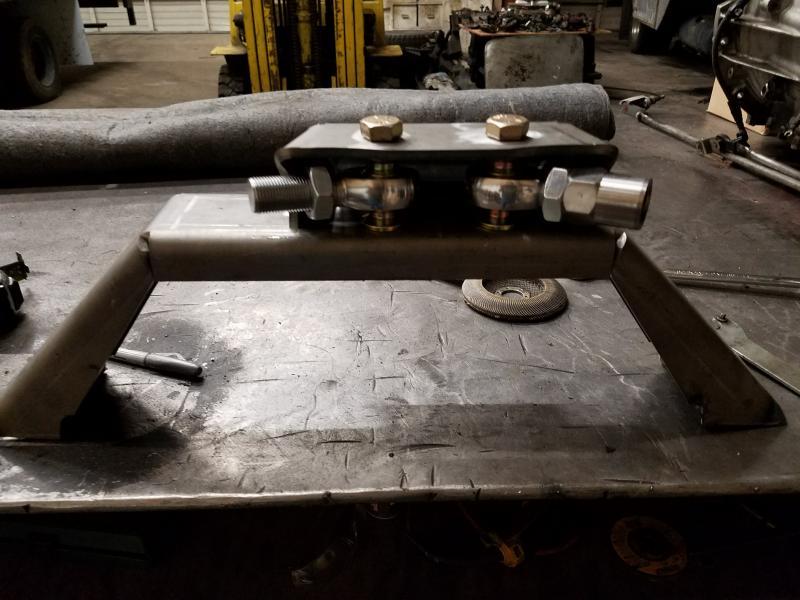
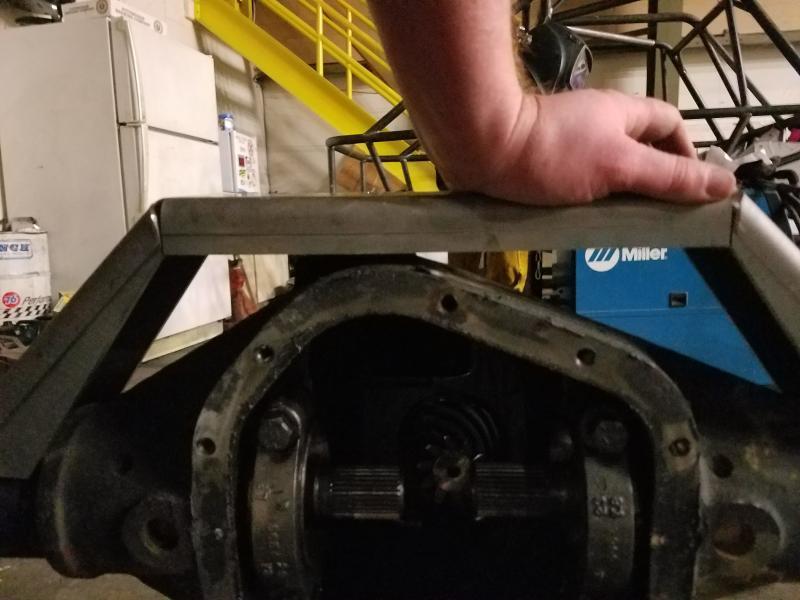
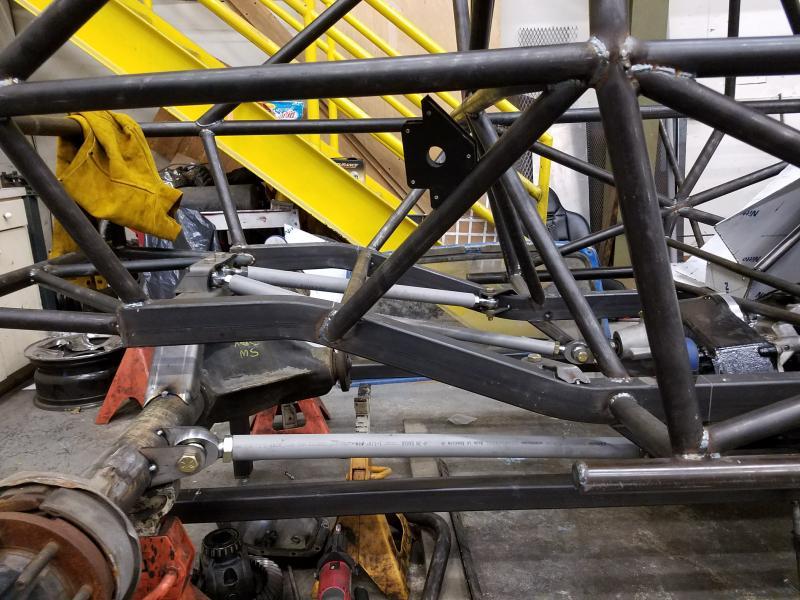
I bought a ruffstuff simple truss for the rear and it was really tall, about 1.5" above the axle at the top, so I cut it down and then I cut apart one of their horizontal link mounts to drop it around 2". With the truss and link mount uncut the mount was above the top of the rear frame rails about 3" now I am 1/2" or so below the top of the rear rails.

Got the front axle up into place and it looks like I'll have room to fully triangulate the front uppers. That makes me happy since I'm keeping the lowers pretty straight for steering clearances.

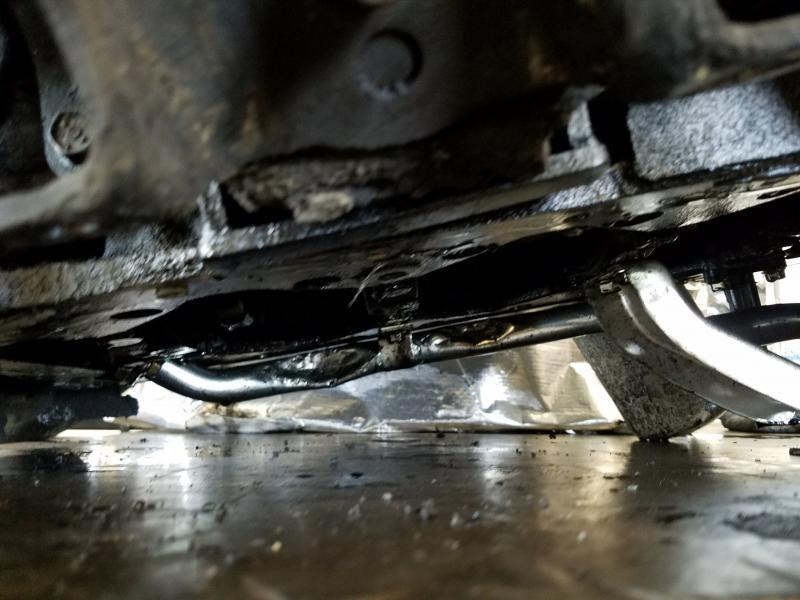
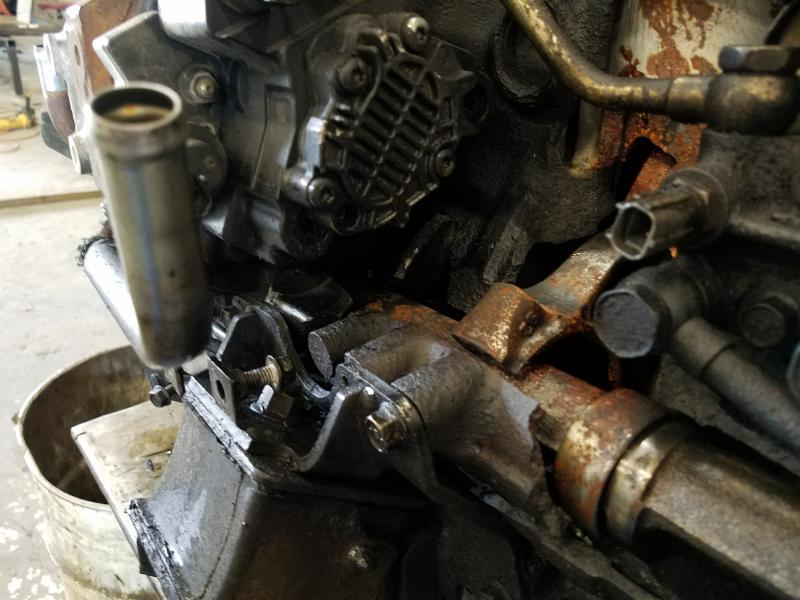
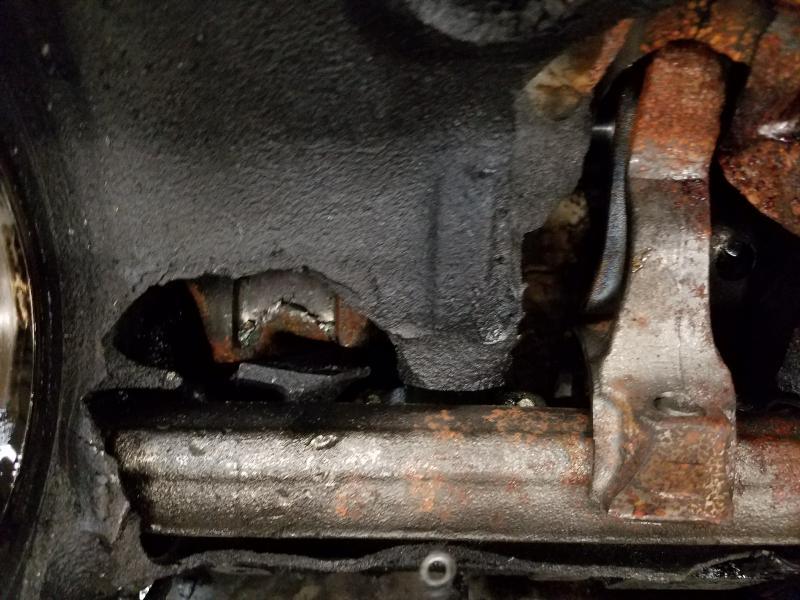
There are also a couple cool pictures of an engine we pulled this week in our shop at work.
 

Attachments

  • 20180305_172456.jpg
    20180305_172456.jpg
    94.8 KB
  • 20180305_153125.jpg
    20180305_153125.jpg
    59.2 KB
  • 20180305_153114.jpg
    20180305_153114.jpg
    66.5 KB
  • 20180306_094306.jpg
    20180306_094306.jpg
    76.7 KB
  • 20180307_180945.jpg
    20180307_180945.jpg
    63.7 KB
  • 20180306_182839.jpg
    20180306_182839.jpg
    52.6 KB
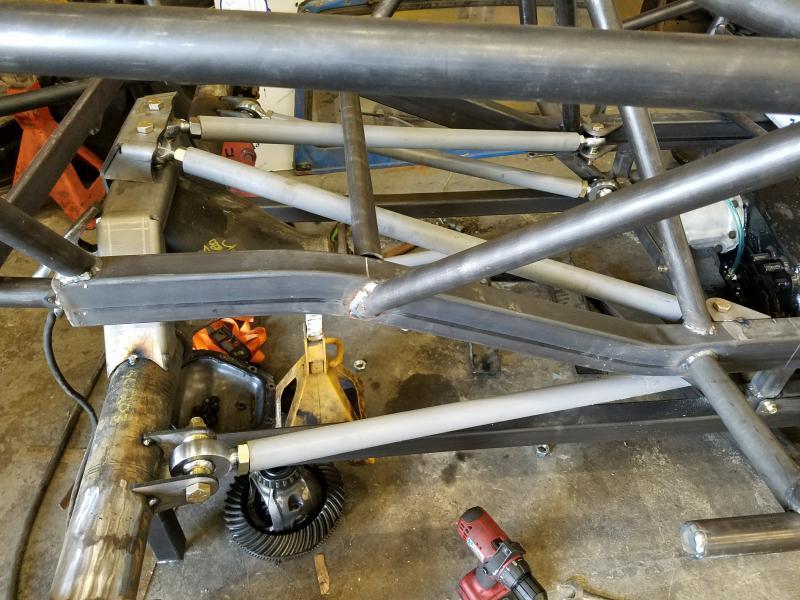
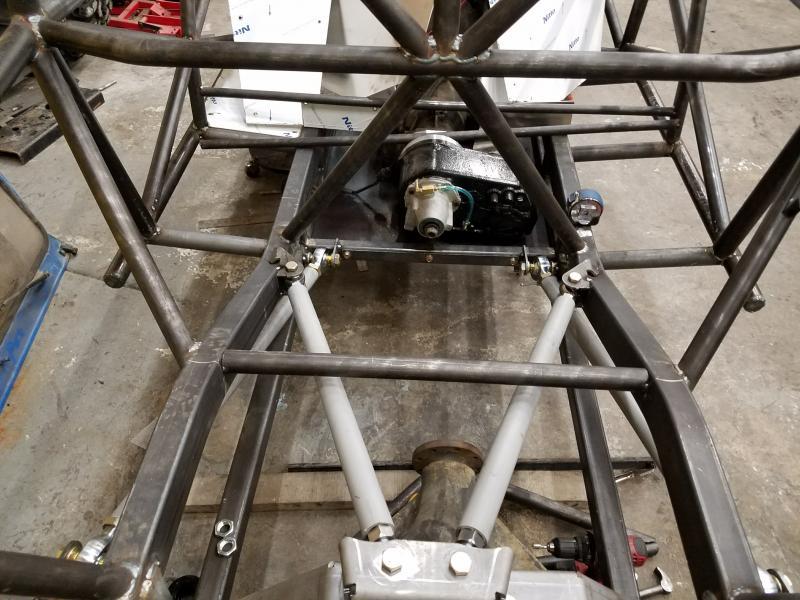
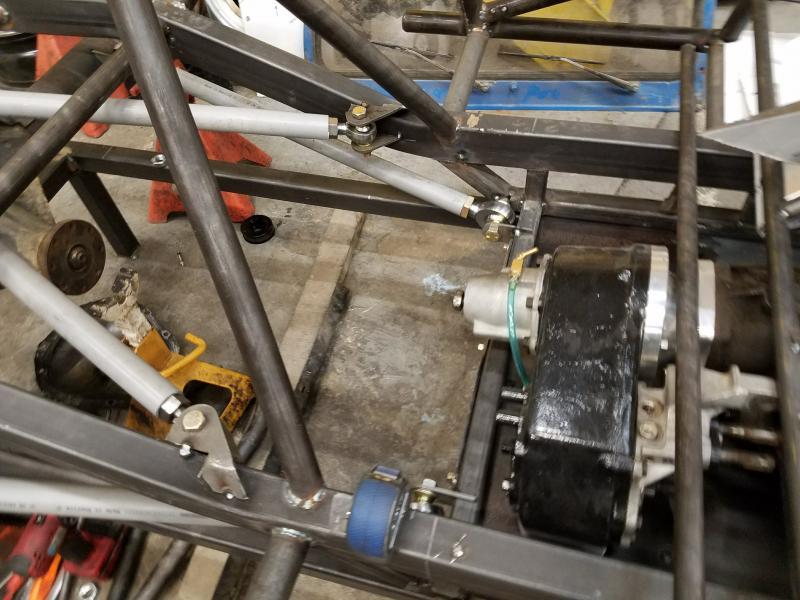
I've now reached the point where I do a bunch of work and don't have a whole lot to show for it so updates will probably slow some. Last week I started on the rear suspension. I set up the links the way Goat built wanted them first and really didn't like the length of the uppers, I also ran into some upper clearance issues with full stuff being as high as I wanted it to be. In their setup the uppers were 4 inches longer than the lowers. So I cut those brackets off the frame and moved them back so that the uppers were an inch higher in the chassis and 6 inches shorter. On paper this results in a much more neutral level of AS through travel having only 30% of change through the entire cycle.

After getting that sorted I started mounting the front links last night. I set them up essentially the same with a slight change in the uppers to start with a little extra AS to help combat brake dive.
 

Attachments

  • 20180310_160335.jpg
    20180310_160335.jpg
    84.7 KB
  • 20180312_115250.jpg
    20180312_115250.jpg
    104.7 KB
  • 20180312_115313.jpg
    20180312_115313.jpg
    93.8 KB
  • 20180314_090740.jpg
    20180314_090740.jpg
    82.9 KB
  • 20180314_090749.jpg
    20180314_090749.jpg
    90.4 KB
  • 20180314_090753.jpg
    20180314_090753.jpg
    74.6 KB
  • 20180320_184142.jpg
    20180320_184142.jpg
    82.4 KB
  • 20180320_184149.jpg
    20180320_184149.jpg
    81.2 KB
Back
Top