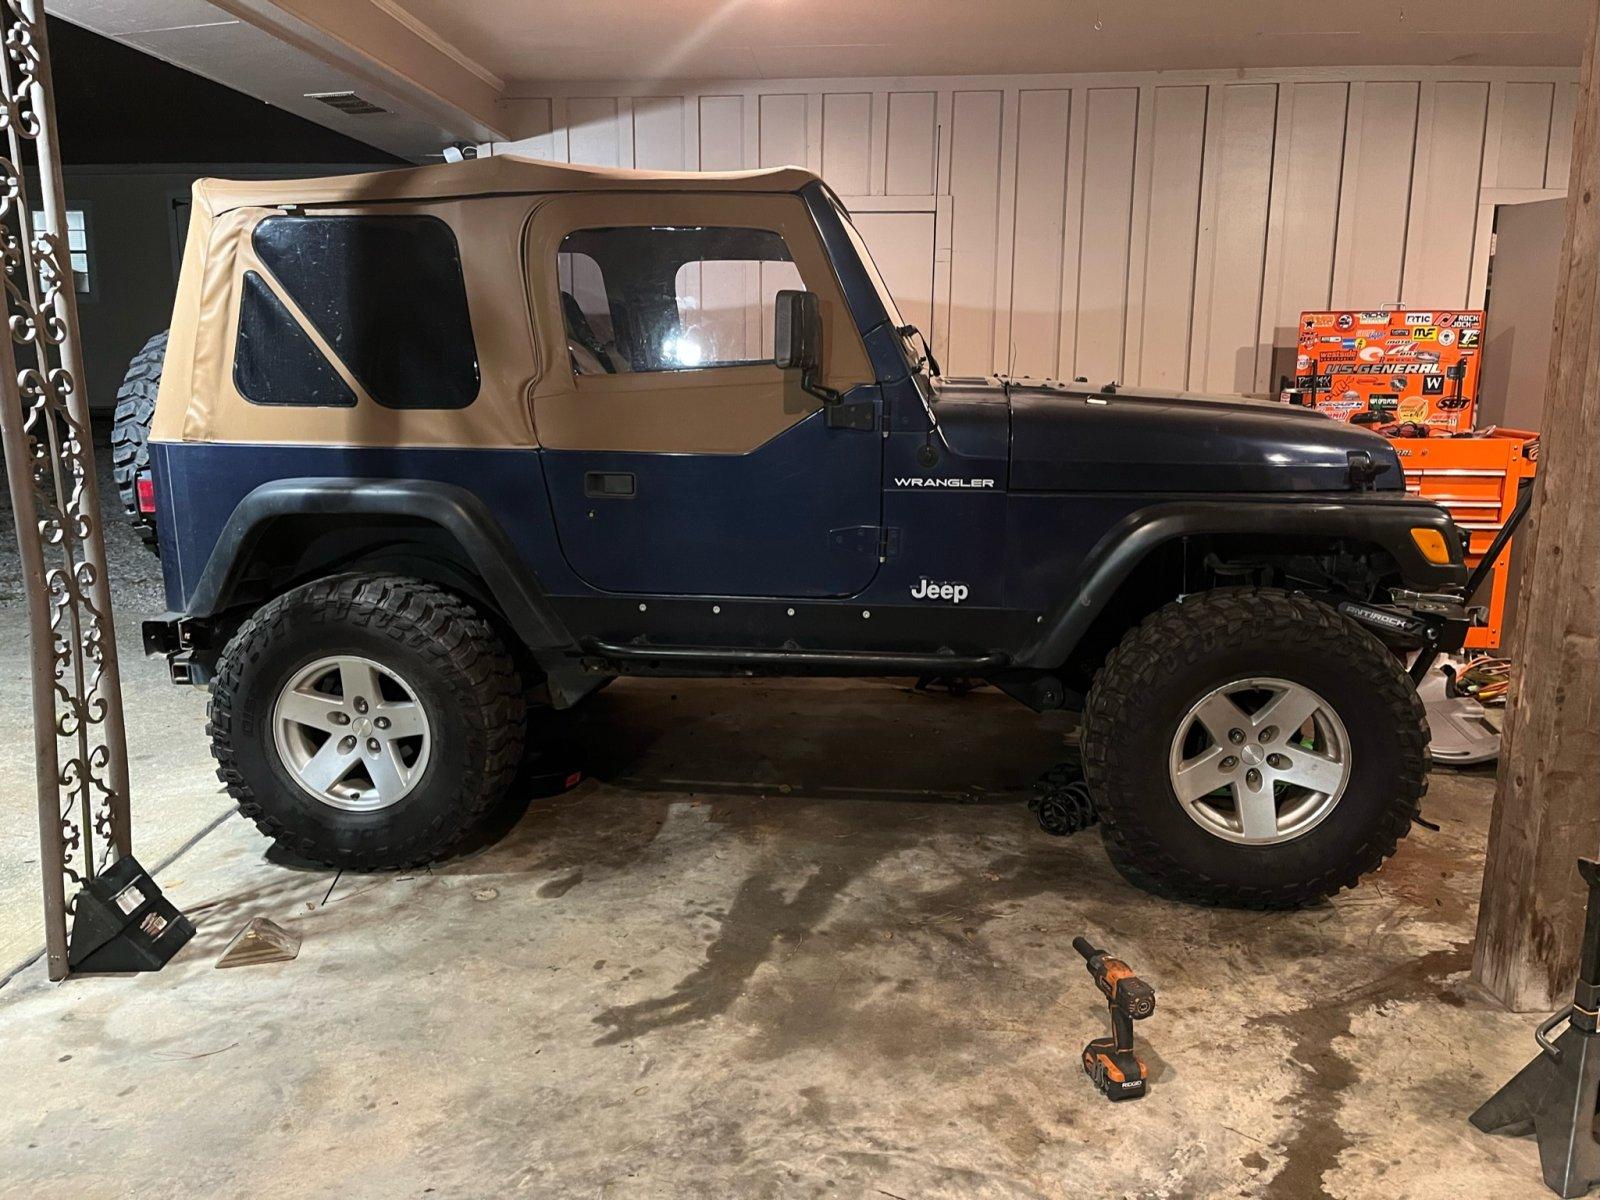
Trying to get it mostly right the first time: A 5.9 Magnum and 46RE swapped, Tummy Tucked Daily Driven Jeep TJ

Hardline Crawlers - Rock Bouncer Builds, Tech & Off-Road Trail Talk

Help Support Hardline Crawlers:

Welp, my momentum on this project took a big hit. Used transmissions are always a gamble and a rebuild should be carried in your budget for a project like this.

Evidently my transmission rebuild is happening...now. Either the torque converter (which is brand new) or the pump in the transmission wiped itself out after the second test drive around the block, which was confirmed by the nice metallic / pearl color in the transmission fluid. It sucks, but its all part of this hobby and dealing with used parts. The plan now is to start selling and scrapping what I can to pay for the new transmission, keep finishing all the little details (that needed to get done anyway).

I've finally taken the time to post some updates to this thread…

I still stand by this previous post that the money for a rebuild should be squirreled away in your project budget, but that doesn't mean you HAVE to spend that money rebuild the transmission if its not required. My local transmission shop that I have used before was 6-8 weeks out and wanted $1500 +/- for a rebuild and a new unit from Autozone / any online retailer was $2300 and up. Frankly, I didn't like either of those options.

That's when I started researching the differences in 46RE overdrive housings - my Ram donor had a supposedly rebuilt transmission (I mean… it drove to the scene of the accident, right?), but it was a 2wd. All my research indicated that the transmission itself was identical between a 2wd and 4wd truck and the only difference is the overdrive housing. I figured it was worth a few hours to pull the pan, inspect the Ram transmission and see if the 4wd OD housing fit.

The PO said this transmission was rebuilt about a year ago and all the signs seemed to confirm that – the date code on the torque converter, socket marks on the pan bolts and the fluid condition. Part of me wishes the transmission was destroyed so the decision was made for me to get a new one, but since I'd (sorta) driven the truck and the internals all checked out I had a decision to make – spend a lot of money and buy new or roll the dice on this used one. I slept on it for a few days and decided to get my monies worth out of my donor truck and go with the used transmission. Fingers crossed this doesn't bite me later.

I didn't take many pictures of the swap, but it was fairly straight forward. Remove the old transmission, remove a handful of bolts attaching the OD housing and flush with brake clean (as best I could), flush the cooler and lines with Kooler Kleen, swap the OD housing and reinstall. Easy, right?
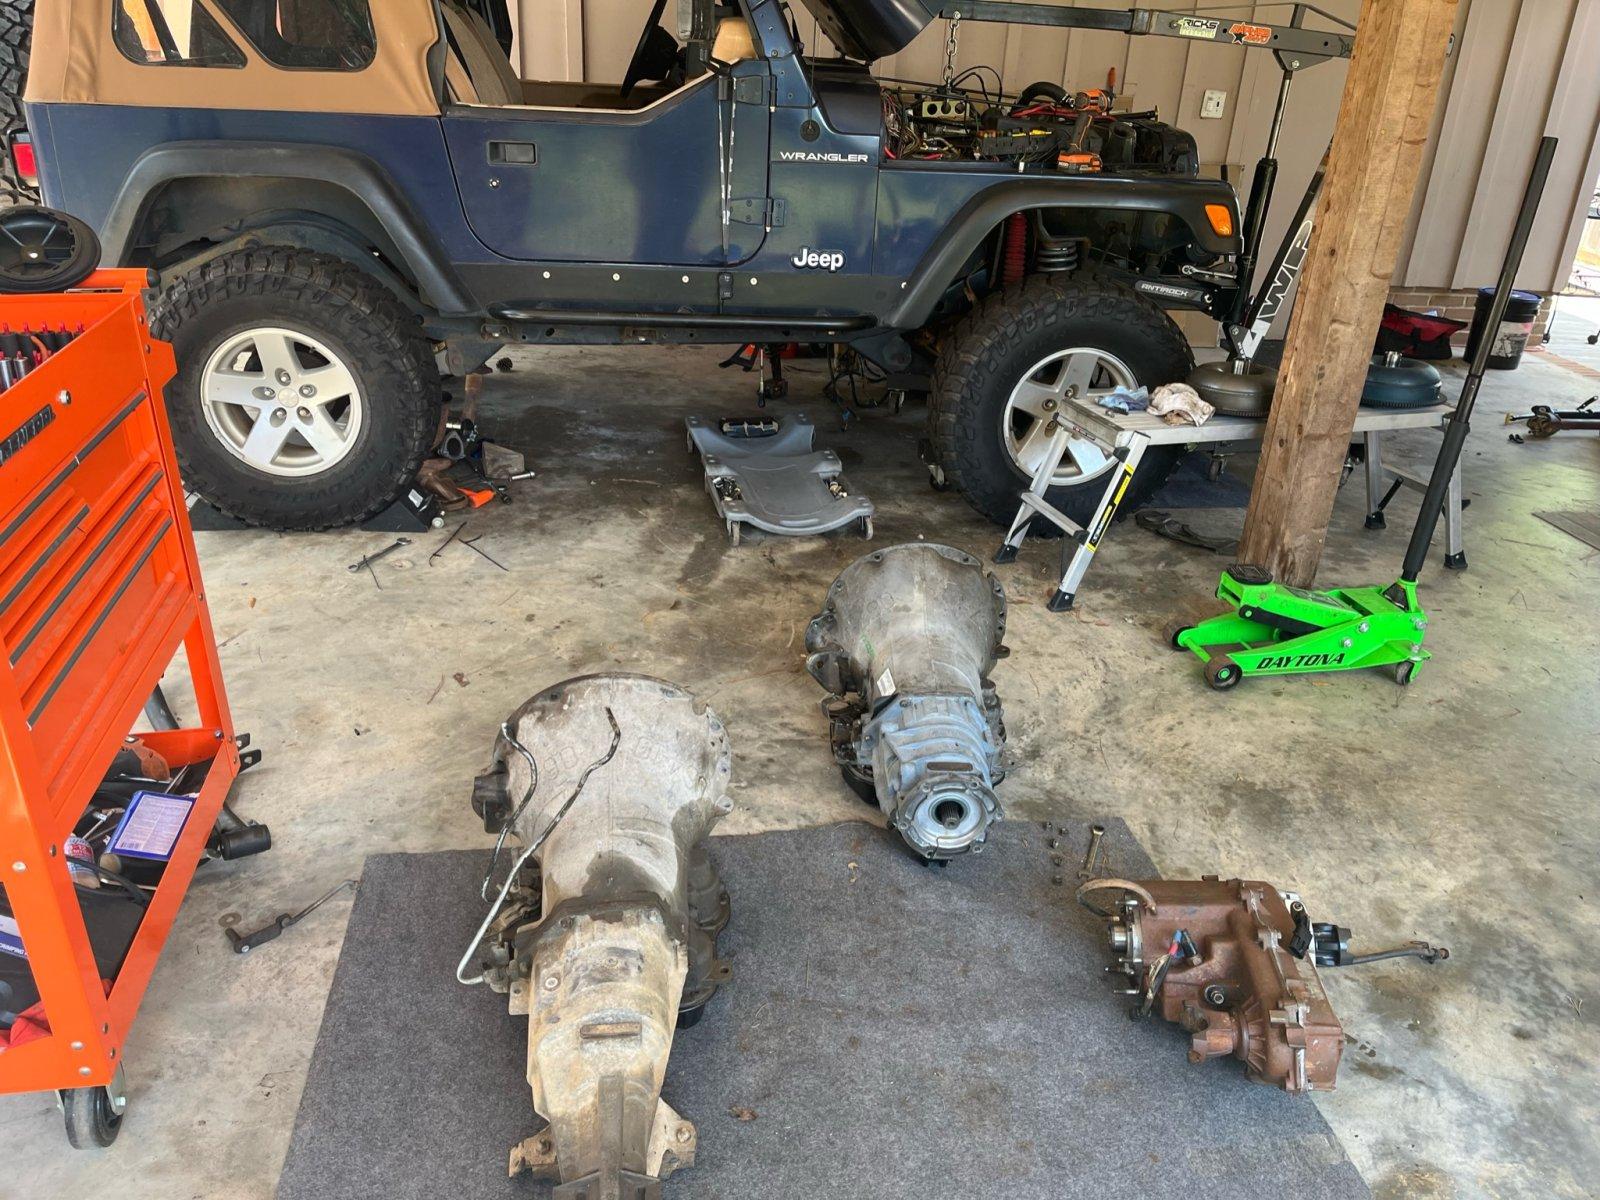
019ba6675a6afffa09841baec520c812868ca4fdaf.jpg


If you ever swap OD housings, be sure to keep everything vertical so the clutches and other wizardry inside the transmission don't get out of alignment.
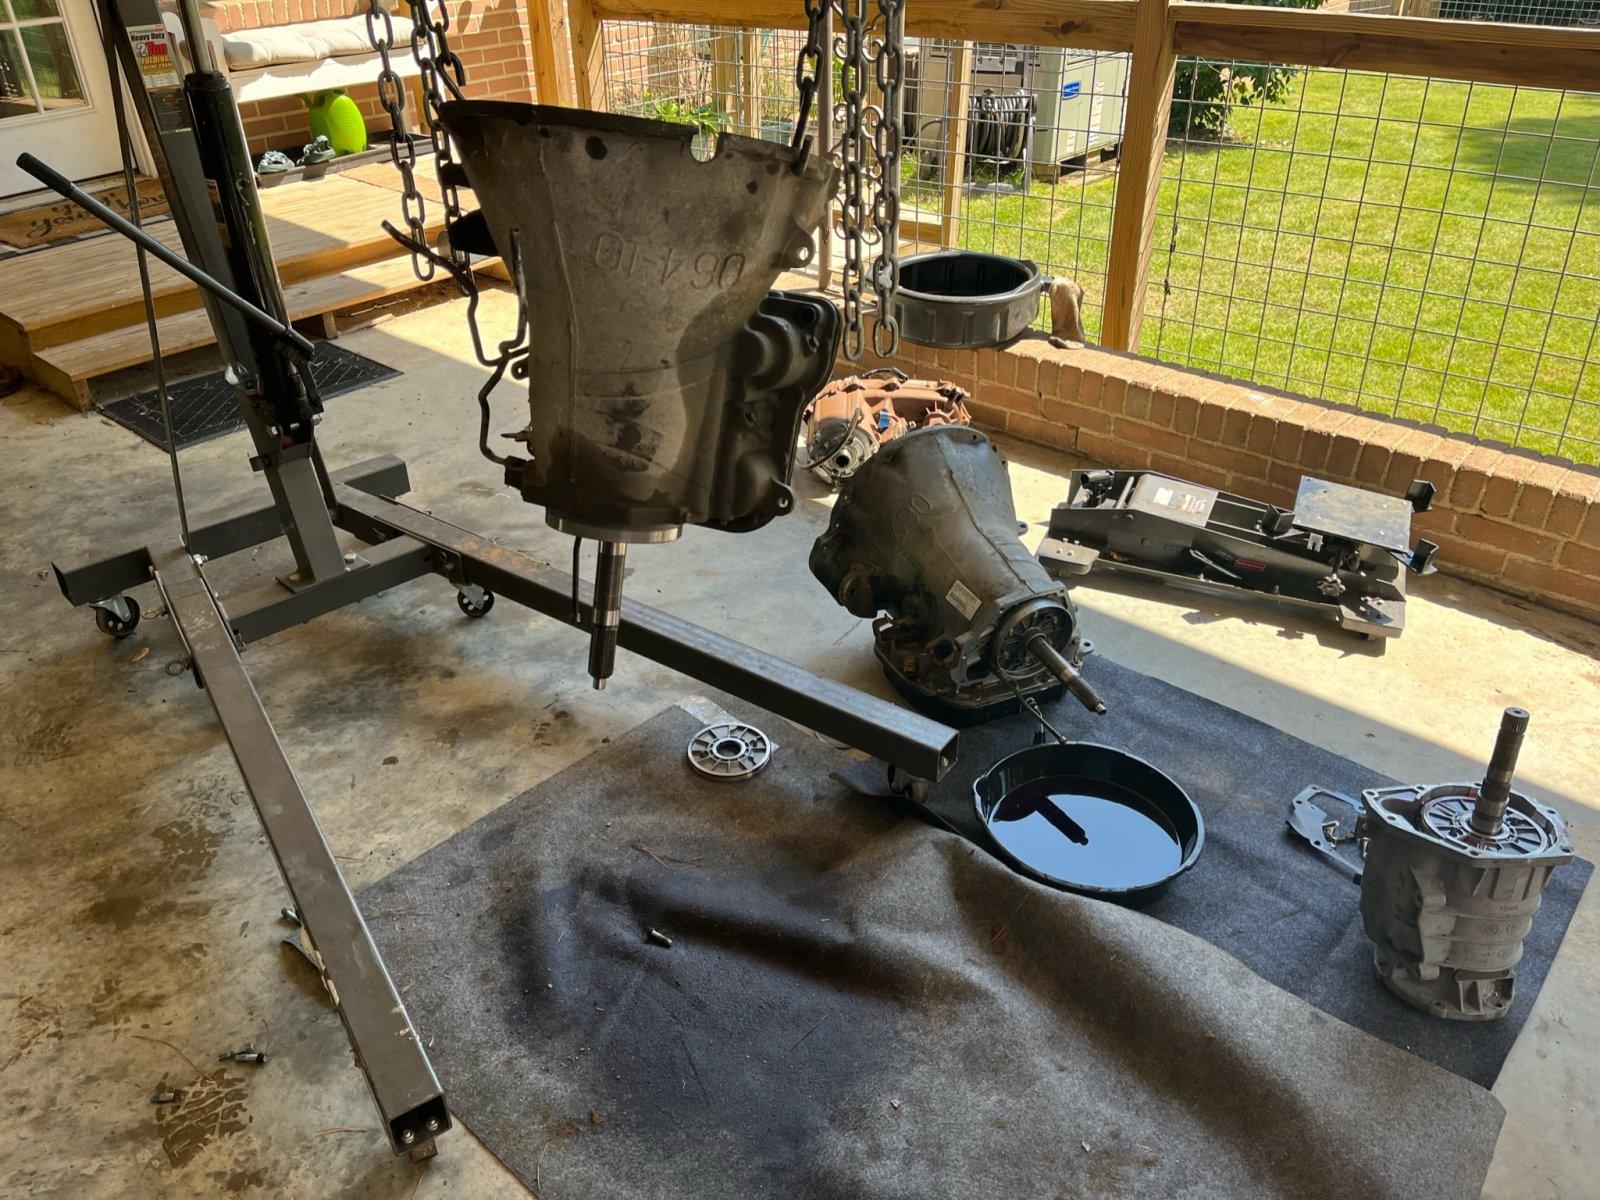
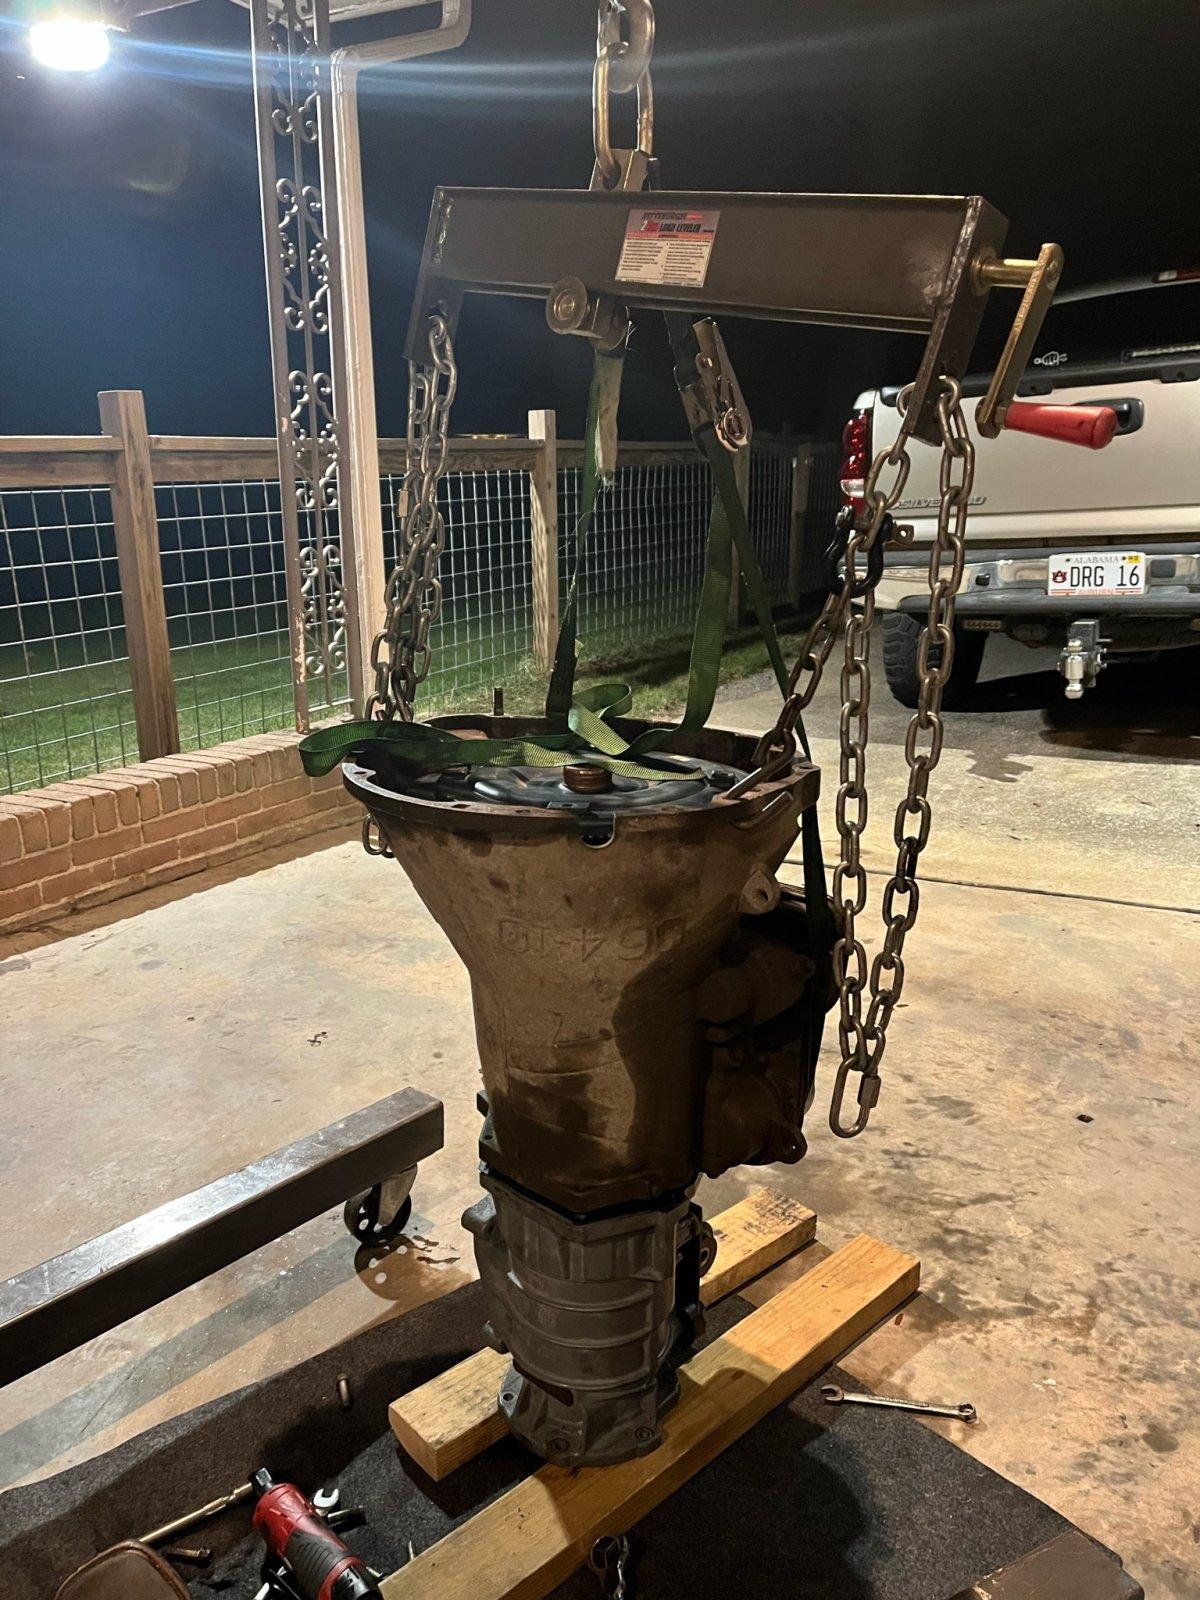
0135d2621fa405beb0cf7cba12fbfdd2ebb01d15e8.jpg


01b94123cd5d4935f2ac0ae111a14e051da4b6f721.jpg


This was the most interesting part of this ordeal. With the transmission on a jack it wouldn't fit under the TJ and with no transmission in the Jeep the motor was being held up with an engine hoist and a jack as backup. The only way to get the jeep up high enough was to put a floor jack under the front axle (with a 6x6 block for all the safety), raise that as high as it would go while also raising the engine at the same time.
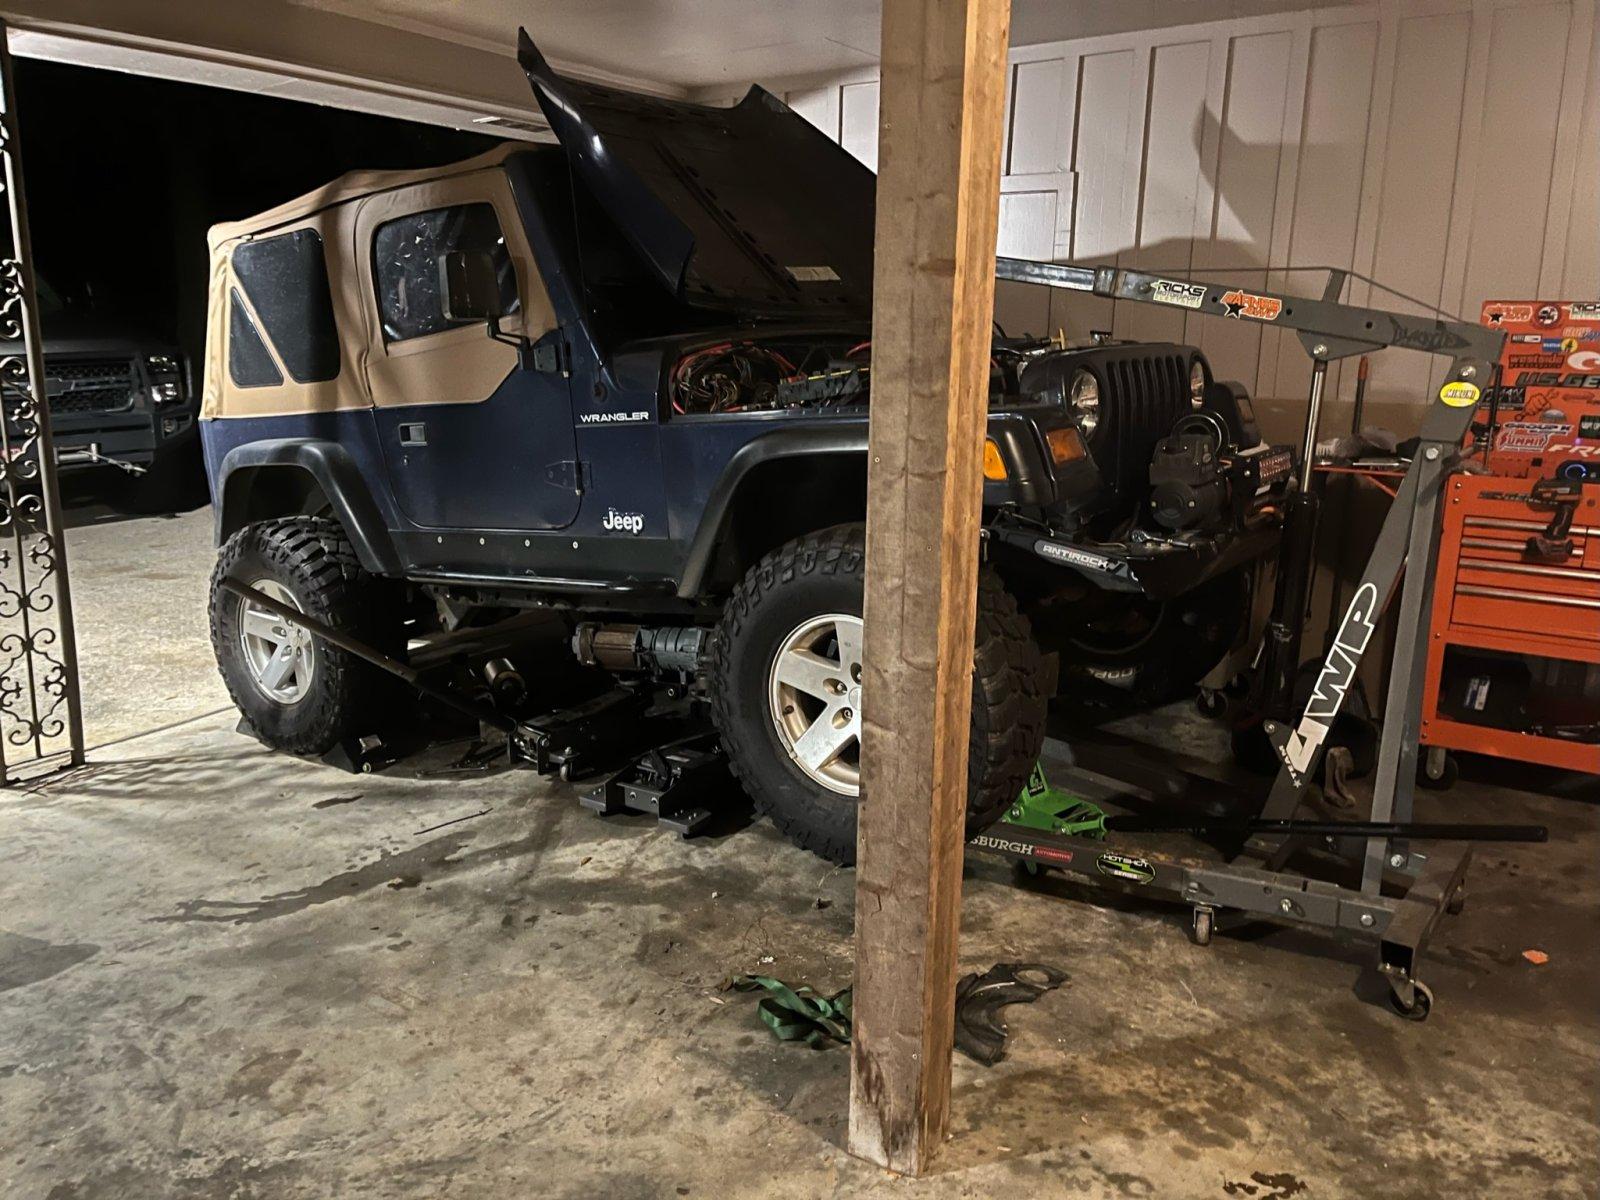
018ccea5337090f075948f99d4a1e0b699fd4390d4.jpg


The rest of the installation went as planned and I had the old trans out, parts swapped and new unit installed over a weekend. Back to where we were 8 weeks ago.
 
Thanks for the update and good pointer on how to keep the wizardy inside of the transmission!
 
With a little momentum on my side it was time to get this build road worthy. This will be a long post as I got all of this done in about a 2 week span in October working entirely in the dark after work since all of our weekends were tied up.

To quote David Freiburger 'Don't get it right, just get it running' is such an accurate statement with builds like this. I needed the kick in the pants motivation that only comes from getting to actually use a rig… I can wire the light bar, transmission temp gauge and other non essential things later.

First step – a new cardboard to-do list. My pictures also get sparse here because much of this was done in the dark after work and most of it is all stuff that's well documented elsewhere. The mandatory list included:

  • Fix the transmission code
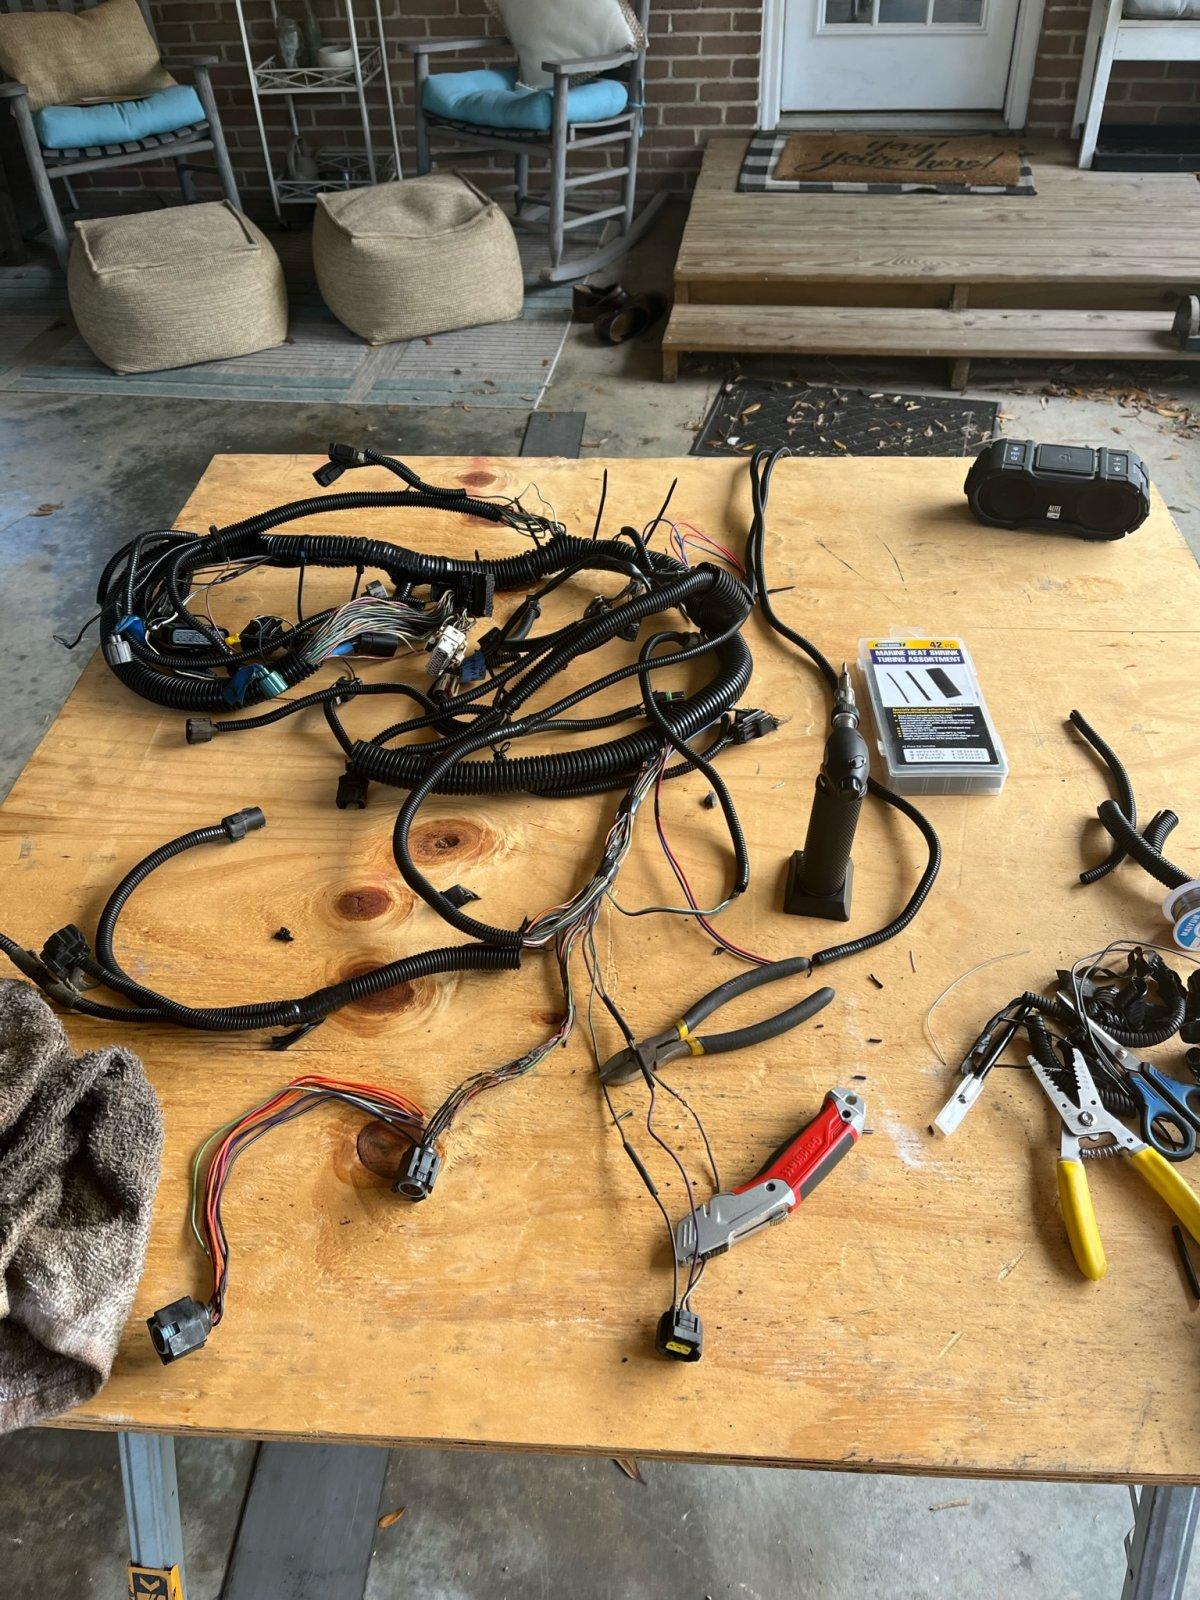
  • Loom and final install the wiring harness. Protect from melty or spinny things.
  • Install rear upper control arms, bump stops, track bars and rear track bar relocation bracket
  • Install air intake
  • Install coil spring spacers (until proper springs can be ordered).
  • Fix brake light switch
The P0753 Shift Solenoid A transmission code was first on the list. My hunch was something was wired incorrectly on the relay I added so that's where I started due to the fact that the code remained after swapping out the PCM and transmission. I verified the wiring was correct and started checking resistance across wires to verify I didn't have any bad connections. The problem ended up being the Transmission Control Relay Output wire had pulled out of the terminal and was not making a connection. I re-crimped a new terminal and boot on and crossed this issue off the list

I also now have an intermittent issue that occurs when I plug in my code reader that the speedometer goes nuts and the reader will no longer will connect. We'll figure that out when it becomes consistent.

The harness was loomed with stuff I bought off Amazon and taped with 3M Super 33 electrical tape. I tried to copy the same method that Chrysler used that wrapped the wires then wrapped the loom to lock it all into place. I'll go into more detail in the wiring post once I have that completed.

01b724a6774963b31d80b7ab3913460be2ff0760ce.jpg


The Savvy rear control arms were installed and pinion angle set. As of this post, I have not installed the rear track bar and relocation bracket yet. That should happen within the next week.

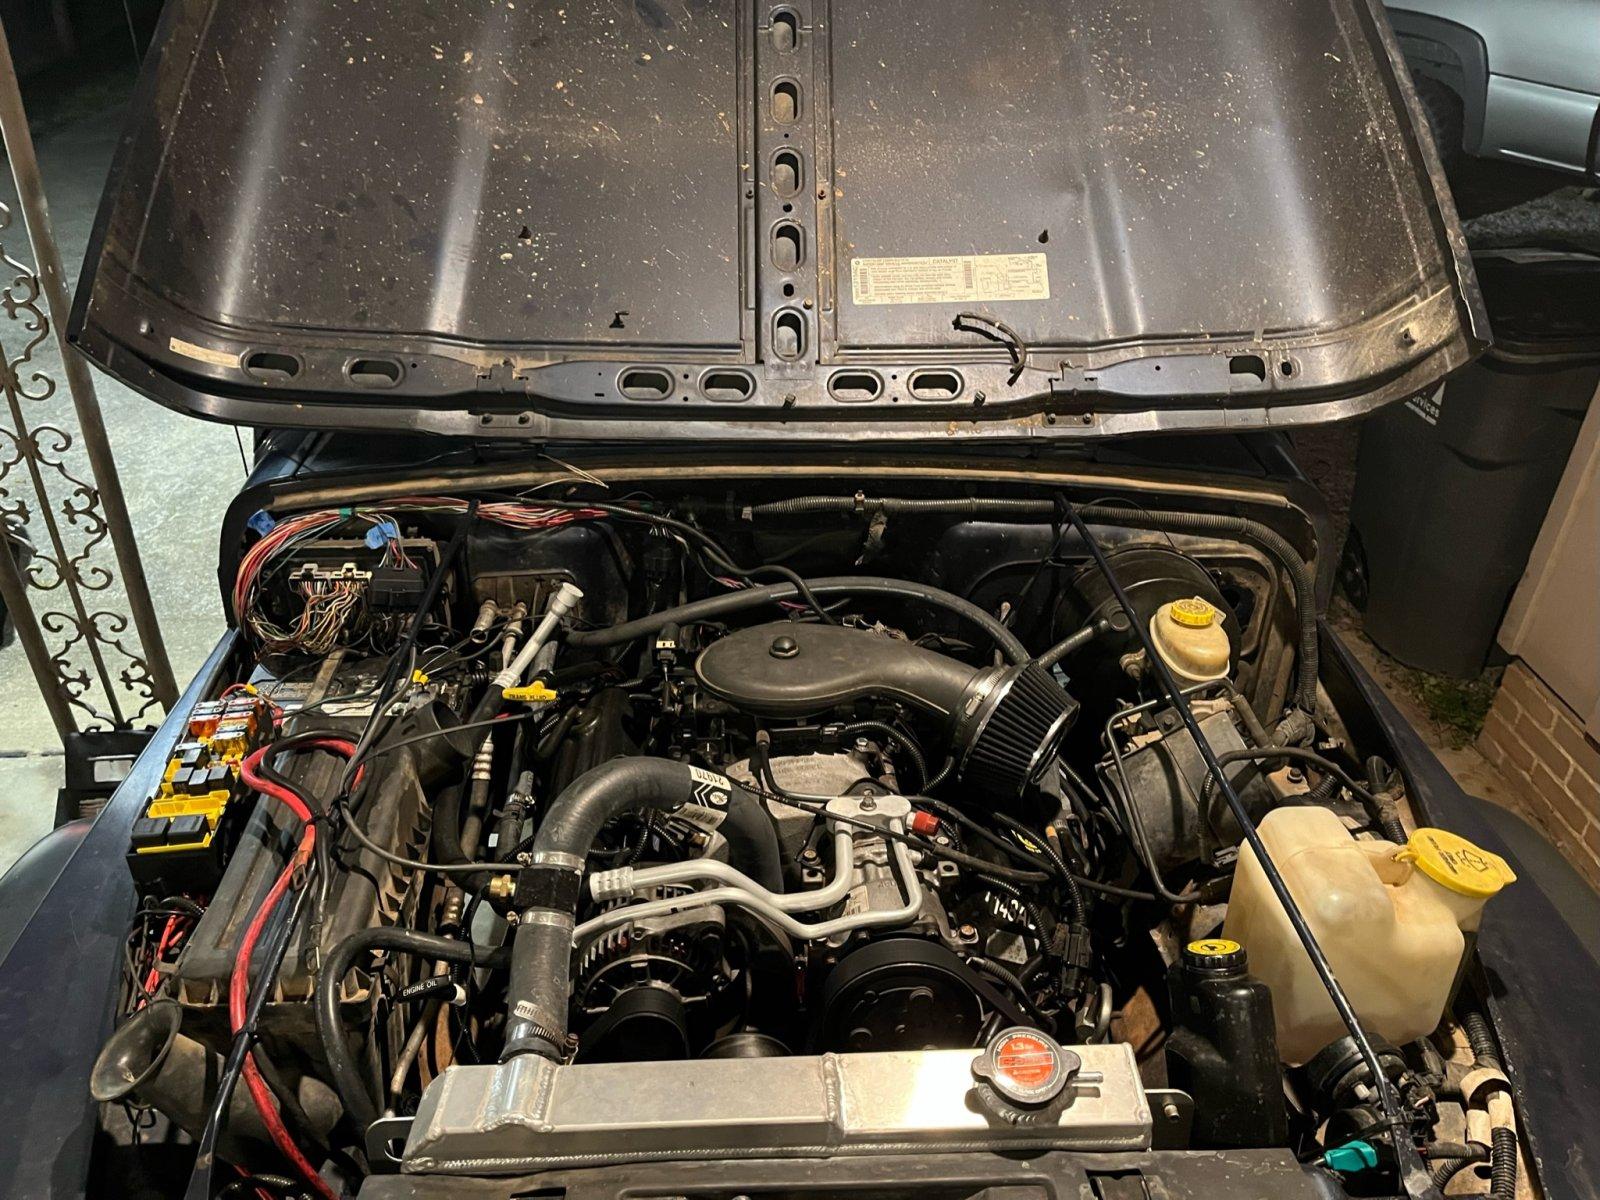
I'd originally picked up a ZJ air hat to tie into the stock TJ air box but due to a tab on the throttle body and notches in the hat, it can't be clocked correctly to point to the TJ air box without modification. For the time being I slapped a parts store cone filter on the ZJ hat.

01c0aa5e6fc974150d4661121187682c7a4ce4775c.jpg


The front Currie track bar was installed and I did run into an issue where the grease zerk interfered with the axle mounting bracket. Some massaging with the die grinder and carbide burr fixed that issue.

Next was to address the front springs and bump stops. The factory bumpers had long since left the chat from dry rot and the Rough Country springs were nowhere near up to the task of keeping the new found weight of the 5.9L suspended. If it'd had bump stops, it would have nearly been sitting on them. I went cheap and reliable for the bump stop setup, which consists of Crown OEM replacement bumpers and 2 hockey pucks per side to keep the tire out of the fender. The final combination on the springs ended up keeping the RC 2.5" springs and adding a 2" spacer to them. Do I recommend this for long term use? Nope. But this combo did give me the correct ride height, provide a surprisingly good ride quality and most importantly got the Jeep on the road.

01d772d1d7964354ddf2427484ea2aba36f8914bf8.jpg


Lastly and pretty importantly was fixing the brake light switch. On the TJs, the throttle, brake and (if equipped) clutch pedal are an assembly that is mounted to the firewall with 4 bolts. Without a doubt the worst part of this build was swapping the pedal assembly from the manual to an automatic setup I ordered off eBay. I pulled the driver seat, laid down some blankets and just made it happen. It was all kind of a blur and I've tried to forget the rest of that experience.

If you've ever looked at the brake light switch on the TJ, it sits against the brake pedal and is pushed to a normally open state. When the pedal is pushed and takes pressure off the switch, the brake lights come on. I swapped the brake light switch from the manual to automatic pedal assembly and reinstalled it only to find the new pedal stops short of the switch, meaning the switch is always closed and leaves the lights on. The temporarily permanent solution? A zip tie. I cut the tag end off flush with the head of the zip tie and positioned the head to make contact with the switch. It's not dumb if it works.
 
With a little momentum on my side it was time to get this build road worthy. This will be a long post as I got all of this done in about a 2 week span in October working entirely in the dark after work since all of our weekends were tied up.

To quote David Freiburger 'Don't get it right, just get it running' is such an accurate statement with builds like this. I needed the kick in the pants motivation that only comes from getting to actually use a rig… I can wire the light bar, transmission temp gauge and other non essential things later.

First step – a new cardboard to-do list. My pictures also get sparse here because much of this was done in the dark after work and most of it is all stuff that's well documented elsewhere. The mandatory list included:

  • Fix the transmission code
  • Loom and final install the wiring harness. Protect from melty or spinny things.
  • Install rear upper control arms, bump stops, track bars and rear track bar relocation bracket
  • Install air intake
  • Install coil spring spacers (until proper springs can be ordered).
  • Fix brake light switch
The P0753 Shift Solenoid A transmission code was first on the list. My hunch was something was wired incorrectly on the relay I added so that's where I started due to the fact that the code remained after swapping out the PCM and transmission. I verified the wiring was correct and started checking resistance across wires to verify I didn't have any bad connections. The problem ended up being the Transmission Control Relay Output wire had pulled out of the terminal and was not making a connection. I re-crimped a new terminal and boot on and crossed this issue off the list

I also now have an intermittent issue that occurs when I plug in my code reader that the speedometer goes nuts and the reader will no longer will connect. We'll figure that out when it becomes consistent.

The harness was loomed with stuff I bought off Amazon and taped with 3M Super 33 electrical tape. I tried to copy the same method that Chrysler used that wrapped the wires then wrapped the loom to lock it all into place. I'll go into more detail in the wiring post once I have that completed.

View attachment 208425

The Savvy rear control arms were installed and pinion angle set. As of this post, I have not installed the rear track bar and relocation bracket yet. That should happen within the next week.

I'd originally picked up a ZJ air hat to tie into the stock TJ air box but due to a tab on the throttle body and notches in the hat, it can't be clocked correctly to point to the TJ air box without modification. For the time being I slapped a parts store cone filter on the ZJ hat.

View attachment 208426

The front Currie track bar was installed and I did run into an issue where the grease zerk interfered with the axle mounting bracket. Some massaging with the die grinder and carbide burr fixed that issue.

Next was to address the front springs and bump stops. The factory bumpers had long since left the chat from dry rot and the Rough Country springs were nowhere near up to the task of keeping the new found weight of the 5.9L suspended. If it'd had bump stops, it would have nearly been sitting on them. I went cheap and reliable for the bump stop setup, which consists of Crown OEM replacement bumpers and 2 hockey pucks per side to keep the tire out of the fender. The final combination on the springs ended up keeping the RC 2.5" springs and adding a 2" spacer to them. Do I recommend this for long term use? Nope. But this combo did give me the correct ride height, provide a surprisingly good ride quality and most importantly got the Jeep on the road.

View attachment 208427

Lastly and pretty importantly was fixing the brake light switch. On the TJs, the throttle, brake and (if equipped) clutch pedal are an assembly that is mounted to the firewall with 4 bolts. Without a doubt the worst part of this build was swapping the pedal assembly from the manual to an automatic setup I ordered off eBay. I pulled the driver seat, laid down some blankets and just made it happen. It was all kind of a blur and I've tried to forget the rest of that experience.

If you've ever looked at the brake light switch on the TJ, it sits against the brake pedal and is pushed to a normally open state. When the pedal is pushed and takes pressure off the switch, the brake lights come on. I swapped the brake light switch from the manual to automatic pedal assembly and reinstalled it only to find the new pedal stops short of the switch, meaning the switch is always closed and leaves the lights on. The temporarily permanent solution? A zip tie. I cut the tag end off flush with the head of the zip tie and positioned the head to make contact with the switch. It's not dumb if it works.
Great quotes/words to live by!
 
With a little momentum on my side it was time to get this build road worthy. This will be a long post as I got all of this done in about a 2 week span in October working entirely in the dark after work since all of our weekends were tied up.

To quote David Freiburger 'Don't get it right, just get it running' is such an accurate statement with builds like this. I needed the kick in the pants motivation that only comes from getting to actually use a rig… I can wire the light bar, transmission temp gauge and other non essential things later.

First step – a new cardboard to-do list. My pictures also get sparse here because much of this was done in the dark after work and most of it is all stuff that's well documented elsewhere. The mandatory list included:

  • Fix the transmission code
  • Loom and final install the wiring harness. Protect from melty or spinny things.
  • Install rear upper control arms, bump stops, track bars and rear track bar relocation bracket
  • Install air intake
  • Install coil spring spacers (until proper springs can be ordered).
  • Fix brake light switch
The P0753 Shift Solenoid A transmission code was first on the list. My hunch was something was wired incorrectly on the relay I added so that's where I started due to the fact that the code remained after swapping out the PCM and transmission. I verified the wiring was correct and started checking resistance across wires to verify I didn't have any bad connections. The problem ended up being the Transmission Control Relay Output wire had pulled out of the terminal and was not making a connection. I re-crimped a new terminal and boot on and crossed this issue off the list

I also now have an intermittent issue that occurs when I plug in my code reader that the speedometer goes nuts and the reader will no longer will connect. We'll figure that out when it becomes consistent.

The harness was loomed with stuff I bought off Amazon and taped with 3M Super 33 electrical tape. I tried to copy the same method that Chrysler used that wrapped the wires then wrapped the loom to lock it all into place. I'll go into more detail in the wiring post once I have that completed.

View attachment 208425

The Savvy rear control arms were installed and pinion angle set. As of this post, I have not installed the rear track bar and relocation bracket yet. That should happen within the next week.

I'd originally picked up a ZJ air hat to tie into the stock TJ air box but due to a tab on the throttle body and notches in the hat, it can't be clocked correctly to point to the TJ air box without modification. For the time being I slapped a parts store cone filter on the ZJ hat.

View attachment 208426

The front Currie track bar was installed and I did run into an issue where the grease zerk interfered with the axle mounting bracket. Some massaging with the die grinder and carbide burr fixed that issue.

Next was to address the front springs and bump stops. The factory bumpers had long since left the chat from dry rot and the Rough Country springs were nowhere near up to the task of keeping the new found weight of the 5.9L suspended. If it'd had bump stops, it would have nearly been sitting on them. I went cheap and reliable for the bump stop setup, which consists of Crown OEM replacement bumpers and 2 hockey pucks per side to keep the tire out of the fender. The final combination on the springs ended up keeping the RC 2.5" springs and adding a 2" spacer to them. Do I recommend this for long term use? Nope. But this combo did give me the correct ride height, provide a surprisingly good ride quality and most importantly got the Jeep on the road.

View attachment 208427

Lastly and pretty importantly was fixing the brake light switch. On the TJs, the throttle, brake and (if equipped) clutch pedal are an assembly that is mounted to the firewall with 4 bolts. Without a doubt the worst part of this build was swapping the pedal assembly from the manual to an automatic setup I ordered off eBay. I pulled the driver seat, laid down some blankets and just made it happen. It was all kind of a blur and I've tried to forget the rest of that experience.

If you've ever looked at the brake light switch on the TJ, it sits against the brake pedal and is pushed to a normally open state. When the pedal is pushed and takes pressure off the switch, the brake lights come on. I swapped the brake light switch from the manual to automatic pedal assembly and reinstalled it only to find the new pedal stops short of the switch, meaning the switch is always closed and leaves the lights on. The temporarily permanent solution? A zip tie. I cut the tag end off flush with the head of the zip tie and positioned the head to make contact with the switch. It's not dumb if it works.
Some experiences are best left forgotten
 
Starting my Christmas break today and looking for some reading material. Hoping to get an update with you having some seat time. That's a good looking TJ and with that drivetrain it should run great.
 
As an Amazon Associate we earn from qualifying purchases. Product prices and availability are accurate as of the date/time indicated and are subject to change.
Starting my Christmas break today and looking for some reading material. Hoping to get an update with you having some seat time. That's a good looking TJ and with that drivetrain it should run great.

Sorry to disappoint! I spent all of my Christmas time off in the shop and not on the computer. I have an update coming soon since I now have 700 miles on this rig and counting.

How do you like the power ?
I think its absolutely perfect for the TJ. The power of the 5.9 is very smooth and pushes the Jeep around like it was a factory option. It has plenty of power to easily get up to speed merging on the interstate but its a long way from stupid power. Its going to Morris Mountain this weekend so I'll be able to see how it does on some easy trails.
 
Sorry to disappoint! I spent all of my Christmas time off in the shop and not on the computer. I have an update coming soon since I now have 700 miles on this rig and counting.


I think its absolutely perfect for the TJ. The power of the 5.9 is very smooth and pushes the Jeep around like it was a factory option. It has plenty of power to easily get up to speed merging on the interstate but its a long way from stupid power. Its going to Morris Mountain this weekend so I'll be able to see how it does on some easy trails.
Awesome short update and hope all goes well on the Morris trip.
 
Sorry to disappoint! I spent all of my Christmas time off in the shop and not on the computer. I have an update coming soon since I now have 700 miles on this rig and counting.


I think its absolutely perfect for the TJ. The power of the 5.9 is very smooth and pushes the Jeep around like it was a factory option. It has plenty of power to easily get up to speed merging on the interstate but its a long way from stupid power. Its going to Morris Mountain this weekend so I'll be able to see how it does on some easy trails.
That's a pretty good update. Already 700 miles! Sounds like you're enjoying it and hopefully it goes well today at MM. Good luck man
 
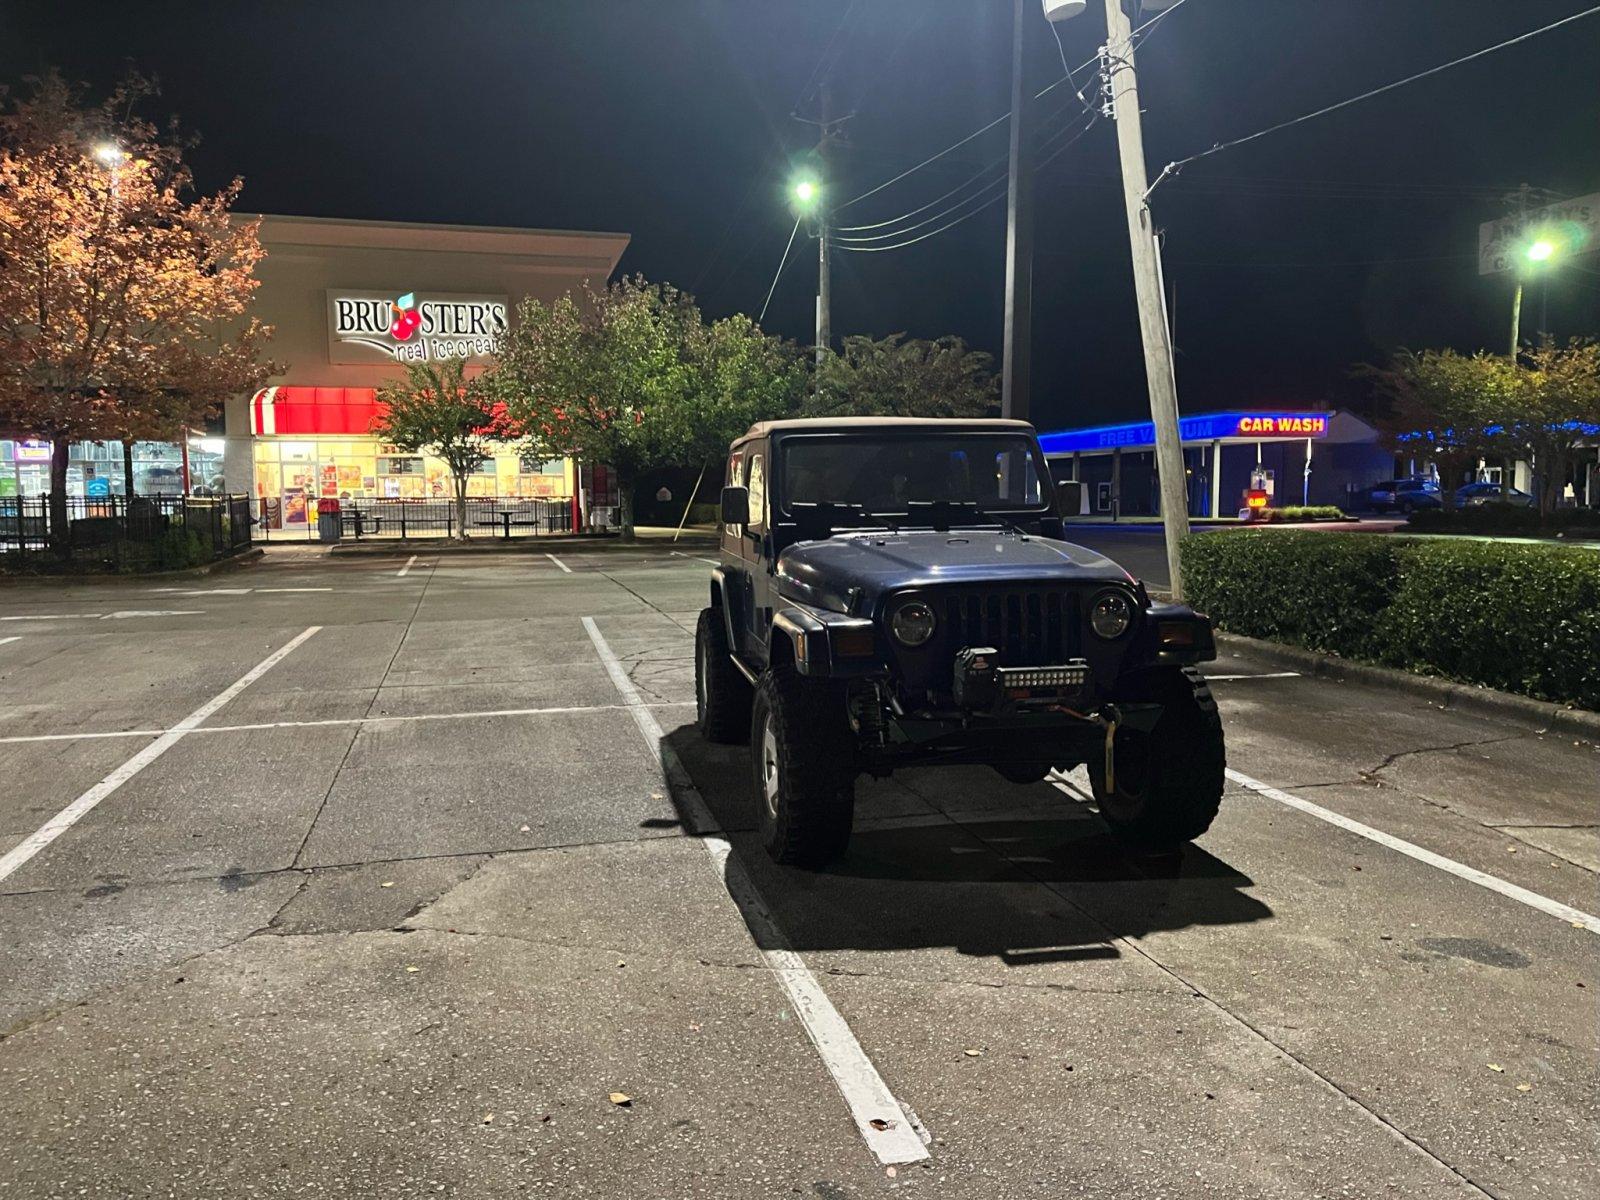
With the 'Mandatory' list completed, a thorough once over and fresh fuel in the tank it was time to drive this rig. The first break in run was to one of our favorite ice cream shops. I was as nervous as I was excited.

01916b744bfed0578d811bf3bca06e1d66de8bb964.jpg


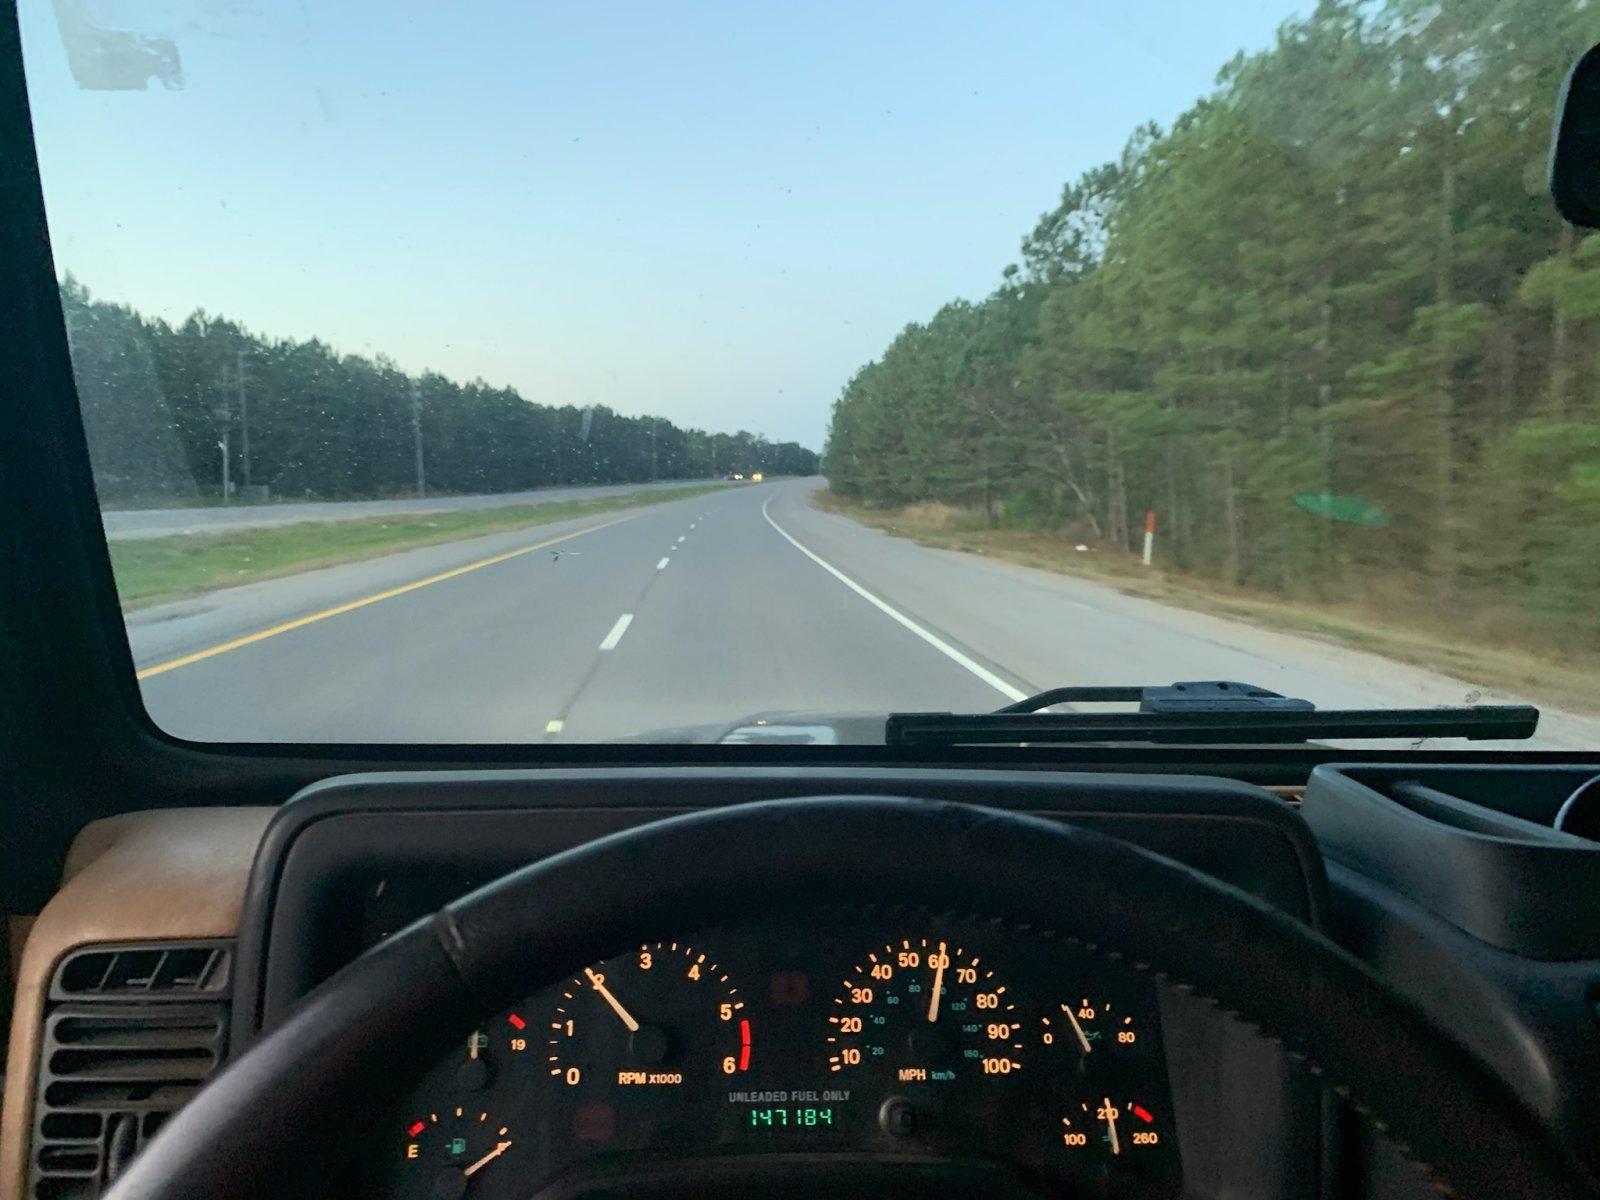
The trips progressively got further away from the house as I gained faith in my newly built contraption. This was the first 40 mile round trip to work.

01f7b94e1e29adff6a0dcf12798c17cff9a9d55bb7.jpg


All the hours spent researching and wrenching on the Jeep have paid off in spades as I've put 300+ miles on this build to date with no real issues to speak of. I really think I got this mostly right the first time and I owe that in no small part to all the knowledge on this and numerous other forums. This engine and transmission combo work so well in the TJ this really should have been a factory option as the 5.9L has enough power to make the Jeep nimble and fun to drive, but not stupid or out of control. I still have a lot to finish and I've already come up with a lengthy list of things I want to change, but getting to enjoy this build has me more motivated than ever to keep working away at it. Here are my initial thoughts and things to fix:

  • The speedometer is shockingly close to accurate as-is. A Speedohealer might be added at some point to make it perfect. (Probably not)
  • I'm not convinced the fuel gauge is exact yet. I think its reading lower than what's actually in the tank (which is the better than the alternative).
  • This thing is a BLAST to drive.
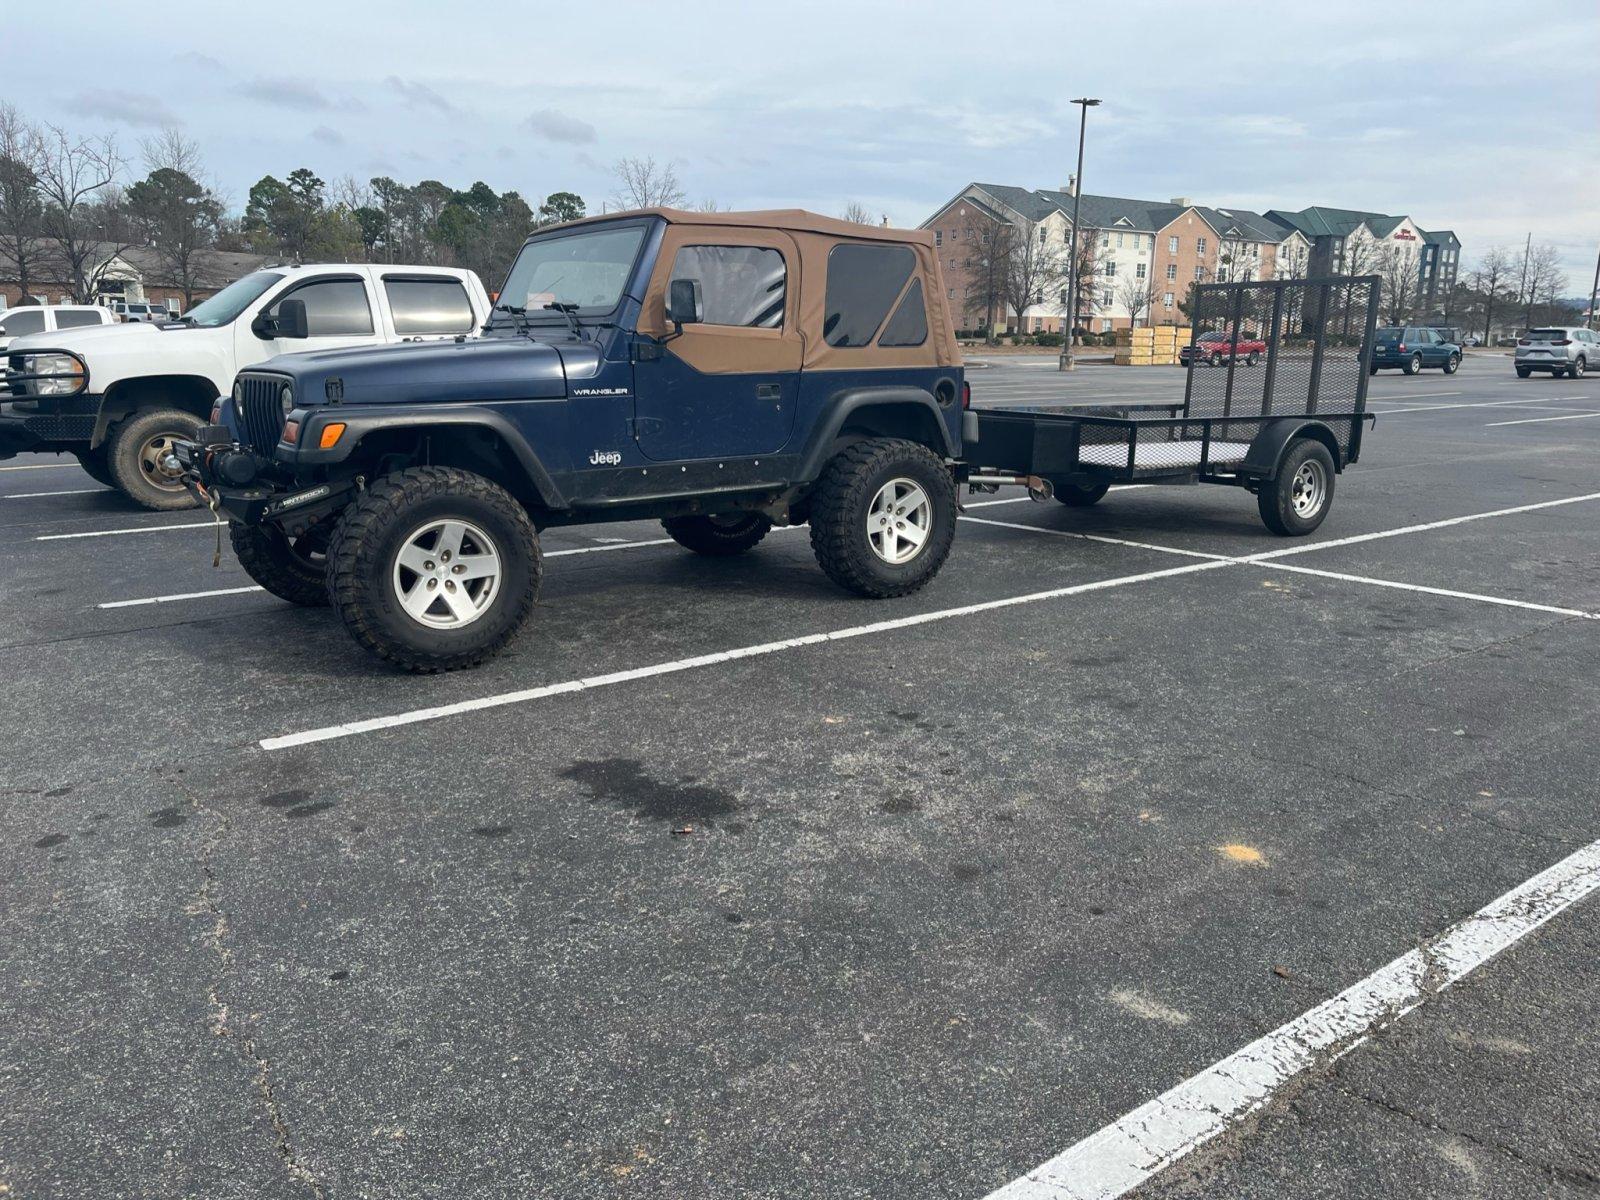
  • The exhaust sounds phenomenal, but it hits a brain rattling exhaust note around 2700 RPM. Fine for a trail rig, but not so fun at cruising speeds. The tailpipe is also touching the trailer hitch which will cause a snowball of a project. I have a hitch hauler and a small utility trailer I put behind the TJ fairly often, so I need to retain a hitch of some kind. To change the muffler I really need to ditch the hitch, raise the entire tailpipe up and install a new bumper at the same time.
  • The radiator and fan have had no issues keeping it cool thus far.
  • Current MPG is 9 +/- and should really be better than that. My driving has been… spirited, but not THAT bad.
  • I'm getting some driveline vibrations so the pinion angle must not be perfect.
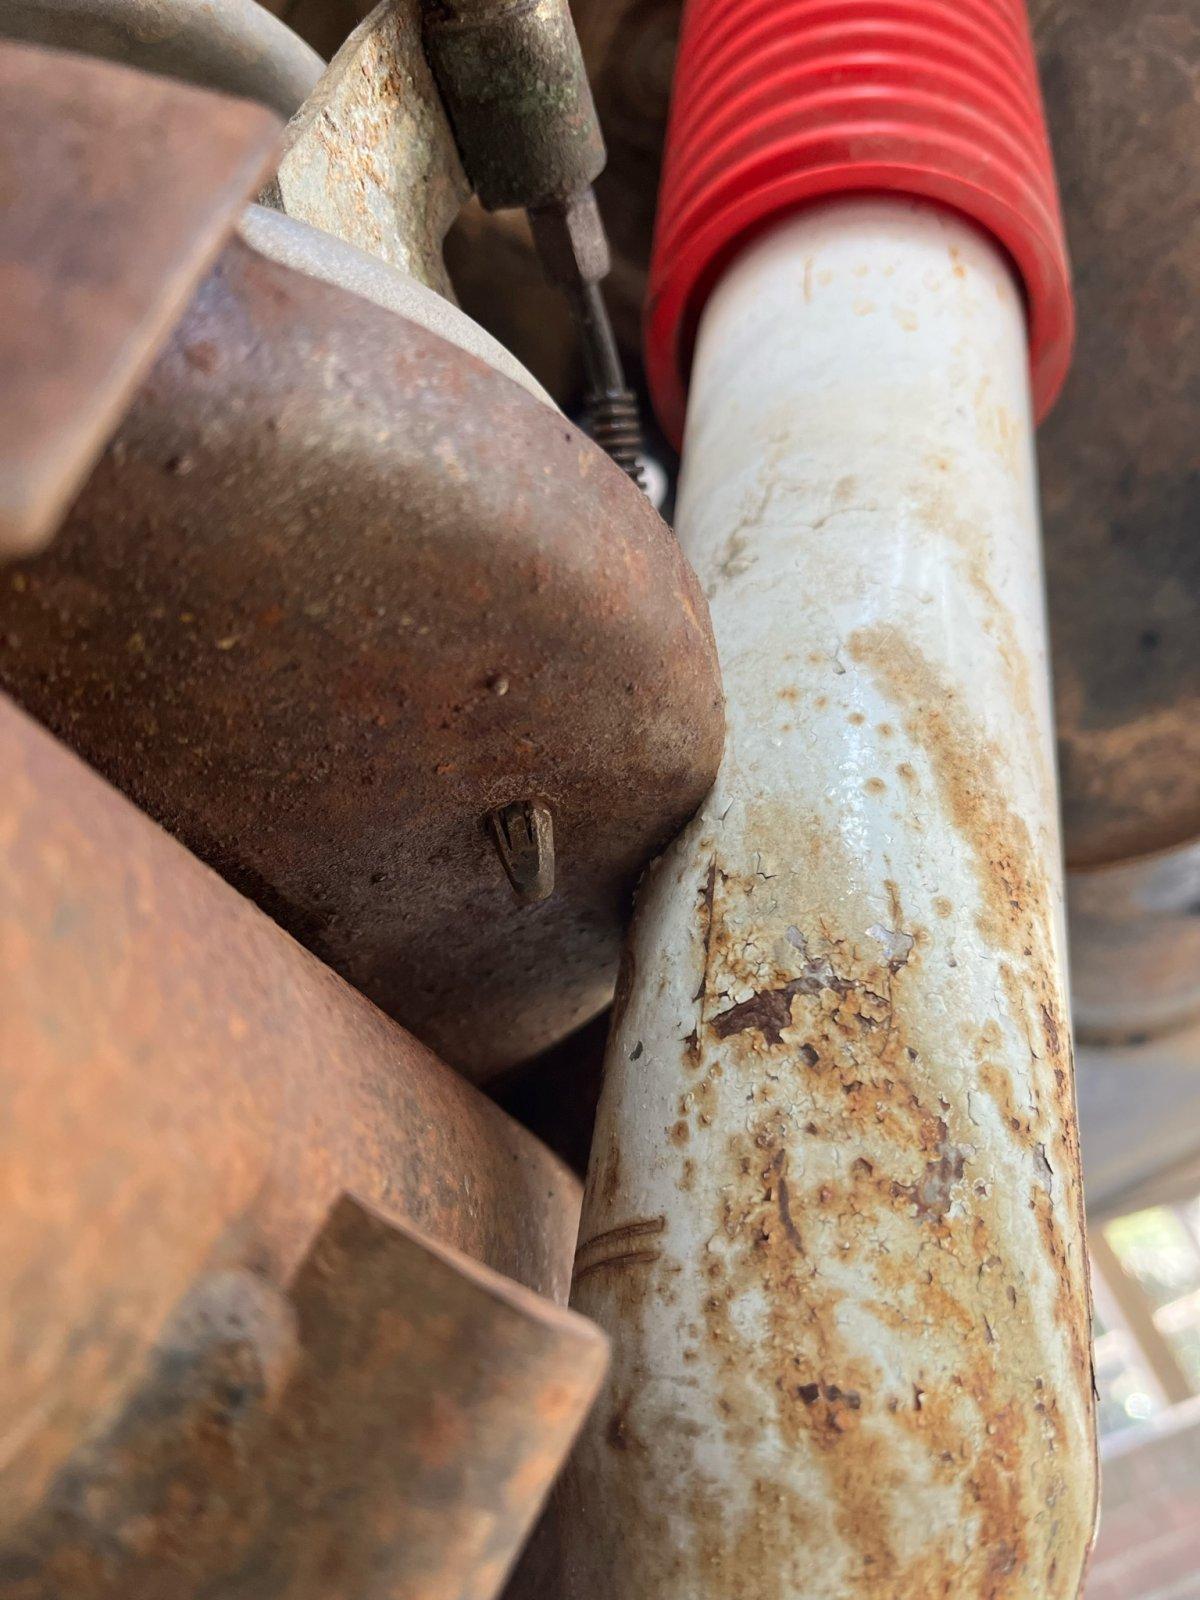
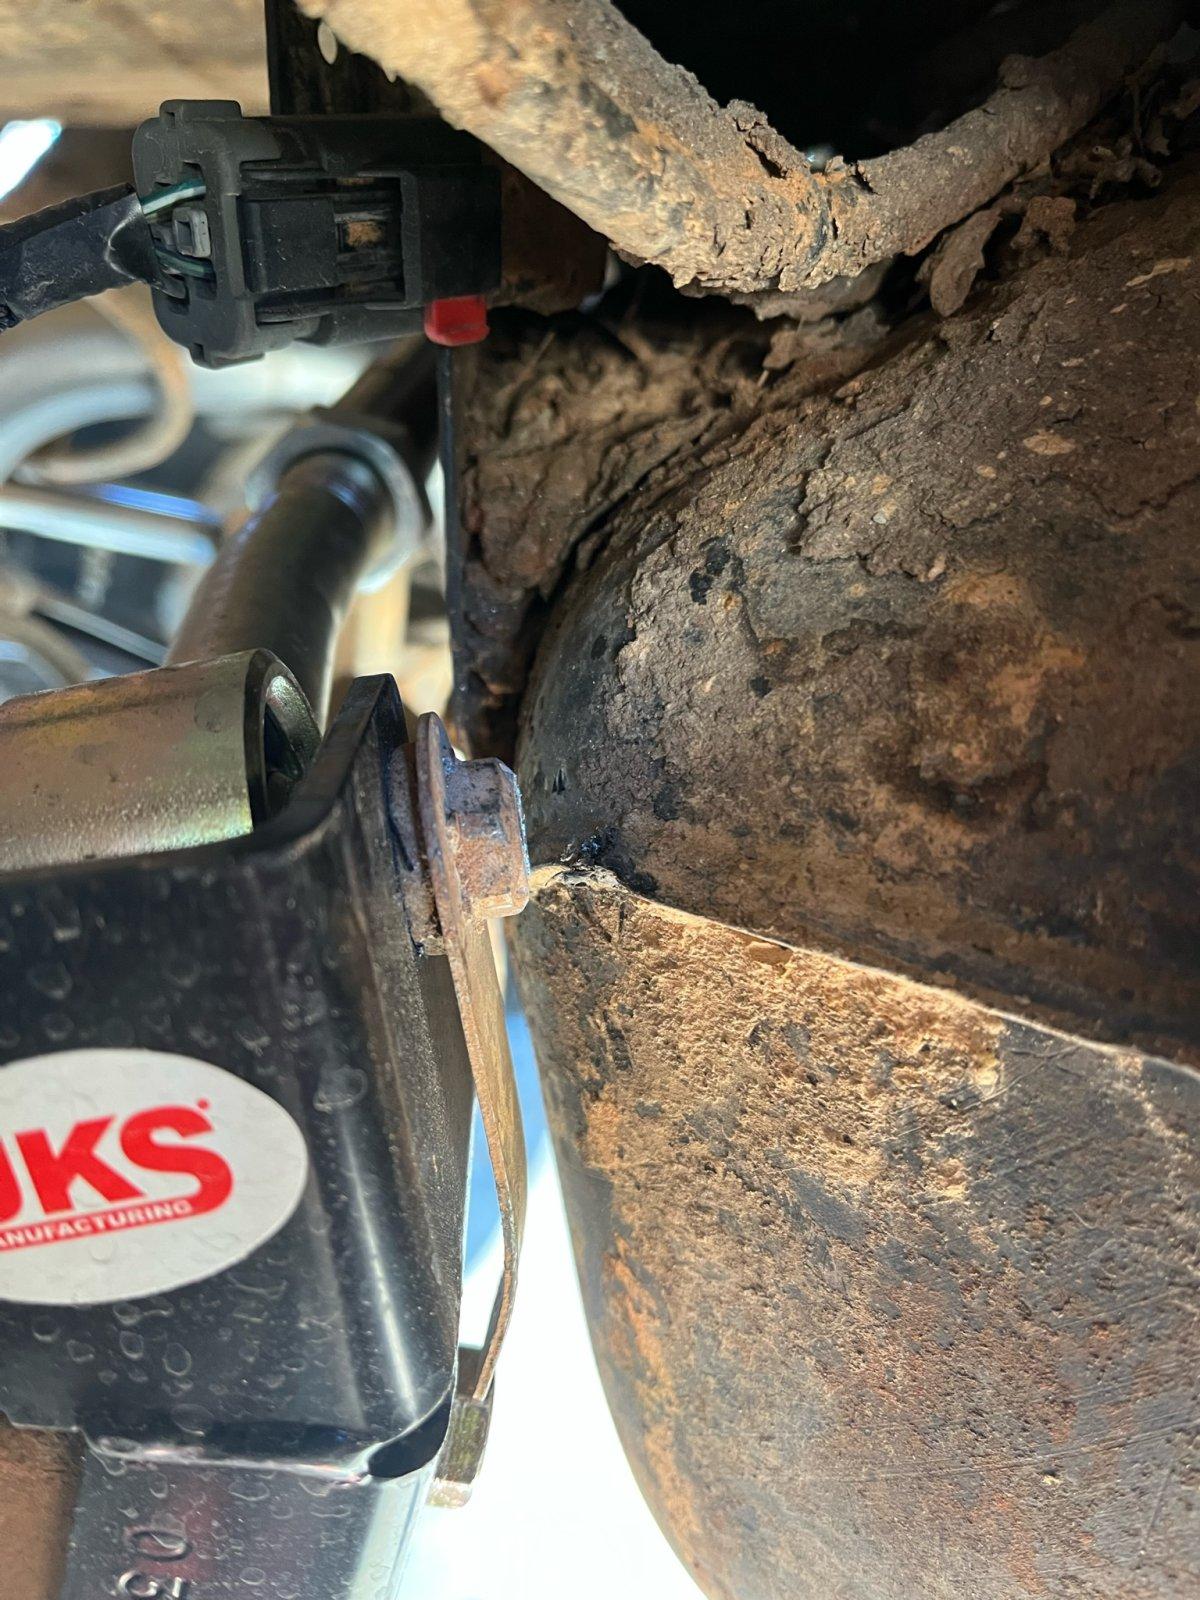
  • The track bar is rubbing the gas tank skid plate.
  • The oil pressure is reading lower than I'd like at idle.
I've ordered some Core4x4 lower control arms to properly set the pinion angle and hopefully give the track bar some clearance. I'm planning to spend a day wrenching on the Jeep I can catch a semi warm day over Christmas.
 
Glad to read you are enjoying the build and that you got it mostly right :dblthumb:

How was the trip to Morris Mountain?
 
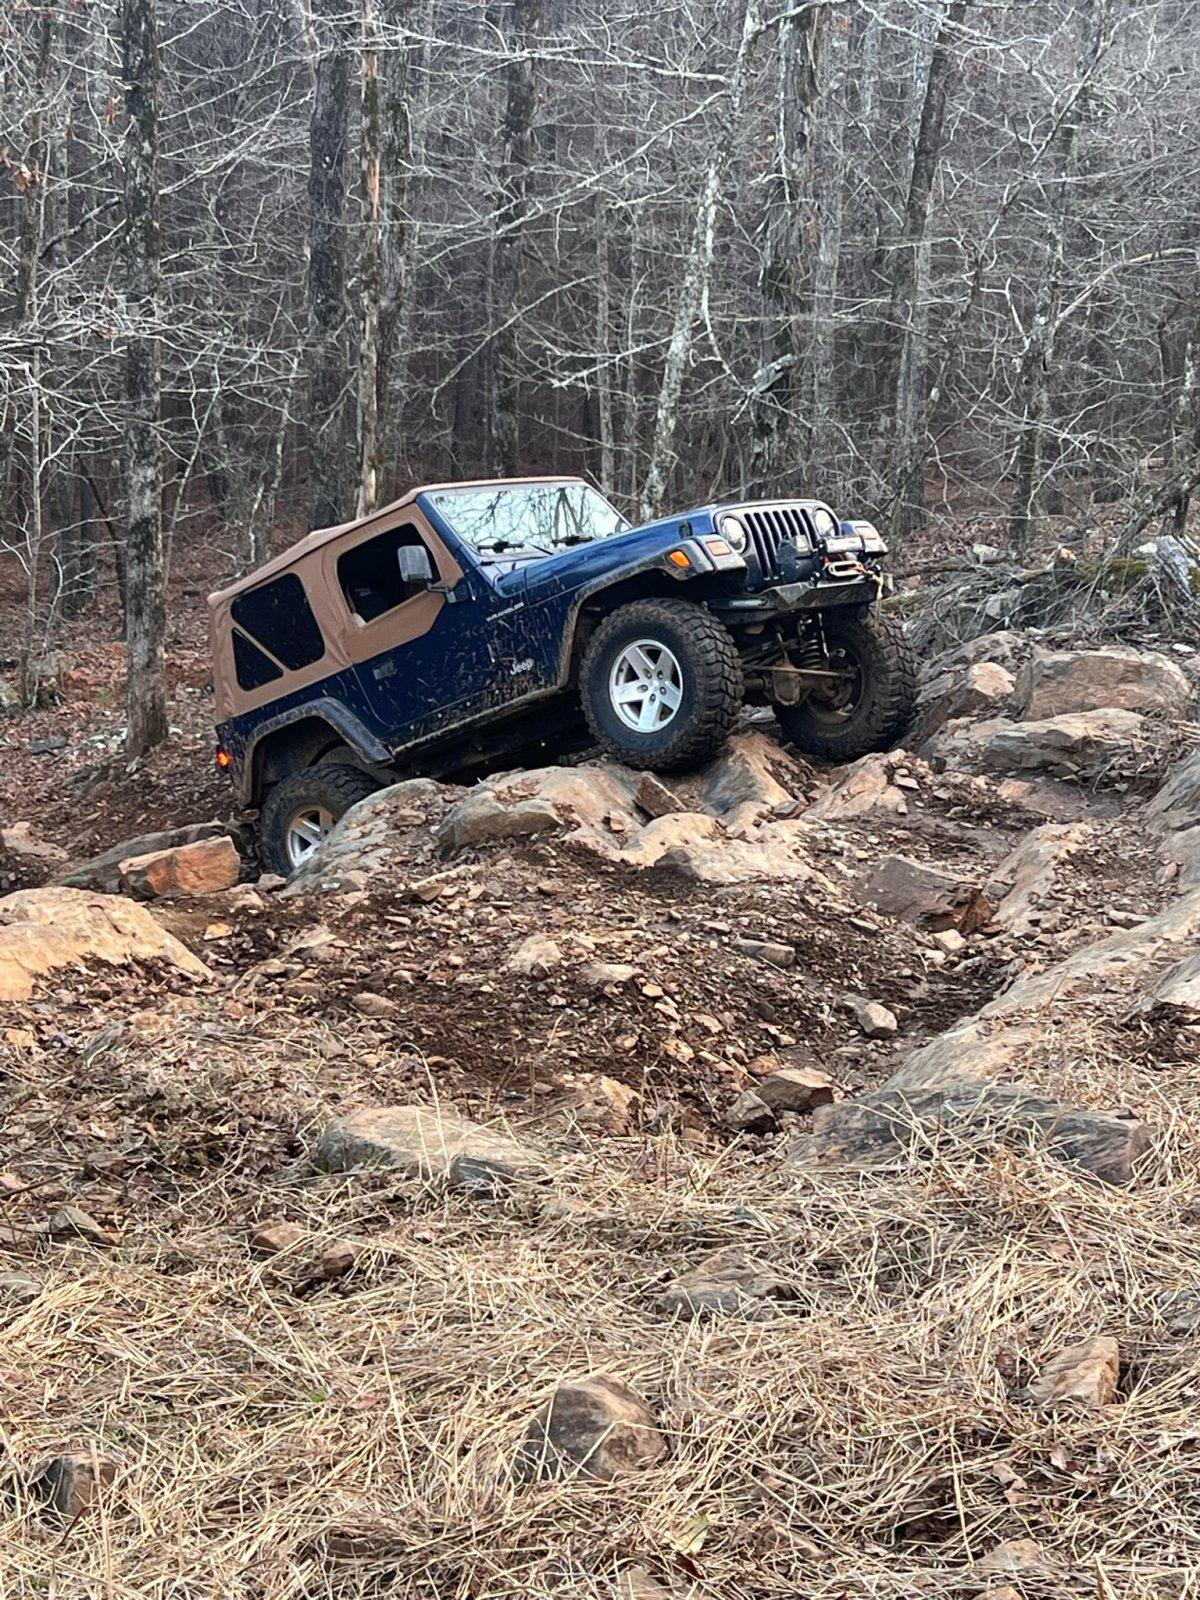
Morris was a good time and the TJ came back in 1 piece. I was scared to give it much skinny pedal for fear of grenading the rear axle even though I have most everything to swap in an 8.8 - except the time right now. I'm already shopping for lockers too - open open sucks.

My new to me trailer worked perfect.

01e13ffd44dabcab88b634660cf7df0198cf1919b2.jpg


0197e9100b0a69f9a2601553f56d31d69b2b3e6b6a.jpg


0180c406f1de83214d19f73b49d7e0bdacae611eb5.jpg


I was denied the left side of GBU mostly from my total lack of driving skills and fear of breakage on the first trip out.
011d20b97a12d2ed263fc24f023edf9a48cb013795.jpg
 
I don't know much about the 5.9's, is that considered normal oil pressure at 2k?
I've got to do some homework on that issue - I'm not sure what's considered normal for a 5.9 but I have reasons to think I might have an issue with the engine or the gauge / sending unit.

I want to install a mechanical gauge inline with the sending unit to verify what the gauge is reading is in fact correct. Assuming it is, the gauge reads 40 PSI +/- at idle until the engine gets up to operating temperature and then drops to 20PSI, which would lead me to believe I the motor has some wear on it. If I'm, for example, getting off the interstate and come to a stop the gauge will bottom out to near 0 PSI and the 'Check Gauges' light will come on. Its never made any noise to indicate its running dry. The engine currently has the spec'd 10W-30 oil it it with some of the Lucas molasses looking sauce in it to thicken it up, which has seemed to help. The next oil change it'll get some 15W or 20W to see if that makes a difference.
 
I've got to do some homework on that issue - I'm not sure what's considered normal for a 5.9 but I have reasons to think I might have an issue with the engine or the gauge / sending unit.

I want to install a mechanical gauge inline with the sending unit to verify what the gauge is reading is in fact correct. Assuming it is, the gauge reads 40 PSI +/- at idle until the engine gets up to operating temperature and then drops to 20PSI, which would lead me to believe I the motor has some wear on it. If I'm, for example, getting off the interstate and come to a stop the gauge will bottom out to near 0 PSI and the 'Check Gauges' light will come on. Its never made any noise to indicate its running dry. The engine currently has the spec'd 10W-30 oil it it with some of the Lucas molasses looking sauce in it to thicken it up, which has seemed to help. The next oil change it'll get some 15W or 20W to see if that makes a difference.
I might have missed it but you have to do anything creative to get the factory gauge to talk to the 5.9 sending unit? And good call on the mechanical gauge. I'd definitely want to know what's up. Fwiw, my 6.0 had decently high miles but I've just run 20w50 in it and it's been good so far.
 
I might have missed it but you have to do anything creative to get the factory gauge to talk to the 5.9 sending unit? And good call on the mechanical gauge. I'd definitely want to know what's up. Fwiw, my 6.0 had decently high miles but I've just run 20w50 in it and it's been good so far.
I didn't have to do anything other than plug it in. The Dodge ECU talks to the TJ dash with no modifications.
 
If I'm, for example, getting off the interstate and come to a stop the gauge will bottom out to near 0 PSI and the 'Check Gauges' light will come on. Its never made any noise to indicate its running dry.
The 4.0 in my LJ does the exact same thing. Most people on all the Jeep boards and FB groups say it’s a sending unit issue, apparently a pretty common one. They all say to replace it with a Mopar unit only because all the aftermarket ones are junk. I’ve not done any troubleshooting yet to verify whether it is or isn’t the sending unit. But I feel like it is. Like you I hear no ticking or knocking when it does it. Just once it’s up to temperature when you stop it drops to zero, fluctuates a couple times, then right back to normal. Wouldn’t be surprised if that 5.9 doesn’t use the exact same sending unit, especially if it’s plug and play with the TJ gauge.
 
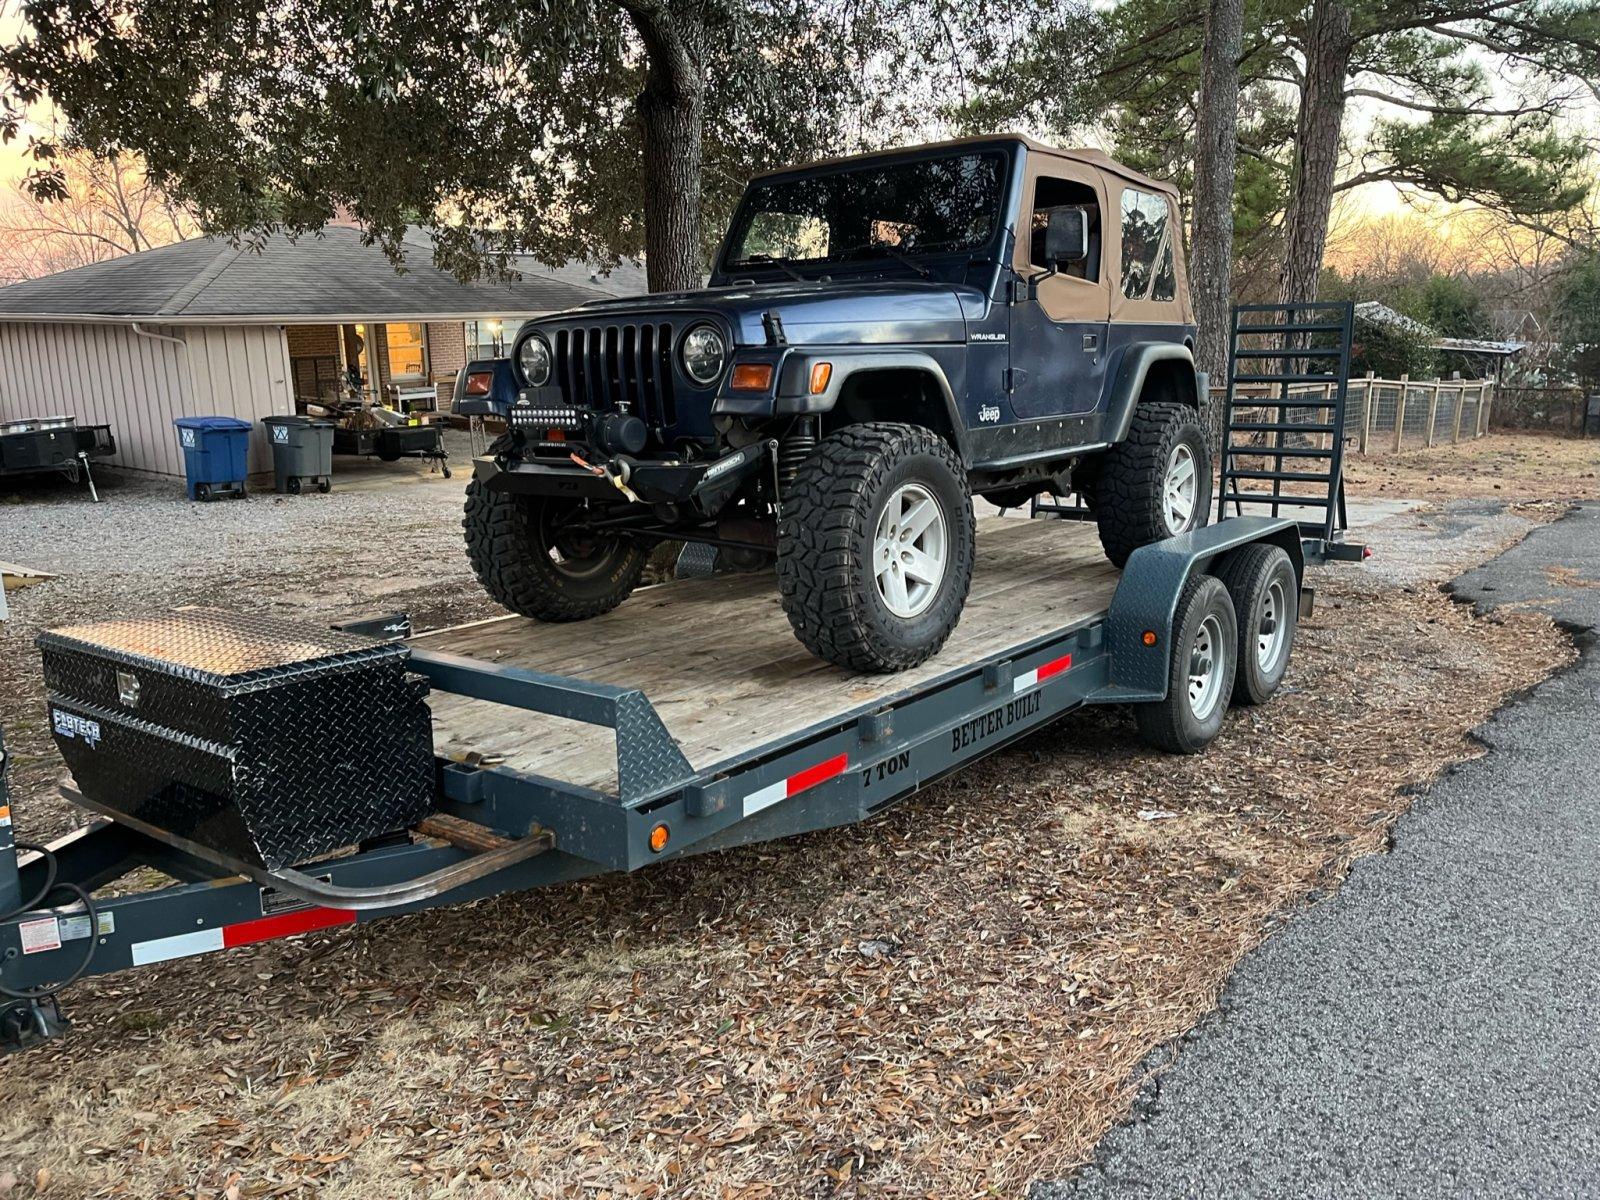
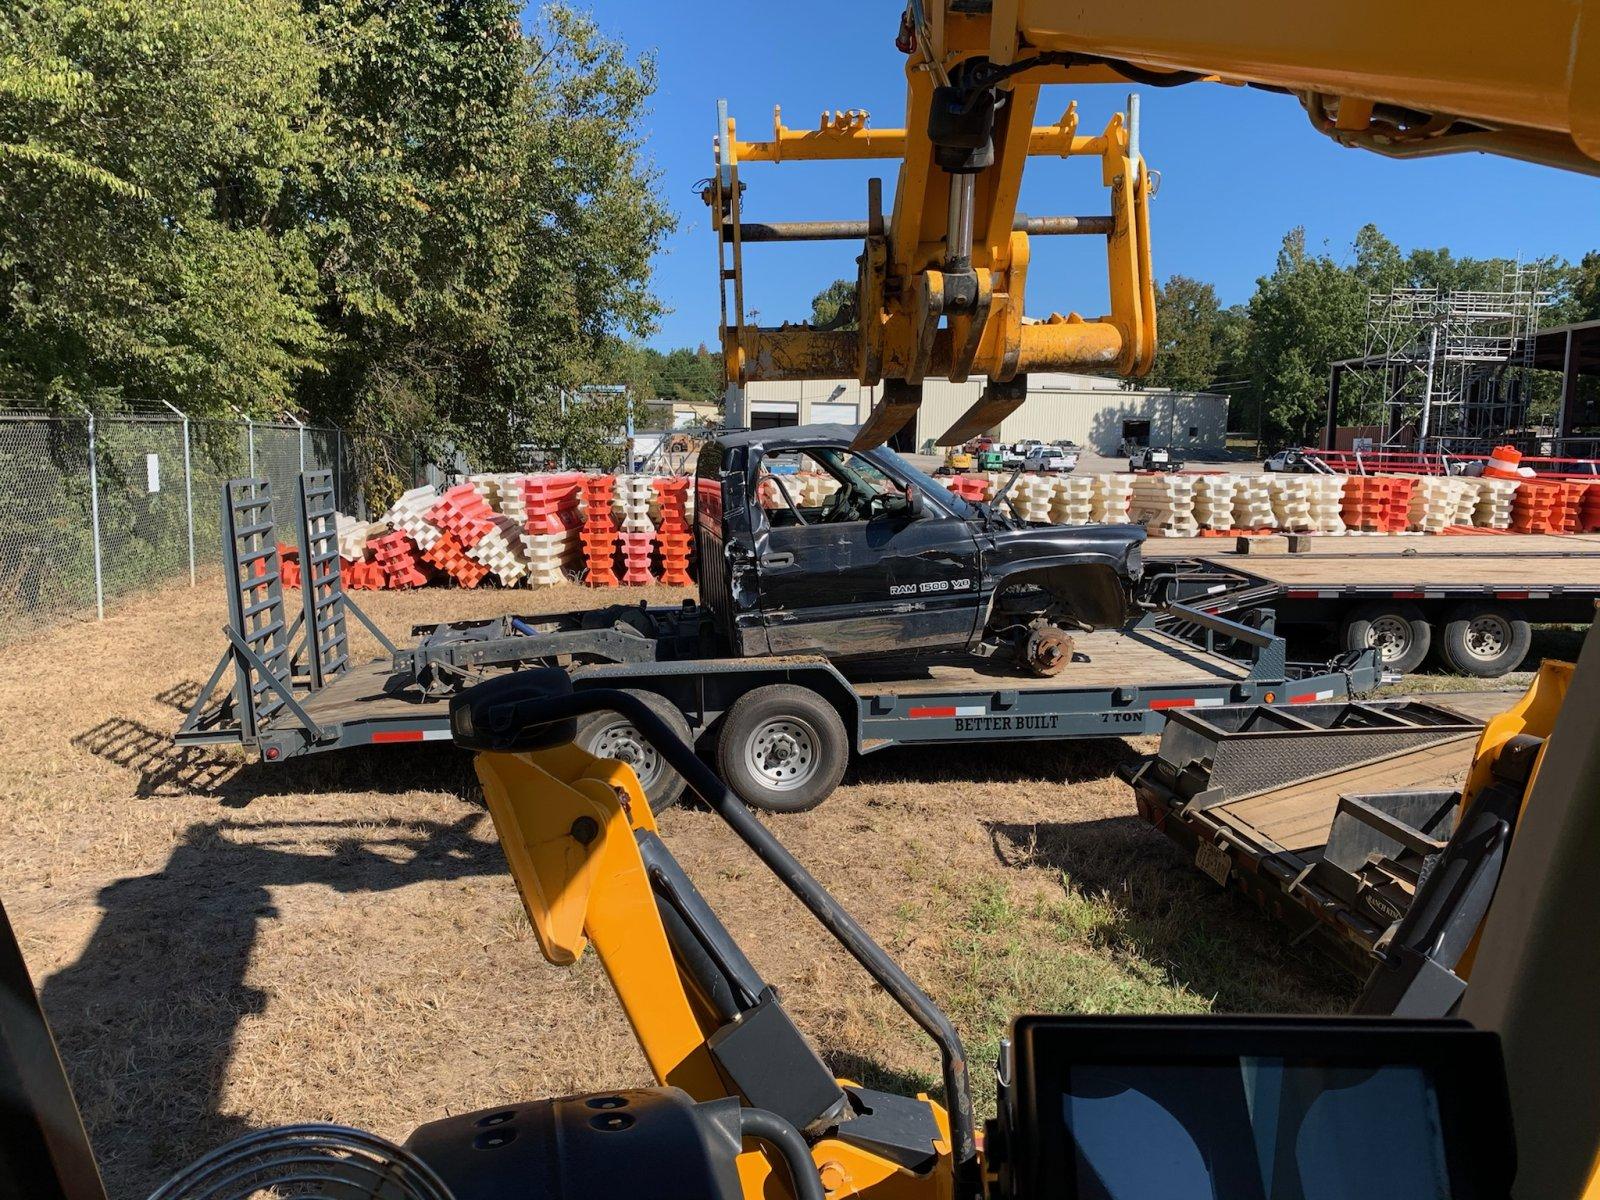
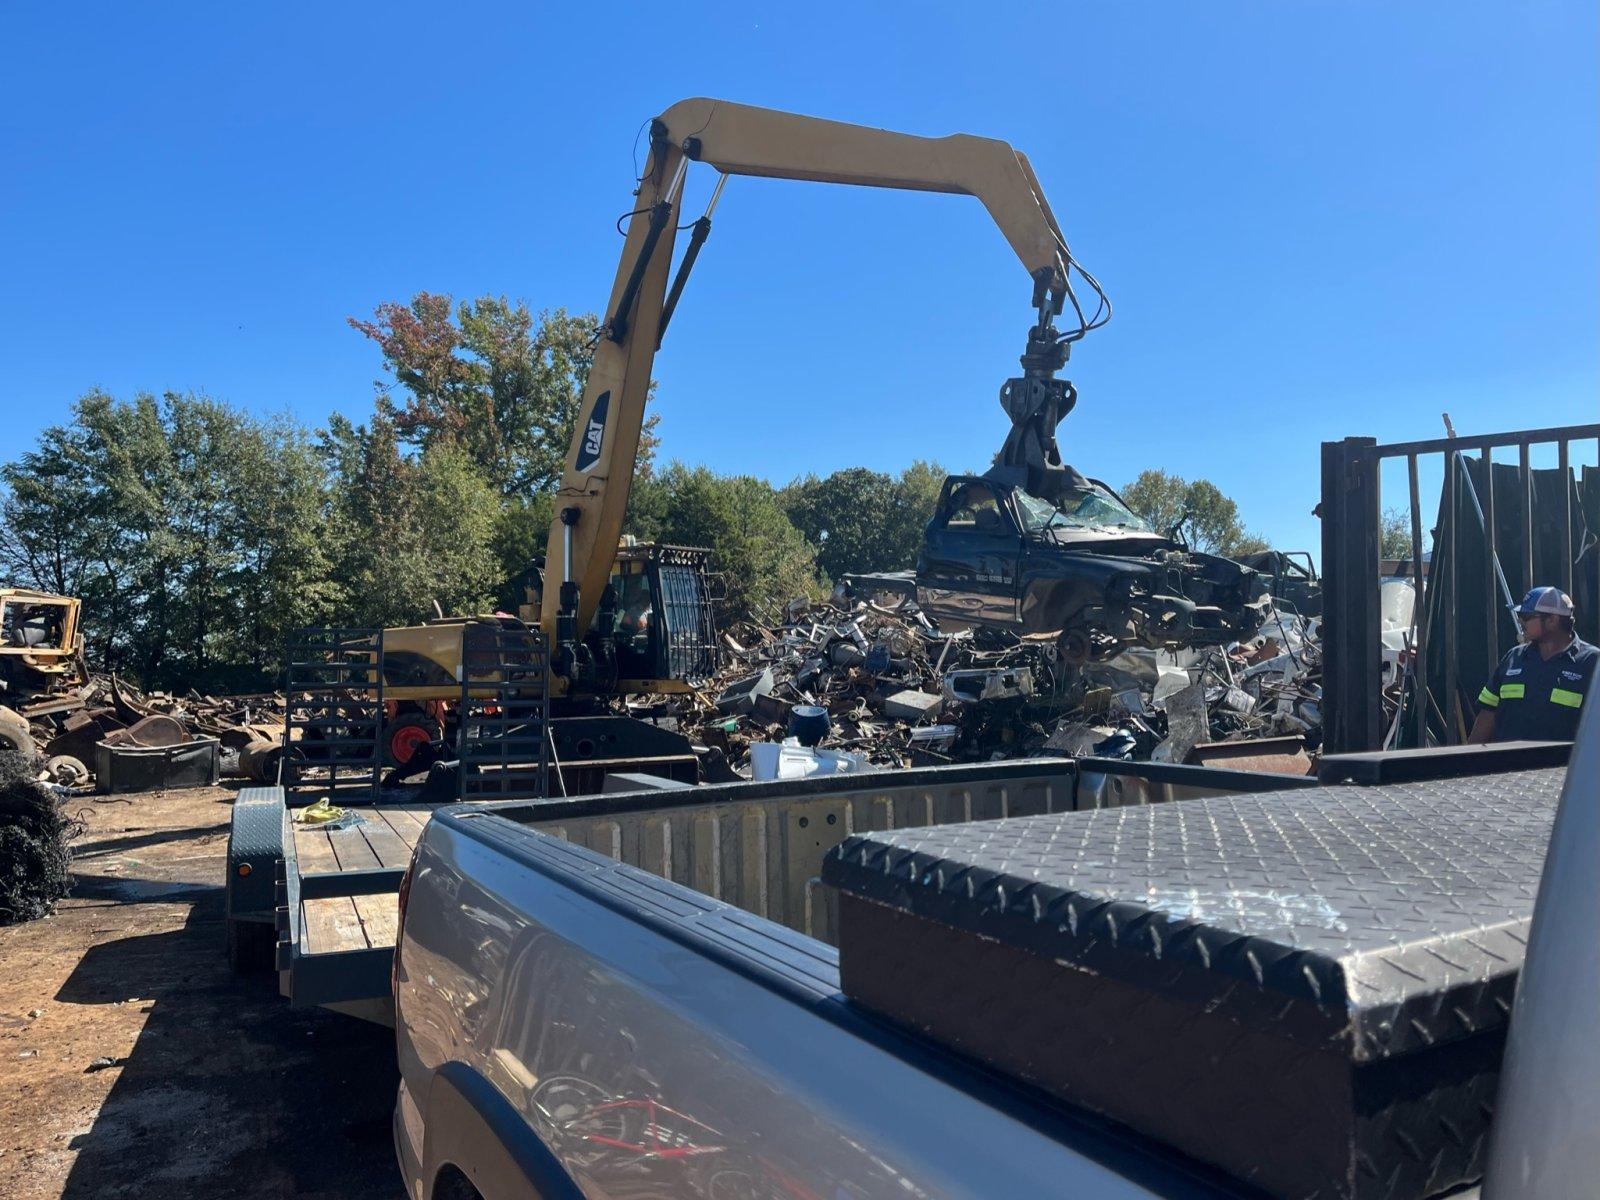
After enduring FB Marketplace for enough weeks it was time for the Dodge to go to the scrap yard. I loaded it onto my new to me trailer and headed to the scrap yard after work. And yes, it's really convenient having access to reach lifts at work!

012b8f1d0d2c51e662cdfb2c3637f9ae53e468d0cb.jpg


01521a9ed27df7e05cbfd039a77e18ca62461d8abc.jpg


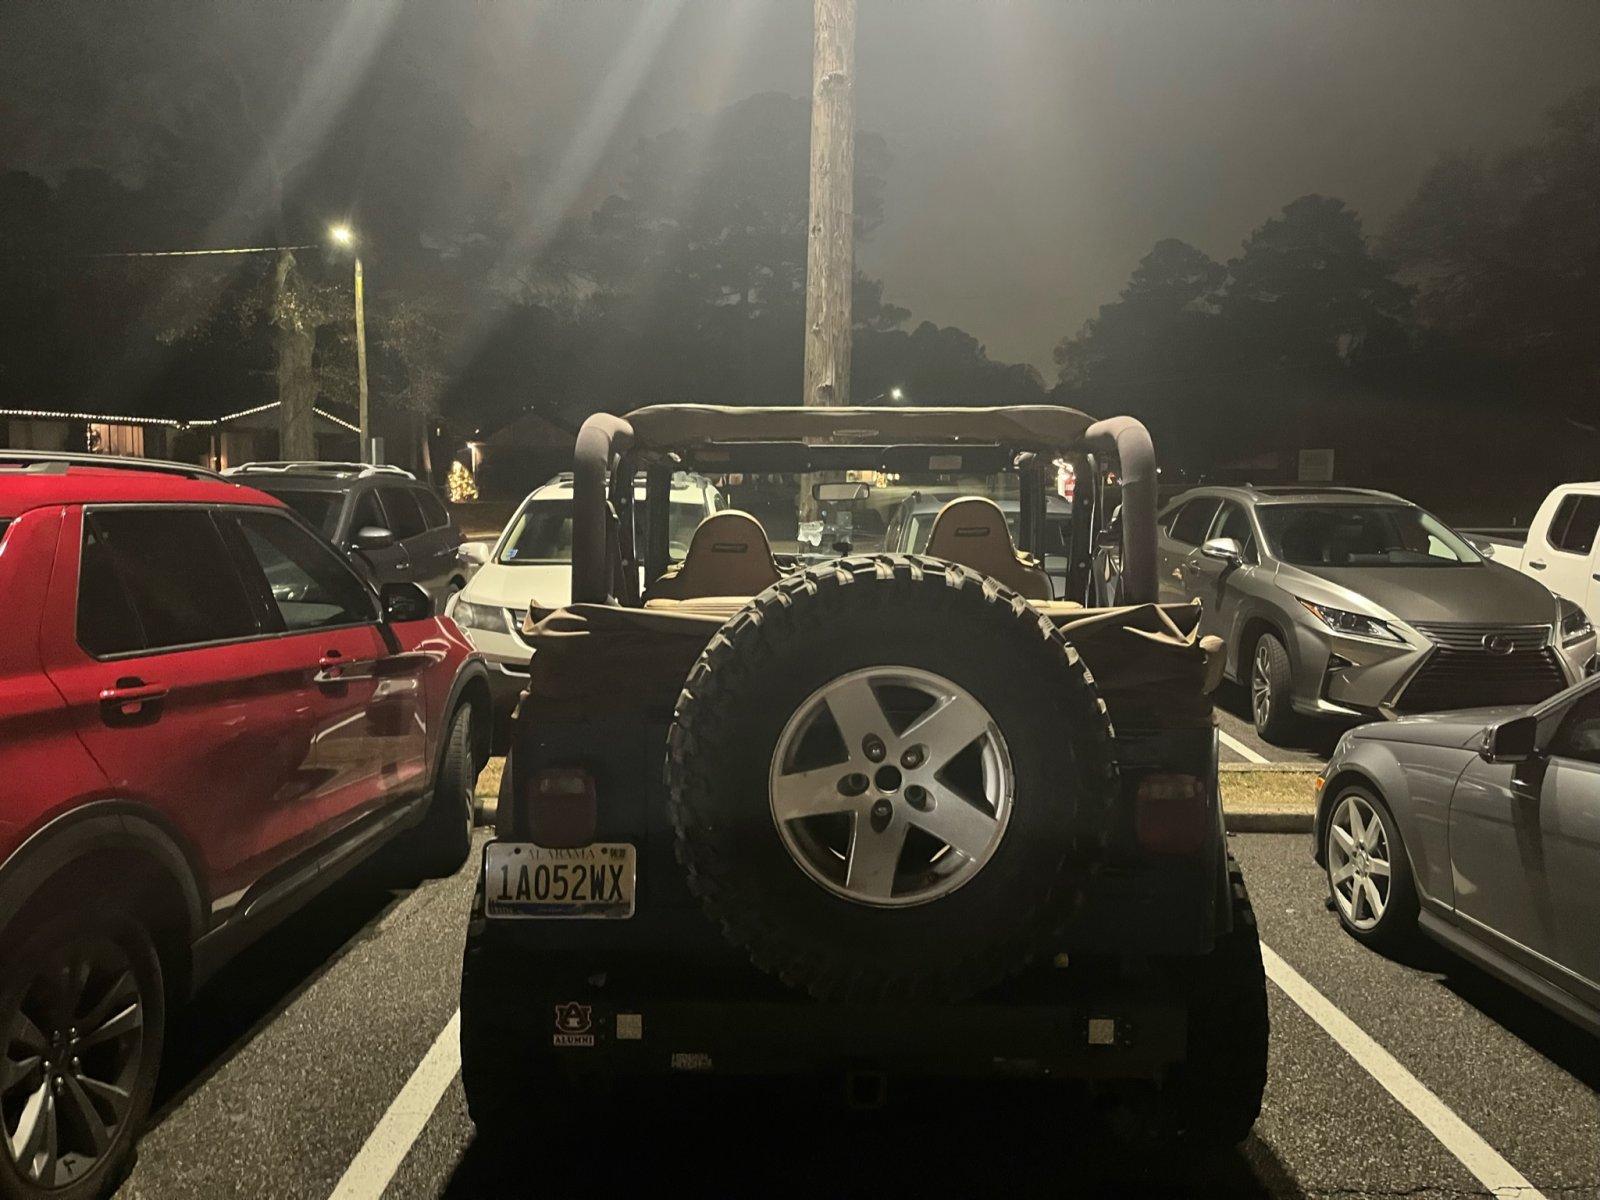
Right before Christmas my wife's car ended up in the shop for almost 2 weeks due to a failed ECU, which put the TJ into true daily driver status… ready or not. It didn't develop any new issues and was a joy to drive, although heat sure would have been nice when it hit low teens in Alabama that week.

01b2f3c3b5a16ec14386edfe5c0b6224fbe4b8f46a.jpg


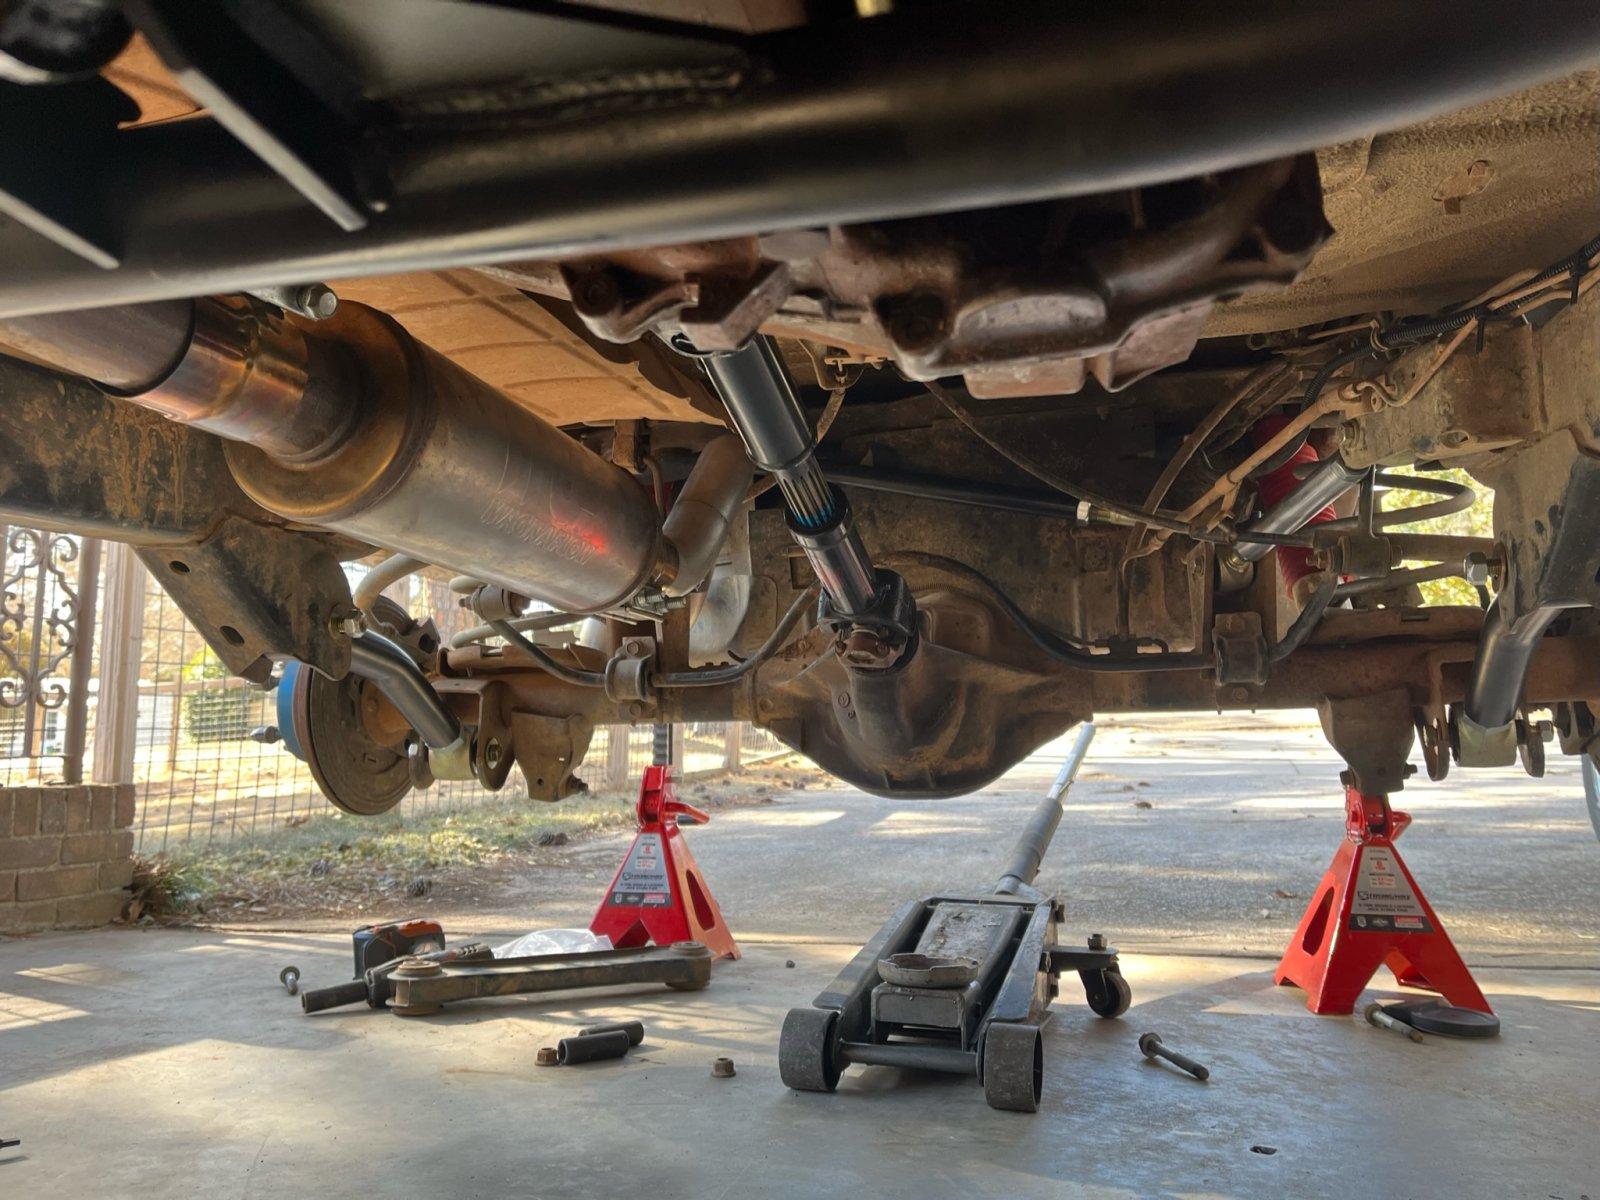
I took the week off between Christmas and New Years and got in a good weather day to work on the Jeep. The to-do list included installing the rear JKS track bar, angled relocation bracket and new lower control arms, all in an effort to correct the rear pinion angle. This project ended up taking most of a day and rendered a few lessons learned.

The first issue came with the shocks hitting the coil buckets due to the pinion being rotated so far up. Nothing a grinder and cutoff wheel can't fix. (picture taken mid process).

01b1fb1ff11ed177d5e66954ab38815b1b2b8d70bc.jpg


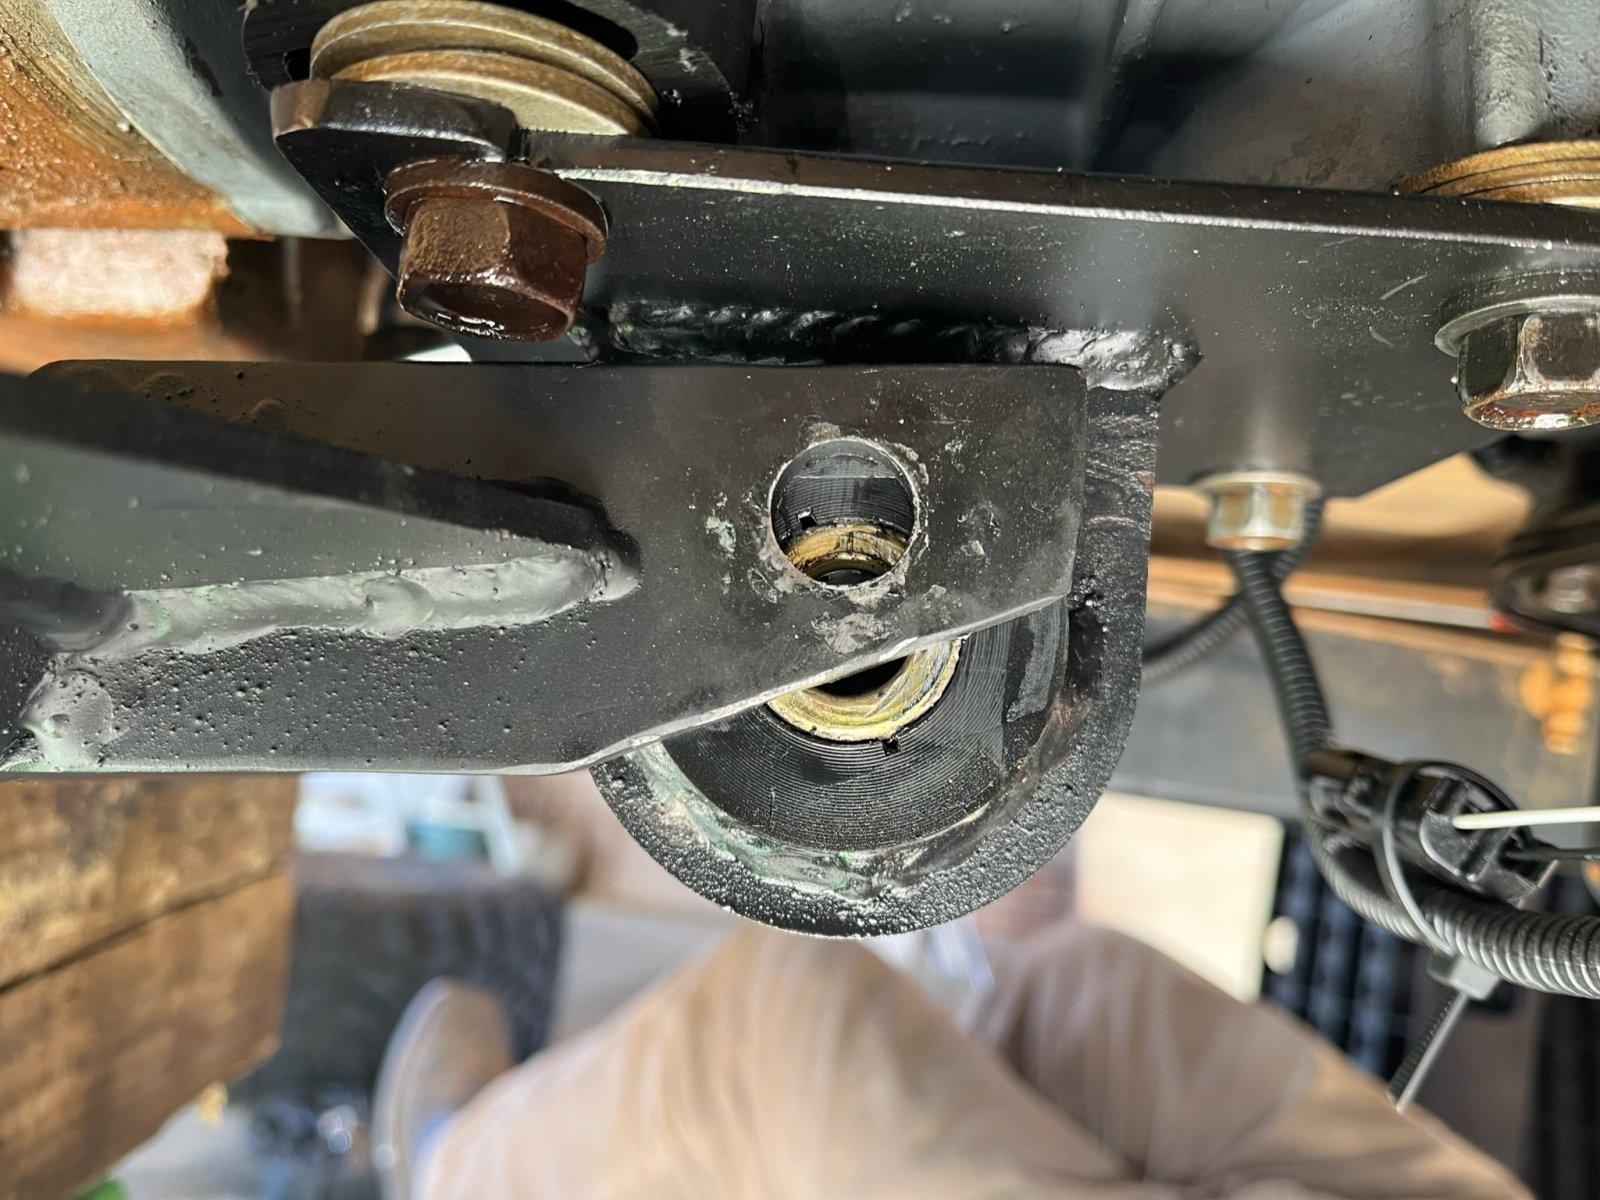
The second issue came with the control arms. Core4x4 offers these in 0-6" and 6"+ lift increments and without much thought I ordered the 0-6" Tier 3 arms. Seemed logical. Except for the fact that the arms didn't have enough adjustment to pull the lower mounts forward enough to roll the pinion like I needed. This doesn't have anything to do with the arms – in fact I am very impressed with the fit, finish and quality of them. This has everything to do with me not measuring correctly before and after. To get the pinion somewhat close to correct, the track bar was trying (unsuccessfully, might I add) to coexist with the gas tank again. All of my issues revolved around the tummy tuck and relative lift height of the drivetrain, which will all be resolved when I swap in the 8.8 and can clock the bracketry as needed.

01a59fa0990d92d0759f79e95c6ea4a1d5c317da21.jpg


0102db961483df66cbae0bcace34ec739b597afbb9.jpg


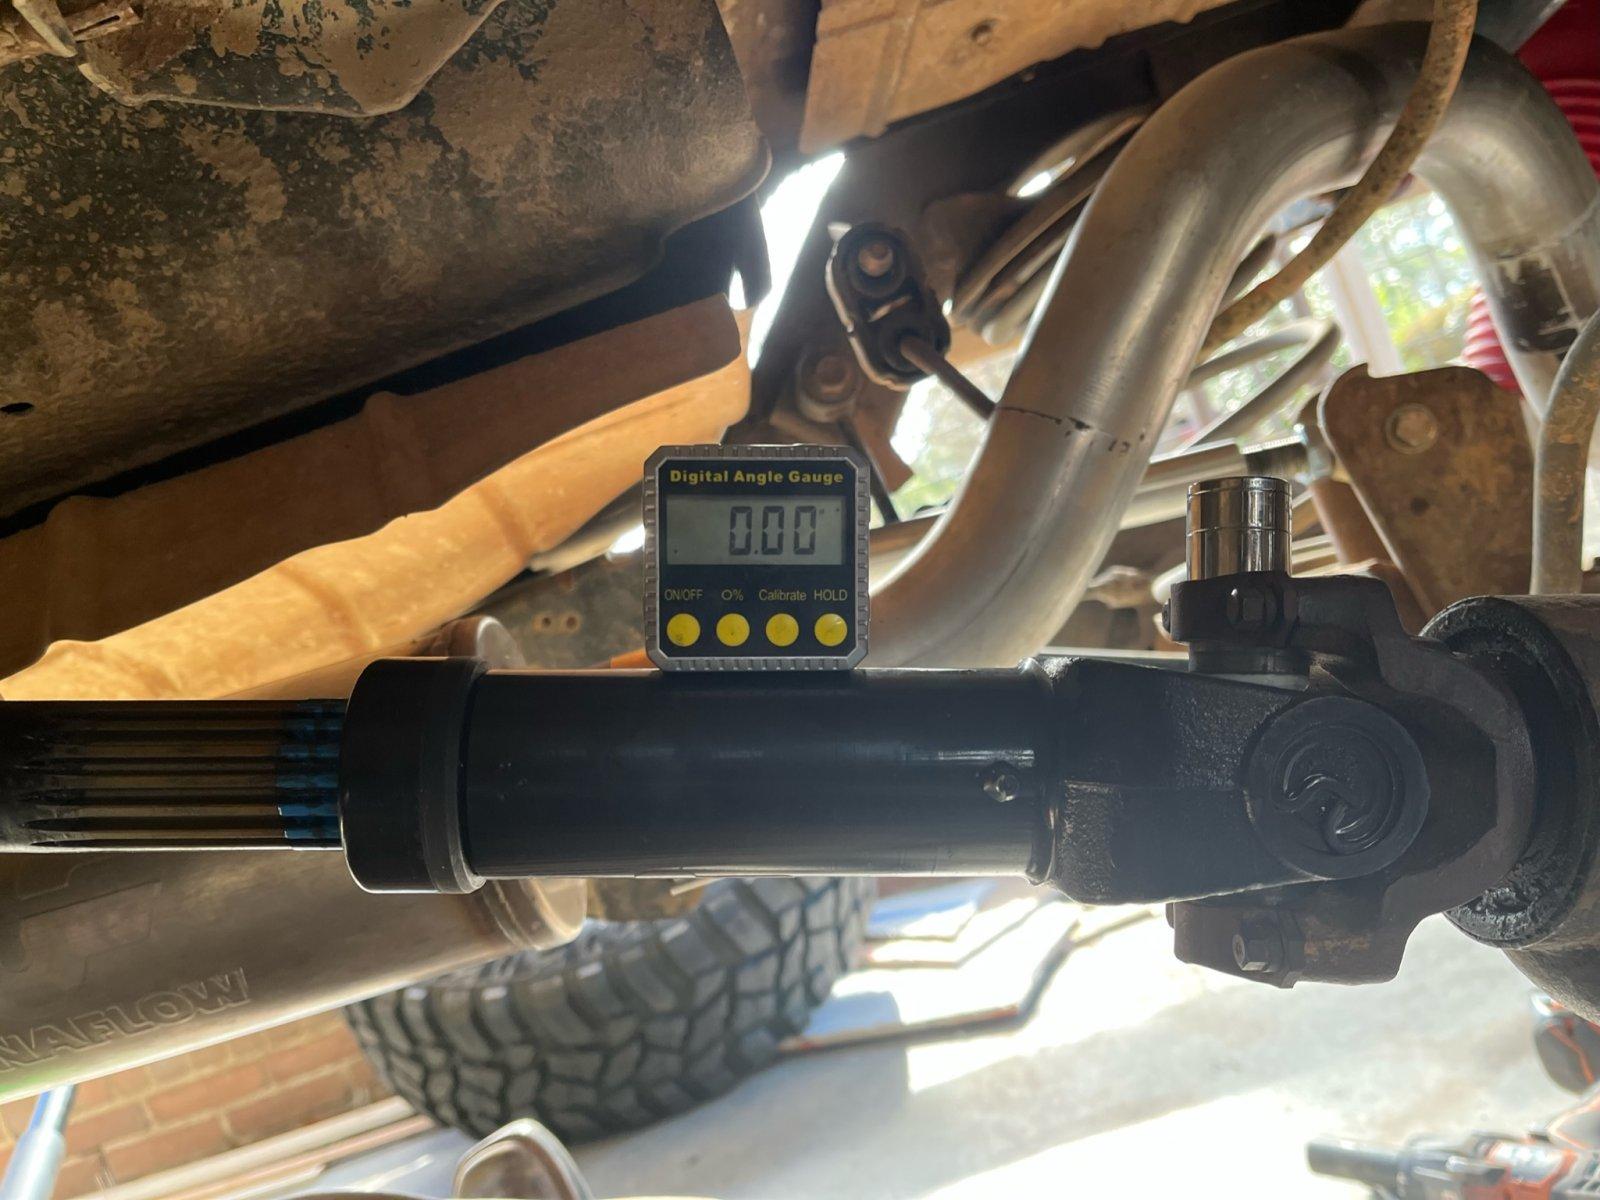
But I had the rest of the day to fix this issue and an 8.8 swap isn't an afternoon ordeal. Since I couldn't rotate the pinon to meet the transfer case, maybe I could drop the transfer case to meet the pinion. If you recall from earlier, the front output shaft of the transfer case was hitting the crossmember and I'd installed a few washers as a quick fix to gain the needed clearance with the intent to remove them and fix this issue properly later. Well, later was now (and fingers crossed this was enough!). I unbolted the transfer case and lowered it until the angle finder read zero. This is how much I needed... about 3 washers worth.

01f8a3c03b58c054e5d5ddbf573e198ebac67e235d.jpg


01a9510636762bb6df0c222b6167b797f62349ae2d.jpg


I removed the crossmember, notched and plated the cut and reinstalled. I re-checked my angles and everything was good to go. The test run was to a local favorite restaurant:
01939df5d960e6643a83cdf6071d5ec9e9baaeb027.jpg


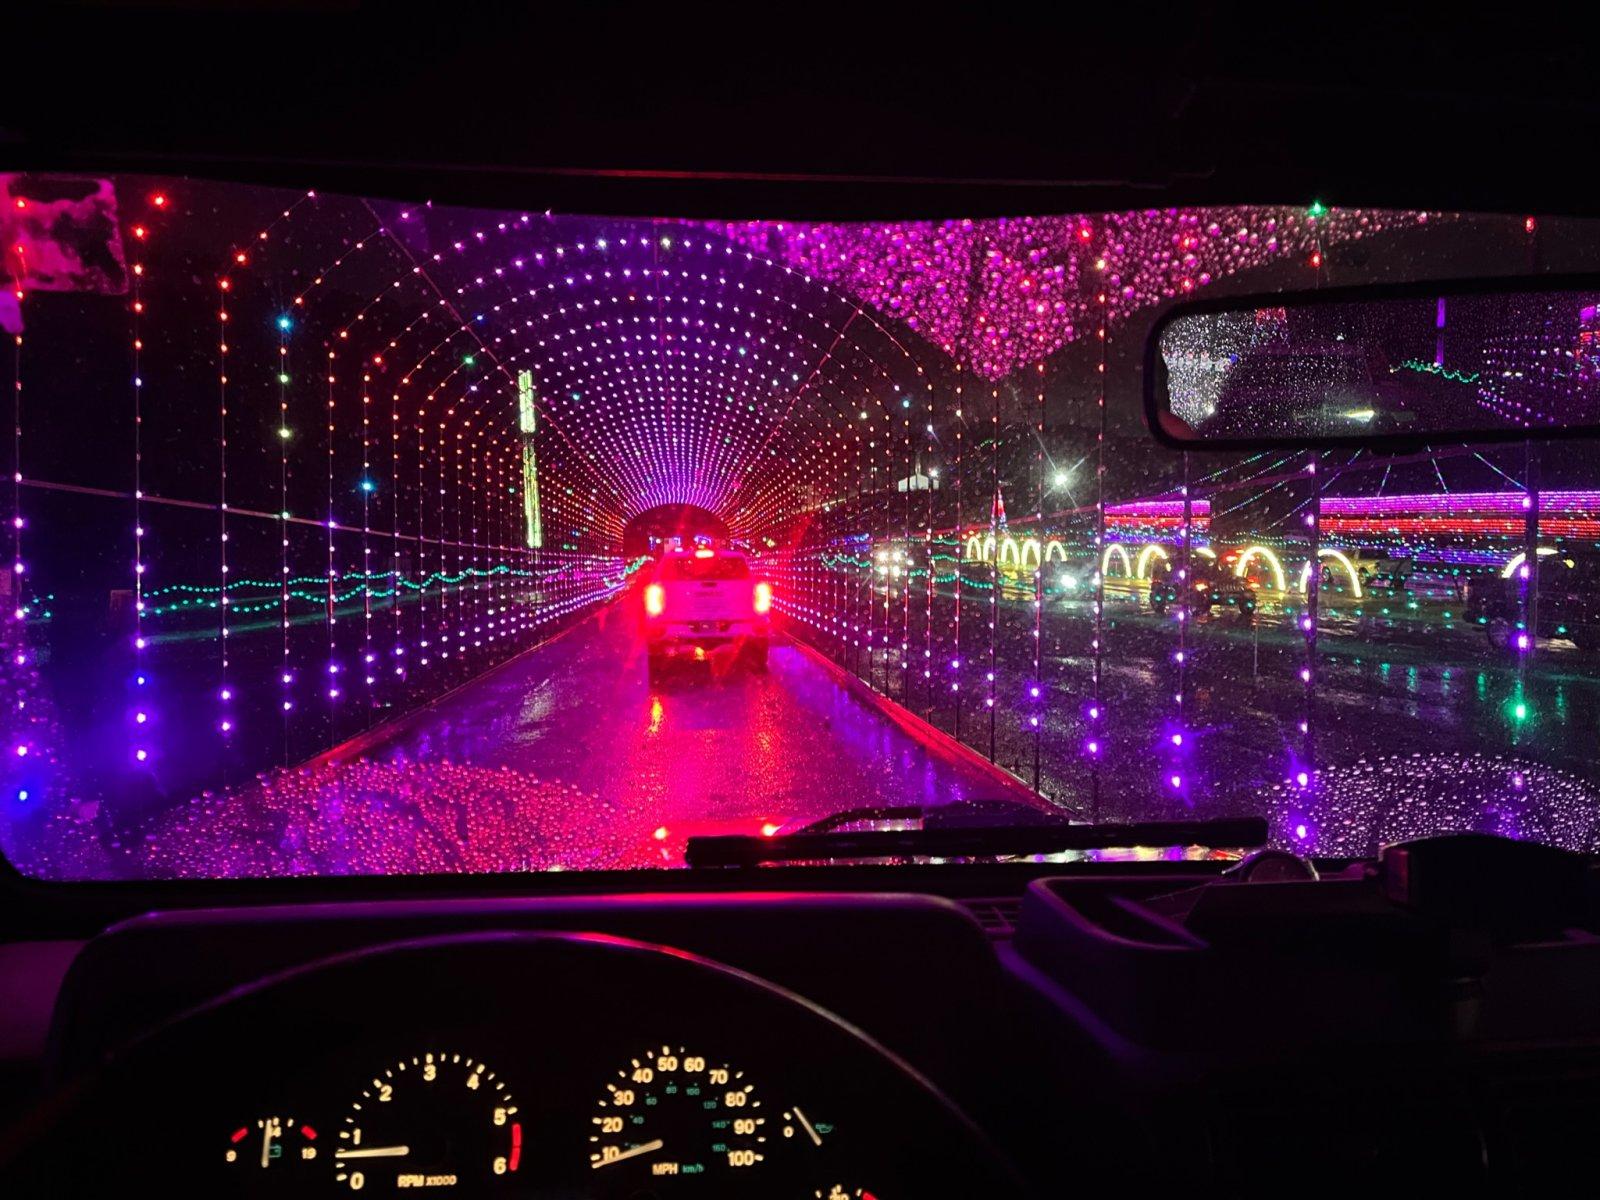
It was 70 in December, so if course we took the top off. It still as a slight vibration at 45mph, but overall much better than it was. We also took the TJ through a drive through Christmas light display in town, which was brilliant considering it was pouring rain and the oil pressure at idle is sub-par.
01795b7b88d441ea86a7559ac3c165ede948f0ecdf.jpg


Total miles so far: 725.
 
Glad you are getting some good use out of it. You mentioned not having heat in the Jeep. Is that something you plan to correct later on or something you planned to not have going forward?
 
Glad you are getting some good use out of it. You mentioned not having heat in the Jeep. Is that something you plan to correct later on or something you planned to not have going forward?
I'm planning to get both A/C and heat back working. The heat does work but the blend door has the air on defrost and doesn't really do much. I don't lack much to having the A/C done either.
 
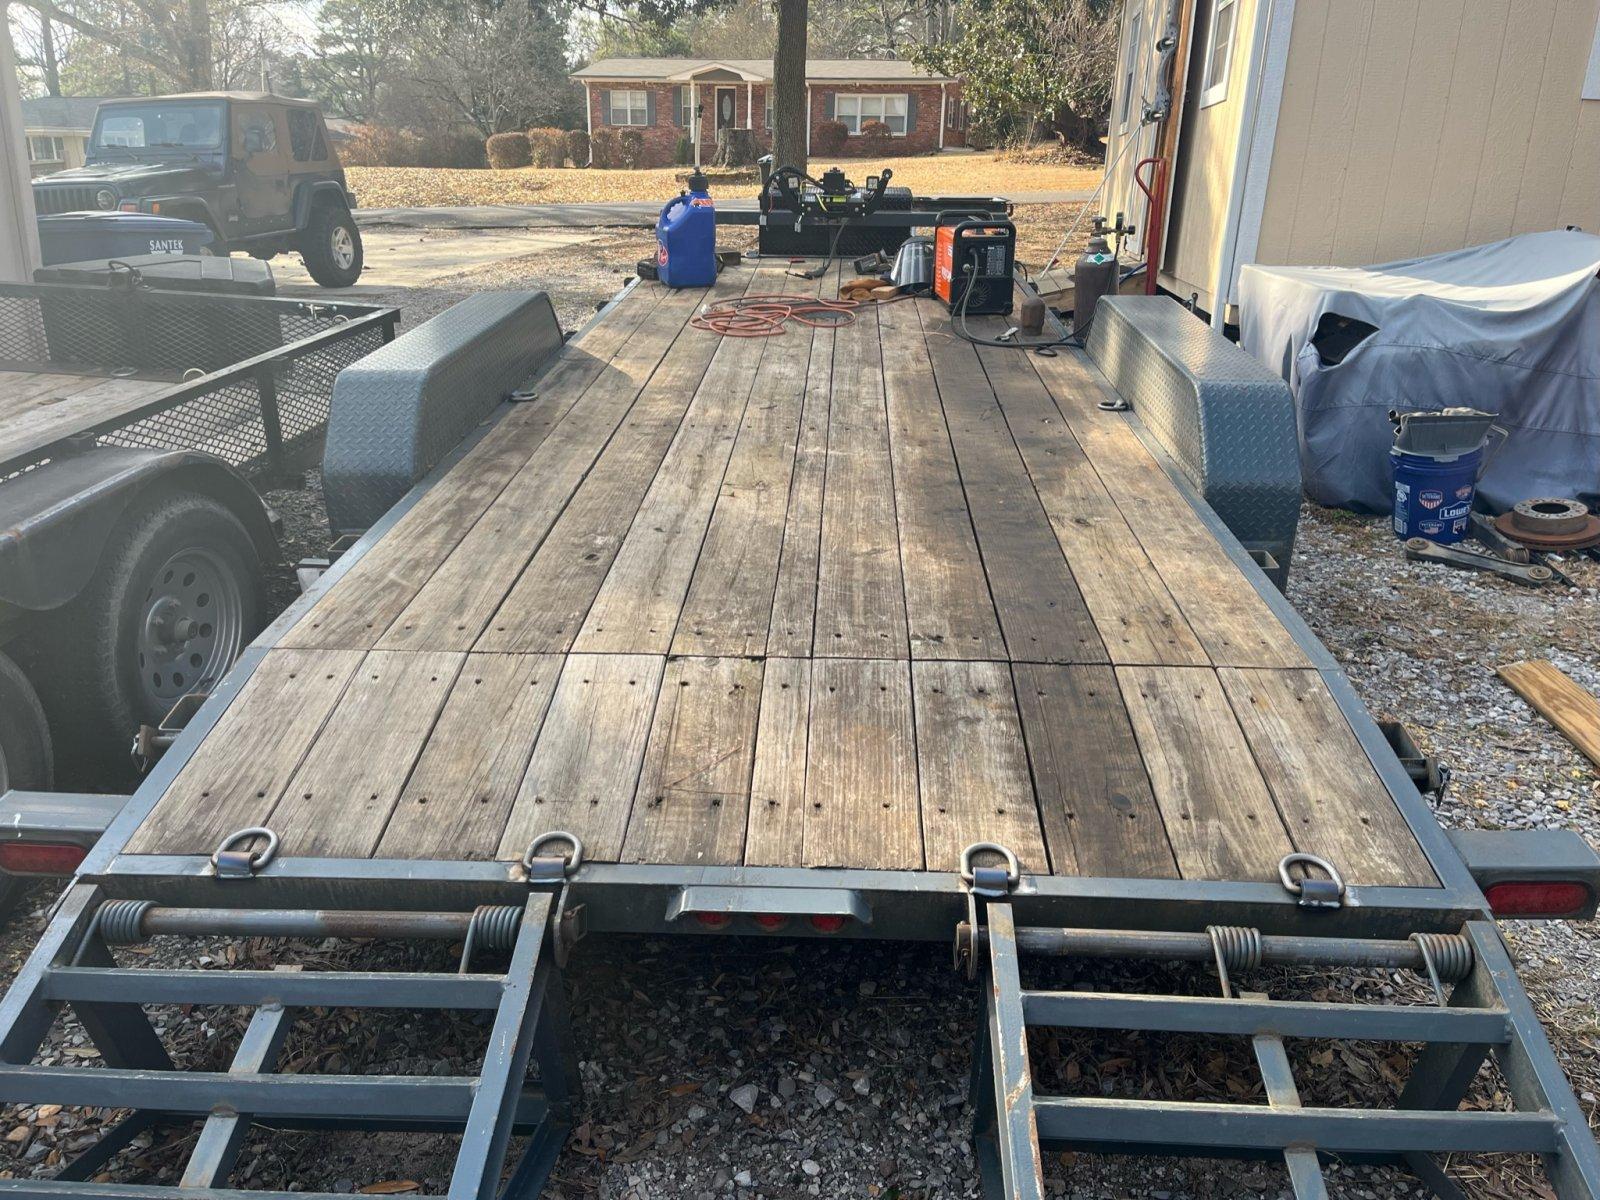
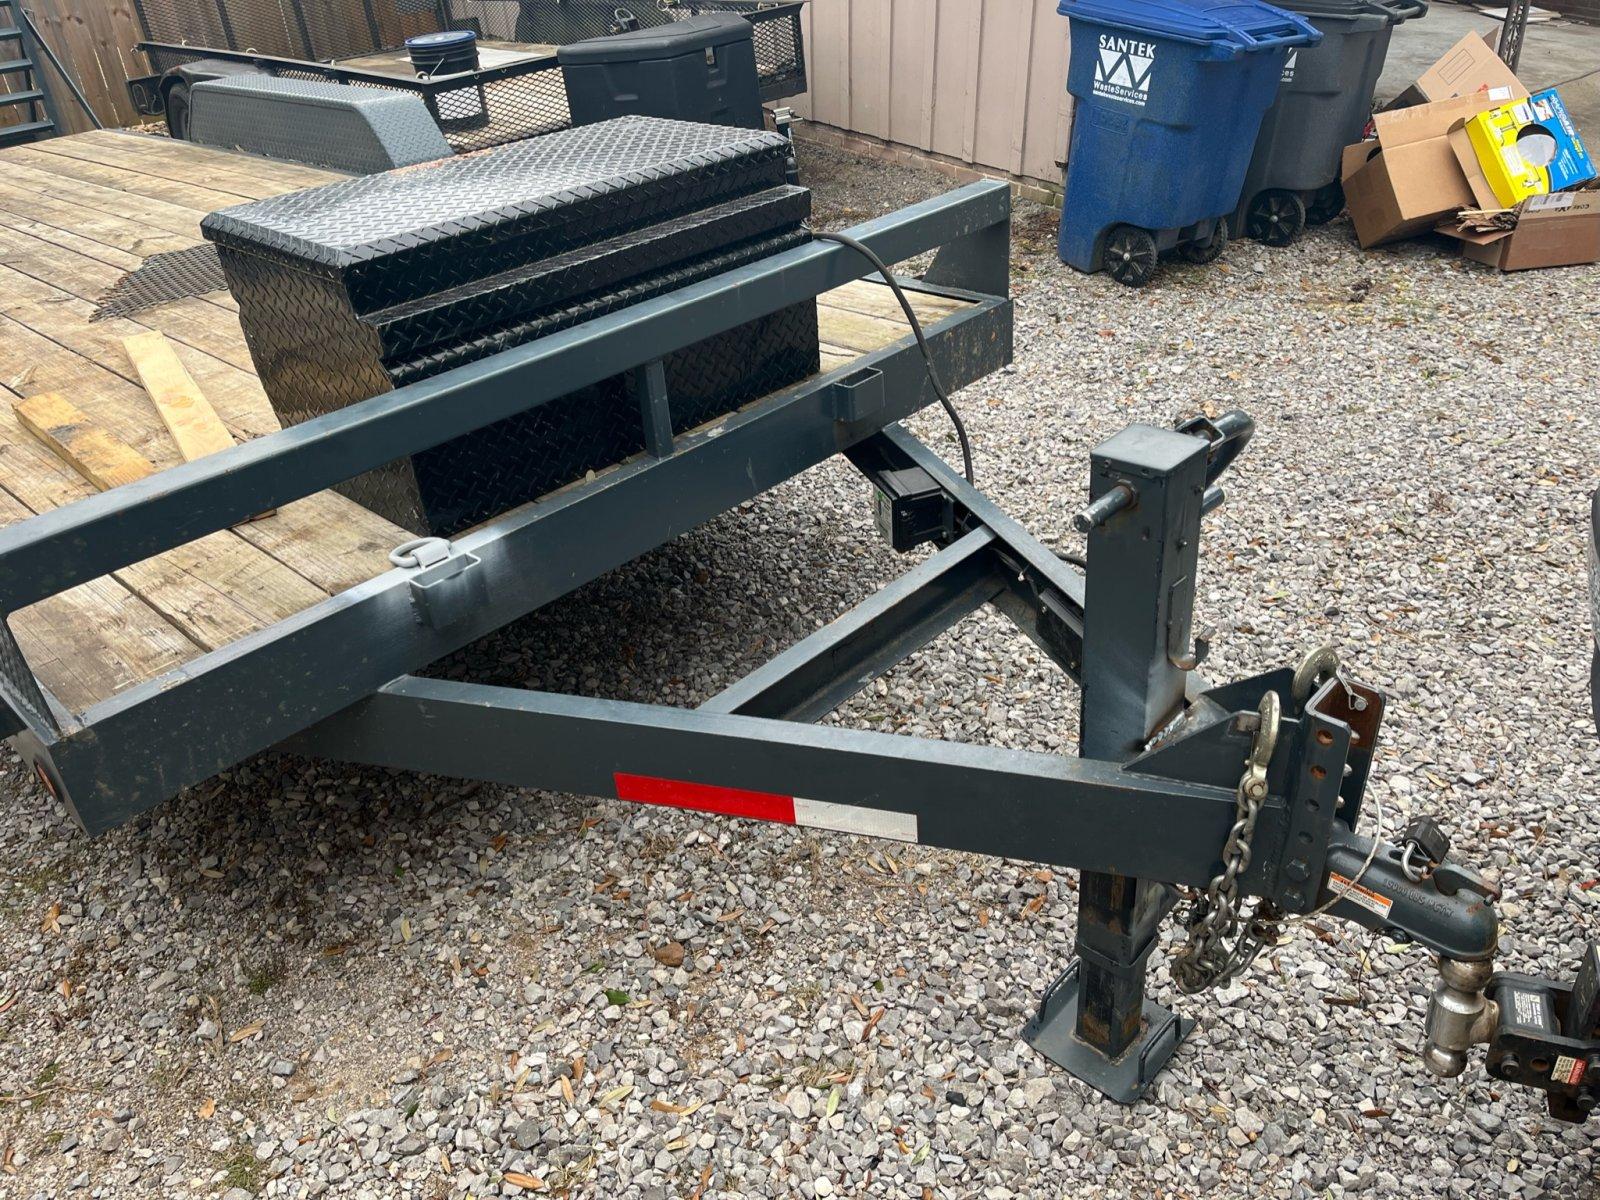
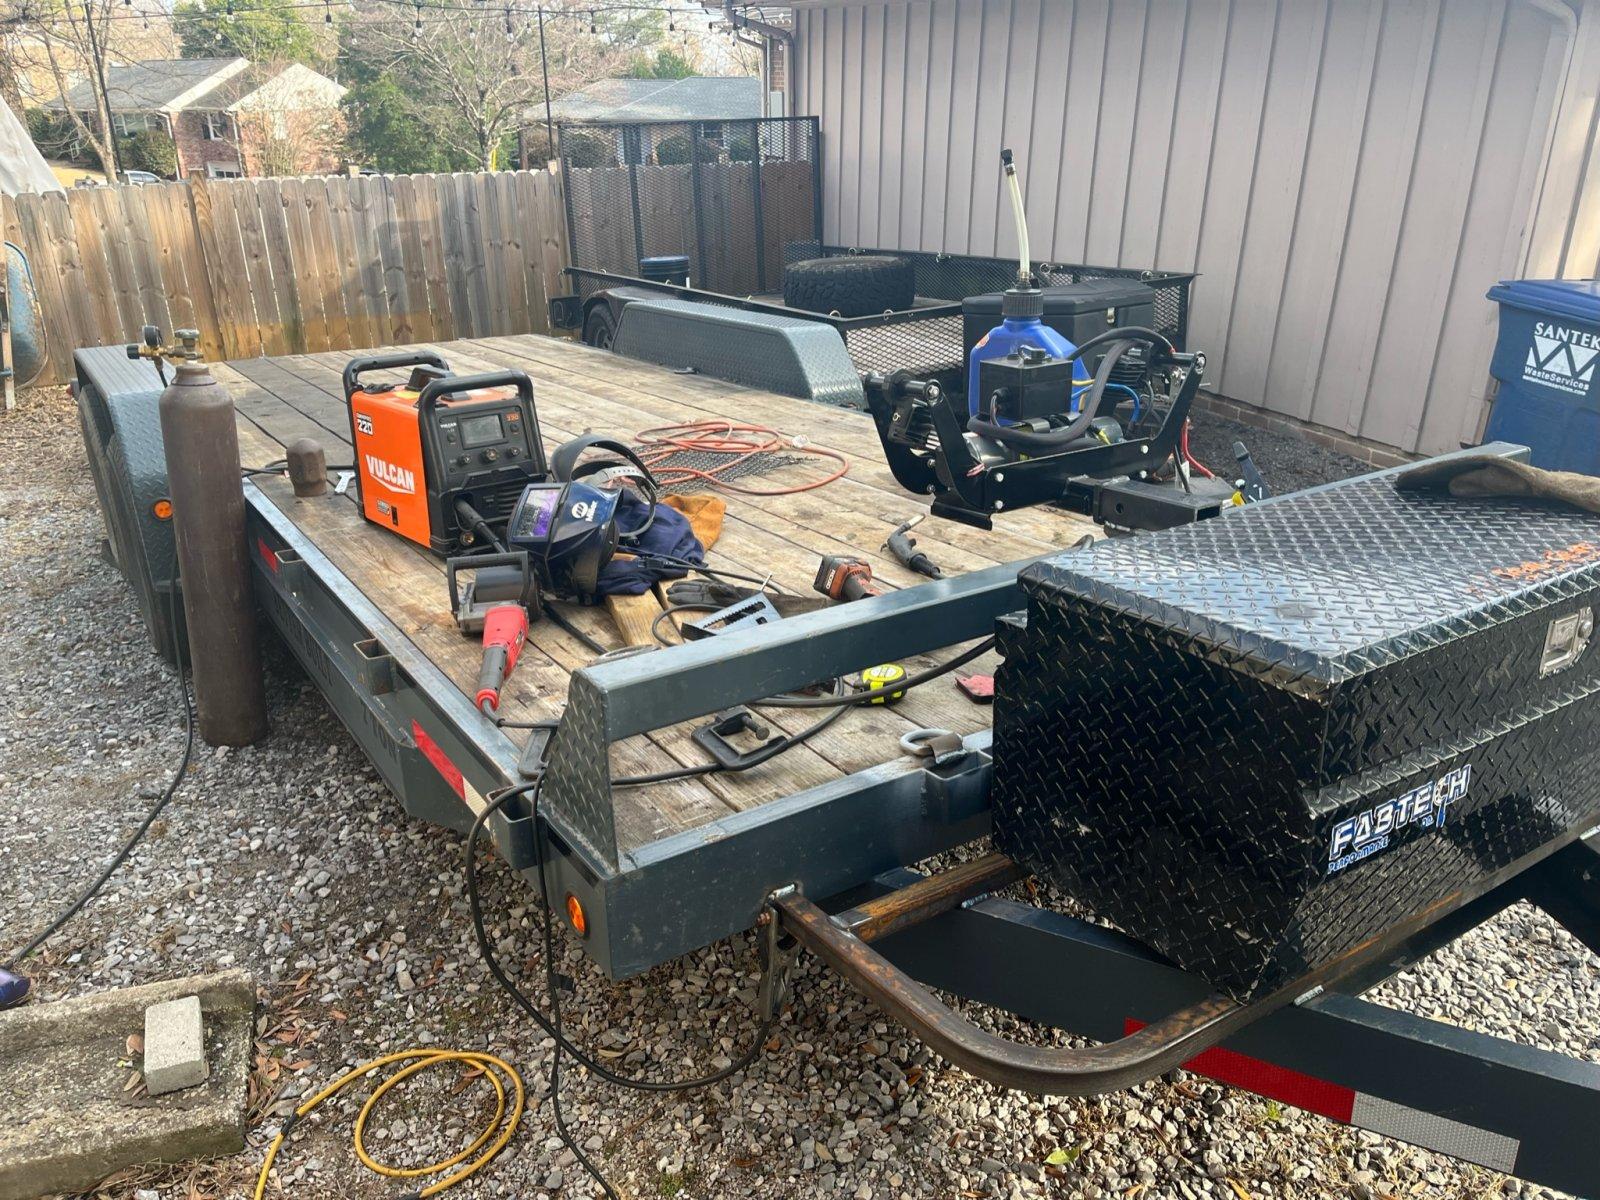
I used MMORV as an opportunity to get my new trailer dialed in with a relocated jack, toolbox, storage rack, tie downs and a winch mount. I'm a bit of a trailer geek and probably enjoy working on or building trailers as much as I do anything else. Out came the grinder and trusty $100 Harbor Freight Vulcan welder.

First was to move the jack forward to allow room for the toolbox and still have room for the tailgate of my truck to lay down.

01426cc42675fec9ffc327719d170ee443e1d887a3.jpg


Next was to weld on 8 d rings to fill in the gaps where the stake pockets don't quite work for tying down a vehicle.

017dce17199a00c468e46cc92123feea3540b58cb0.jpg


I use my trailers for a lot more than just hauling vehicles and have found a winch and storage to be absolutely invaluable accessories for keeping all the gear I need to drag home new projects. This trailer is no different and got a receiver welded to the front rail for my multi mount winch and a toolbox and storage rack added to the tongue. The rack is designed to carry a gas can and have room for a spare tire but I still haven't committed to the final design.

0137ba10d45a7e4472be84bed93bbd4f539867e433.jpg

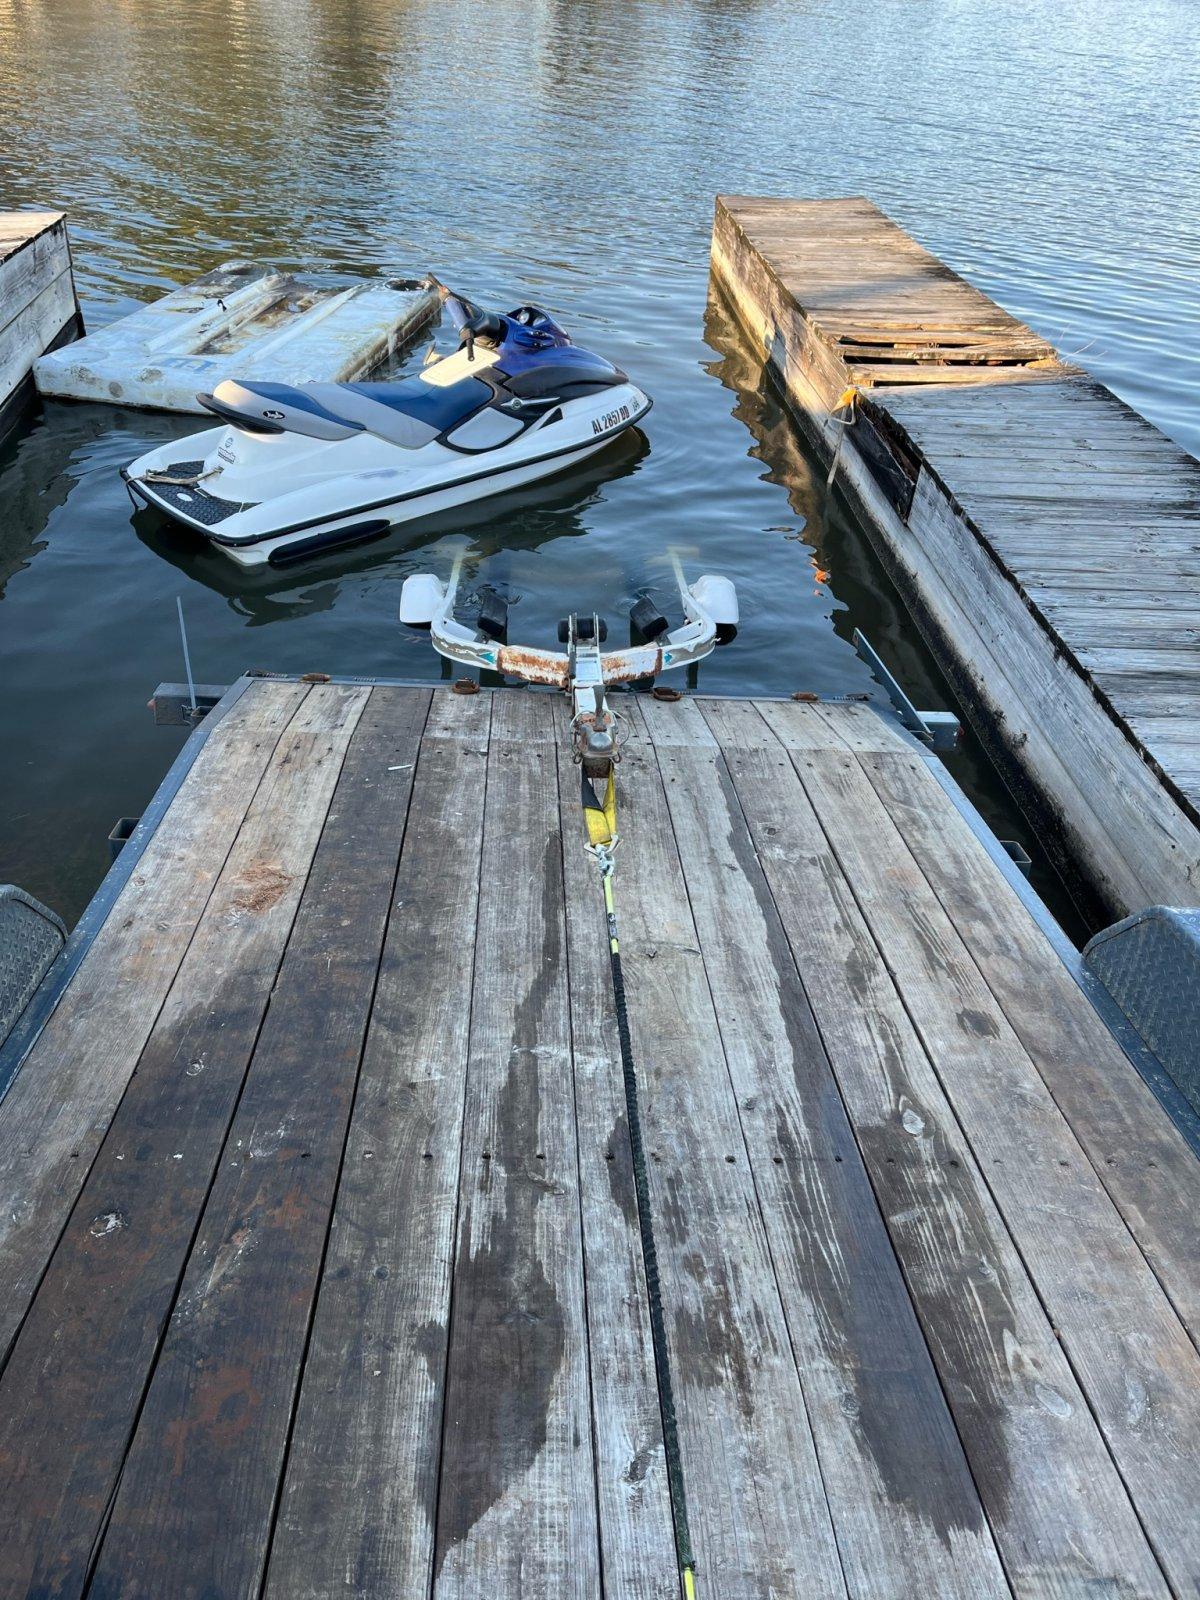
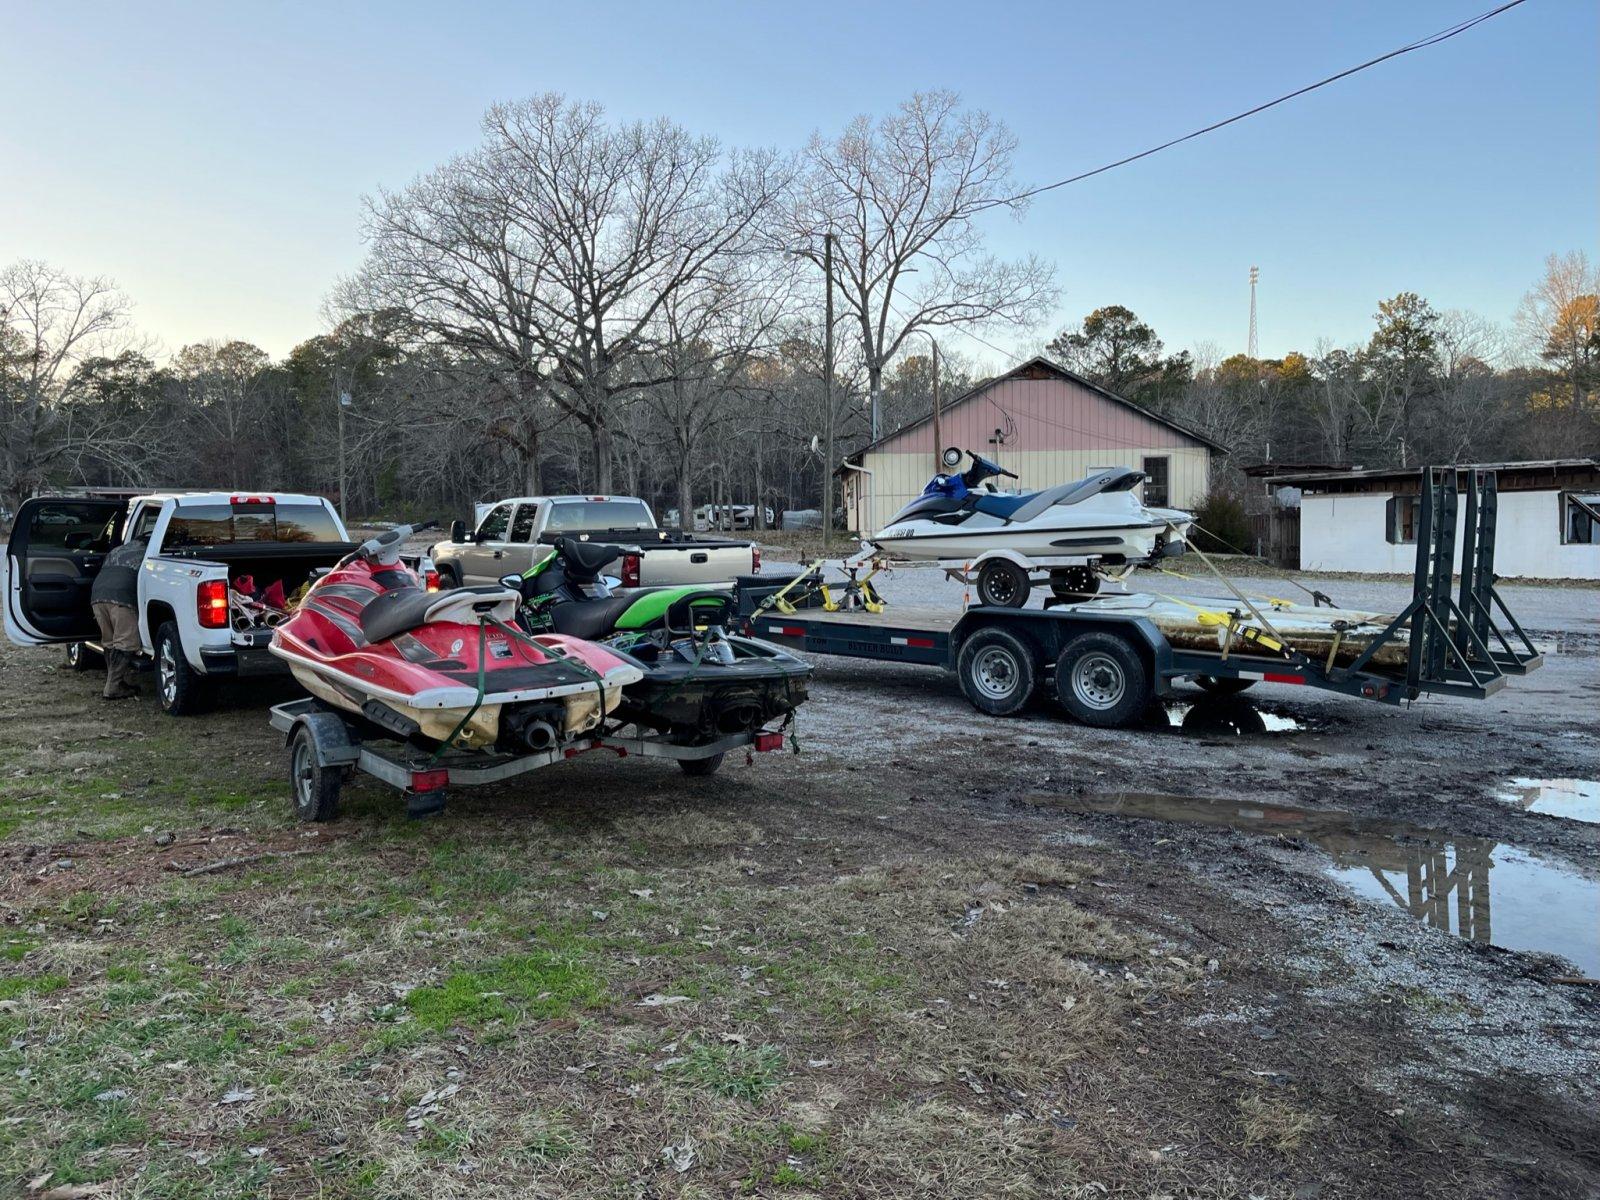
Speaking of water toys… remember when I said my trailers get used for a little bit of everything? Yep, I launched a Seadoo on a trailer…off the equipment trailer to retrieve my latest purchase.

014aa61cd8b77aaec282187e64128f02db3992ac03.jpg


01c2c3a63784d6352dab1cade98770b11ff8f6219d.jpg
 
Just FYI I swapped my oil pressure sending unit a couple weeks ago and so far it seems to have fixed the issue. I didn’t end up going with an OE Mopar one, just a cheap one from Advance.
 
Back
Top