Binder
Well-Known Member
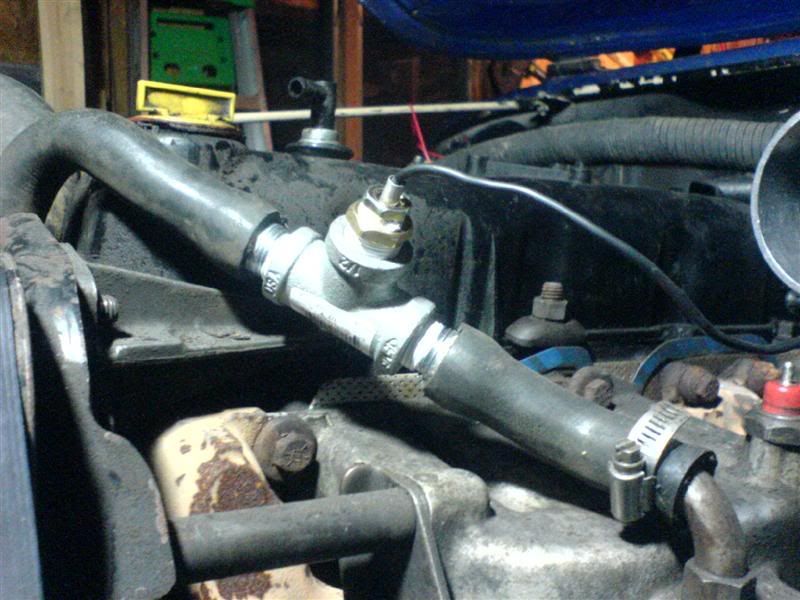
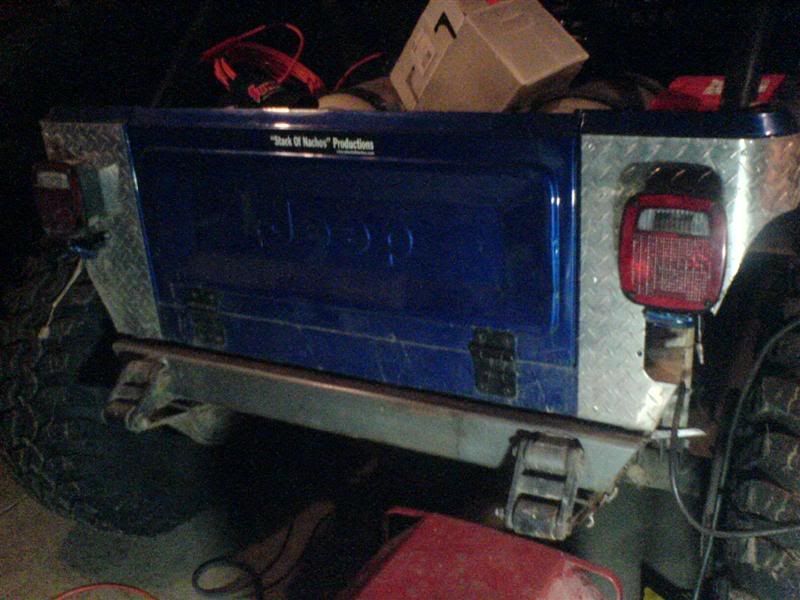
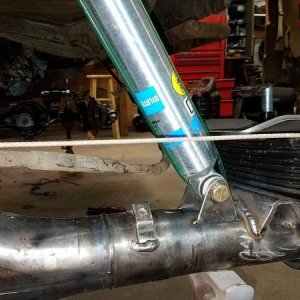
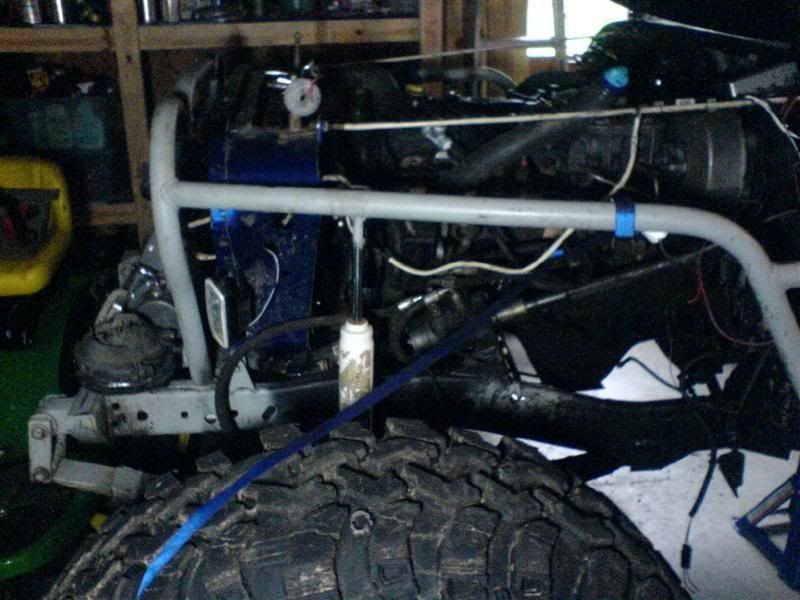
Looks like a mechanical gage sender??

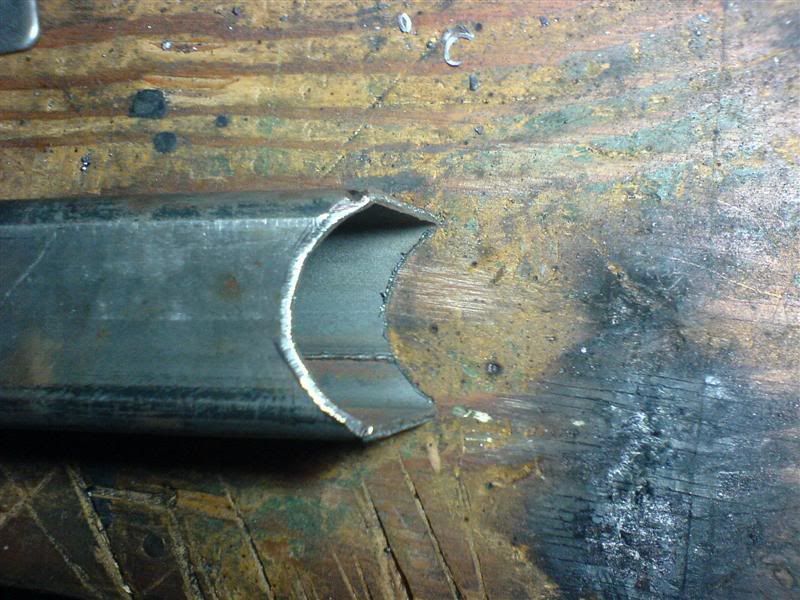
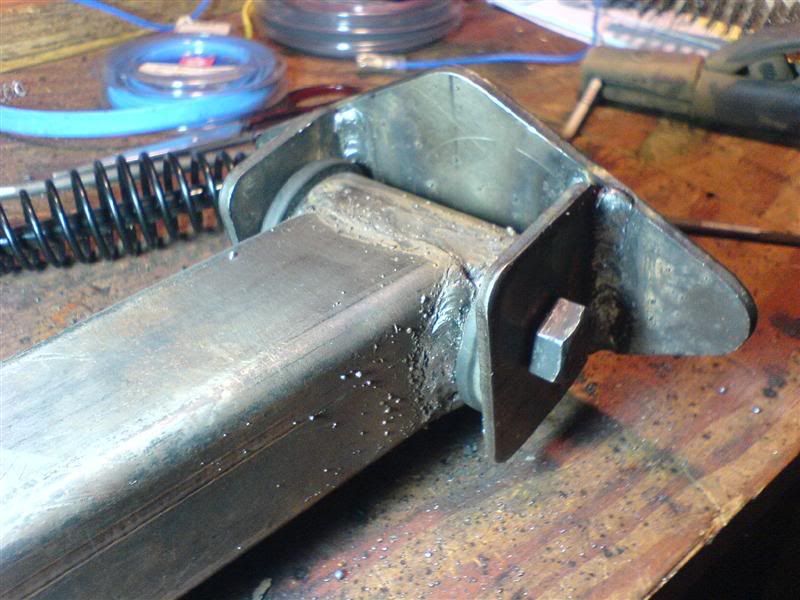
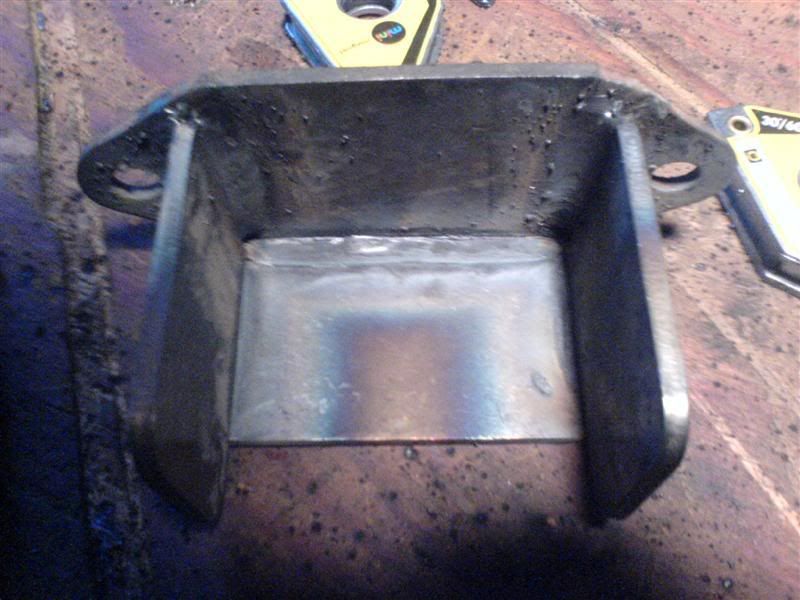

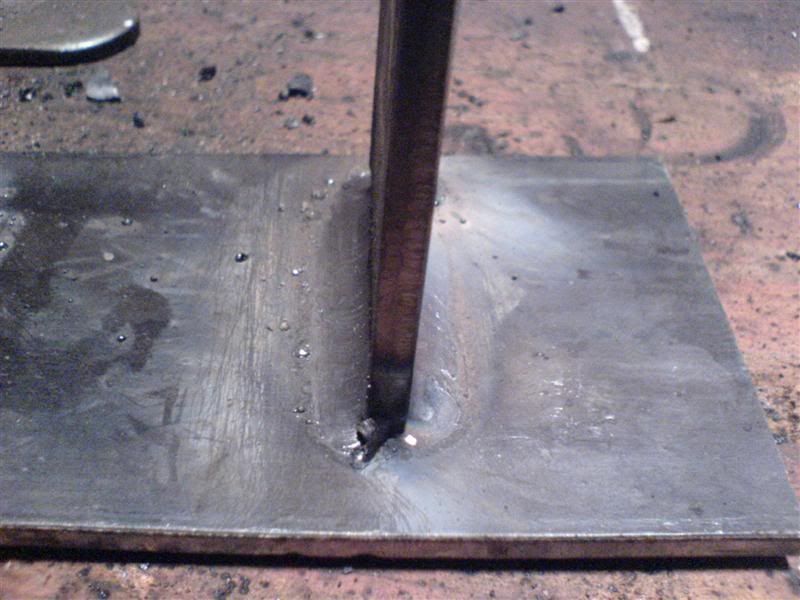
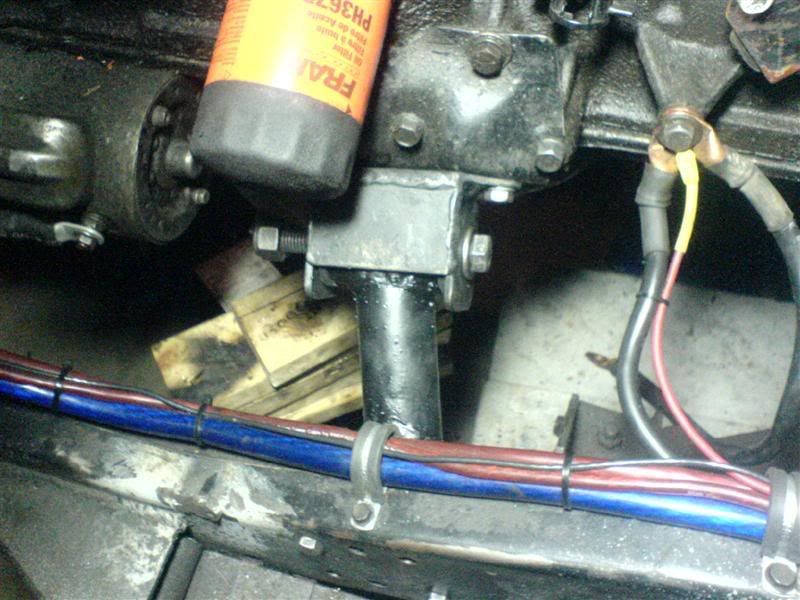
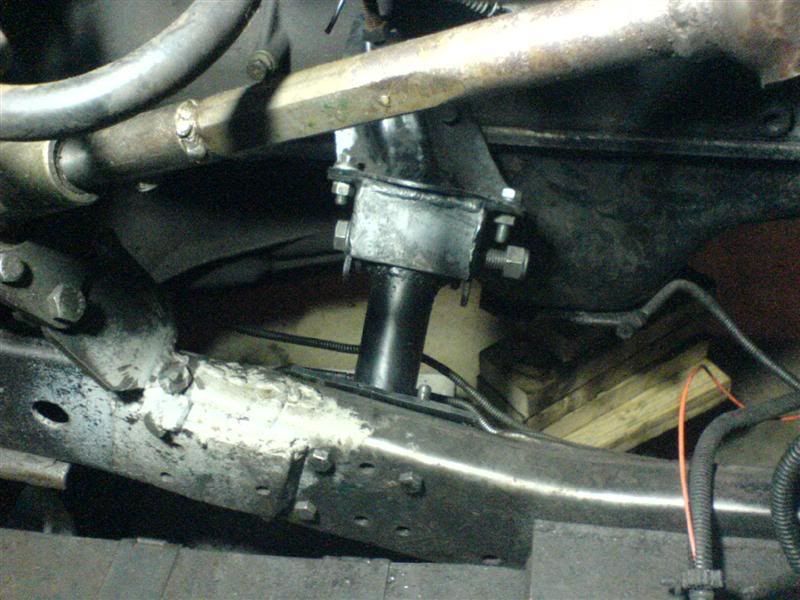
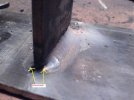
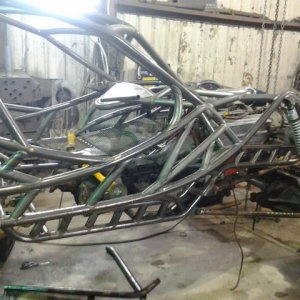
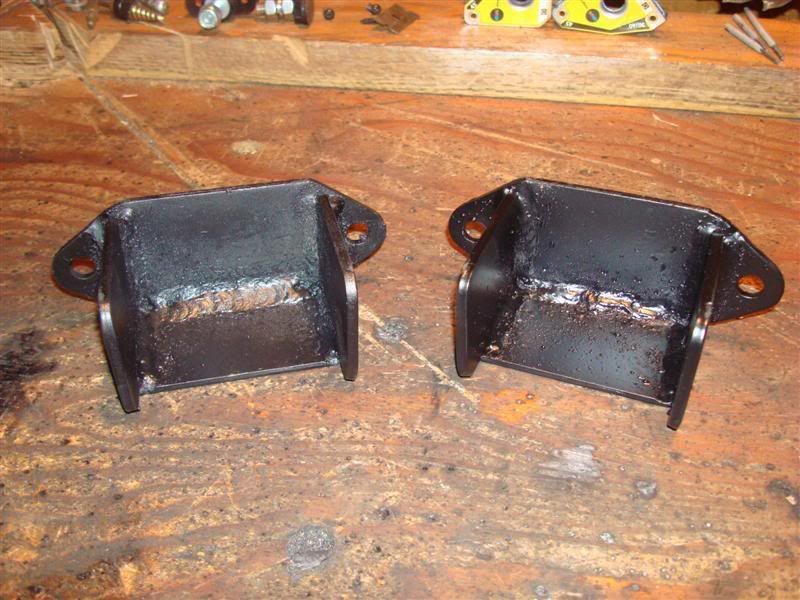
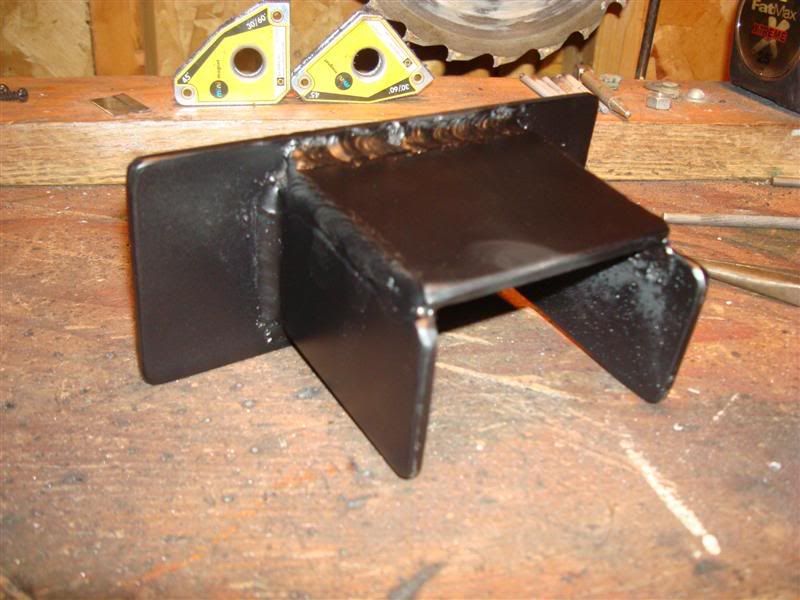
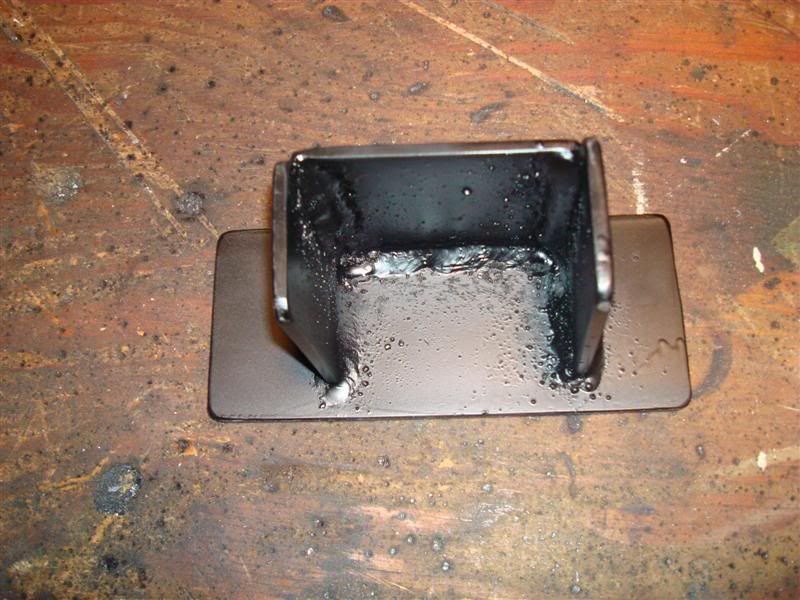
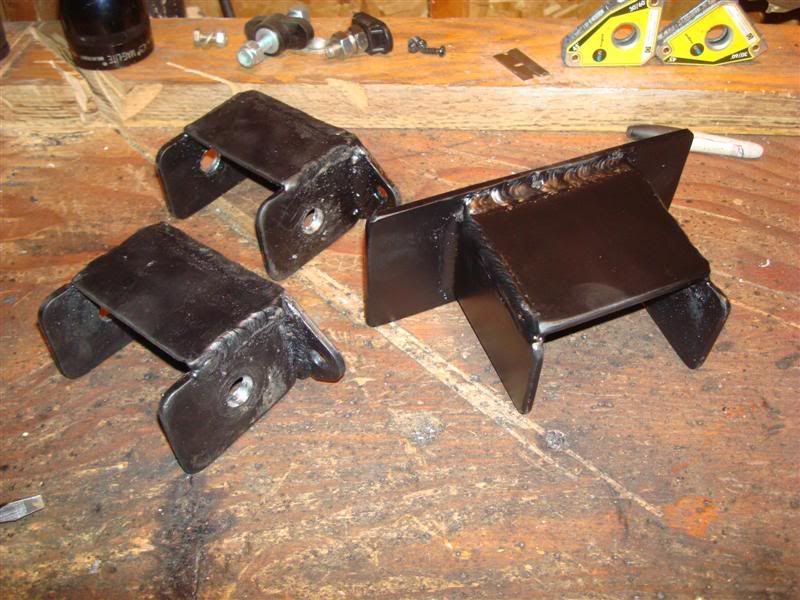
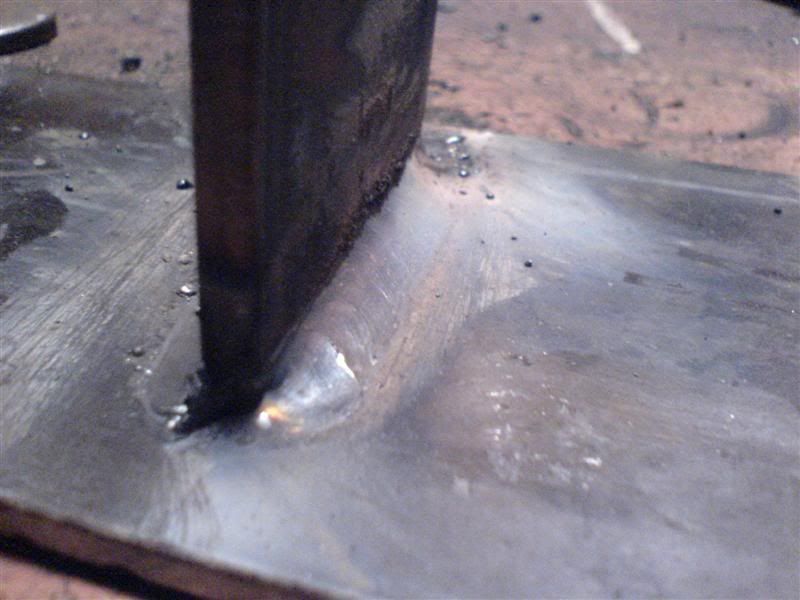 Comments/suggestions on welding welcome... :hi:
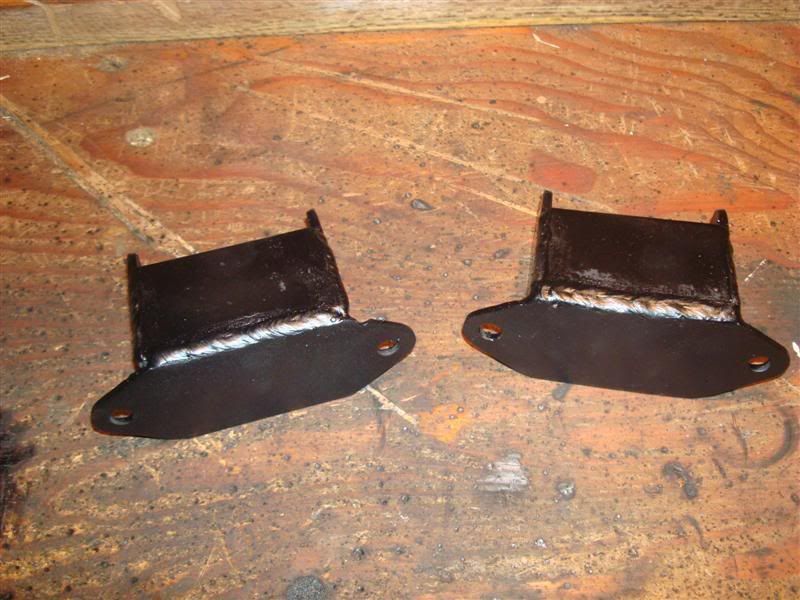
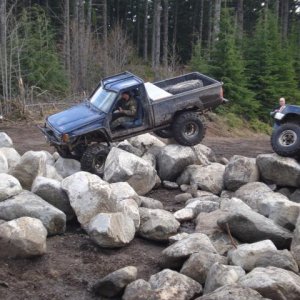
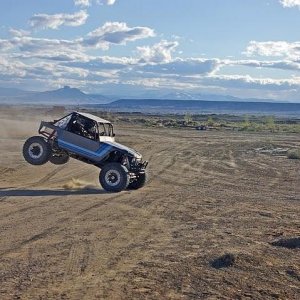
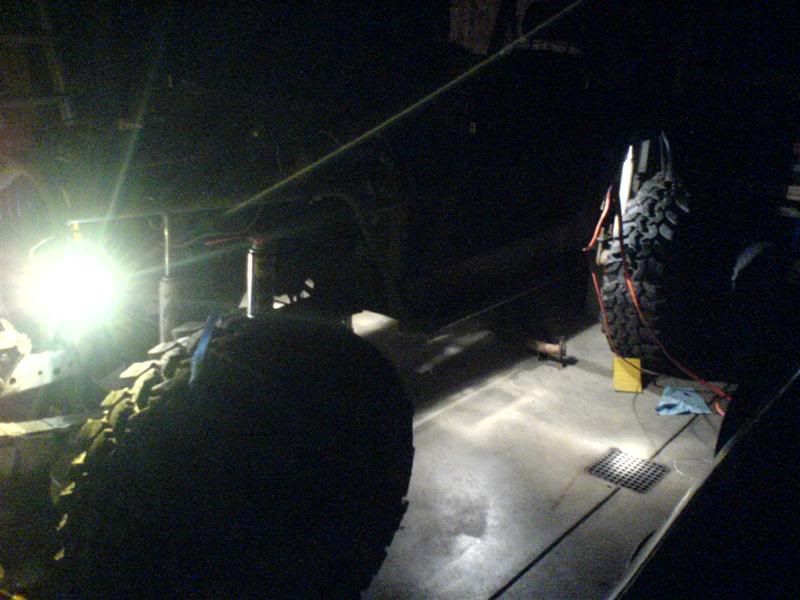
You are taking a welder with you on the trails, right?
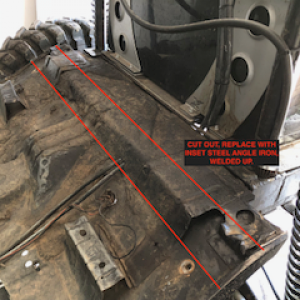
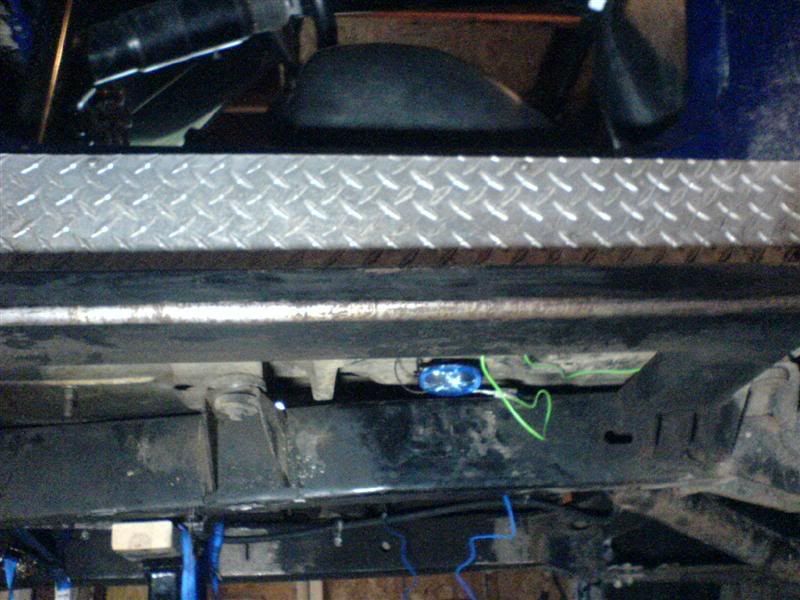
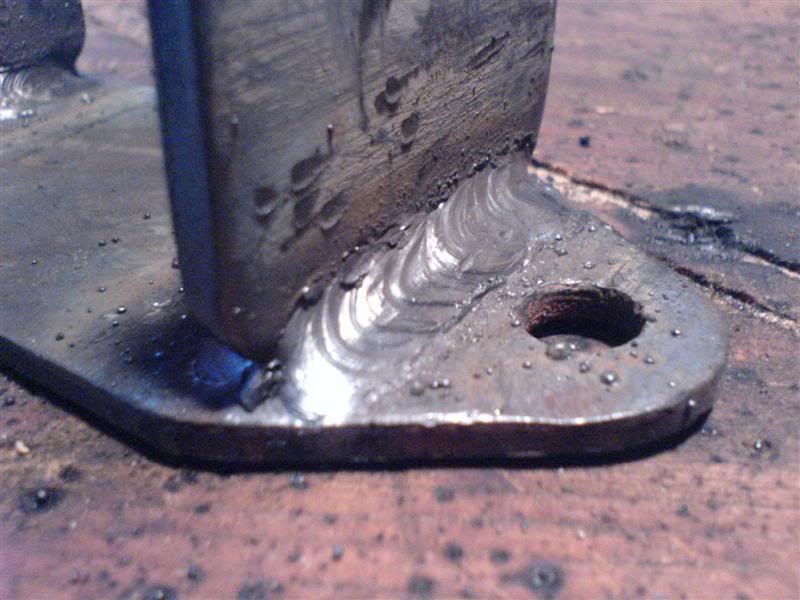
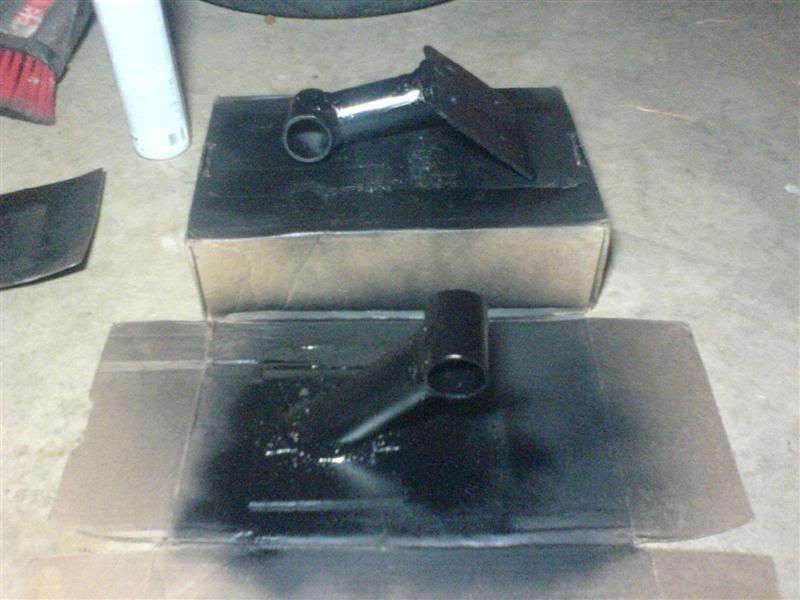
Couple things though. Connect the welds together, don't leave gaps in between like the first pic. Same thing in the second pic, clean out the slag here and connect the welds..time to tie the seats to the cage??
(knocks on wood)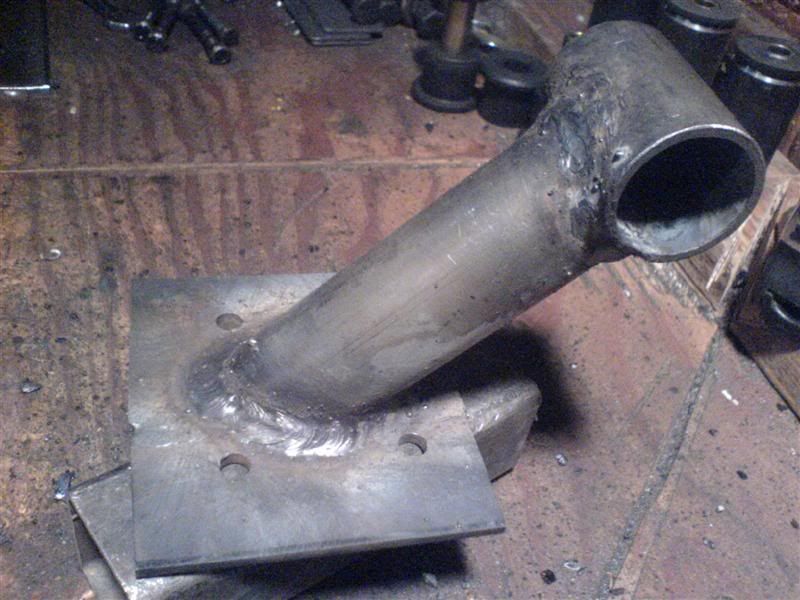

stick bologna
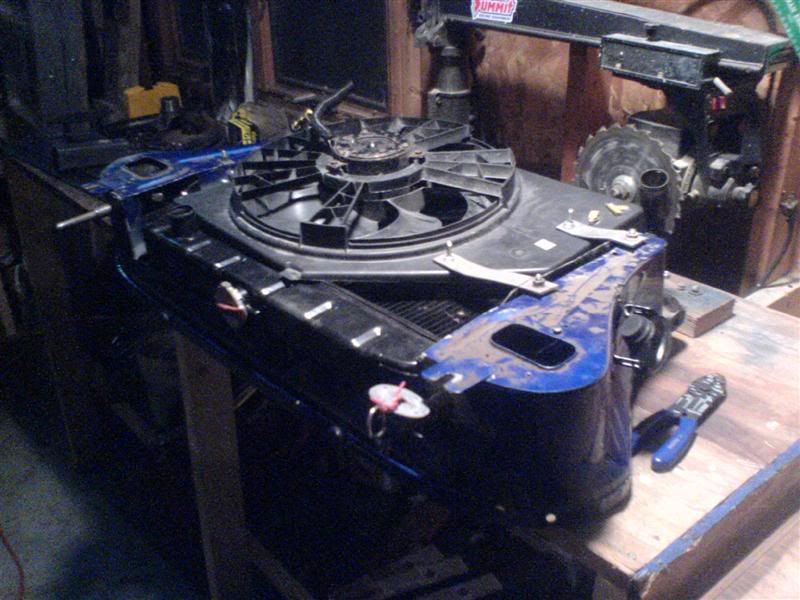
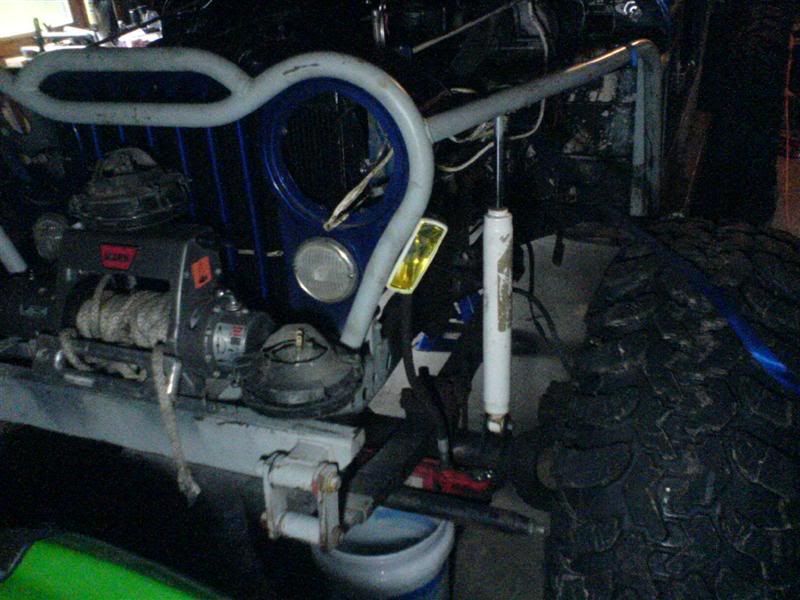
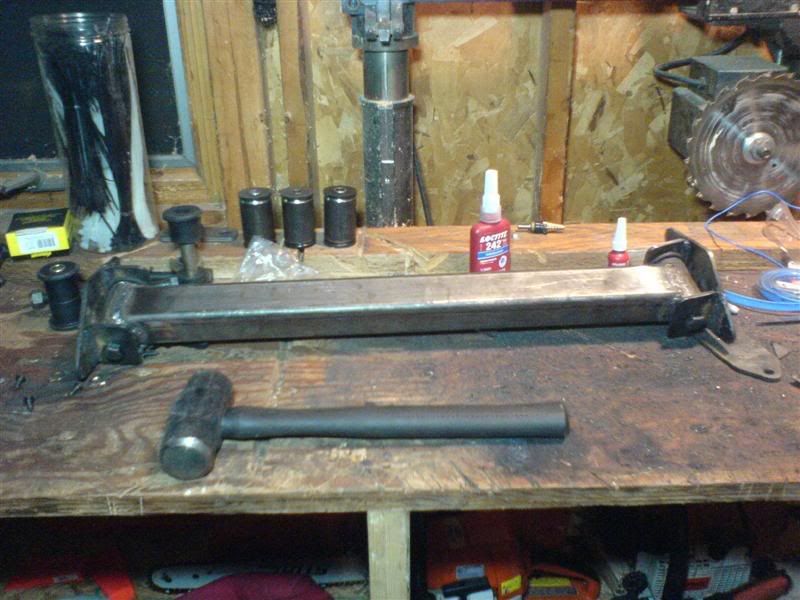
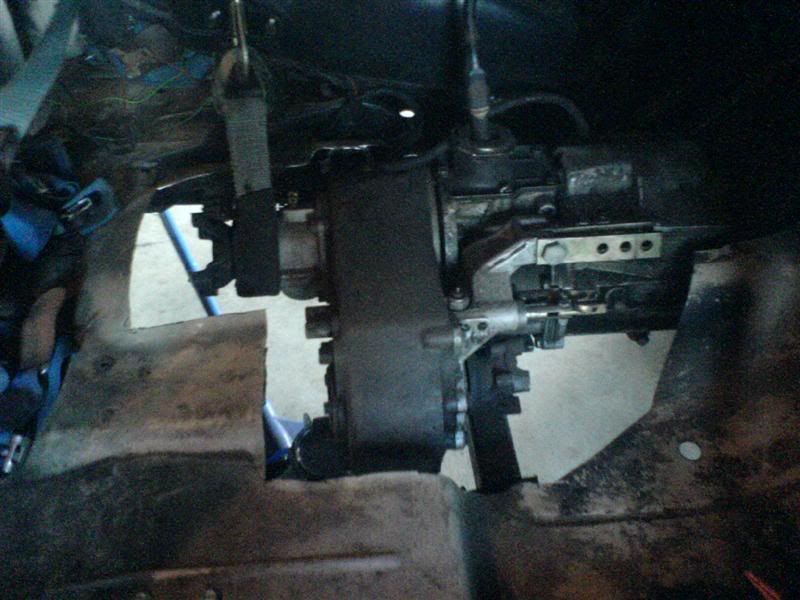
Then installed the motor mounts (also an absolute bitch to line up).