Lincolnlock
Well-Known Member
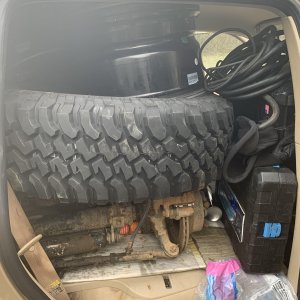
Sweet!!! Good work! I'm glad to see you getting the chance to work on it! Oh yeah.... nice floor!!! I'm having flashbacks to the last couple of my rigs. (and cascade crawlers)
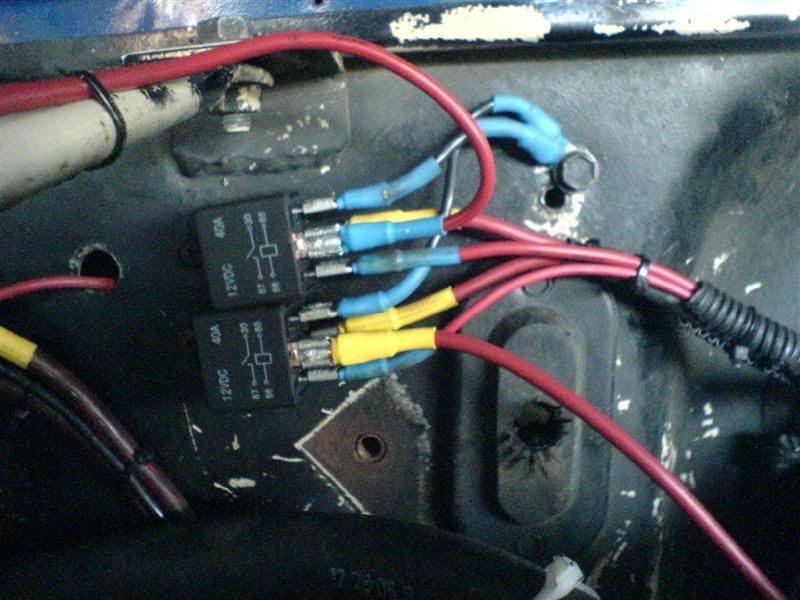
nuzz maybe I missed it but did you end up using a relay to switch on the ignition hot source to the aux fuse panel?
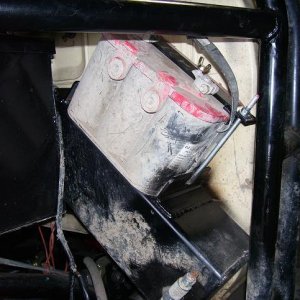
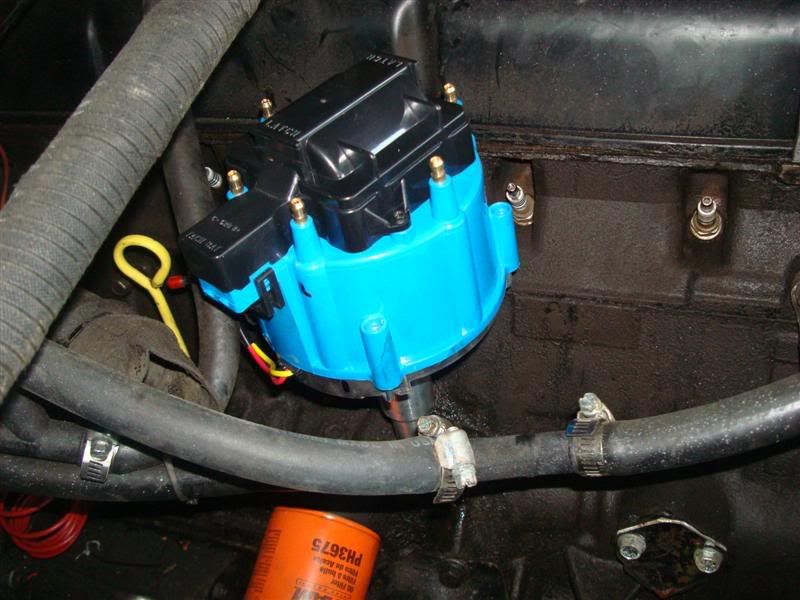
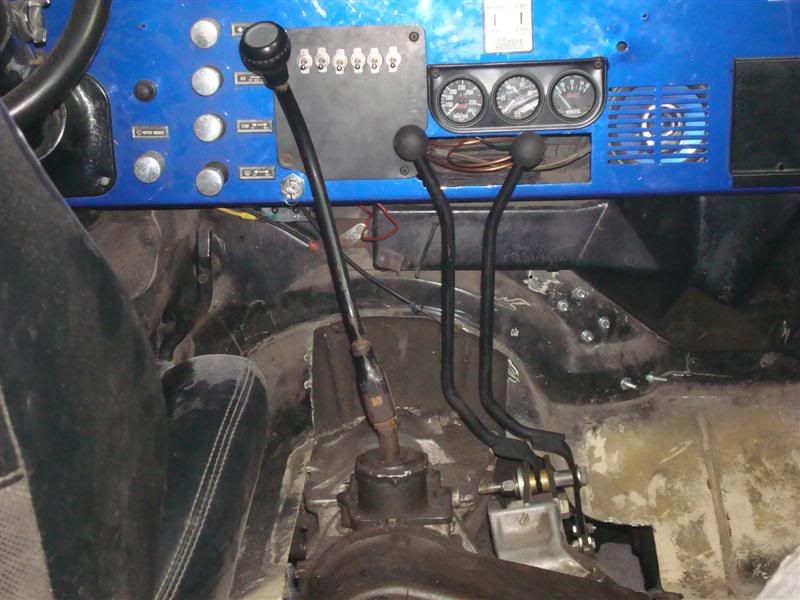
") , the volt meter so it doesn't draw current while sitting, and my HEI ignition so that turning off the key will actually stop my engine instead of waiting for the propane to run out from the solenoid lockoff
, the volt meter so it doesn't draw current while sitting, and my HEI ignition so that turning off the key will actually stop my engine instead of waiting for the propane to run out from the solenoid lockoff 
Sweet!!! Good work! I'm glad to see you getting the chance to work on it! Oh yeah.... nice floor!!! I'm having flashbacks to the last couple of my rigs. (and cascade crawlers)

So i trust youve scouted the back yard...Is there a trail there?
I love free tools weif brings home
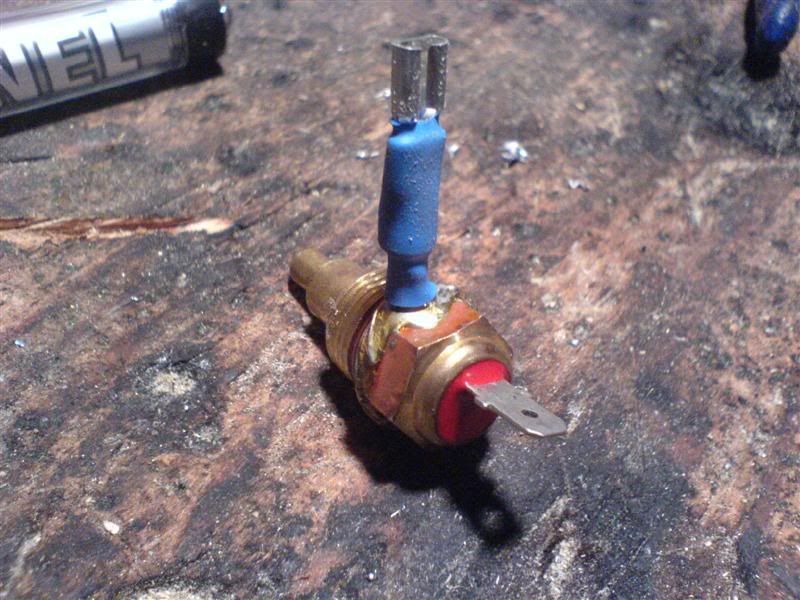
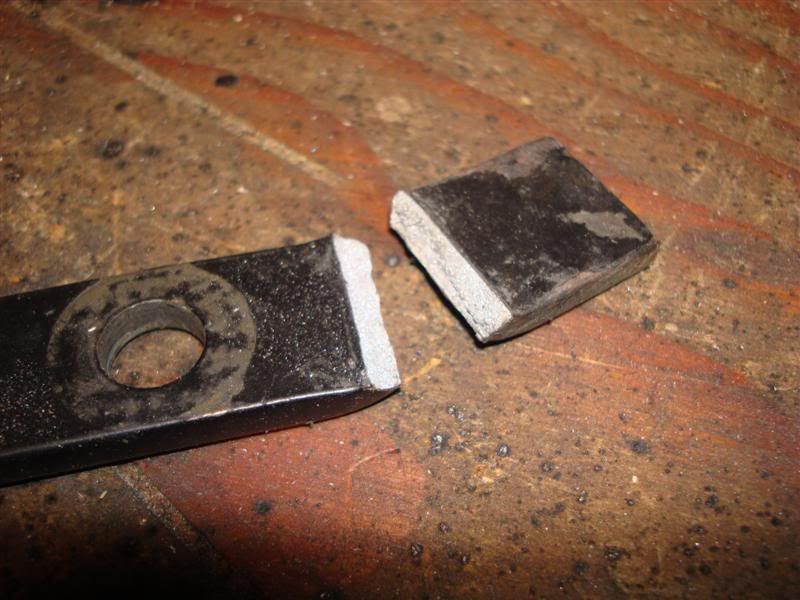
I would test the switch to make sure it's still acurate before putting it all together. The heat from the soldering may have damaged it.....Just put it in some water on the stove with a thermometer and use a multi meter to see what temp it makes continuity and then do the same when it cools........Not sure what to say about the JB weld but let us know how well it works.:awesomework:
I would test the switch to make sure it's still acurate before putting it all together. The heat from the soldering may have damaged it.....Just put it in some water on the stove with a thermometer and use a multi meter to see what temp it makes continuity and then do the same when it cools
 :haha: :haha:
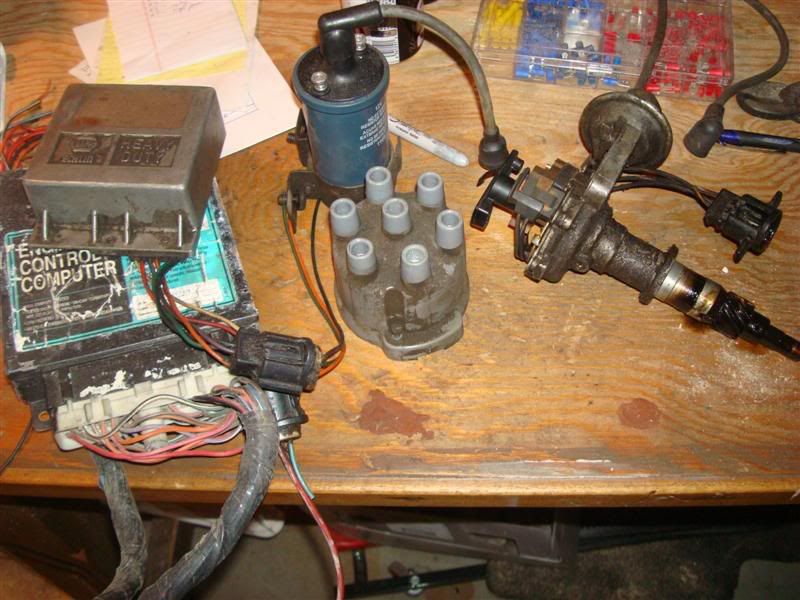
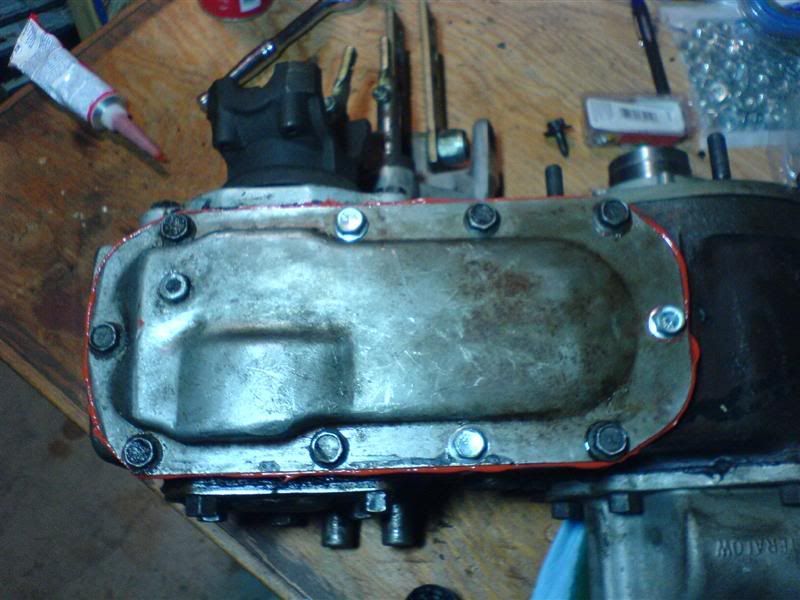
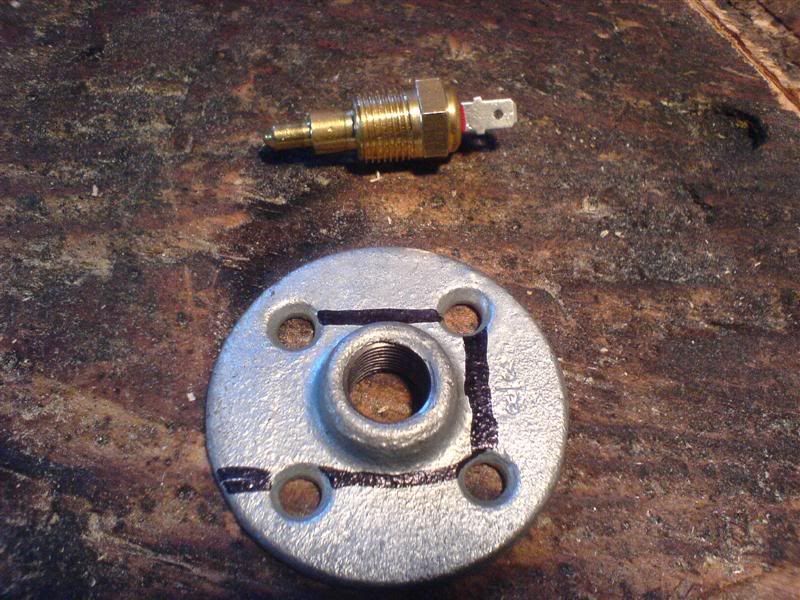
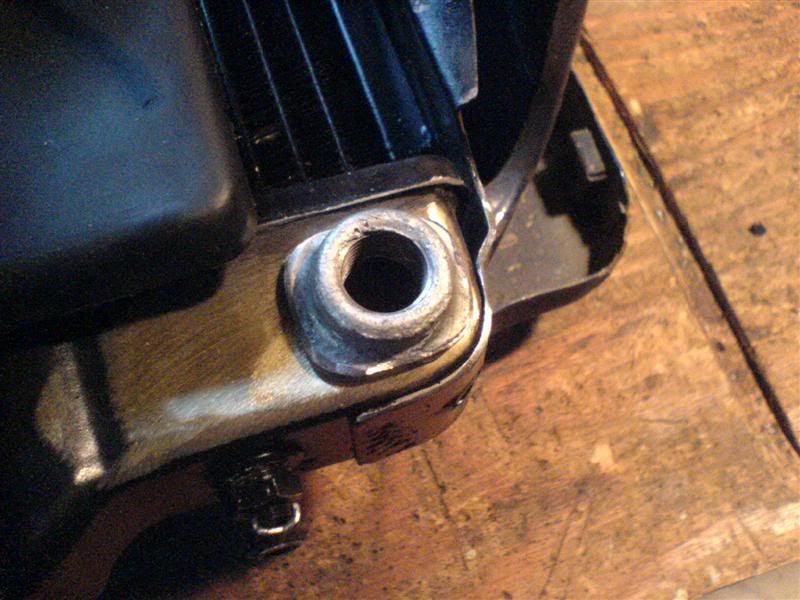
Nuzzy, just put the temp sender in the side of the intake manifold. Will read a constant temperature, one not effected by the thermostat. :redneck:
Neckster said:What temp range is the fan switch, and what temp is your thermostat?
If the switch is a lower temp than the thermostat, and you have it mounted in the motor, it will tell the fan to kick on before the stat opens. That means the coolant in the radiator is getting really cold. Then the stat opens, dumps hot water into the radiator and cold water in the motor. Water is too cold, and closes thermostat. Also, cold water tells temp switch to turn off fan (even though you just put hot water in the radiator). Water in motor heats up again, turns fan on first, then opens stat, dumps cold water, blah, blah, blah......
I prefer them in the radiator. Motor heats up, opens stat. Water starts flowing. Warm water reaches switch in radiator, turns on fan. Water is cycling and staying pretty constant.
Just my .02
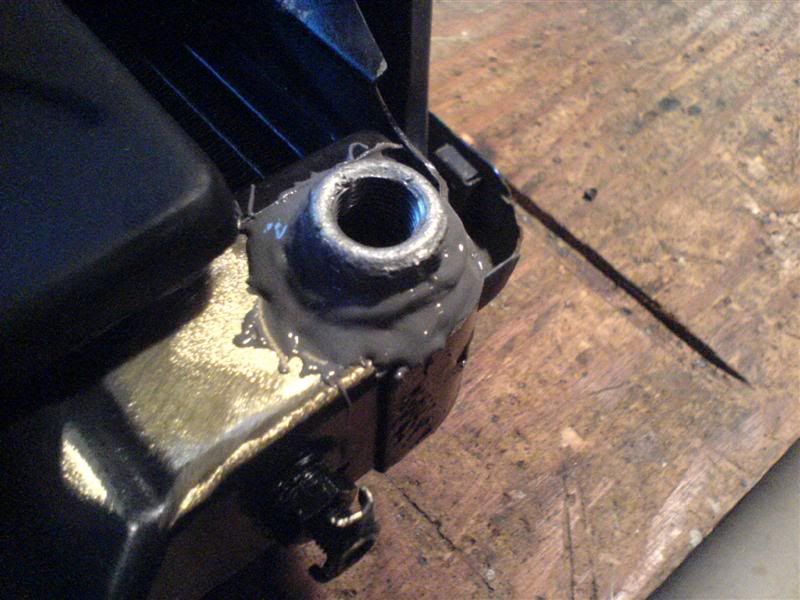
Hooray for JB Weld