• Help Support Hardline Crawlers :

Top Truck Challange, 2012

Good luck Tony!!

I'm wondering how the Top Truck event will evolve. Douglas McColloch has been the editor of Four Wheeler for a long time. He was very recently replaced by John Cappa, the now former editor of Jp Magazine.
John sent an email today. Everything is still a go.

Pirate boards imply that Doug will still be at TTC for '12, "it's his event".
 
So today I swapped out the starter for a mini-starter. With the skid plates, long arms, V8 headers/exhaust all in the same area, the OEM starter was far from service-able. This Hitachi starter is noticably smaller and should easily be removable if I need, without taking the exhaust off. It's supposed to be a better quality unit too. Time will tell. And since I had a hickup (had to tap the old starter to get it to operate) the other day, it was due for an upgrade. Also did a LOF while I was under there.

Next item on the list: Either swap out the P/Steering pump for a high-volume pump, or, start taking the hood/fenders off for modification.
 
Spent time at the wrecking yard yesterday and didn't find any suitable snorkel material. This pic is from Joops YJ, and if anyone knows the year/make/model of a similar factory settup, or, a cheap aftermarket alternative, please post up a link or idea. My rig is V8 chevy 350 with TBI.

DCP_1141.jpg
 
Ordered a bunch of parts, and got some bling too! I'll post those up later.

For now, I thought long and hard about going to a "high hood" front fender design, and I may still have to do that. But for now, I'm going to see if I can stuff big tires under my existing front fenders. Measured height to the fender flairs is about 6 inches. But if I remove the flairs, I get almost 9 inches of space. Now I'll lose 2.5 of those available inches by going from a 37 to a 42 inch tire. So, by pictures, I'll have about 6.5 inches of uptravel before hitting fender. Since both the shocks and bumpstops are both set at 4 inches of uptravel (nitrogen bumps), that gives me an additional 2.5 inches for twisting of the axle due to articulation. Really don't know if that's enough, kinda doubt it, but I'll really need to get the tires and then twist up the suspension to find out.

In the mean time, I tried to see how much room I could gain, by some minor interior fender trimming.

In case I messed up, I thankfully have a spare set of matching fenders (even painted correct)

Before pic:
Trimming the fender pic:
 

Attachments

  • 100_2960 (Small).jpg
    100_2960 (Small).jpg
    54.3 KB · Views: 375
  • 100_2961 (Small).jpg
    100_2961 (Small).jpg
    62.3 KB · Views: 364
  • 100_2964 (Small).jpg
    100_2964 (Small).jpg
    59.2 KB · Views: 373
I also cut out the inner fender brace, with before and after pics, along with one with the original flair back on it, although it is just resting there.
 

Attachments

  • 100_2965 (Small).jpg
    100_2965 (Small).jpg
    33.2 KB · Views: 380
  • 100_2966 (Small).jpg
    100_2966 (Small).jpg
    32.5 KB · Views: 374
  • 100_2967 (Small).jpg
    100_2967 (Small).jpg
    57.6 KB · Views: 369
Well, I had to work yesterday (Sat) and tomorrow (Mon), so while many of you were out wheeling, and having fun, I spent my day getting greasy and dirty.

Got some BLING'n great parts from Bob Long, his 300M U-joints for the dana 60.

If all goes well, this cures my only weak link in the front end (Well, the weakest link), which is the Spicer U-joints. I'm hopeful that the chromoly 35 spline, 1.5" shafts will hold up to 42s.

Anyhow, since most readers like pics, here's some for you.

And a HUGE, very THANK YOU to Bob, for his generosity and help, and also for some really strong joints.
 

Attachments

  • 100_3078 (Small).jpg
    100_3078 (Small).jpg
    73.8 KB · Views: 323
  • 100_3079 (Small).jpg
    100_3079 (Small).jpg
    65.6 KB · Views: 310
  • 100_3081 (Small).jpg
    100_3081 (Small).jpg
    62.3 KB · Views: 320
  • 100_3083 (Small).jpg
    100_3083 (Small).jpg
    56.2 KB · Views: 316
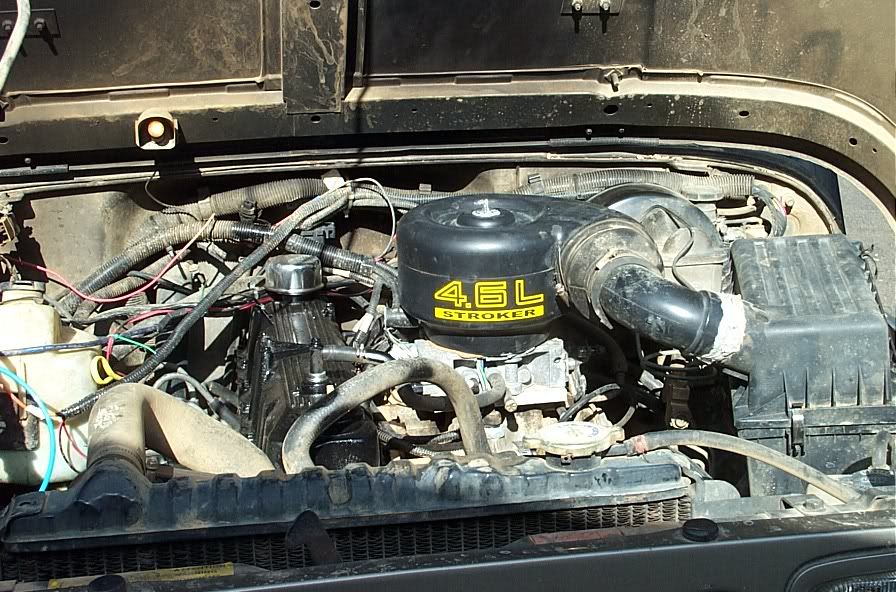
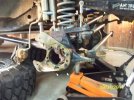
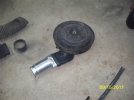
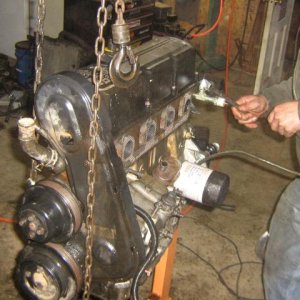
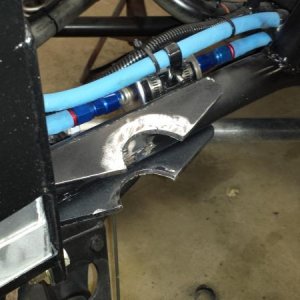
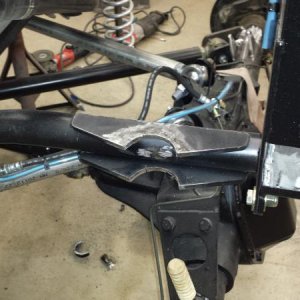
Next thing I worked on was the power steering pump.
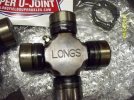
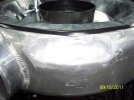
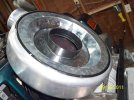
My YJ has a PSC pump (Saginaw style, AMC canister). This has been ran for many years, and the pump finally died. So I bought a new PSC pump, and sent the old one back to have them re-man it. That pump has been sitting in my tool bag for the last several years. Since I'm pretty sure the stock GM pump on the TJ won't have enough 'oomph' to turn the 42s, I thought today would be a good day to swap out the GM pump for the PSC pump.

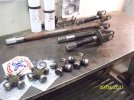
Wish I'd taken pics, but you know what a GM power steering pump looks like. Anyhow, I did have to switch out the AMC canister for the GM canister, and switch the AMC bracket for the GM bracket, and the AMC pulley for the GM pulley, but that's all pretty easy stuff.

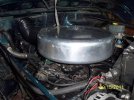
Got the new pump on and installed, but didn't have any more fluid. So it's off to the store tomorrow.

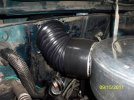
Also, I've ordered some bulkhead flanges and air cleaner adapters to assist with the snorkel conversion, but those parts haven't arrived yet.

I did get my fancy-shmancy fire extinguisher brackets for the roll bar, but I don't want to install those until after the roll bar remodel and re-paint.

Anyhow, I'm still workin. I'm just glad I'm kinda clean, after all the wheelbearing grease, 90 wt axle fluid that leaked out, and power steering fluid mess from today.
 
The snorkel

Okay. So I've been working towards a snorkel, knowing that the entire hood will probably be submerged at some time. My first thoughts were to take the factory (OEM) air cleaner, with it's oval intake, and adapt it to a round intake and use hose which would be routed thru a hole cut in the hood. So I wrecking yard shopped a few hoses to see what that would let me fabricate. Then, I used some flexible aluminum to see where that would take me. Needless to say, they didn't work.
 

Attachments

  • 100_3117 (Small).jpg
    100_3117 (Small).jpg
    44.3 KB · Views: 268
  • 100_3118 (Small).jpg
    100_3118 (Small).jpg
    38 KB · Views: 257
Cowl Induction part 1

Then I figured out a way to use Spectre Performance airbox and adapt it to a cowl induction. By cutting a 4 inch hole thru the cowl, and mounting a race-inspired air cleaner, I could run flex hose easily thru the firewall, and into the 'dead' zone by the wiper motor on a TJ.

The air box is 16 inches around, with a 14 inch reuseable filter inside. To seal the filter inside the air box, and to keep water out, I used self adhesive door edge molding.
 

Attachments

  • 100_3113 (Small).jpg
    100_3113 (Small).jpg
    58.2 KB · Views: 266
  • 100_3114 (Small).jpg
    100_3114 (Small).jpg
    61.7 KB · Views: 258
  • 100_3115 (Small).jpg
    100_3115 (Small).jpg
    52.8 KB · Views: 261
  • 100_3116 (Small).jpg
    100_3116 (Small).jpg
    46.4 KB · Views: 252
Cowl Induction part 2

Unfortunately, the new air box is a low profile unit, which neccessitated moving the coil, and all the misc. doodads for the fuel injection. Some new brackets were fab'd up, and voila, it fit. Almost. Damn. Turns out, it was still hitting the distributor/plug wires.

So off to get cut and welded. Thanks again Pat!

After all was welded, everything fit. Almost. Damn.

With the low profile, the angle was too sharp for the hose bends, and the flex hose wouldn't attach properly. So I bought a spacer, and raised the air box up 1 inch, and now everything fits as designed.

But with the spacer, I wouldn't have needed to cut and weld the box to begin with. Oh well. Live and learn.

Also, with the air box sucking from behind the cowl, I though it prudent to increase air flow to the cowl, so I drilled out a section of the vents (which are not open) of the TJ cowl.

The first pic shows the cut and weld section, albiet with a lot of glare which makes it hard to see.
The second pic shows how the air cleaner is sealed from underside. \
Pics 3 and 4 are of the holes drilled. The 'blank' area is where the air duct enters underneath, so that debris and water won't directly enter the intake.
 

Attachments

  • 100_3119 (Small).jpg
    100_3119 (Small).jpg
    41.8 KB · Views: 263
  • 100_3120 (Small).jpg
    100_3120 (Small).jpg
    58.8 KB · Views: 262
  • 100_3121 (Small).jpg
    100_3121 (Small).jpg
    51.4 KB · Views: 267
  • 100_3124 (Small).jpg
    100_3124 (Small).jpg
    48 KB · Views: 260
Last edited:
Anyhow. With the Cowl Induction functioning correctly, when TTC time rolls around, I'll simply pull the cowl off, and run a 70* elbow (from Sprectre Performance) and another piece of flex tubing up to the roll bars and secure it with 100MPH tape for the duration of the event.

Total costs: Around $200, for the airbox, the hose, & the welding

The air box (and most Sprectre parts) are available from Sprectre online, or from Warehouse West in Renton (800-426-8967). Or, if you're frugal, get the stuff from Summit. I think it's cheapest from Summit online. But I got my stuff from Warehouse West, as it's local.

And if Larry's reading this, the guys from Warehouse West are enjoying the giant poster/artwork of your rig there, but they said you promised them a new poster/artwork, and were wondering when it would arrive.
 
Top