zukkev
Cornfuzzled yet again...
I love it........:haha::haha::cheer:
I knew you would! :haha:
Thanks Derek! :awesomework:
I love it........:haha::haha::cheer:
") ...should be just the ticket for the angle... Jim later informed me the PO said it was a spool!:redneck:...that or I didn't remember him telling me! :haha...
...should be just the ticket for the angle... Jim later informed me the PO said it was a spool!:redneck:...that or I didn't remember him telling me! :haha...I guess the spool explains the high spline count on the axles....
Sweetness. Looking good!
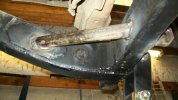
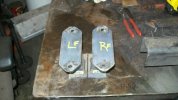
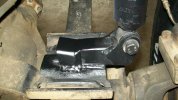
...simple fix, and will also take care of another small concern with the shock mounts at the axle end up front :awesomework: ......the rears are tits on tho! :;Does it really have that much uptravel?:eeek:
Looks good:awesomework:
Does it really have that much uptravel?:eeek:
Looks good:awesomework:
...............
Wanna do the pathy next?:fawkdancesmiley::haha:
I don't know why, but I just now saw this!!! :haha: :haha: :haha:
:ANYWORD: :redneck:
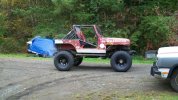
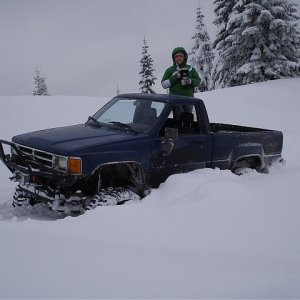
Only needs new front springs. Again.
Again??????? Whatthe...Only needs new front springs. Again.
Again??????? Whatthe...
Welcome to Kev's used 4x4 parts emporium!:redneck:
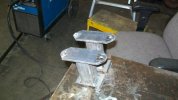
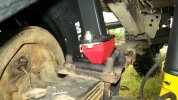
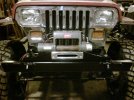
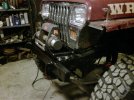
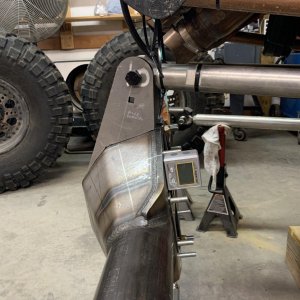
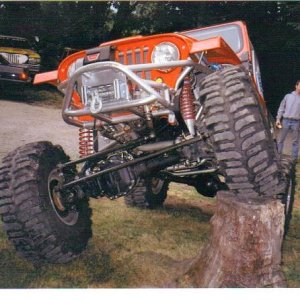
Been workin' on getting the winch mounted---tried to make one of those universal winch plates look....well....not so universal!! :haha: Turned out pretty good I think. Just need to get the winch wired, and the rope on it. Thanks again to Master Pull for the :bling: !!!
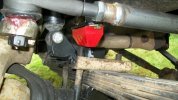
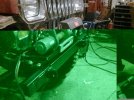
Don't know why the 2nd pic wigged out :eeek:...they were cell pics as my camera was up at the house.
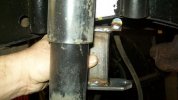
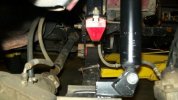
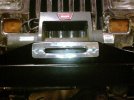
in your third pic....
you are going to open that hole up a bit more behind the 'bling' right?? from the picture it is looking a bit restrictive....