-
Help Support Hardline Crawlers :
You are using an out of date browser. It may not display this or other websites correctly.
You should upgrade or use an alternative browser.
You should upgrade or use an alternative browser.
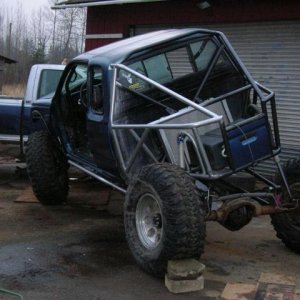
The wifes runner
- Thread starter crash2
- Start date
crash2
-Oh no I picked a side-

crash2
-Oh no I picked a side-
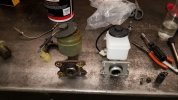
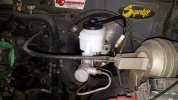
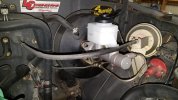
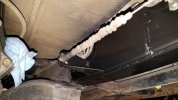
Installation was simple and required bending the lines a tad. The forward line took a little more patience to get it right and I should have made a new line so it didn't look corky... But it was pretty simple...
Attachments
crash2
-Oh no I picked a side-
crash2
-Oh no I picked a side-
crash2
-Oh no I picked a side-
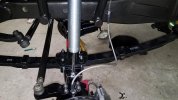
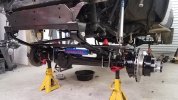
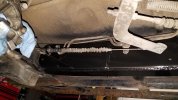
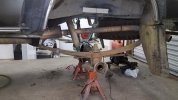
So to the middle of the rig. One thing that drives me nuts when he torsion bar mounts are left one--one of my pet peeves... Started with the drivers side..
So one thing I live by and follow all the time-- "it was never there". I dunno if you guys can tell that or not ,lol...
So one thing I live by and follow all the time-- "it was never there". I dunno if you guys can tell that or not ,lol...
Attachments
crash2
-Oh no I picked a side-
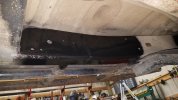
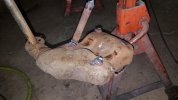
Next I went ahead and pulled the fuel tank. I don't think this thing has ever been out and was rather shocked when it came out with little no hassle. I can't tell ya how many times the high pressure line was a battle to remove. This will give me a ton of room..
Attachments
crash2
-Oh no I picked a side-
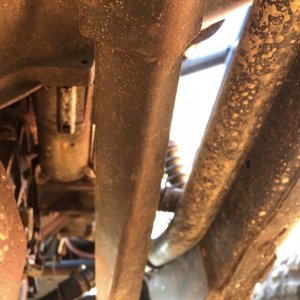
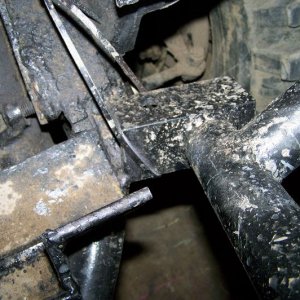
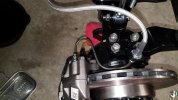
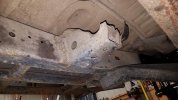
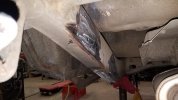
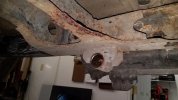
So the passenger side torsion bar mount is a little more work for 2 reasons. Fist being the E-brake cable mounts to it and the second to move the lines away from it there is one bolt holding the line clamp on top of the rear crossmember that the body is kinda in the way. I was able to remove the bolt and clamp with extreme prejudice and it won't be going back in,lol.
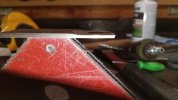
So Once its cut off if you choose to use the e-brake ya got make a new mount. If you wanna use the stock clip to hold the cable you have to shave the steel to around 2mm. My measurements on the bracket location are 3" from center of cable to frame, 2.75" from back edge of cross member to cable holder with like a 4 degree tilt to match the mechanism.
So Once its cut off if you choose to use the e-brake ya got make a new mount. If you wanna use the stock clip to hold the cable you have to shave the steel to around 2mm. My measurements on the bracket location are 3" from center of cable to frame, 2.75" from back edge of cross member to cable holder with like a 4 degree tilt to match the mechanism.
Attachments
crash2
-Oh no I picked a side-

crash2
-Oh no I picked a side-
crash2
-Oh no I picked a side-

crash2
-Oh no I picked a side-
crash2
-Oh no I picked a side-
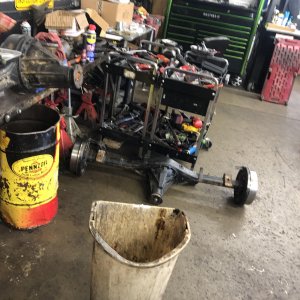
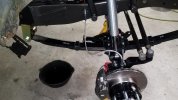
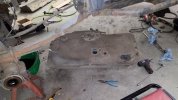
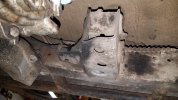
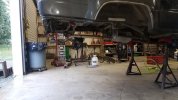
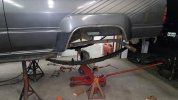
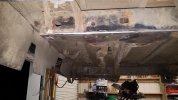
I got the spring buckets and shock mounts cut off. I will wait to see how he shackle angles look once he springs are roughed in to see if I need to remove the shackle mounts..
But this is where I currently am on the rig and tomorrow I will start setting up the springs.
But this is where I currently am on the rig and tomorrow I will start setting up the springs.
Attachments
crash2
-Oh no I picked a side-
crash2
-Oh no I picked a side-
Always love watching your builds... Clean clean clean :awesomework: :corn:
I tried doing fast/ok once--didn't like it

crash2
-Oh no I picked a side-
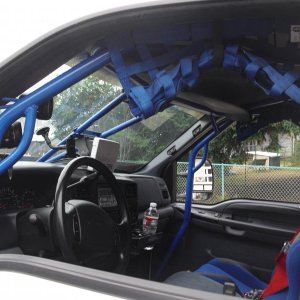
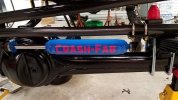
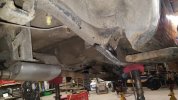
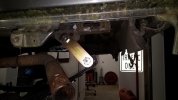
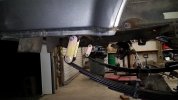
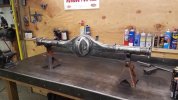
So one thing I always do before I tear the rear apart is use a plumb bob to locate the center of the housing to the frame and mark it. I also have a piece of 1" square tube that I clamp to the frame measured off the front spring bolts. There are also matched holes on the frame that can be used.
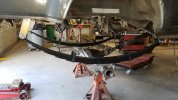
So I clamped the spring mounts to the frame to get the housing where it needed to be and tacked them into place. I was unsure where the shackle angles would be so I kept the stock shackle mounts alone to see the outcome. And they were too steep...
So I clamped the spring mounts to the frame to get the housing where it needed to be and tacked them into place. I was unsure where the shackle angles would be so I kept the stock shackle mounts alone to see the outcome. And they were too steep...
Attachments
crash2
-Oh no I picked a side-
crash2
-Oh no I picked a side-
crash2
-Oh no I picked a side-
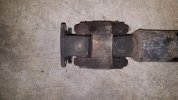
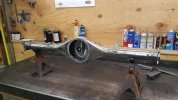
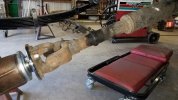
Got the 3rd bolted to the housing and under the rig. Even though I need to rebuild the cv on the driveshaft it has no vertical slop so will work perfect for setting the pinion angle. So I set the pinion angle to 1 degree down. had it been a manual I would have gone 2 degrees. Got the perches tacked in place so now I can work on the shocks...
Also the driveshaft length is soo close.....
Also the driveshaft length is soo close.....
Attachments
Similar threads
- Replies
- 120
- Views
- 16K