Nuzzy
Well-Known Member
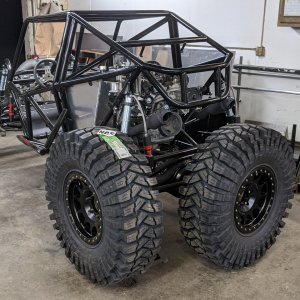
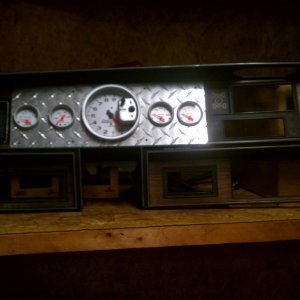
Really nice clean work Mike. 


Really nice clean work Mike.


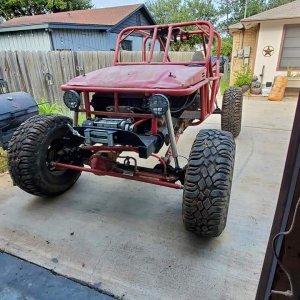
Me likey. I have been looking into this somewhat secretly for a year or two now.... It sure looks like the tranny/t-case(s) assembly is longer than the regular 4 cyl stuff? Anyway, keep knocking those midgets around, good things will come of it!
How hard is it to find the turbo trannies? Seems like a task to me. I have a free V6 tranny sitting in my garage. I could just use that in place of the R151, just would have to purchase the R150 to gear t-case adapter, I guess.


Got one, want it?