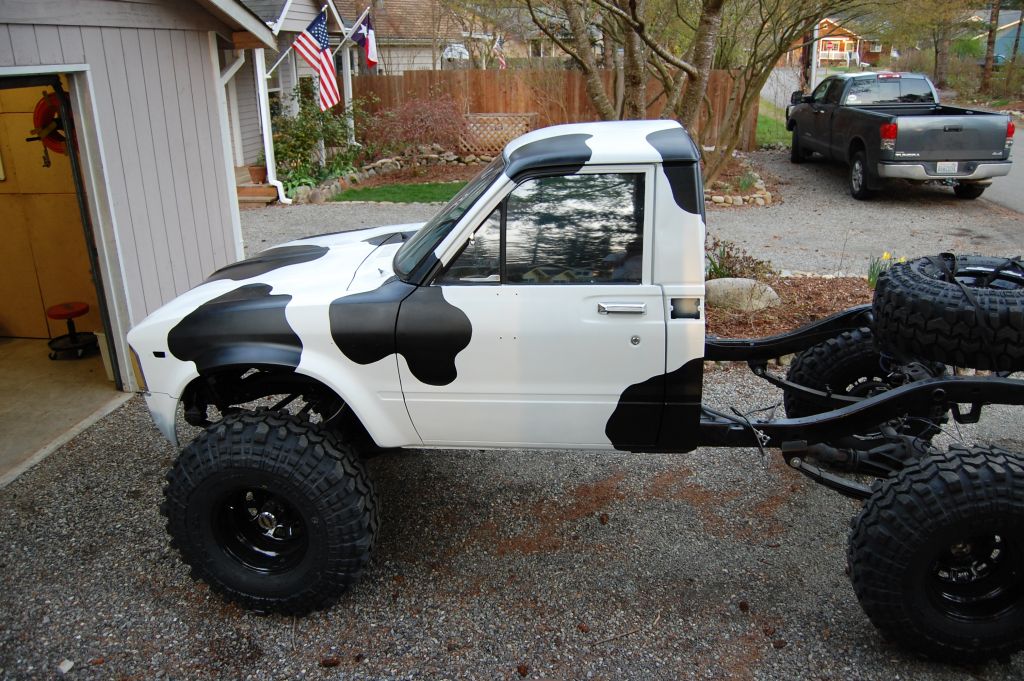
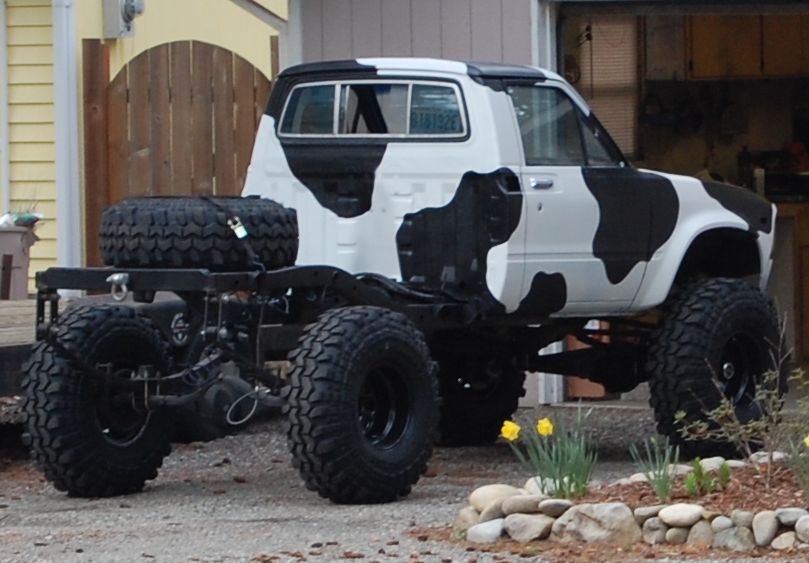
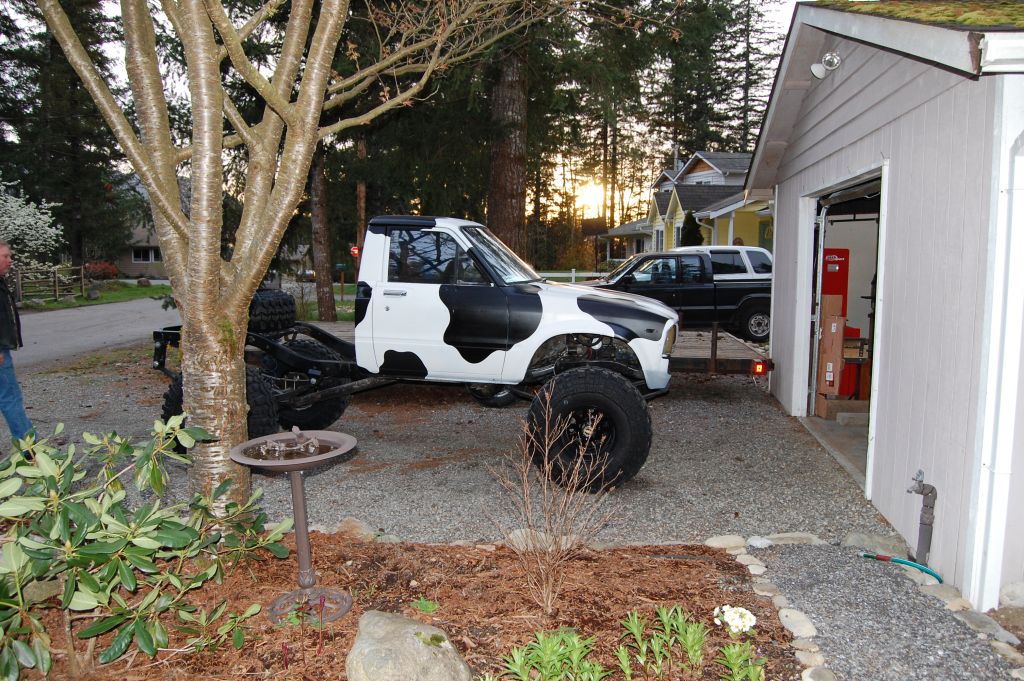
A few folks out here have seen my build up thread over on another forum over the past 8 years...but since that forum is about dead now, and since I could probably use some input from the folks out here on how to improve on what I've got going, I'm porting my old thread over here. I'll be consolidating posts as much as possible during the port (I don't see any need to pad my post count)
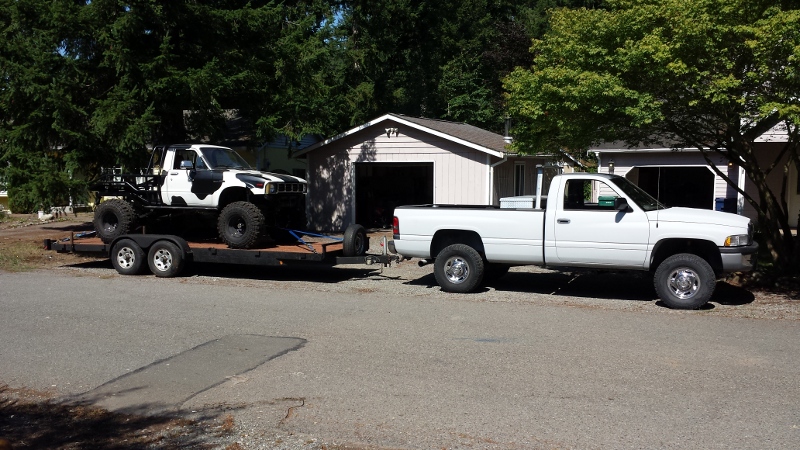
The short story behind this build -- I picked up this rig back in July or August '08 (I left the Reiter cleanup to go get this thing), and I've been building it as time and money allows. There's never enough of either.
So, here we go...
----
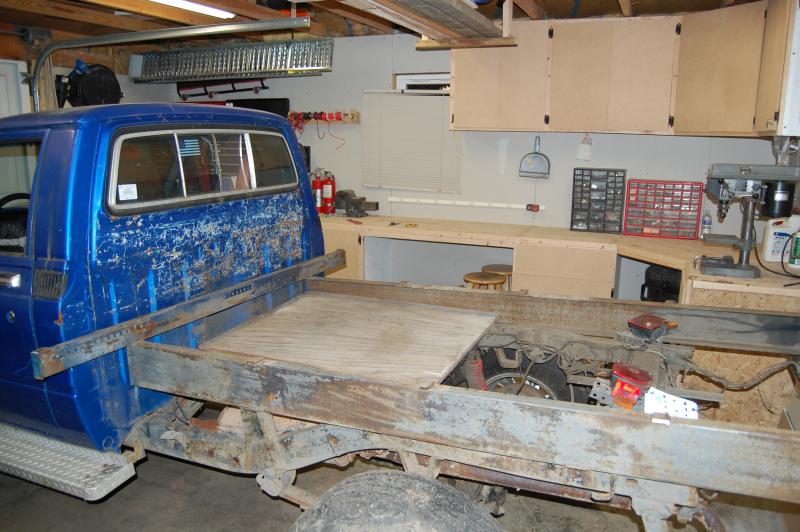
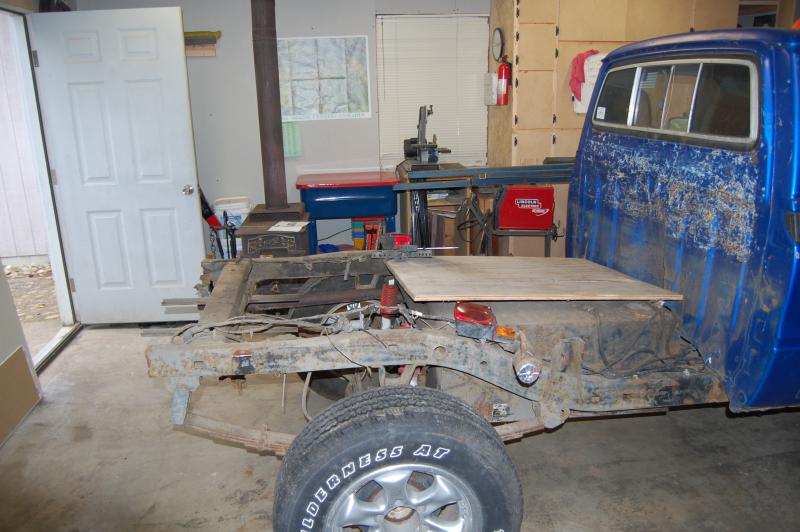
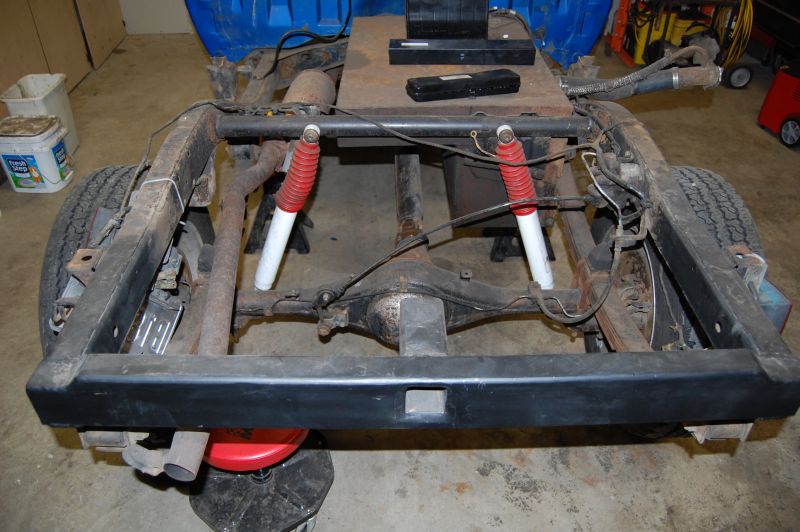
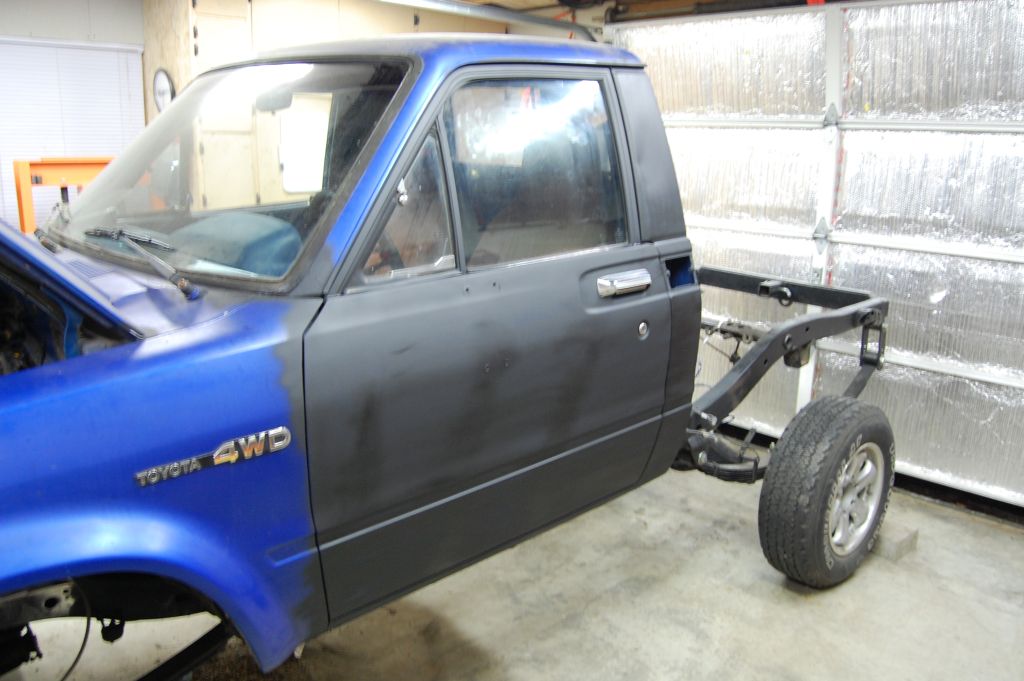
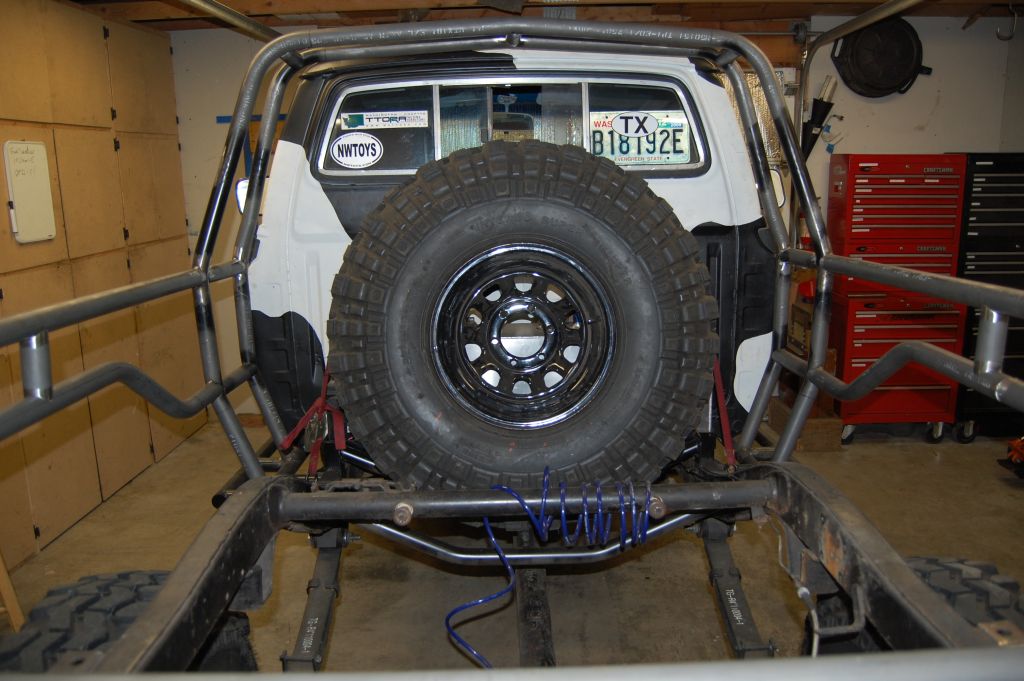
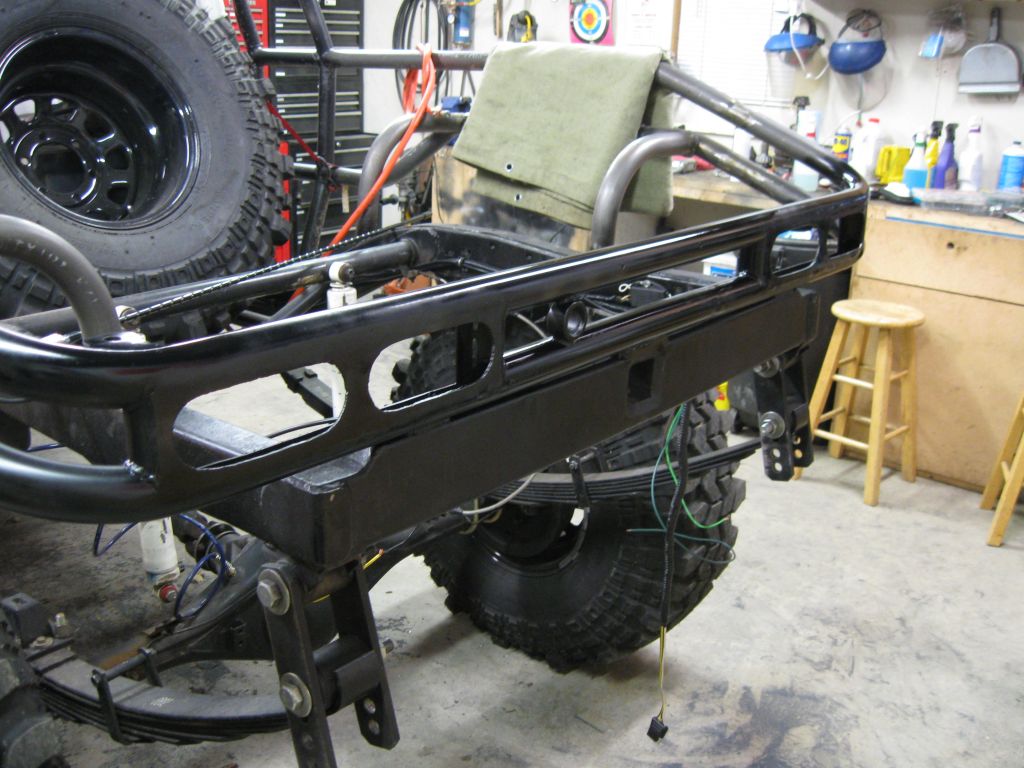
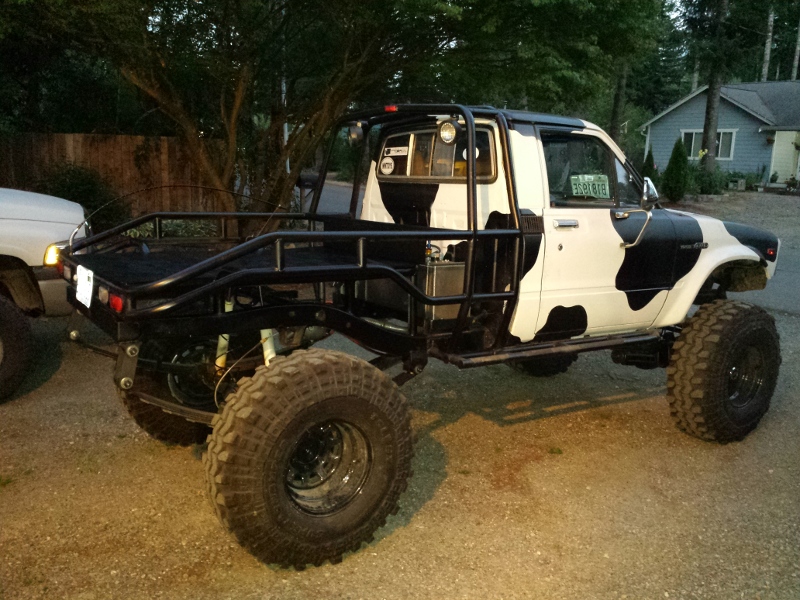
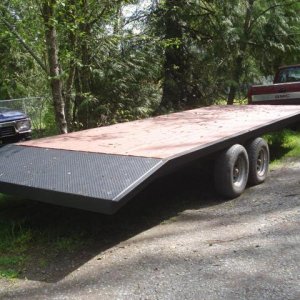
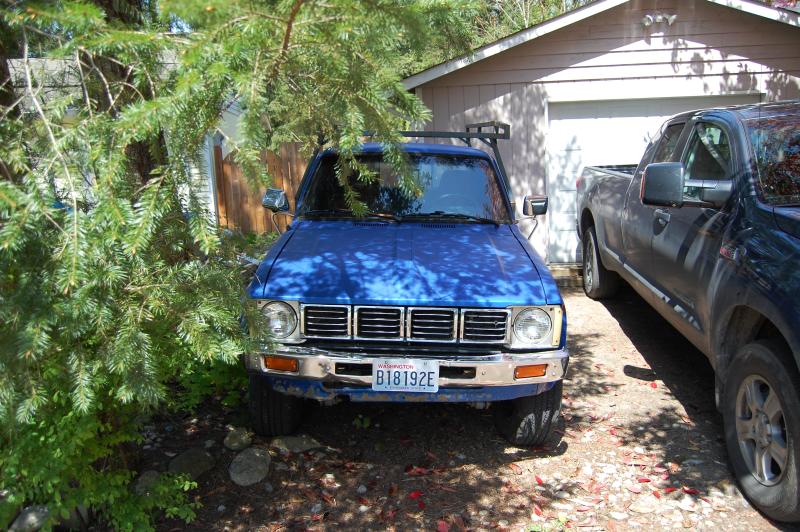
So, here's my official buildup thread for the '80 I got a couple of weeks ago. Here it is as it was when it came home:
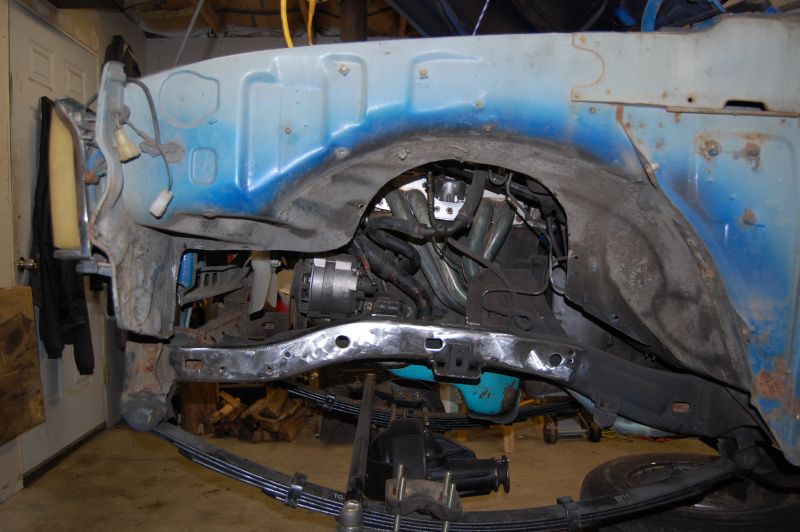
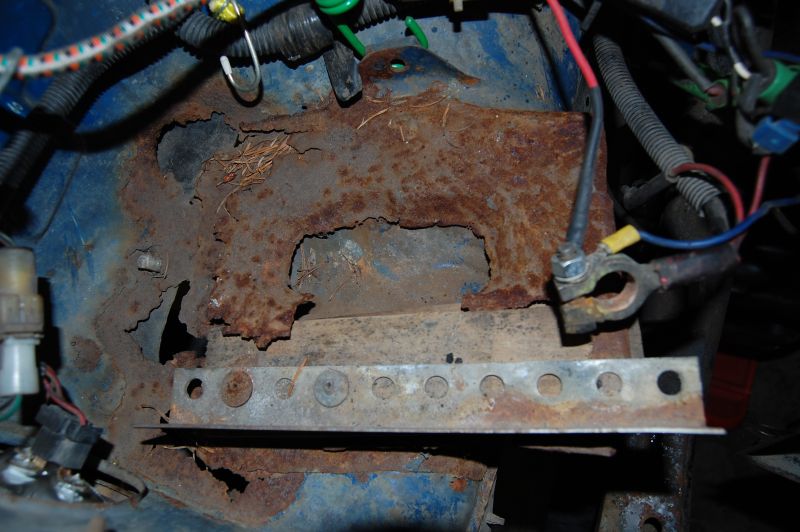
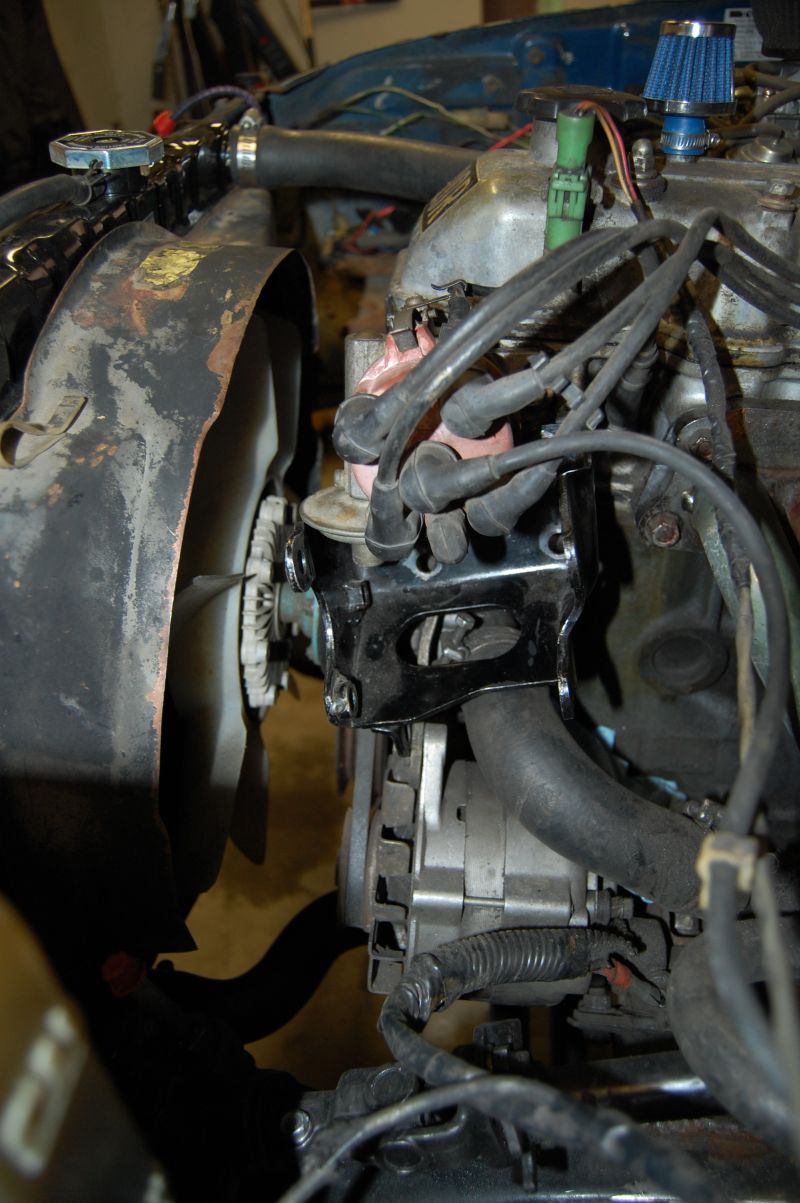
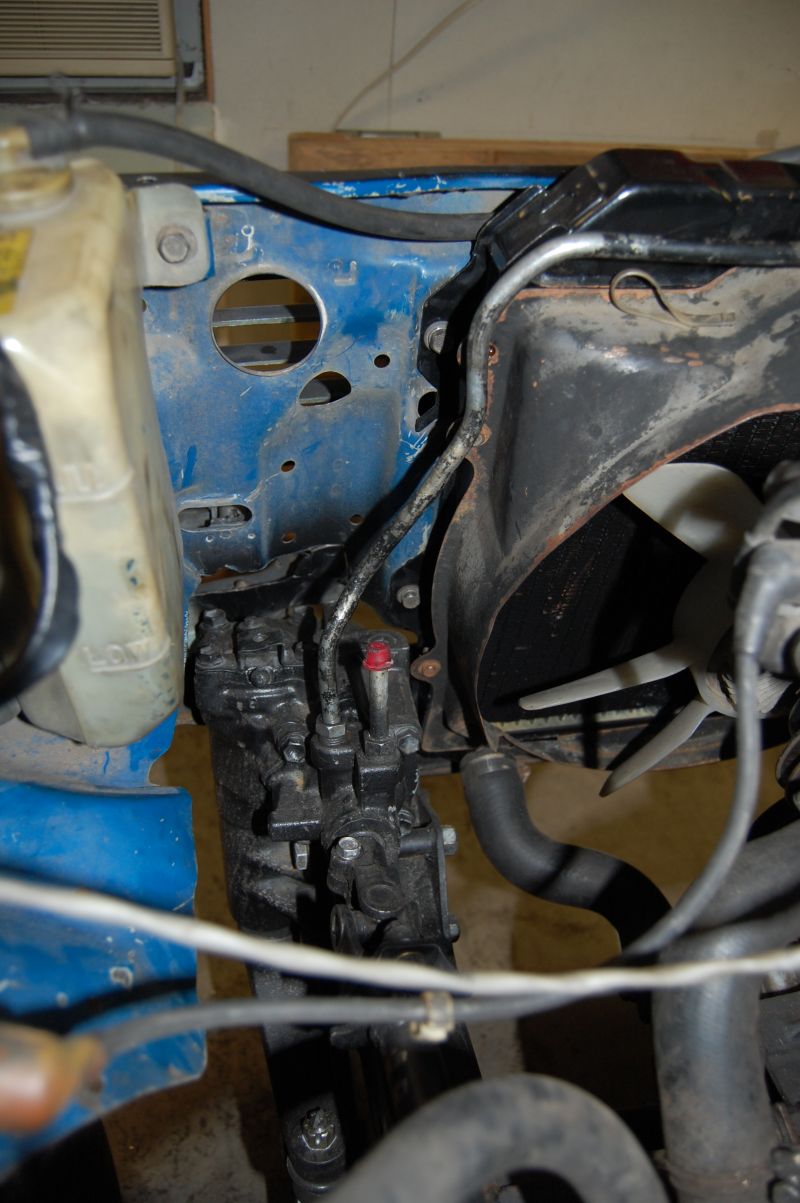
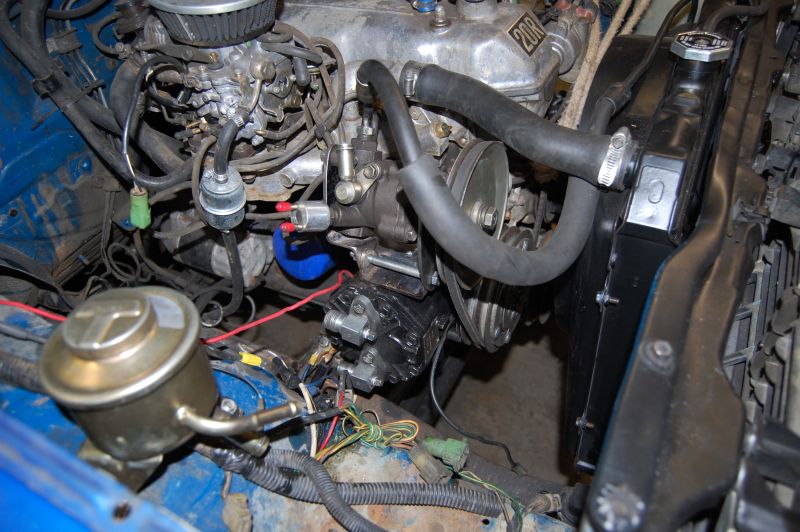
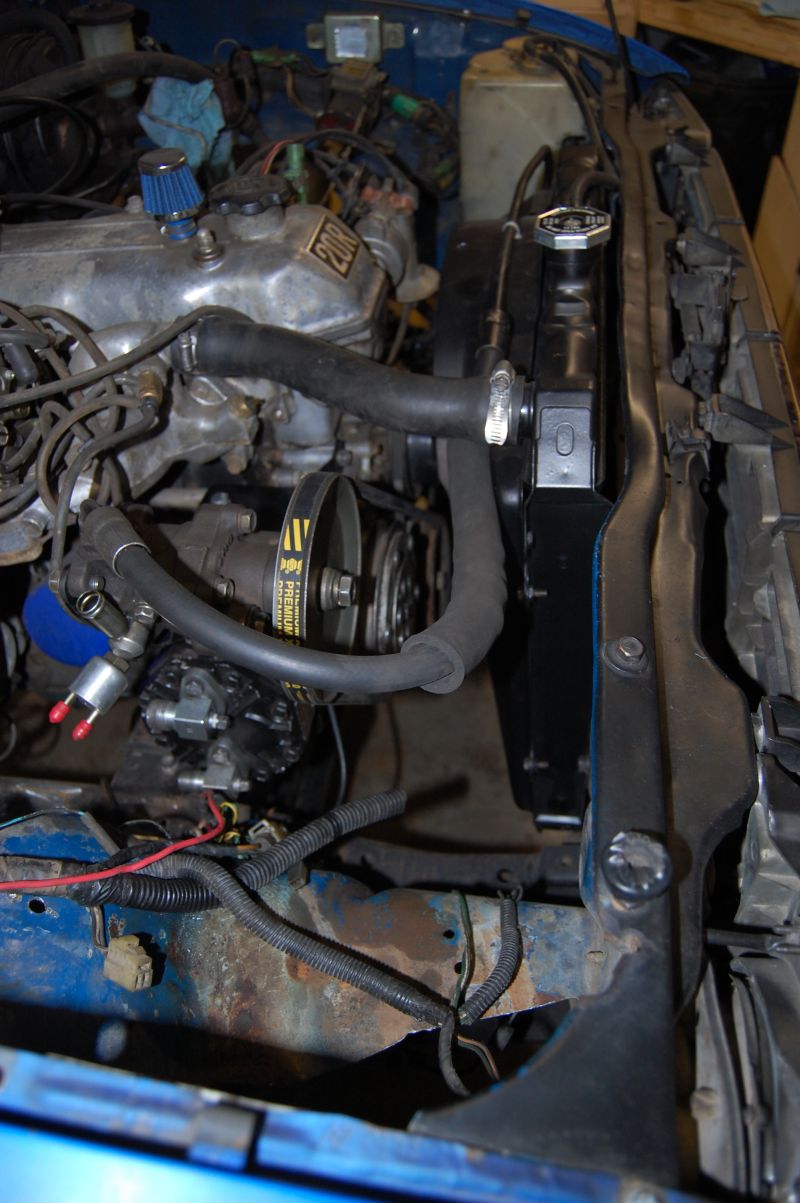
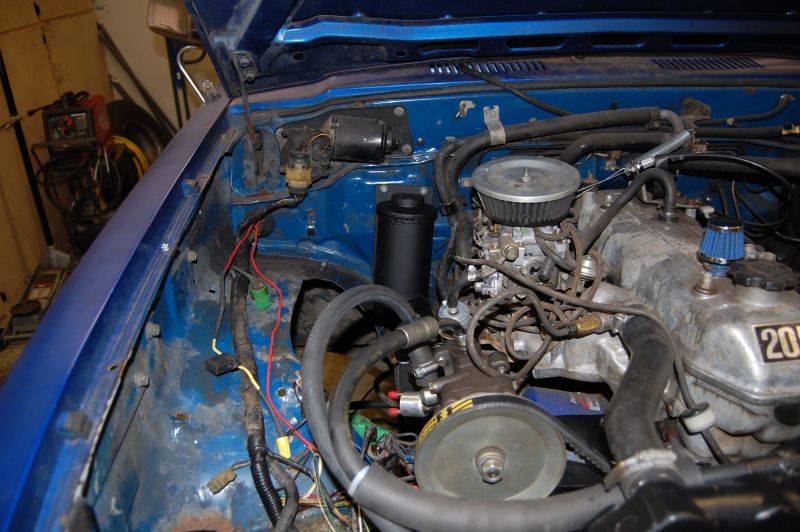
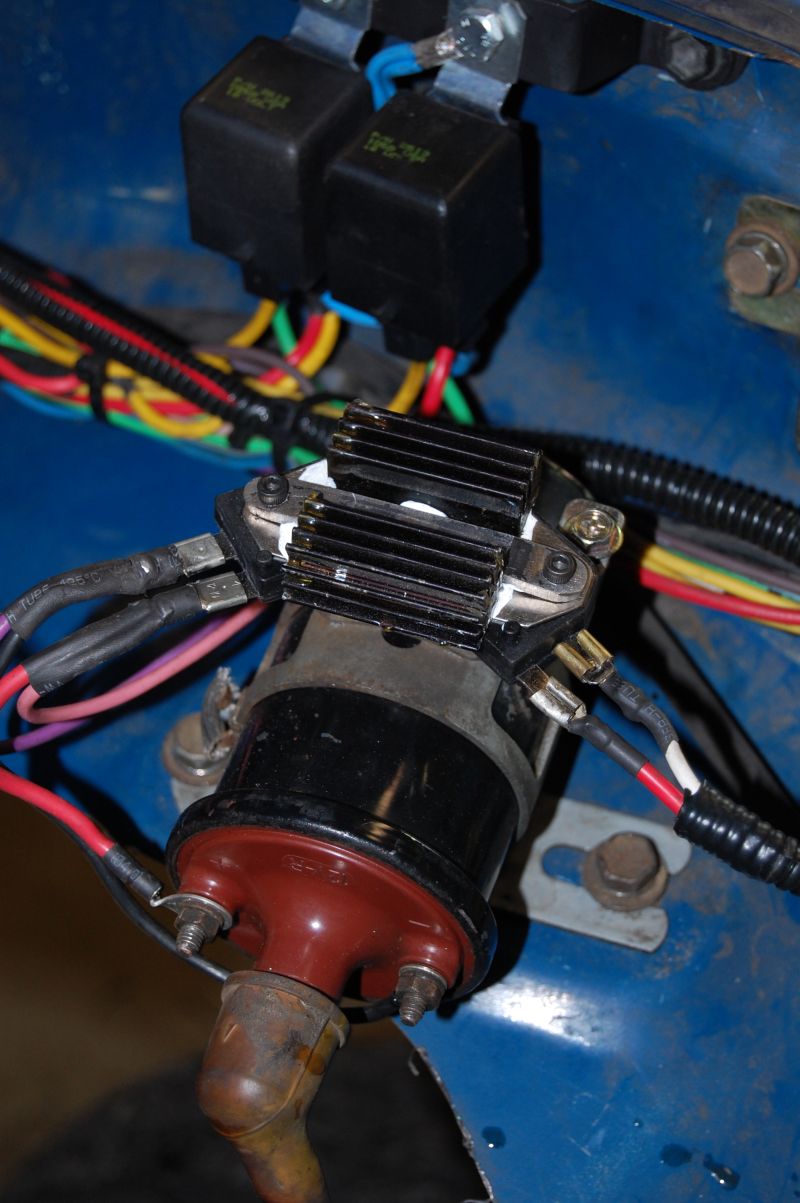
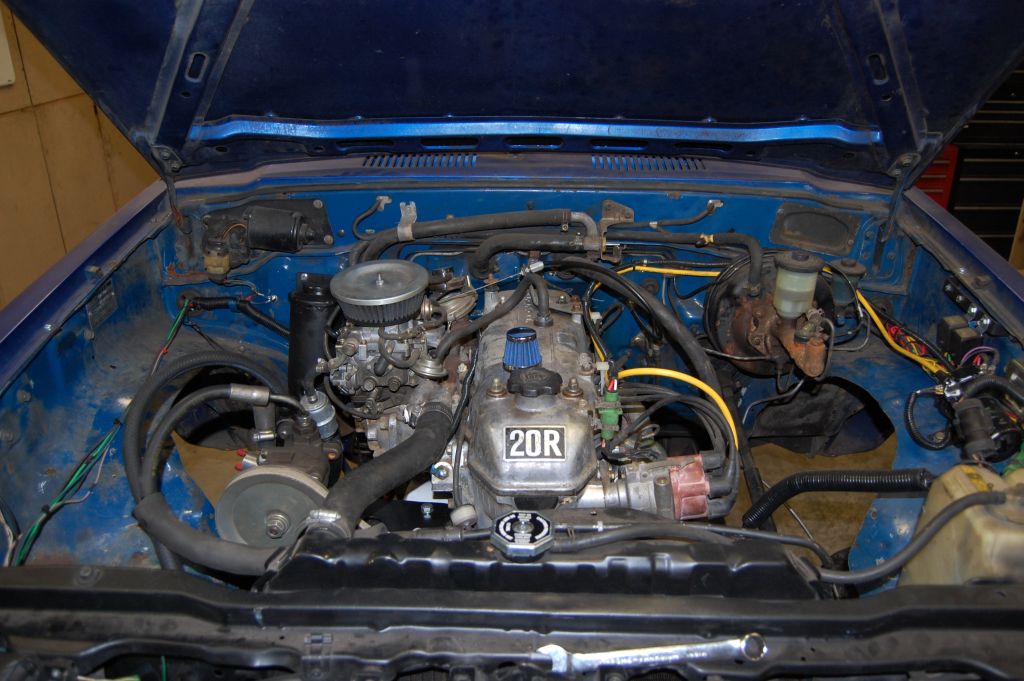
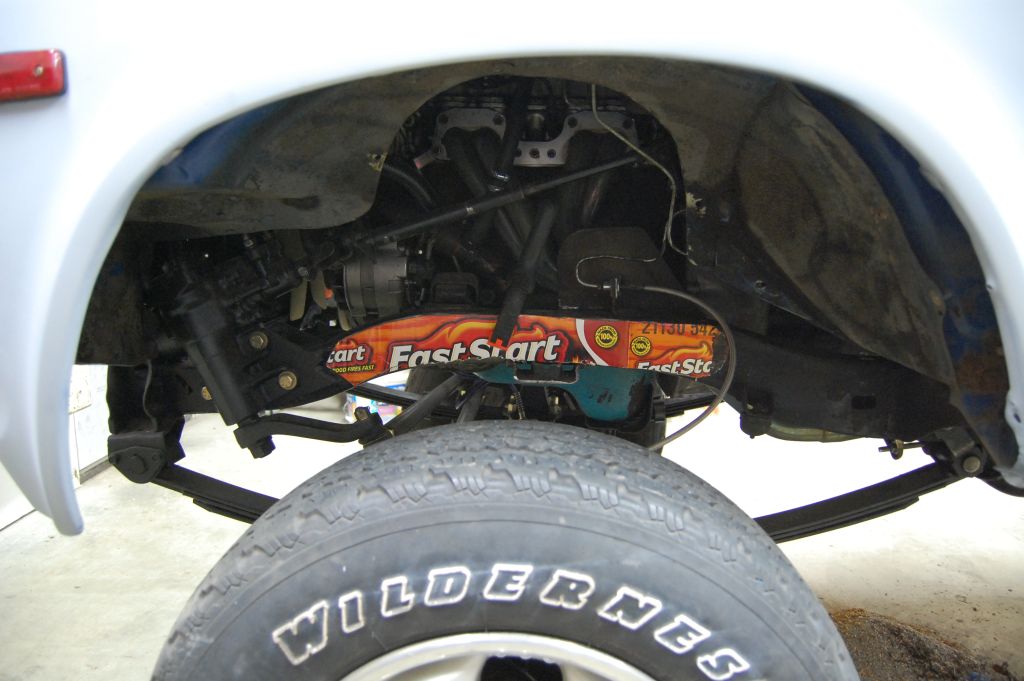
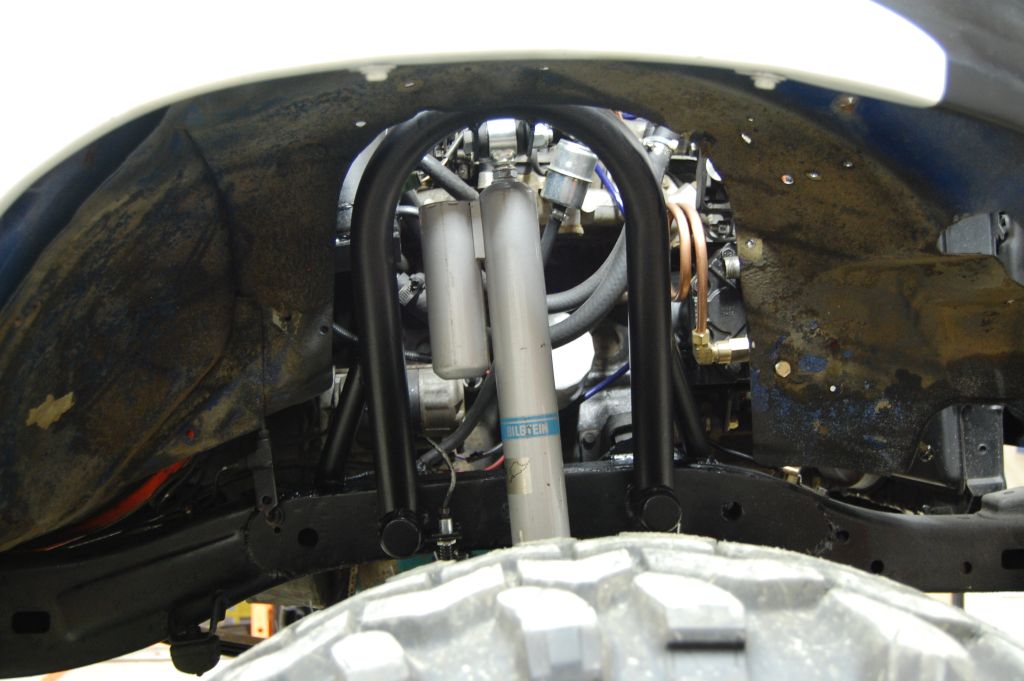
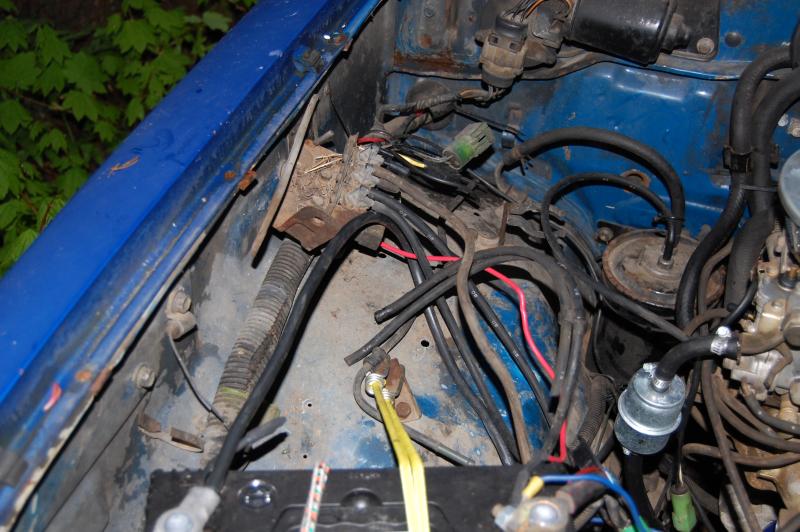
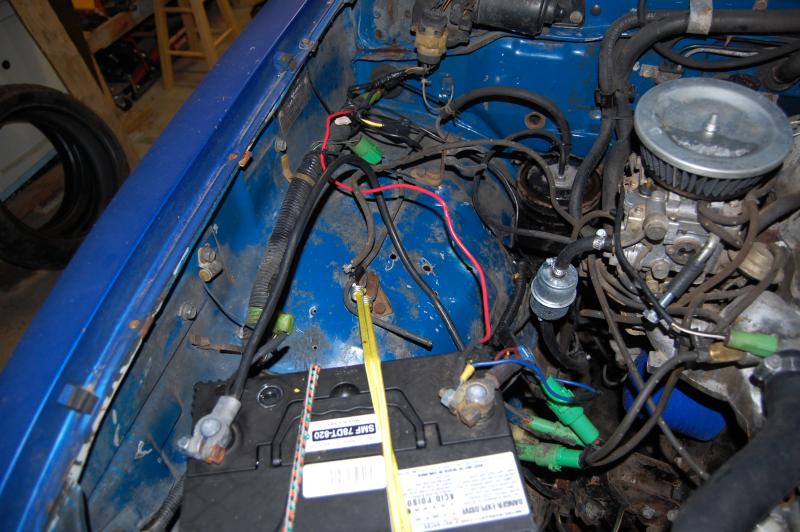
I was looking for a project rig, and knew this little feller would need quite a bit of work... For example, here's what it looked like under the hood when it was parked in my driveway:
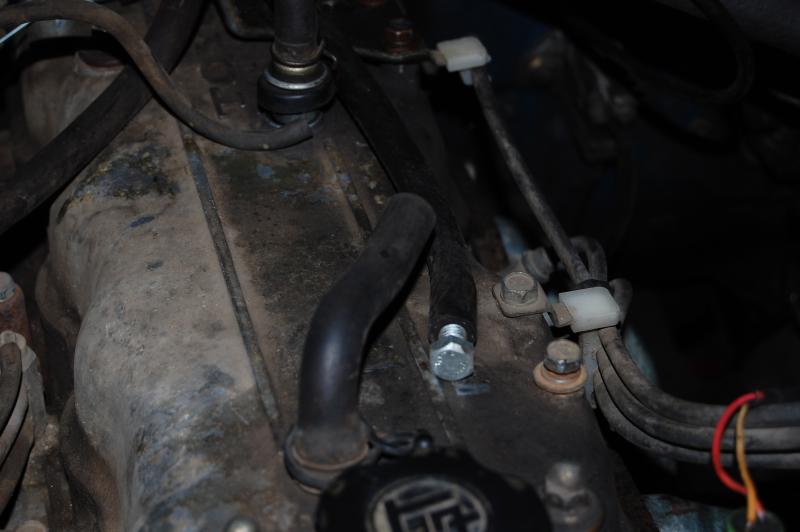
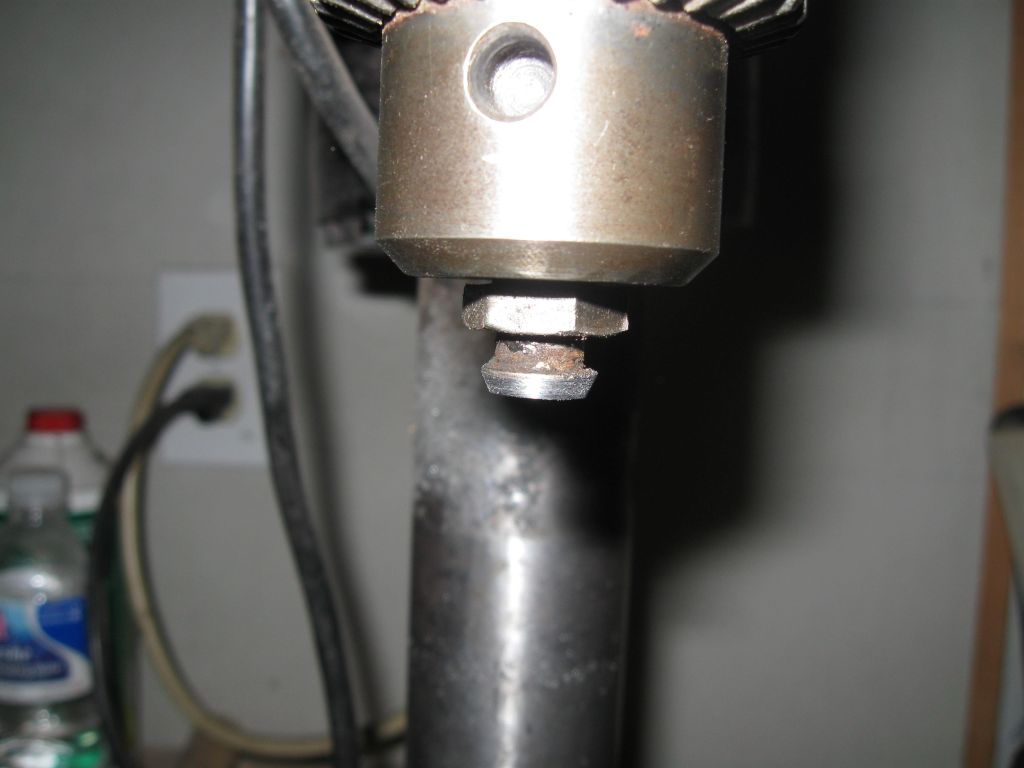
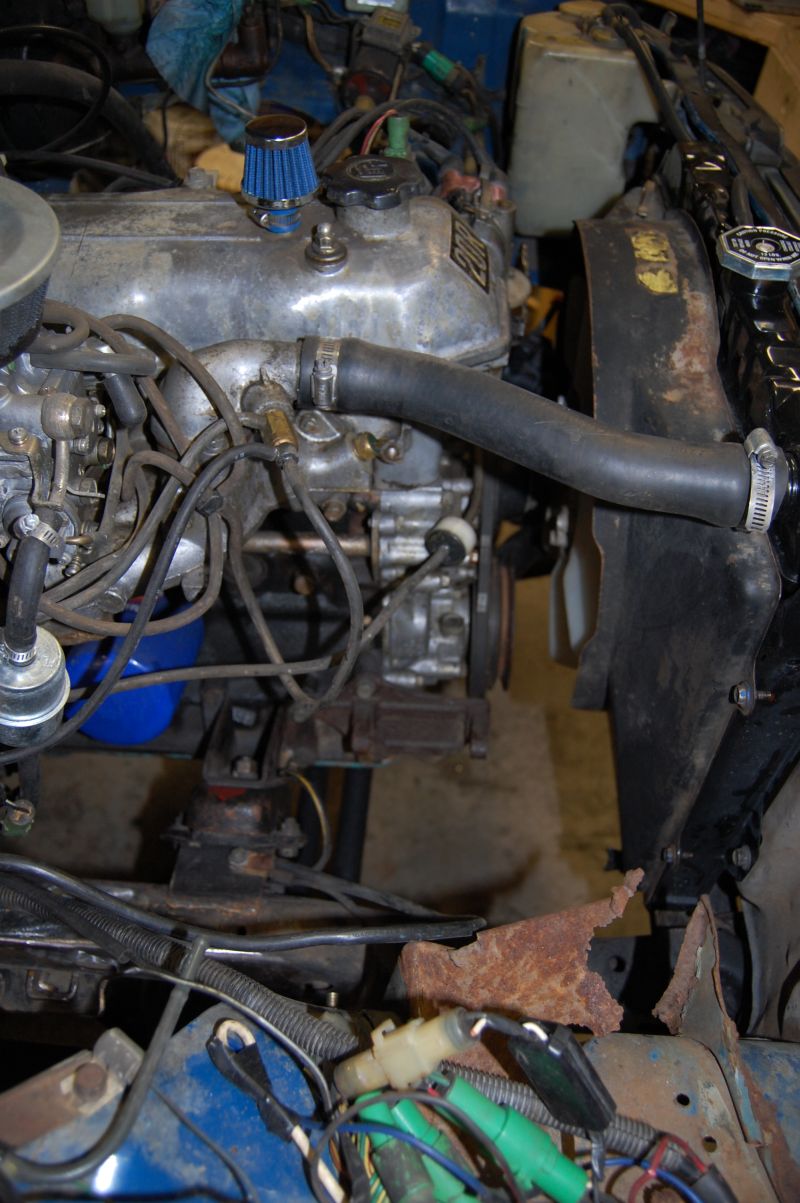
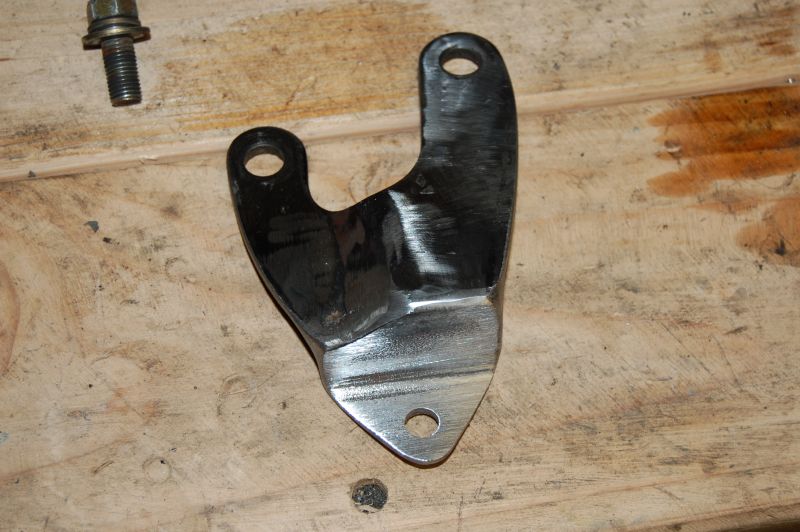
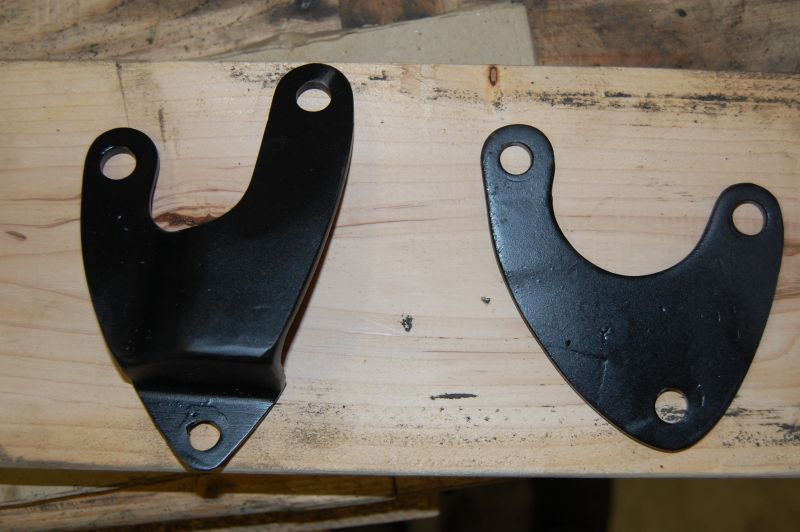
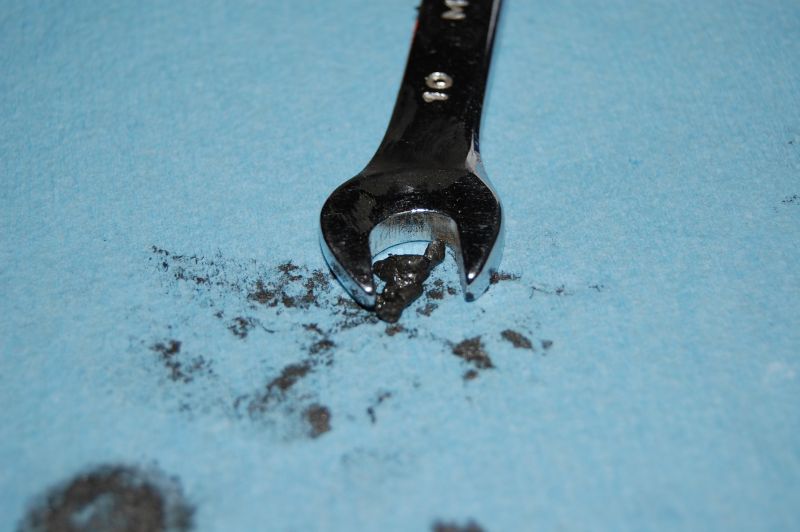
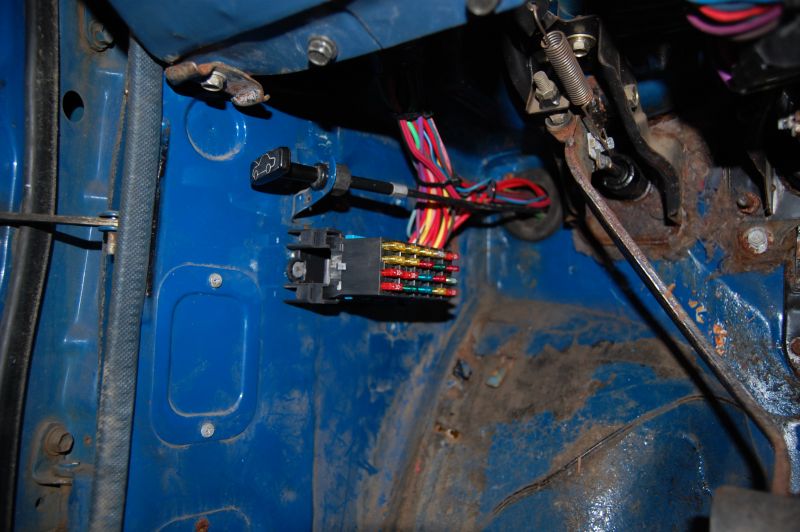
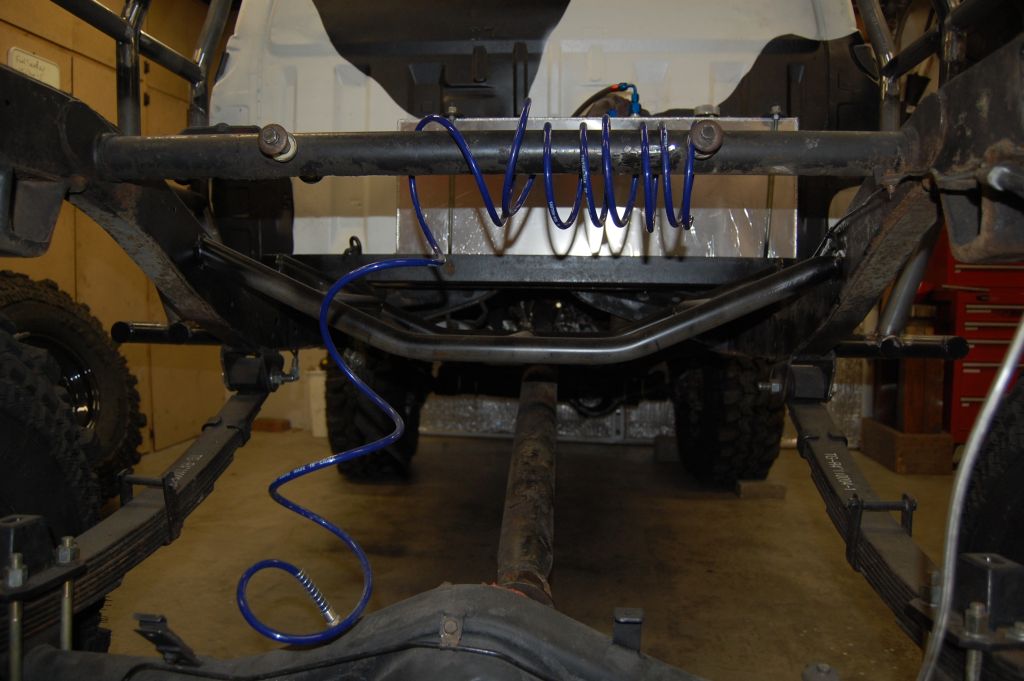
My daughter got a kick out of this wire that went nowhere (it was just dangling):
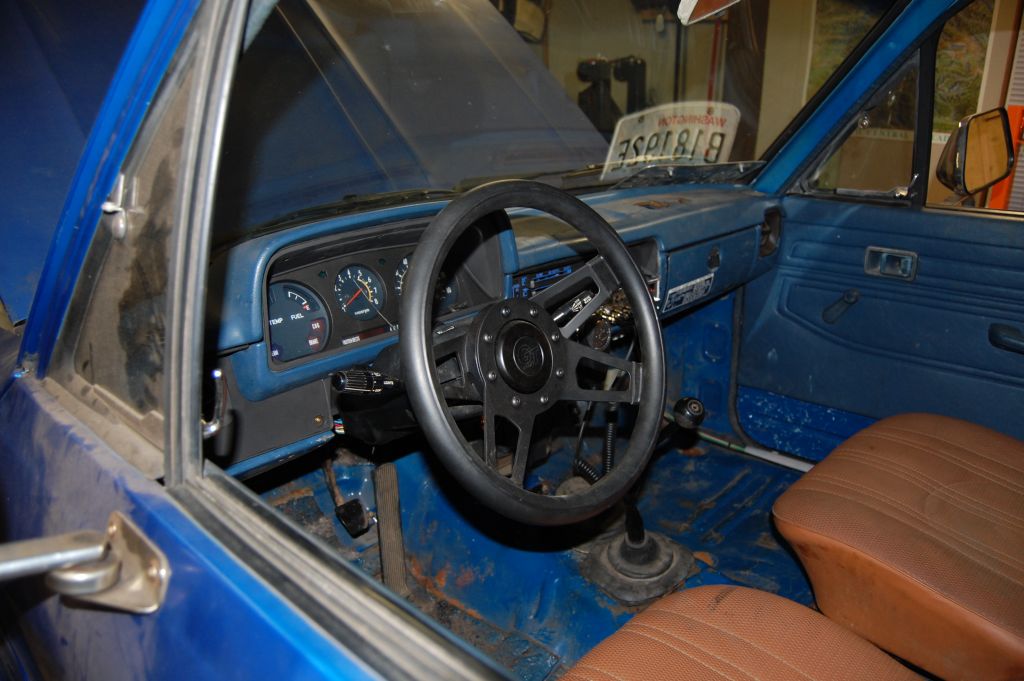
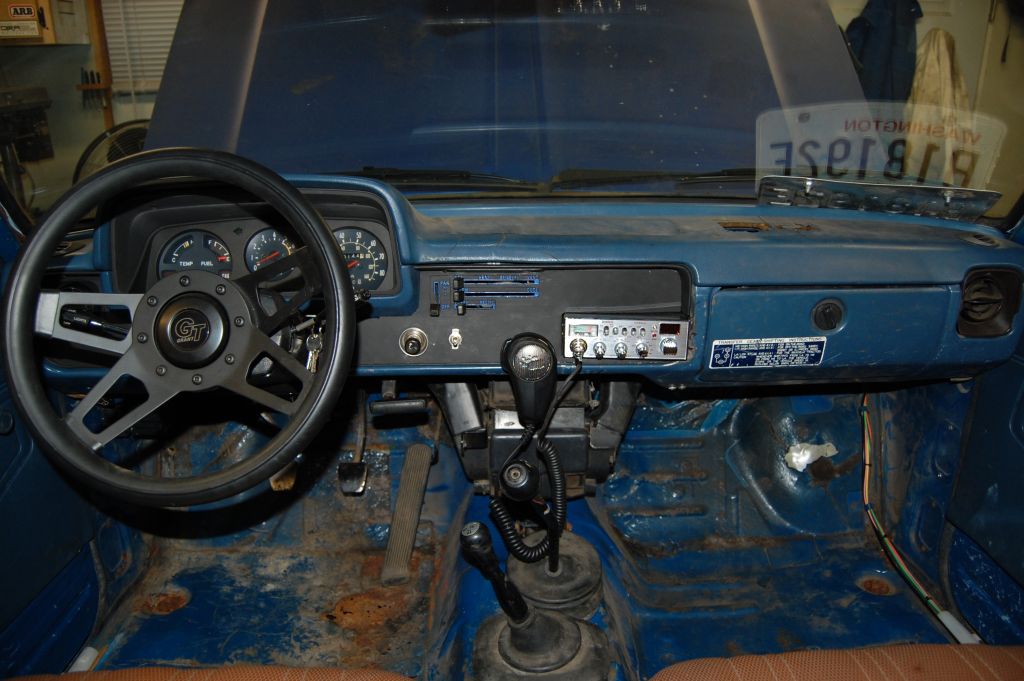
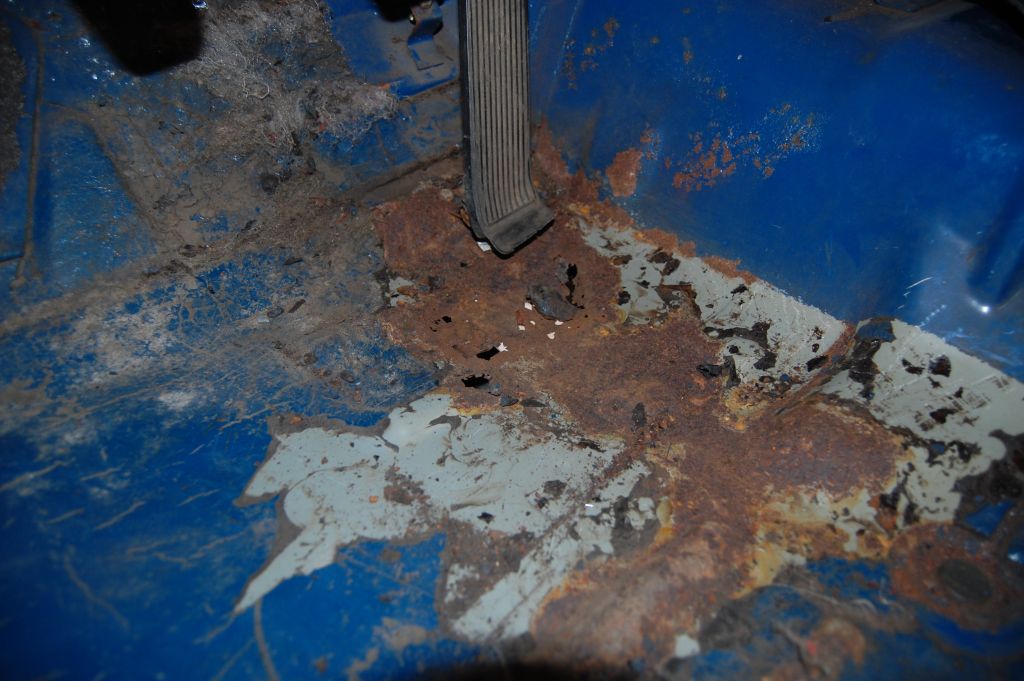
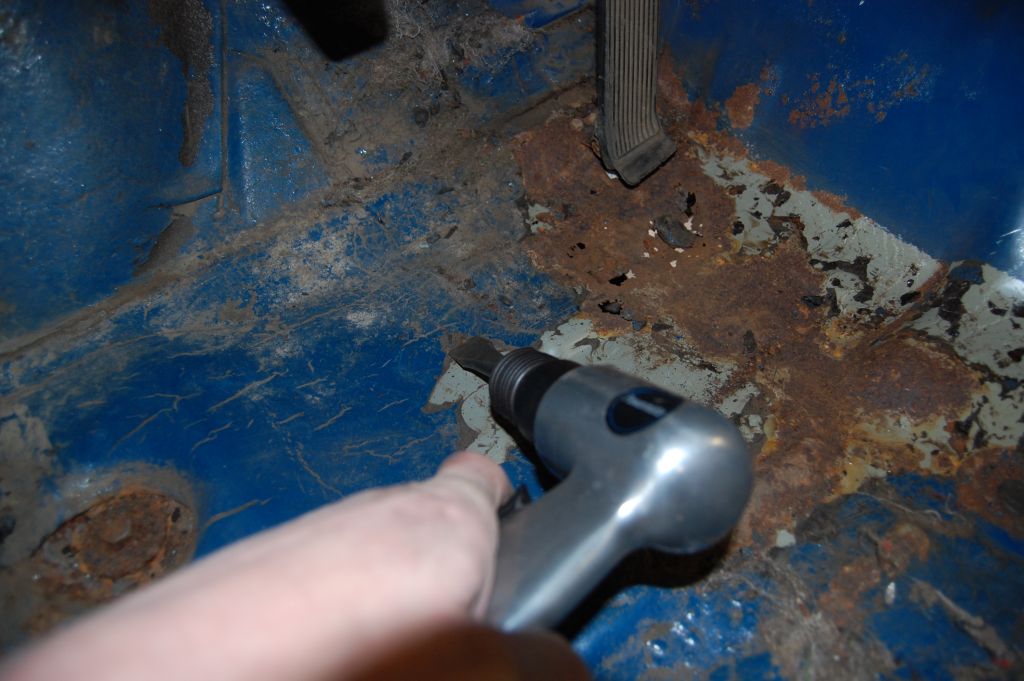
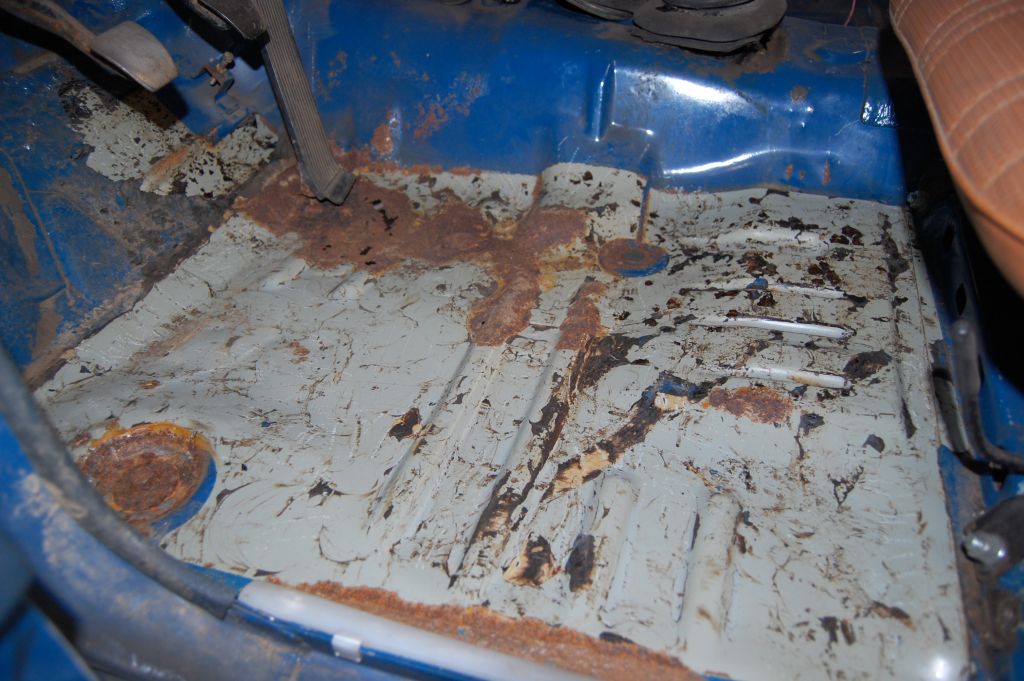
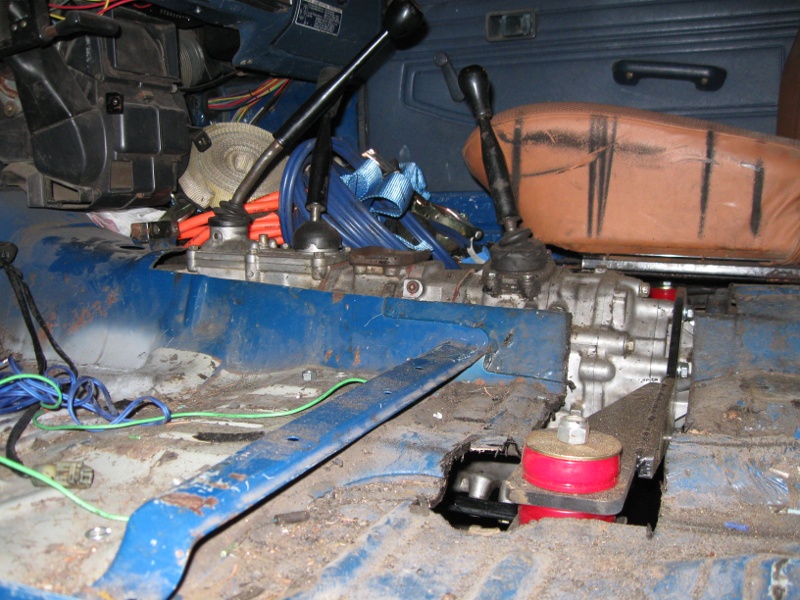
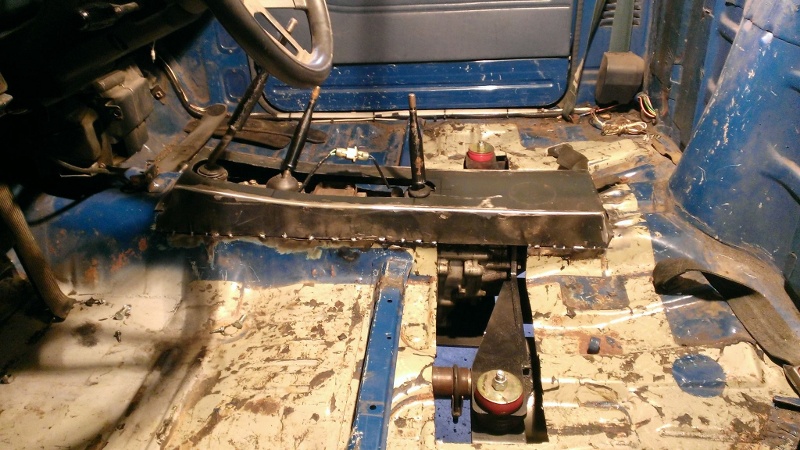
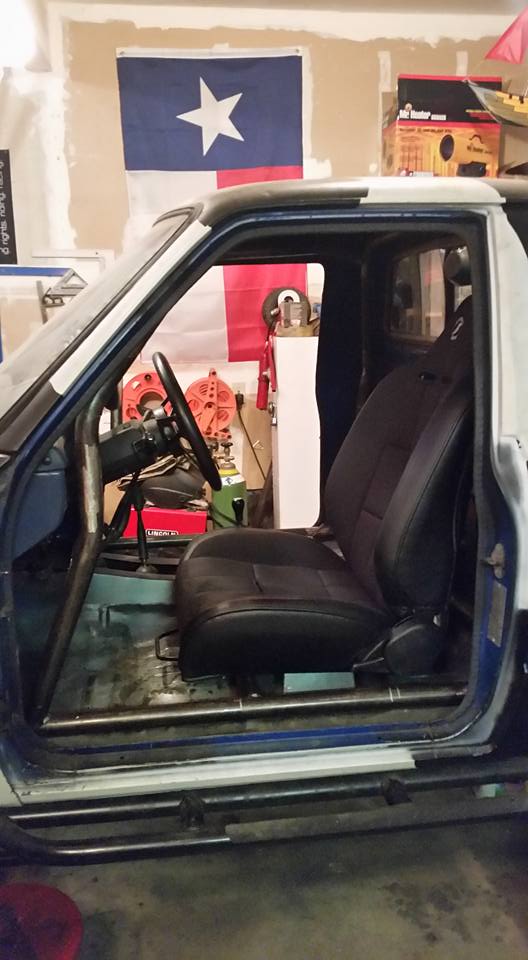
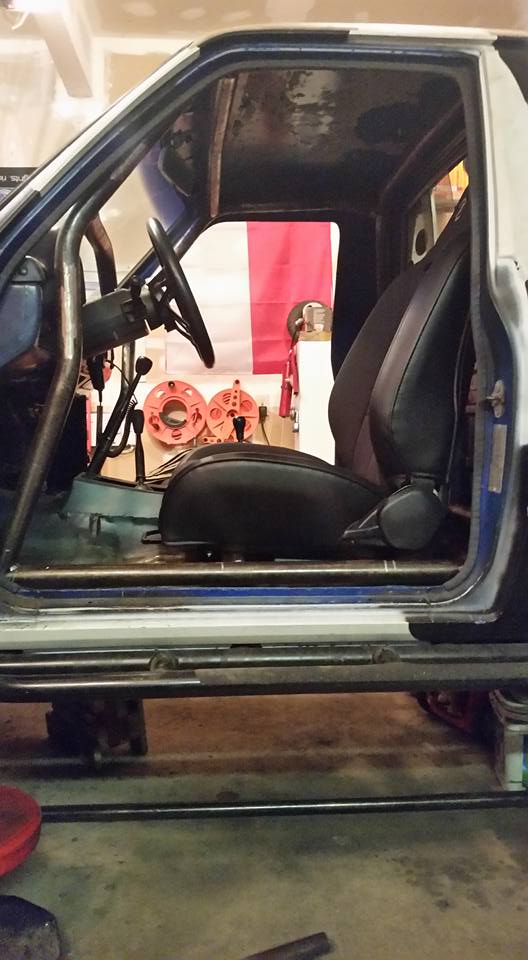
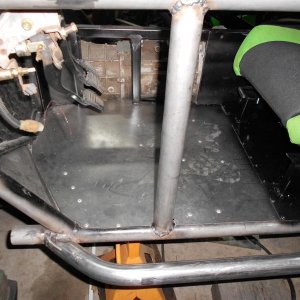
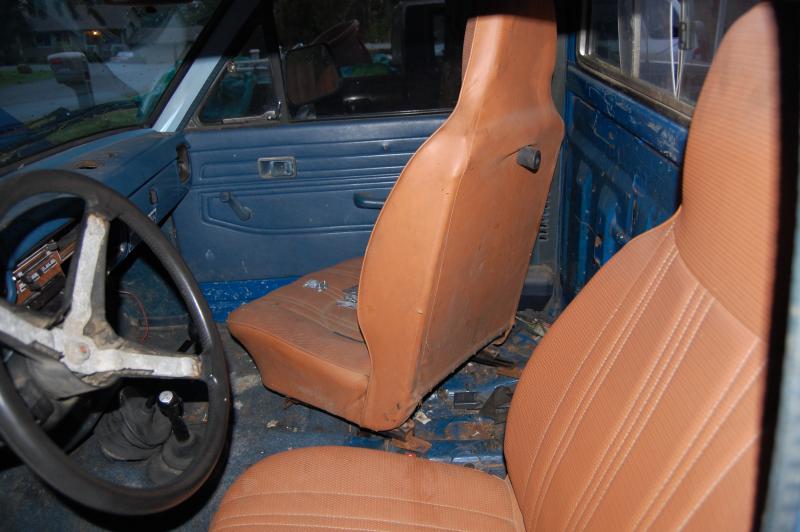
...when I started cleaning all of the crap out the inside, I was in for a shock -- the passenger seat was only held in by gravity, and the driver's seat only had one bolt holding it in
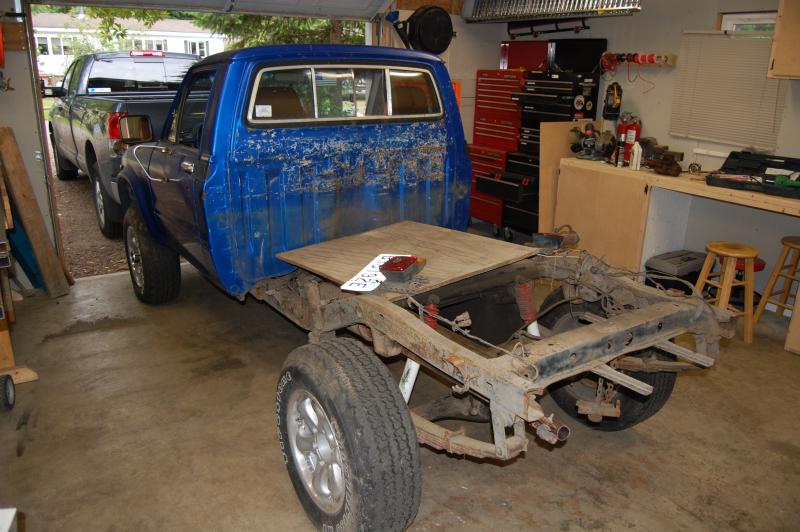
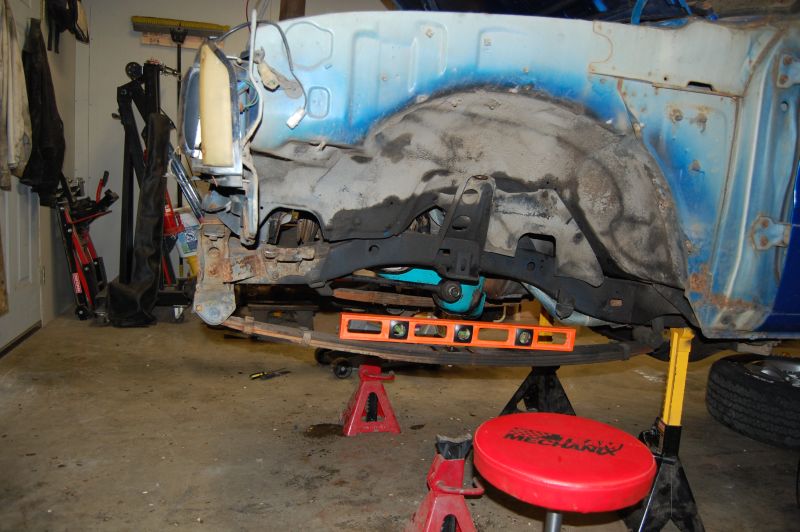
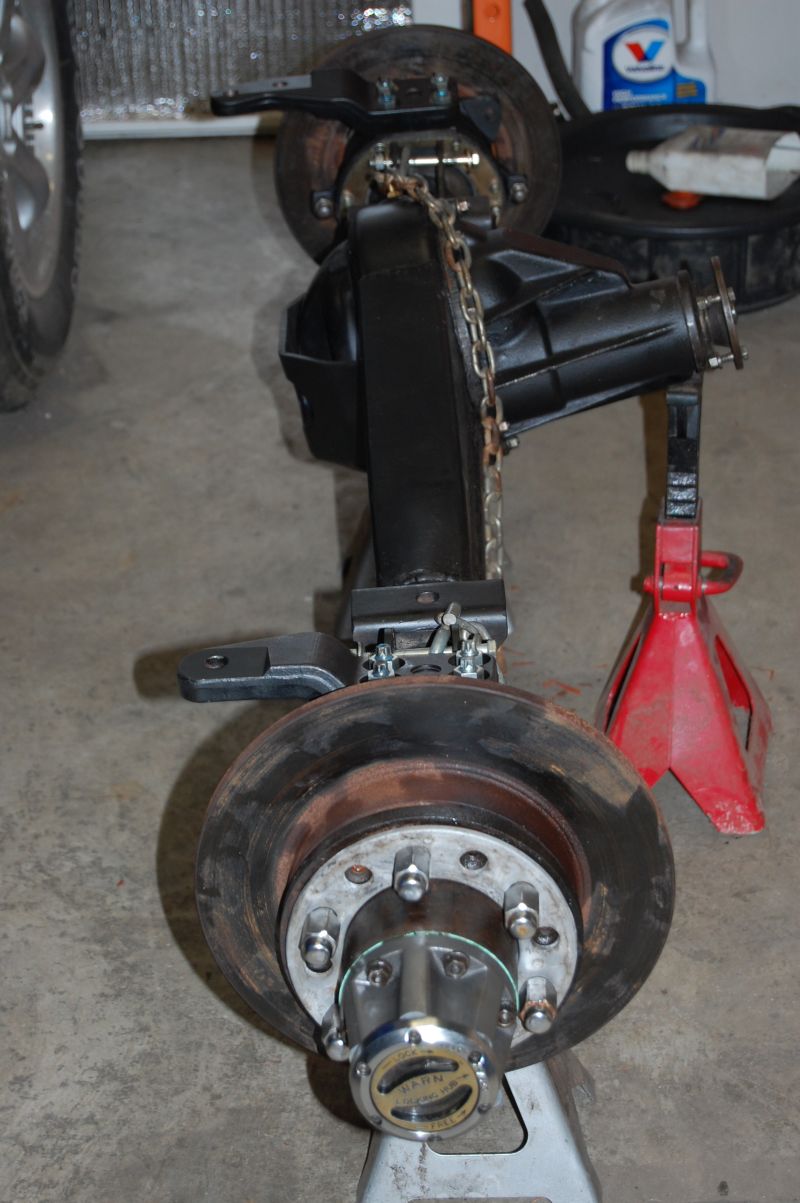
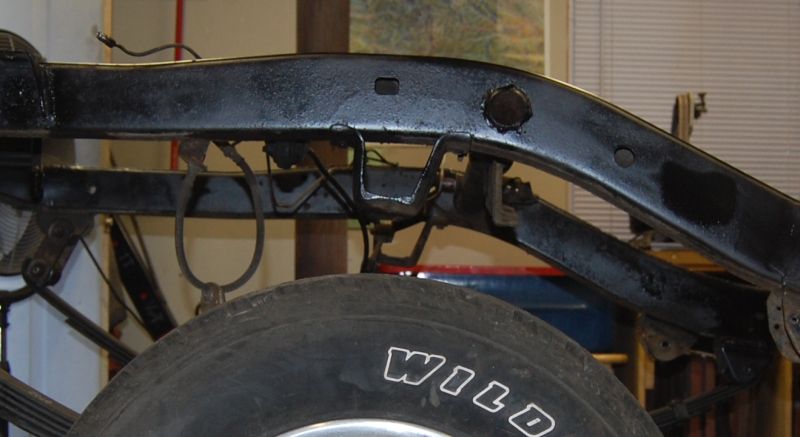
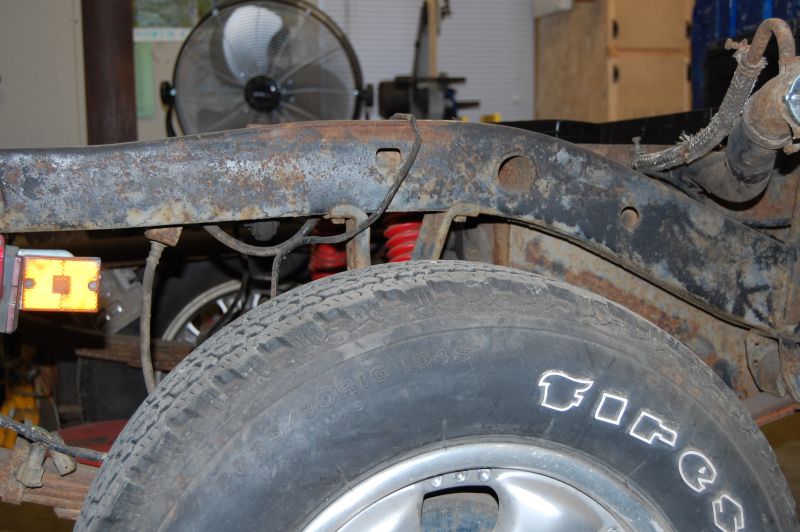
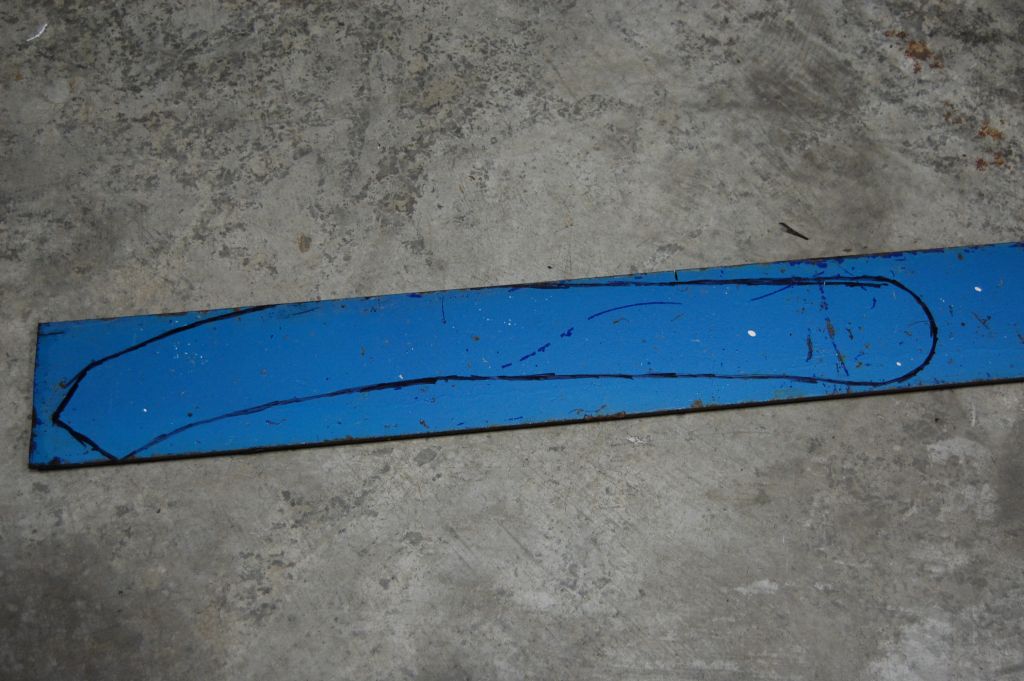
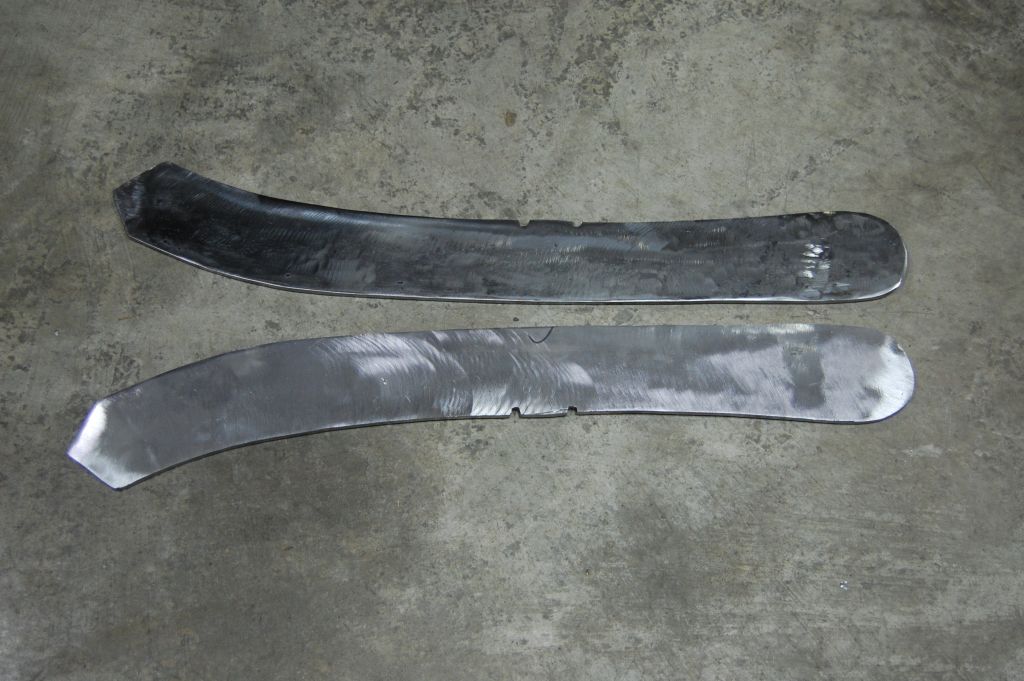
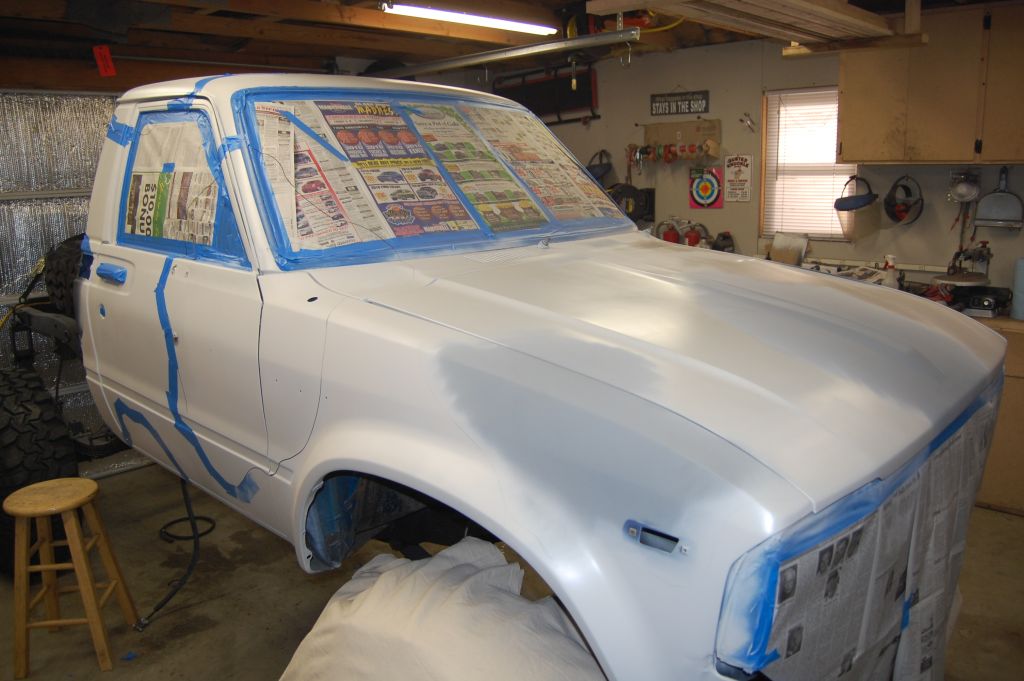
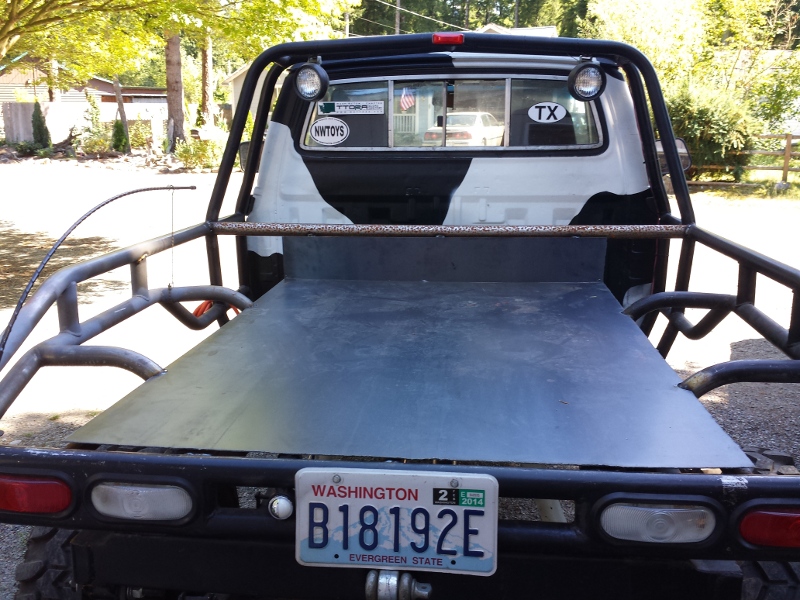
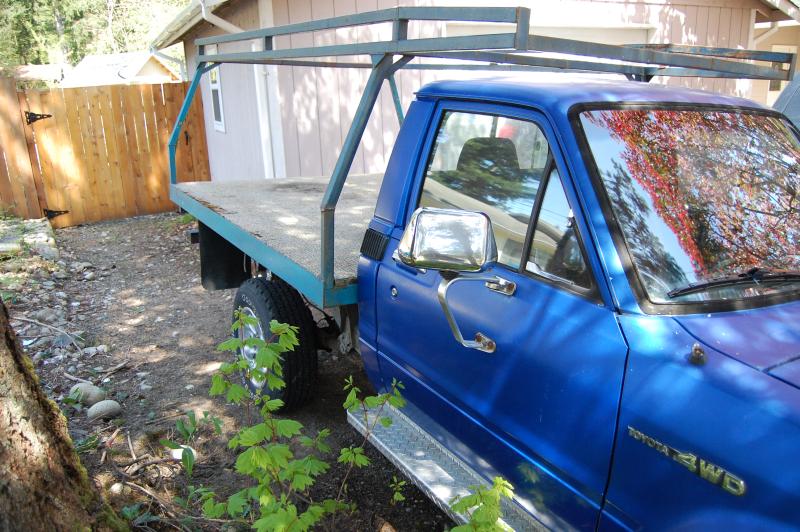
Clearly, the flatbed isn't very trail friendly, so it's going away. Before getting into tearing it apart, however, I decided to spend a little quality time with the pressure washer... There wasn't a whole lot in the way of dirt to be knocked off, but there was plenty of built up grease and muck...
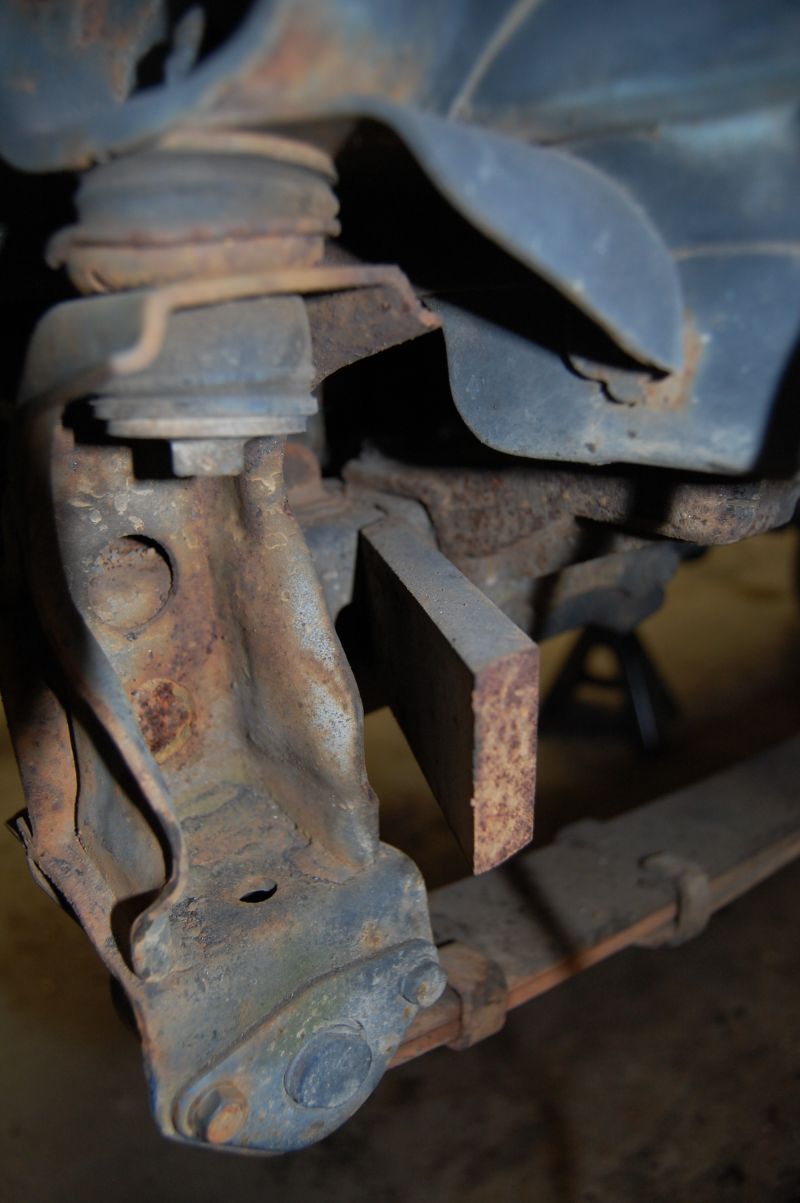
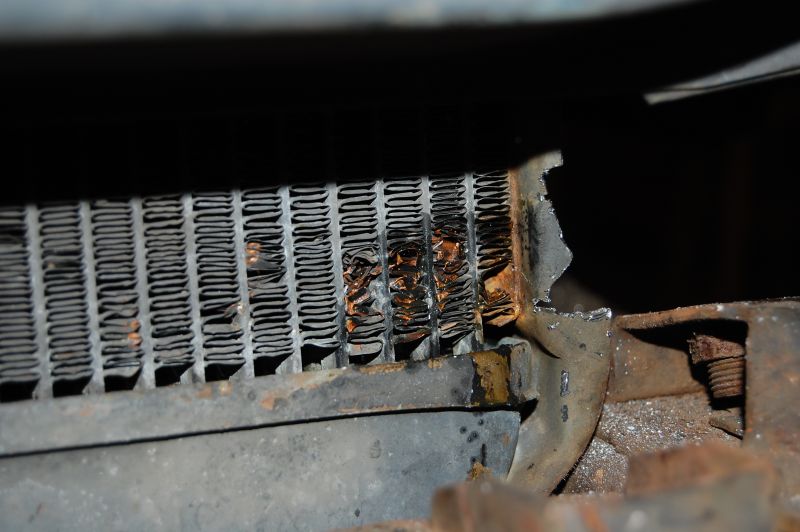
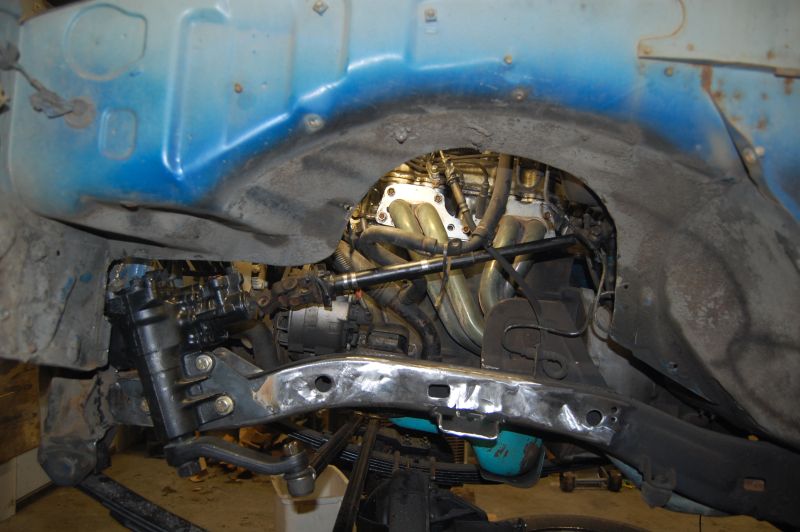
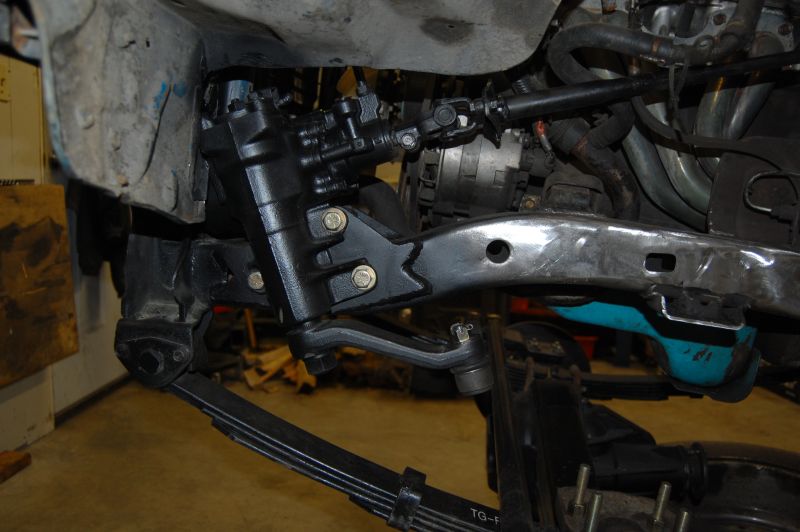
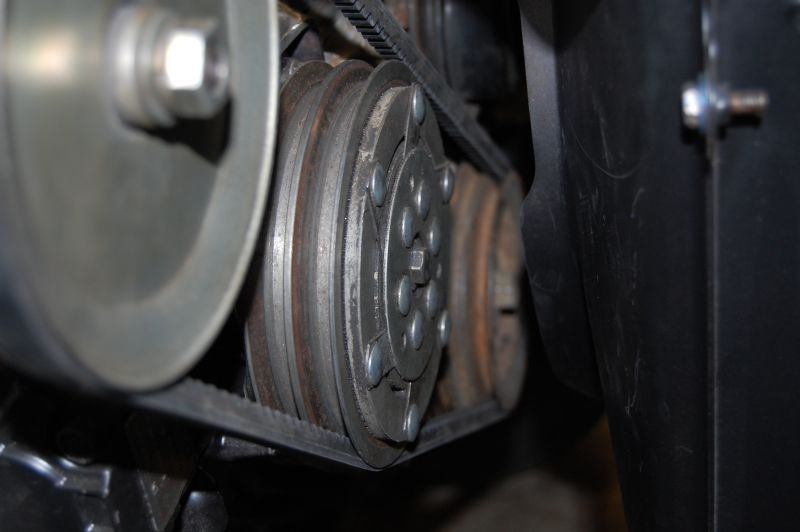
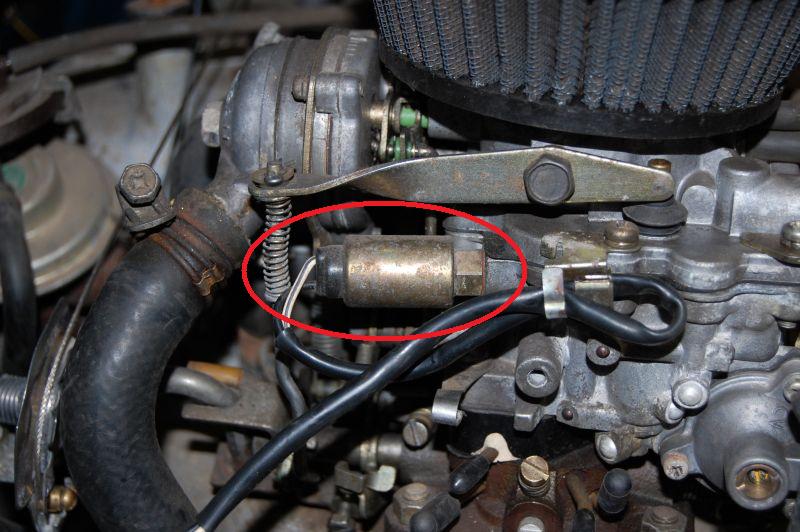
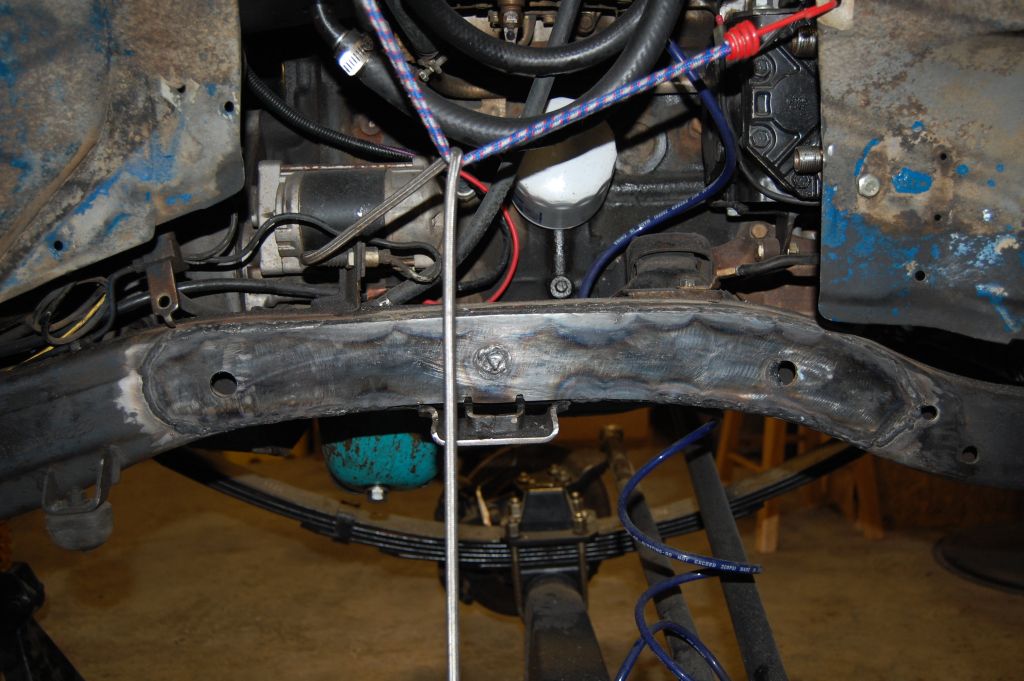
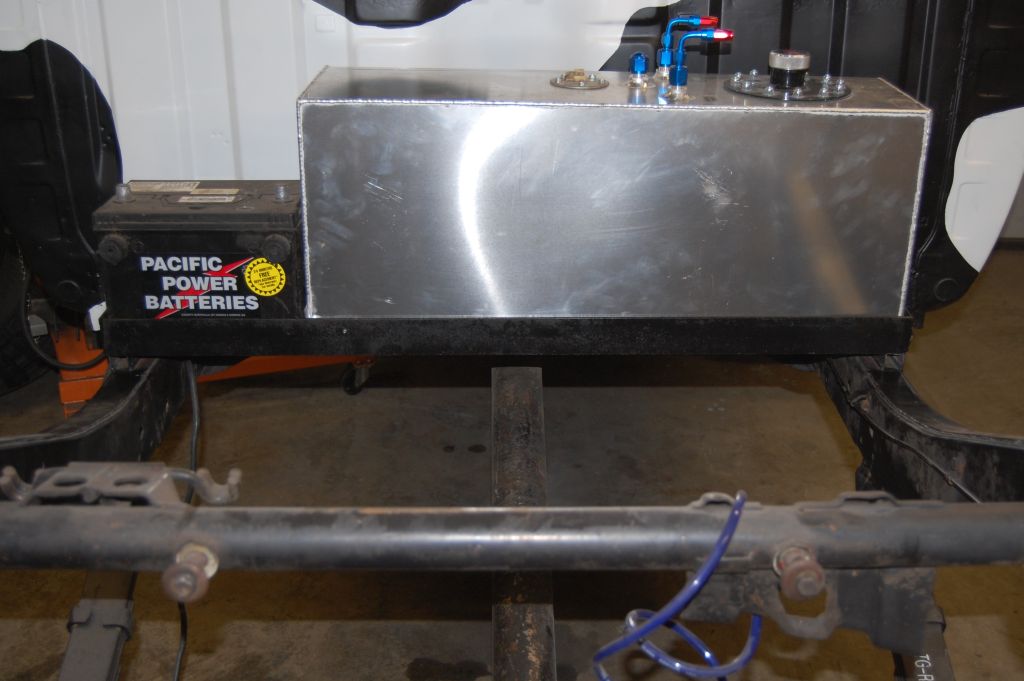
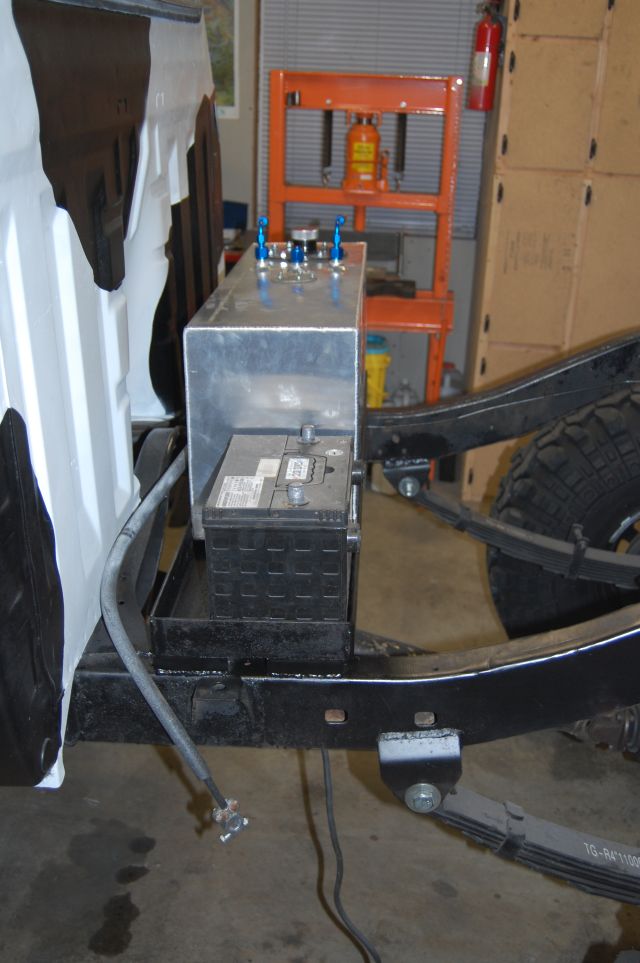
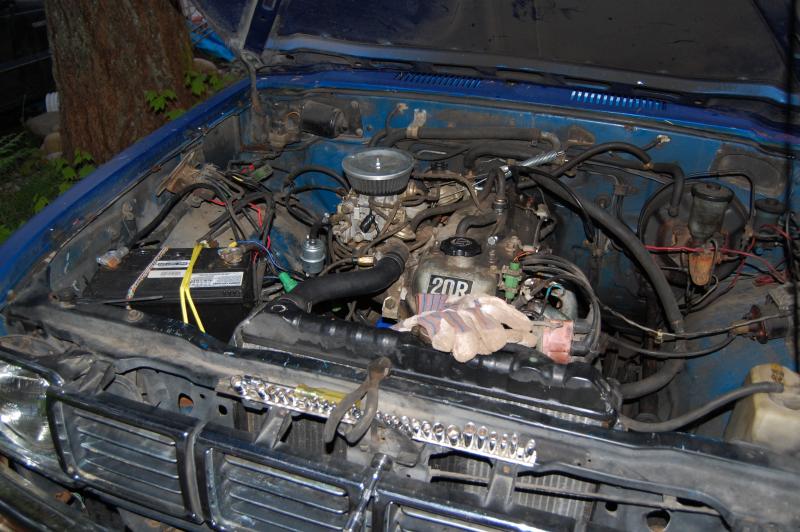
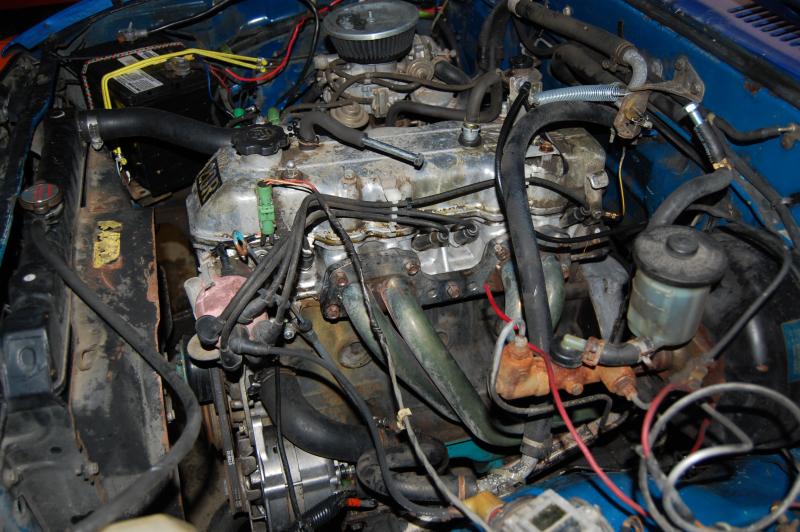
After pressure washing the undercarrage and engine bay, and doing a little minor cleanup of the mess under the hood, here's what the bay looks like now (I love the mounting of the brand new battery :naughty: ). The "clean" bolts were added by me, to keep out water from the pressure washer :
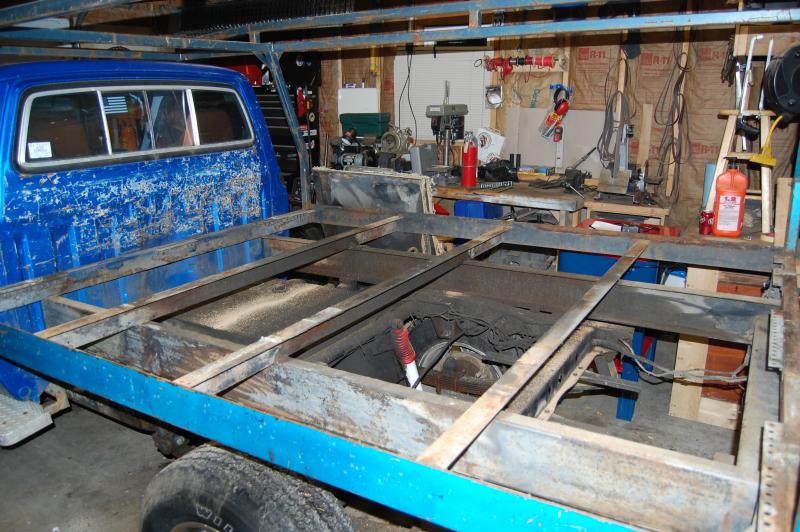
After the cleanup, I started in on the dismantling of the flatbed. Unfortunately, due to having to remove about 7' worth of cabinets from my shop (in order to get the rig to fit in with the garage door closed), I only got as far as removing the deck off the flatbed:
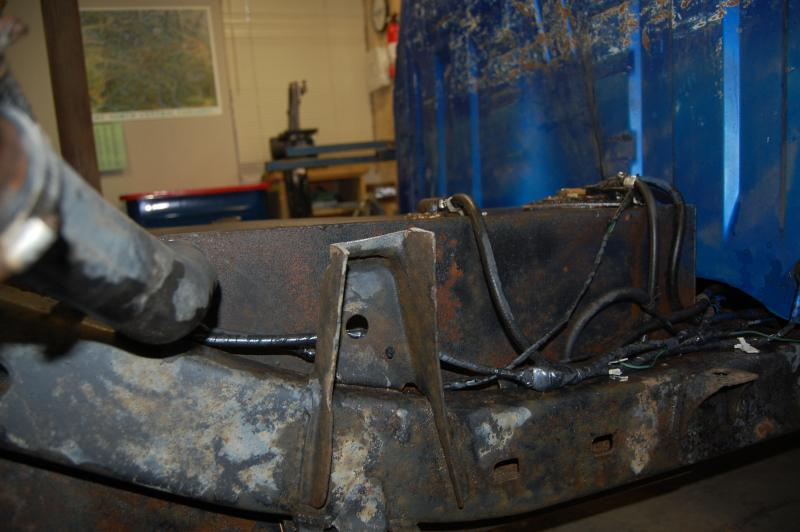
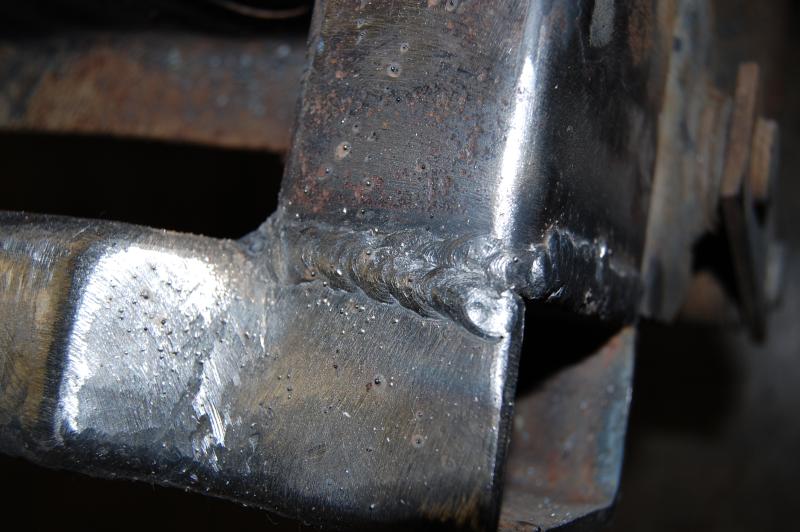
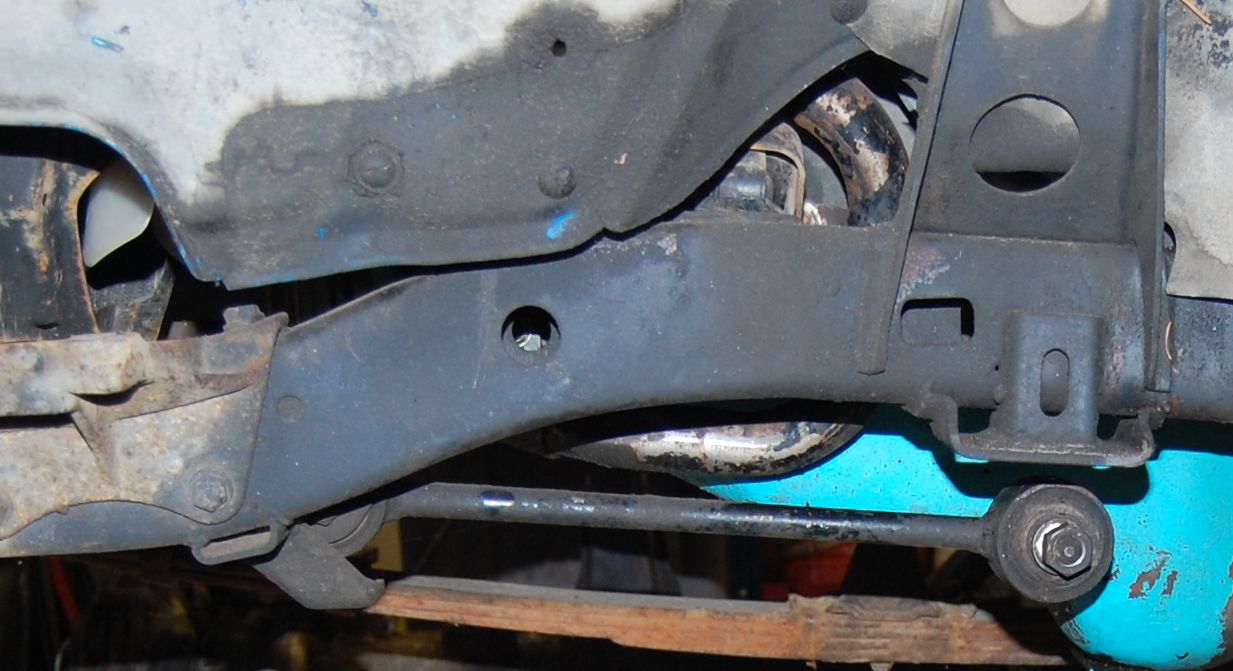
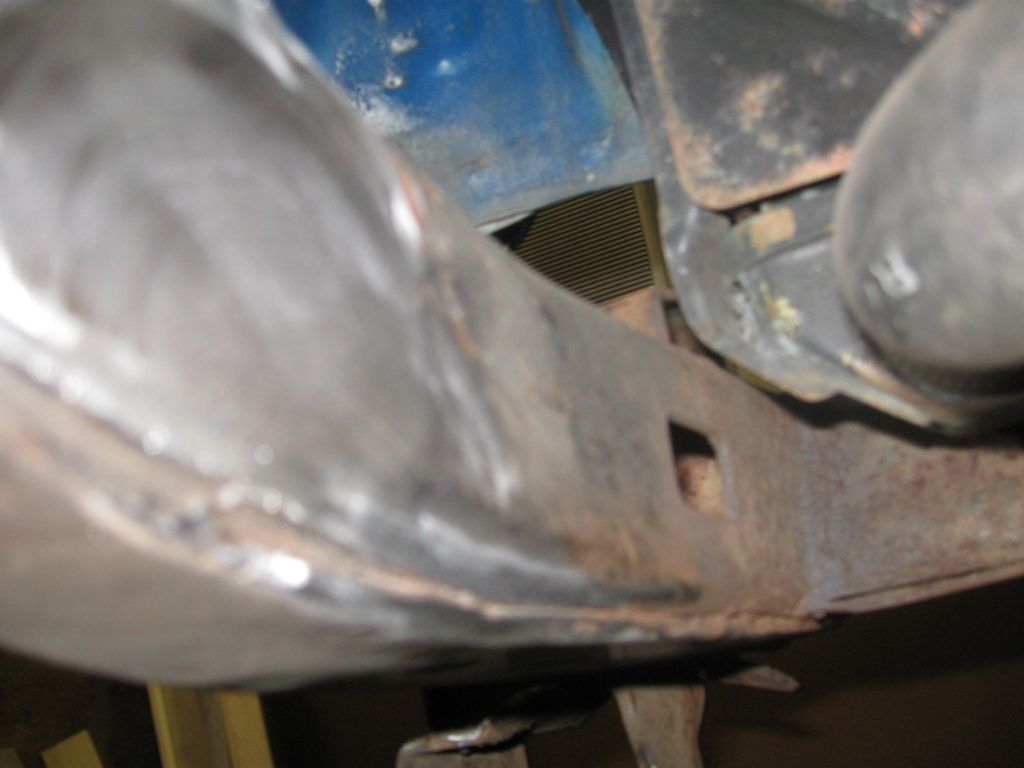
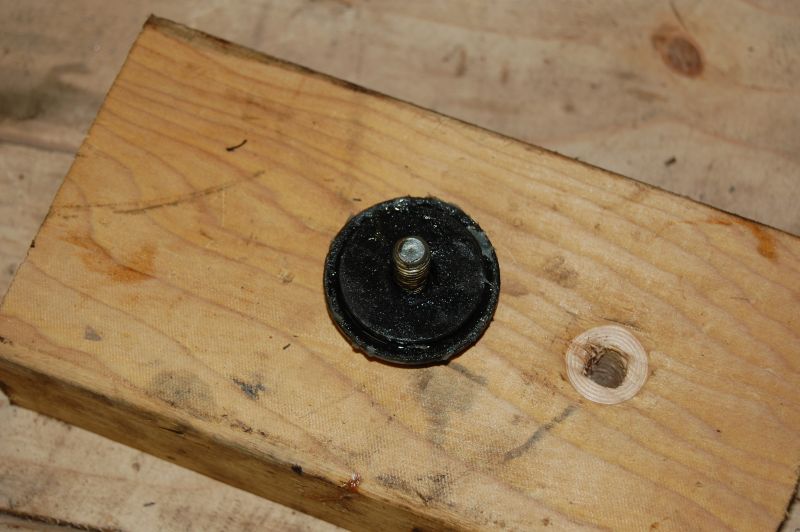
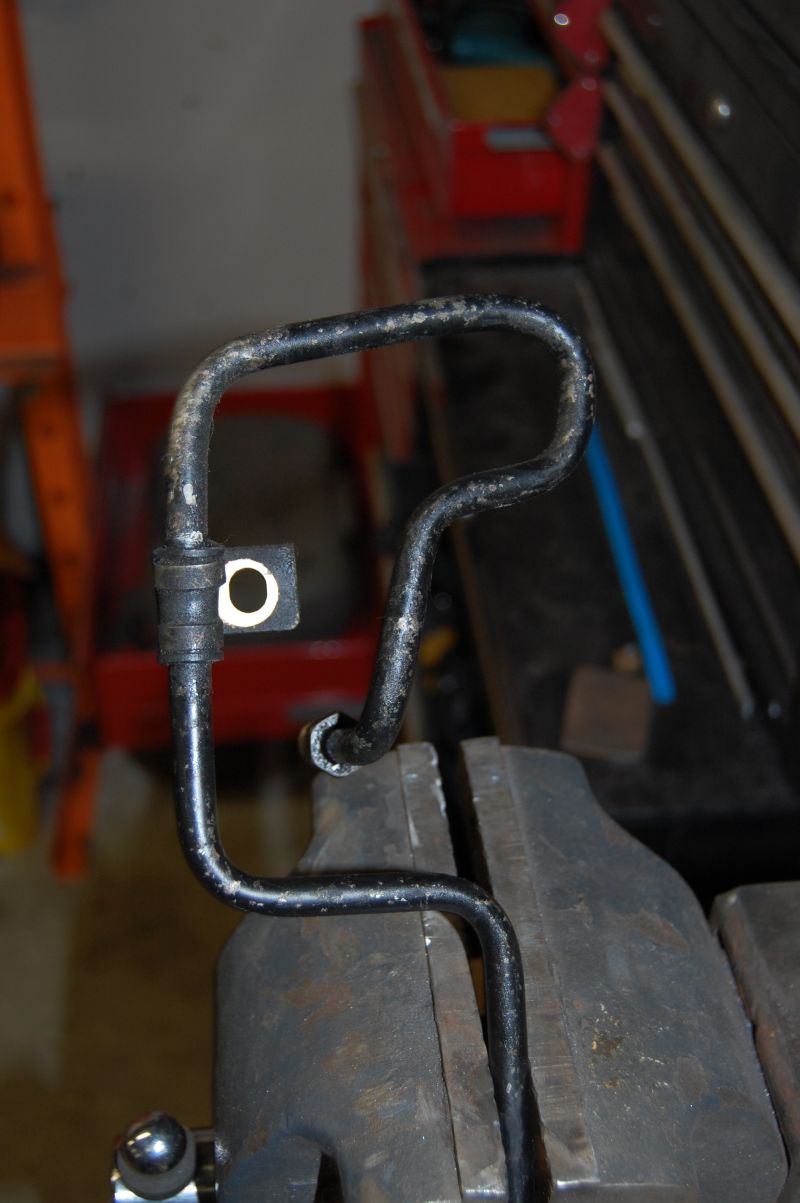
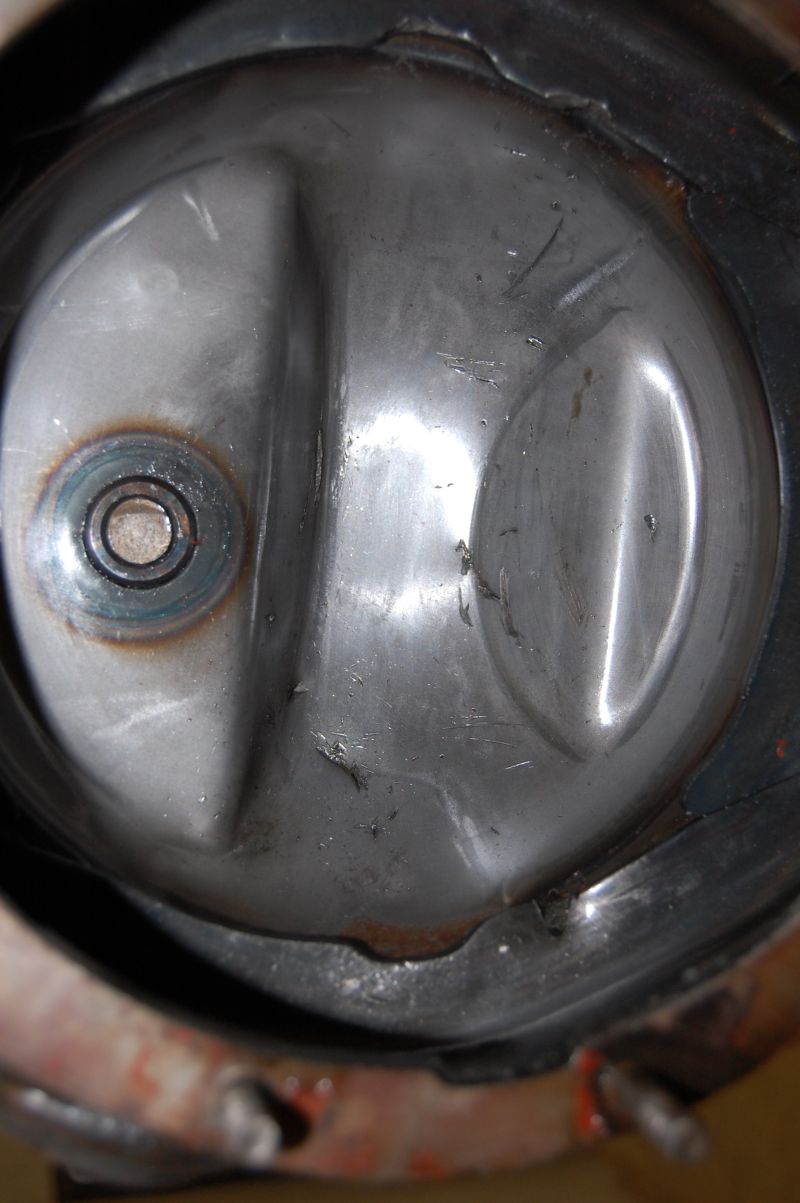
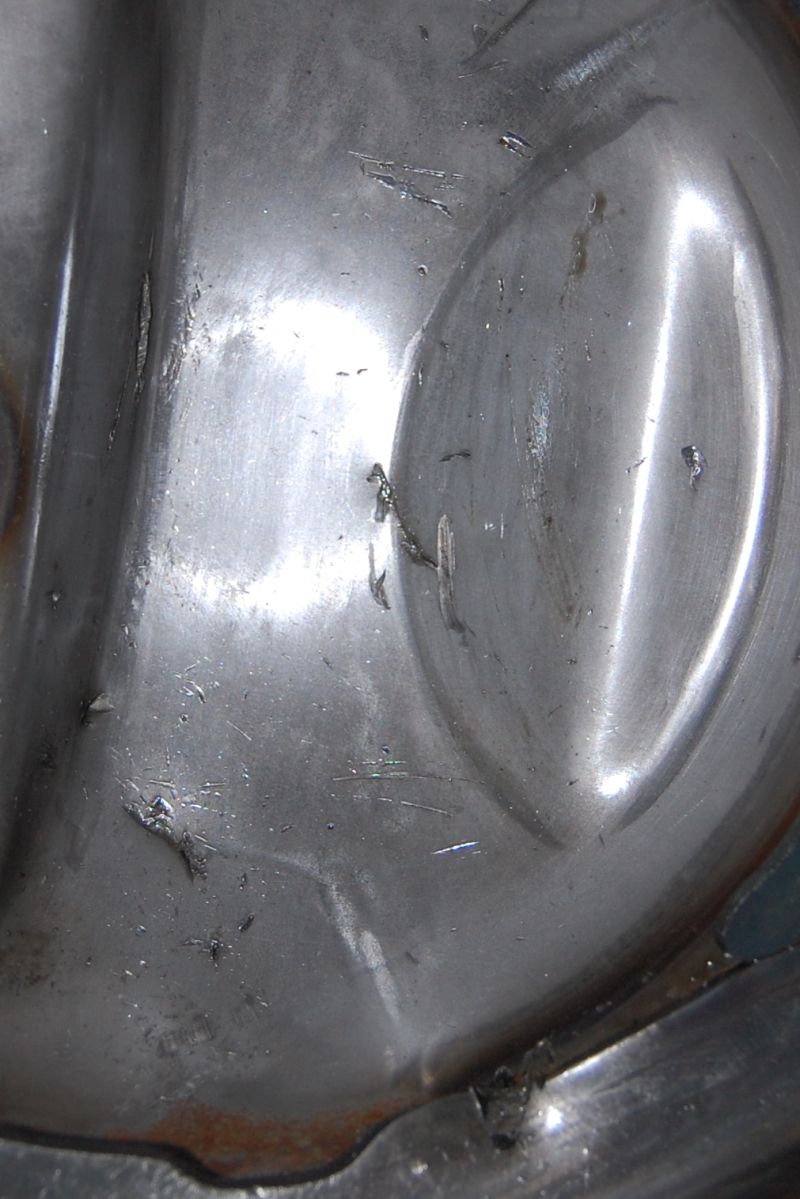
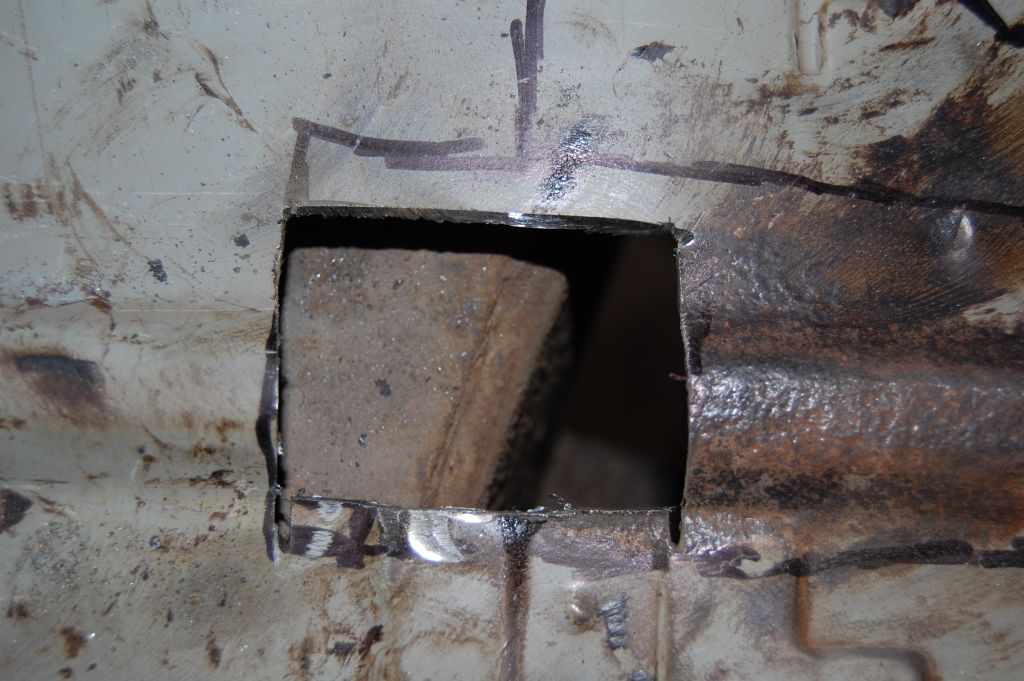
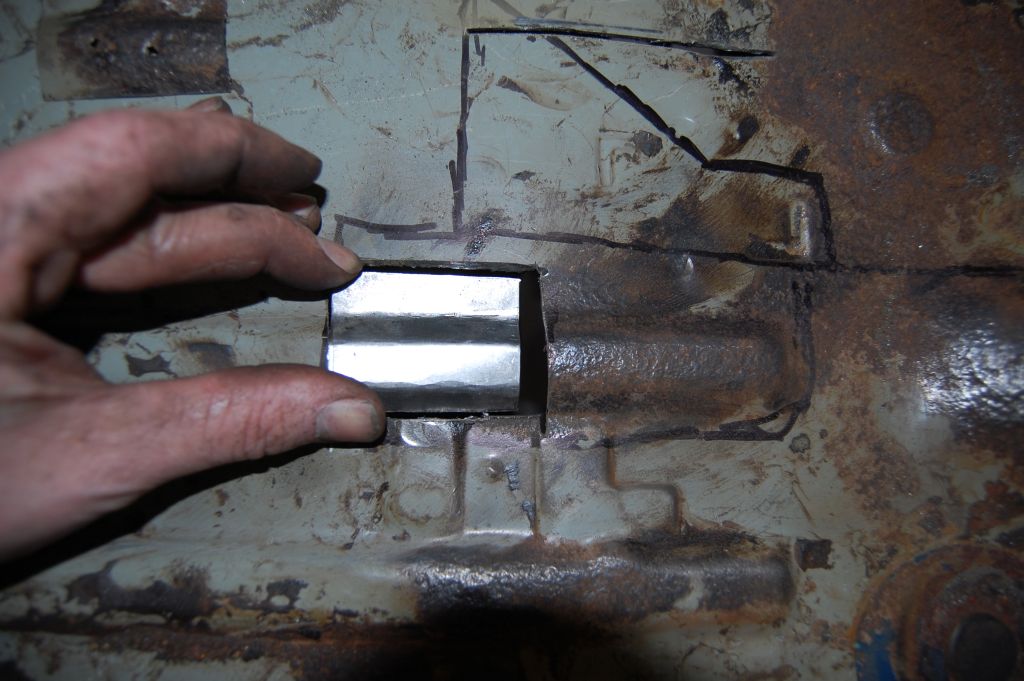
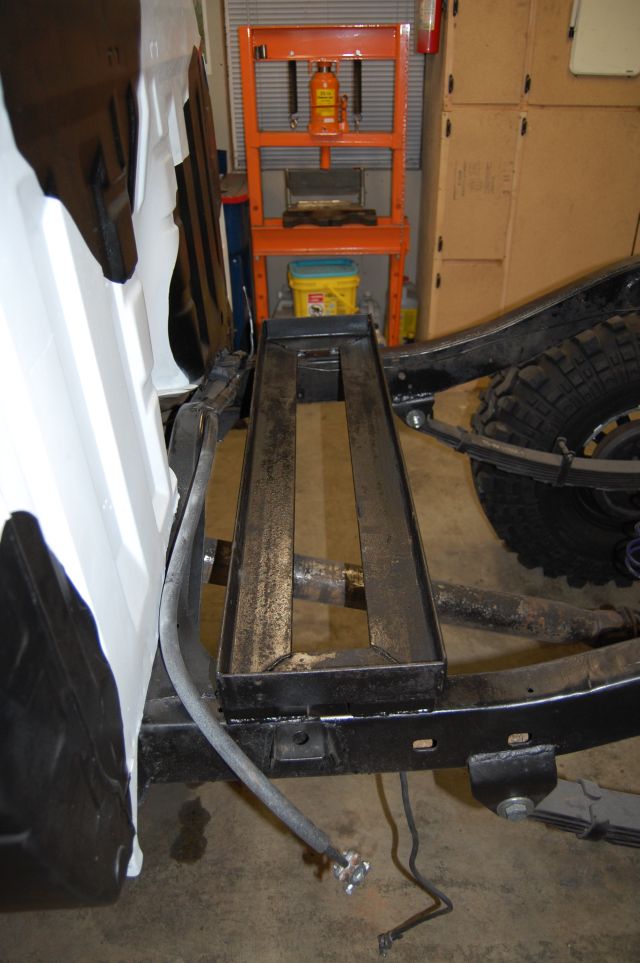
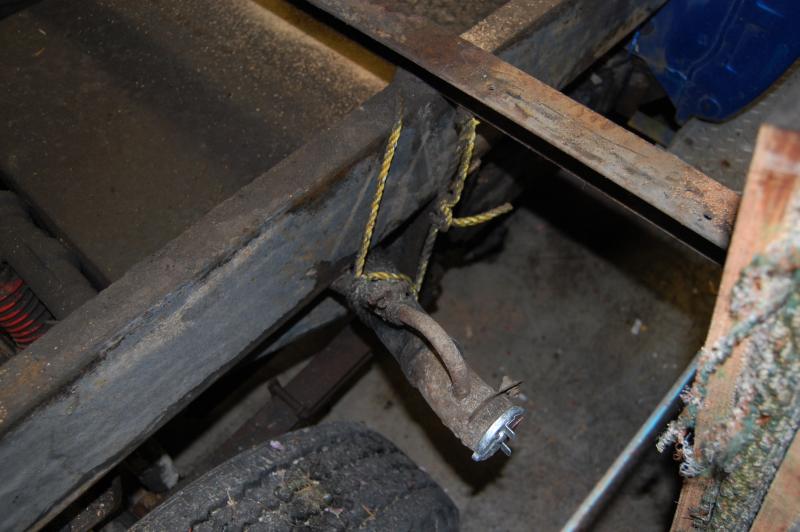
This revieled some...entertaining () ...engineering. Case in point, the gas tank filler neck:
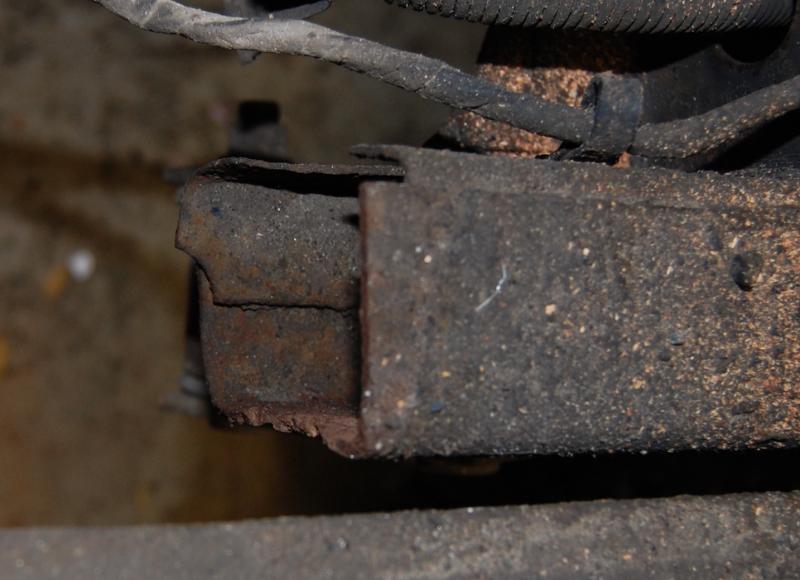
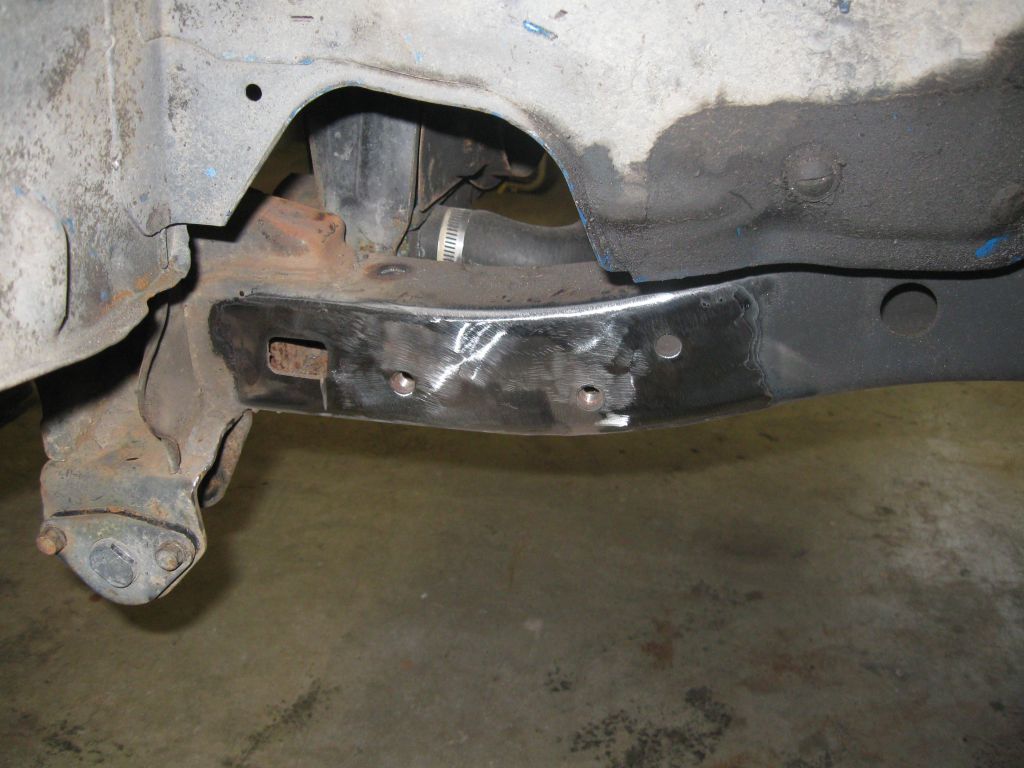
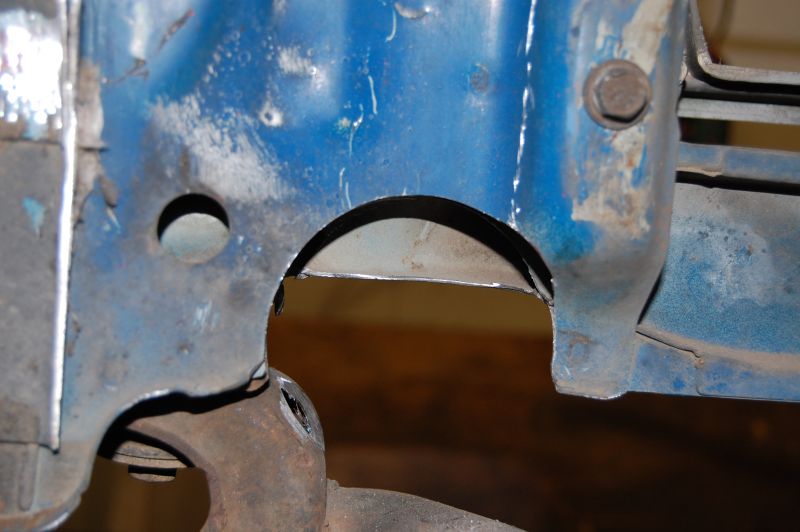
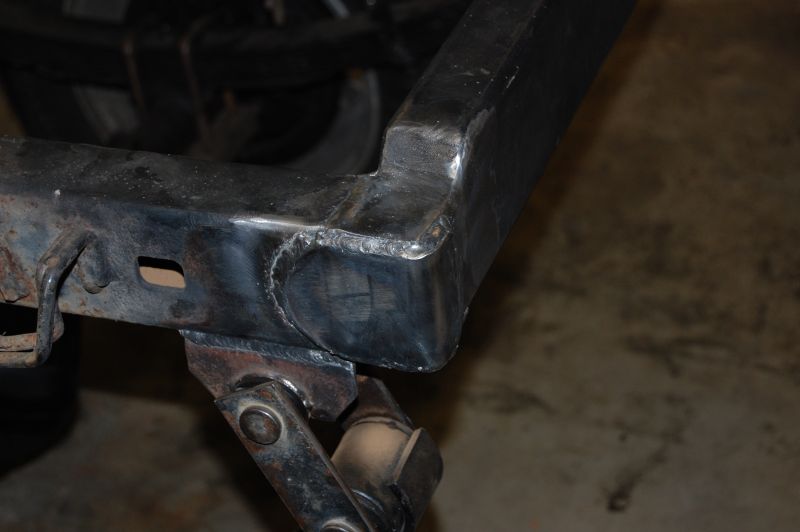
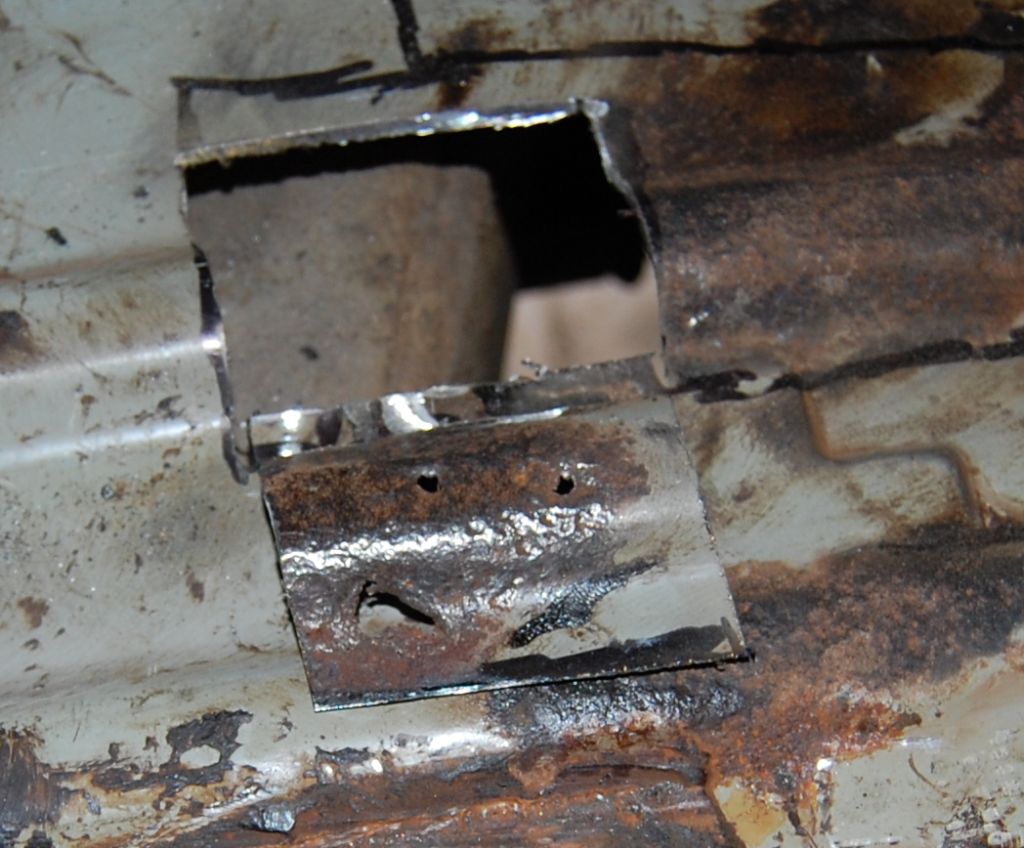
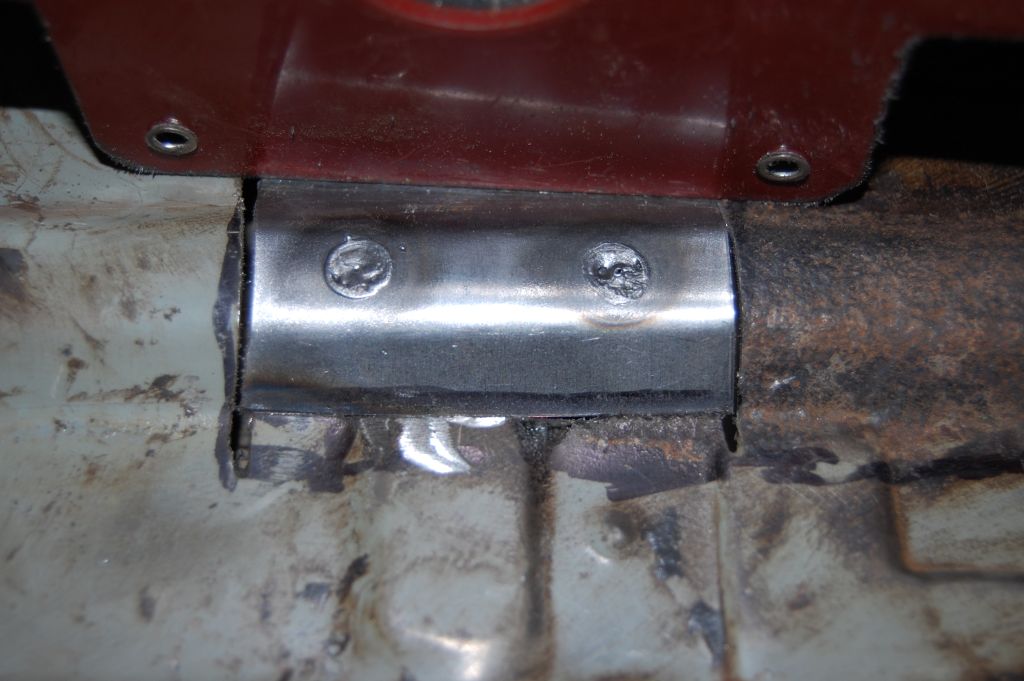
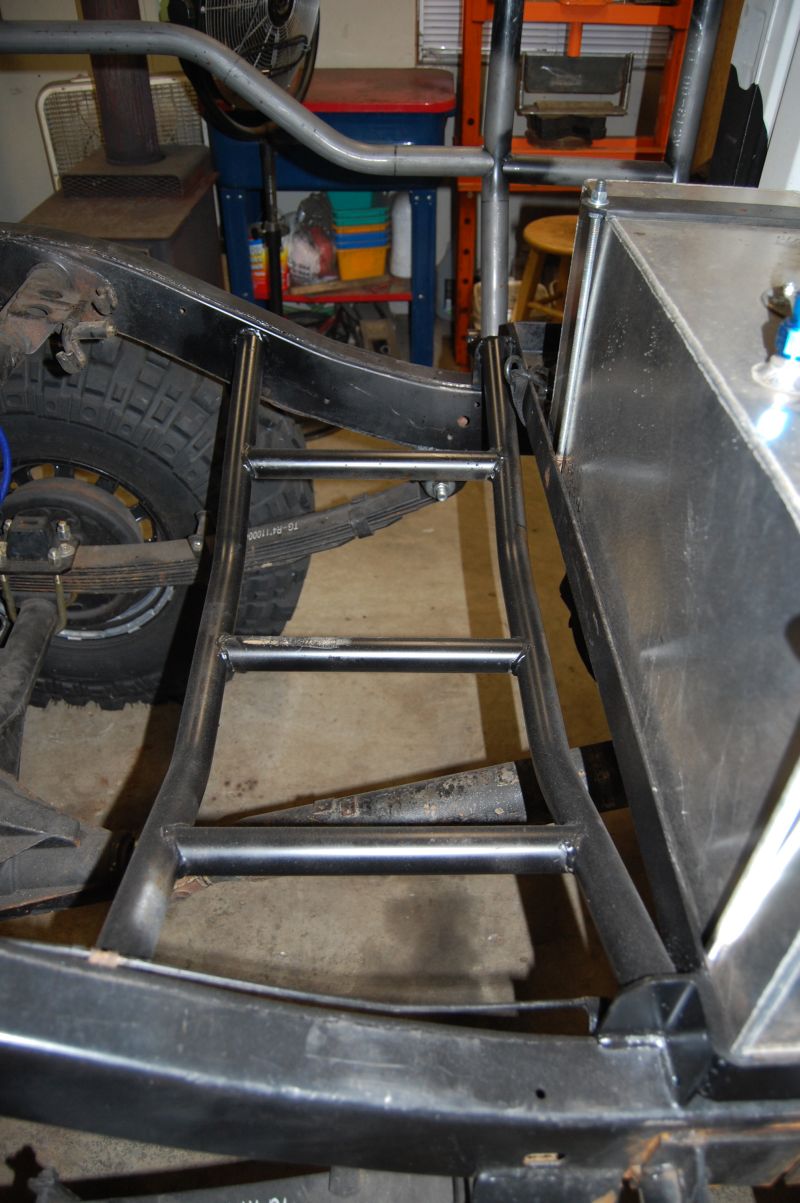
The method by which the bed is attached:
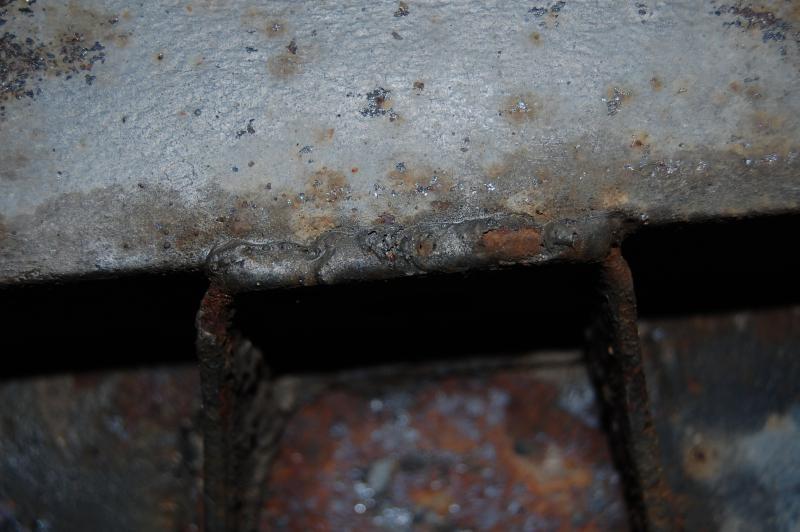
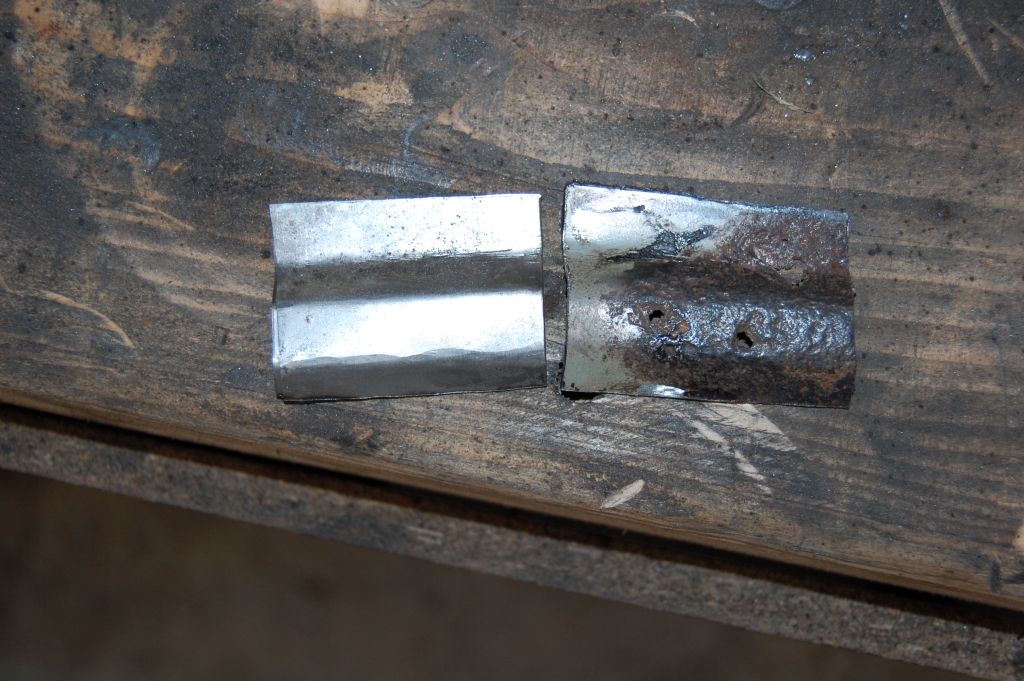
(it's welded - inside and out - to the body mounts)
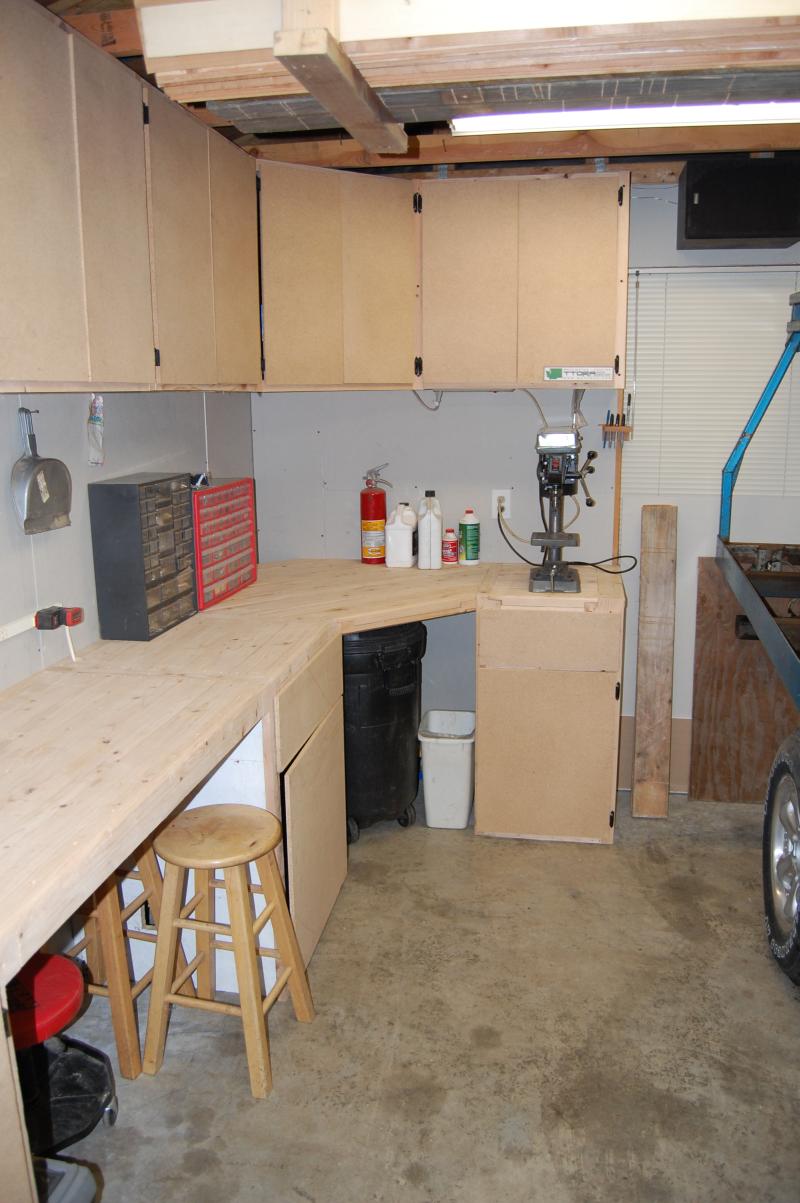
Before I can get any further into the tear down, I've got to build some new cabinets in the shop (so I can get all of the crap out of the way of the work area :rofl: ). I'm hoping to have that done by Saturday evening, so I can get started on pilfering the steel in the flatbed
--
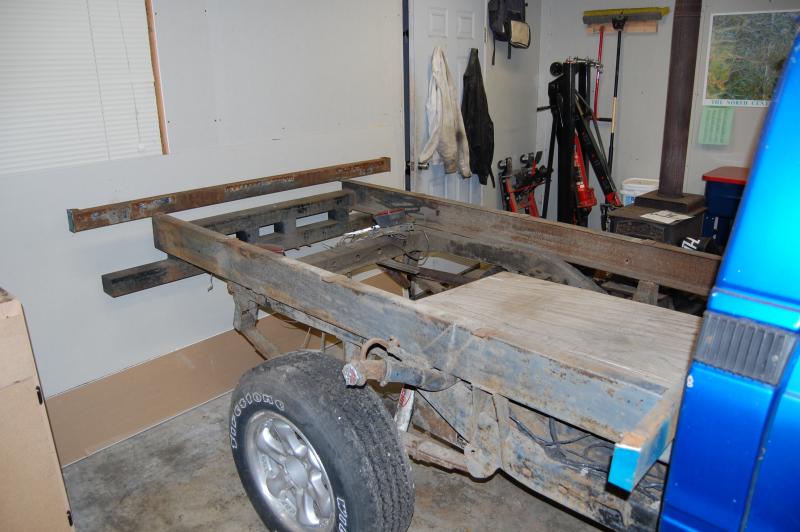
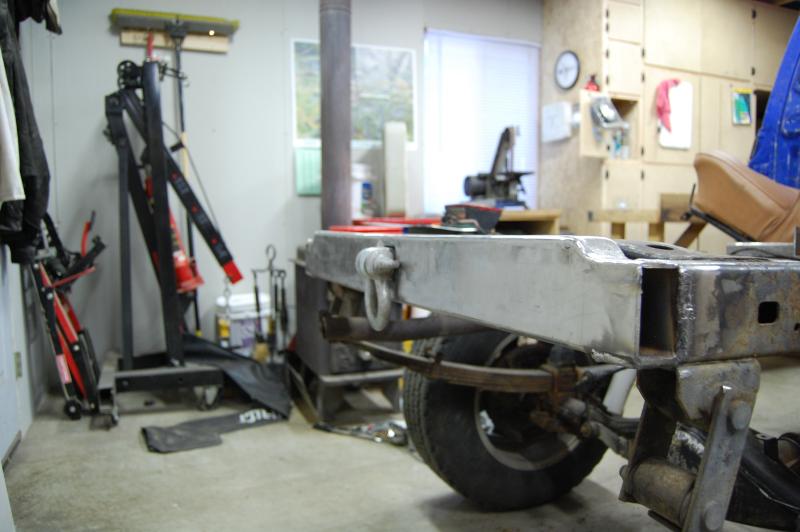
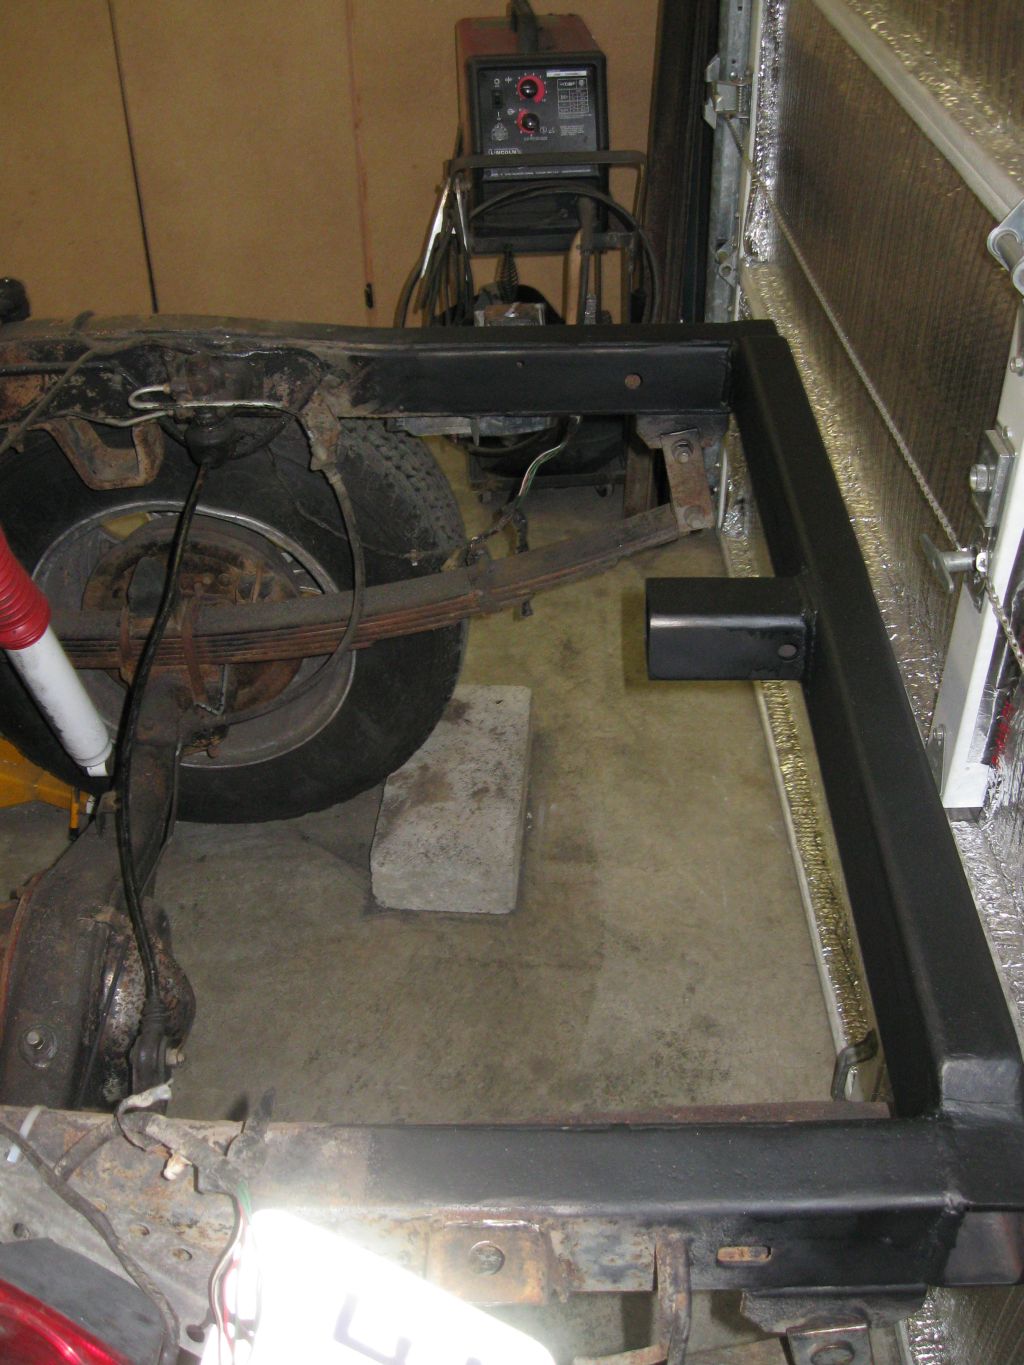
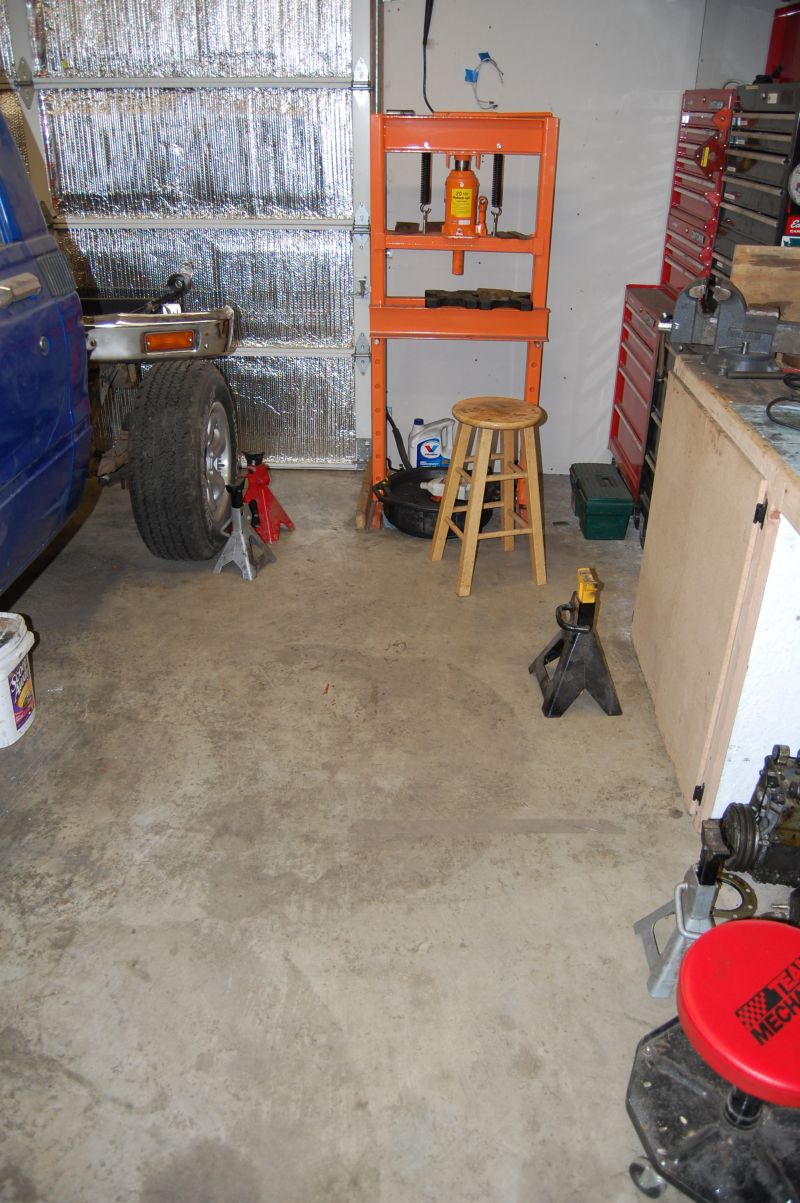
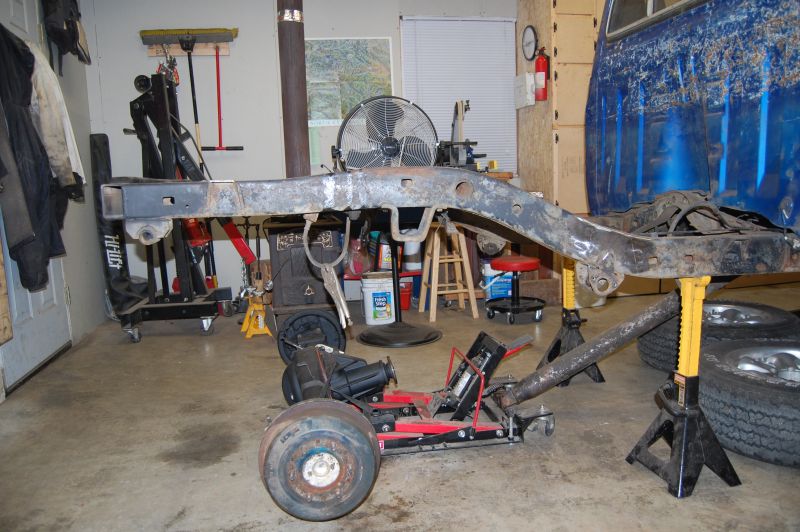
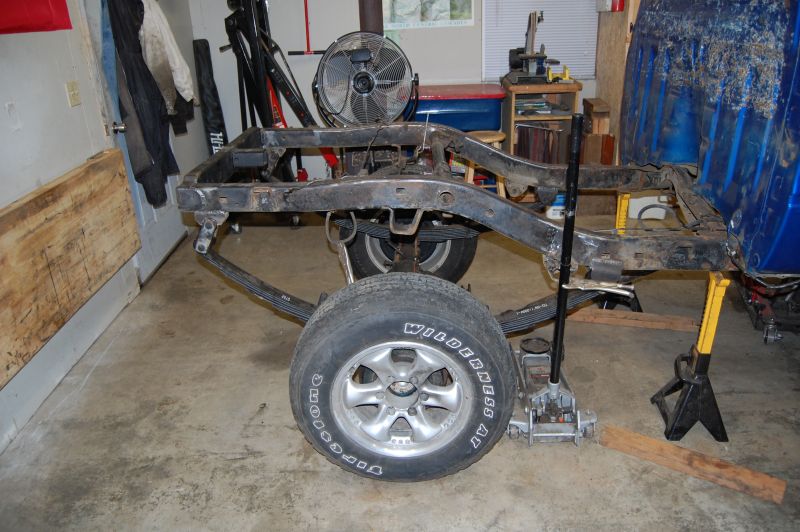
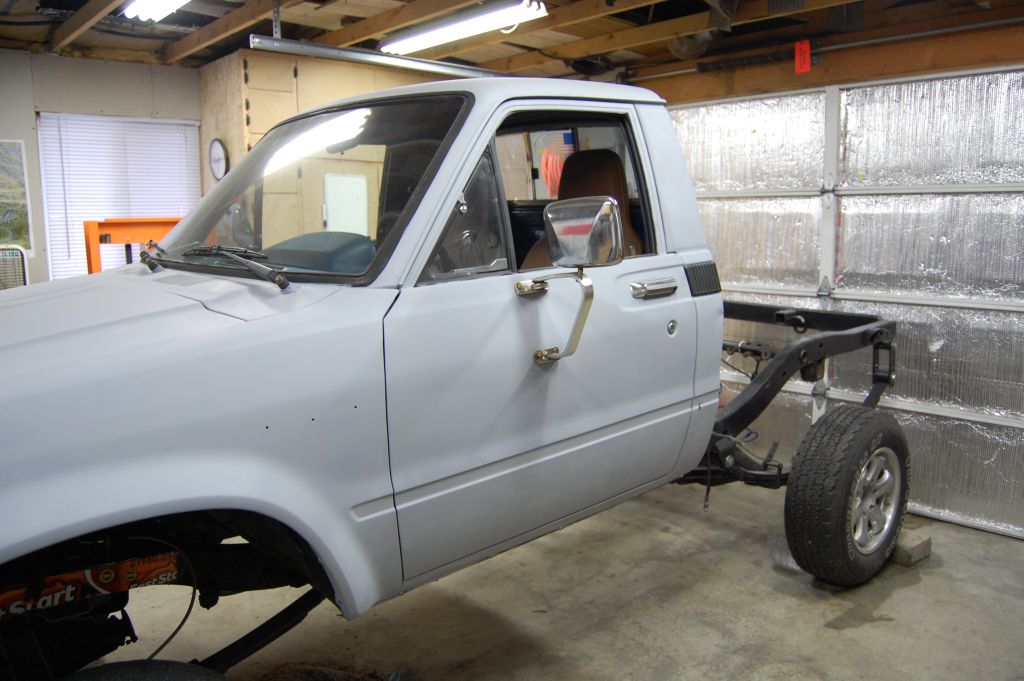
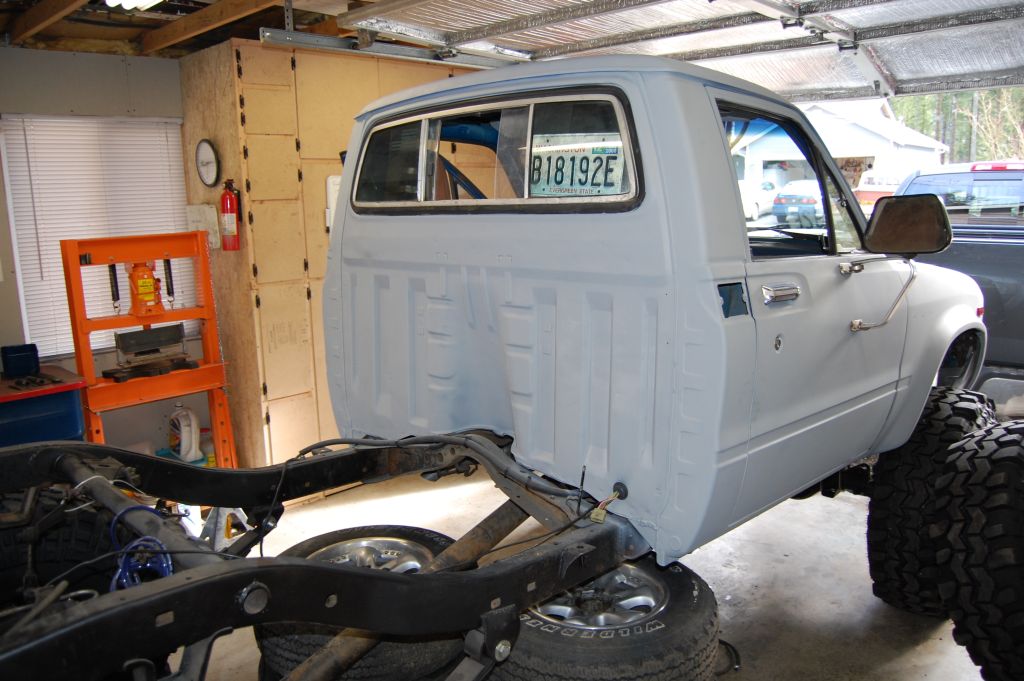
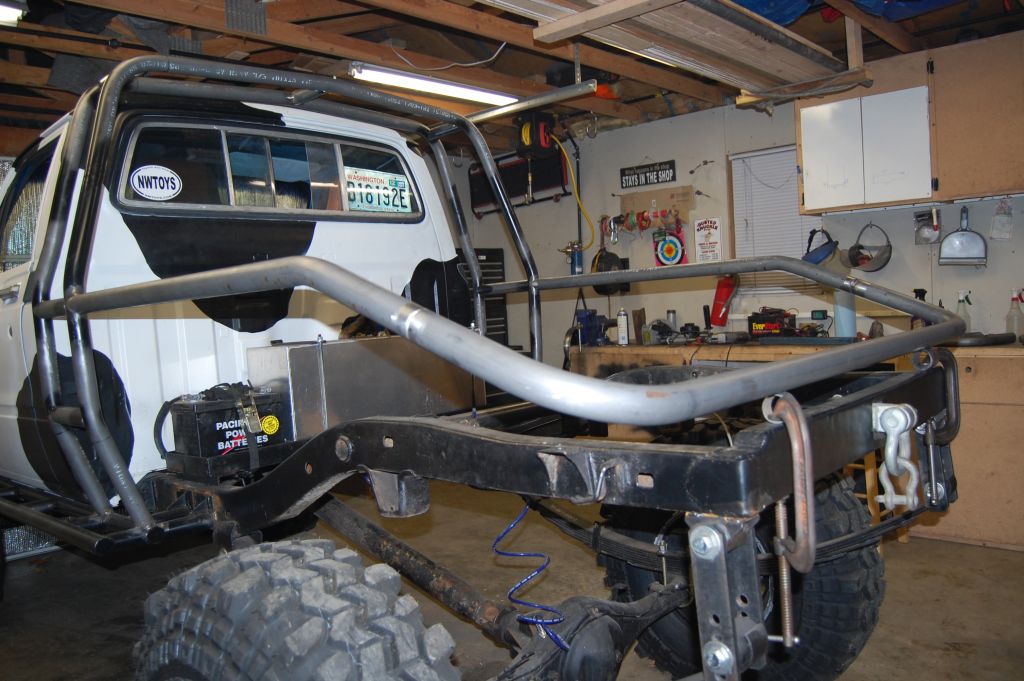
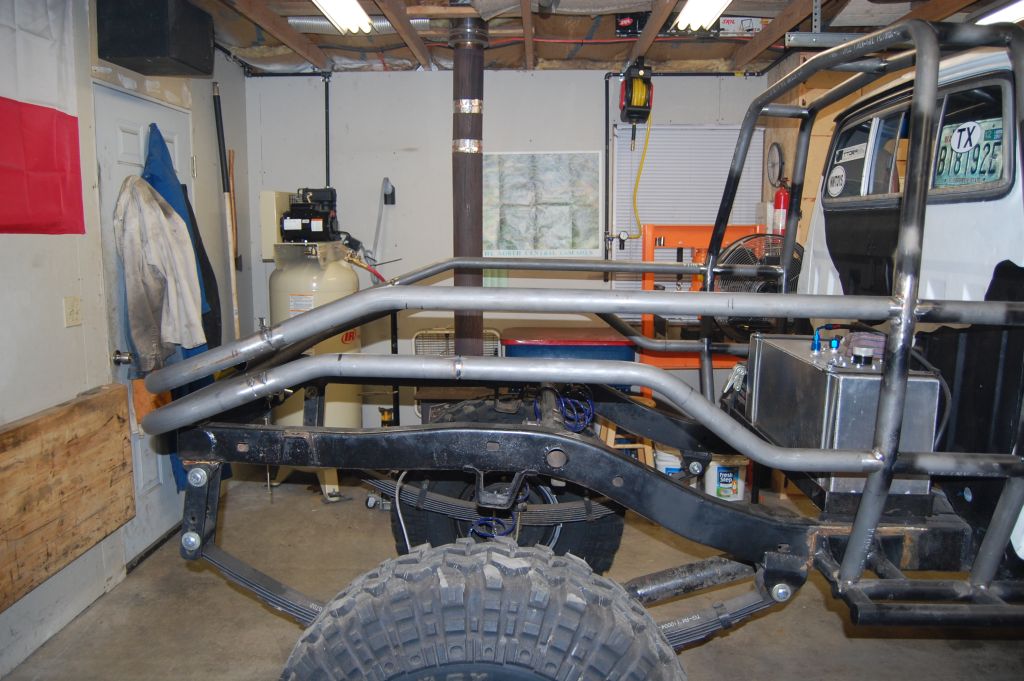
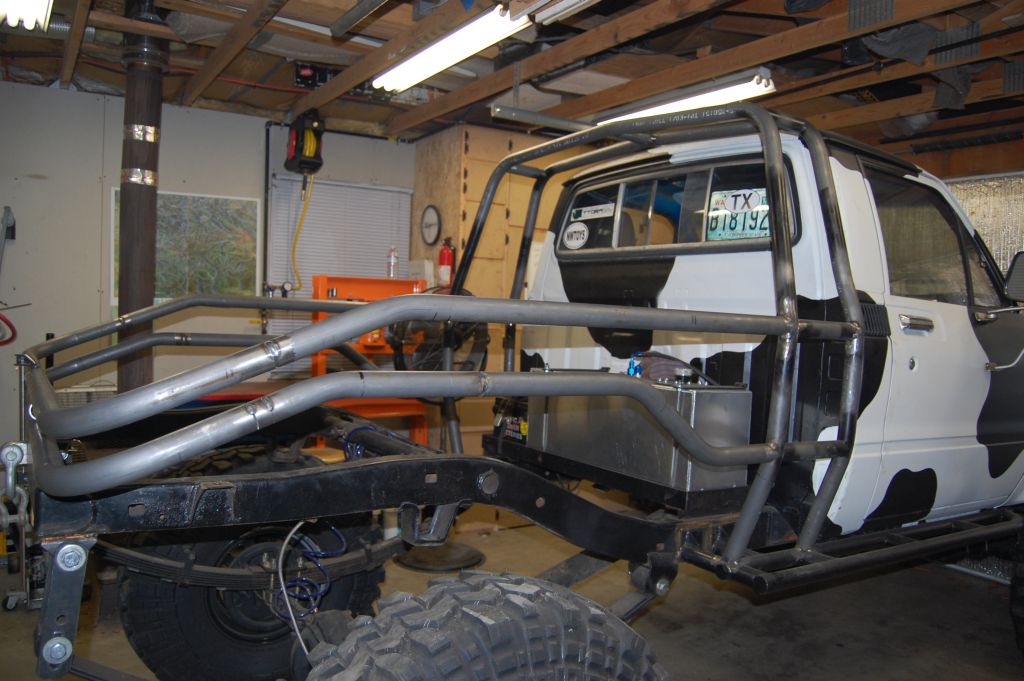
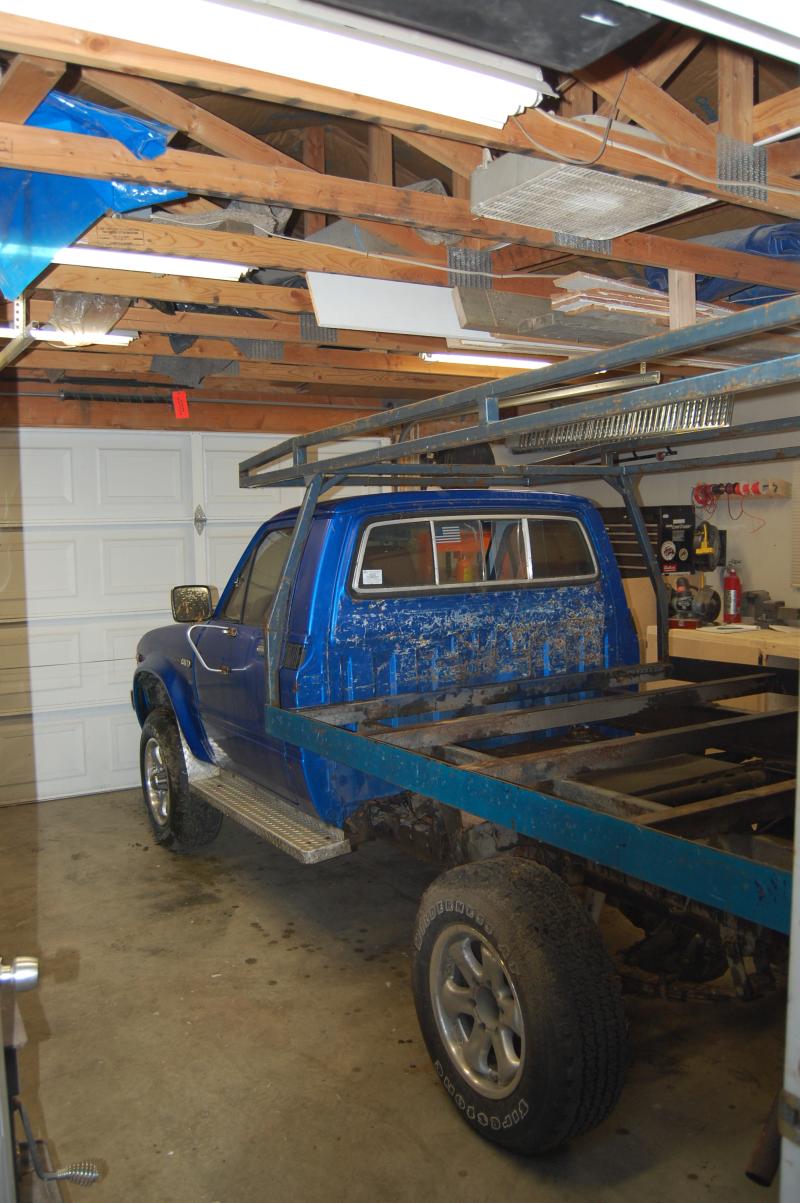
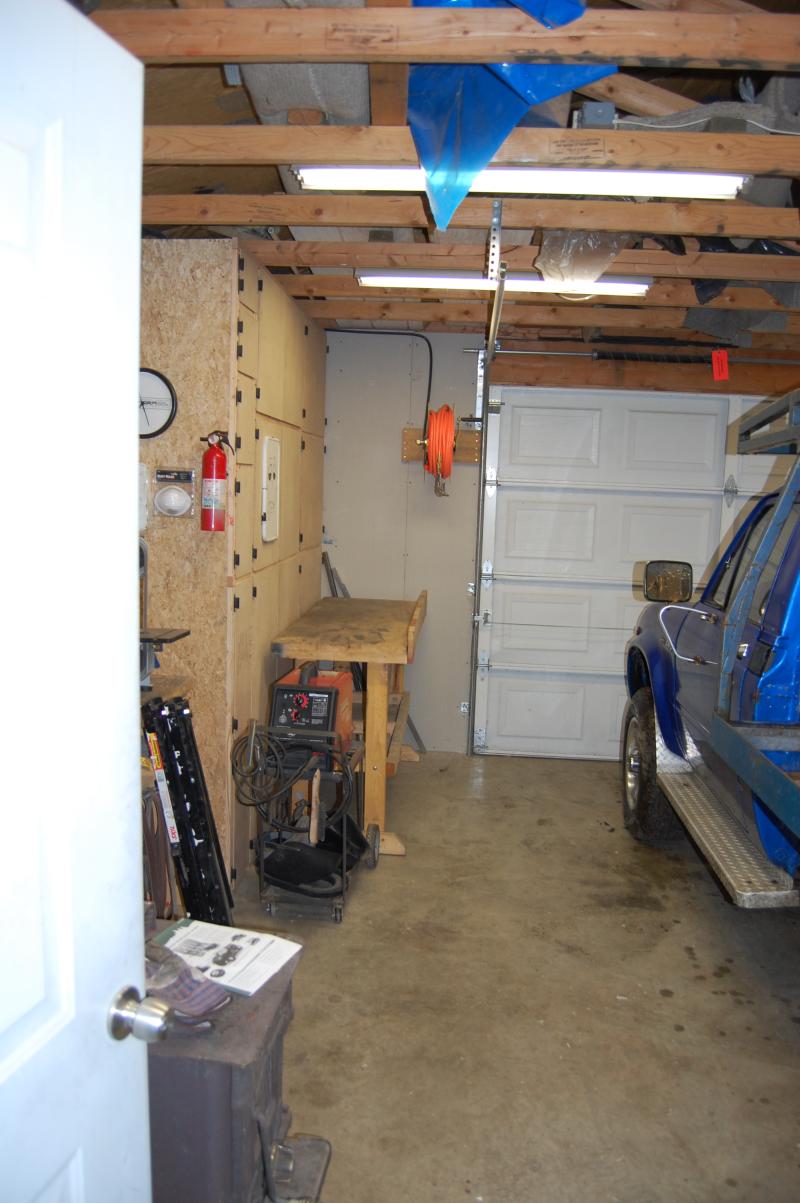
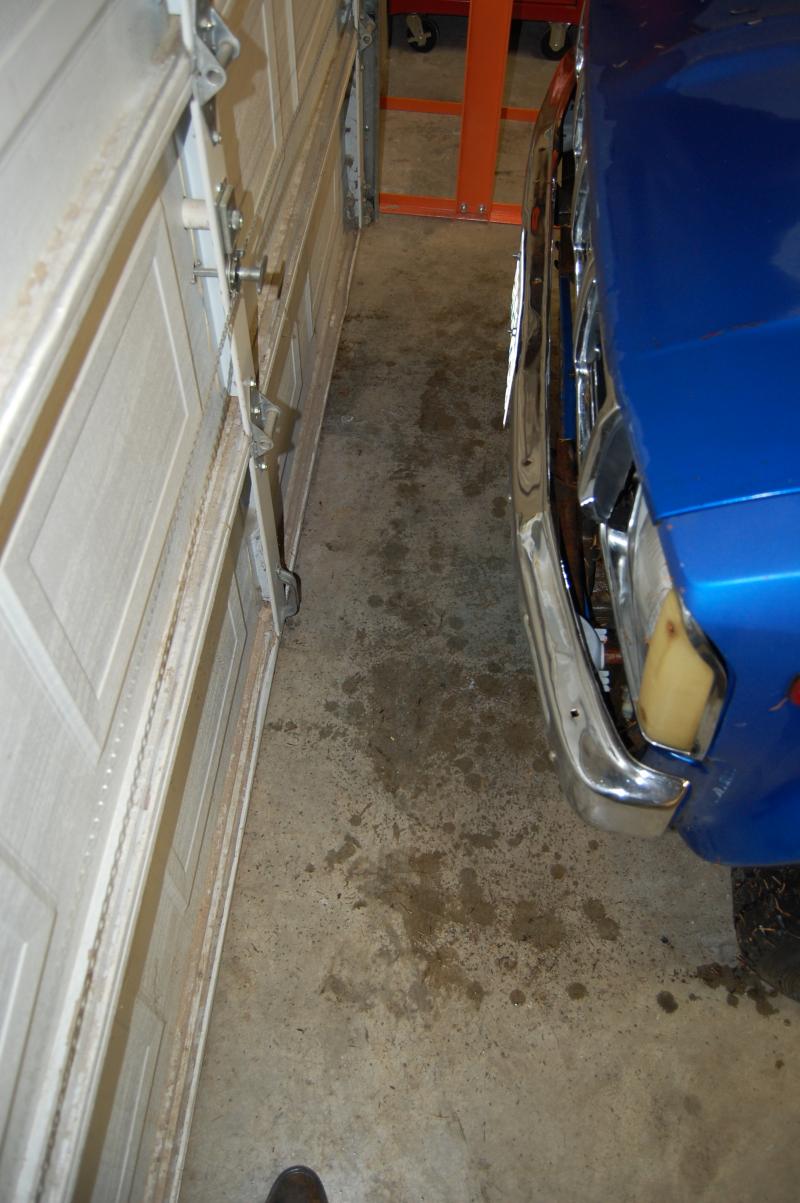
Well, the '80 is finally in the shop. I said earlier that I'd ripped out about 7' worth of cabinets... I had a lot of crap in those cabinets, so I had to replace them with something... Now, the '80 is back in the shop, and should be seeing the saw within the next week or so.
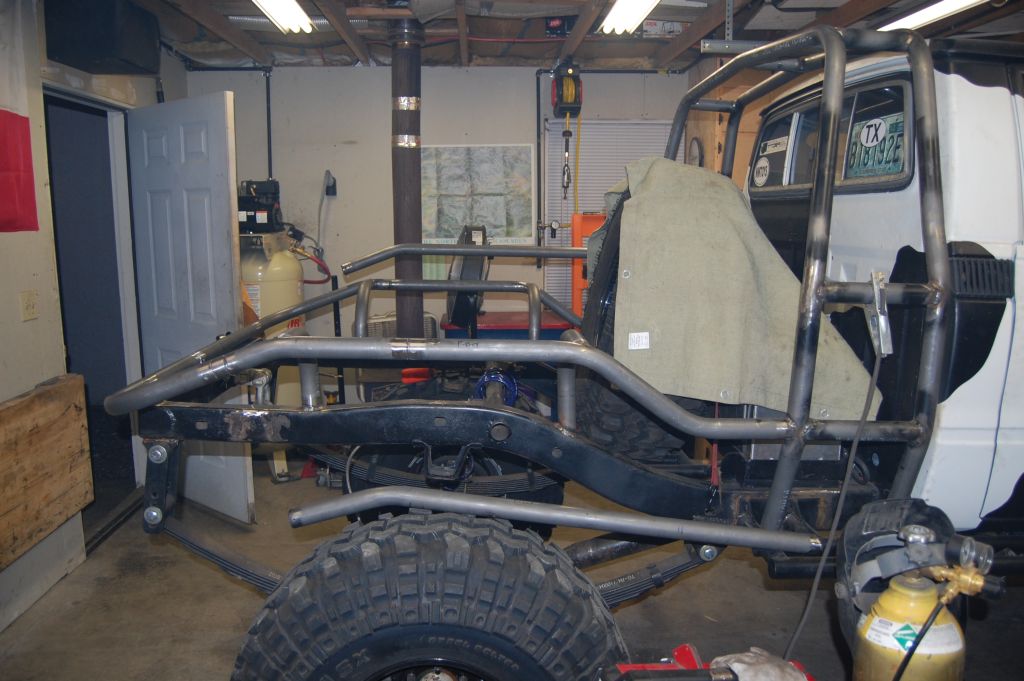
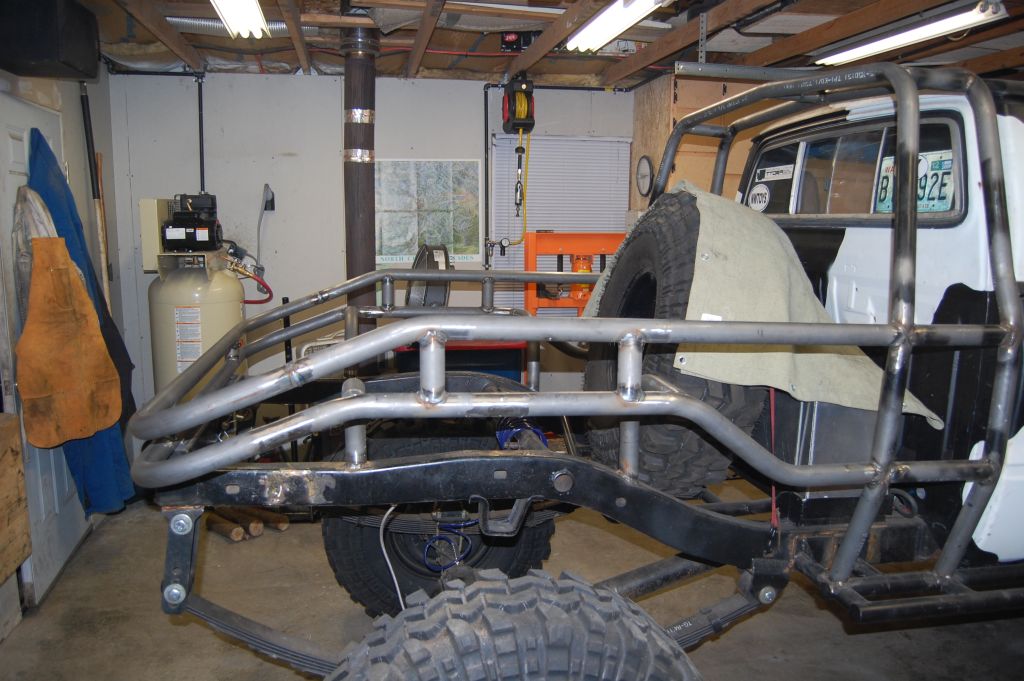
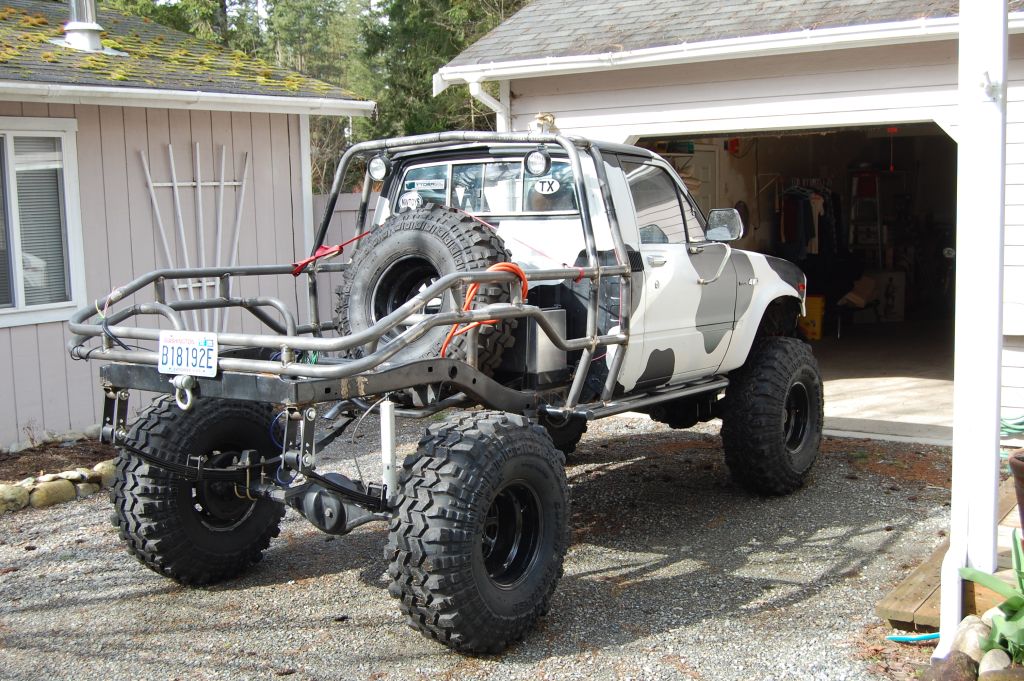
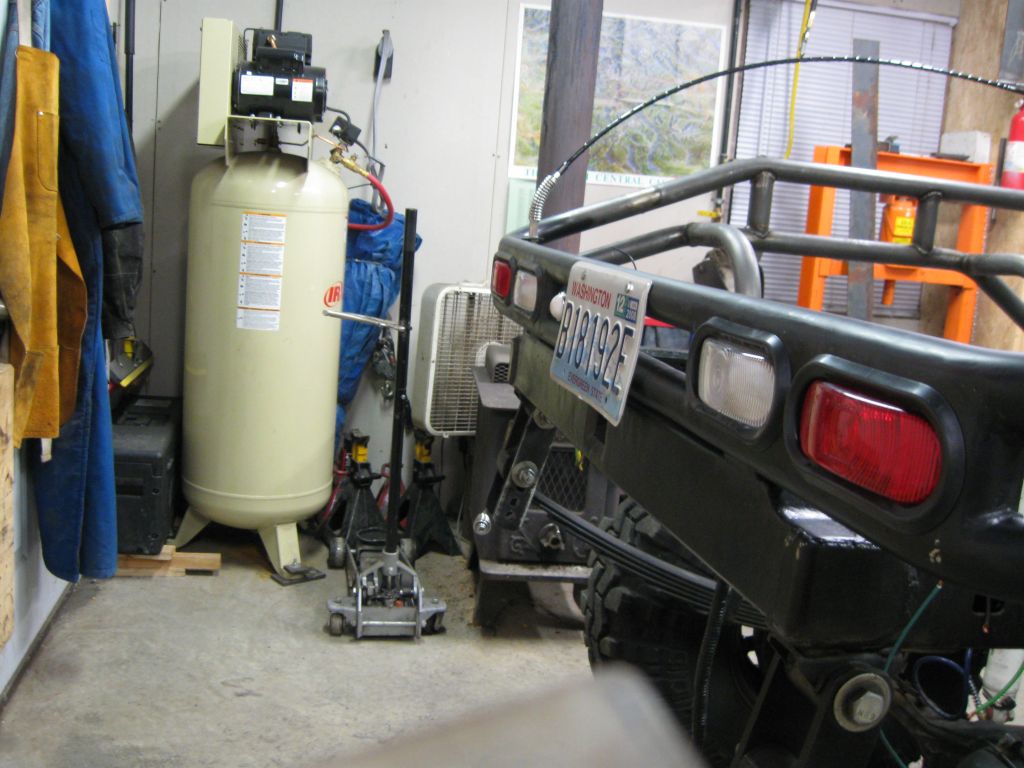
Here's the '80 in the ChrisCo Garage v2.1:

I probably would have had the "bed" off of it had I not spent about 8 hours cleaning gutters today and yesterday :angryfire: Ah, well... Hopefully I'll start tearing it down this week.
The short story behind this build -- I picked up this rig back in July or August '08 (I left the Reiter cleanup to go get this thing), and I've been building it as time and money allows. There's never enough of either.
So, here we go...
----
So, here's my official buildup thread for the '80 I got a couple of weeks ago. Here it is as it was when it came home:
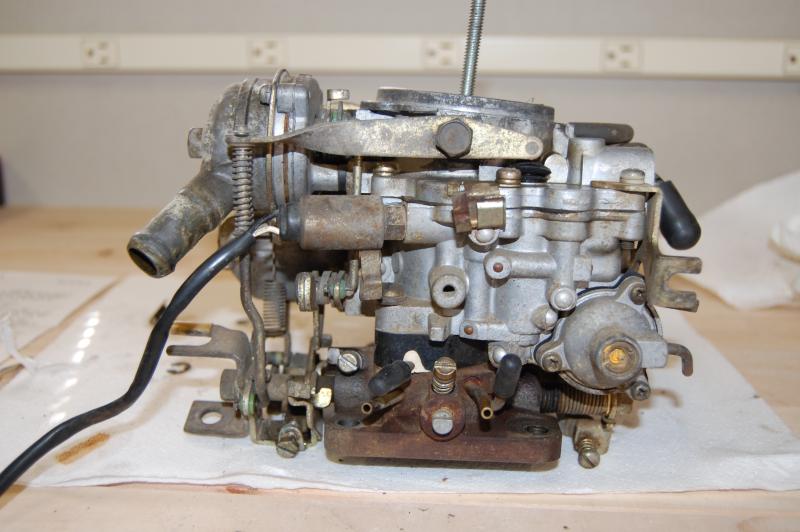
I was looking for a project rig, and knew this little feller would need quite a bit of work... For example, here's what it looked like under the hood when it was parked in my driveway:
My daughter got a kick out of this wire that went nowhere (it was just dangling):
...when I started cleaning all of the crap out the inside, I was in for a shock -- the passenger seat was only held in by gravity, and the driver's seat only had one bolt holding it in
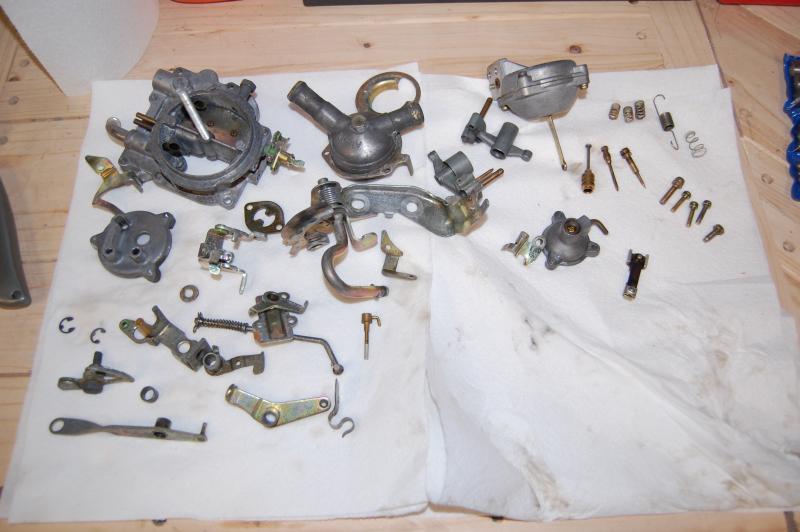
Clearly, the flatbed isn't very trail friendly, so it's going away. Before getting into tearing it apart, however, I decided to spend a little quality time with the pressure washer... There wasn't a whole lot in the way of dirt to be knocked off, but there was plenty of built up grease and muck...
After pressure washing the undercarrage and engine bay, and doing a little minor cleanup of the mess under the hood, here's what the bay looks like now (I love the mounting of the brand new battery :naughty: ). The "clean" bolts were added by me, to keep out water from the pressure washer
:
After the cleanup, I started in on the dismantling of the flatbed. Unfortunately, due to having to remove about 7' worth of cabinets from my shop (in order to get the rig to fit in with the garage door closed), I only got as far as removing the deck off the flatbed:
This revieled some...entertaining (
) ...engineering. Case in point, the gas tank filler neck:
The method by which the bed is attached:
(it's welded - inside and out - to the body mounts
)Before I can get any further into the tear down, I've got to build some new cabinets in the shop (so I can get all of the crap out of the way of the work area :rofl: ). I'm hoping to have that done by Saturday evening, so I can get started on pilfering the steel in the flatbed
--
Well, the '80 is finally in the shop. I said earlier that I'd ripped out about 7' worth of cabinets... I had a lot of crap in those cabinets, so I had to replace them with something... Now, the '80 is back in the shop, and should be seeing the saw within the next week or so.
Here's the '80 in the ChrisCo Garage v2.1:
I probably would have had the "bed" off of it had I not spent about 8 hours cleaning gutters today and yesterday :angryfire: Ah, well... Hopefully I'll start tearing it down this week.
Last edited: