Family Truckster LJ build

Hardline Crawlers - Rock Bouncer Builds, Tech & Off-Road Trail Talk

Help Support Hardline Crawlers:

hokie_yj

Well-Known Member
Joined
Mar 23, 2012
Messages
1,499
Reaction score
127
City & State/Province
Surgoinsville, TN
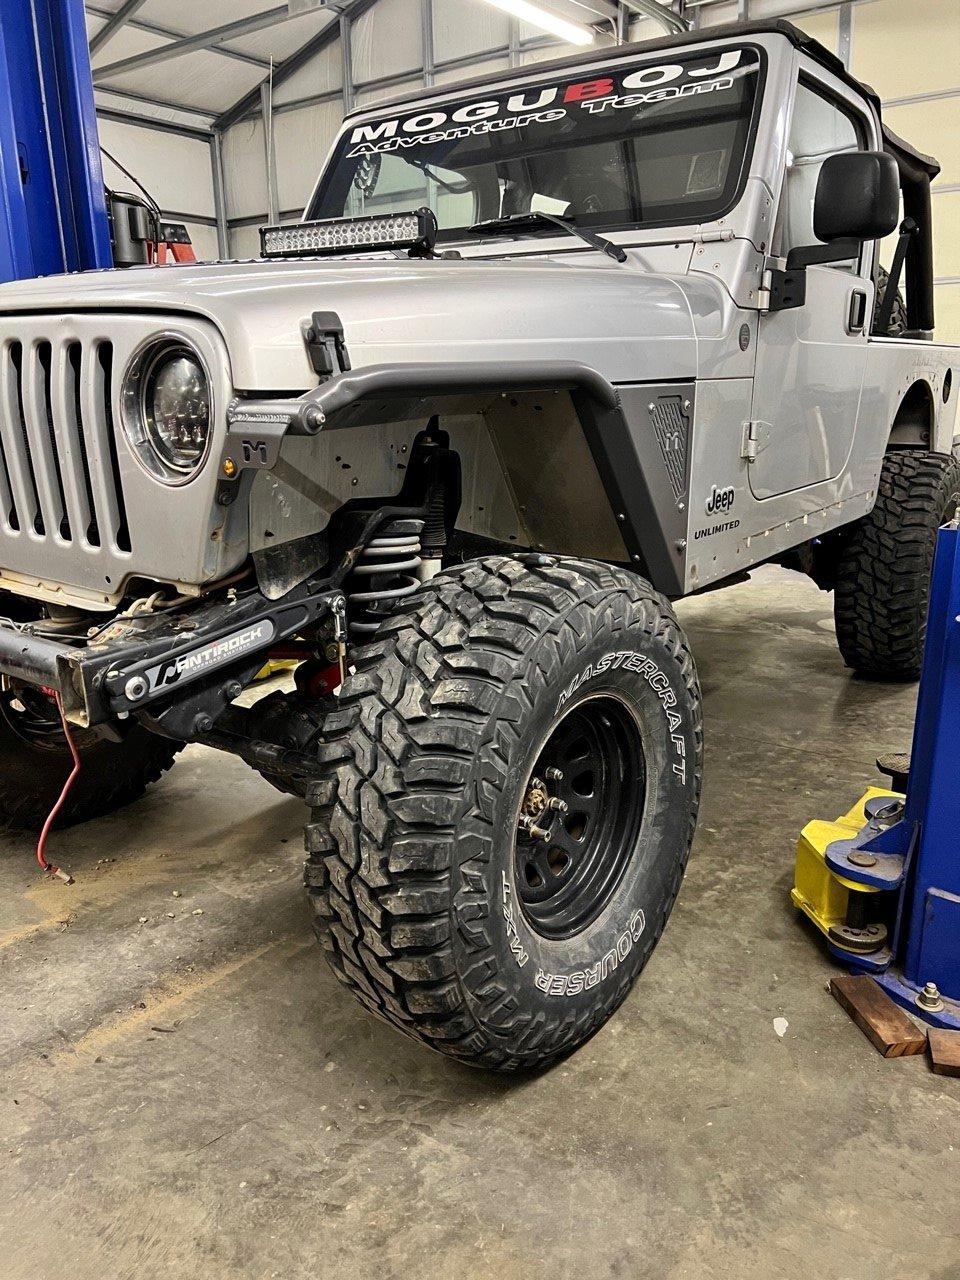
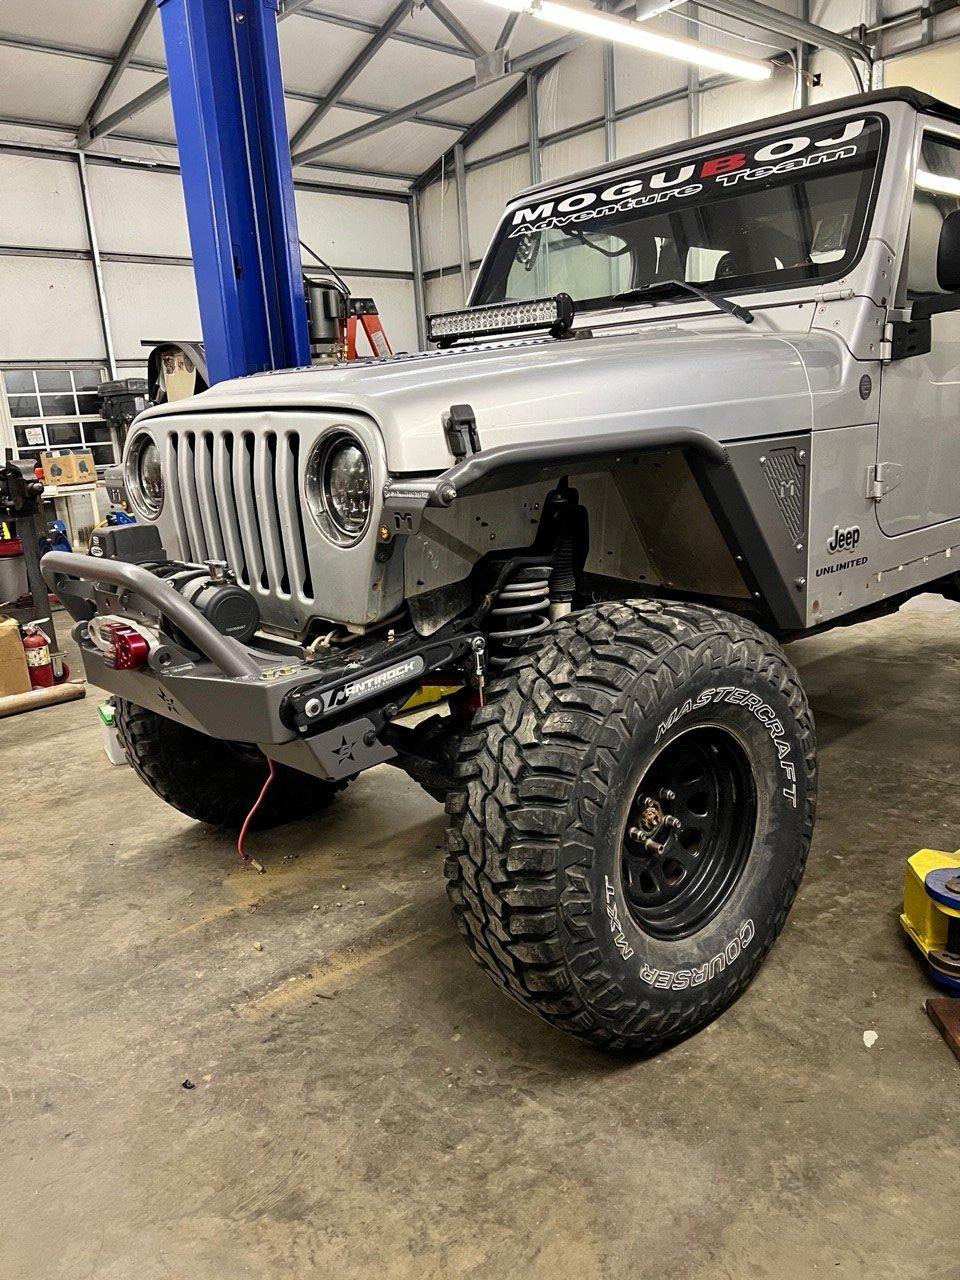
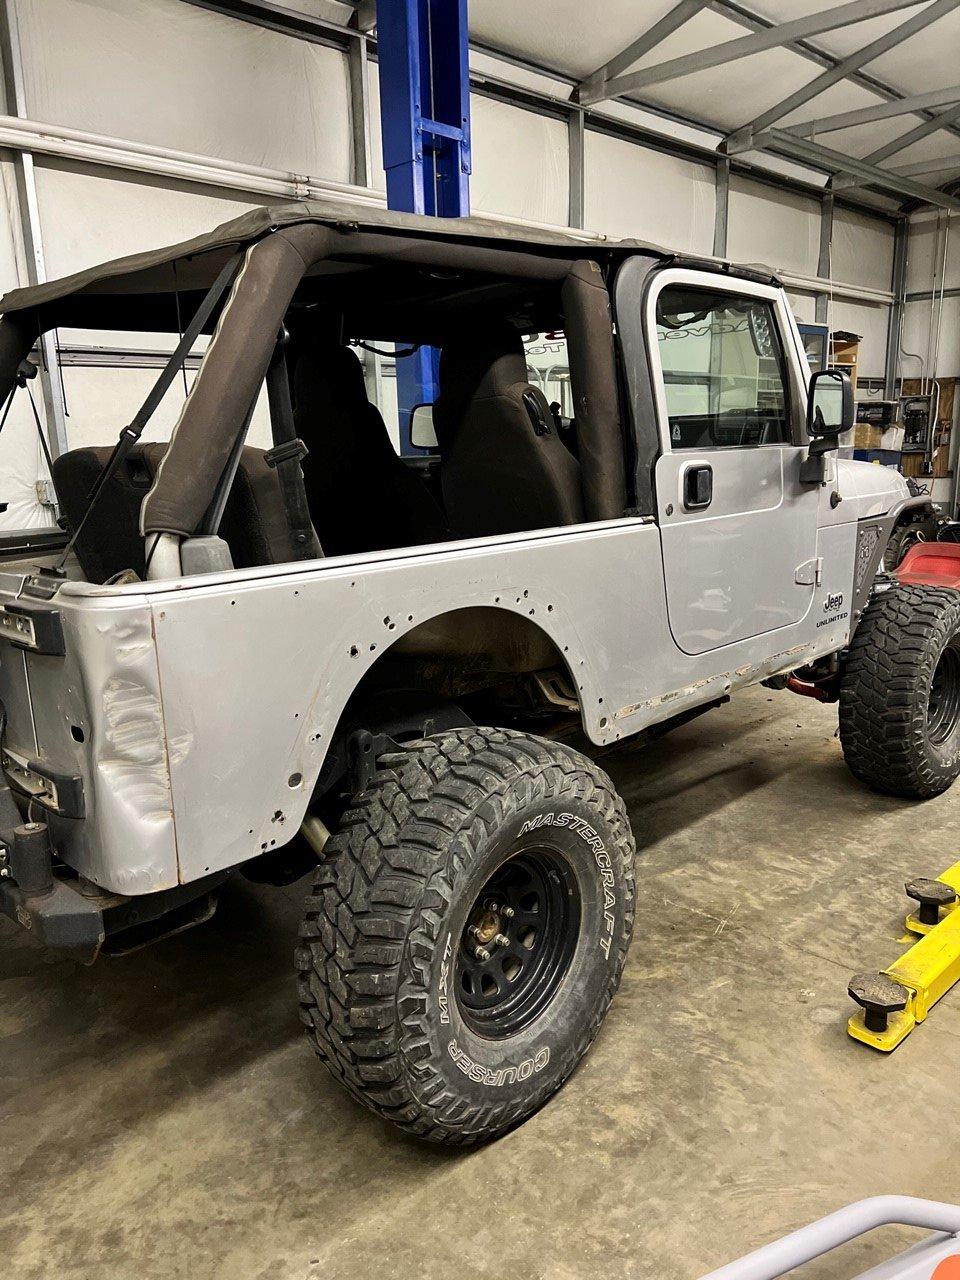
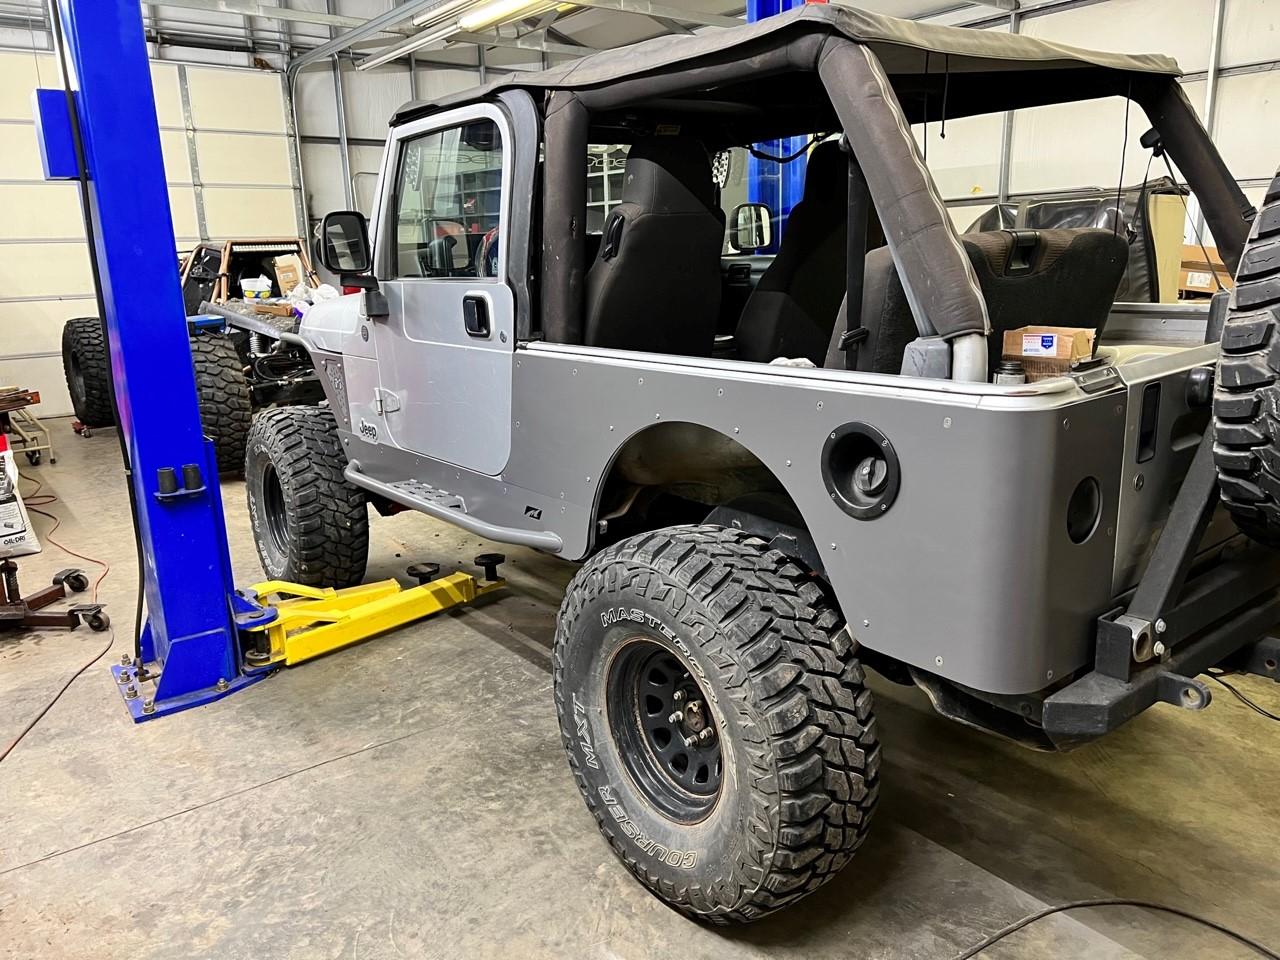
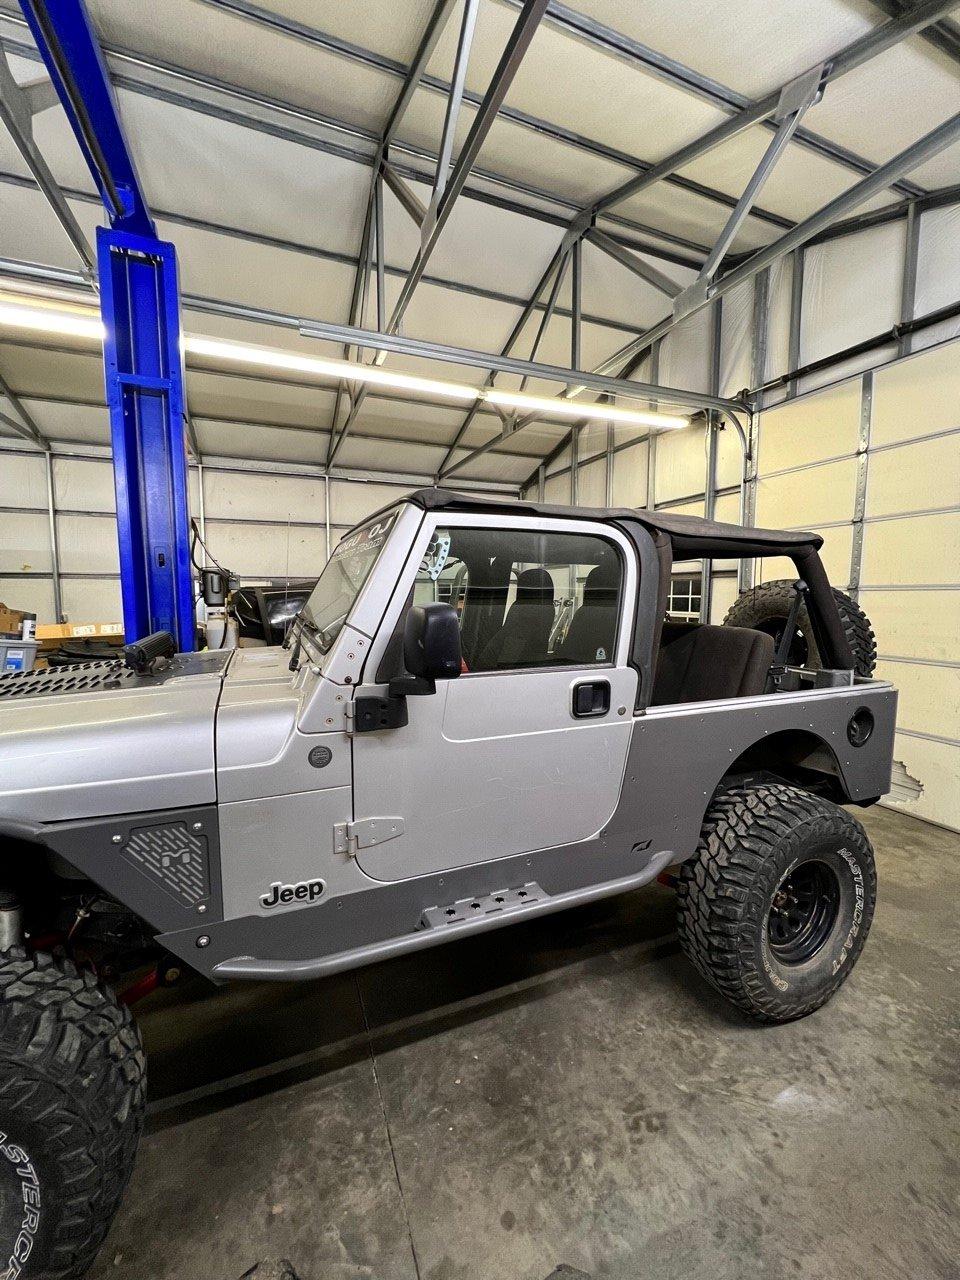
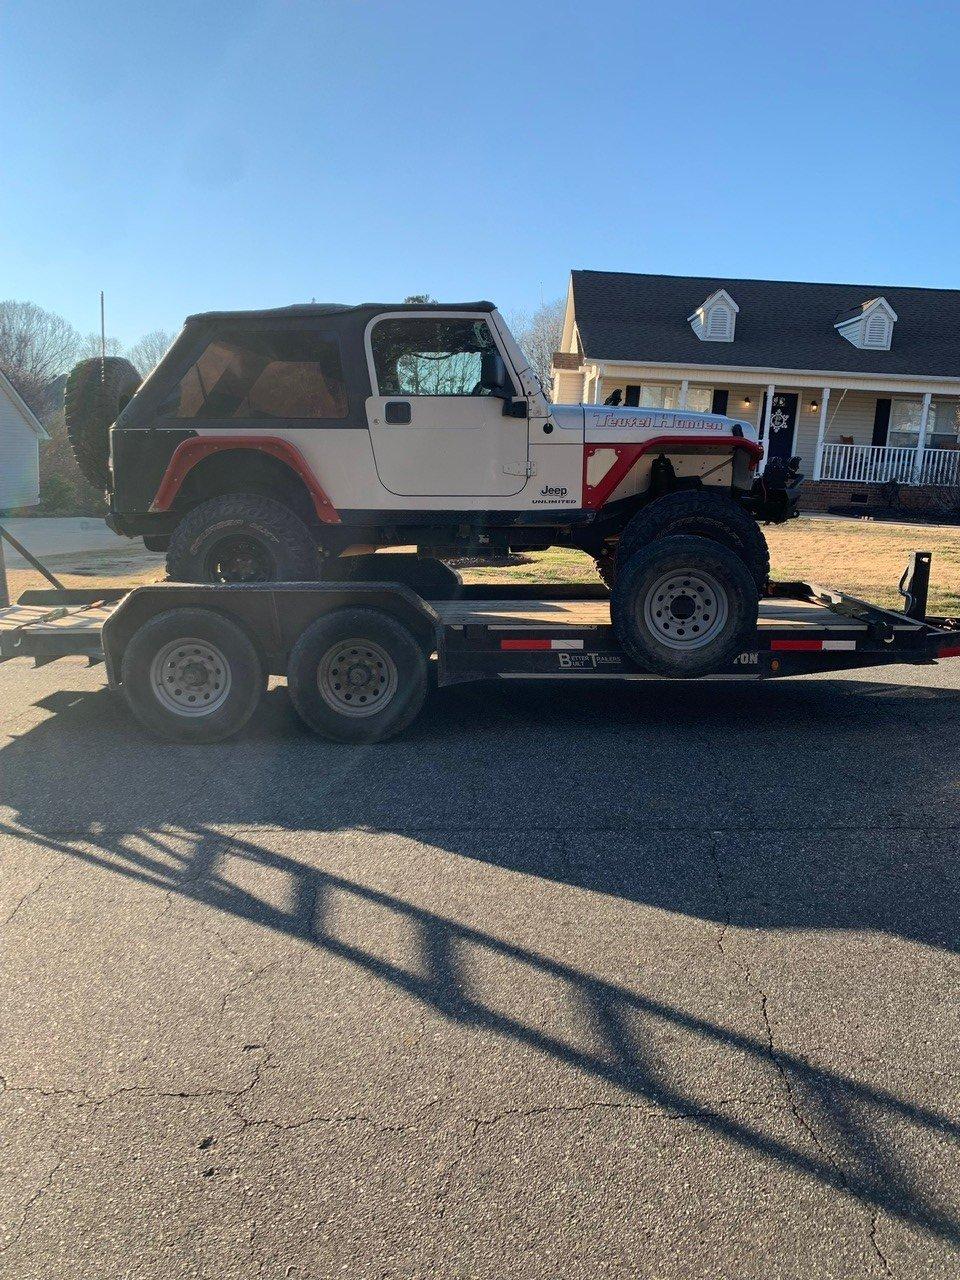
I picked this thing up about this time last year. Because when your single seat buggy has been sitting broken for going on 5 years and you have no time to work on it, the only logical thing to do is go buy another project to not have time to work on. I've missed having a streetable rig for years, and I'm a family man now so I needed something with room for car seats. I've always loved LJs, and have wanted one for a long time. The market on these thigs has really gone crazy lately, but I found this one at a decent enough deal that I felt like it was worth it.
Jeep1.jpg


Jeep2.jpg


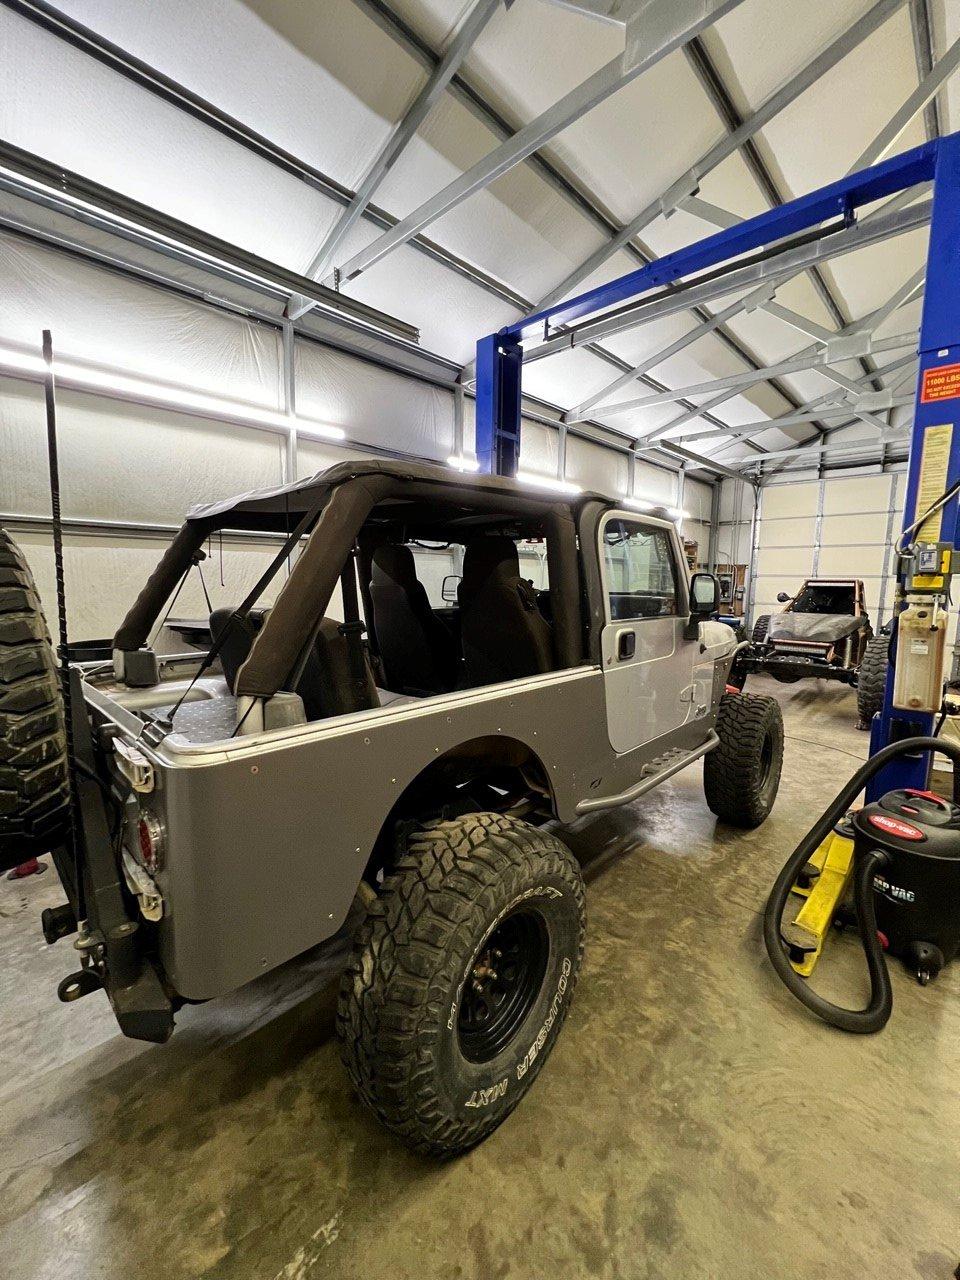
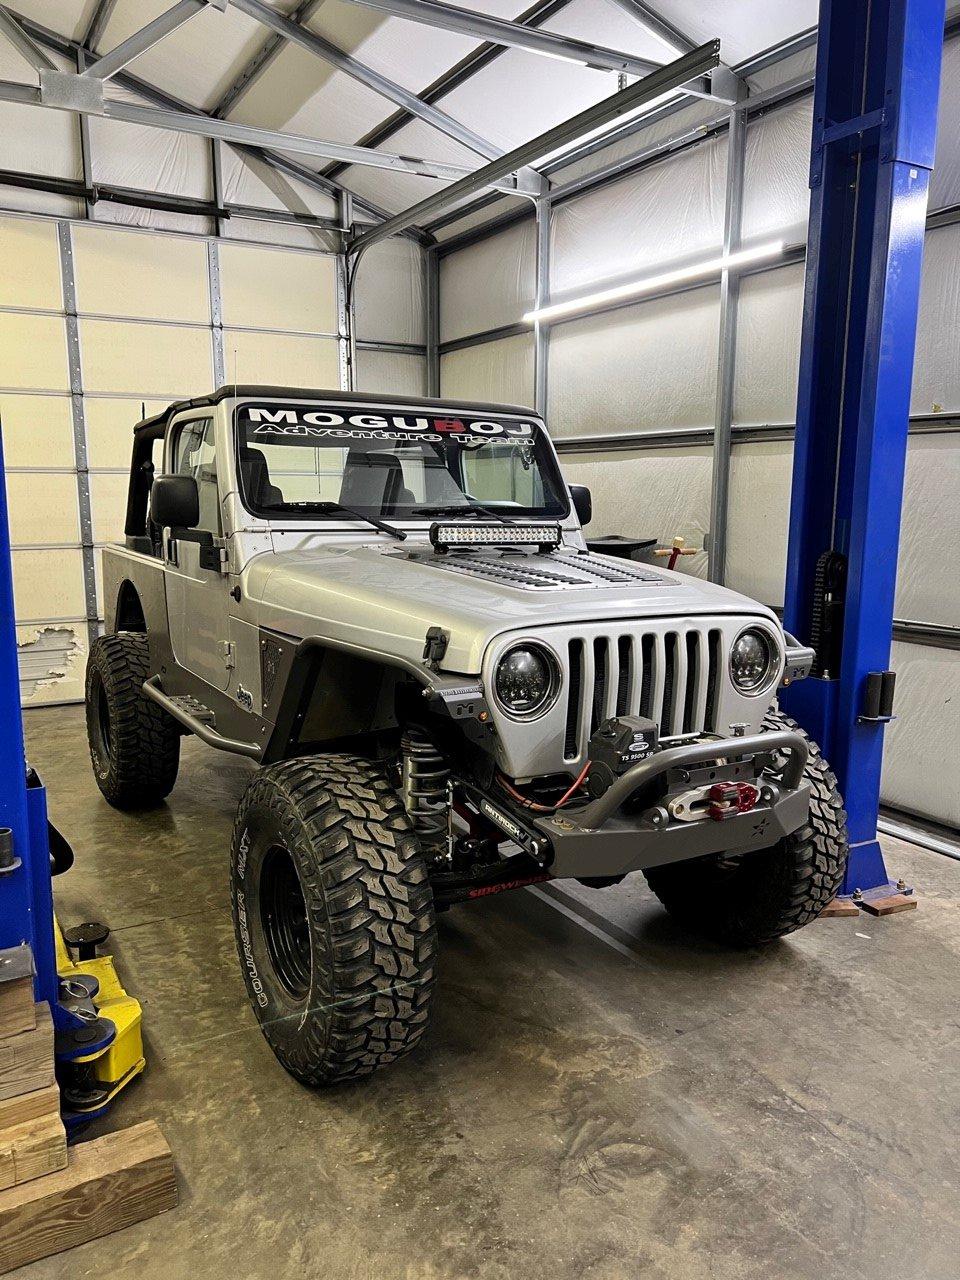
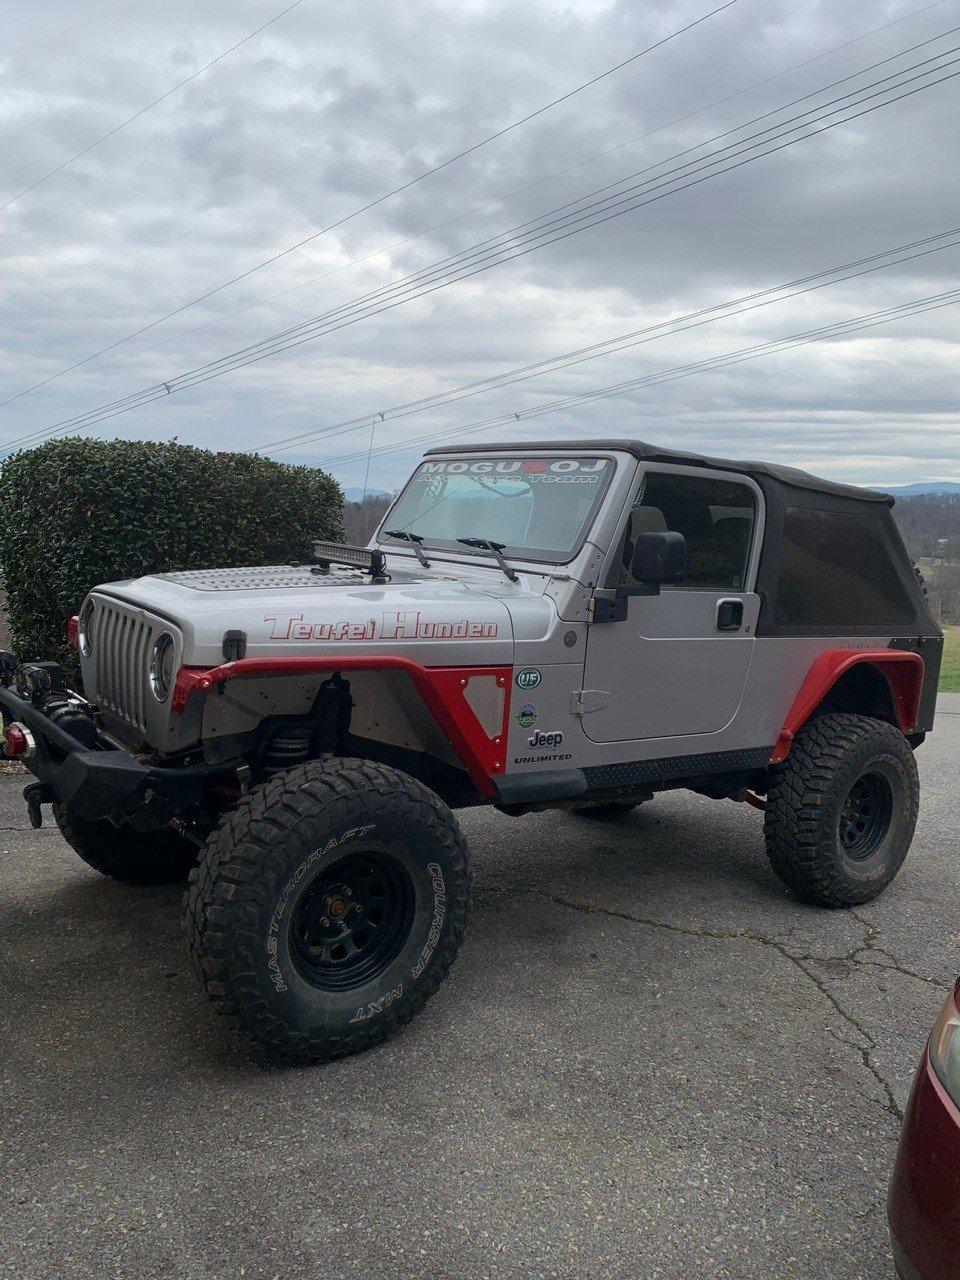
Currently it's your basic mildly built Jeep. 4.5" lift with 1.25" BL on 35s. 30/44 with 4.56 gears and a Spartan locker in the front and LSD in the rear. Most upgrades so far have been cosmetic stuff. But I already have a large pile of parts in the corner of the shop for a 3/4 link long arm, ton swap, and 40s. The goal is a rig capable enough to handle most trails, that I can still load the family up in for a day trip or jump in and drive it to work or around town any time I want.
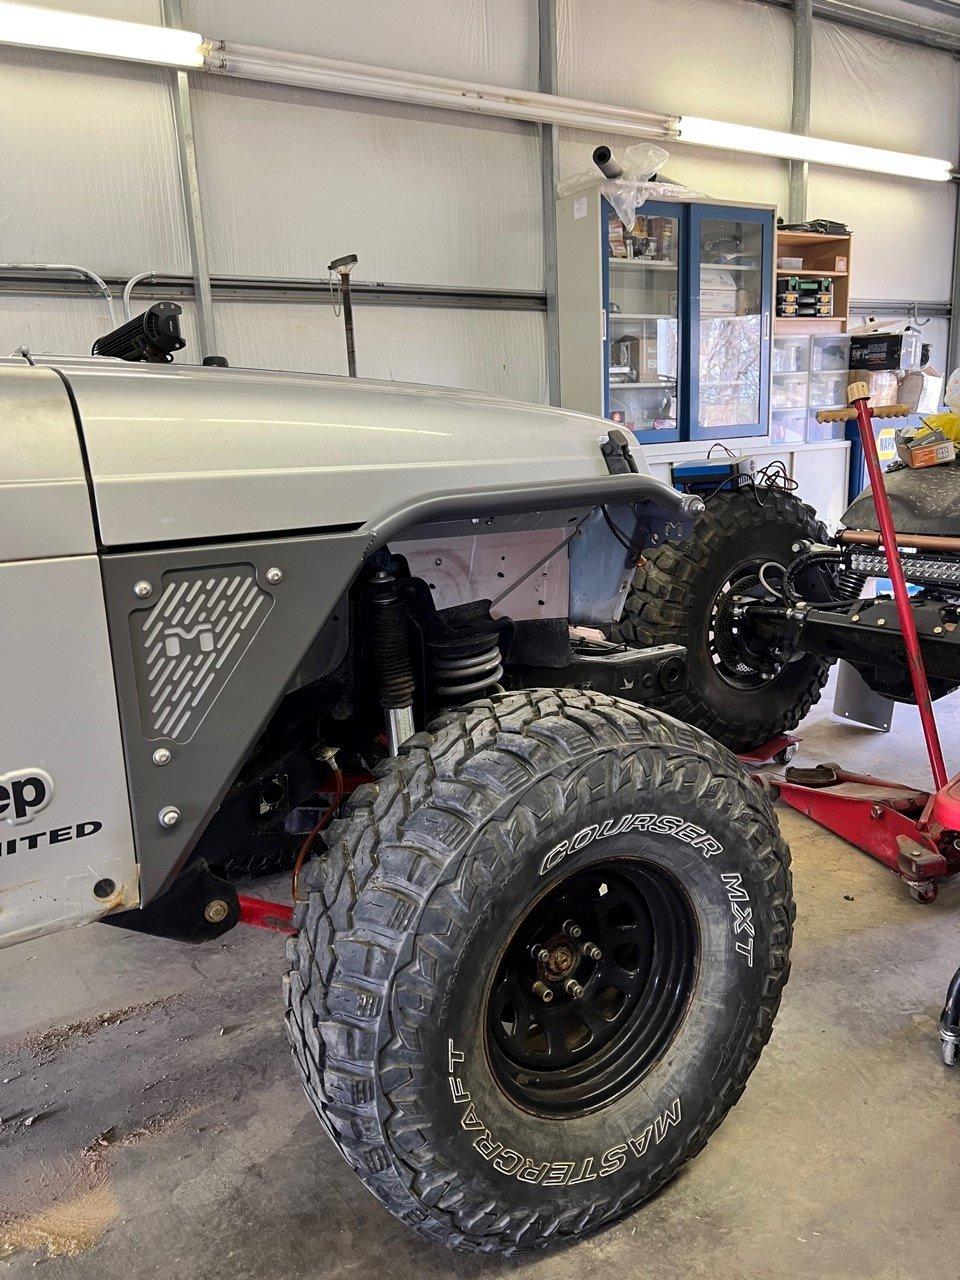
 
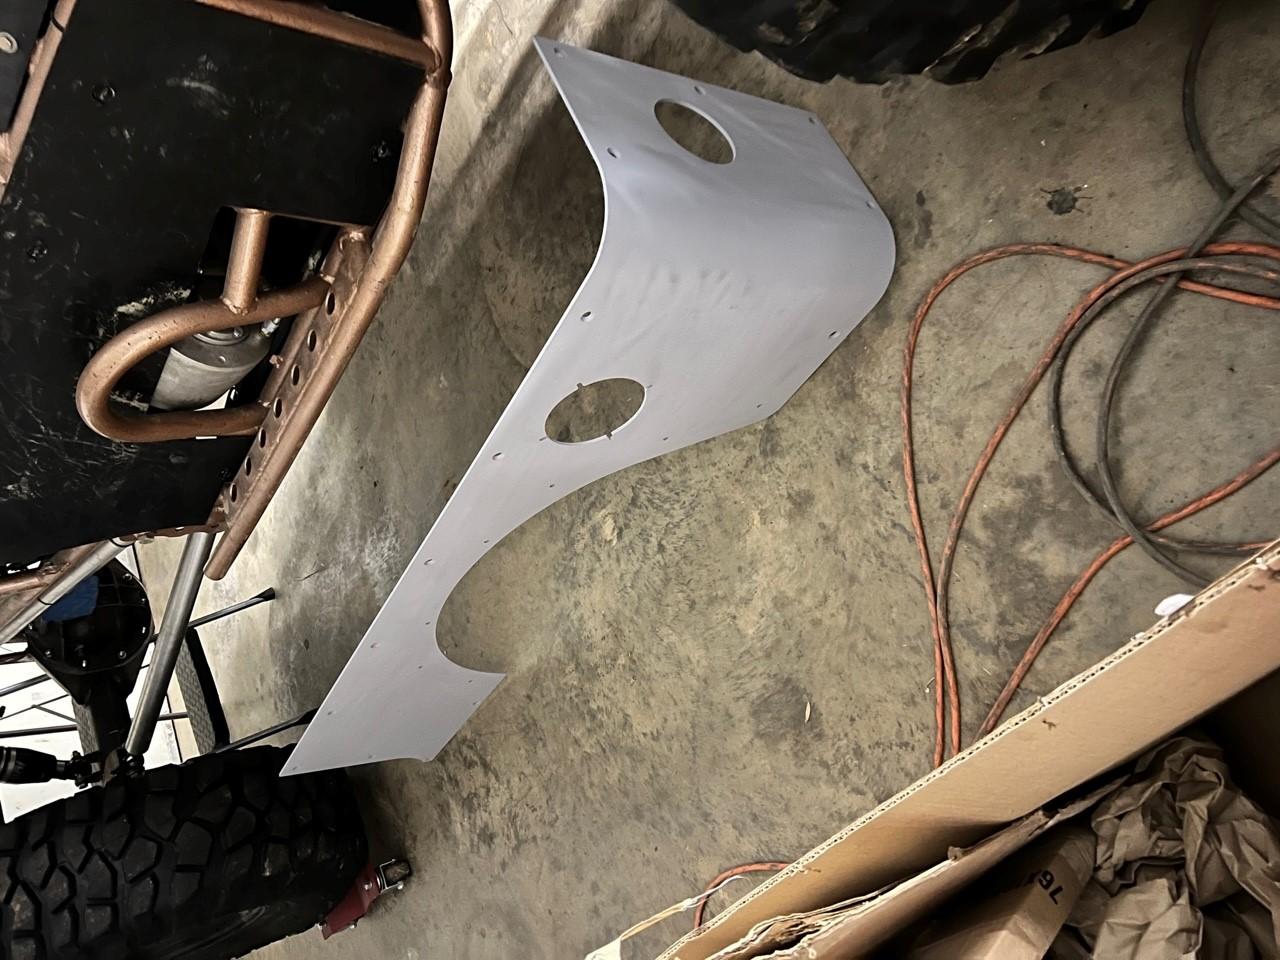
The first thing on the list to do was to get rid of the red fenders. I didn't care for that look all. I wanted something different than the black that most do though. So I ended up going with satin charcoal gray Rustoleum spray paint on all the armor.

Jeep3.jpg


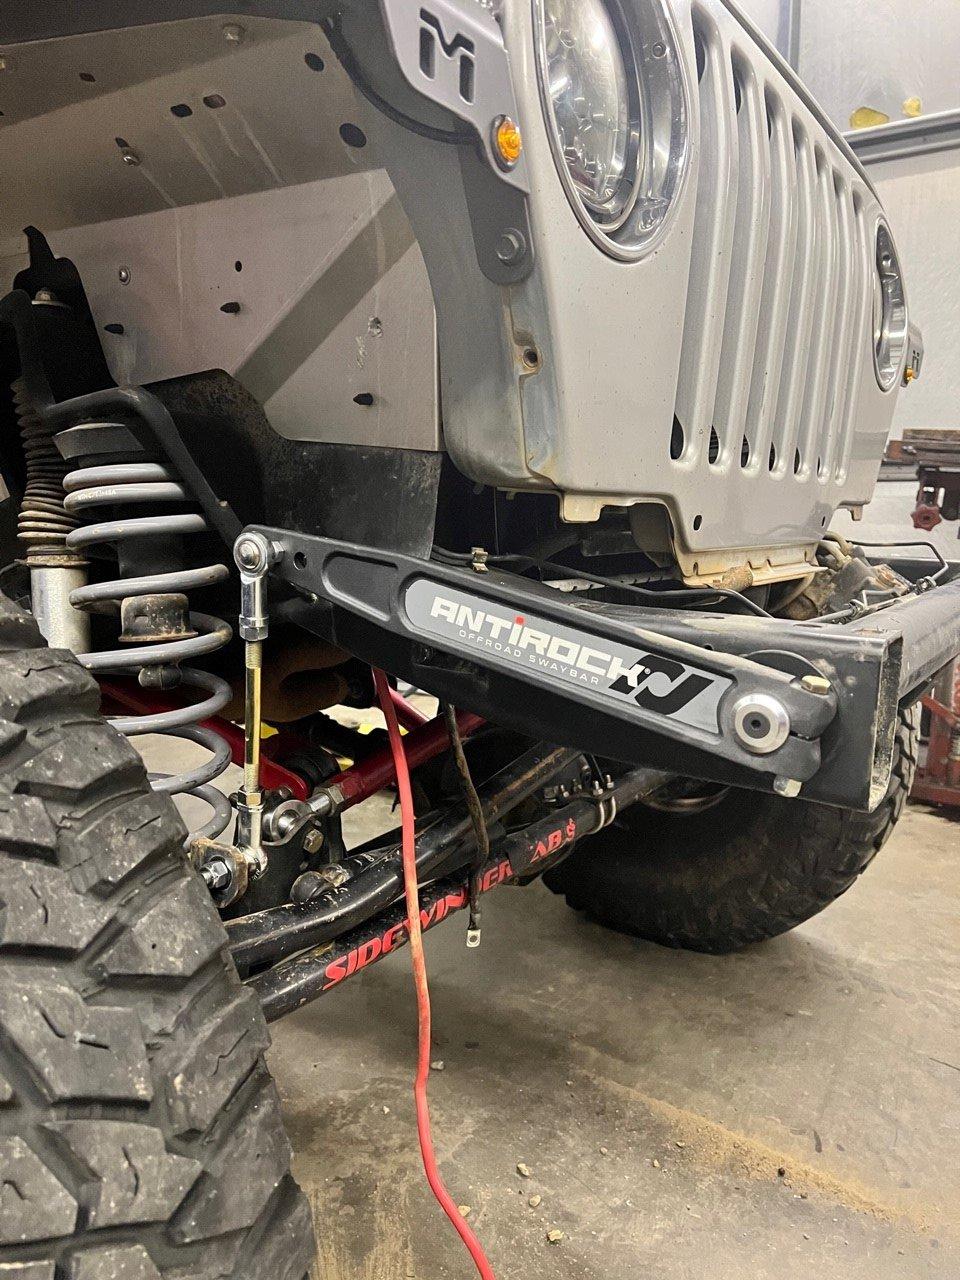
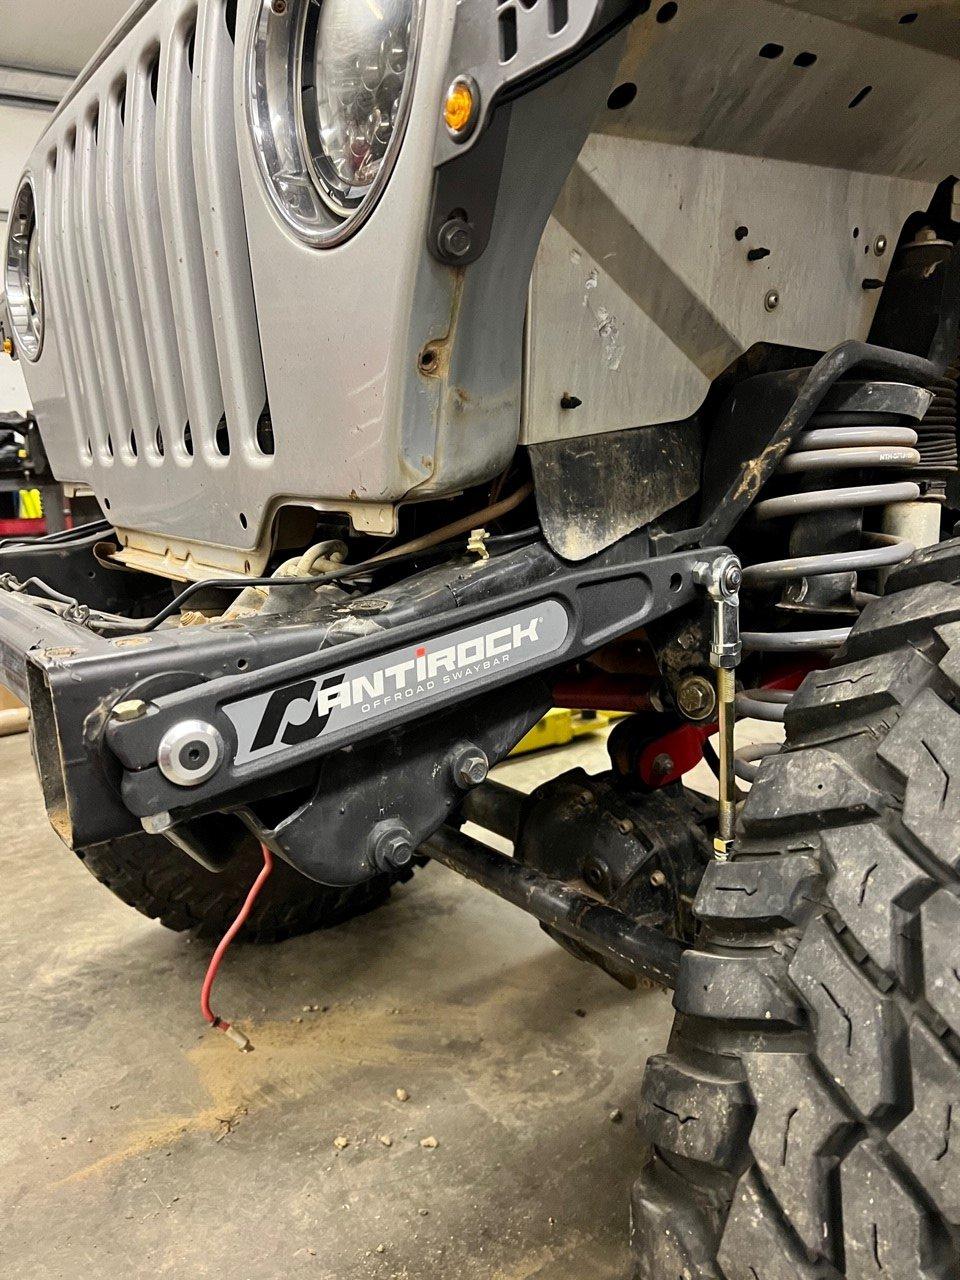
After that was an Antirock front sway bar.


Jeep5.jpg

Jeep7.jpg

Jeep8.jpg
 
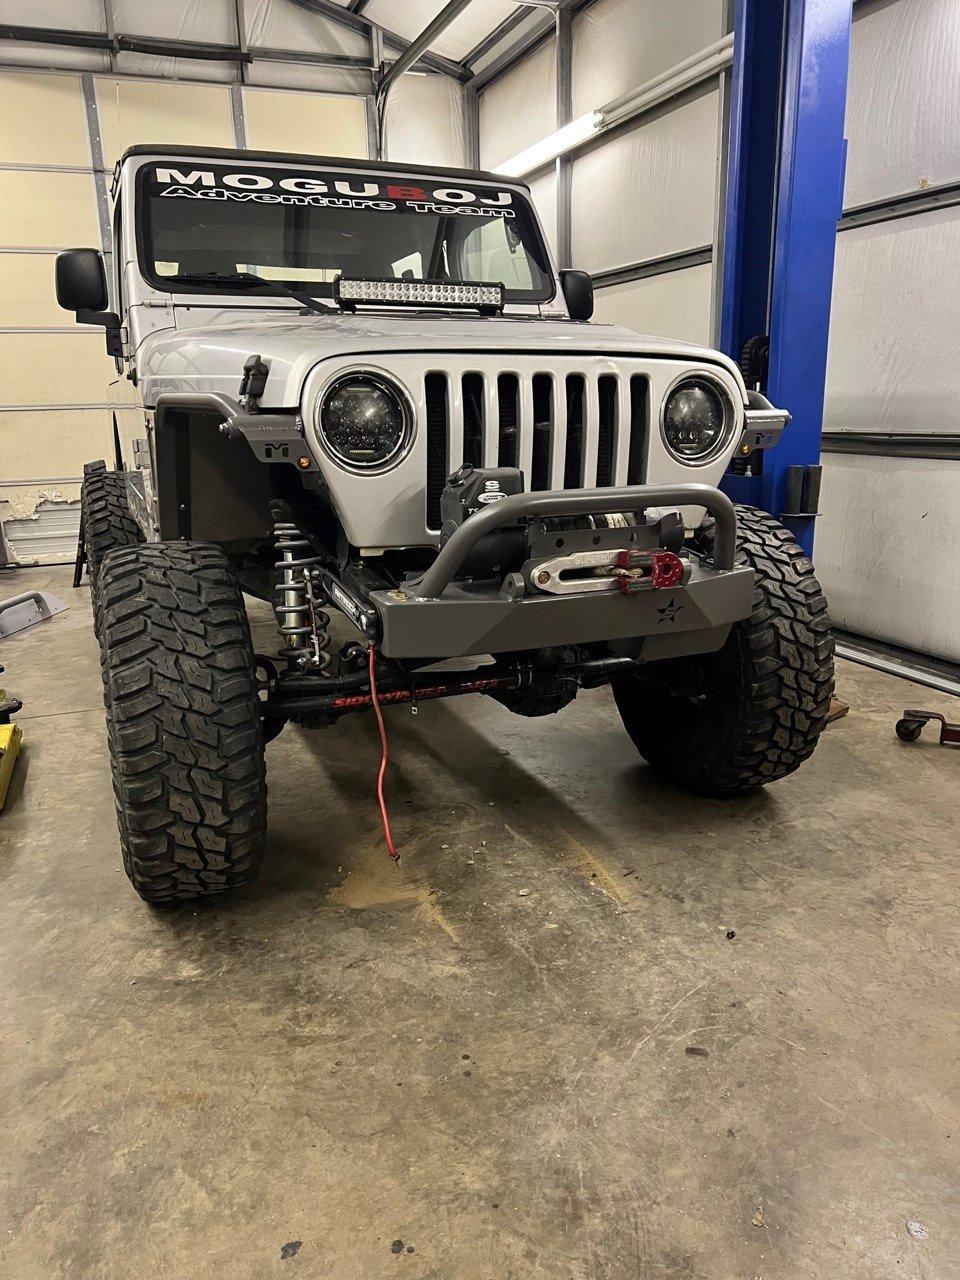
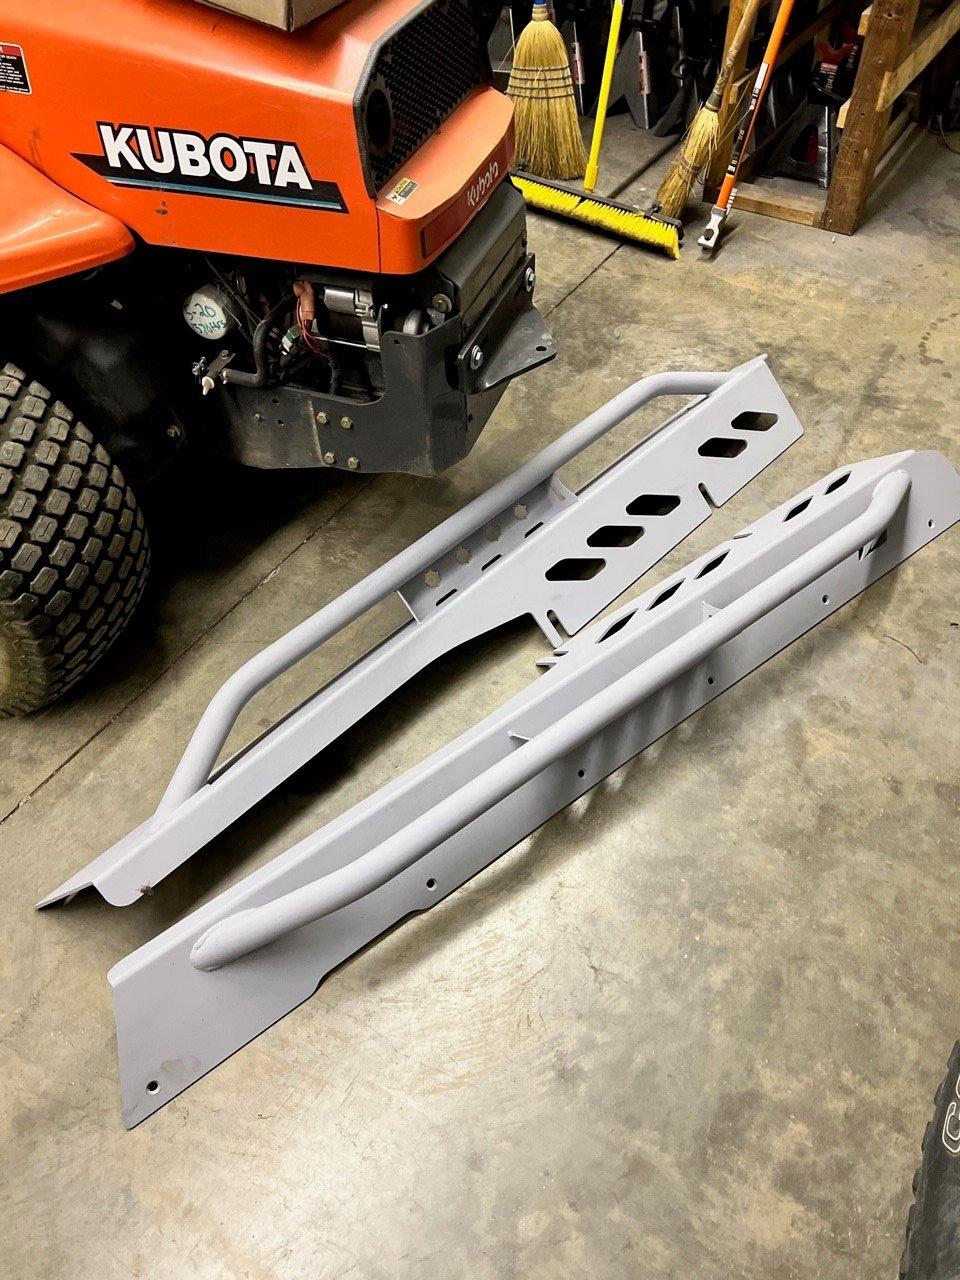
Next up was getting rid of the crappy Chinese winch bumper and putting on a Barnes4WD stubby bumper and steering box skid plate.

Jeep9.jpg

Jeep10.jpg
 
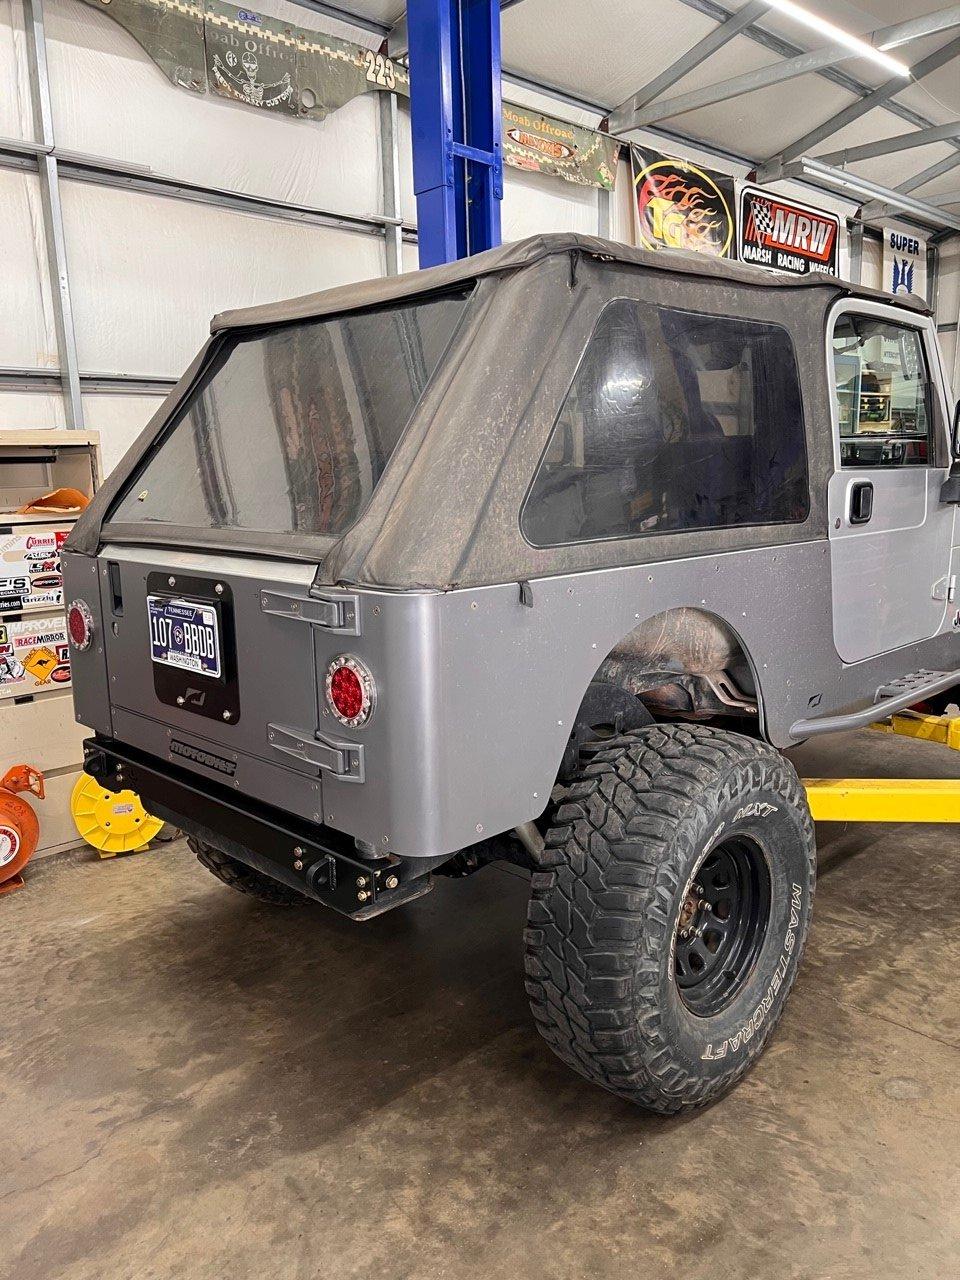
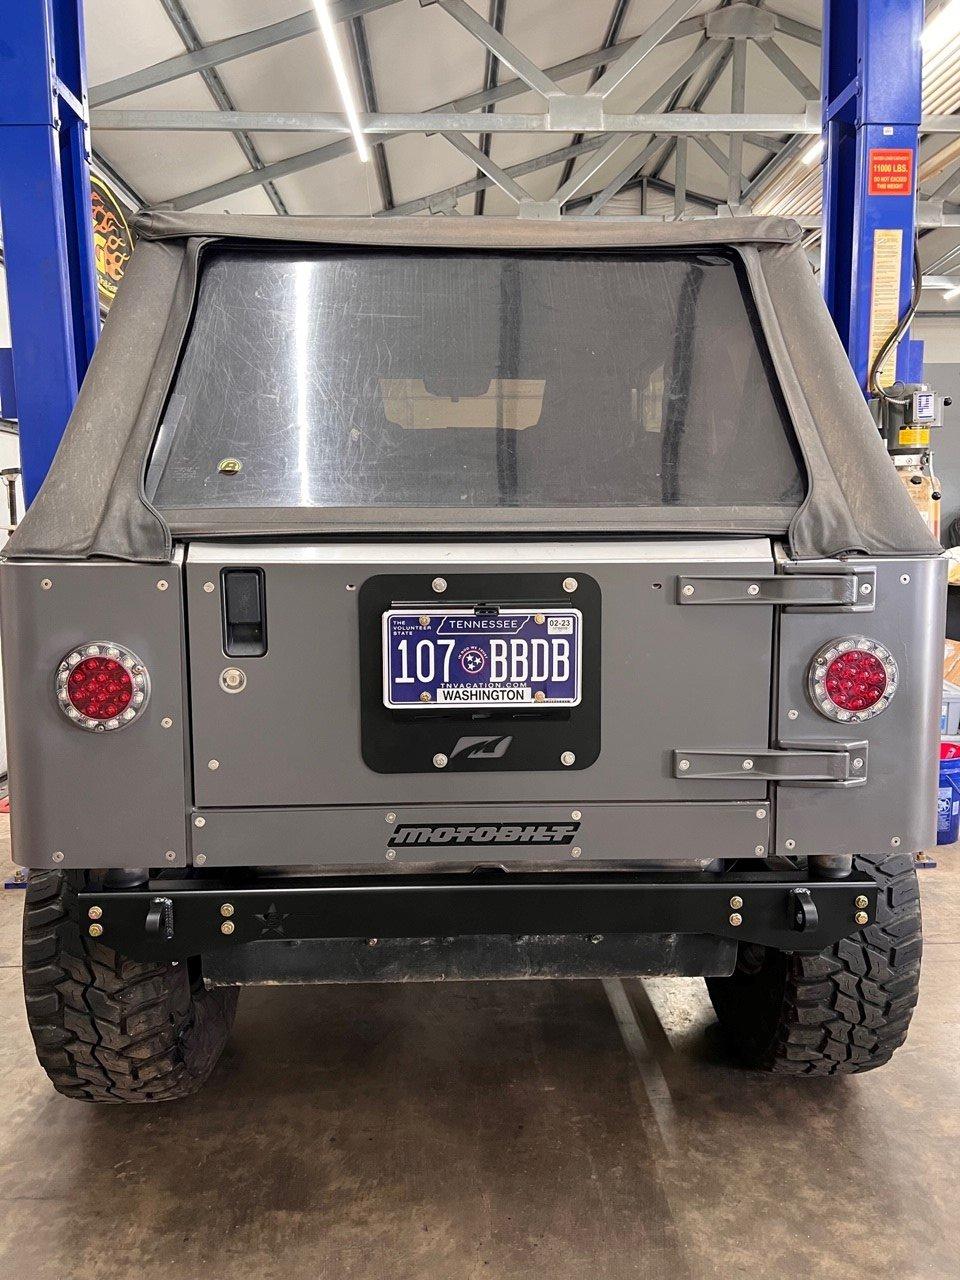
I wasn't really a fan of the look of the rear bumper an tire carrier either. It was a match for the old front bumper, it actually seemed pretty sturdy and decent quality, I just prefer the clean back look and once I get this thing on 40s I won't be hauling around a spare anyway. I ran it all this past summer, but took advantage of the Black Friday sales and picked up some Motobilt tailgate armor and tag bracket and the Barnes4WD tail plate bumper. I also swapped out the tailgate hinges for the older '97-'02 style for the cleaner look.

Jeep24.jpg

Jeep25.jpg
 
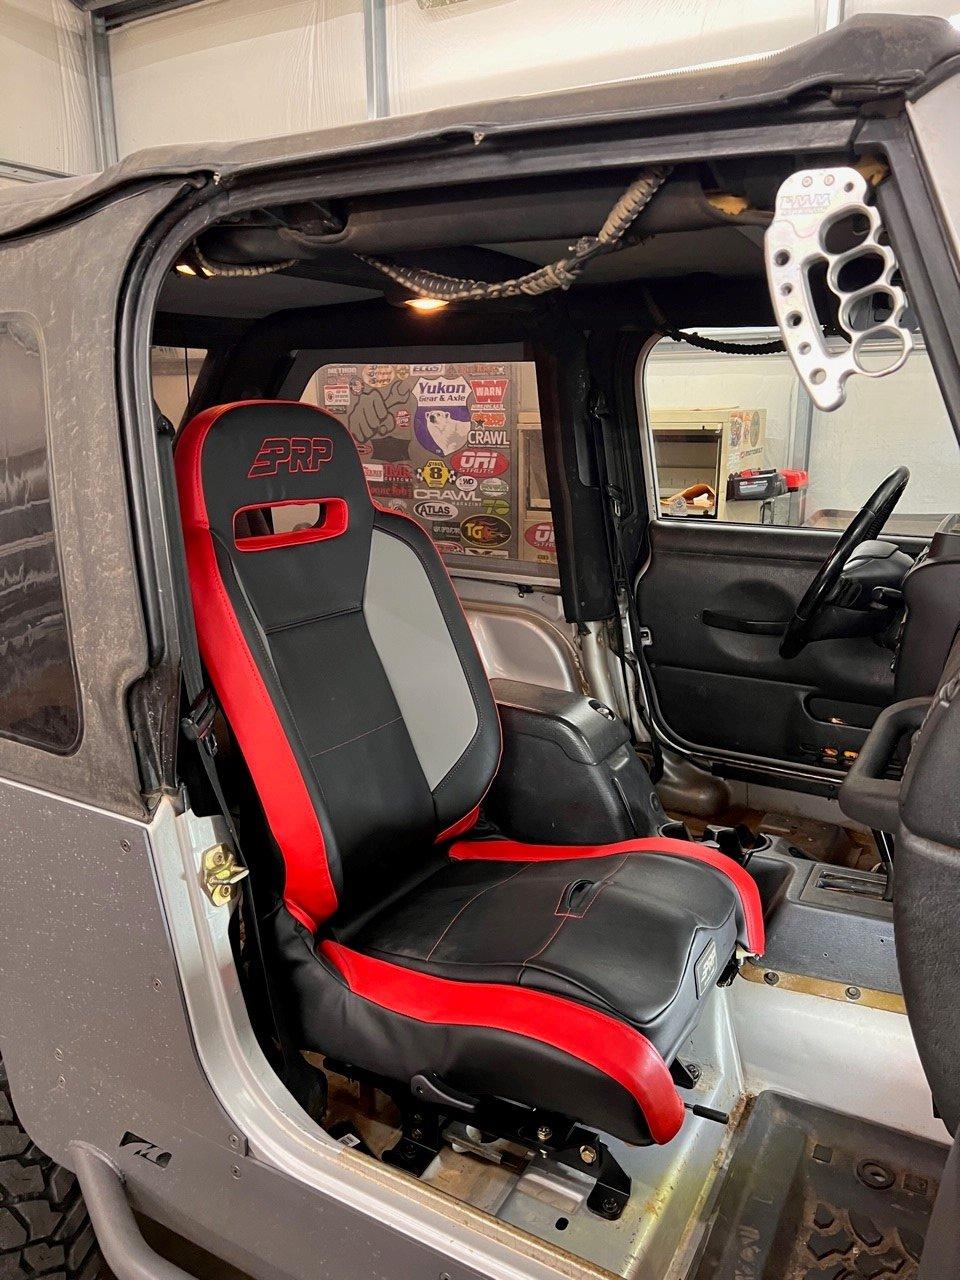
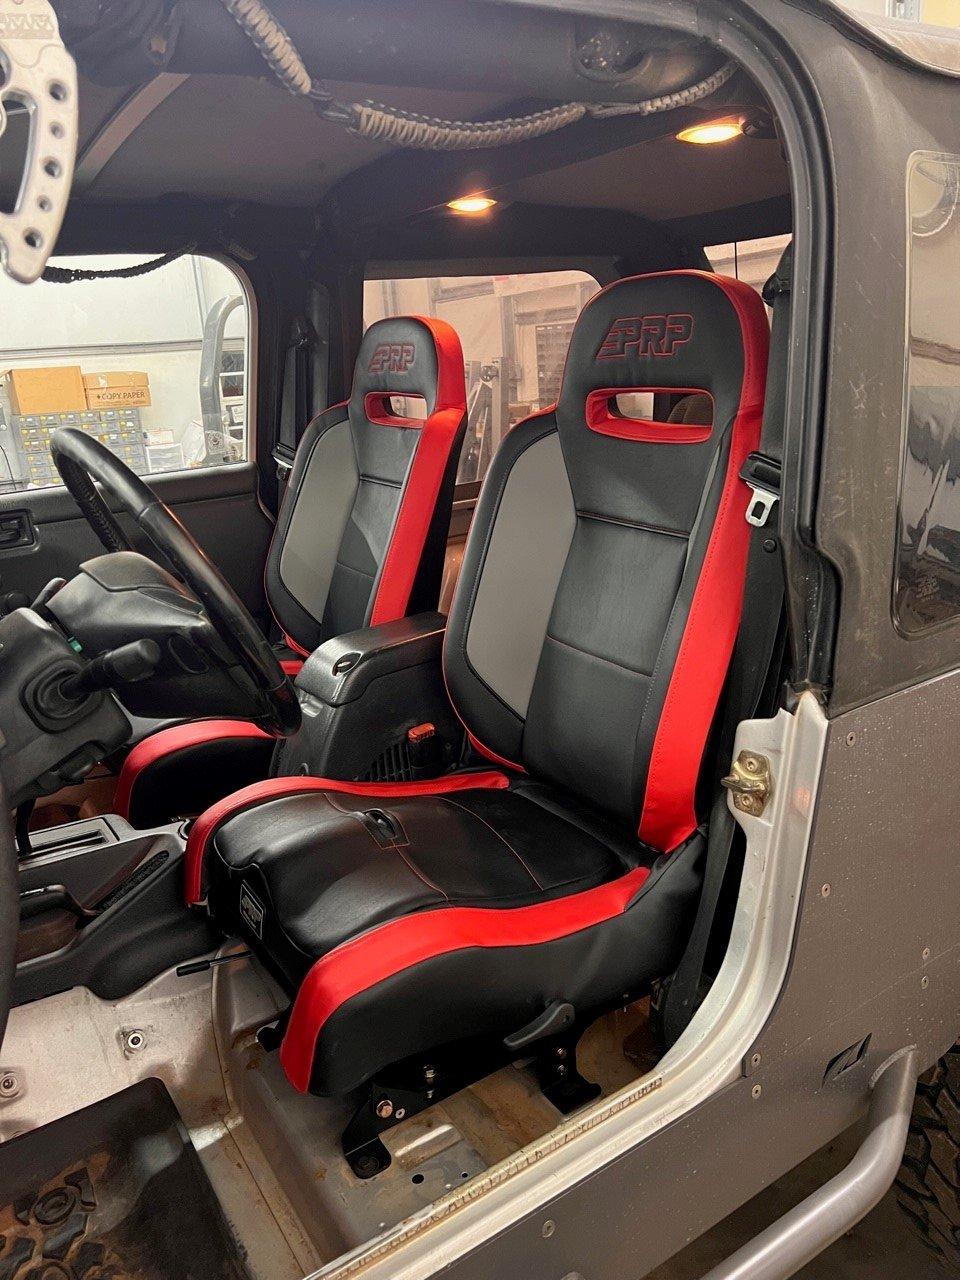
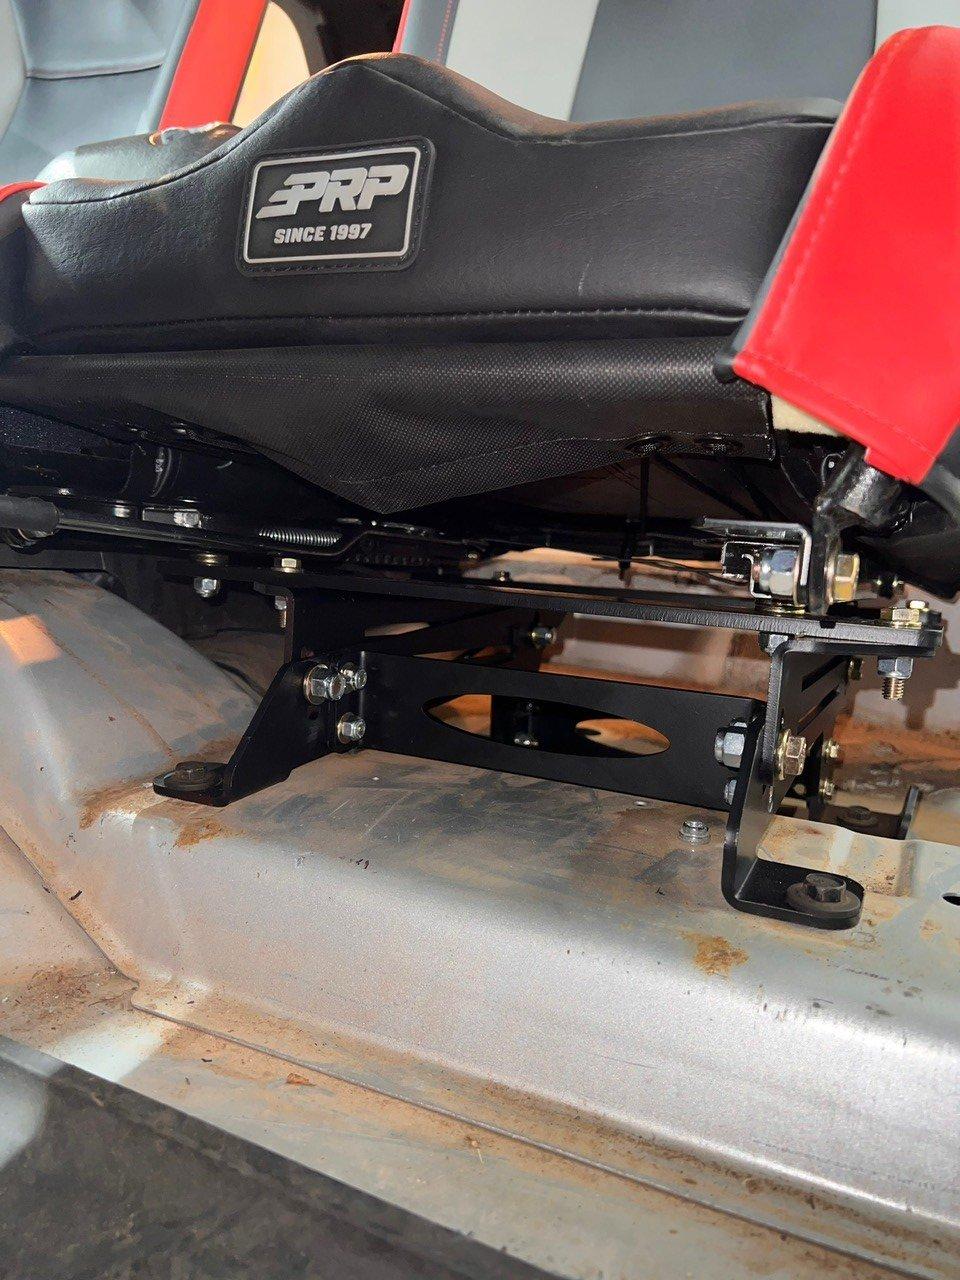
Just this past week I installed these PRP Enduro Elite seats on Genright seat brackets. Definitely not cheap, but a huge upgrade over the factory seats. My driver's seat was about shot anyway. I've got a bolt in harness bar and PRP harnesses here to put in, but I'm still debating on whether to put them in yet or not.

Jeep26.jpg

Jeep27.jpg

Jeep28.jpg
 
As an Amazon Associate we earn from qualifying purchases. Product prices and availability are accurate as of the date/time indicated and are subject to change.
That pretty much catches up to where I am now. Like I said I've got a single seat buggy sitting here that's been broken for almost 5 years. In that time I got married and had two kids, so shop time is a bit limited these days. I'm ever so slowly working on try to get the buggy sorted out too, but my main focus has been this LJ so the family can enjoy it too. I have most of the major stuff here for the axle swap minus the tires, but I don't want to tear it apart until I have everything ready to knock it out as quick as possible.

A little preview of what's coming:

jeep22.jpg

Jeep23.jpg


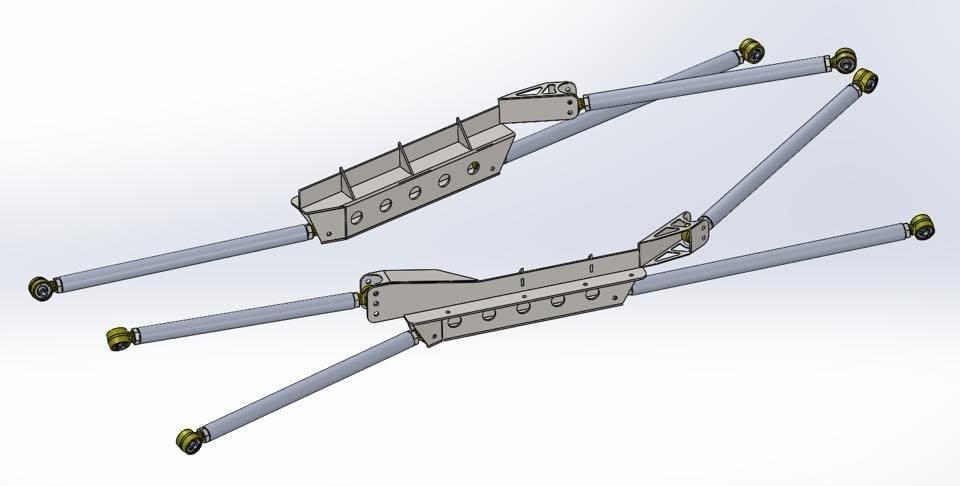
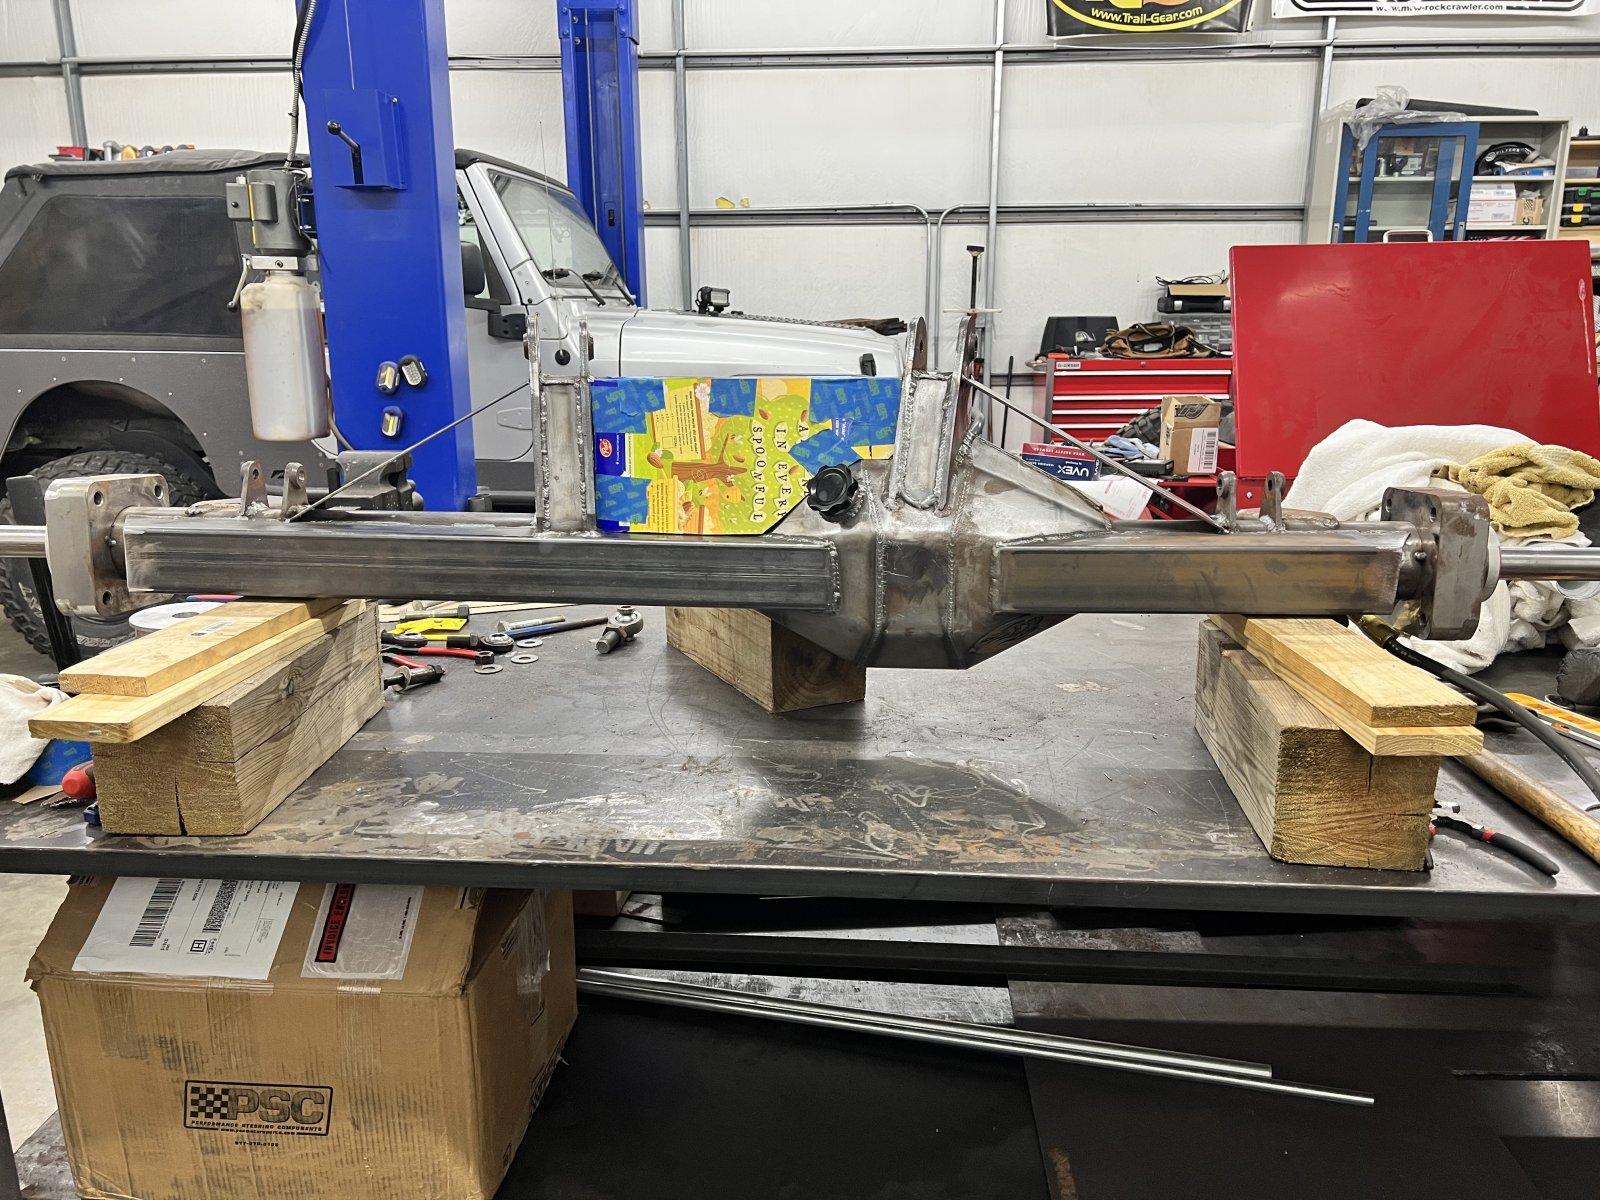
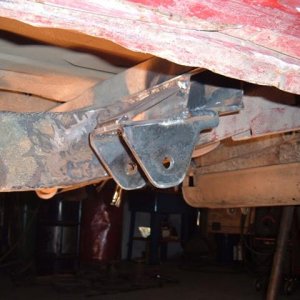
This will be the base of the suspension. It's a 3/4 link subframe kit designed by the guy who went by GTXRacer on Pirate back in the day. He designed and sold a few of these, but they never really took off. I was planning to get the Motobilt kit, but ran across one of these on Facebook for stupid cheap so I couldn't pass it up. I guess the popcorn welds on it may have something to do with the price, but it's all stuff that can be ground out and re-welded.

Jeep29.jpg


The plan for now is the axle swap with a small stretch staying on coil springs, with a swap to coilovers and more stretch down the road. And who knows if a LS might not find it's way under the hood one day.

Here's the parts list so far:
-05+ 60/10.5 w/5.38 gears Detroit front and factory Ford e-locker rear
-4.3 Atlas (this is an old case that still has the small front output, but I've talked to AA and the upgrade is still available)
-3.5" Rock Krawler triple rate springs
-Rock Krawler 1.25" rebuildable flex joints
-PSC big bore hydro assist kit
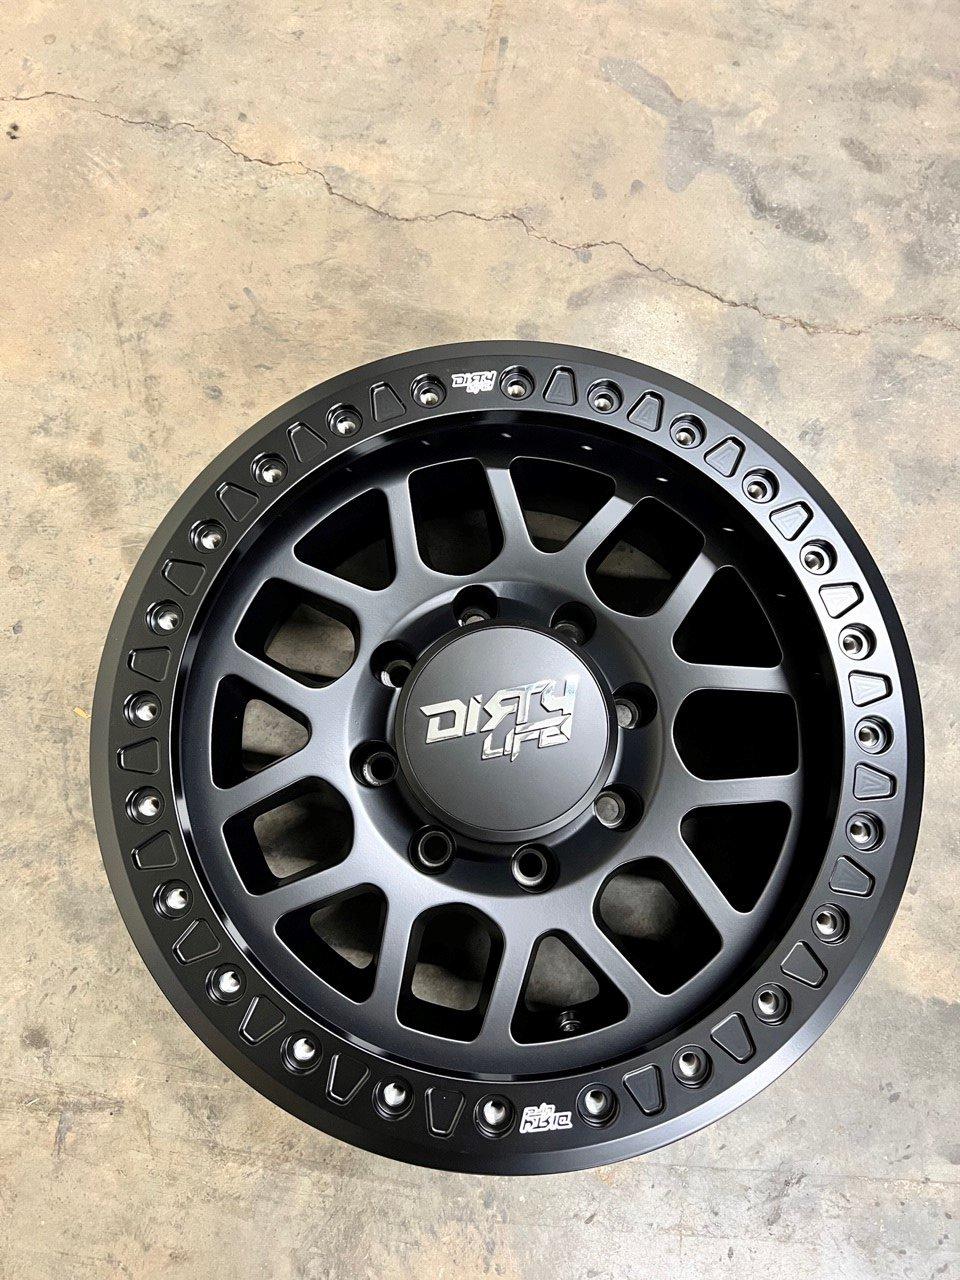
-Dirty Life Mesa beadlocks
 
That is looking good. :dblthumb:
Now you just need to work on the buggy........:popcorn::popcorn::popcorn:
 
Cool to see an LJ build. As popular as the LJ models are, I wonder if Jeep ever regrets only offering them for a couple of years.

Shop wise, I think we need some additional info on yours over in this thread:
https://www.hardlinecrawlers.com/threads/pics-of-your-shops-garages-specs.17593/page-57
To me they’re the perfect Jeep. Sure a JKU would be nice with the 4 doors, but I’ve never been a fan of them. And I’m definitely not a fan of all the electronics that come with the newer Jeeps.

I’ll try to make a post in that thread sometime soon. My old shop/house is in there somewhere. We just moved to this house in October ‘21 so this shop is still an unorganized mess. I downsized shops from a 30x55 to a 30x42 but gained a lift and a better door layout so I was ok with it.
 
To me they’re the perfect Jeep. Sure a JKU would be nice with the 4 doors, but I’ve never been a fan of them. And I’m definitely not a fan of all the electronics that come with the newer Jeeps.

I’ll try to make a post in that thread sometime soon. My old shop/house is in there somewhere. We just moved to this house in October ‘21 so this shop is still an unorganized mess. I downsized shops from a 30x55 to a 30x42 but gained a lift and a better door layout so I was ok with it.
Similar thinking in terms of LJ vs JK.

Sounds good on the shop thread and sounds like the downsize was an upgrade.
 
Super nice setup. I like it. I’ve been considering doing something very similar with a 4 door Jk. I like my cherobuggy. But, I’d love to have a semi built daily driver/3rd vehicle.
 
Thanks! A JK would definitely make more sense, especially for a family rig. But like I said above, just not a fan. Unless it’s a JK with a Grumper. Lol.
 
Love all the choices so far. Ironically my Silver LJ has the same scuff on the passenger rear corner.
I have a narrowed 05 D60 and Sterling with elocker and 4.88s. I'm considering selliing them and building 9's due to using a 37-38" tire.
 
Thanks! That sounds like a good plan. I’m a big fan of the 9” stuff. They definitely would be plenty for that.
 
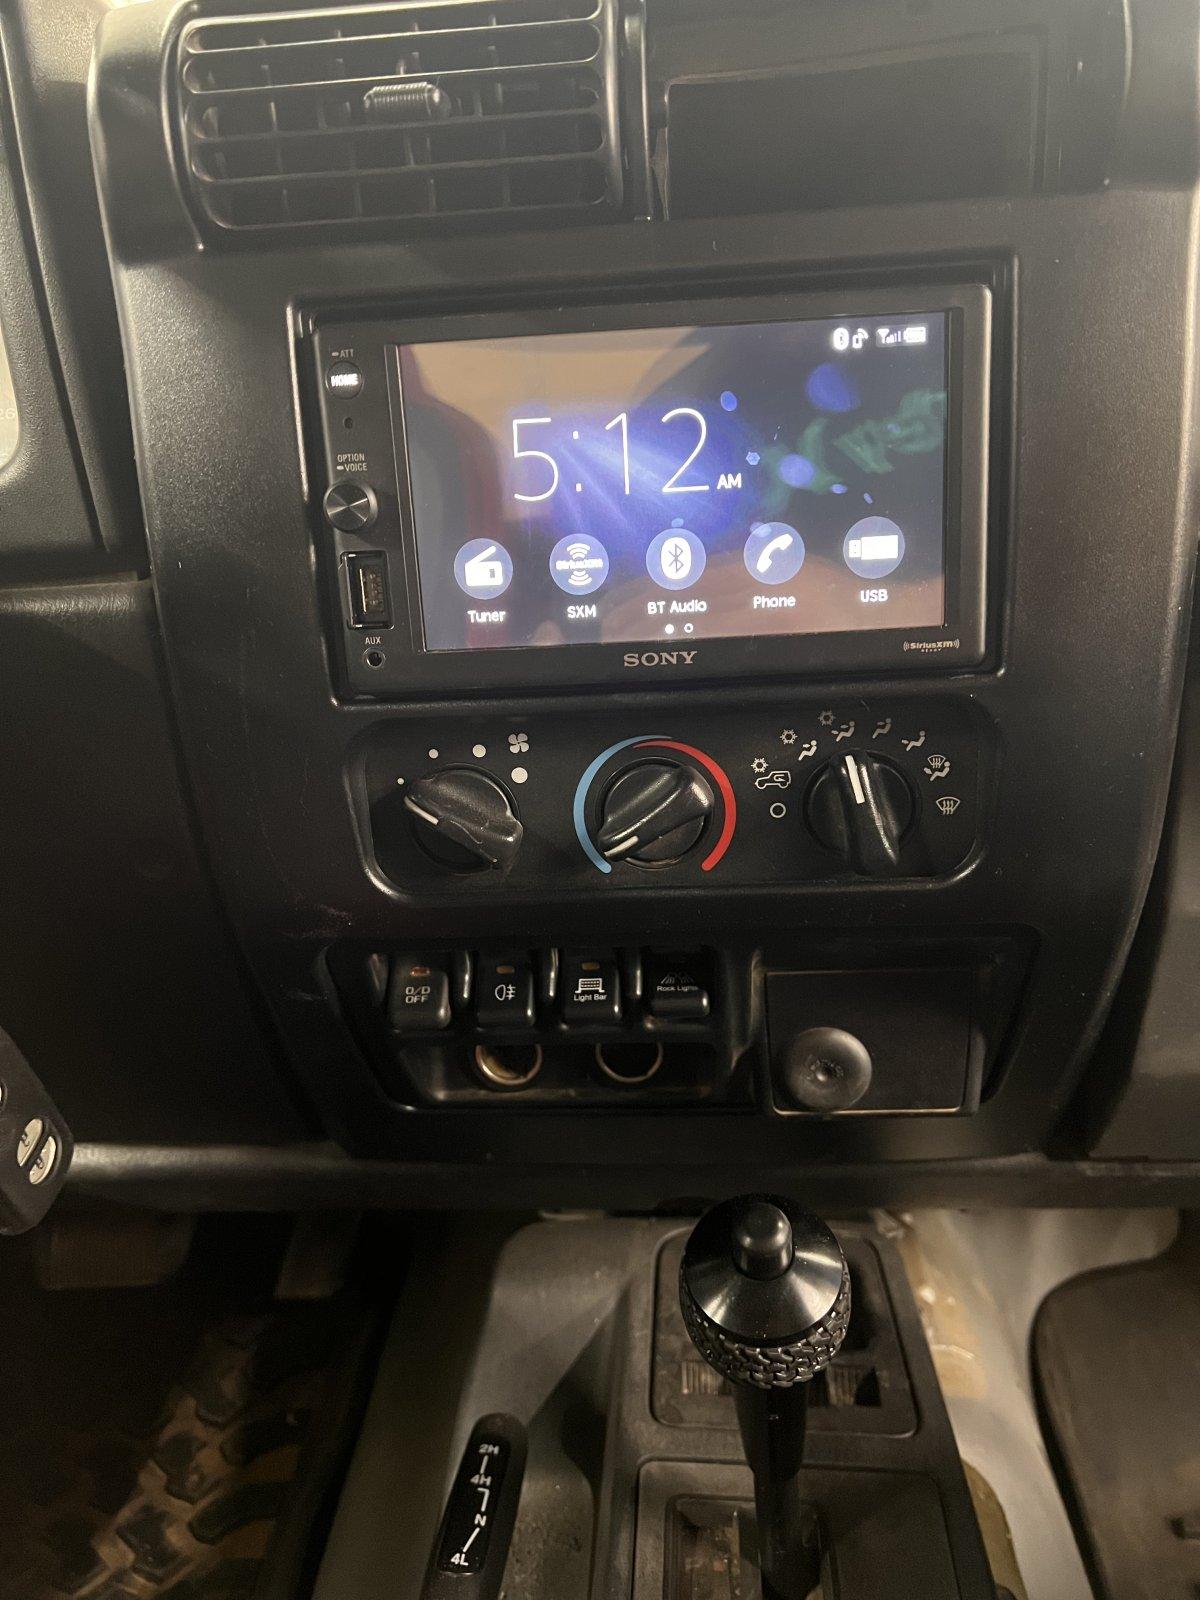
Was that plug in play kit?
Basically. Bought the dash kit, wiring harness adapter, and antenna adapter. The wiring harness adapter has to be spliced to the aftermarket stereo’s harness, but it’s basically just matching up the colors.
 
Basically. Bought the dash kit, wiring harness adapter, and antenna adapter. The wiring harness adapter has to be spliced to the aftermarket stereo’s harness, but it’s basically just matching up the colors.
Looks much better.

Random story from the plug and play/matching wires. Years ago I had a buddy call having issues wiring his aftermarket radio. Was a plug and play kit.

Me: Match the same color wires together and you are done. Green to green. Red to red. Etc.

Him: I don’t have those color wires.

Me: what colors do you have?

Him: Grey. Lighter grey. Black. Darker black….

Me: Are you color blind?

Him: yes. Now that you mention it, I probably shouldn’t be doing any wiring…

Me: correct.
 
Looks much better.

Random story from the plug and play/matching wires. Years ago I had a buddy call having issues wiring his aftermarket radio. Was a plug and play kit.

Me: Match the same color wires together and you are done. Green to green. Red to red. Etc.

Him: I don’t have those color wires.

Me: what colors do you have?

Him: Grey. Lighter grey. Black. Darker black….

Me: Are you color blind?

Him: yes. Now that you mention it, I probably shouldn’t be doing any wiring…

Me: correct.
Yeah, being colorblind would make that part difficult. Lol. I’m a control system maintenance tech in a chemical plant. We were doing interlock checks once and needed some extra help to verify actions in the field. So they sent one of the old mechanics out with us. I said stand right here and watch these lights and tell me if the red or green comes on. I went to the IO room and tripped the interlock and asked him over the radio which one came on. He said well a light came on. I said was it red or green. He said I don’t know, I’m colorblind. Lol. We put him in charge of watching block valves to see if they closed instead.

It’s a great upgrade over stock, and really easy to do. It took me maybe an hour and a half spread out over two mornings before I left for work.
 
Yeah, being colorblind would make that part difficult. Lol. I’m a control system maintenance tech in a chemical plant. We were doing interlock checks once and needed some extra help to verify actions in the field. So they sent one of the old mechanics out with us. I said stand right here and watch these lights and tell me if the red or green comes on. I went to the IO room and tripped the interlock and asked him over the radio which one came on. He said well a light came on. I said was it red or green. He said I don’t know, I’m colorblind. Lol. We put him in charge of watching block valves to see if they closed instead.
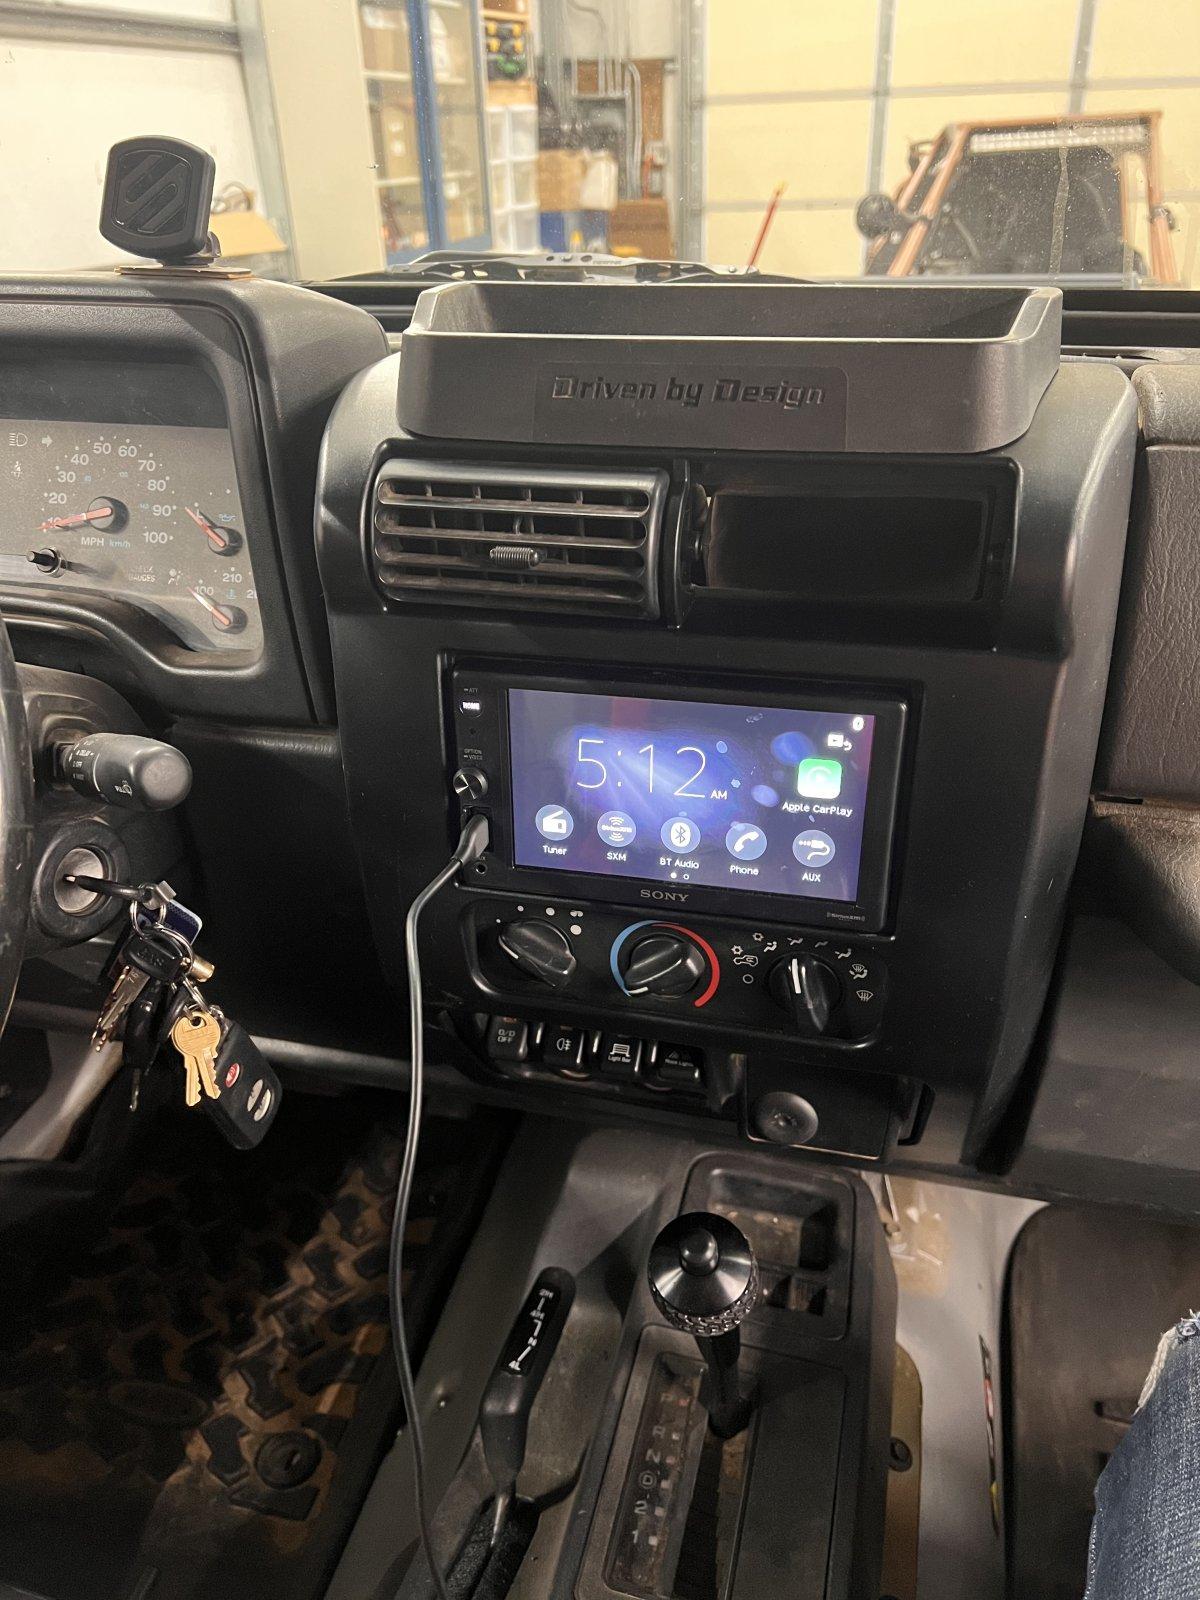
It’s a great upgrade over stock, and really easy to do. It took me maybe an hour and a half spread out over two mornings before I left for work.
Ha sounds about right for that guy.

That’s cool on radio upgrade being relatively simple.
 
Looks much better.

Random story from the plug and play/matching wires. Years ago I had a buddy call having issues wiring his aftermarket radio. Was a plug and play kit.
Me: Match the same color wires together and you are done. Green to green. Red to red. Etc.

Him: I don’t have those color wires.

Me: what colors do you have?

Him: Grey. Lighter grey. Black. Darker black….

Me: Are you color blind?

Him: yes. Now that you mention it, I probably shouldn’t be doing any wiring…

Me: correct.


my dad is color blind and watching wire anything with more than 3 wires is hilarious.
 
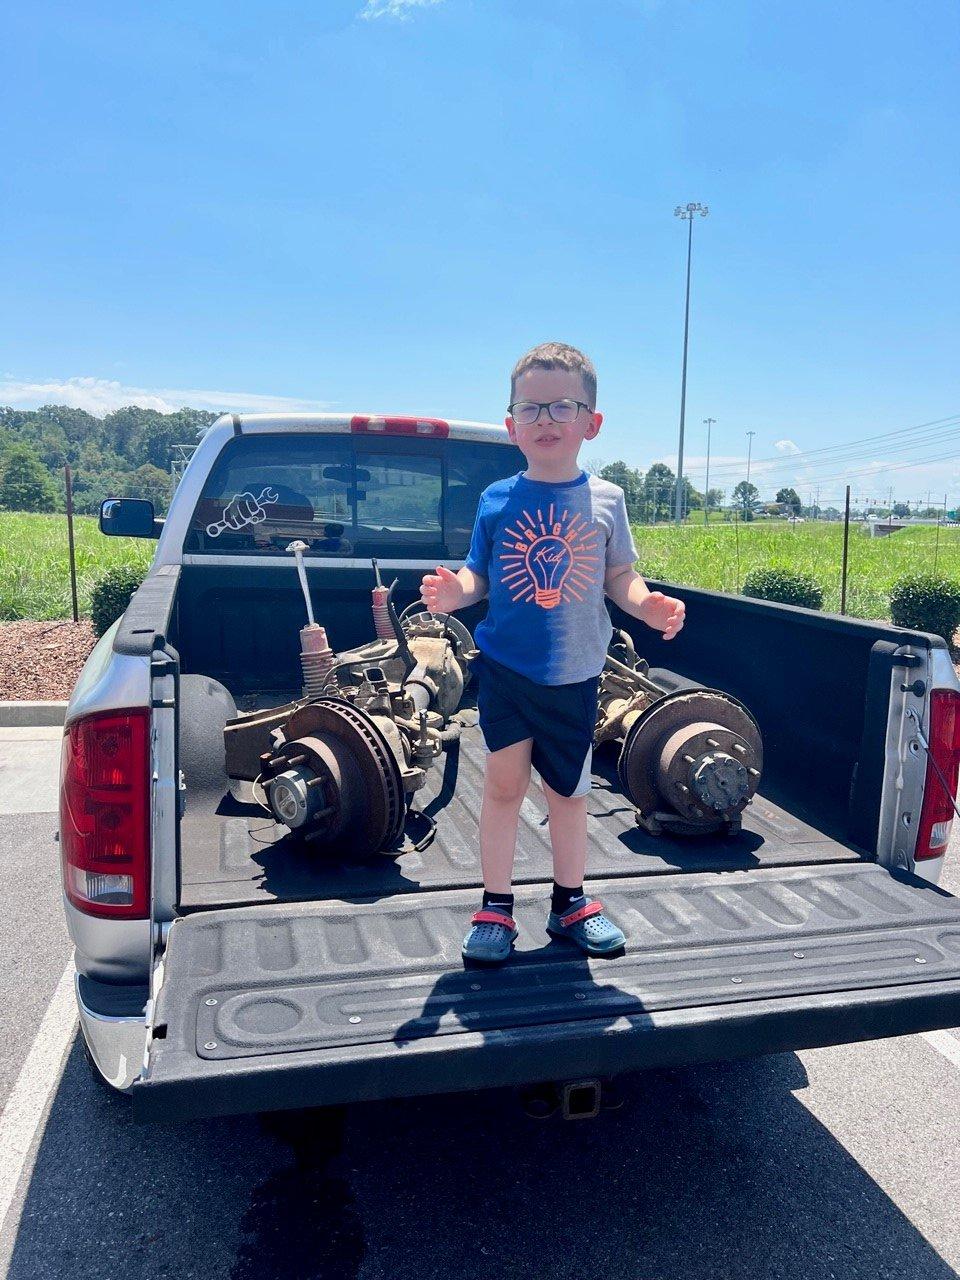
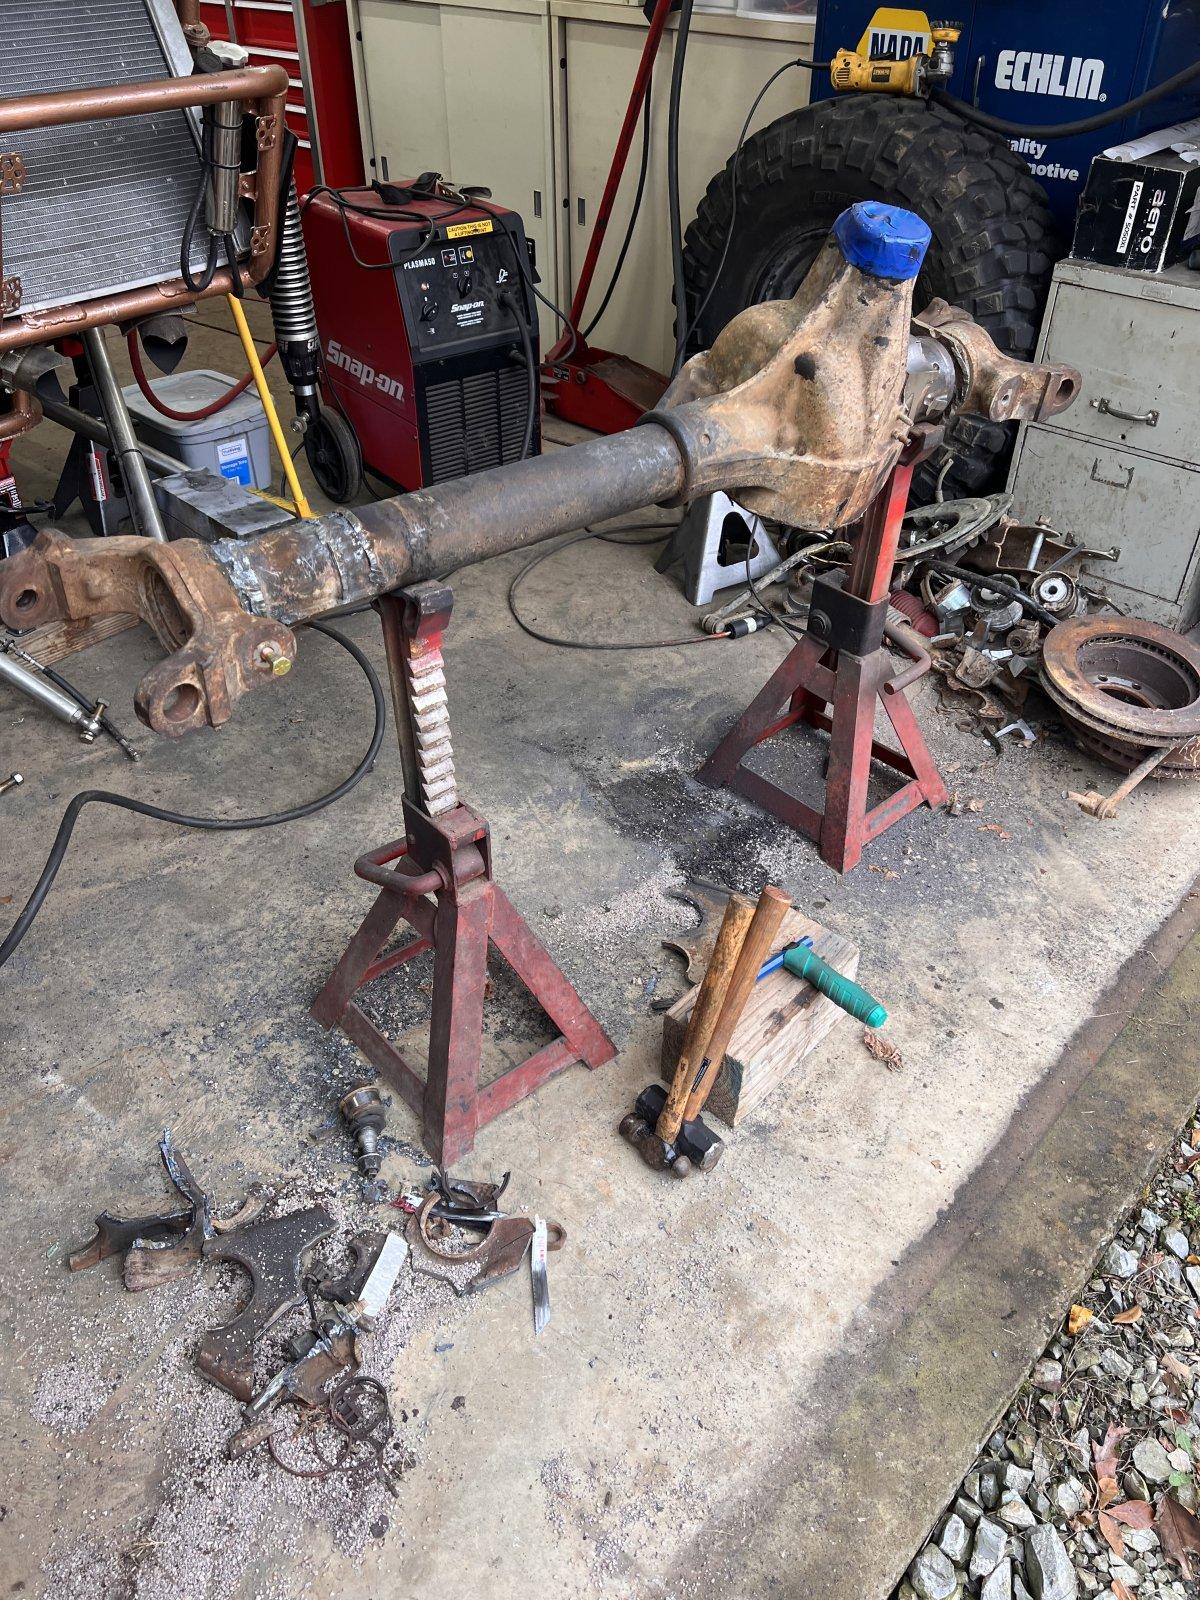
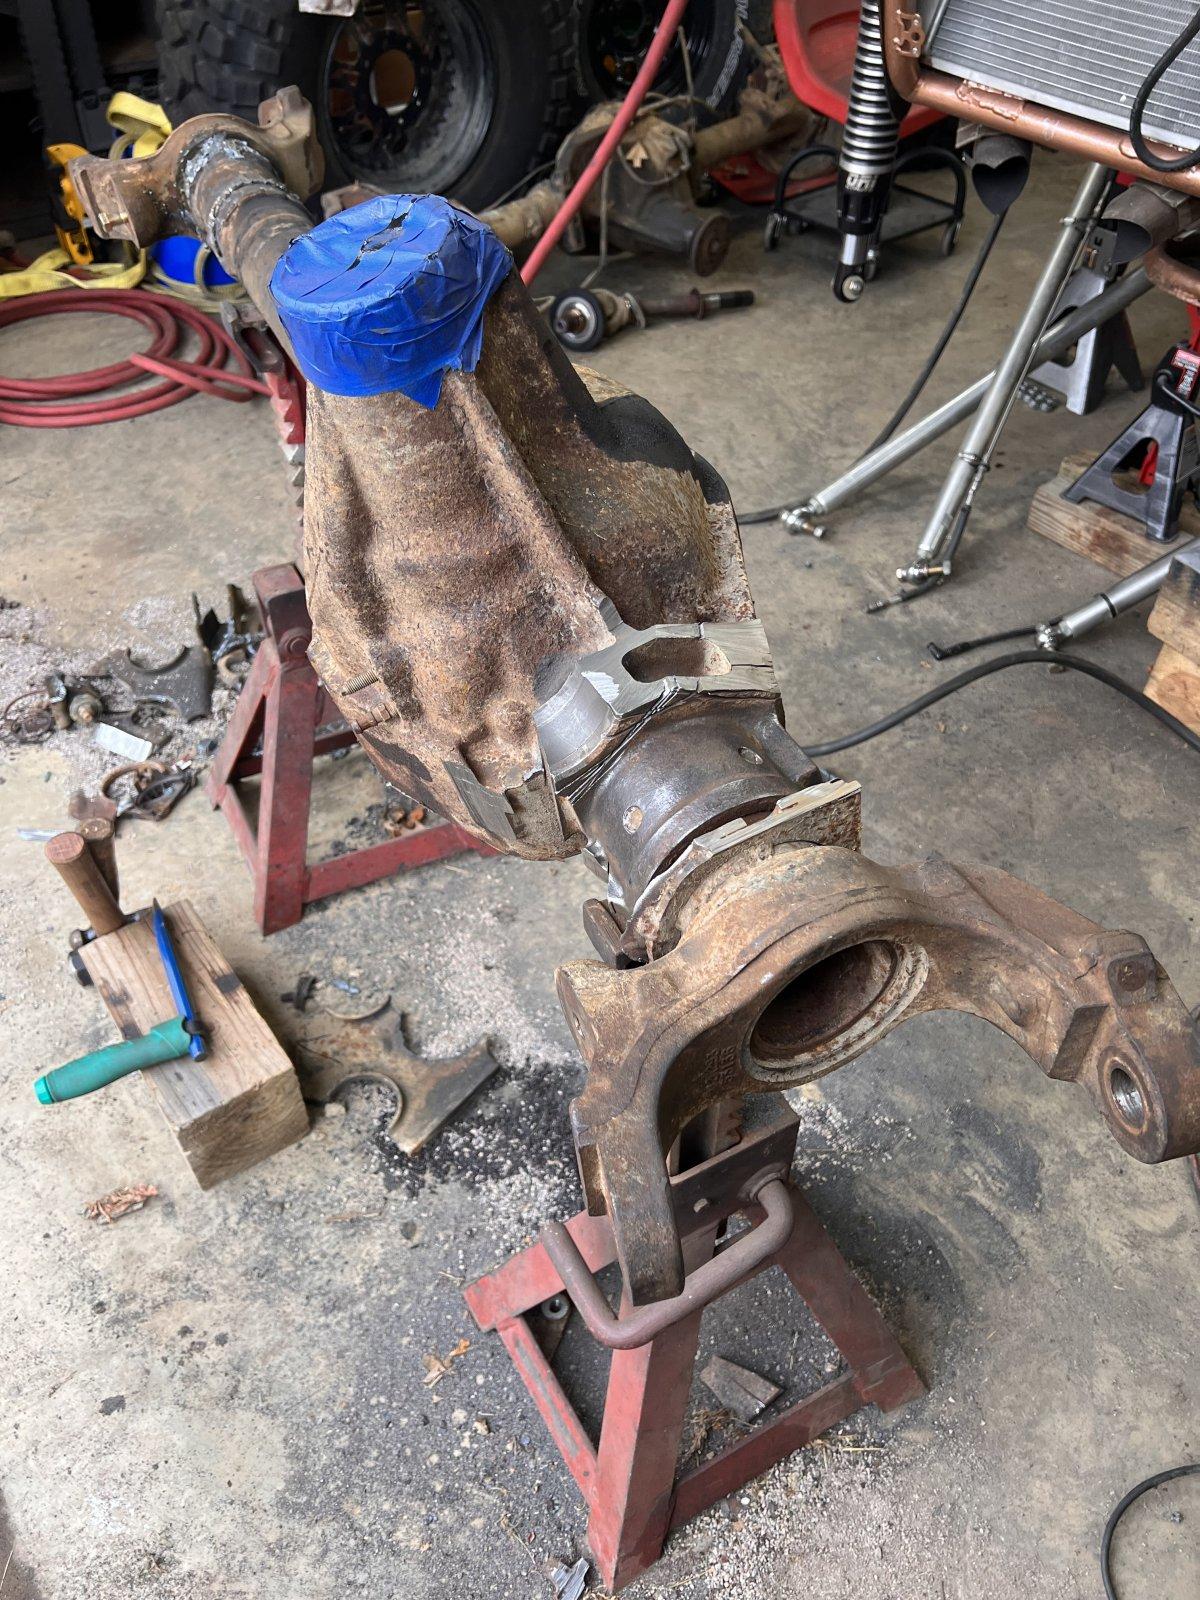
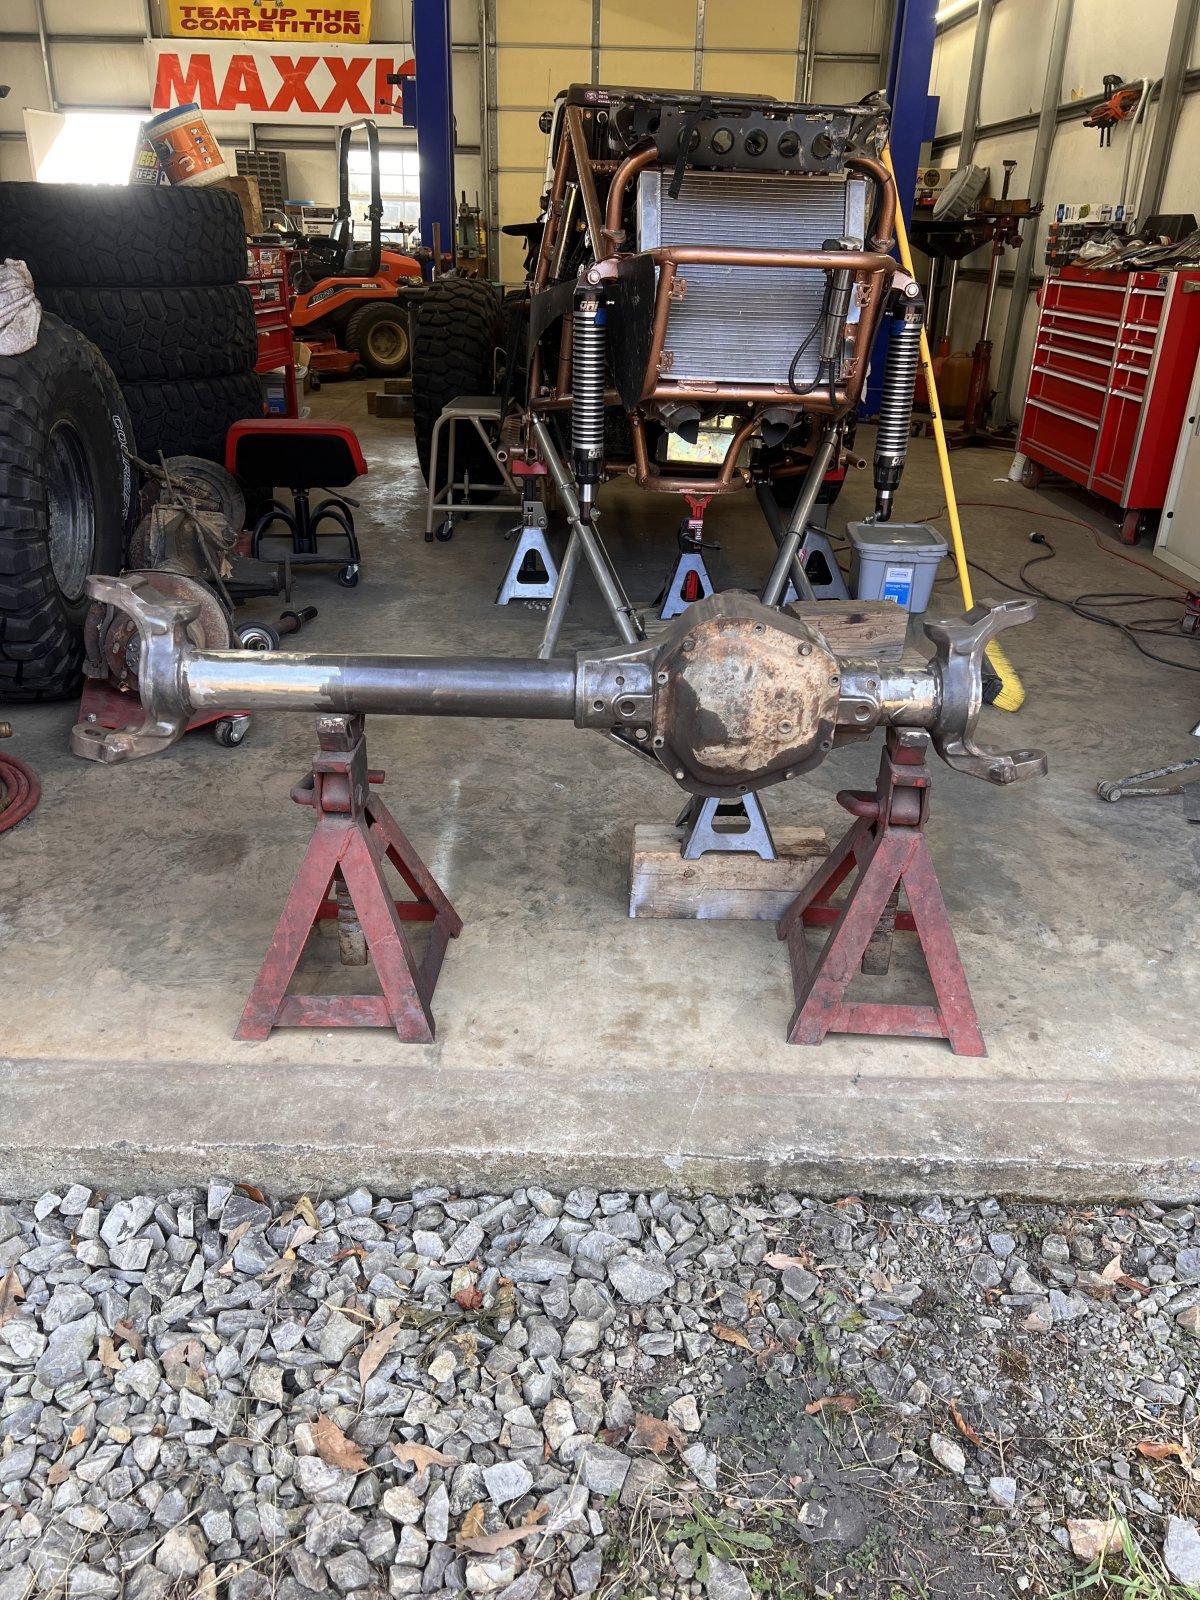
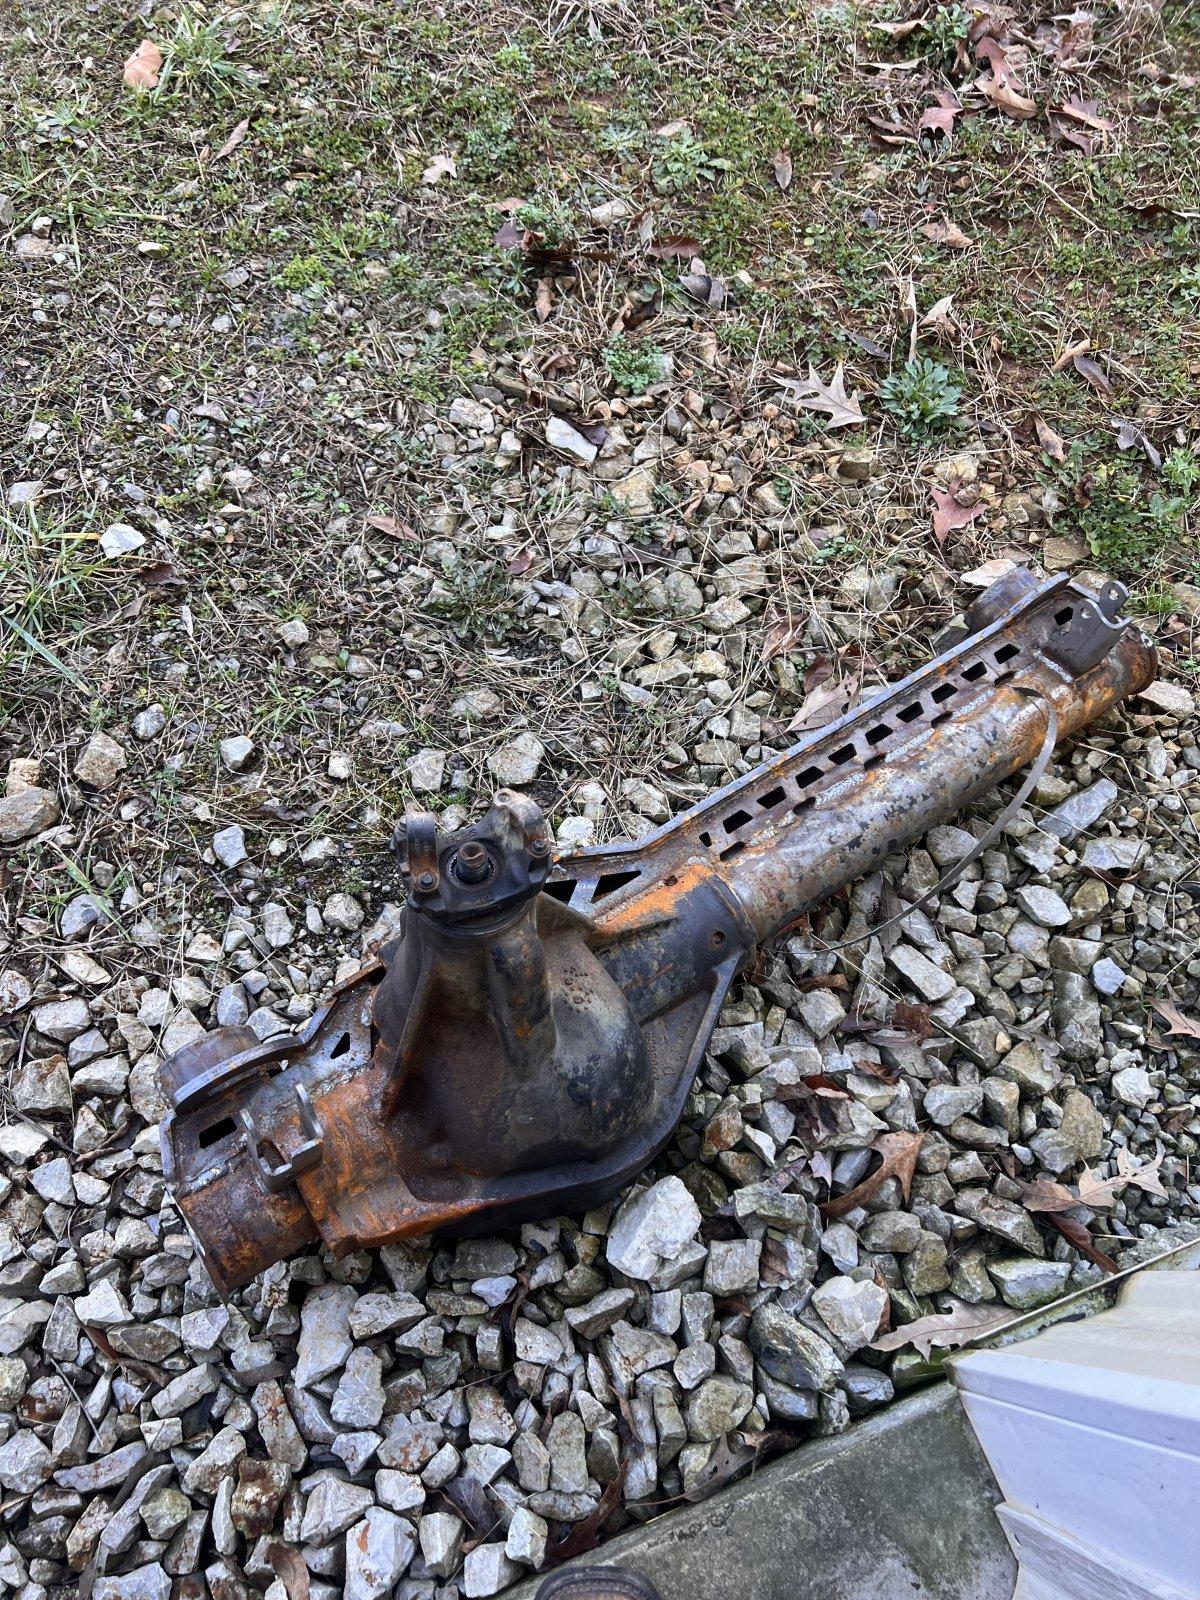
I finally drug the tons out of the barn and into the shop a few weeks ago. Got the 60 disassembled a little at a time over the last couple weeks. Today I had a solid few hours to work so I got out my favorite tools of destruction and went to work cutting all the brackets/casting off. Wasn't the funnest thing I've ever done. Had everything off in 2-3 hours, but it probably needs another hour with a grinder/flap wheel. Then I'll start getting the truss fitted up.

IMG_1346.jpeg


IMG_1347.jpeg


IMG_1348.jpeg
 
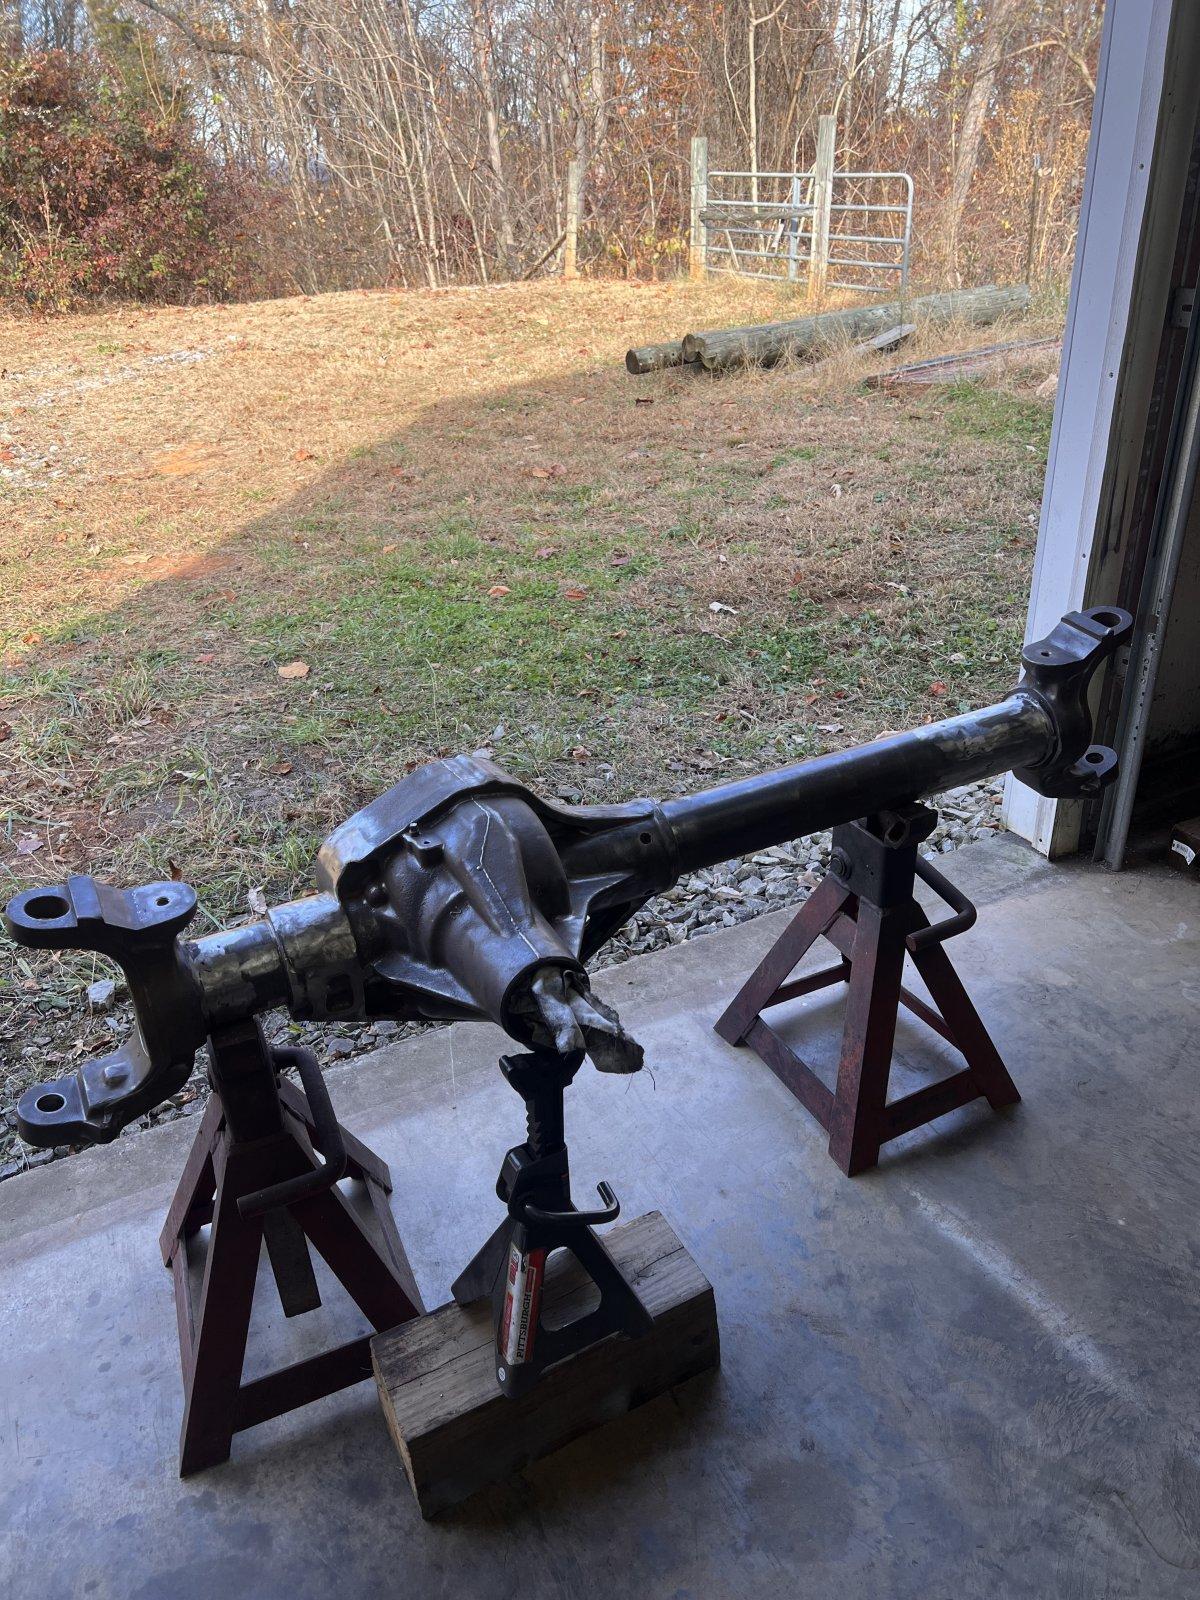
Welp… Got all the grinding finished up today.

IMG_1354.jpeg


IMG_1355.jpeg


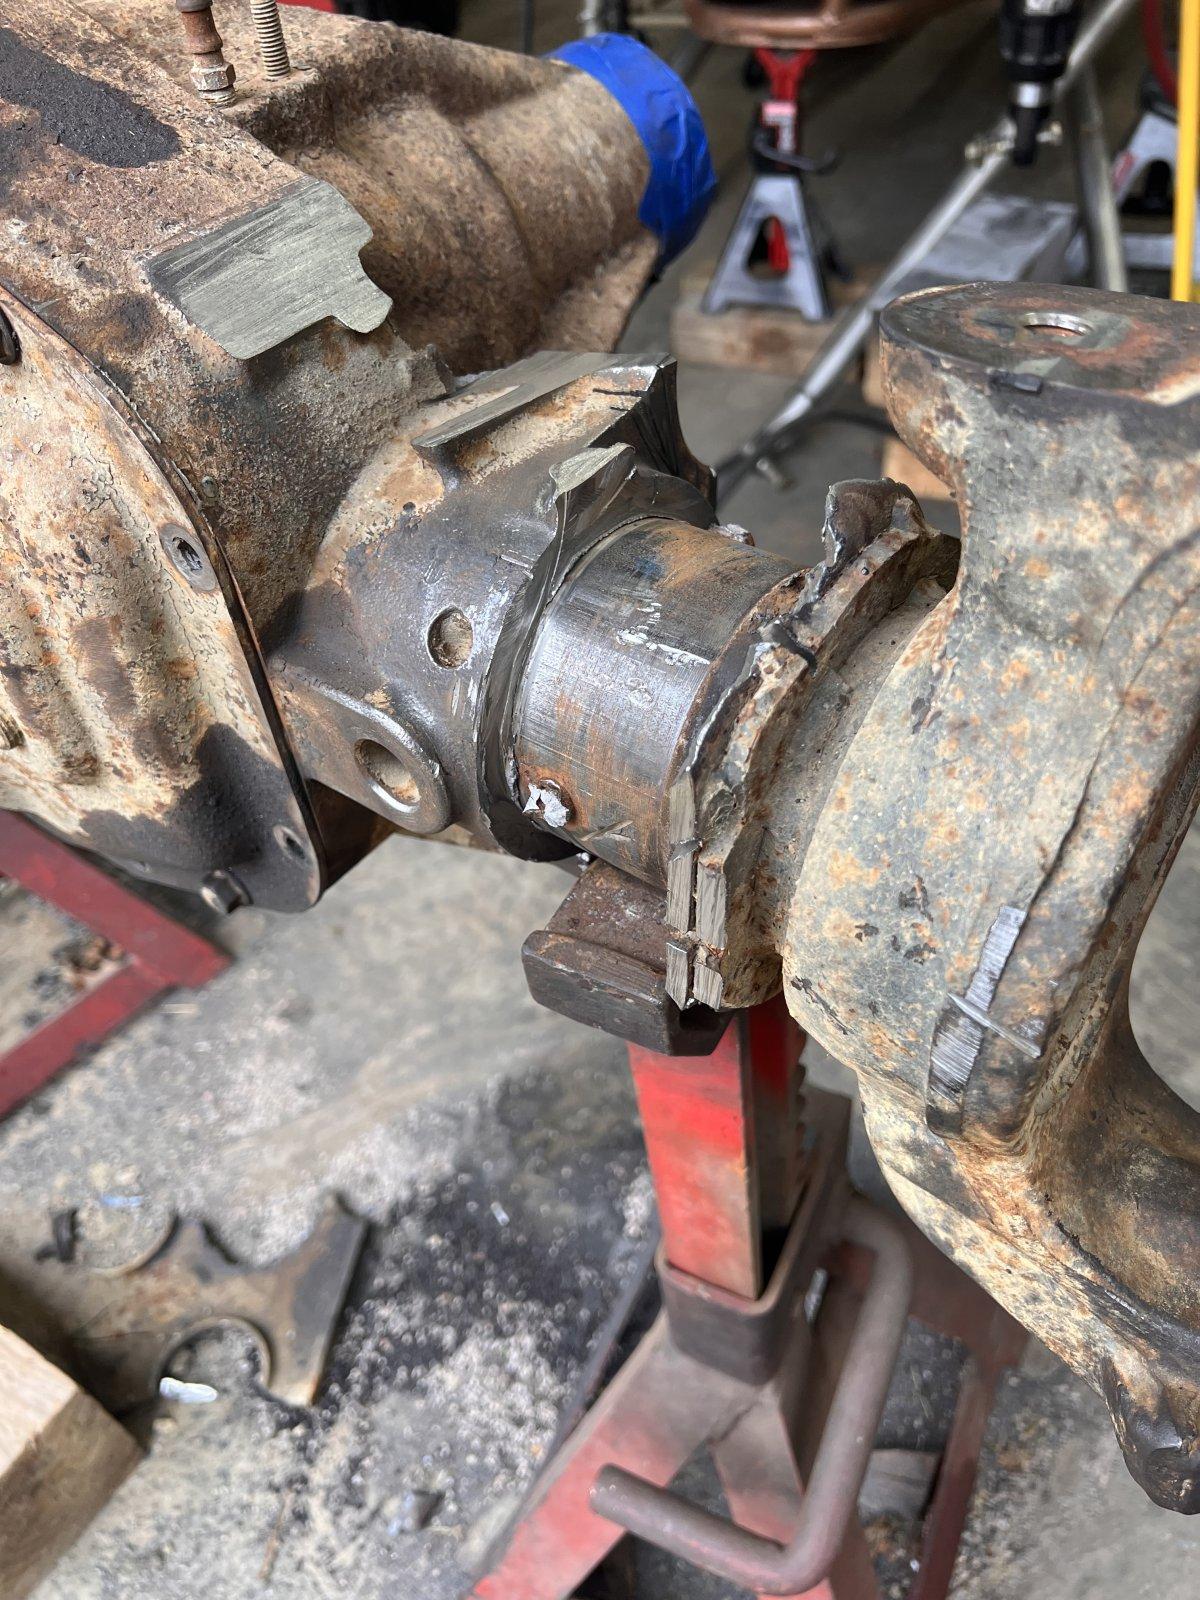
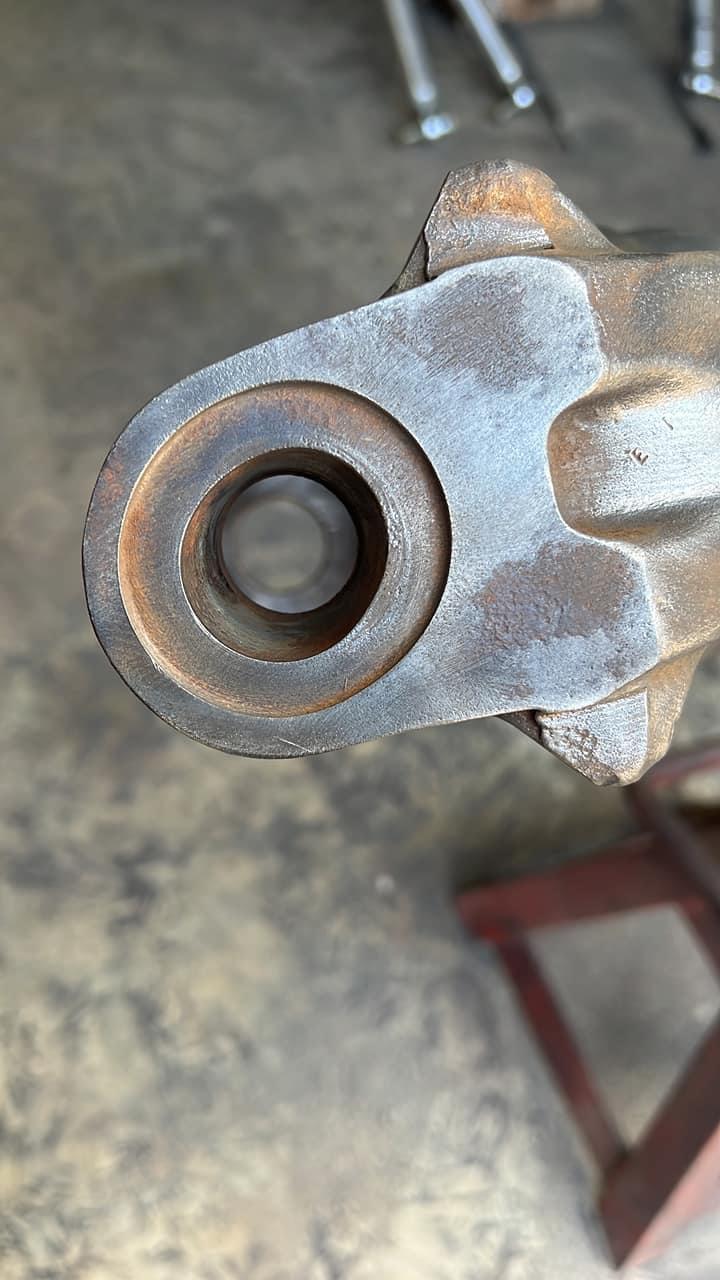
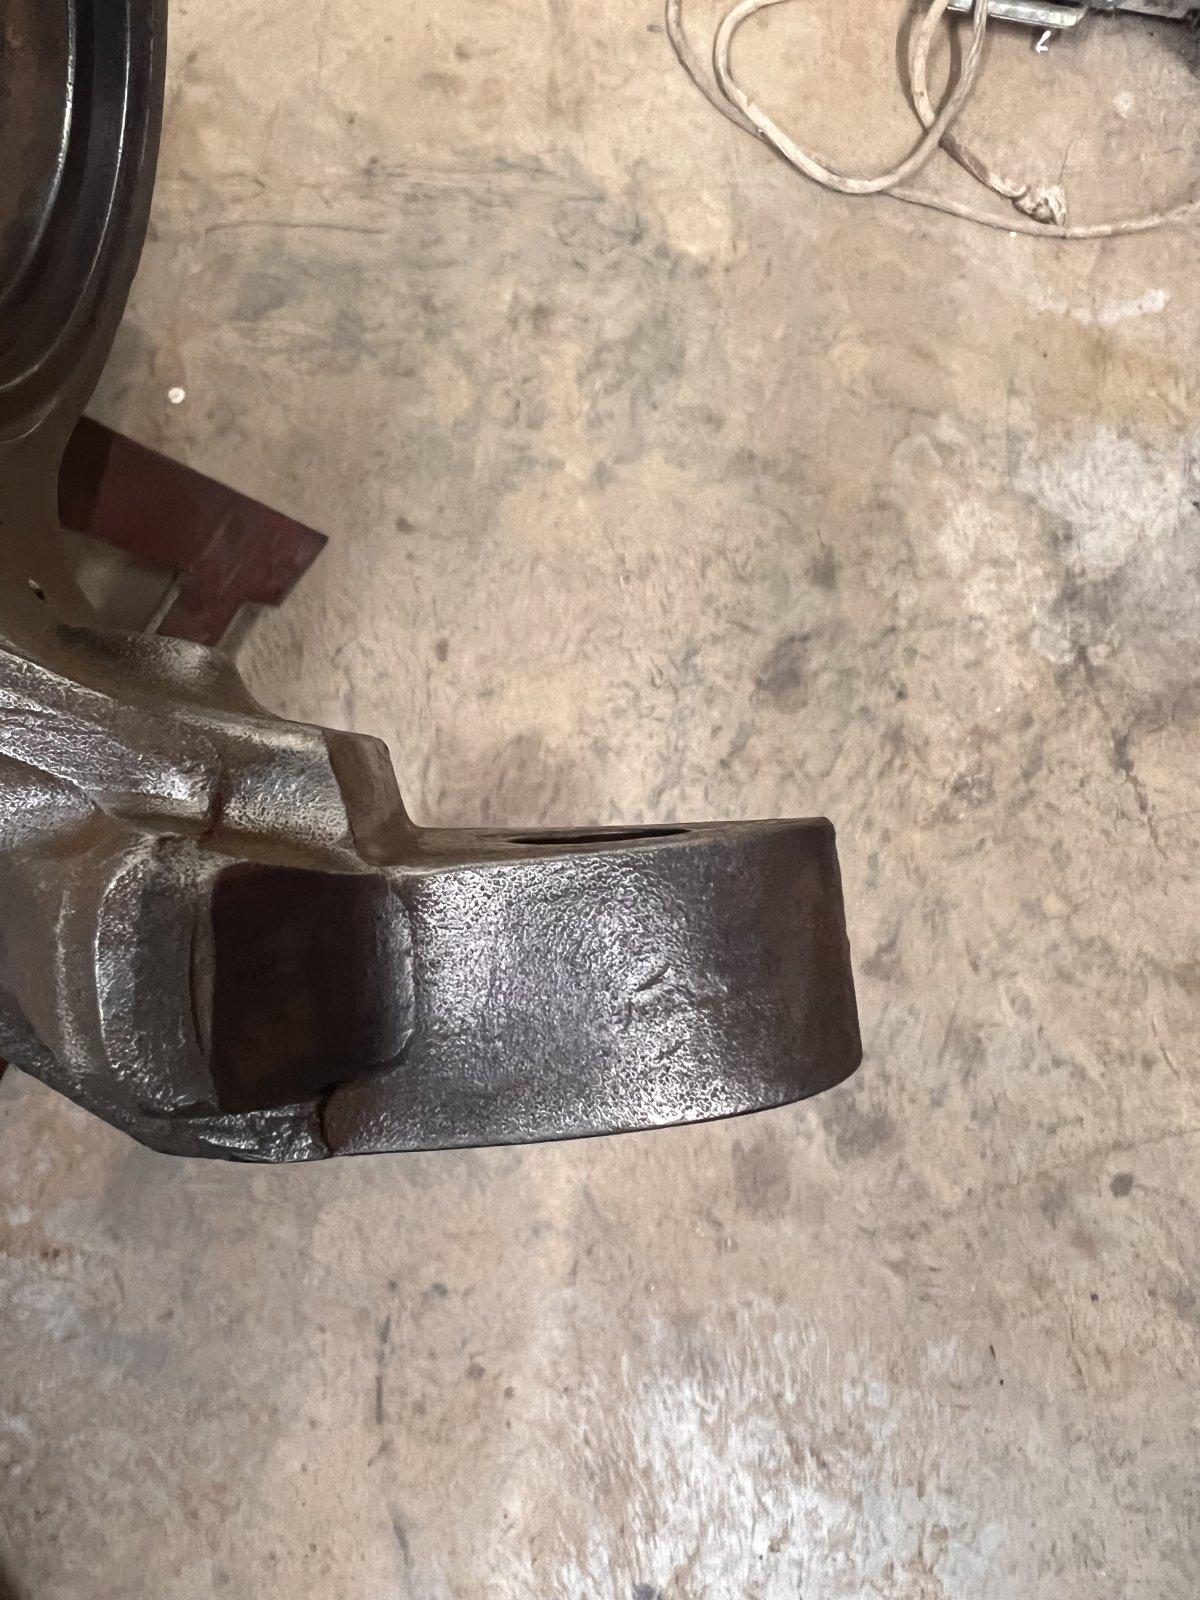
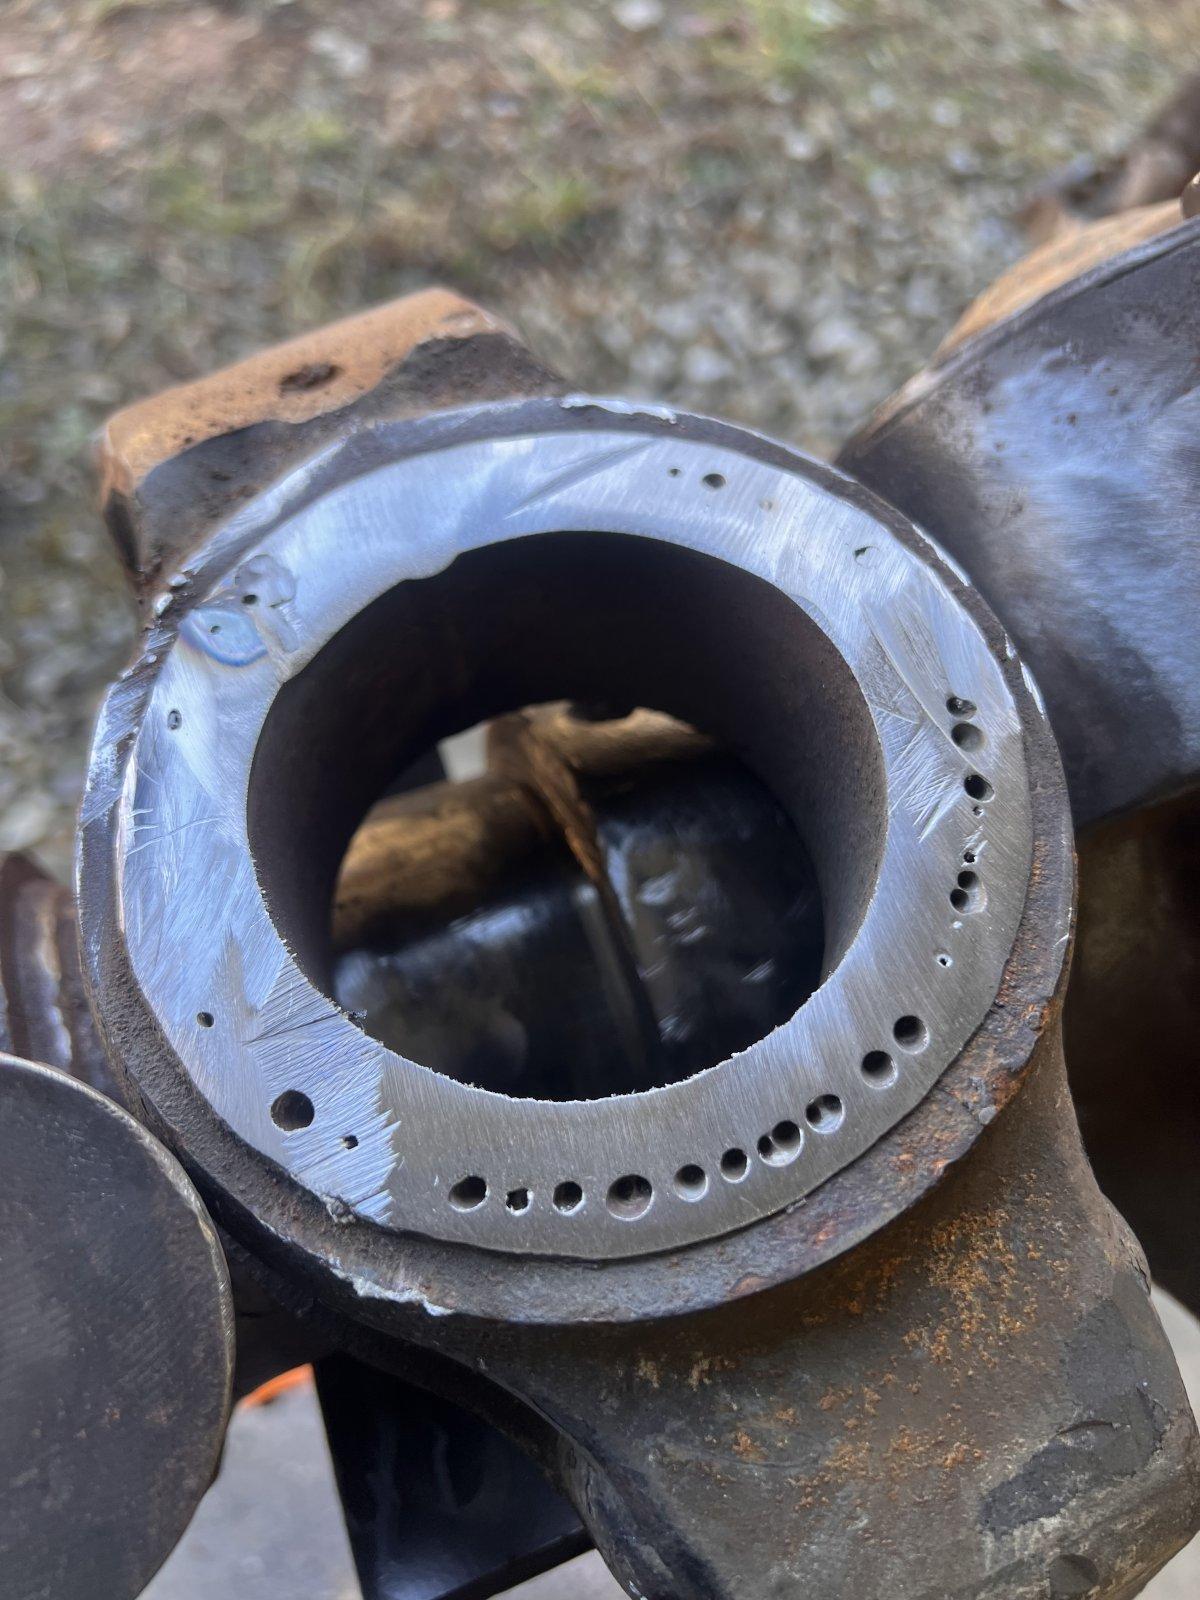
Then I went at the whole thing with a wire wheel. The very last part I had to clean was the passenger side inner C. Something's not right here…

IMG_1357.jpeg


I bought the axle out of '06 F-250 at a local junkyard. I saw the truck before they pulled the axles. It wasn't a front end collision. I don't "think" the housing is bent, haven't had time to confirm yet. I believe it was caused by a bad/loose balljoint at some point.

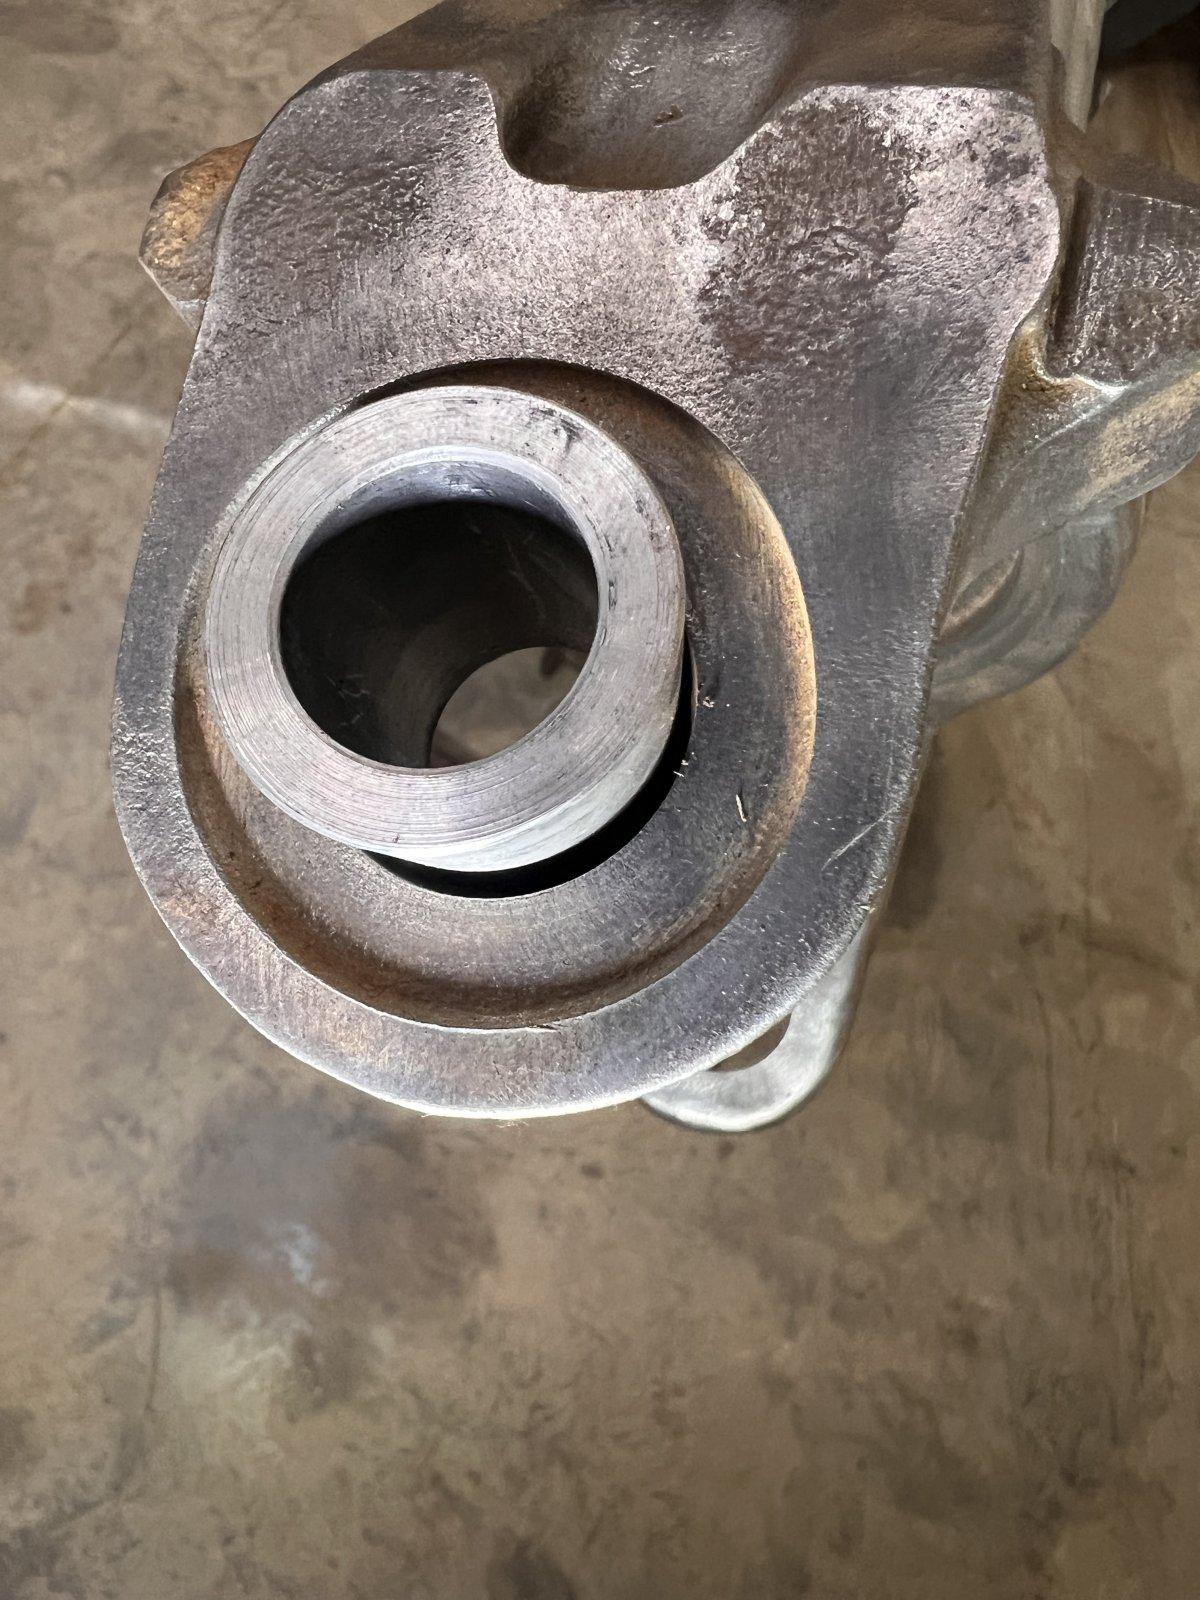
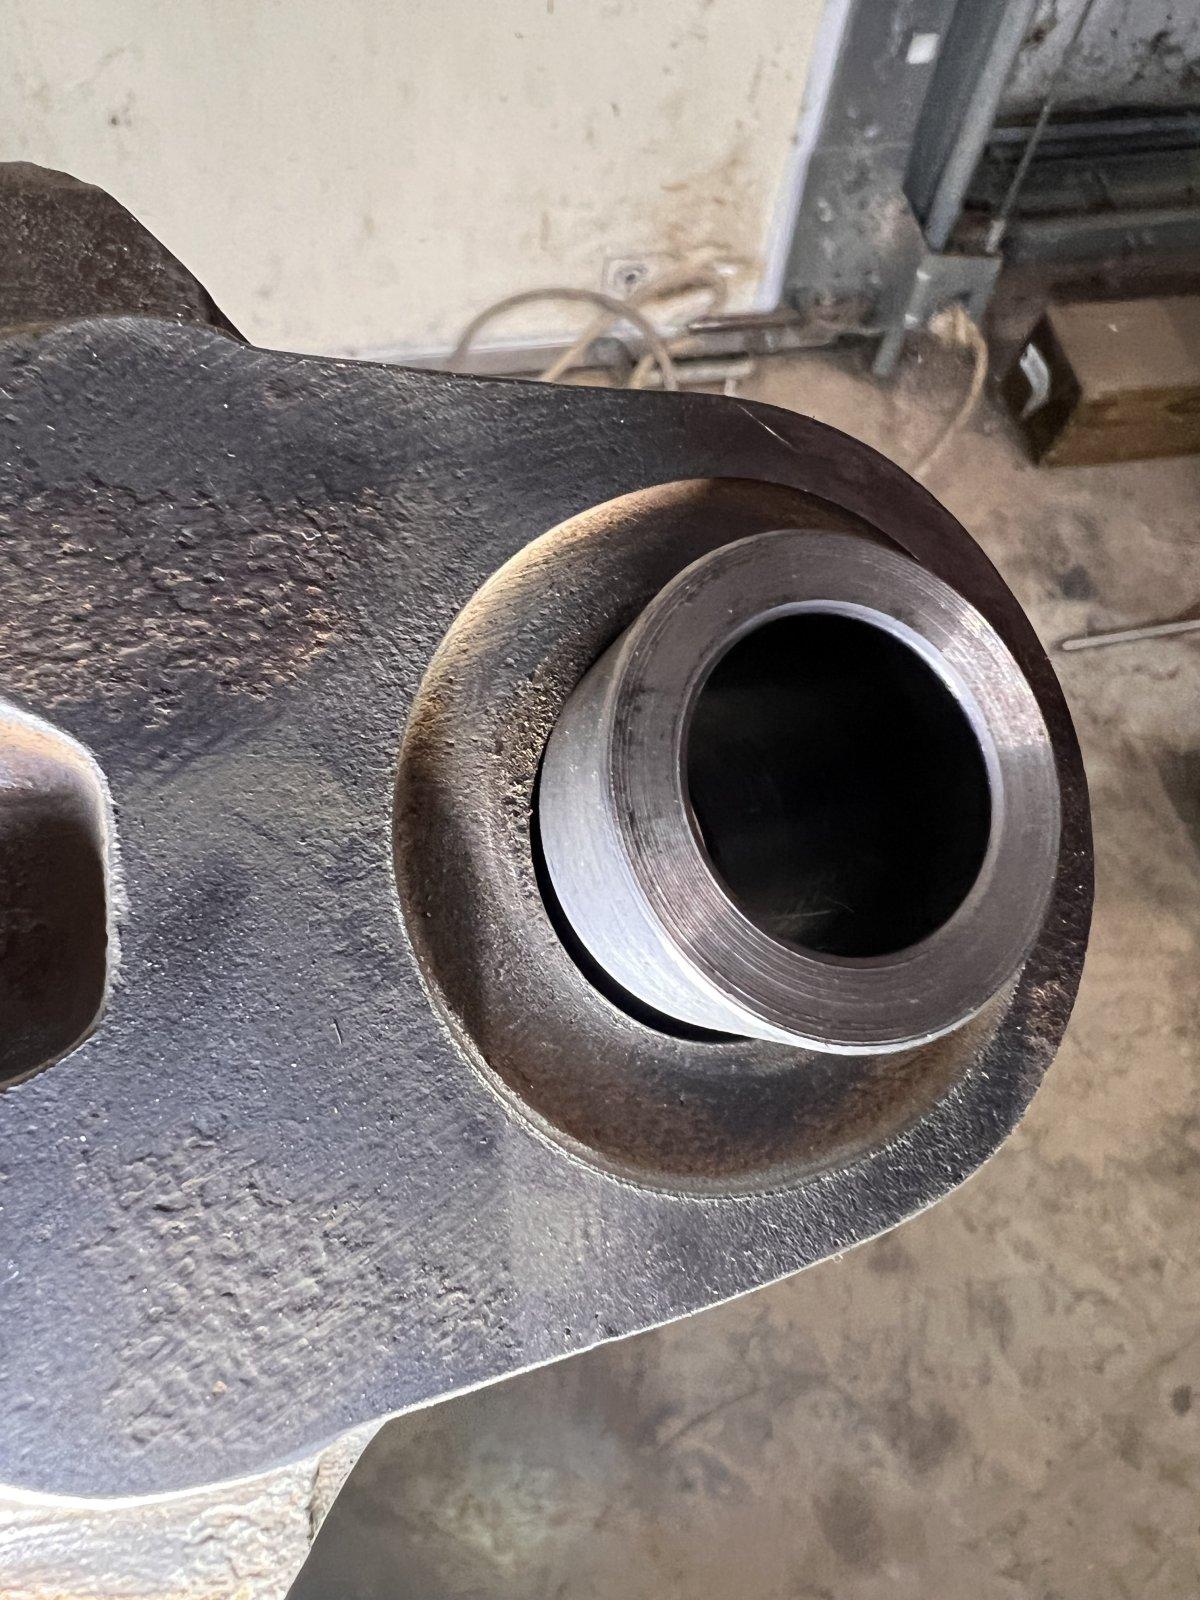
Not sure what the next step will be now. I have a set of the American Iron balljoint deletes for the build. They use a bearing, tapered steel bushing and a through bolt in place of the balljoint. I've talked a bit to the owner of the company, he said to test fit the bushing in the C and see how sloppy it is. If it's not too bad he said the bushing could be welded in to the C.

A local buddy has a bad housing with good Cs if I do have to go down the path of replacing the whole C. I really don't want to have to do that, but I really can't afford another $500 plus for a new axle right now either.
 
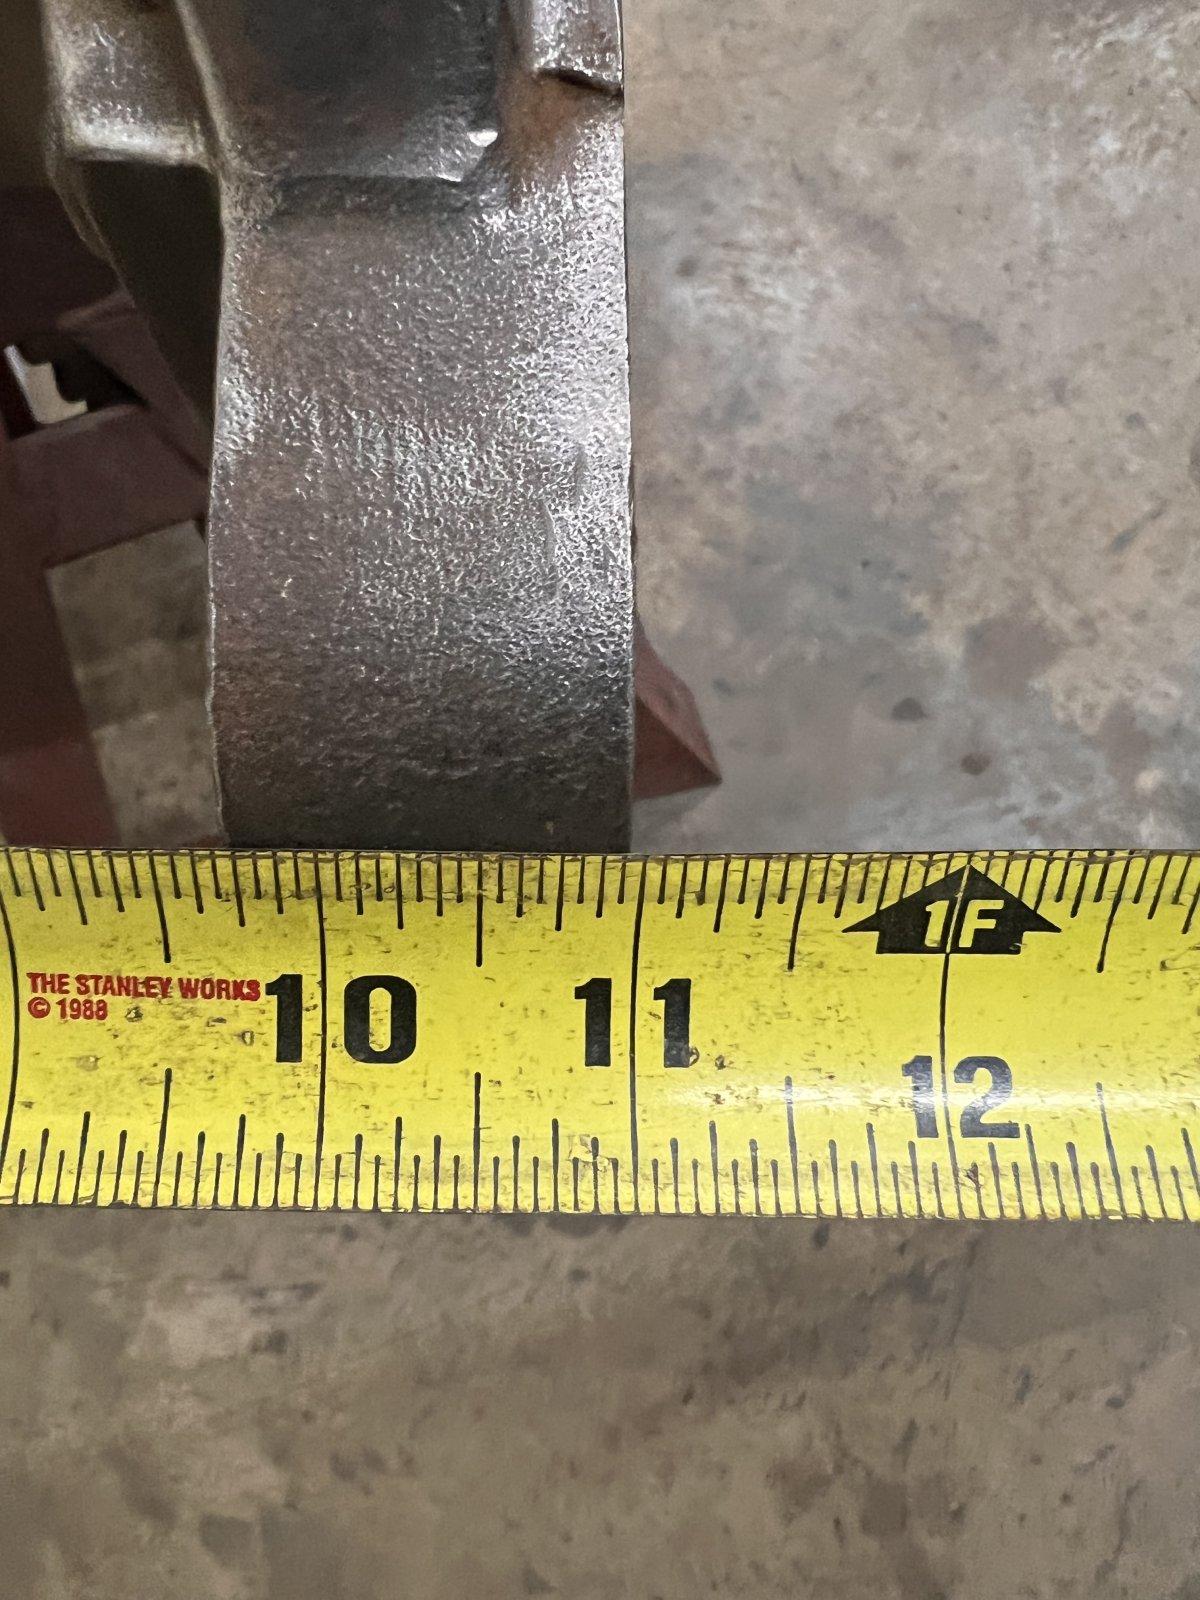
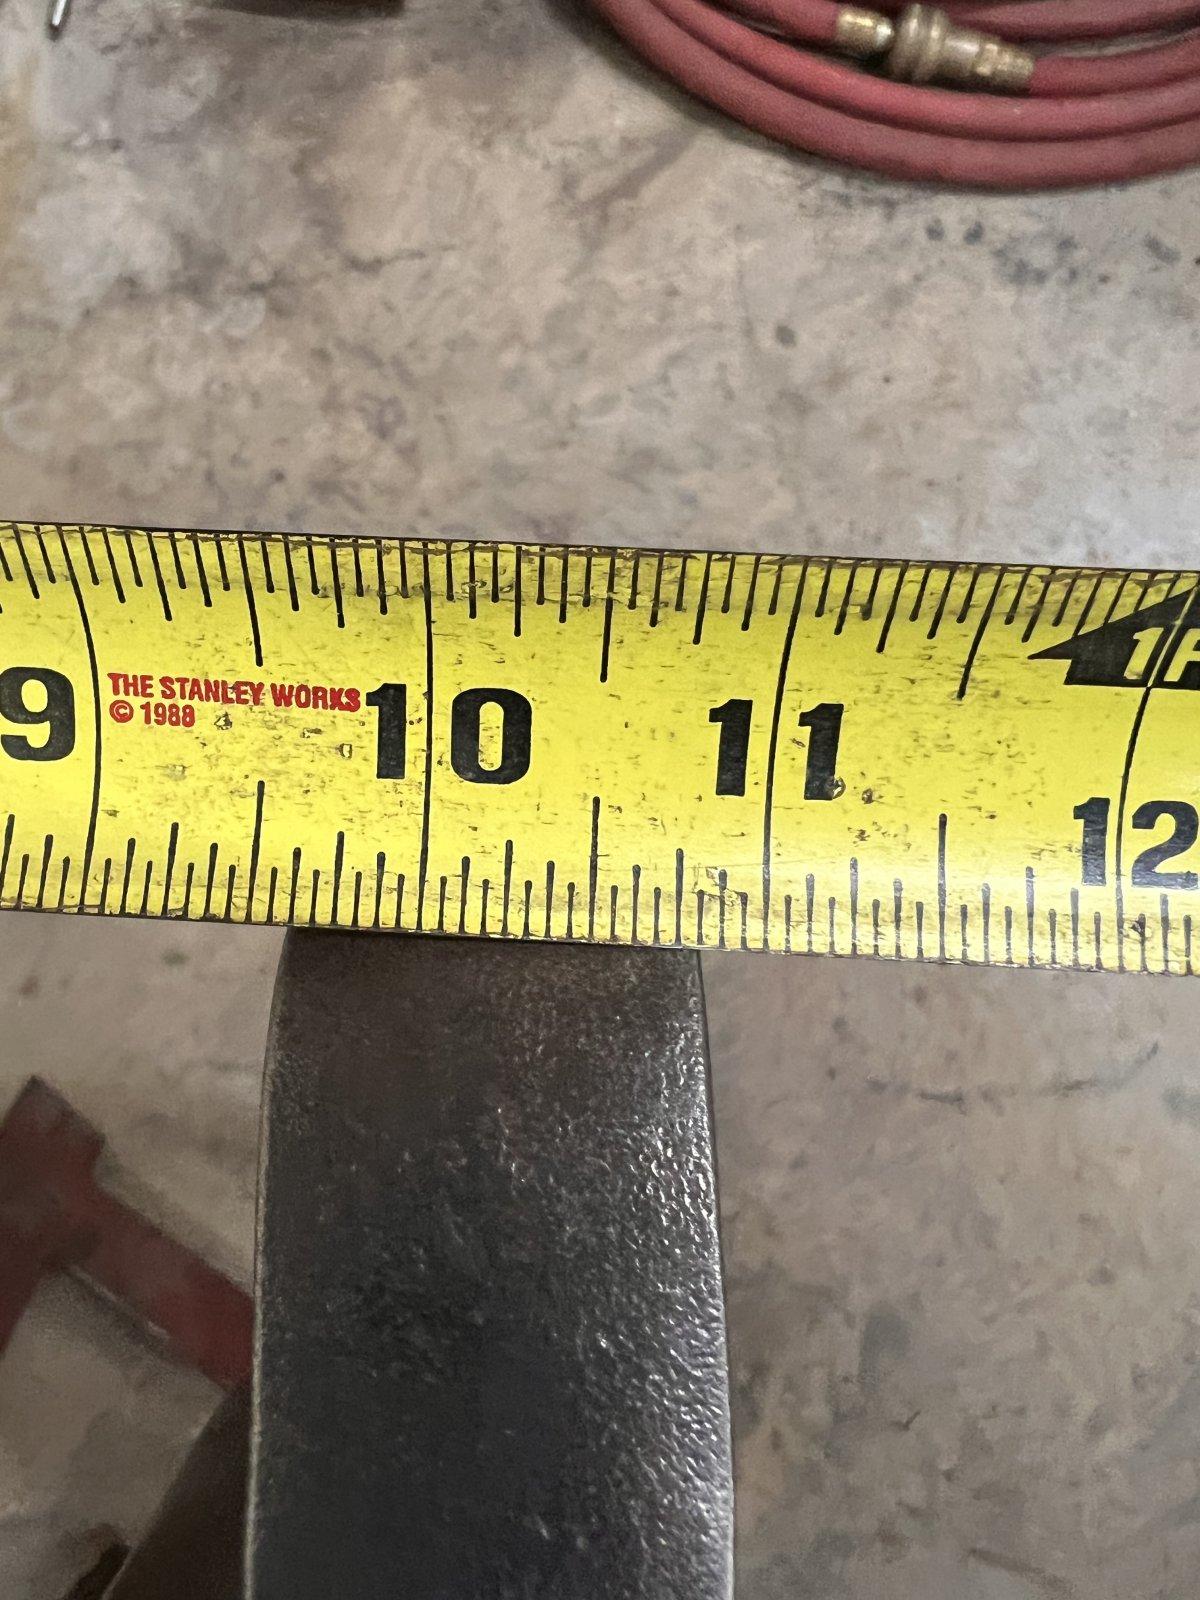
Well upon further inspection this morning the C is totally screwed. The bottom pad of the C is twisted up 1/8" on the back side. The tubes are straight as can be though so I don't know what in the world happened.

IMG_1360.jpeg


IMG_1362.jpeg


IMG_1361.jpeg


IMG_1358.jpeg


IMG_1359.jpeg
 
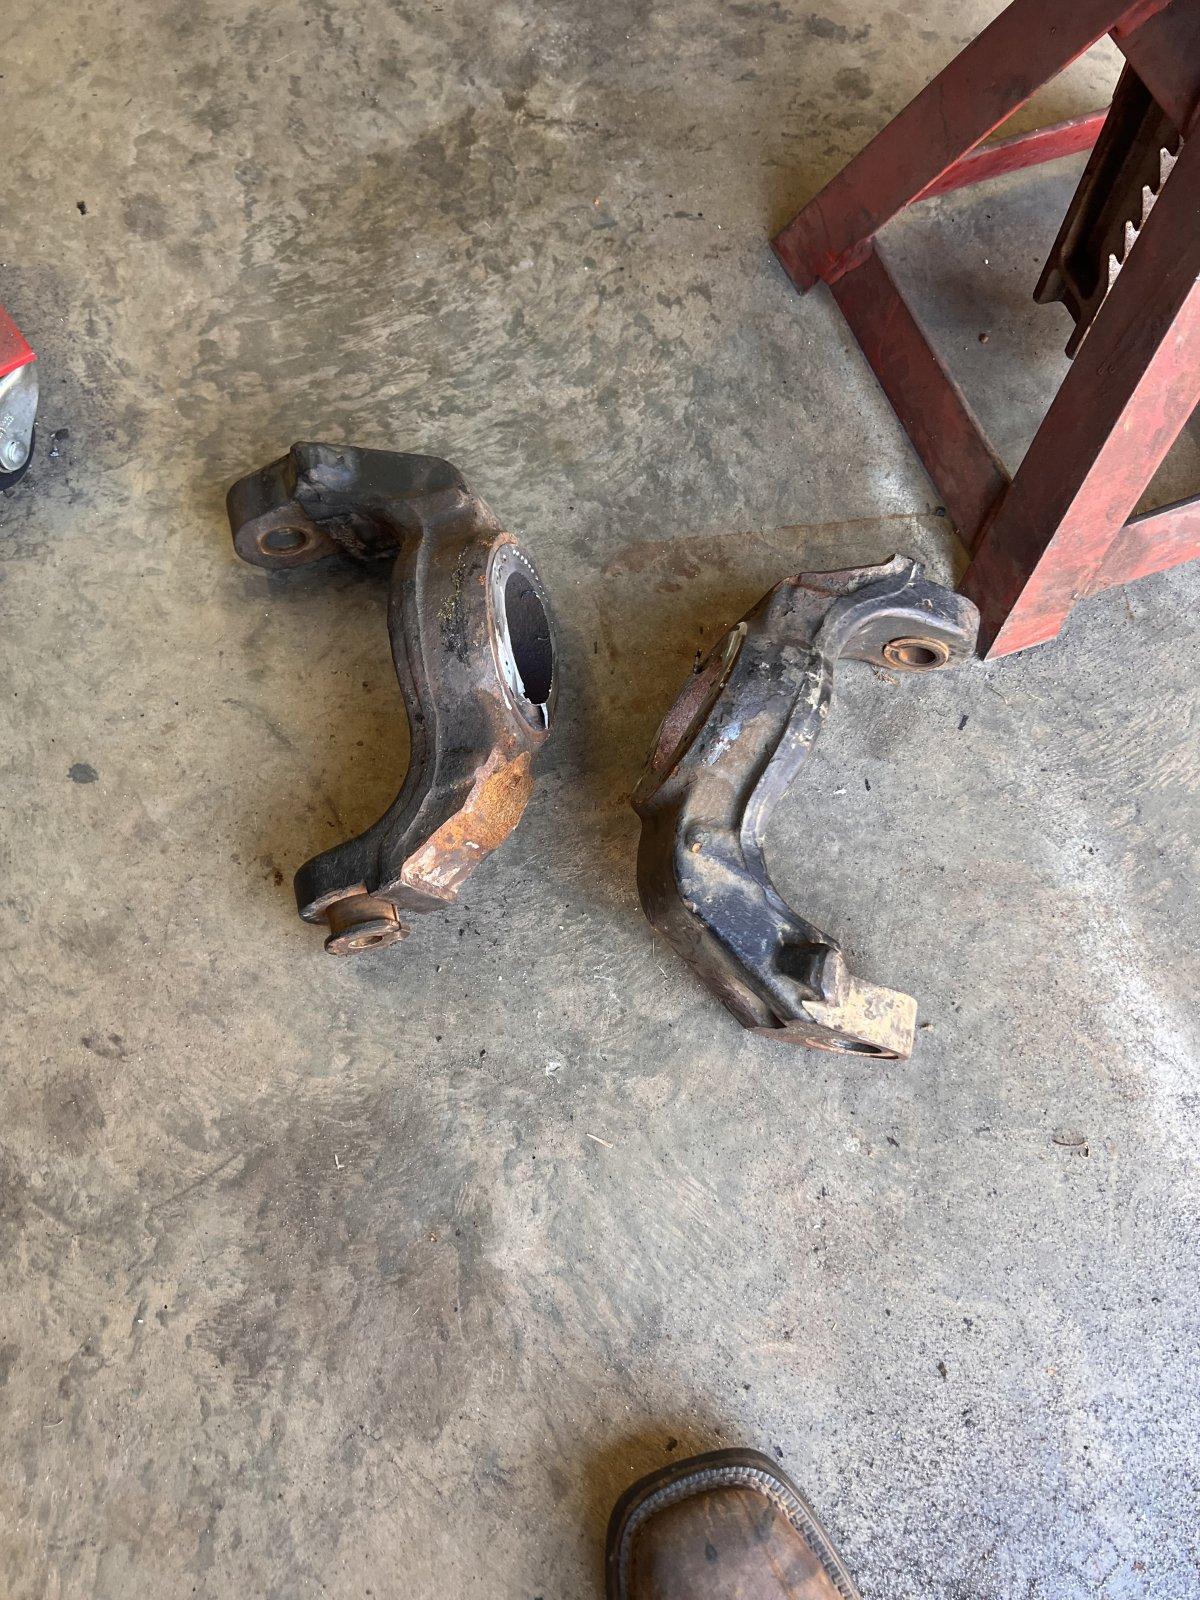
Finally got a little time to work on the axle today. A couple months ago I picked up a bent housing that had good Cs from a friend that was building it for a JK until he discovered it was badly bent.

Today I cut the Cs off of it. I used a portaband and grinder to cut them as close as possible. I was shocked at the quality of the factory weld. It definitely made me feel better about welding it back on myself.

IMG_1538.jpeg


IMG_1539.jpeg


IMG_1540.jpeg


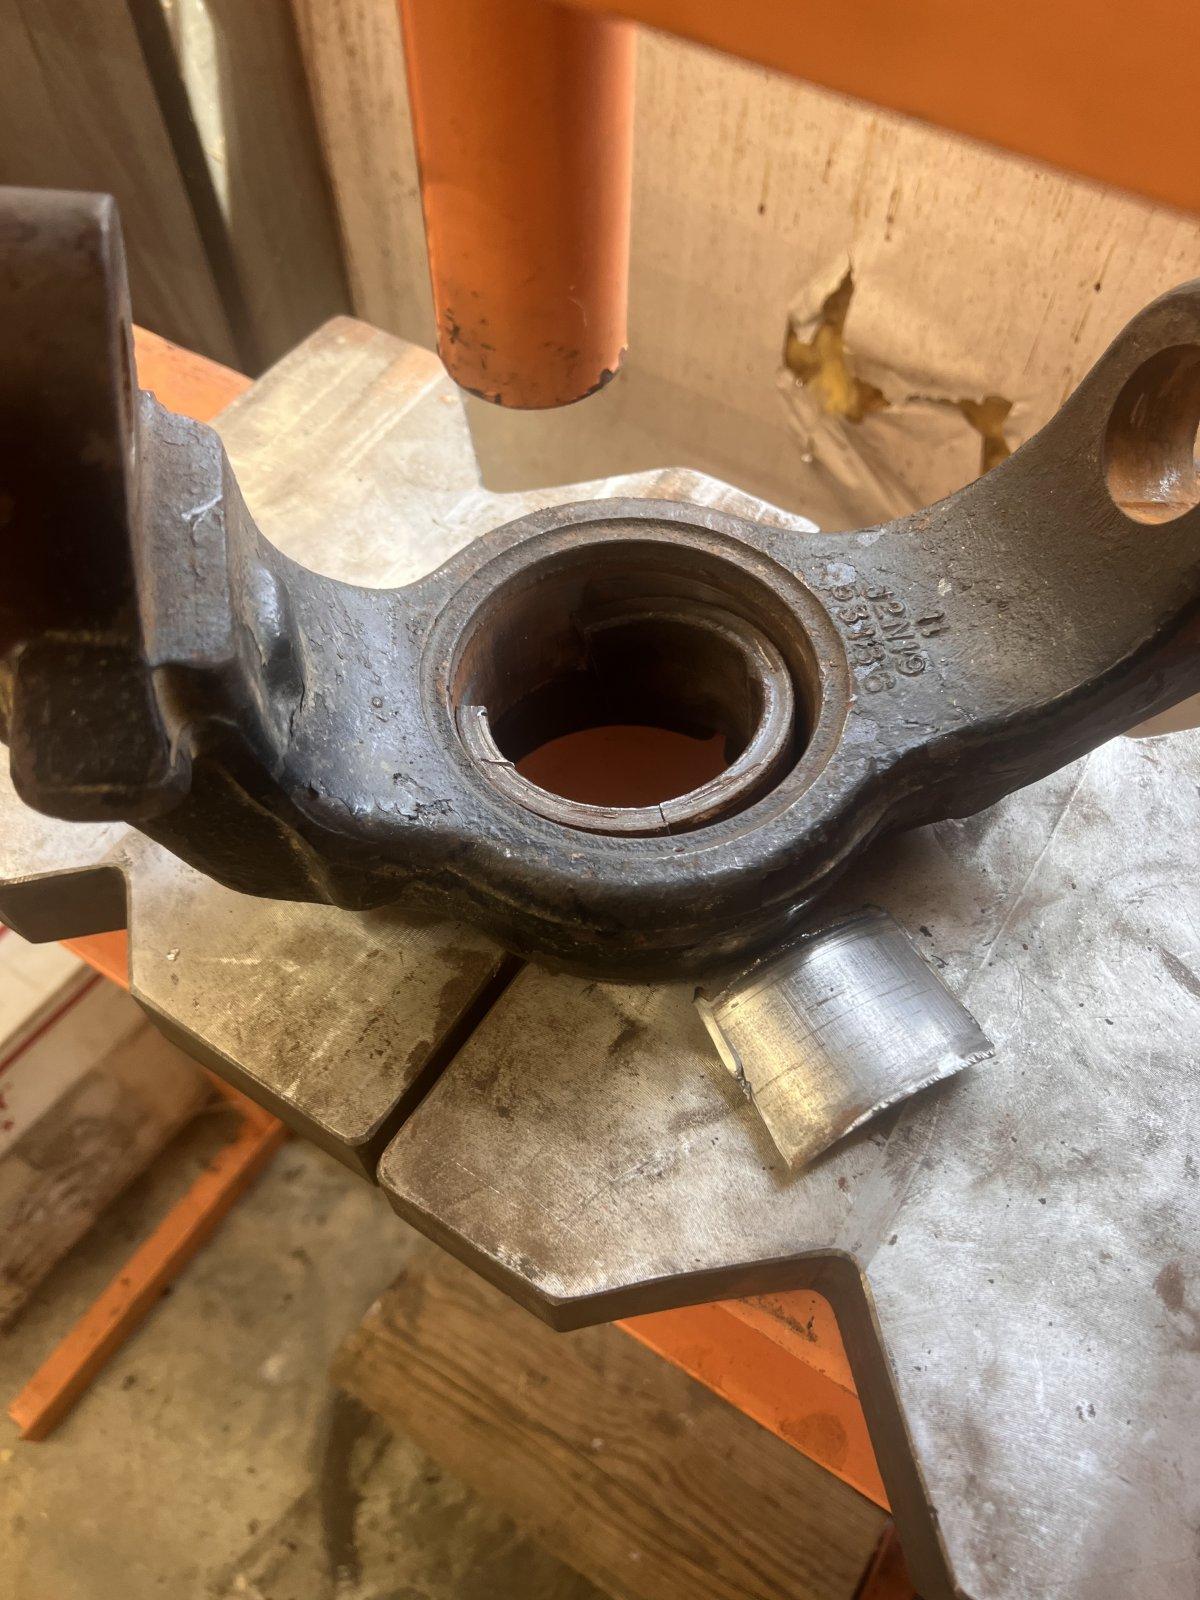
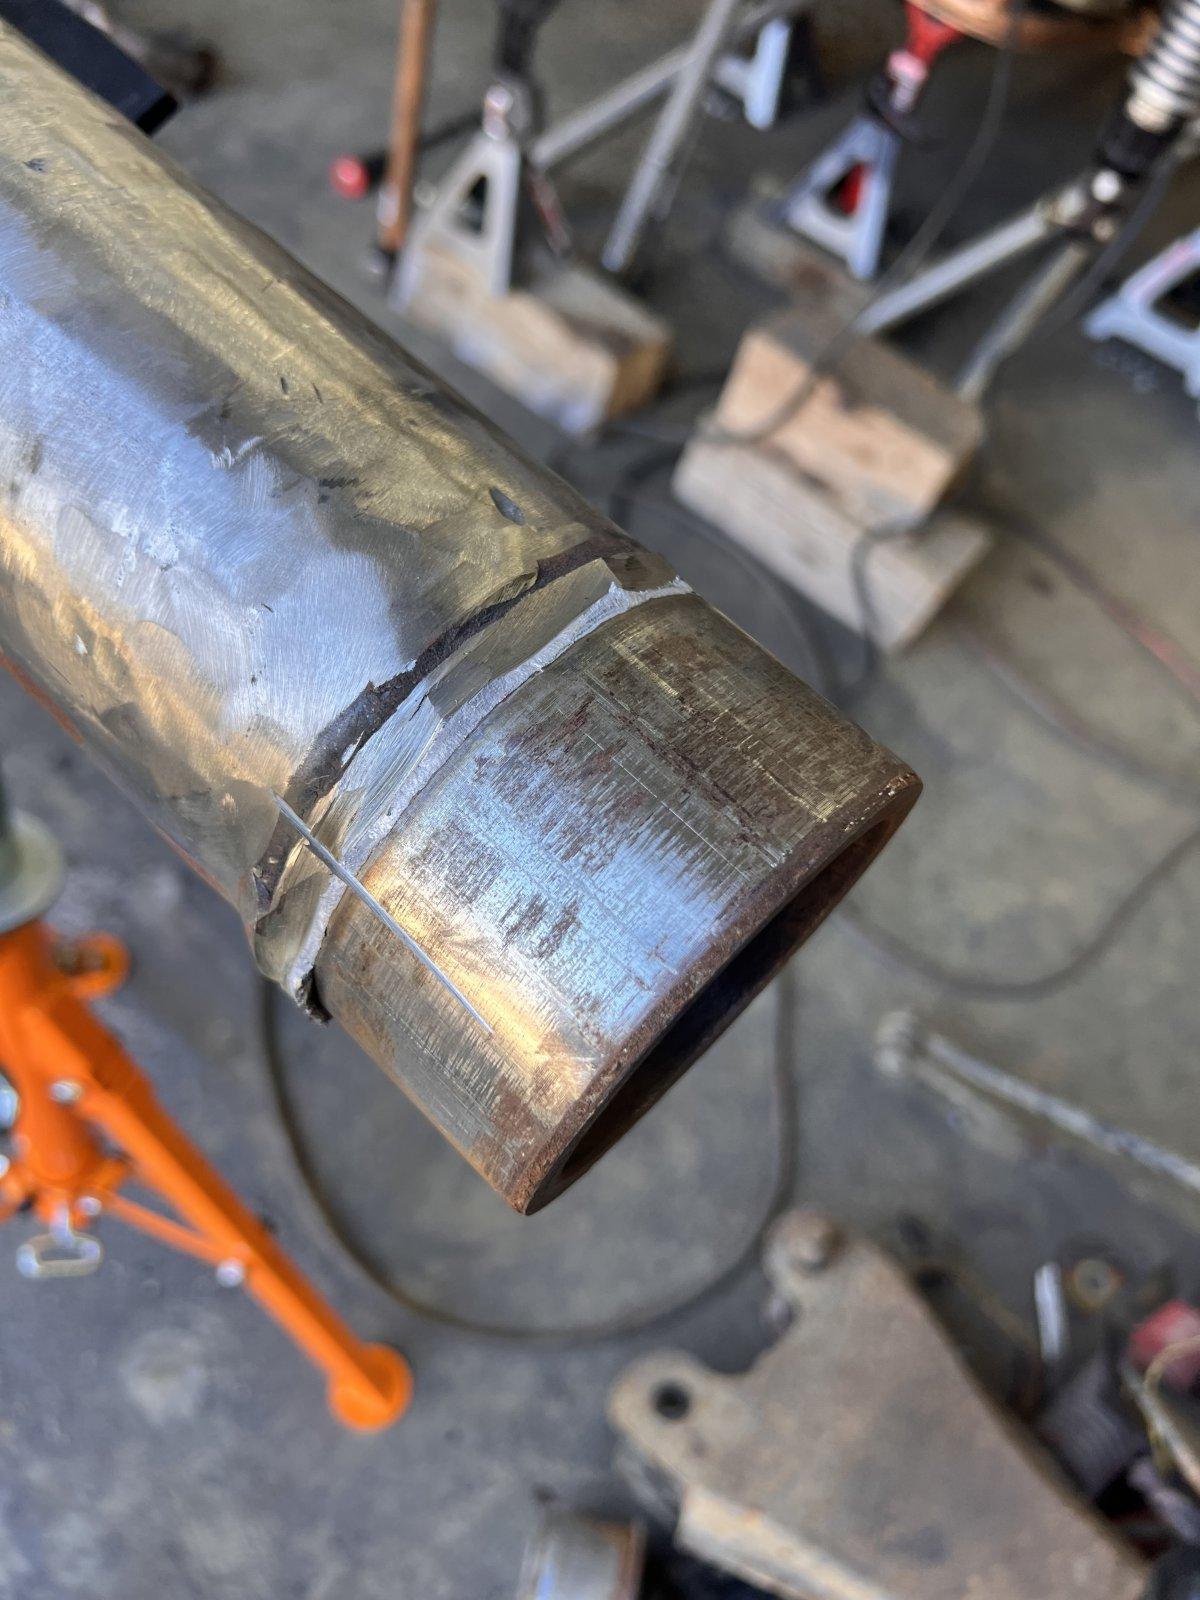
I ground it down until I could see the crack between the C and the tube. Then I cut the tube inside the C with a sawzall. It took some time but I was able to press the tube out with my HF press.

IMG_1541.jpeg


IMG_1542.jpeg


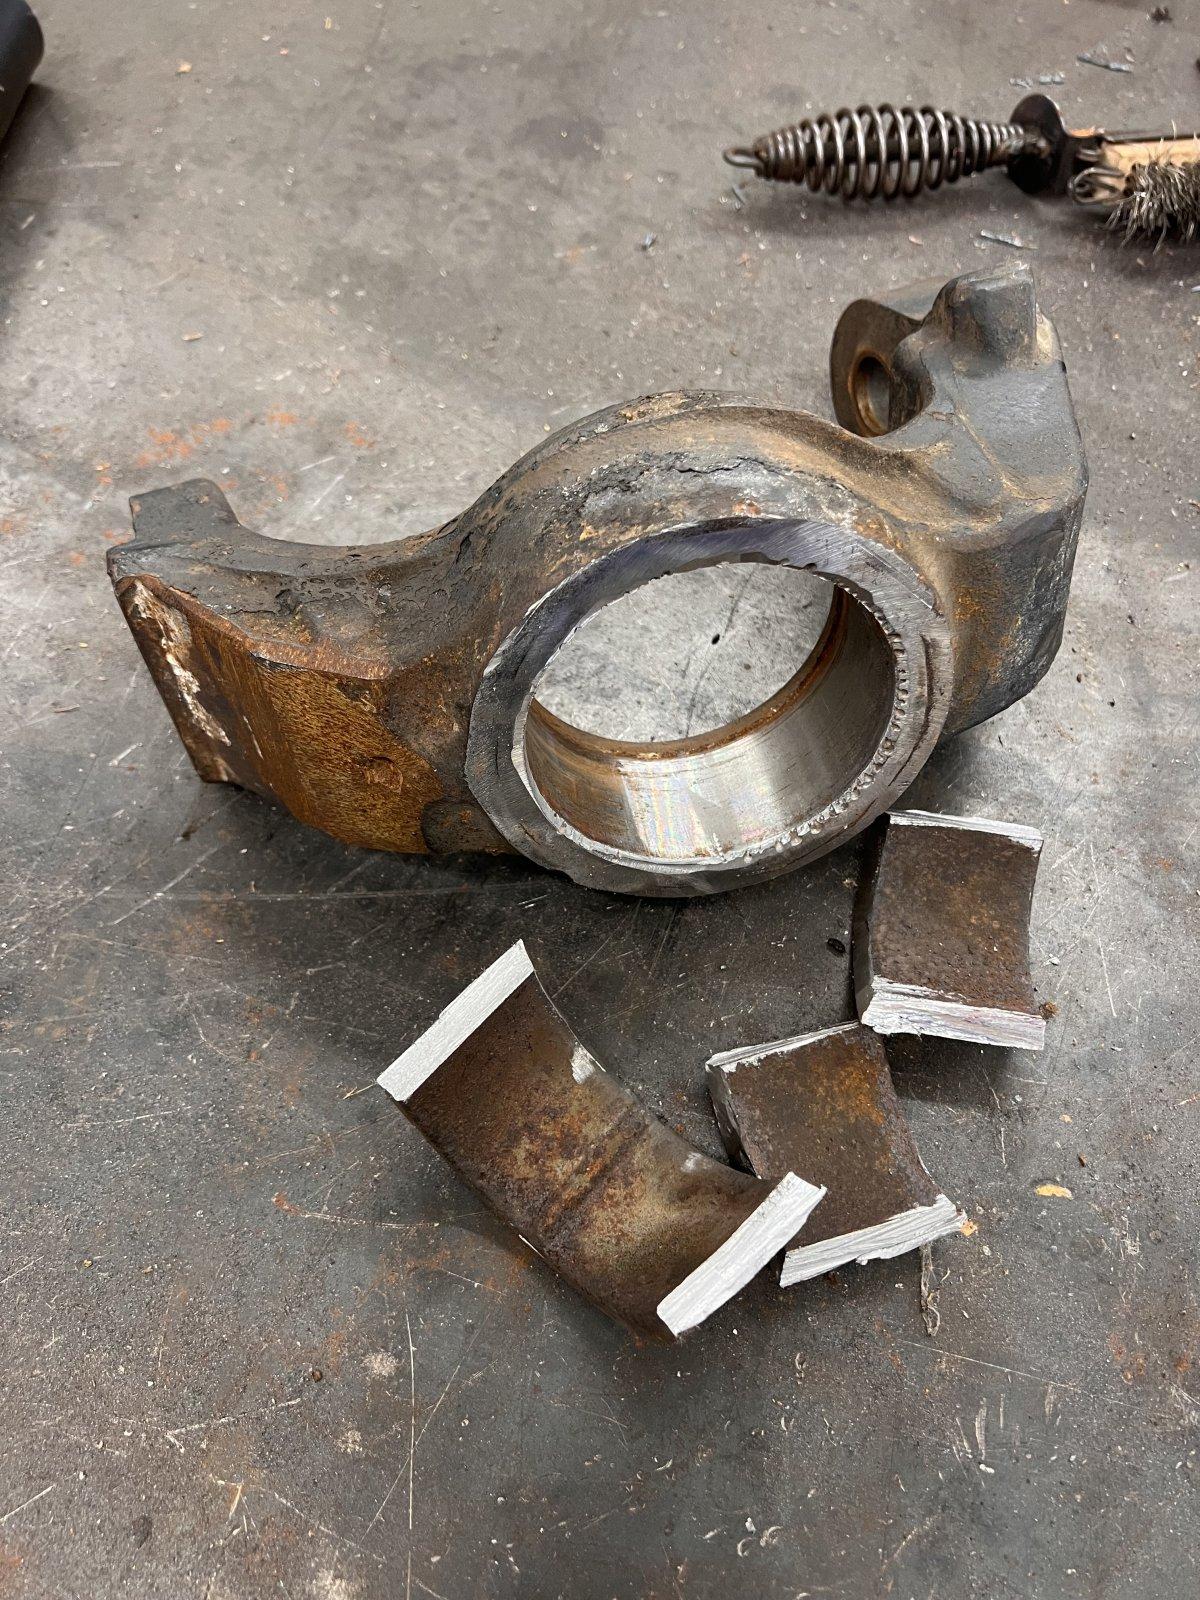
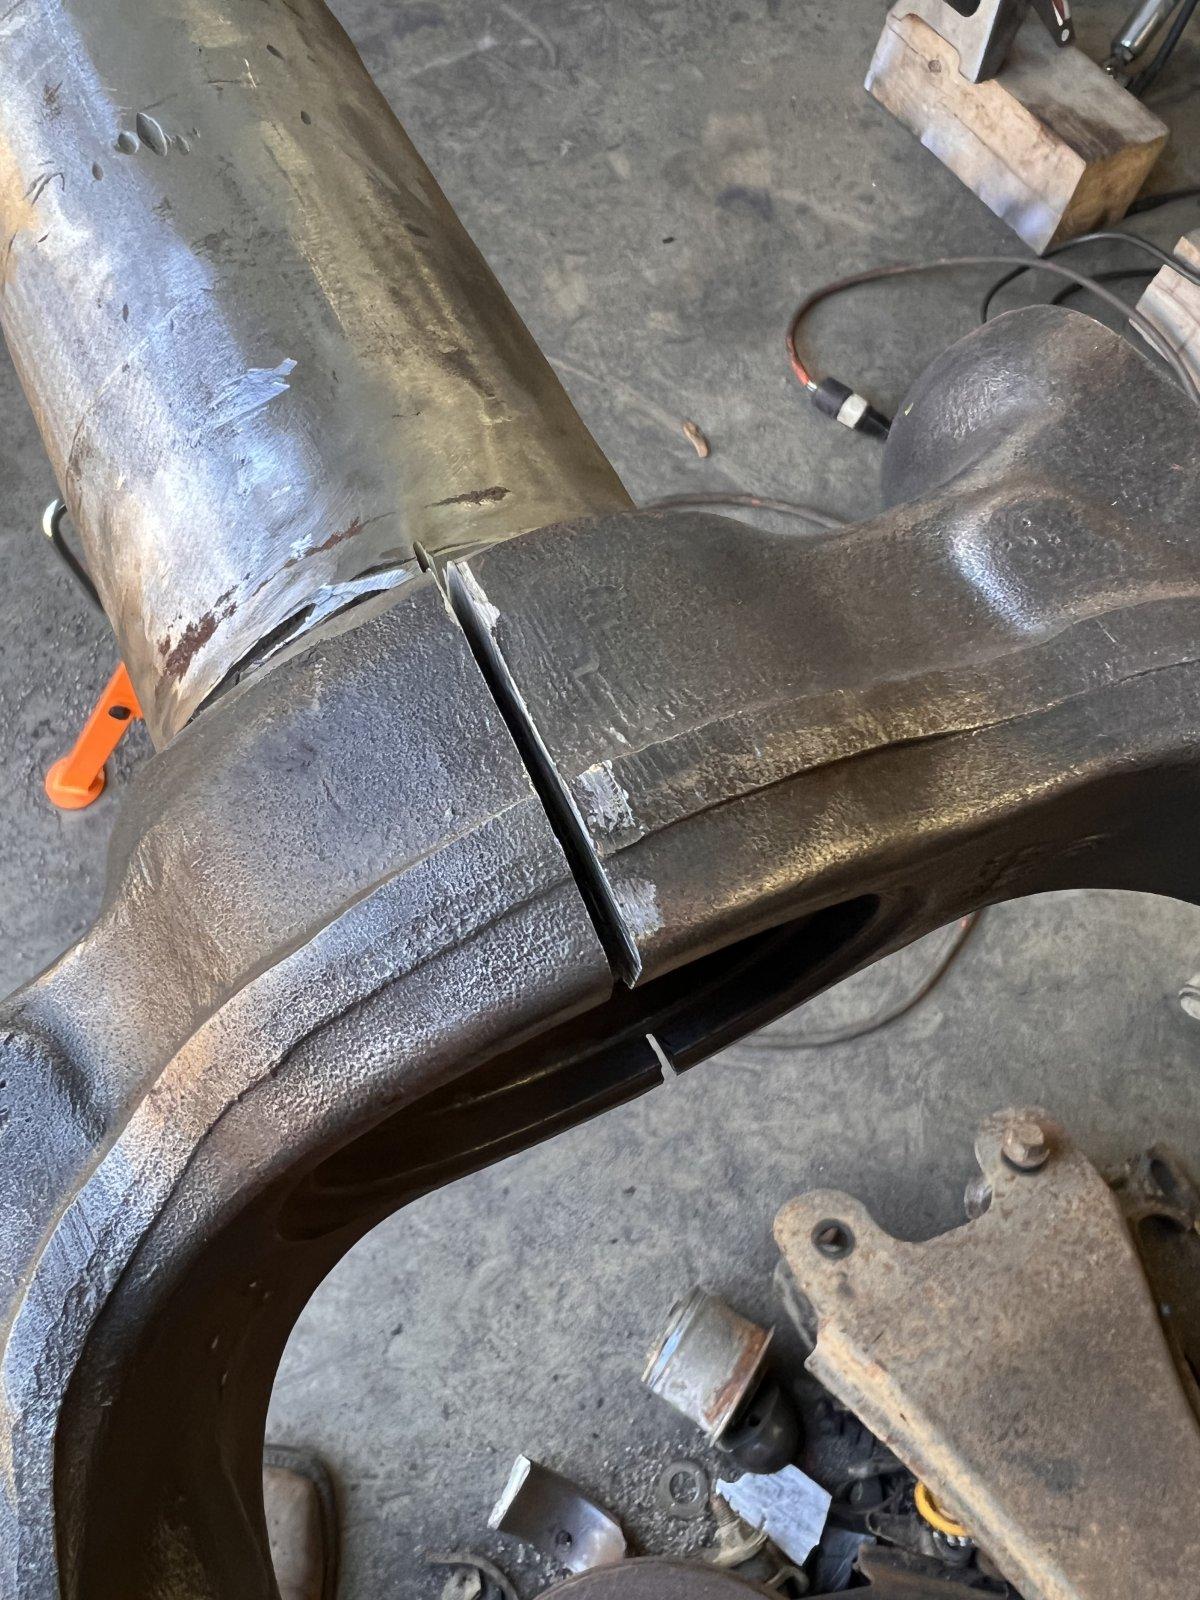
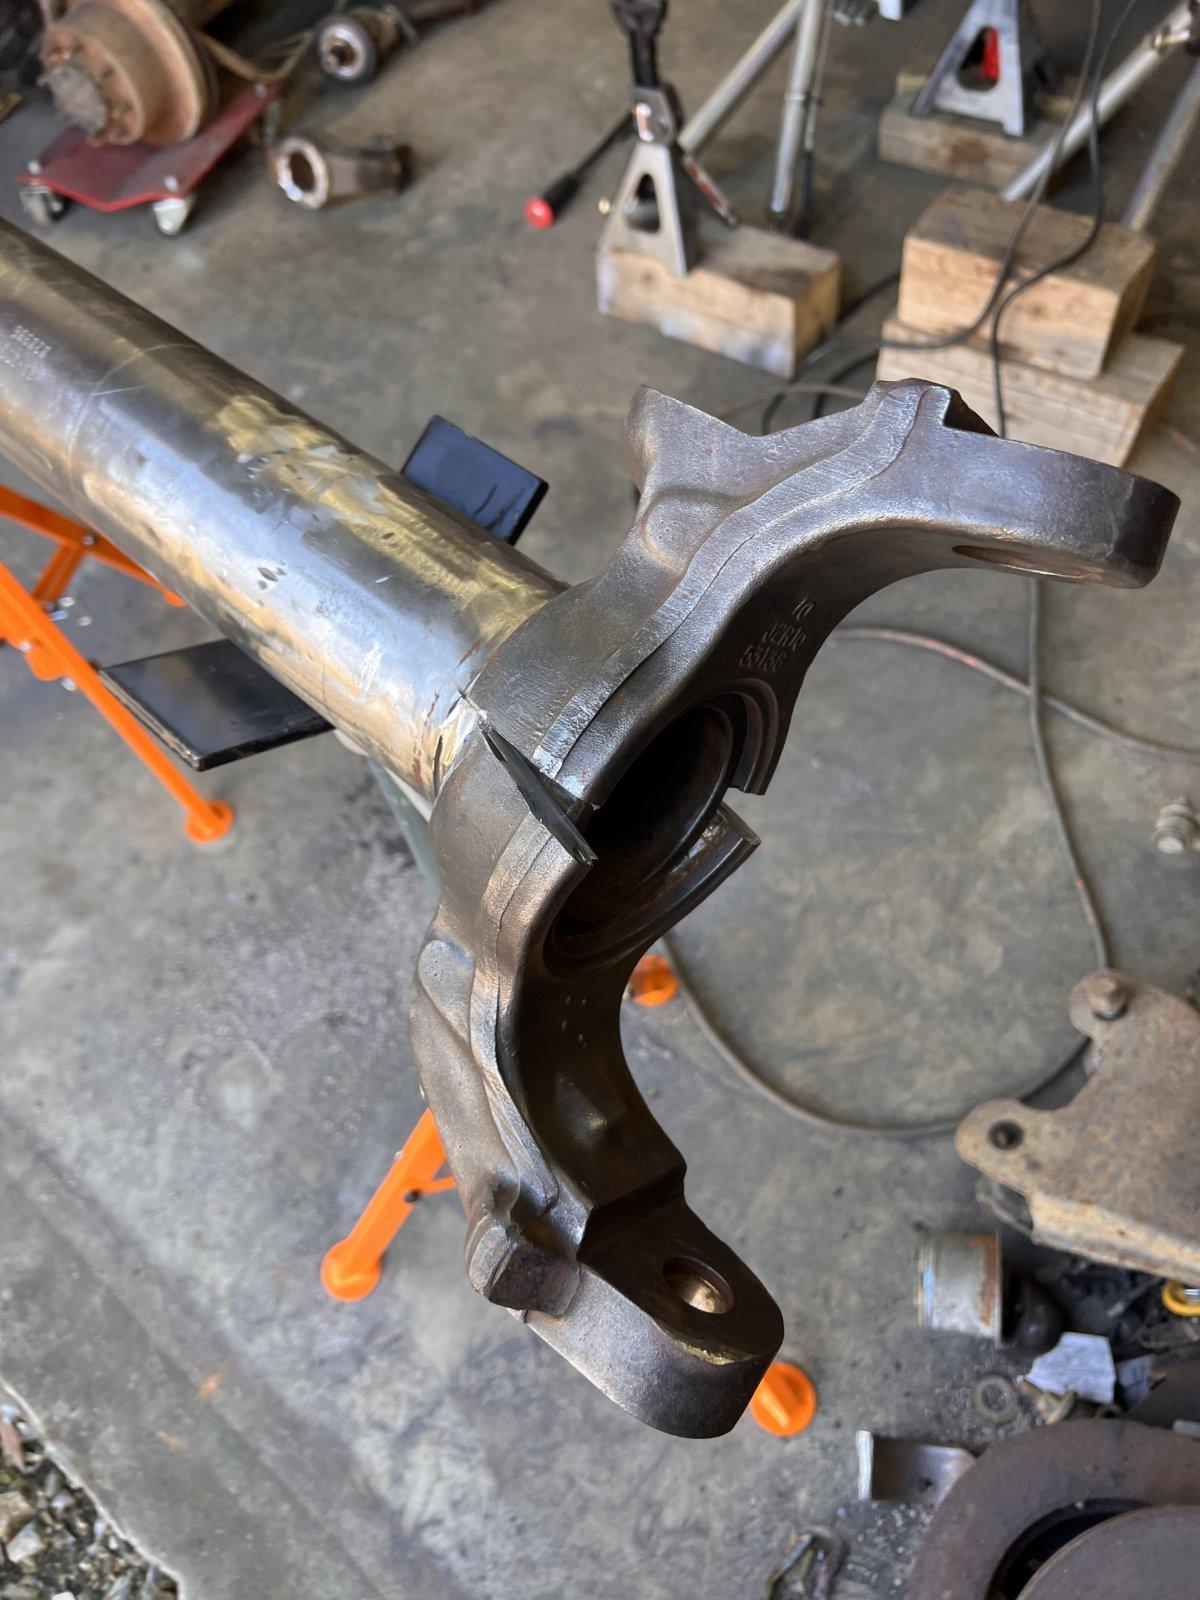
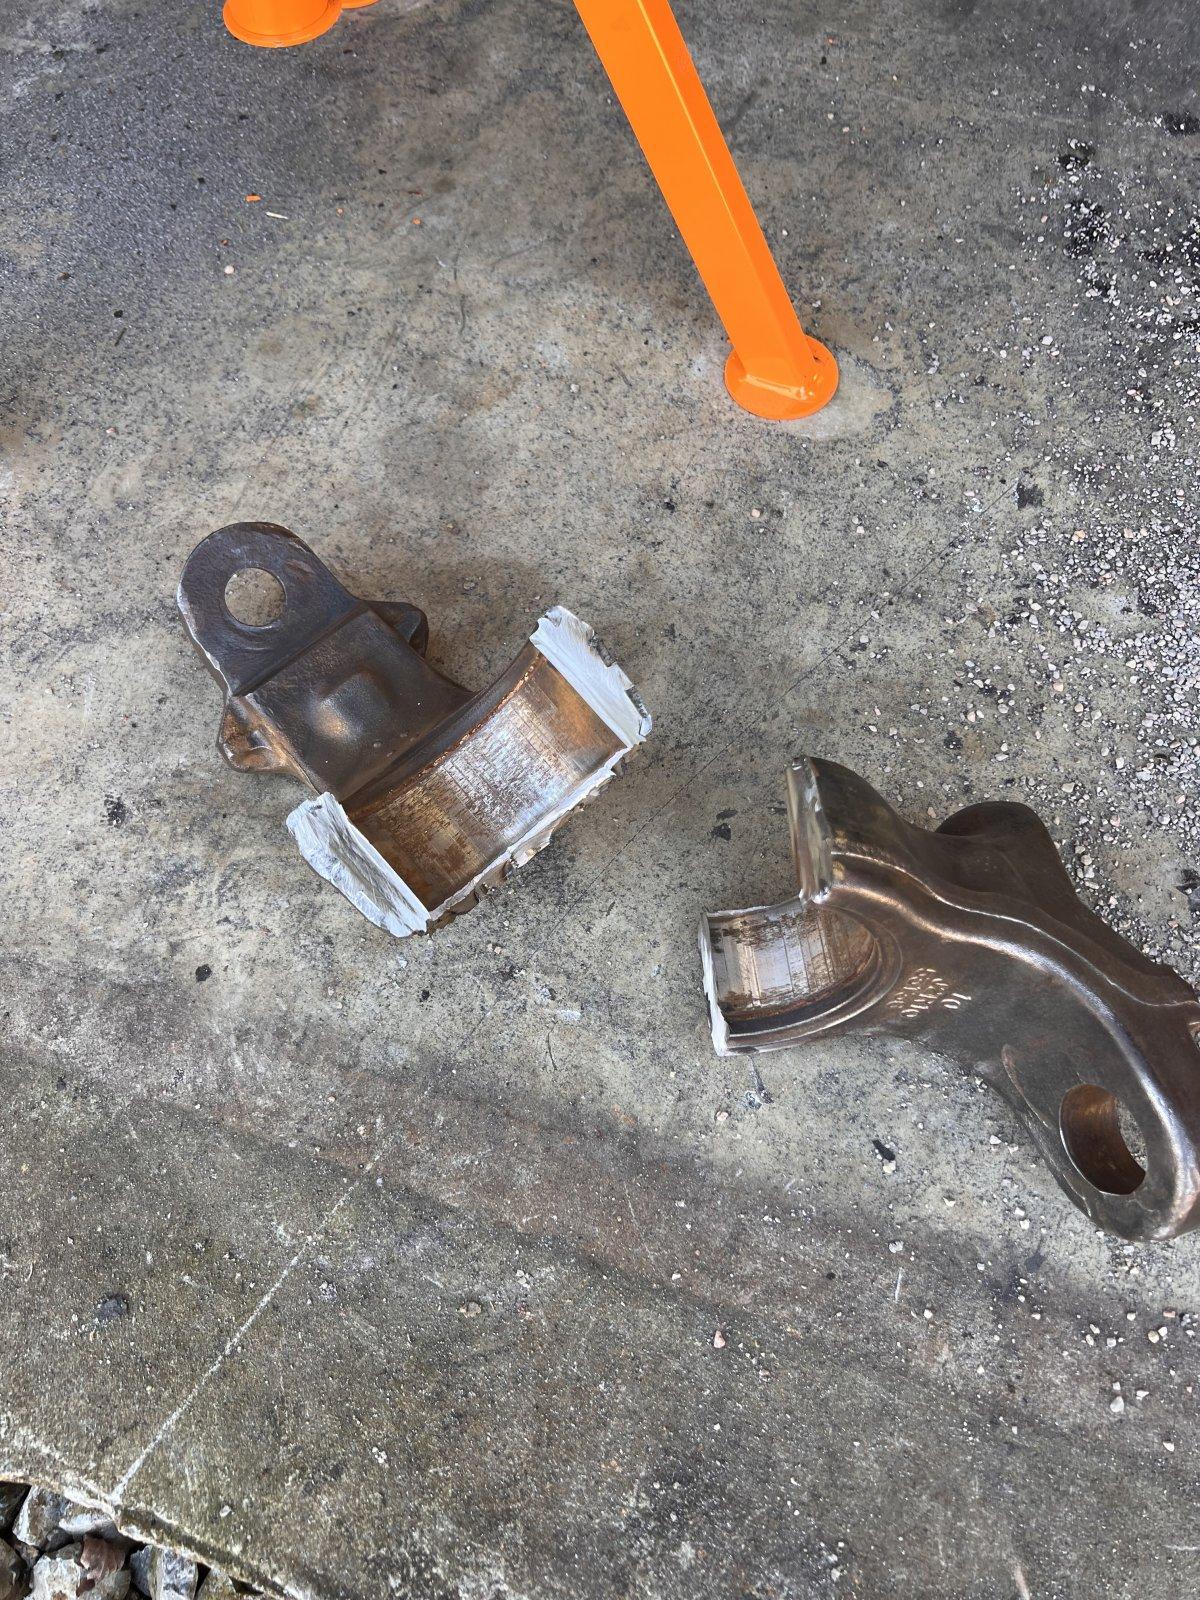
To get the bad C off my axle I ground the weld out and then cut the C on each side of the tube and split it with a chisel. A couple licks with a BFH and it popped right off.

IMG_1543.jpeg


IMG_1545.jpeg


IMG_1547.jpeg


IMG_1548.jpeg


Next up will be trying to get the new C back on my axle. I measured beforehand to see how far on the tube it needs to go. I've got a couple stops hose clamped on the tube at the right depth. I plan to use my weed burner to heat it to 450* or so and hopefully it will slide on and then I can set the angle before it shrinks back.

I've got to come up with a way to rig the housing up on my welding table so I can lock it in place. The jack stands are way too wobbly to use when I'll be trying to set the caster angle right.

It actually turned out to be an easier job than I expected. Hopefully the install will go well too.
 
Last edited:
Back
Top