Family Truckster LJ build

Hardline Crawlers - Rock Bouncer Builds, Tech & Off-Road Trail Talk

Help Support Hardline Crawlers:

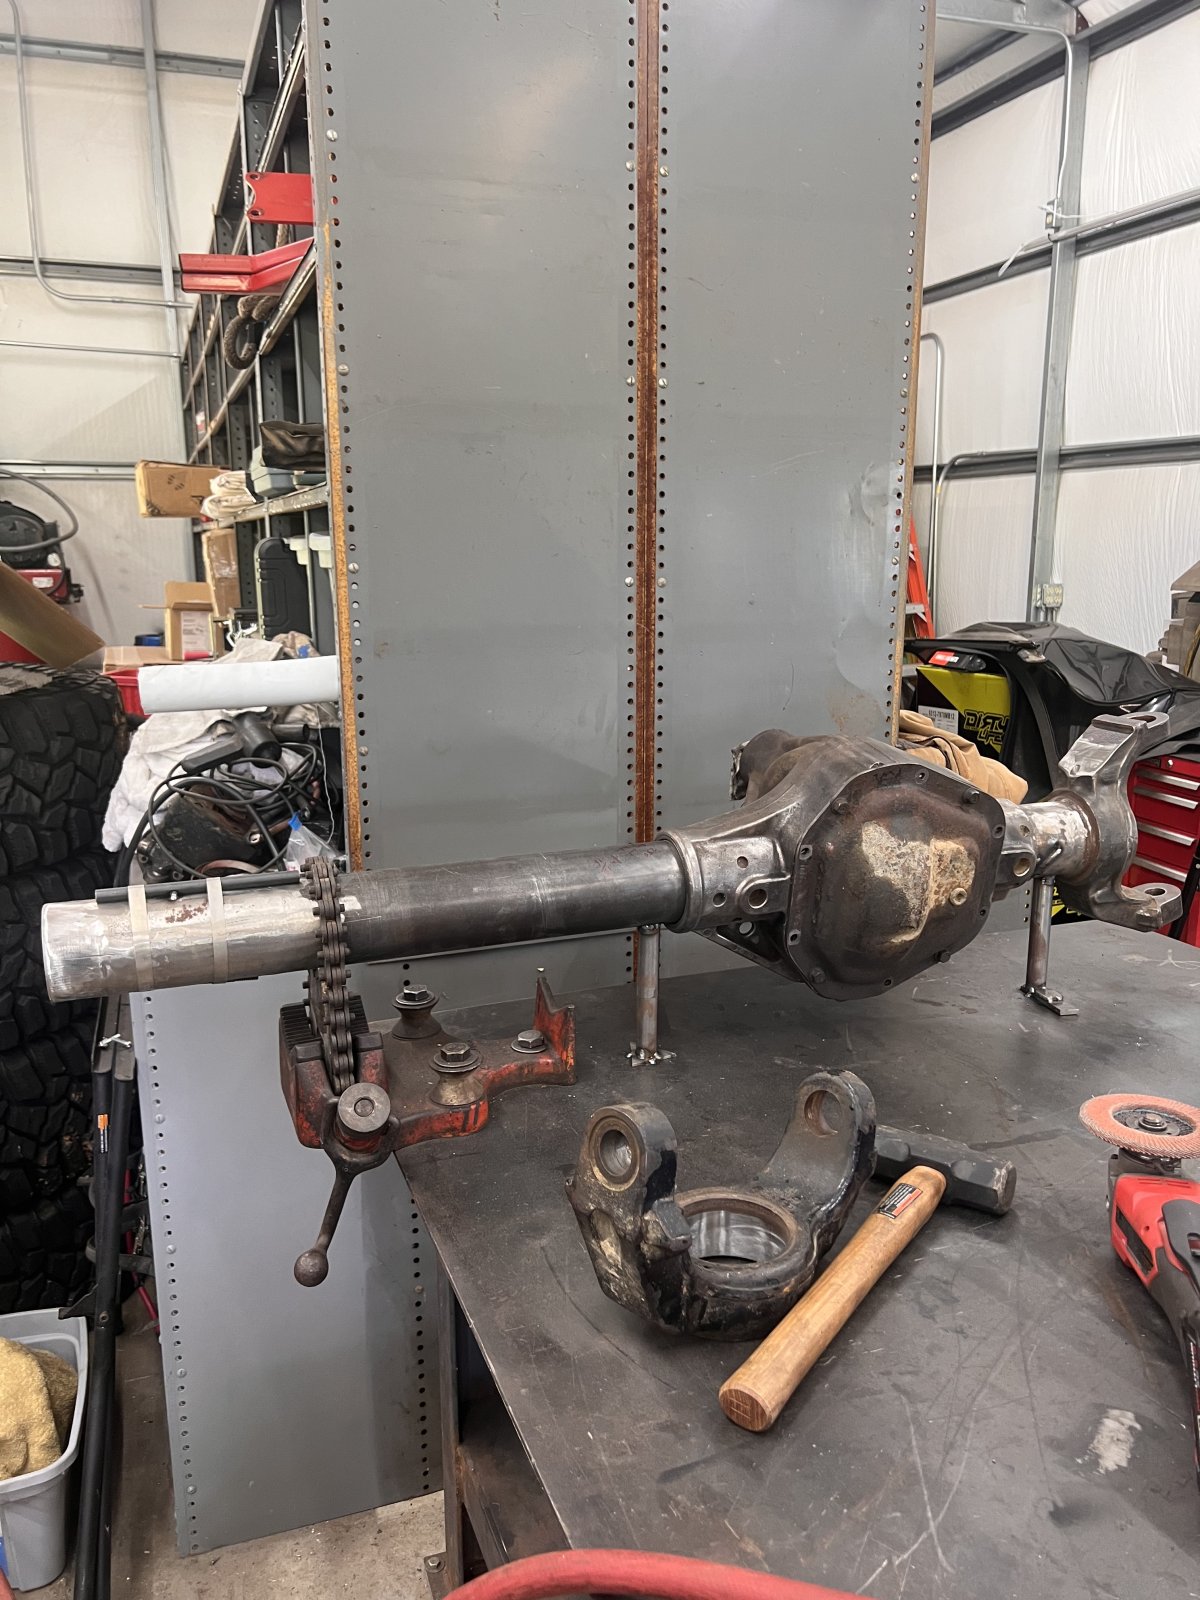
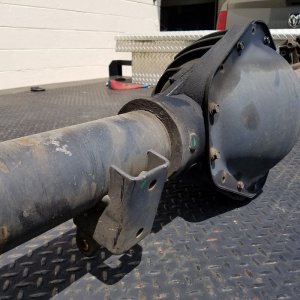
Finally got a little time to work on the axle today. A couple months ago I picked up a bent housing that had good Cs from a friend that was building it for a JK until he discovered it was badly bent.

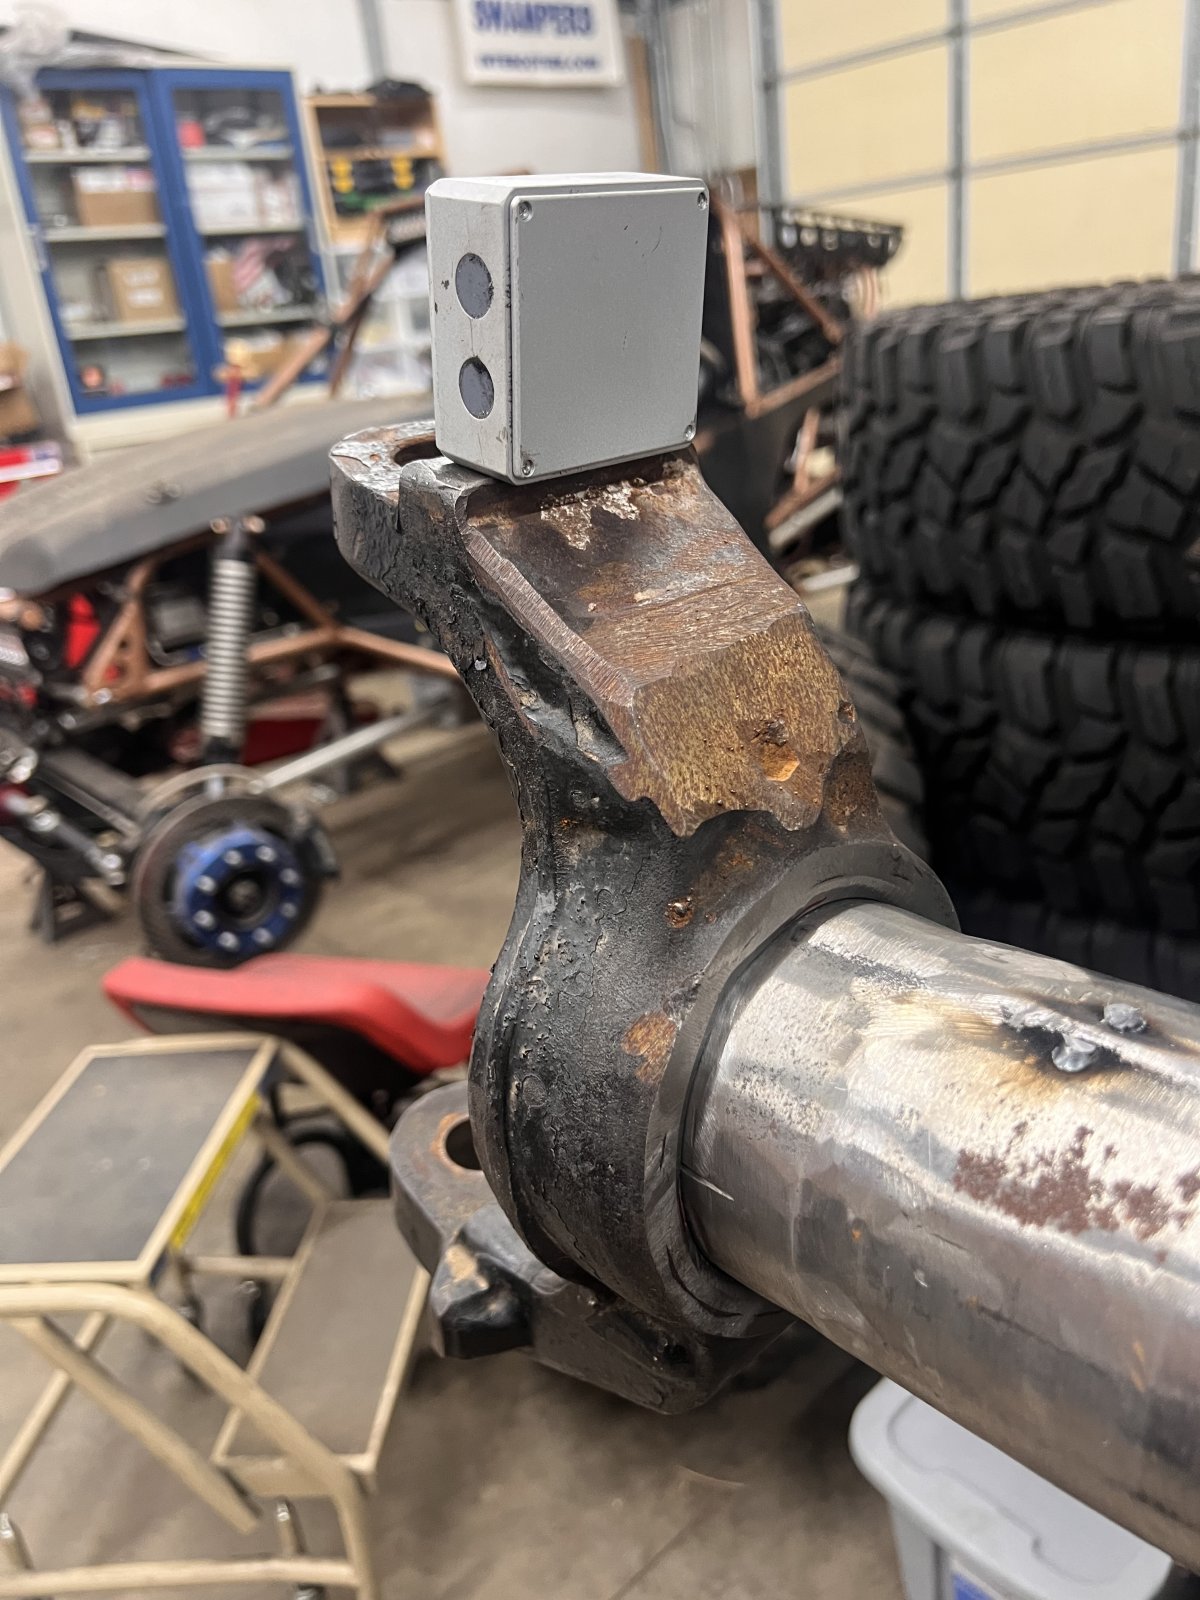
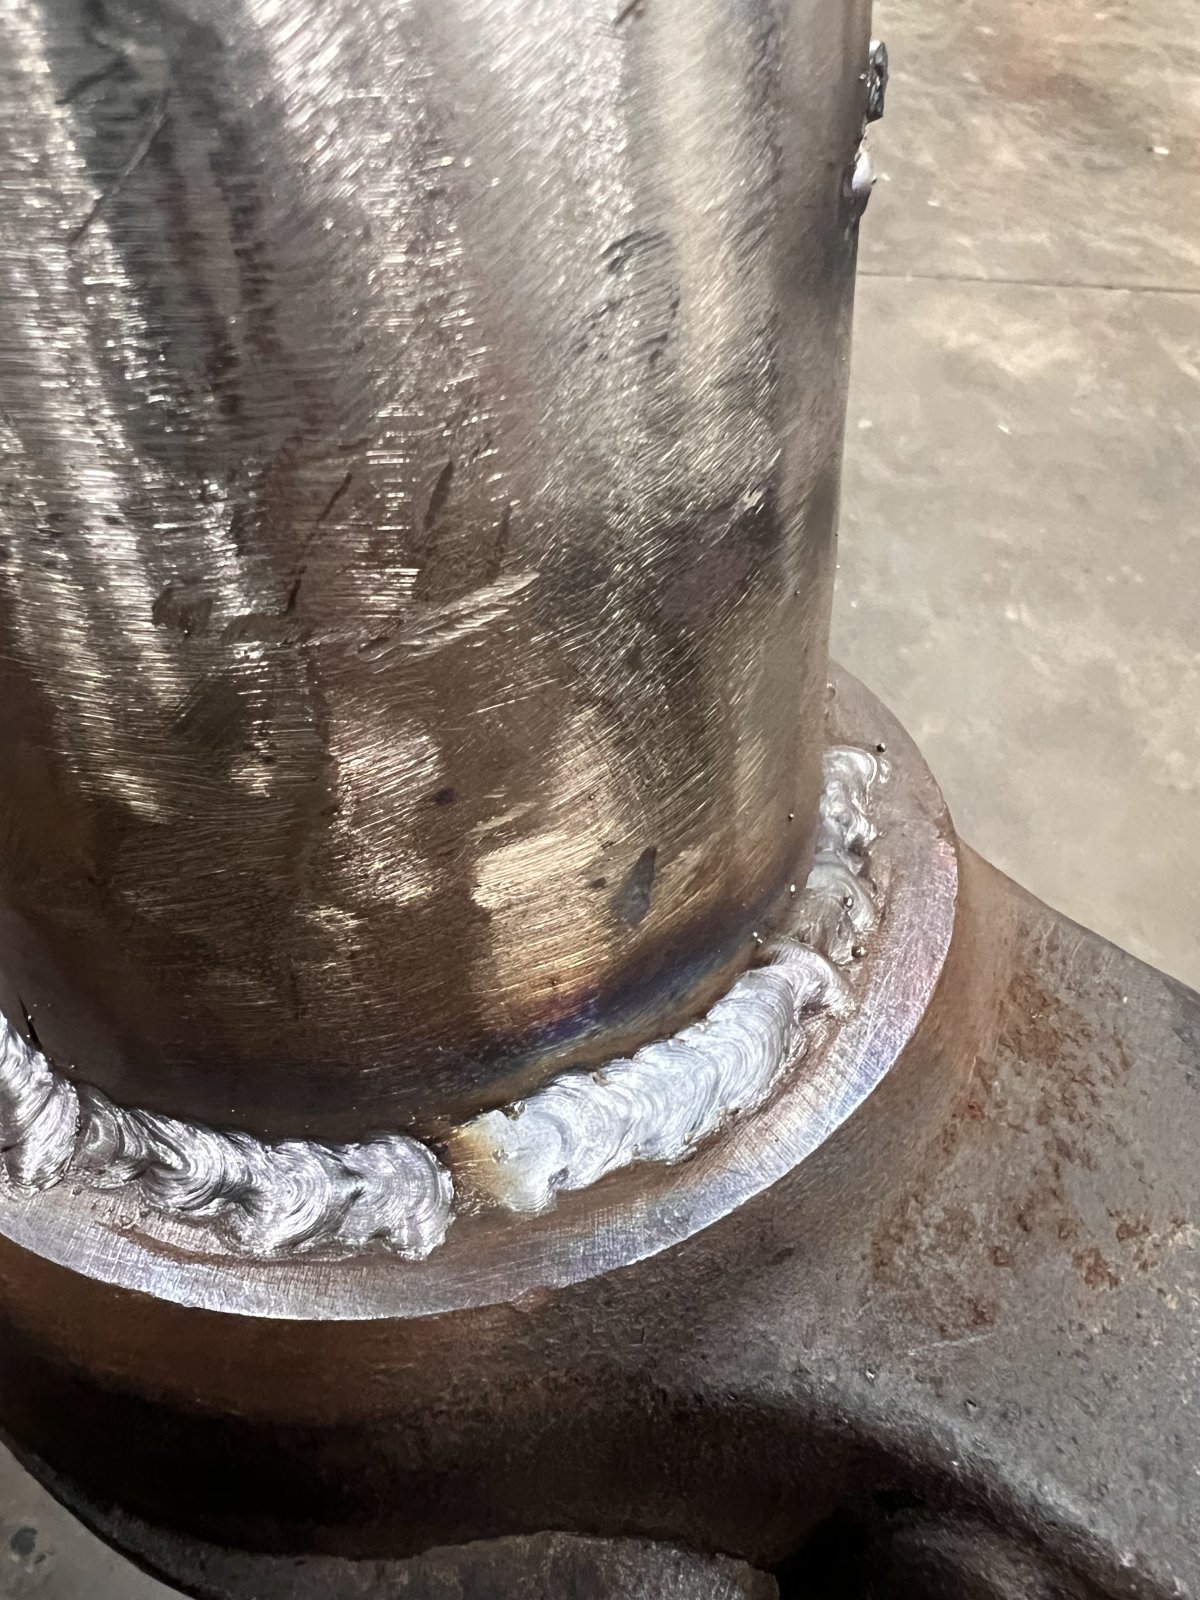
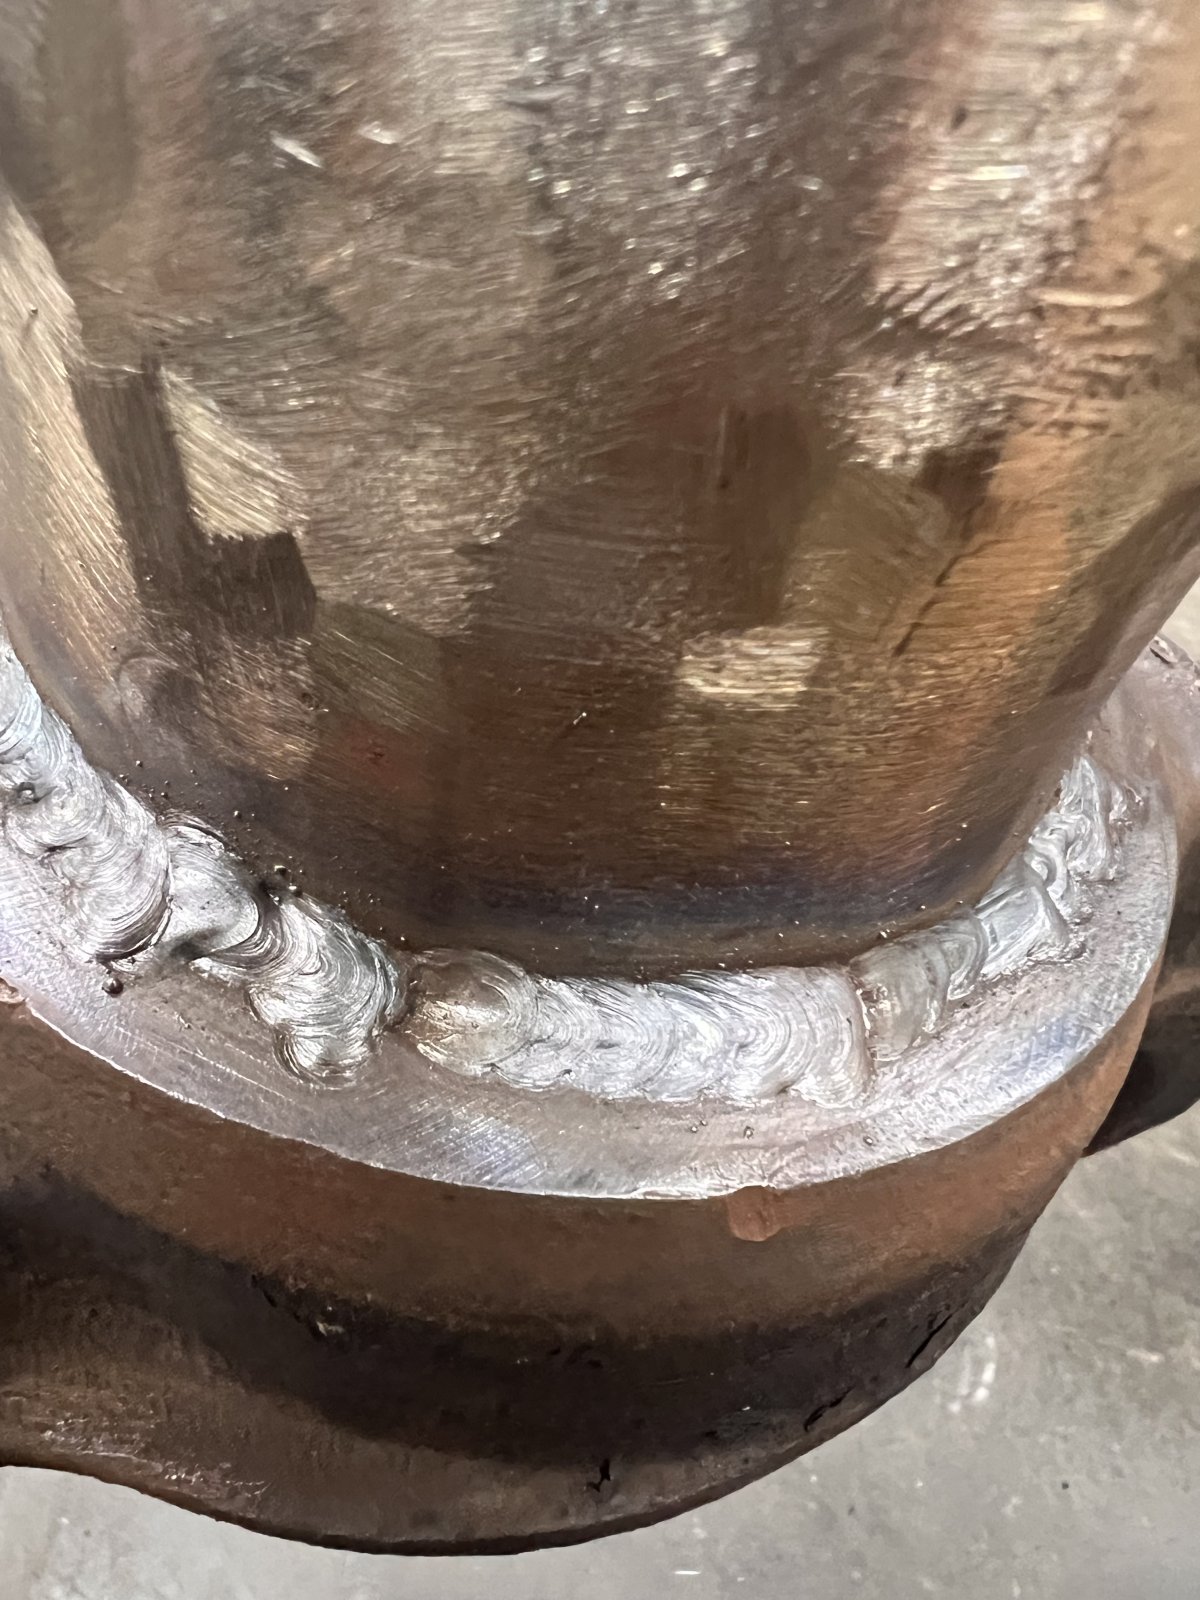
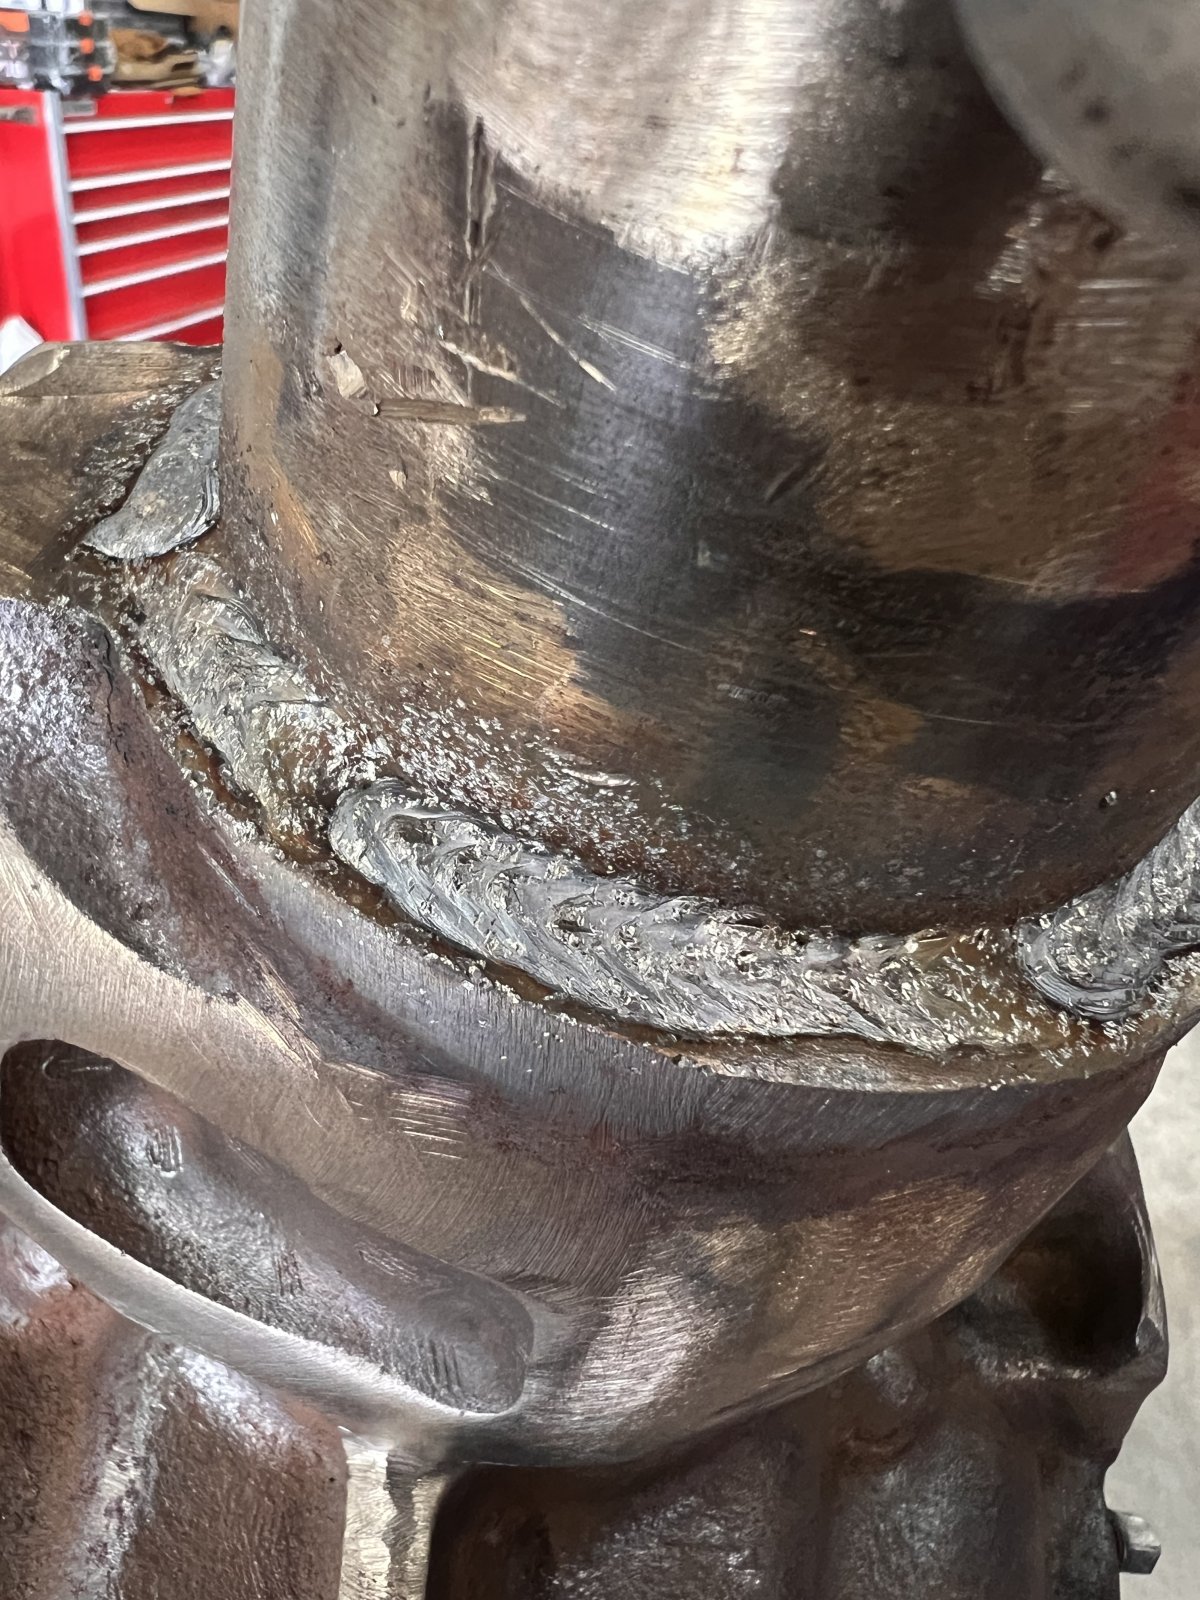
Today I cut the Cs off of it. I used a portaband and grinder to cut them as close as possible. I was shocked at the quality of the factory weld. It definitely made me feel better about welding it back on myself.
View attachment 412334

View attachment 412335

View attachment 412336


I ground it down until I could see the crack between the C and the tube. Then I cut the tube inside the C with a sawzall. It took some time but I was able to press the tube out with my HF press. View attachment 412337
View attachment 412338

To get the bad C off my axle I ground the weld out and then cut the C on each side of the tube and split it with a chisel. A couple licks with a BFH and it popped right off.

View attachment 412339

View attachment 412340

View attachment 412341

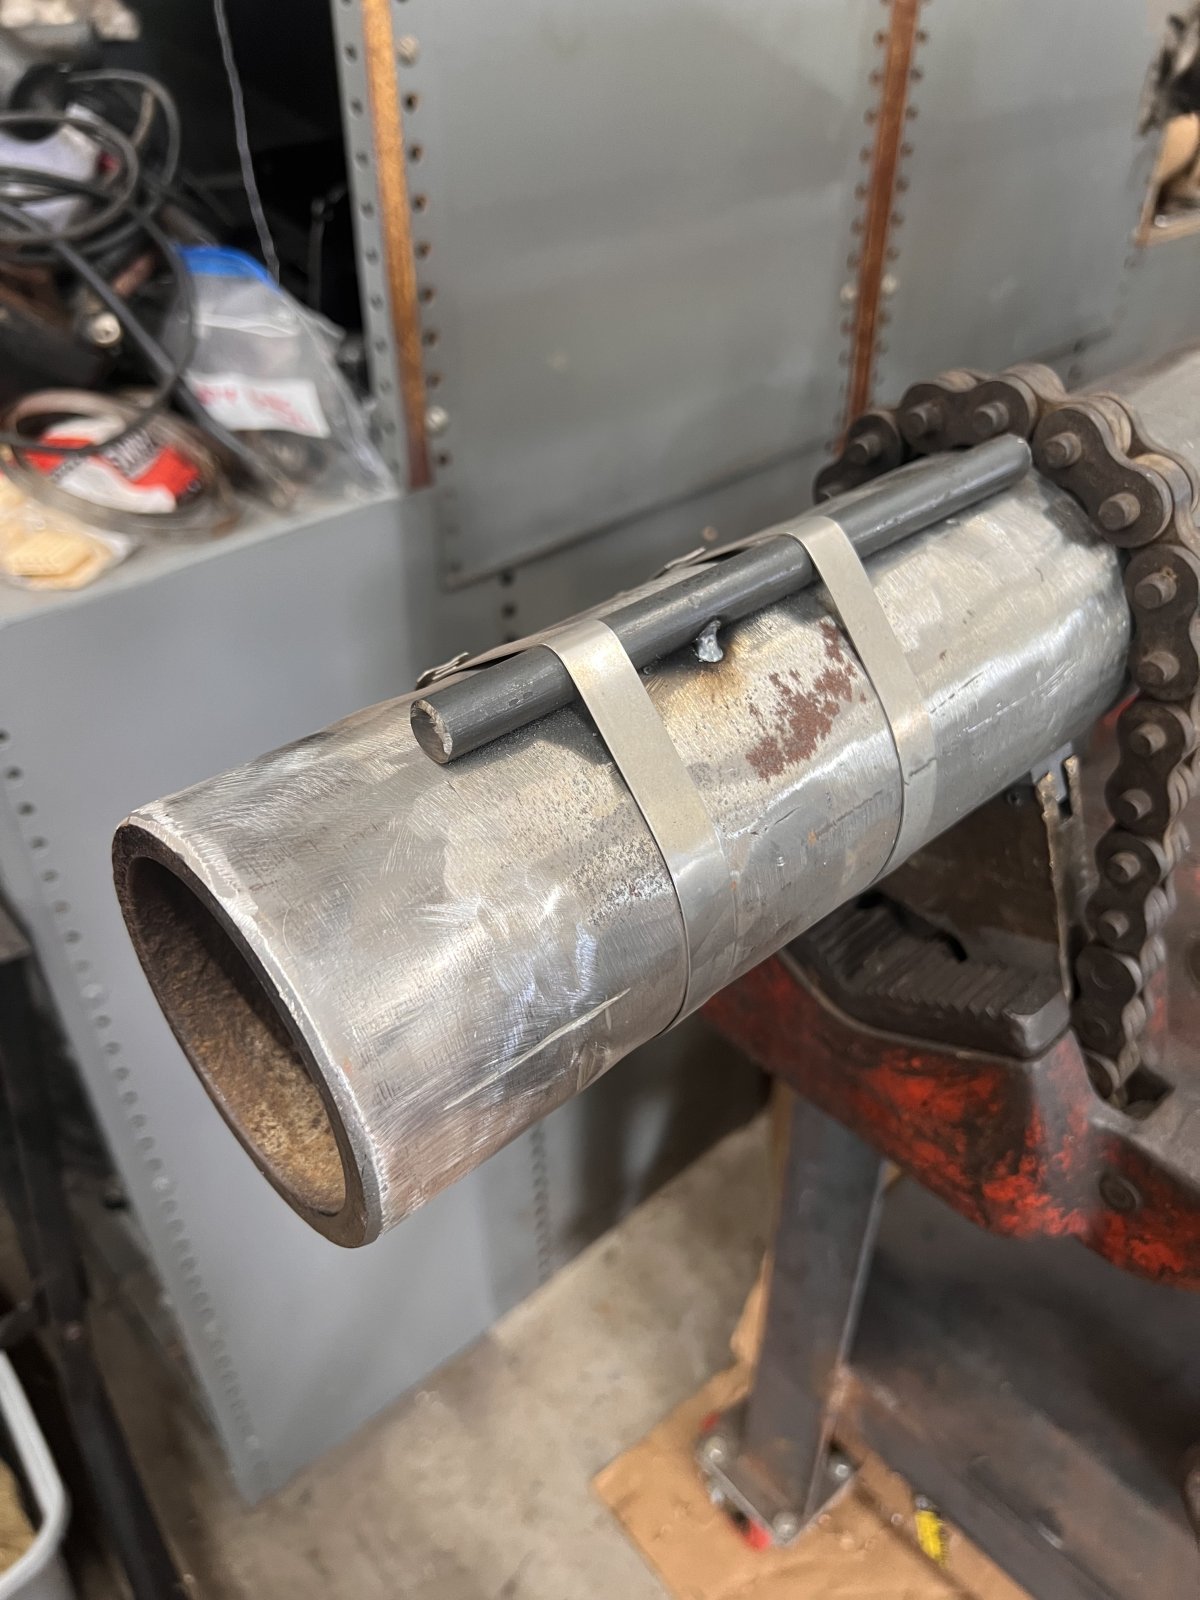
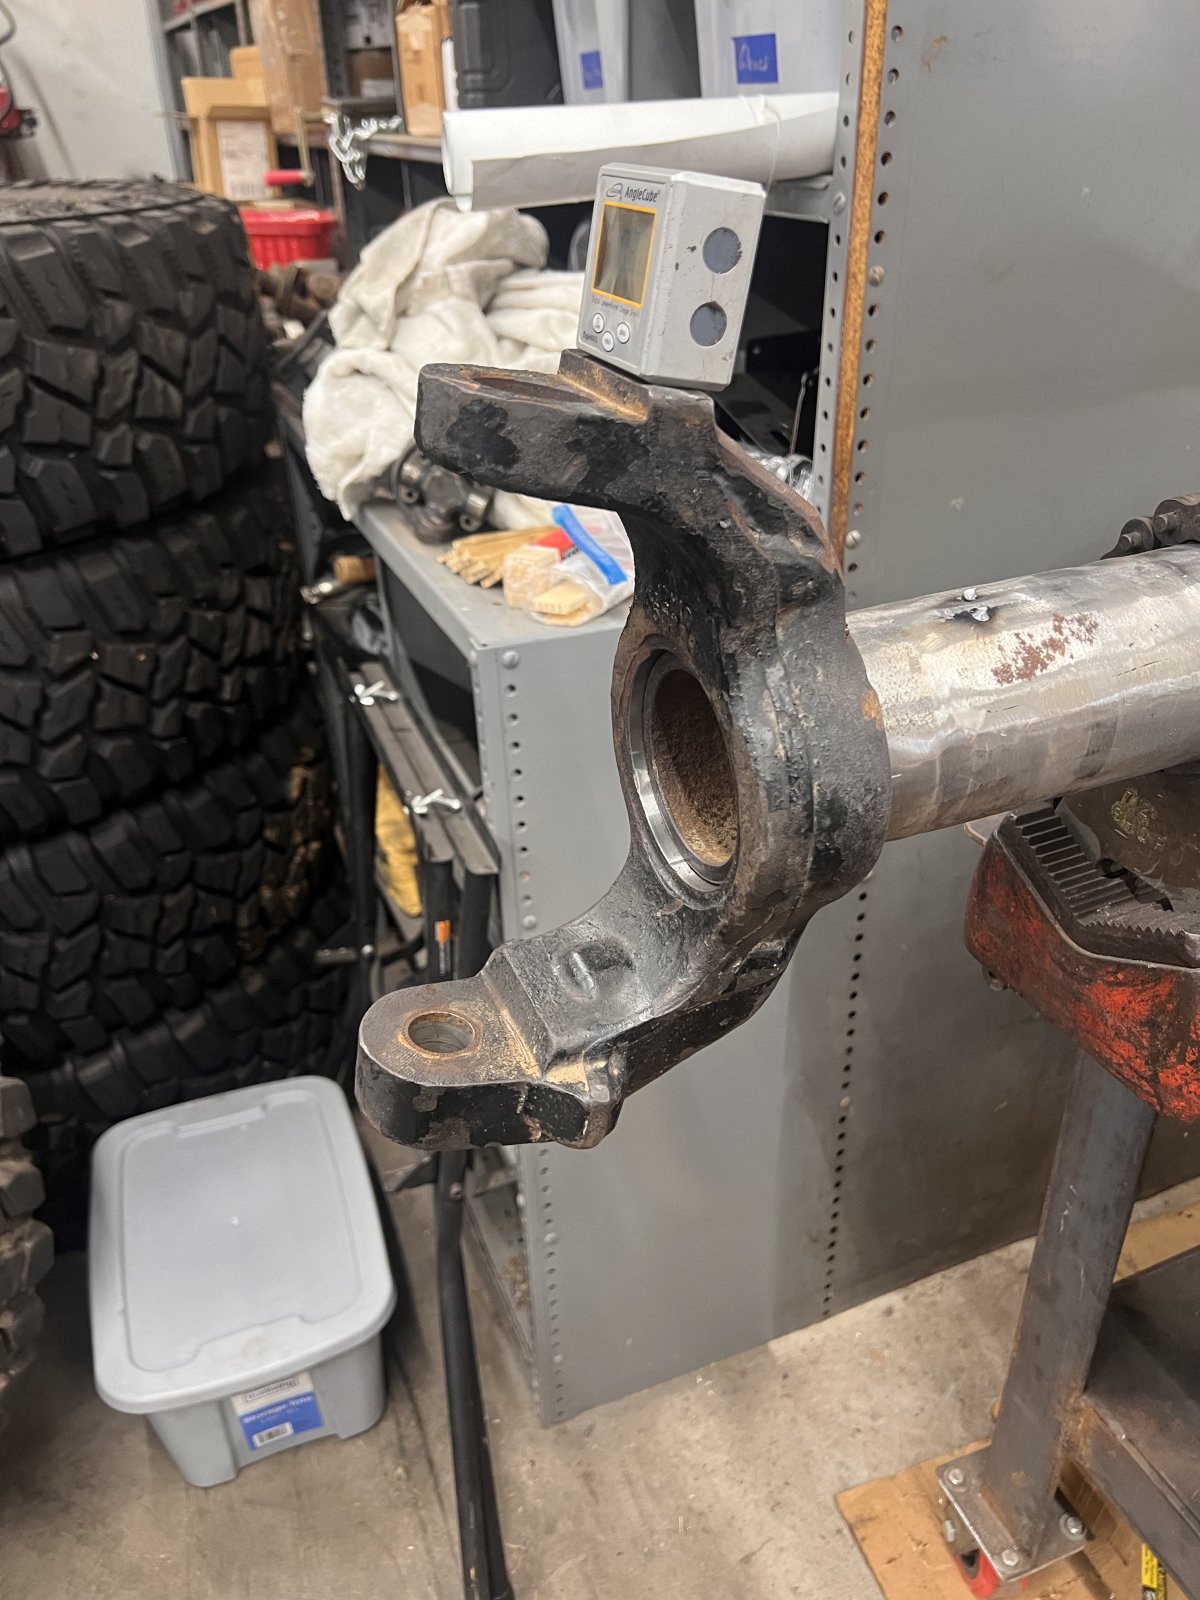
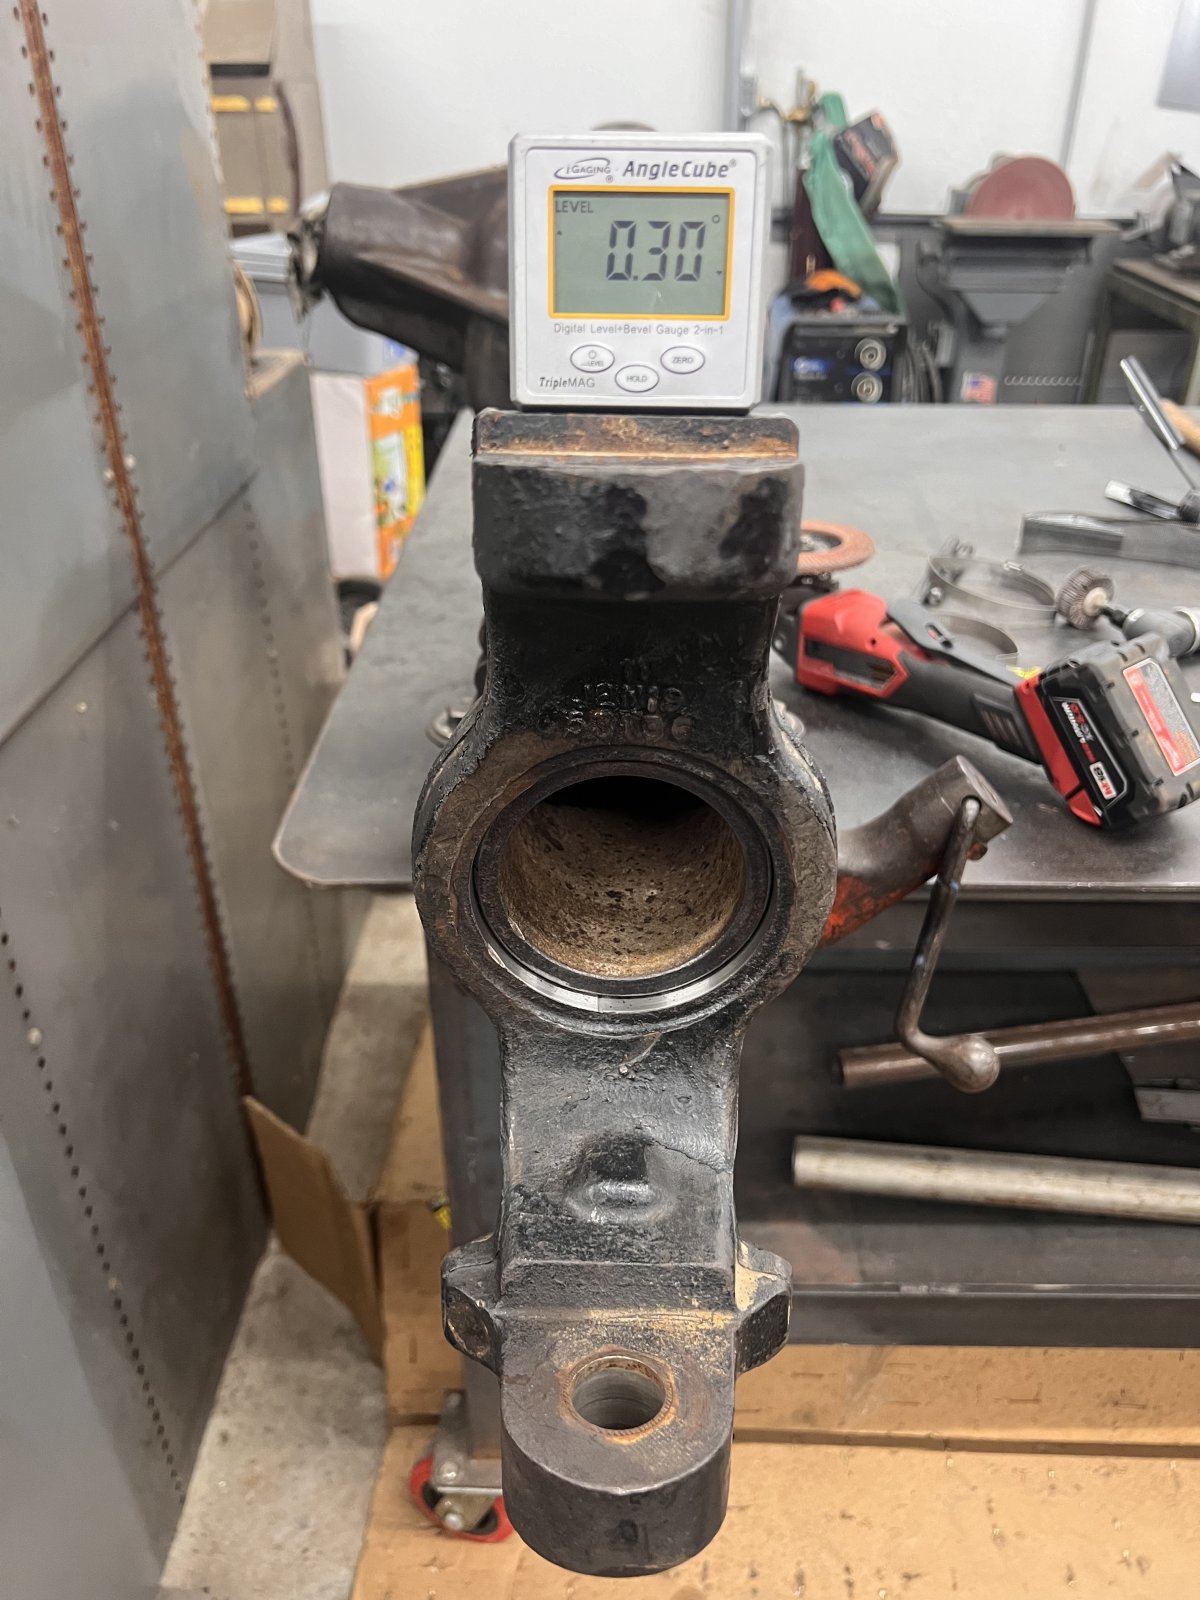
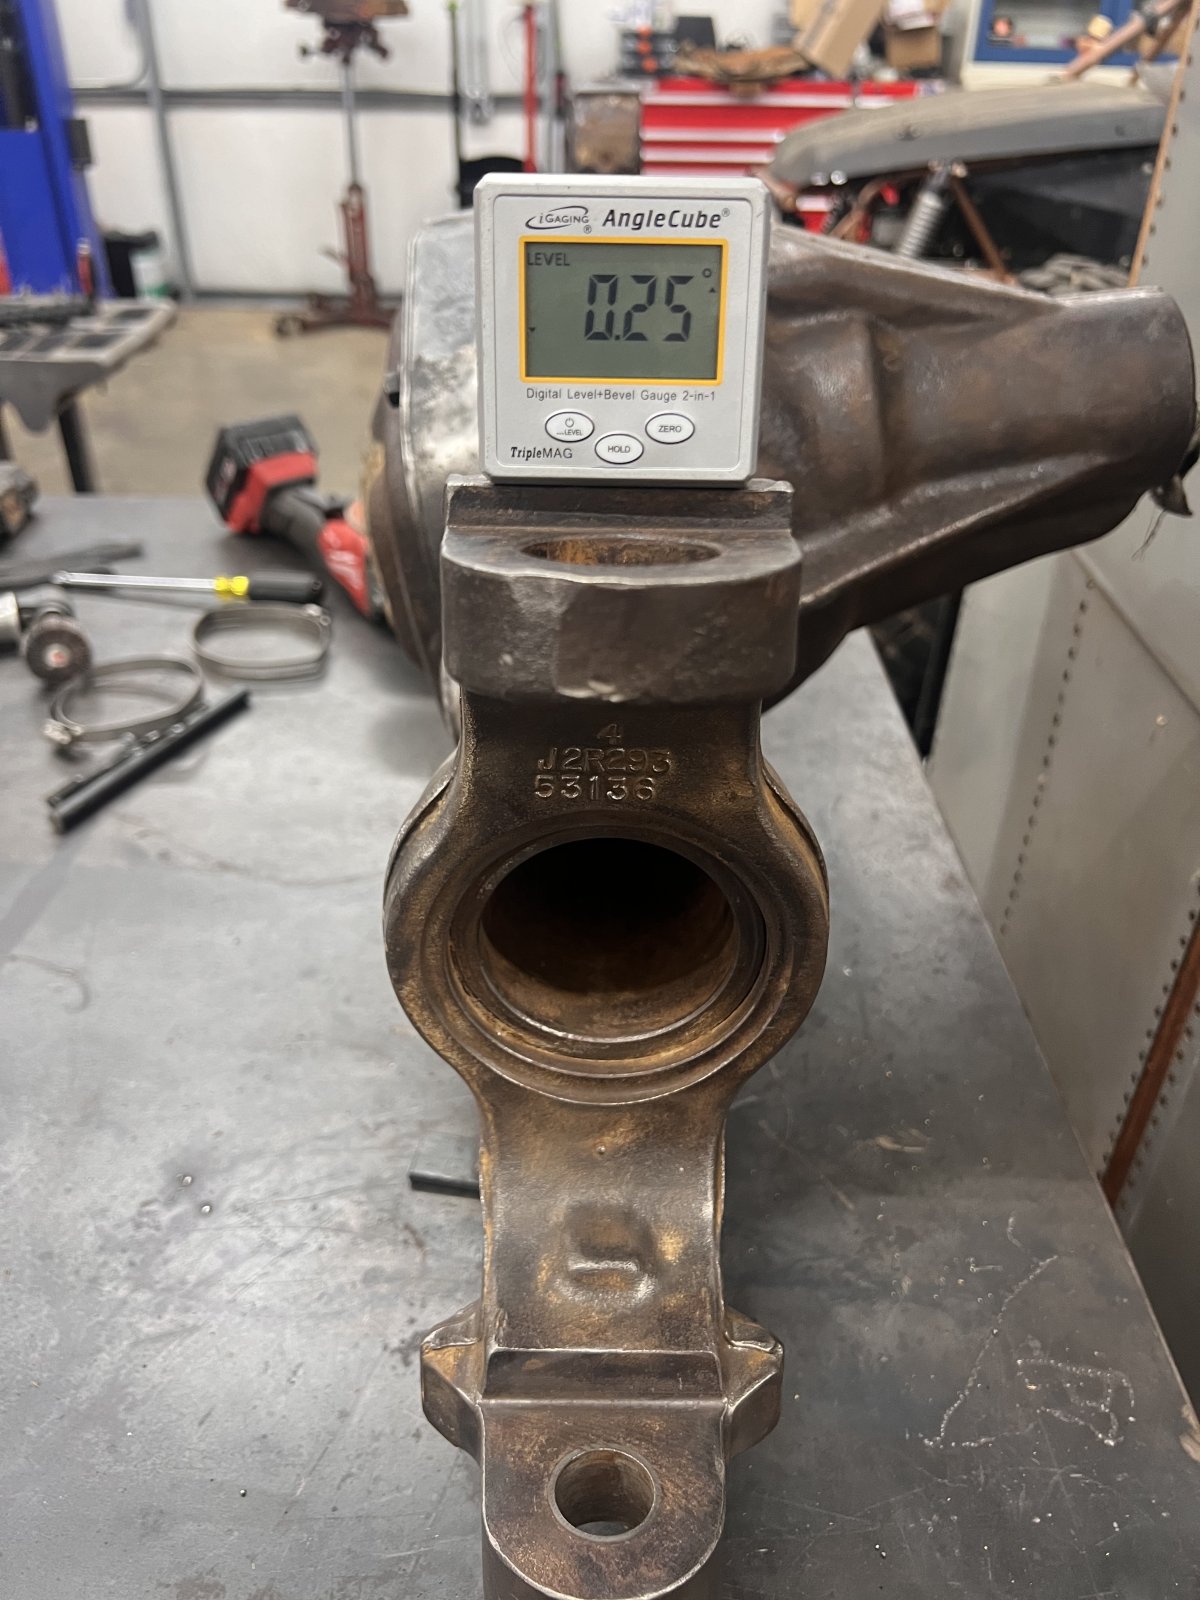
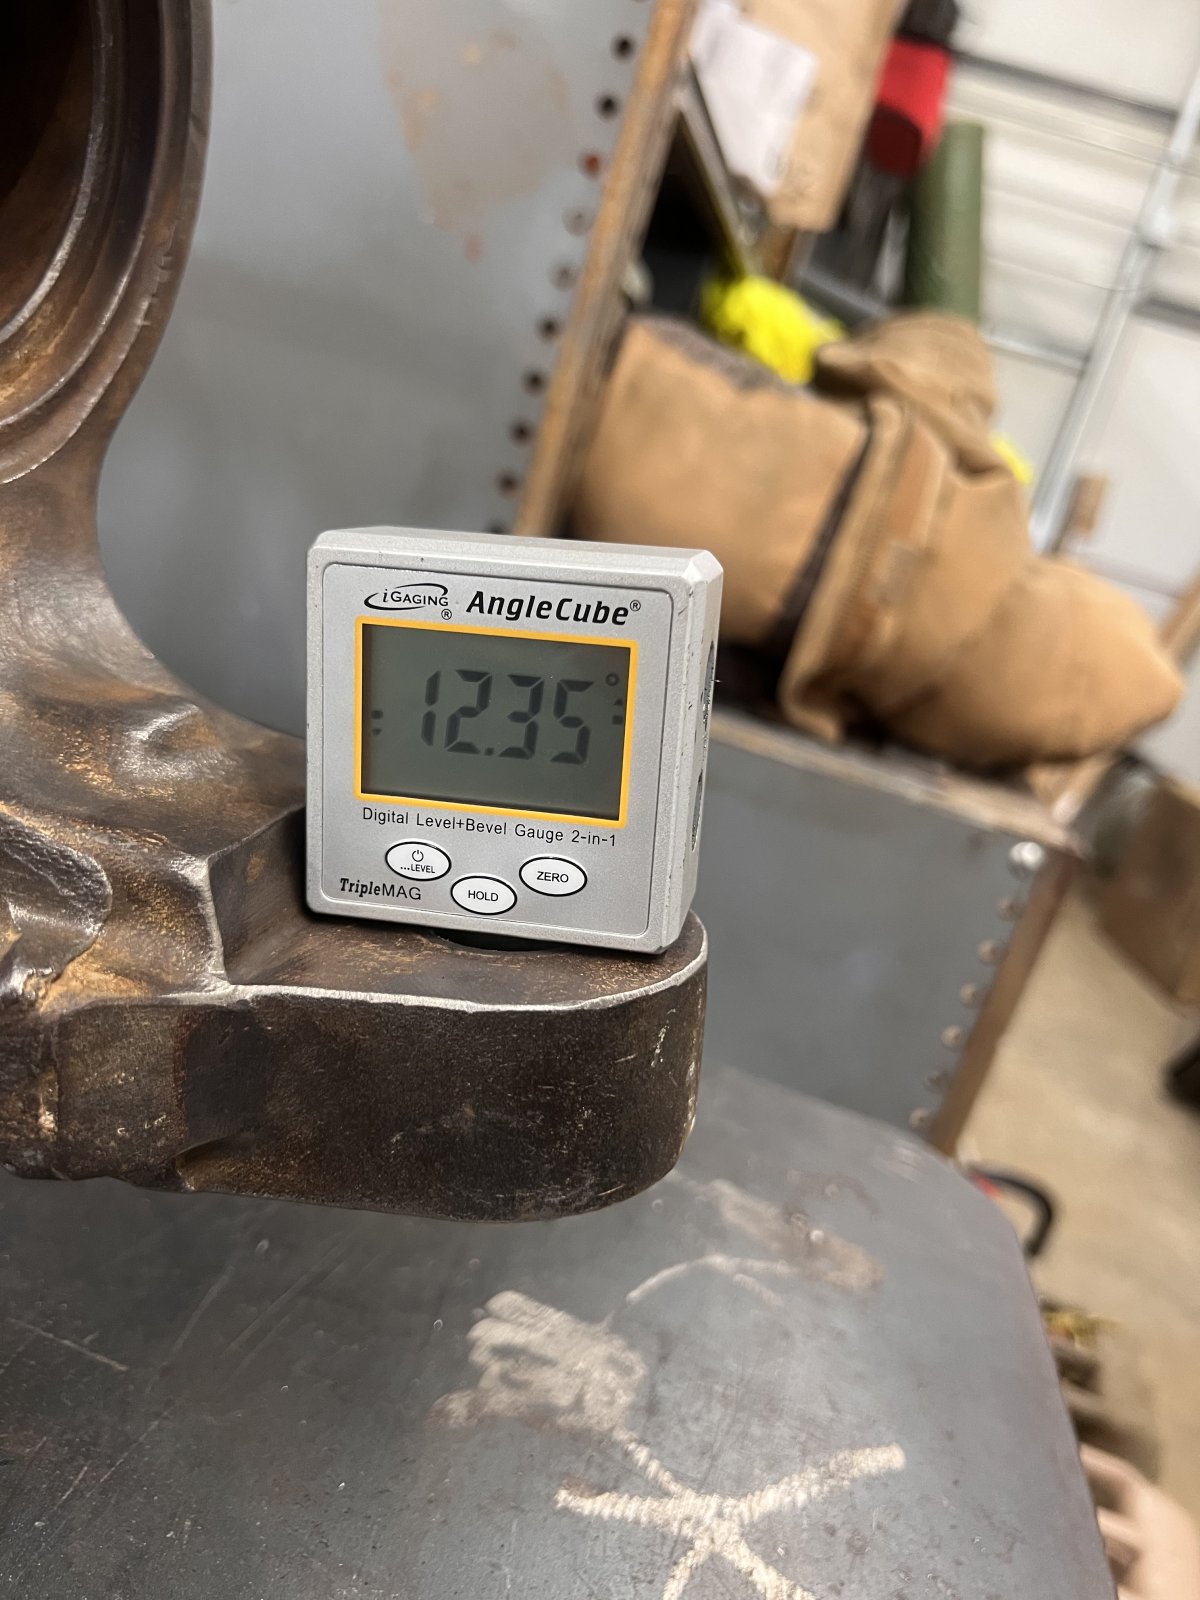
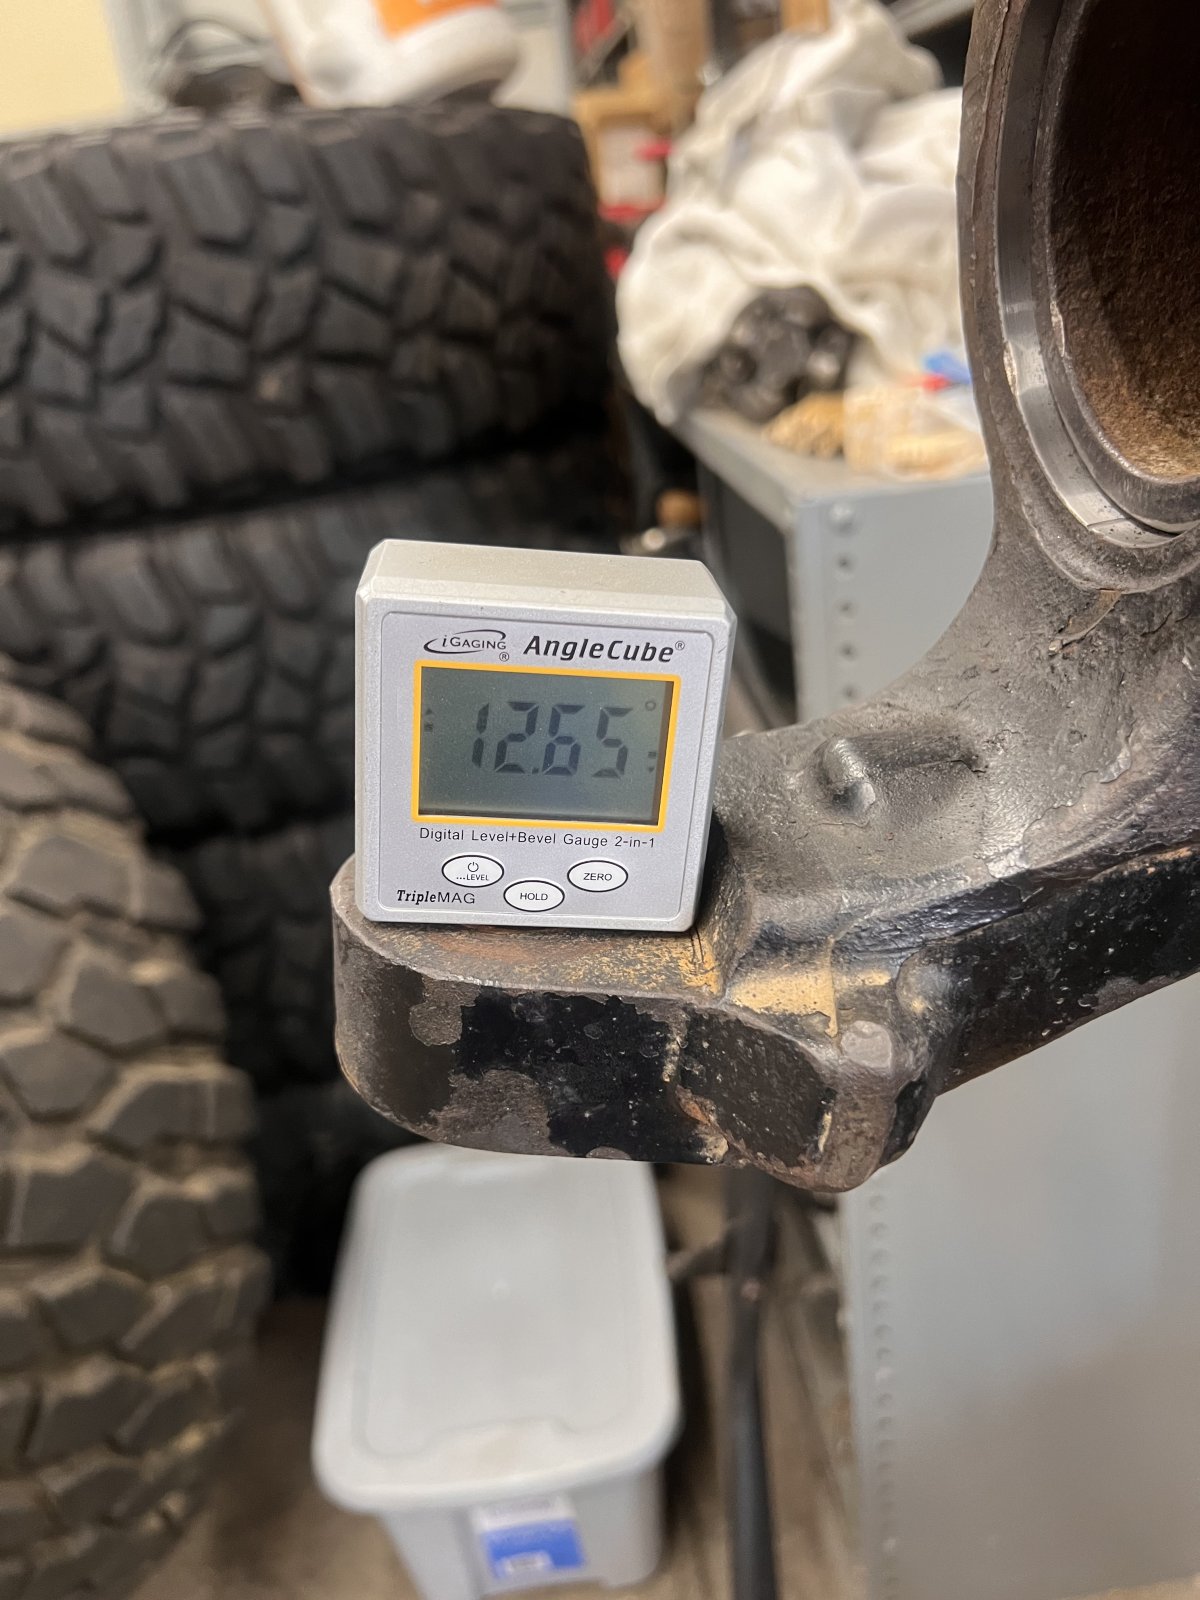
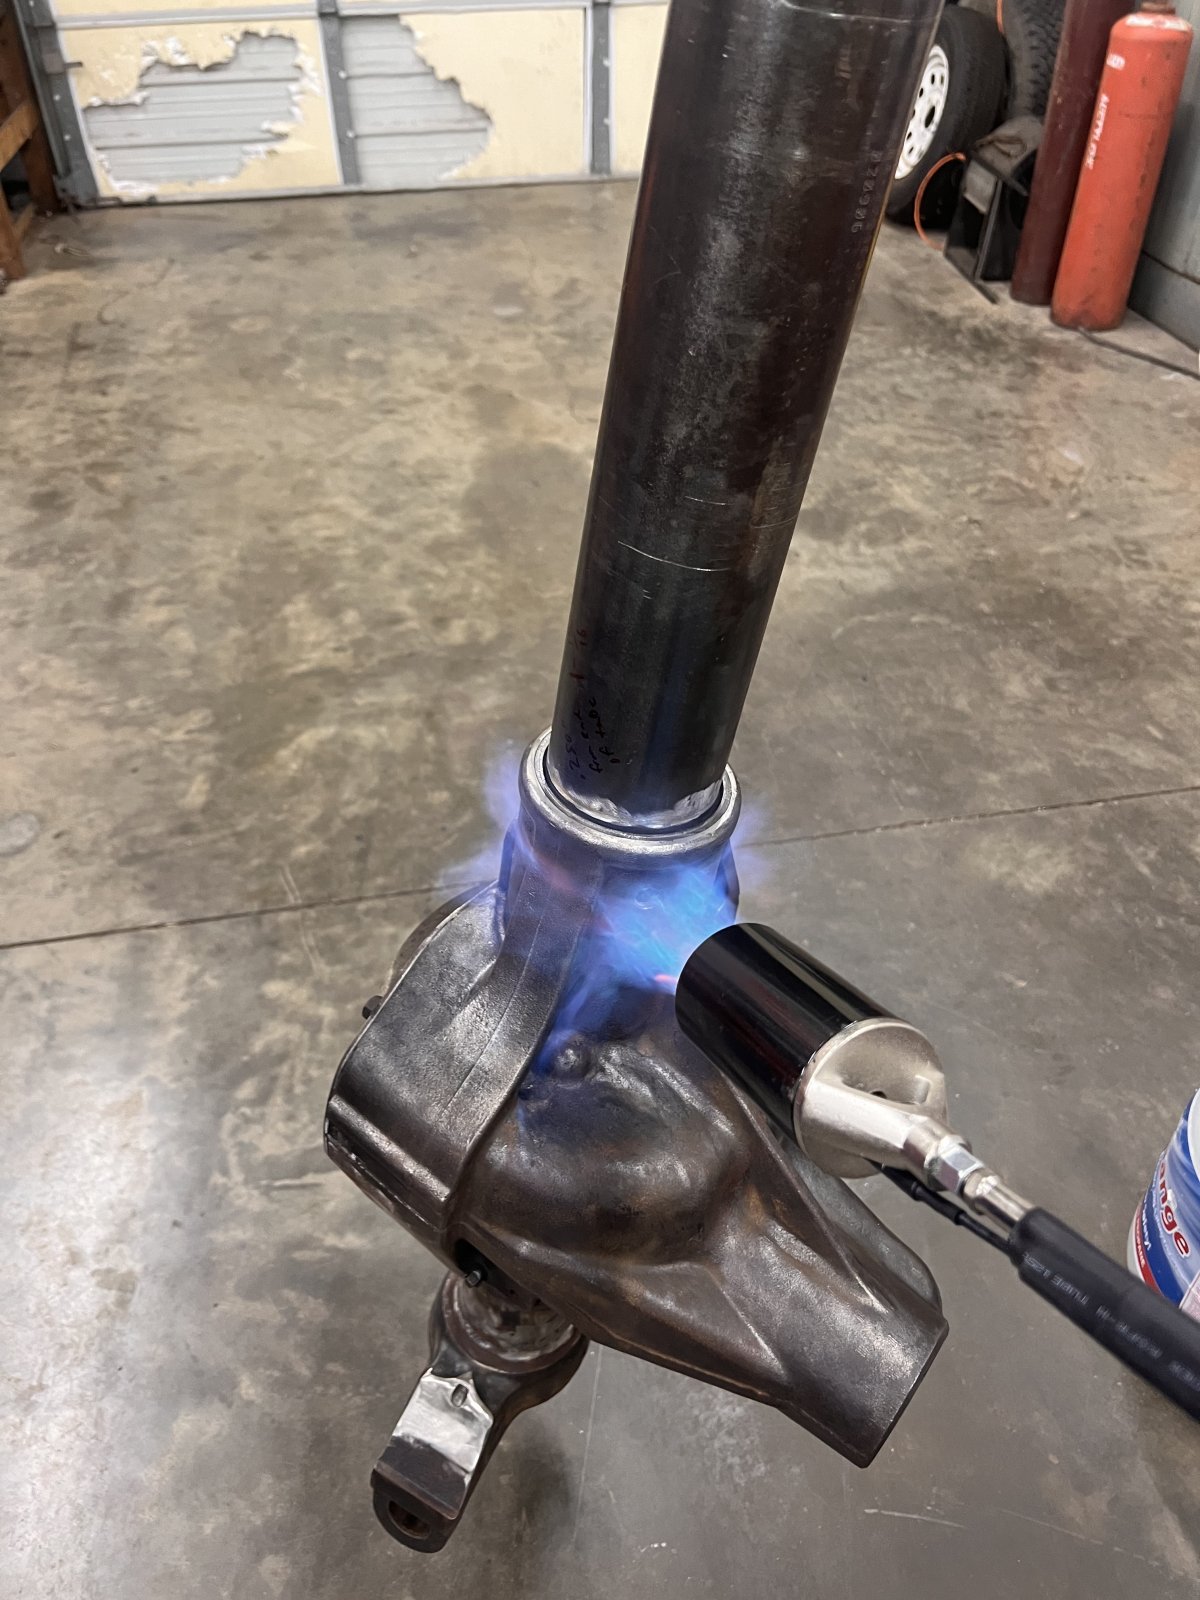
Next up will be trying to get the new C back on my axle. I measured beforehand to see how far on the tube it needs to go. I've got a couple stops hose clamped on the tube at the right depth. I plan to use my weed burner to heat it to 450* or so and hopefully it will slide on and then I can set the angle before it shrinks back.

I've got to come up with a way to rig the housing up on my welding table so I can lock it in place. The jack stands are way too wobbly to use when I'll be trying to set the caster angle right.

It actually turned out to be an easier job than I expected. Hopefully the install will go well too.
Glad to read an update to this build. None of the pictures seem to work though.
 
Glad to read an update to this build. None of the pictures seem to work though.
I copy/pasted from NC4x4 after I typed it up. I've done it in the past and it worked. I'll fix it and upload the pics here. Thanks, I didn't even notice they didn't post.

Edit: Should be working now. I can see them on my end anyway.
 
Last edited:
I copy/pasted from NC4x4 after I typed it up. I've done it in the past and it worked. I'll fix it and upload the pics here. Thanks, I didn't even notice they didn't post.

Edit: Should be working now. I can see them on my end anyway.
Cool deal and I see them too now.
 
Since youre this far in, I would cut the weld on the other C, and get your pinion/caster dialed in perfect for the rig before burning them in.
 
Since youre this far in, I would cut the weld on the other C, and get your pinion/caster dialed in perfect for the rig before burning them in.
I think it’s going to be good on the pinion/caster. These axles have 10* of separation and I’ll be using the 3* balljoint deletes. So at 6* caster I can still have a 7* pinion angle. It will get driven on the street, but I’m using locking hubs so it shouldn’t be an issue.
 
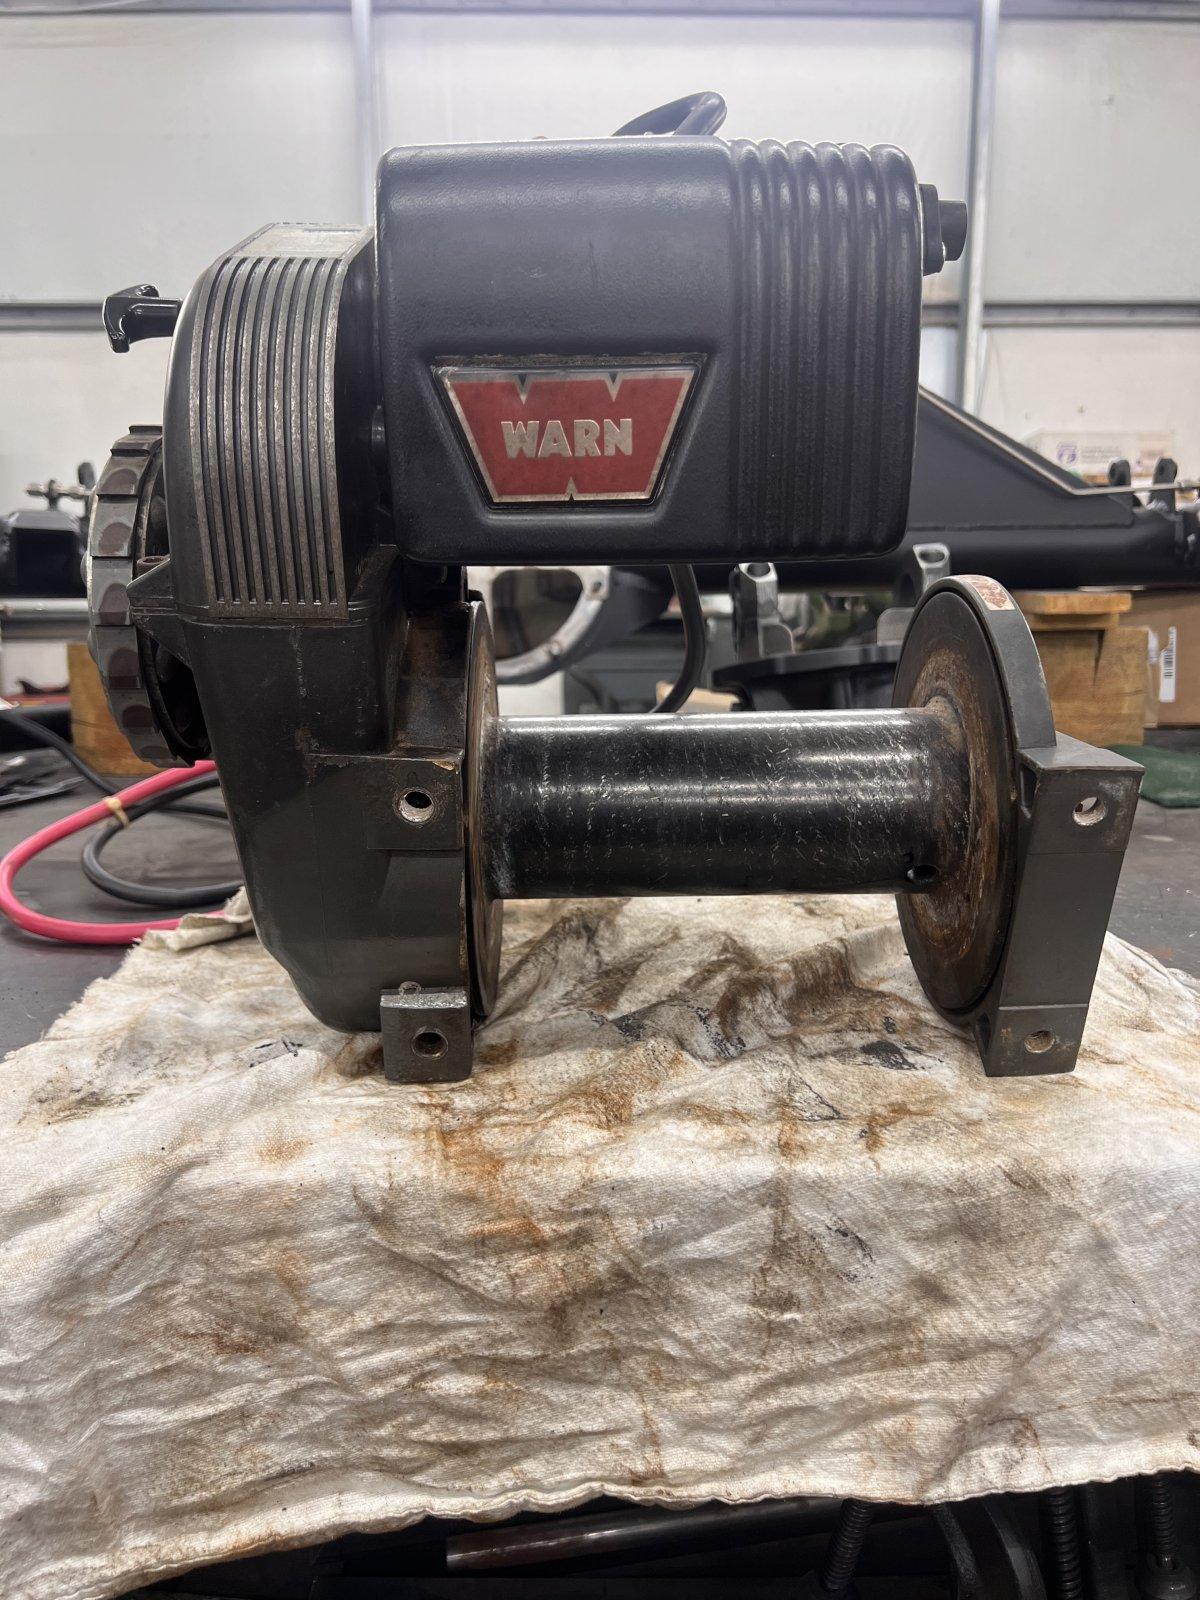
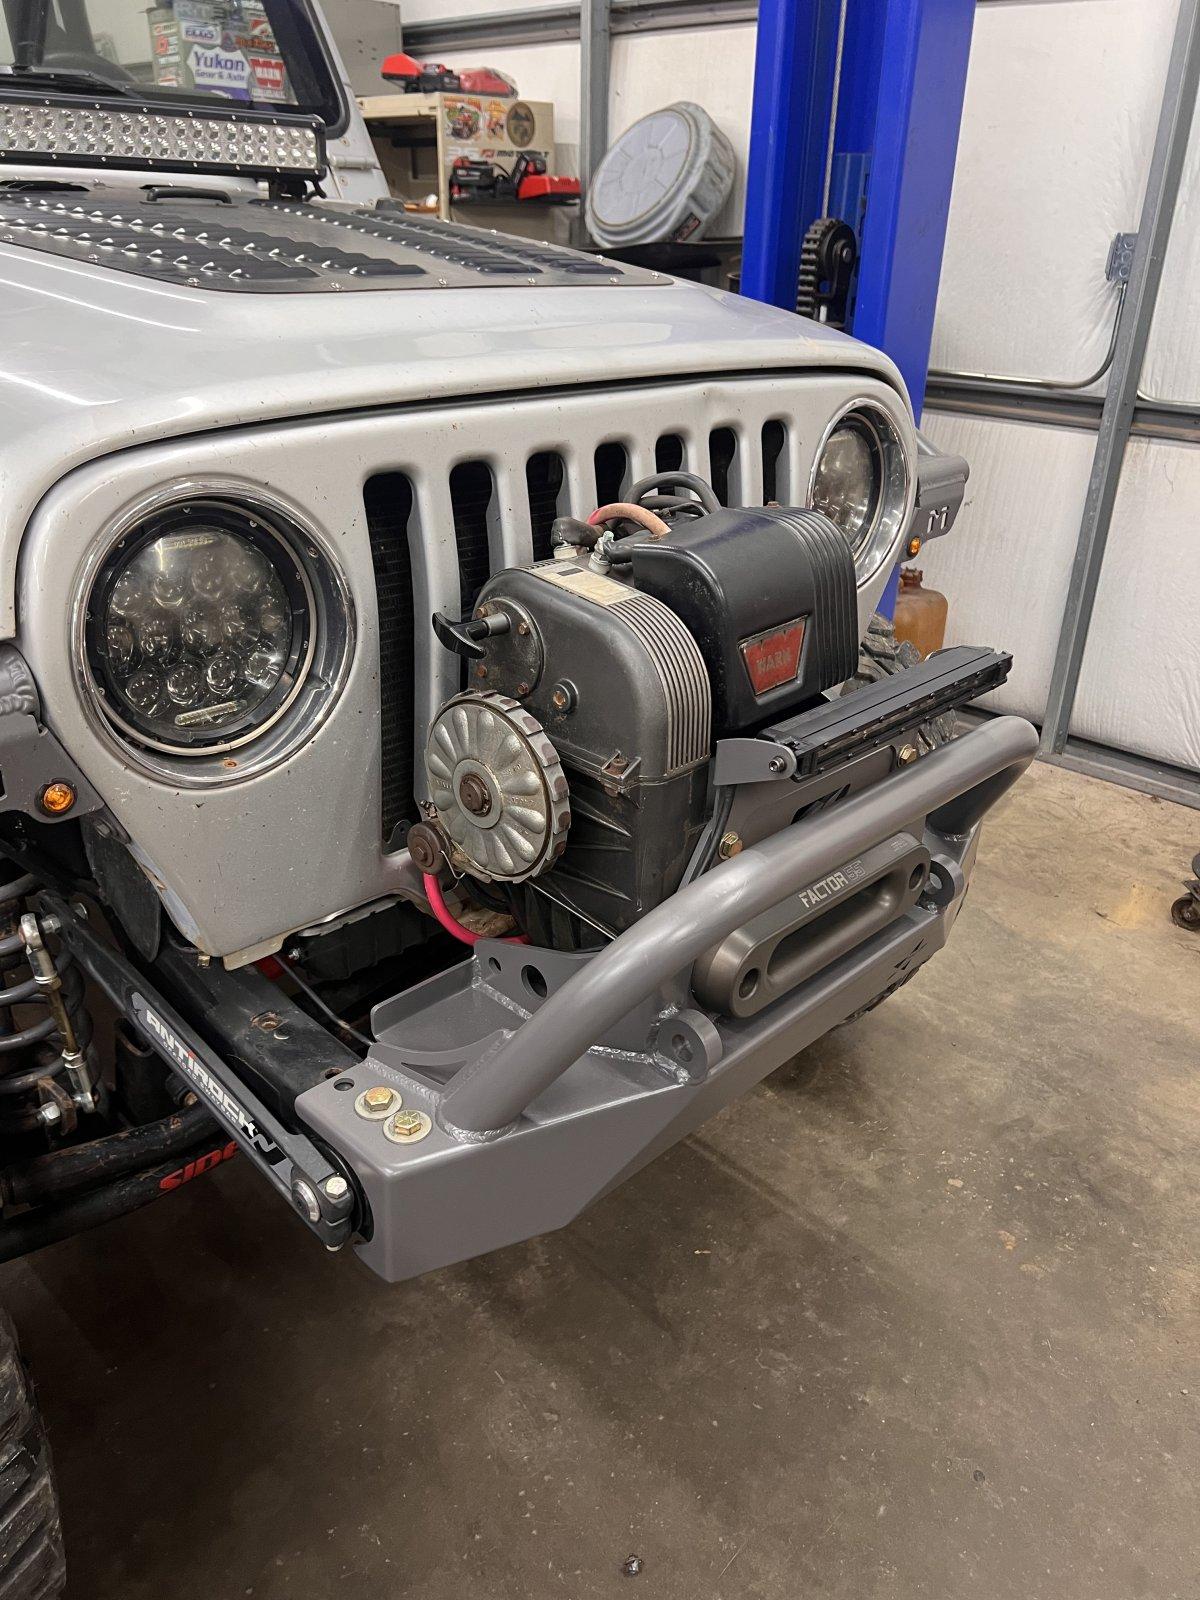
I haven't taken the the time to focus on fixing the 60 yet, so instead I waste my time and money on other completely unnecessary projects. A couple weeks ago I picked up a Warn 8274-50 for a pretty decent deal. I didn't need it, but I've wanted one for a long time, and dang it I'm worth it. :laughing:

IMG_0046.jpeg


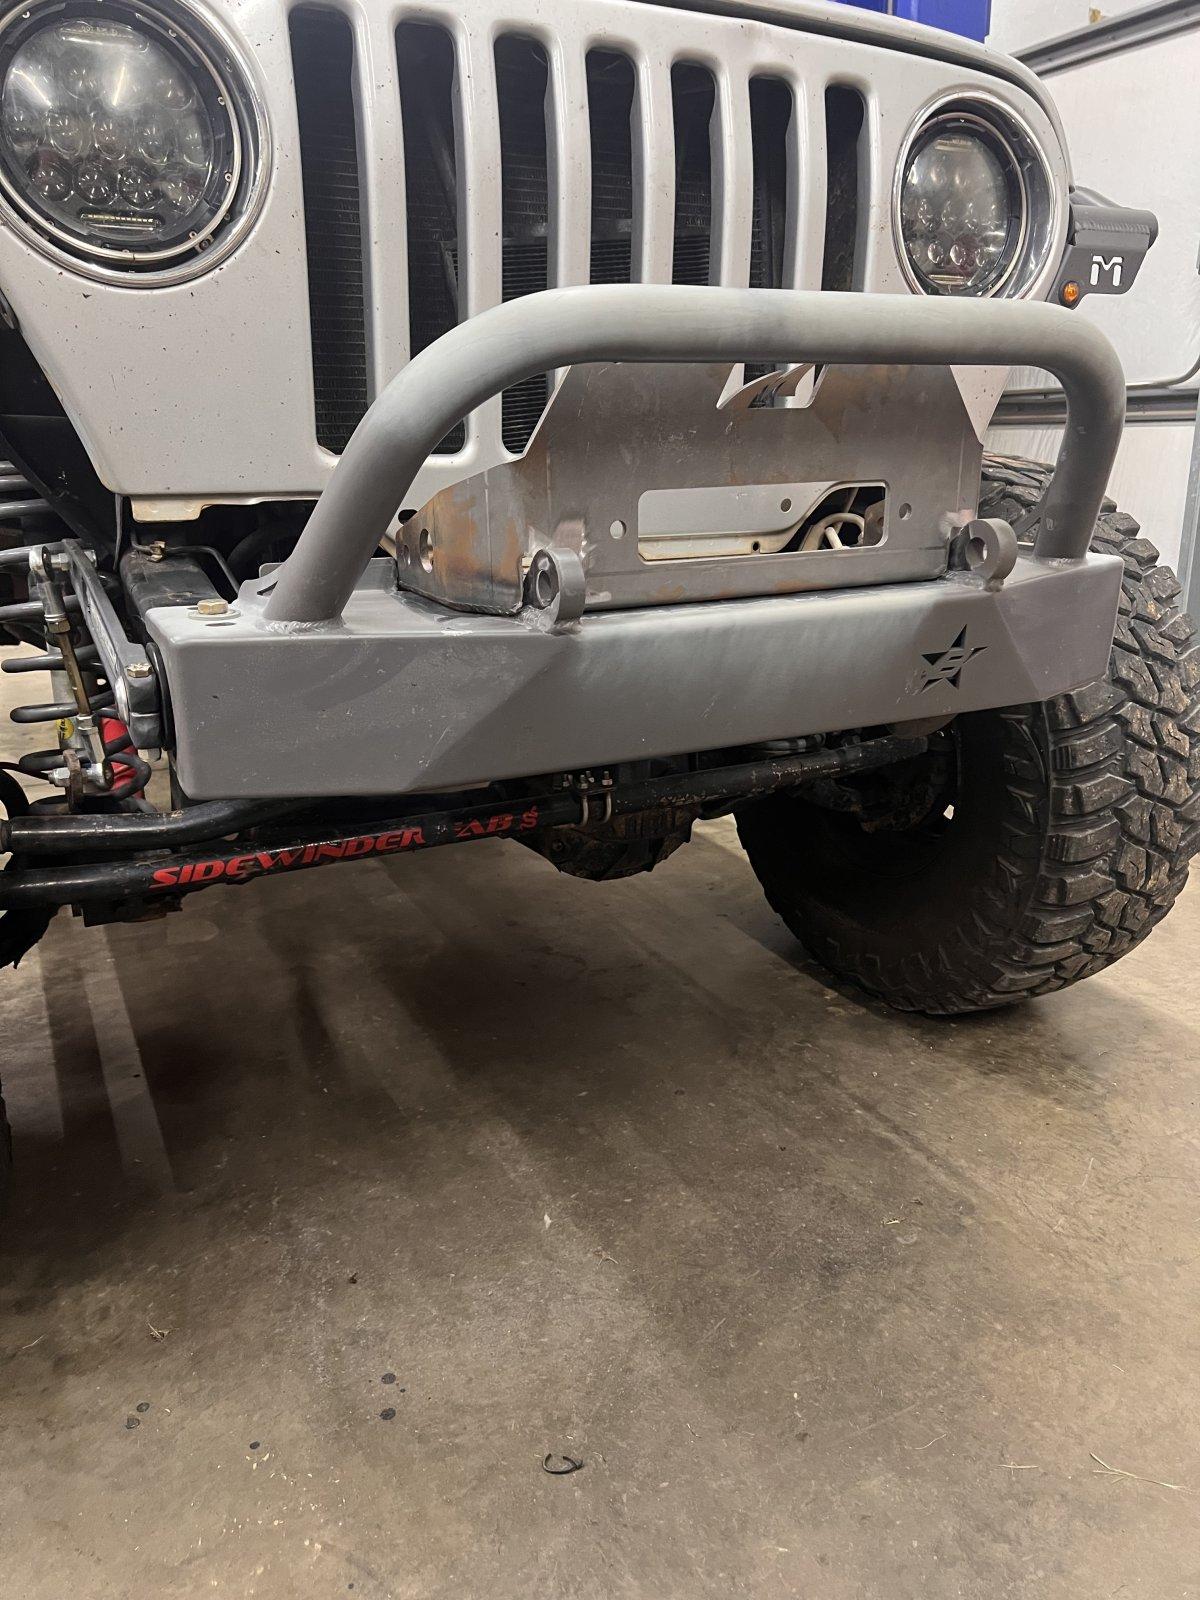
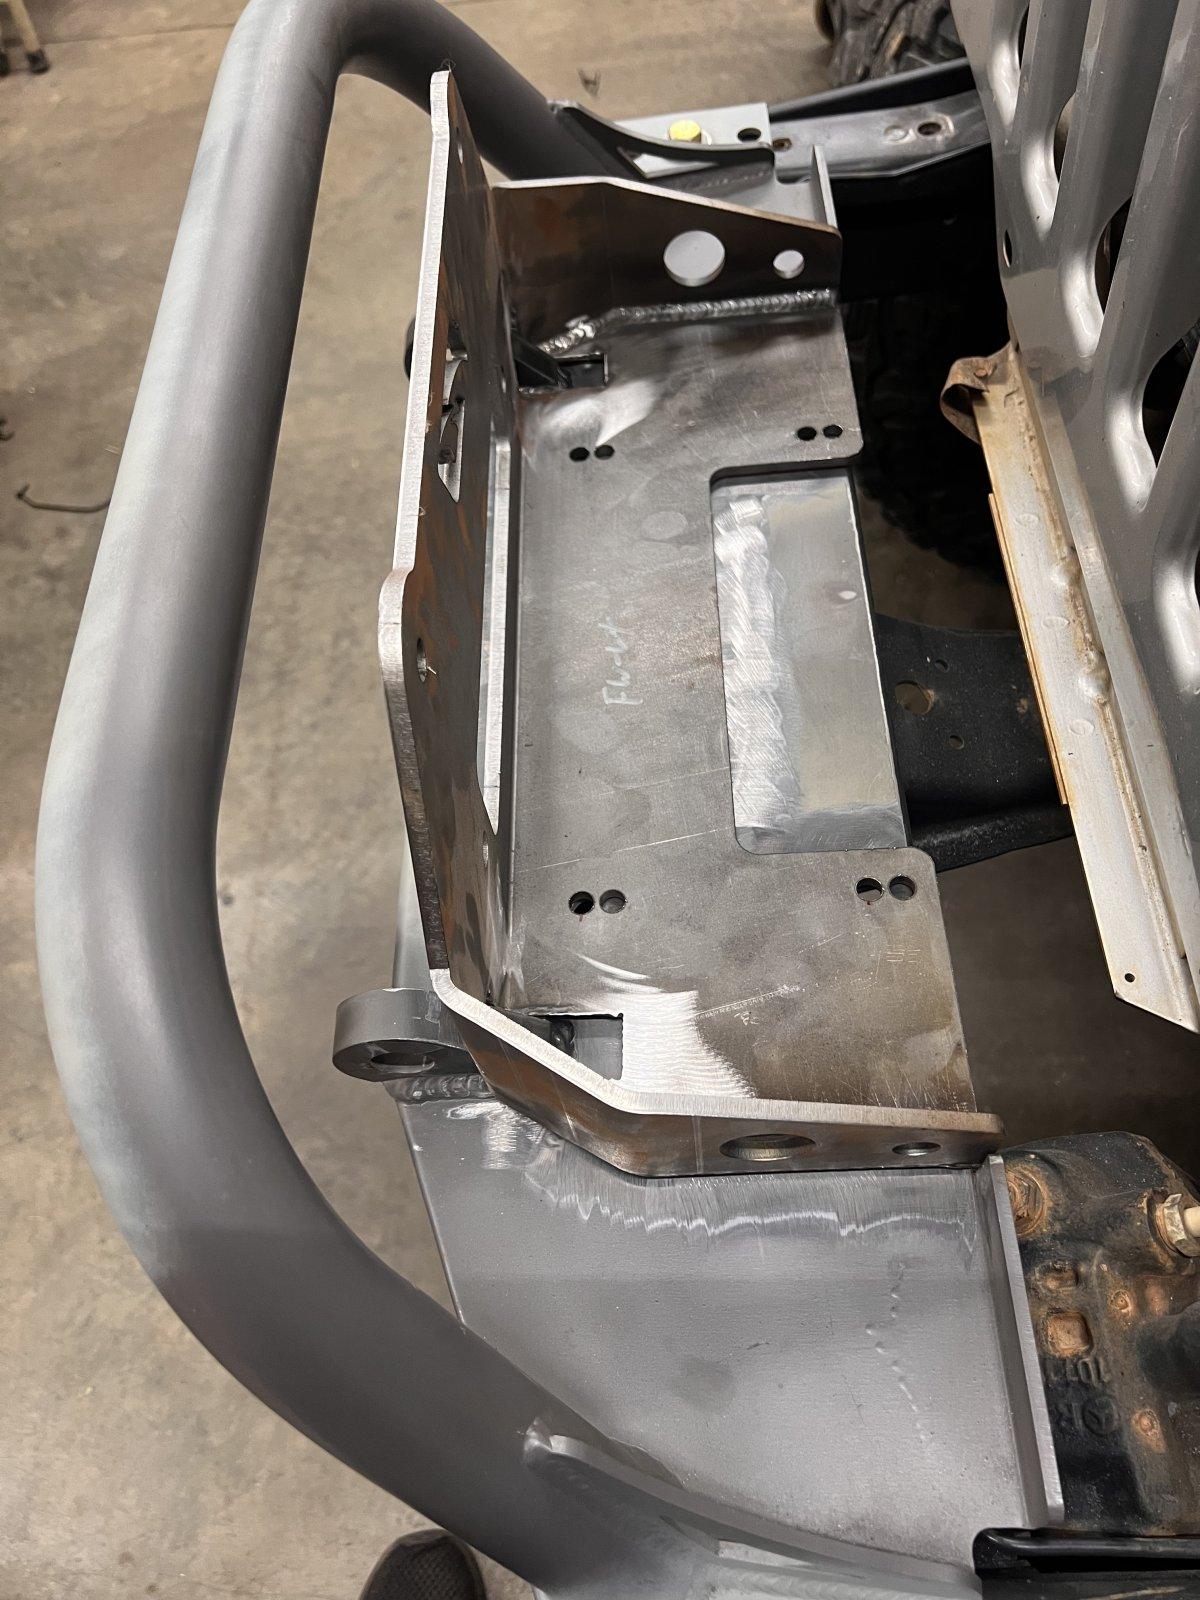
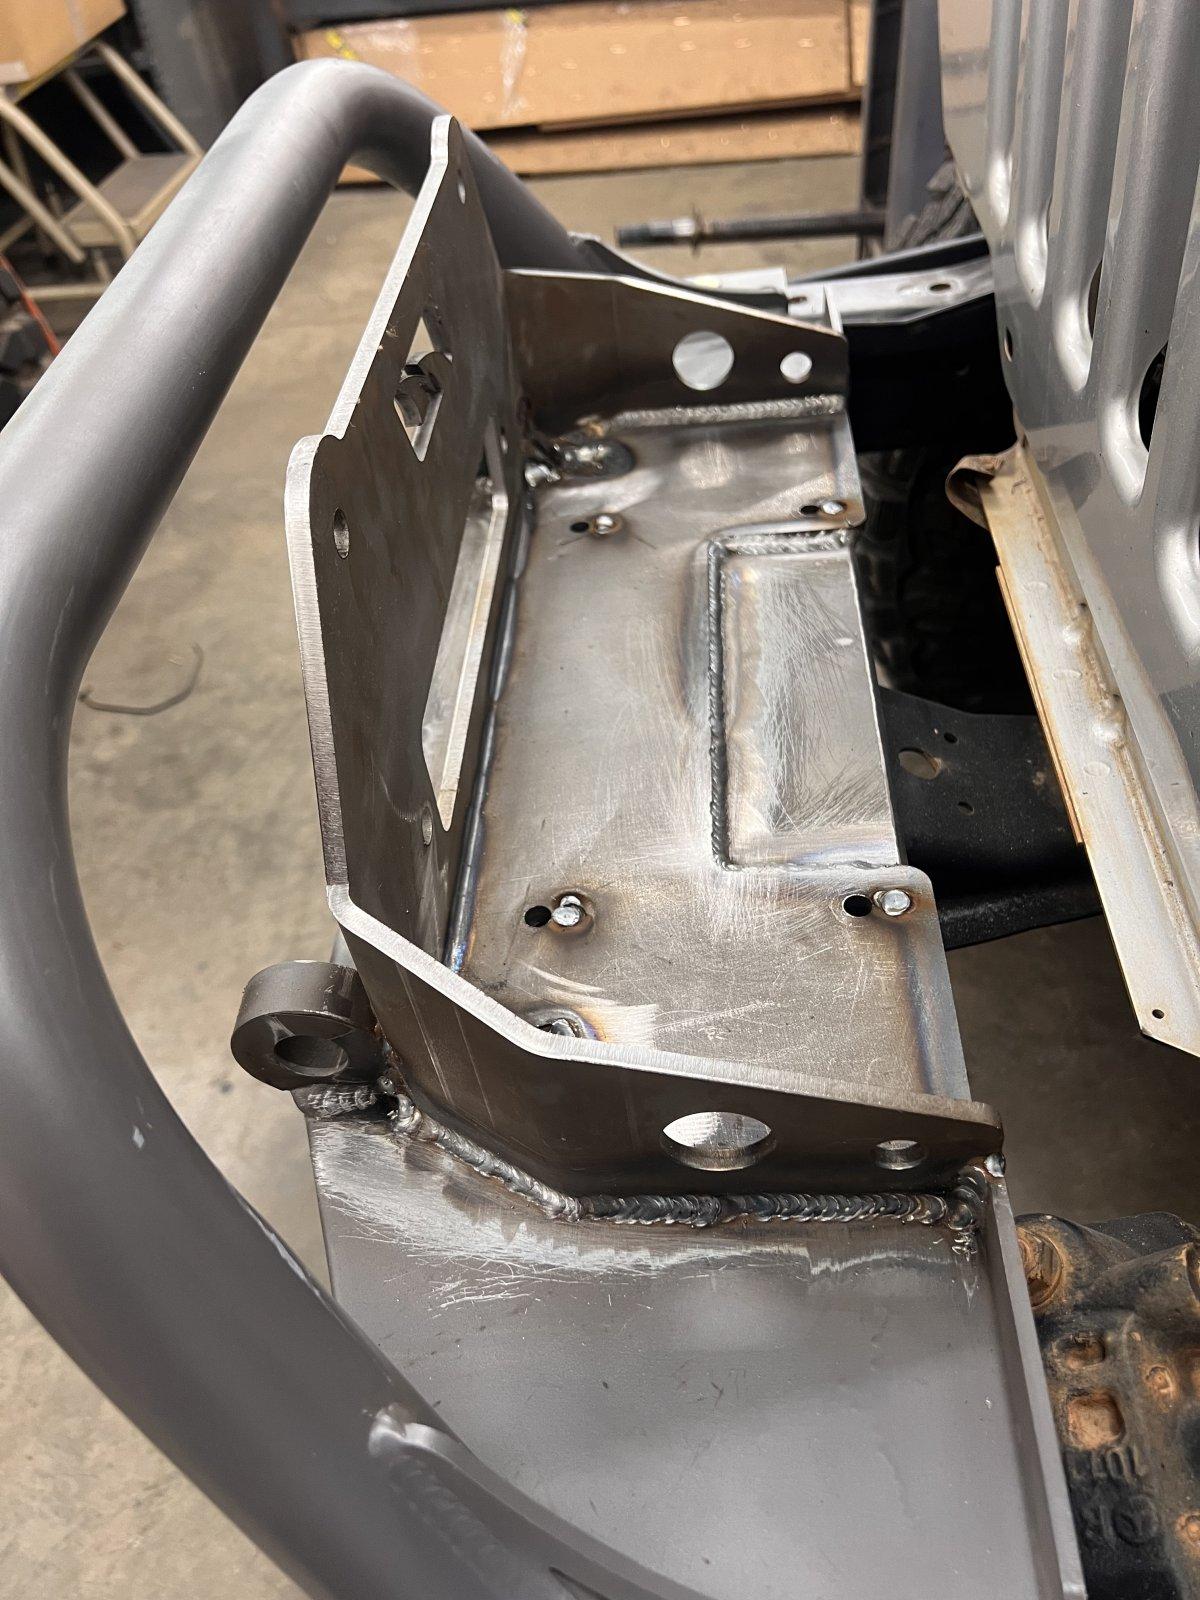
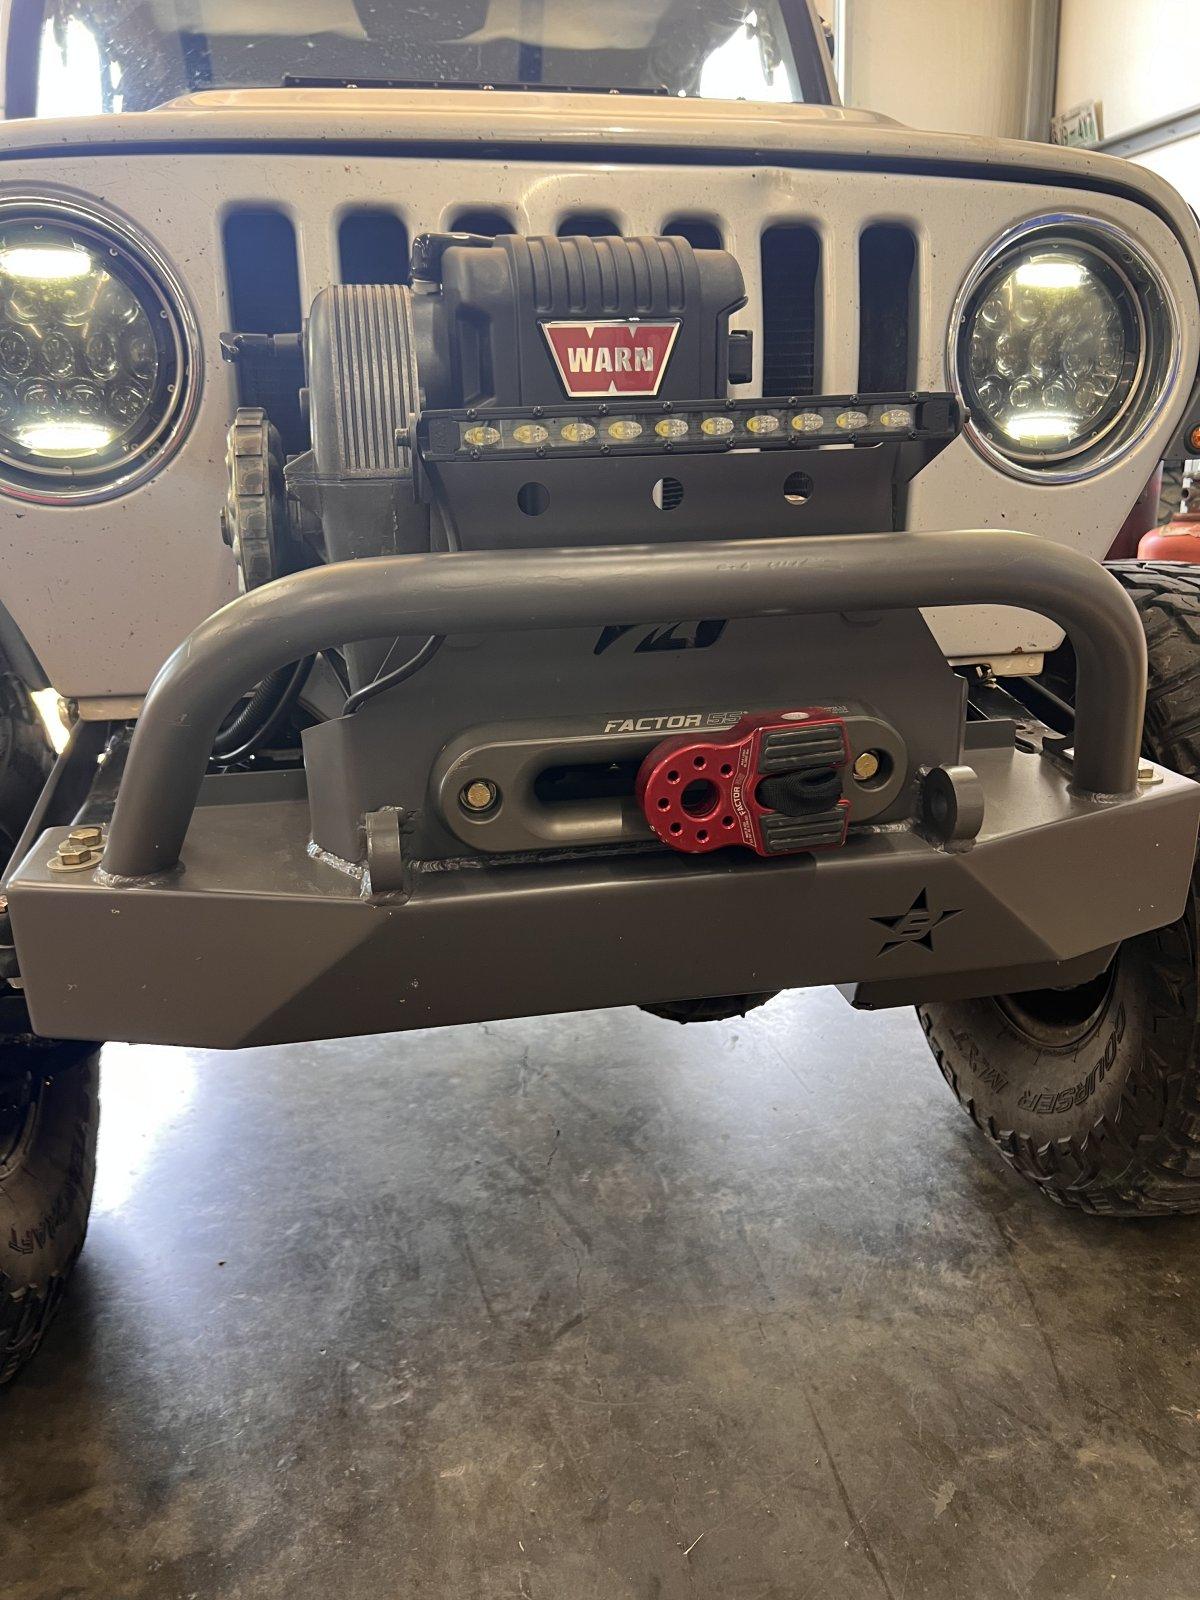
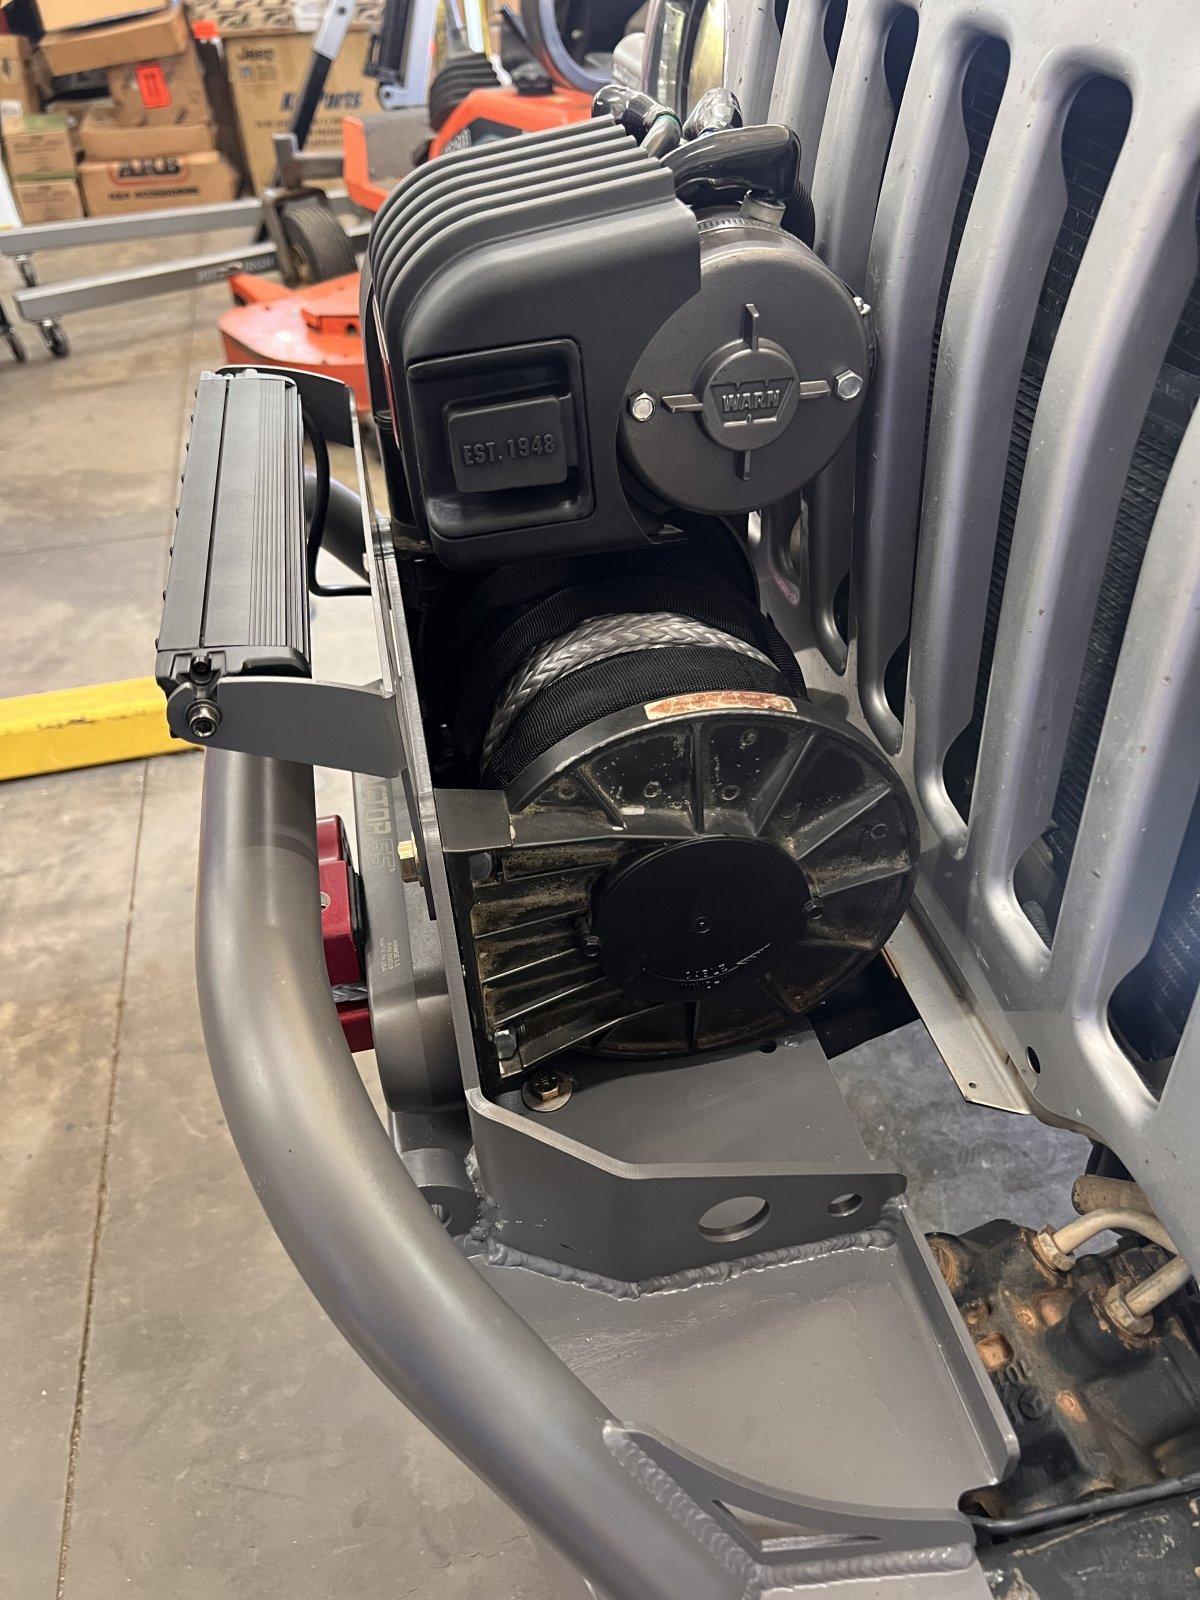
I ended up deciding to go with the Motobilt mount. I have the Barnes bumper, and I know they make a mount as well. The Motobilt mount is a little smaller though annd I felt like it would fit better. Plus I liked the looks of it better too. I had to notch it to fit over the d-ring mounts on the bumper, and notch out the back of the bumper as well.
IMG_0042.jpeg

IMG_0043.jpeg


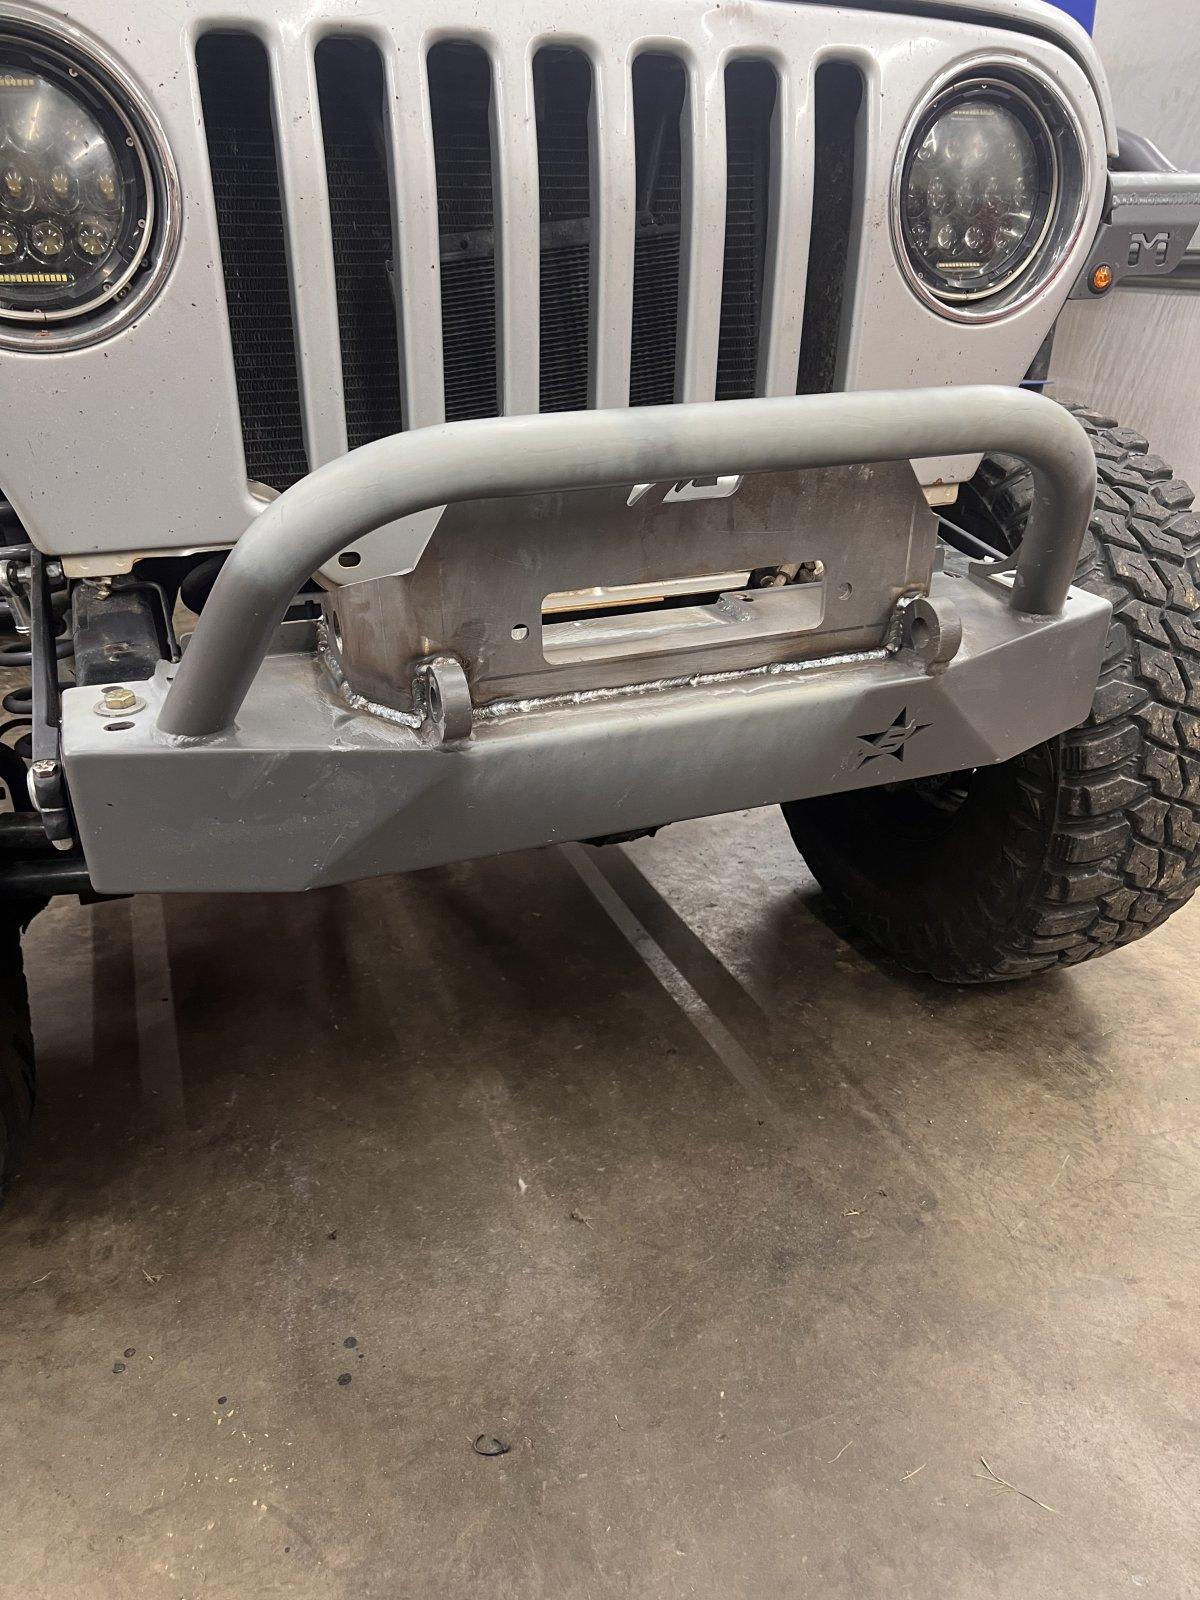
I had to work today and didn't sleep much last night so I hit the shop at 3:30 this morning and got it all welded up before work. Tomorrow morning I hope to get it painted and the bumper bolted back up.

IMG_0044.jpeg

IMG_0045.jpeg


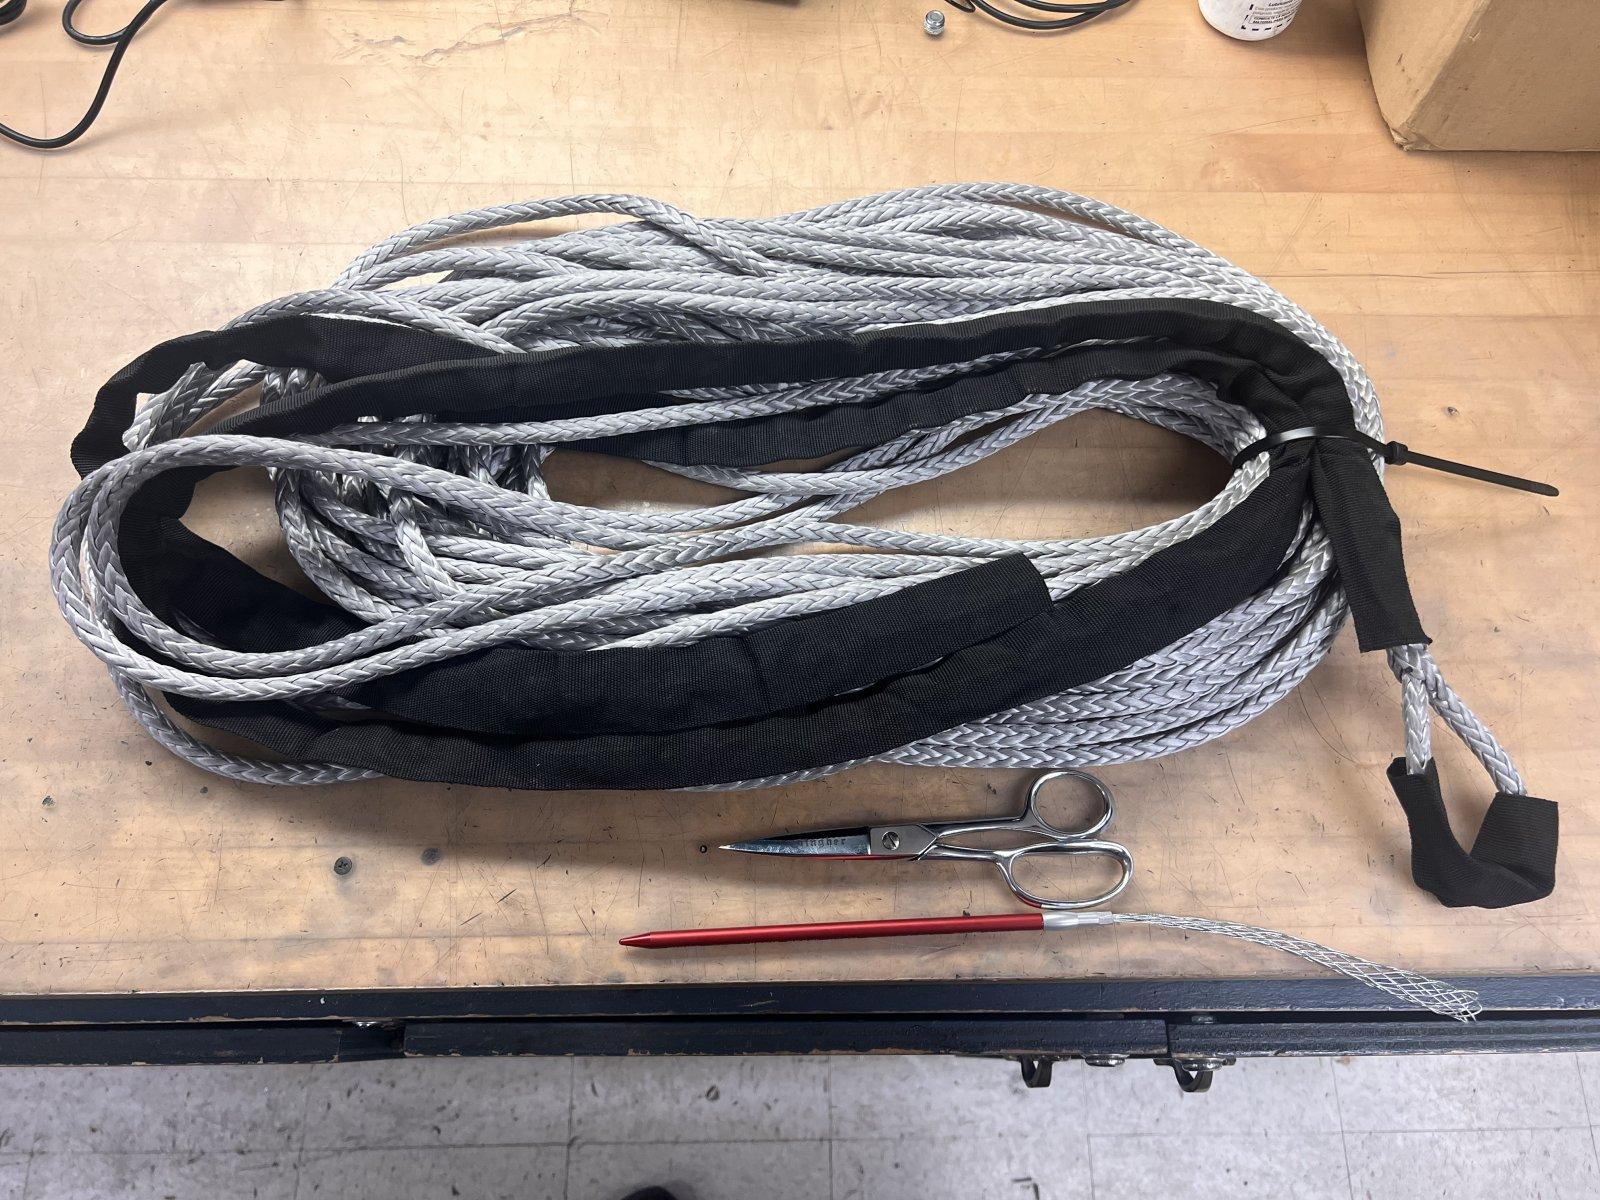
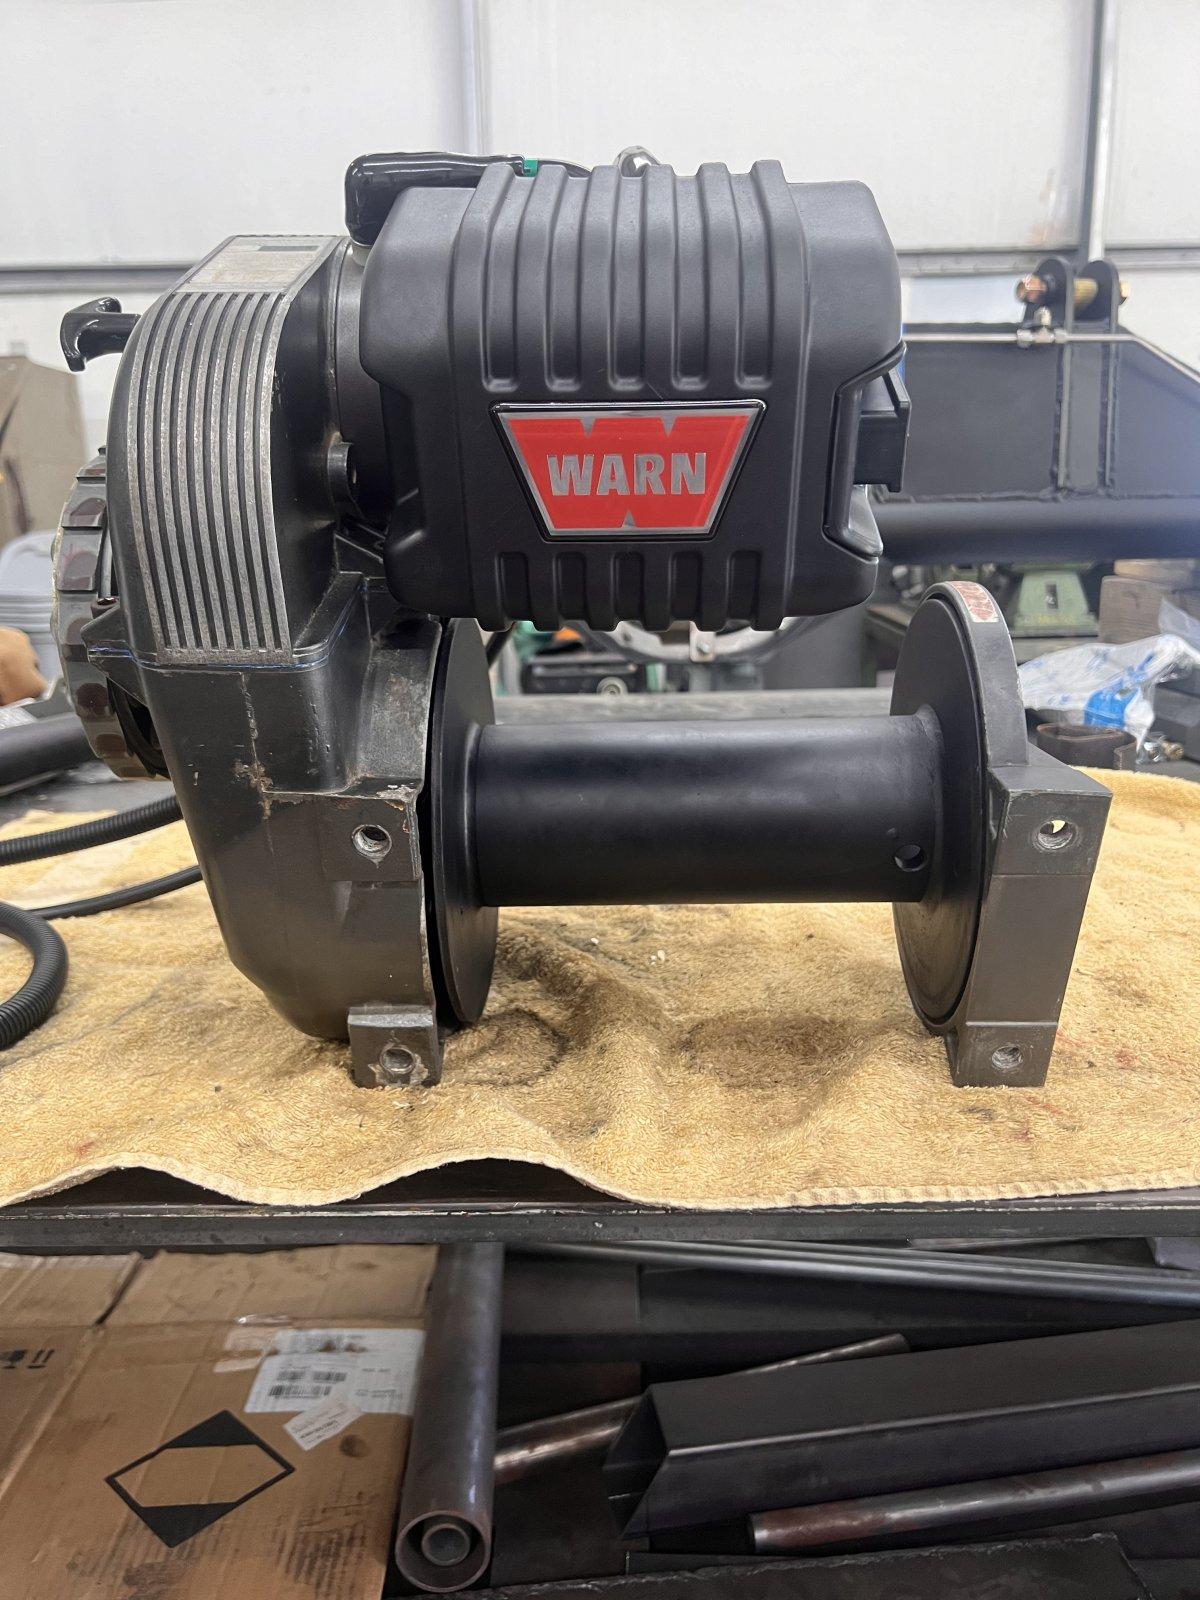
I made my own 125ish' synthetic rope a few days ago on a slow day at work. I'll probably tear into the winch and replace the drum seals and bushings and change the oil as well before I put it on the Jeep.

IMG_0030.jpeg
 
As an Amazon Associate we earn from qualifying purchases. Product prices and availability are accurate as of the date/time indicated and are subject to change.
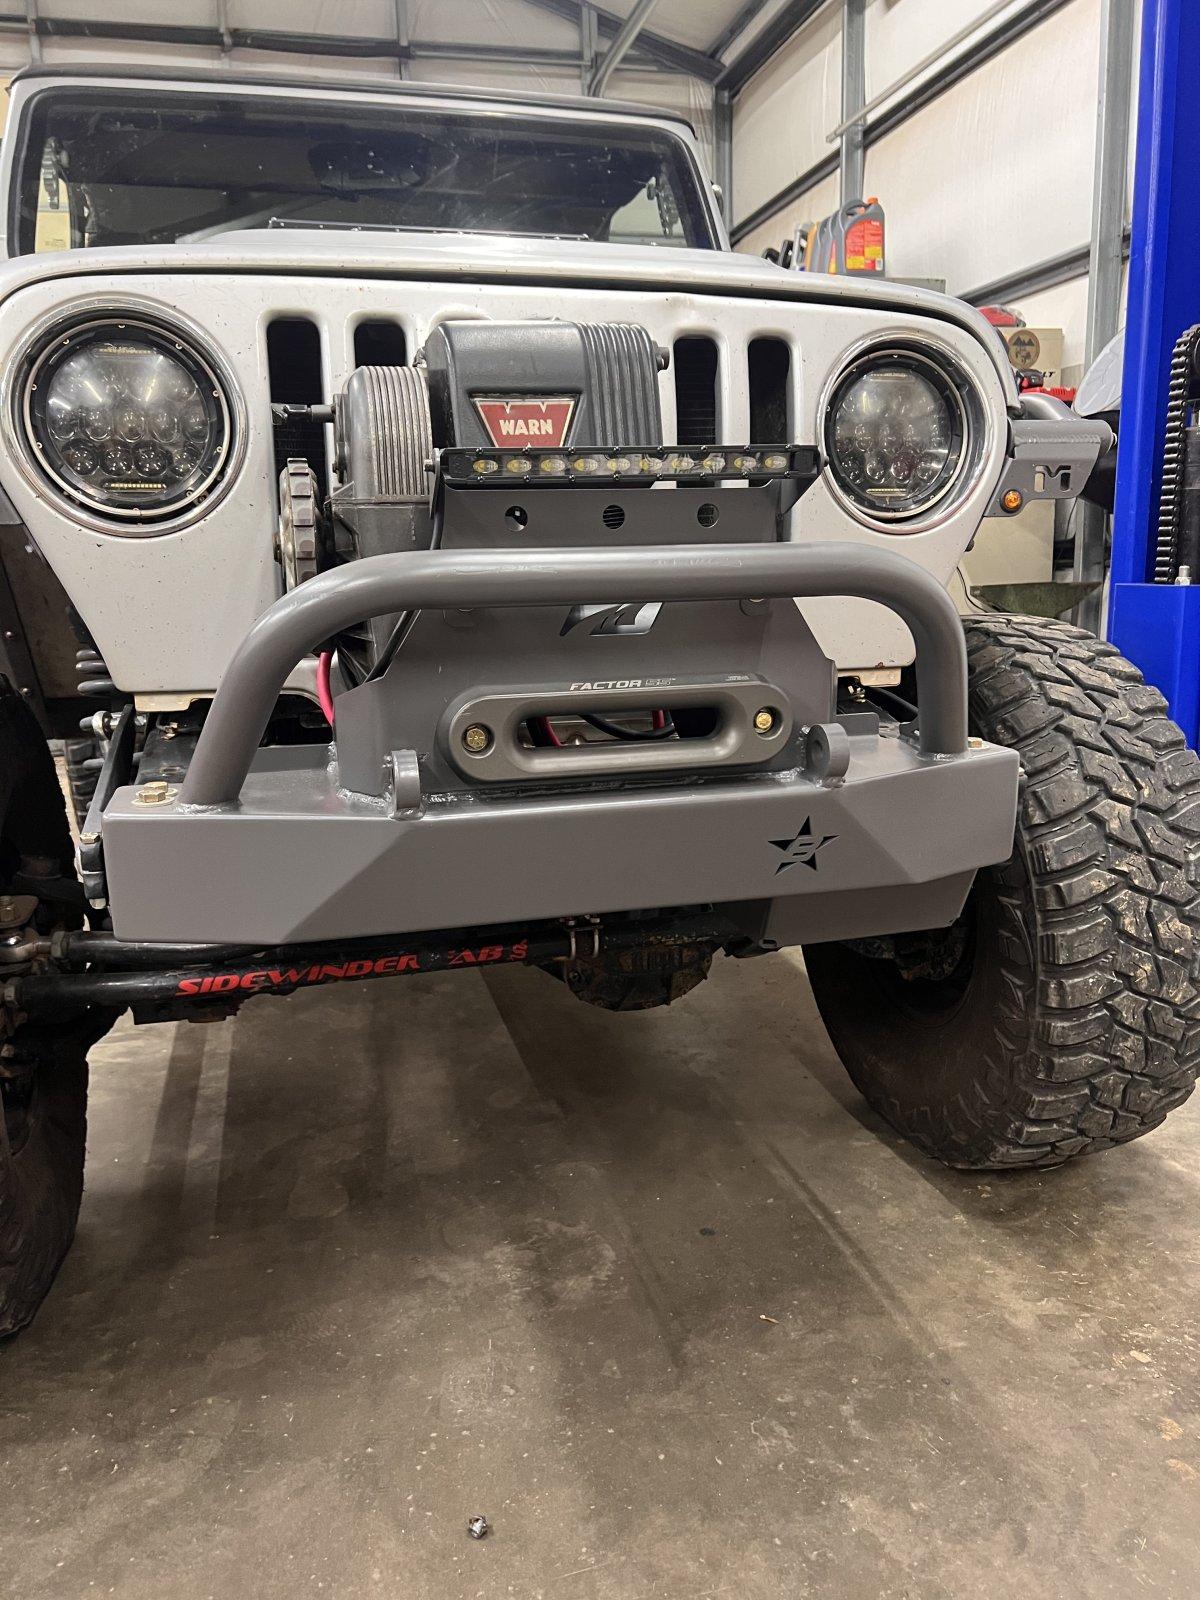
I got the bumper/mount painted and bolted back on the Jeep. I bolted the winch on to check fitment but I pulled it back off and decided to do a cleanup/rebuild on it. I can't get the winch to free spool. You can tell this winch spent some time sitting outside and I believe the brake may be hung up. The drum seal is also leaking slightly so might as well just tear it down to make sure everything is good to go.
IMG_0050.jpeg


IMG_0051.jpeg
 
Finally got to rebuild the winch. Corrosion in the drum/bushing on the idler end was the problem. It's an easy job if you don't forget parts/put parts in backwards making it take twice as long as necessary. lol. I also added the new Warn contactor control box as well. Hopefully can get it back on the Jeep and the new rope on in the next few days.
IMG_0080.jpeg
 
Finally got to rebuild the winch. Corrosion in the drum/bushing on the idler end was the problem. It's an easy job if you don't forget parts/put parts in backwards making it take twice as long as necessary. lol. I also added the new Warn contactor control box as well. Hopefully can get it back on the Jeep and the new rope on in the next few days.

View attachment 216093
Did you learn the highlighted red text the hard way? :rolf:
 
Well, as you might have seen in my other post about replacing an inner C, it’s on there and Caster is within half a tenth of a degree and camber is 3 tenths of a degree different side to side. It’s not welded yet, I’m going to tack it while it’s still on the table then hang it from my lift to get it in a good position to weld.

It started as a .015” interference fit between to C and tube, and I knew that was going to be way too much. I was going to take the C to a buddy to try to open it up on his lathe, but I came home from work the morning of the 4th and went at it with a cylinder hone and some low grit sanding screen, and then hit the tube with a flap wheel and the sanding screen. I got it down to roughly .005” and decided to try it. I didn’t even heat it, I just got it started on the tube with a few taps from a 4lb. hammer and it moved pretty easy so I drove it home. All in all it took less than an hour to open it up and get it on where it needed to go. Hopefully I can get it welded up this week then it will be on to fitting up the truss.

IMG_0104.jpeg

IMG_0105.jpeg

IMG_0109.jpeg

IMG_0111.jpeg

IMG_0112.jpeg

IMG_0113.jpeg

IMG_0114.jpeg

IMG_0115.jpeg
 
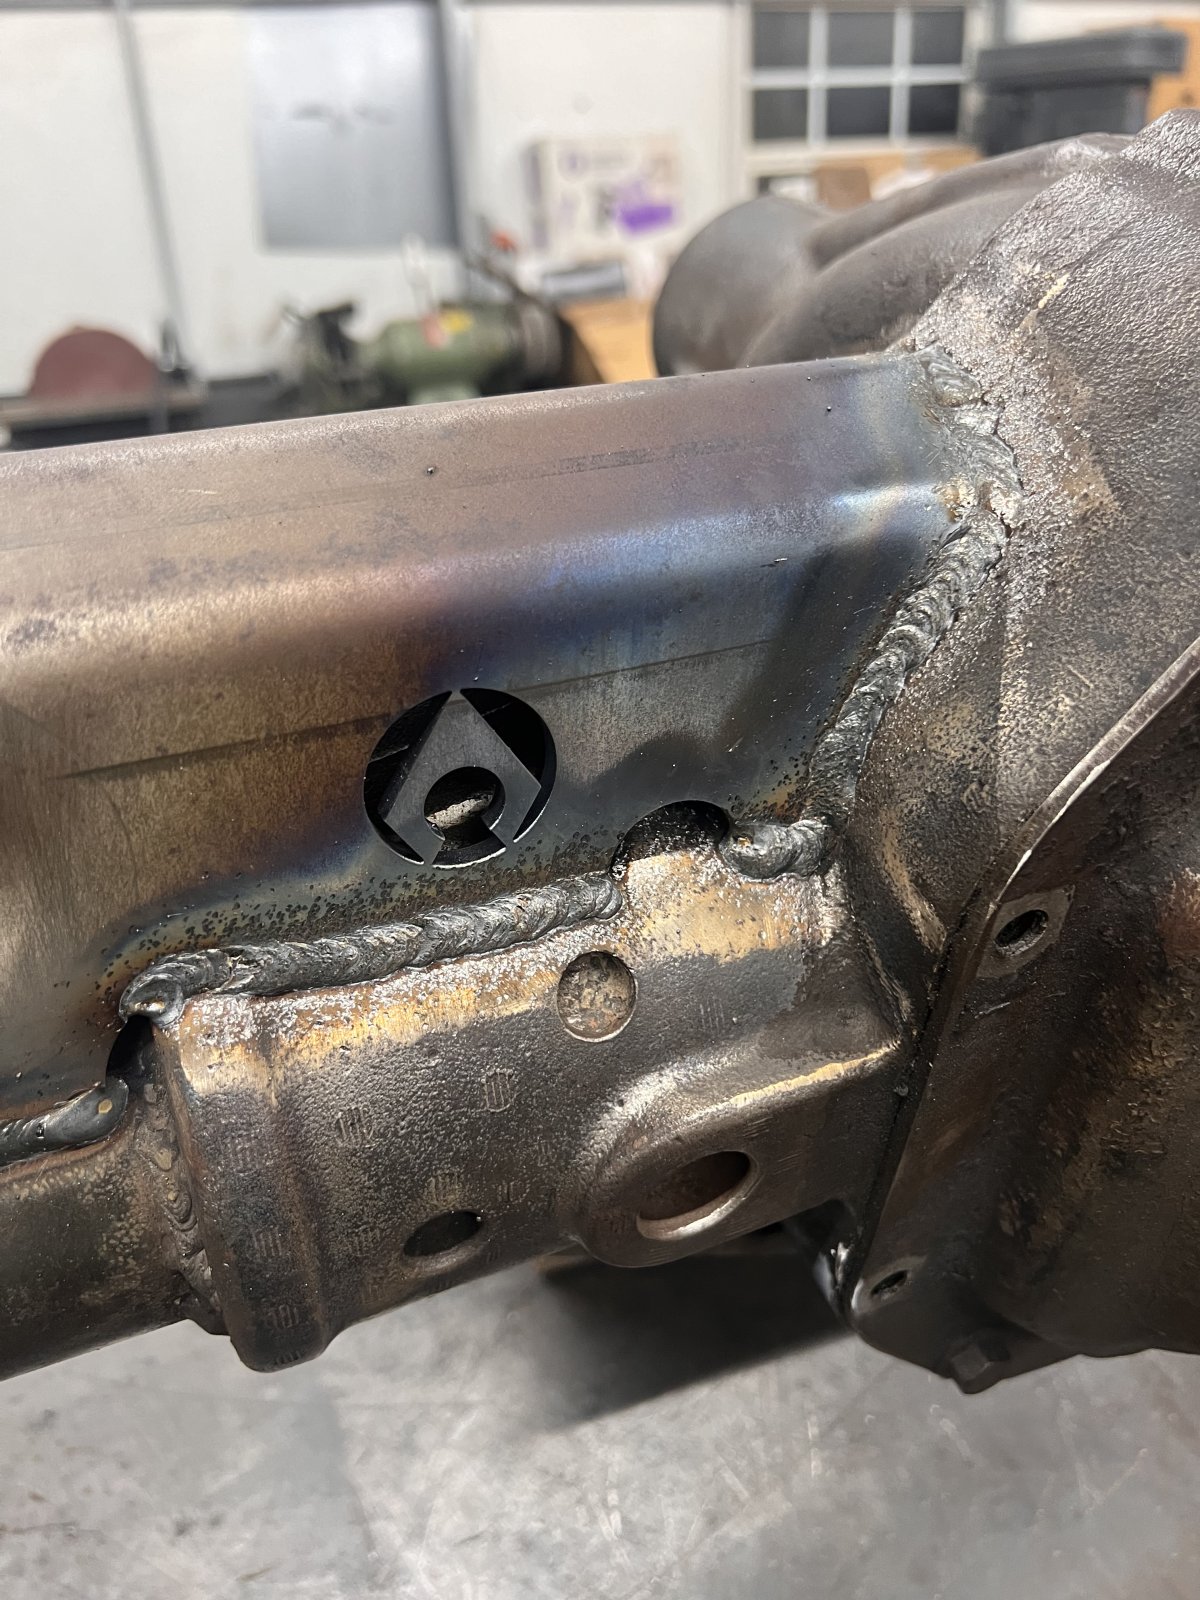
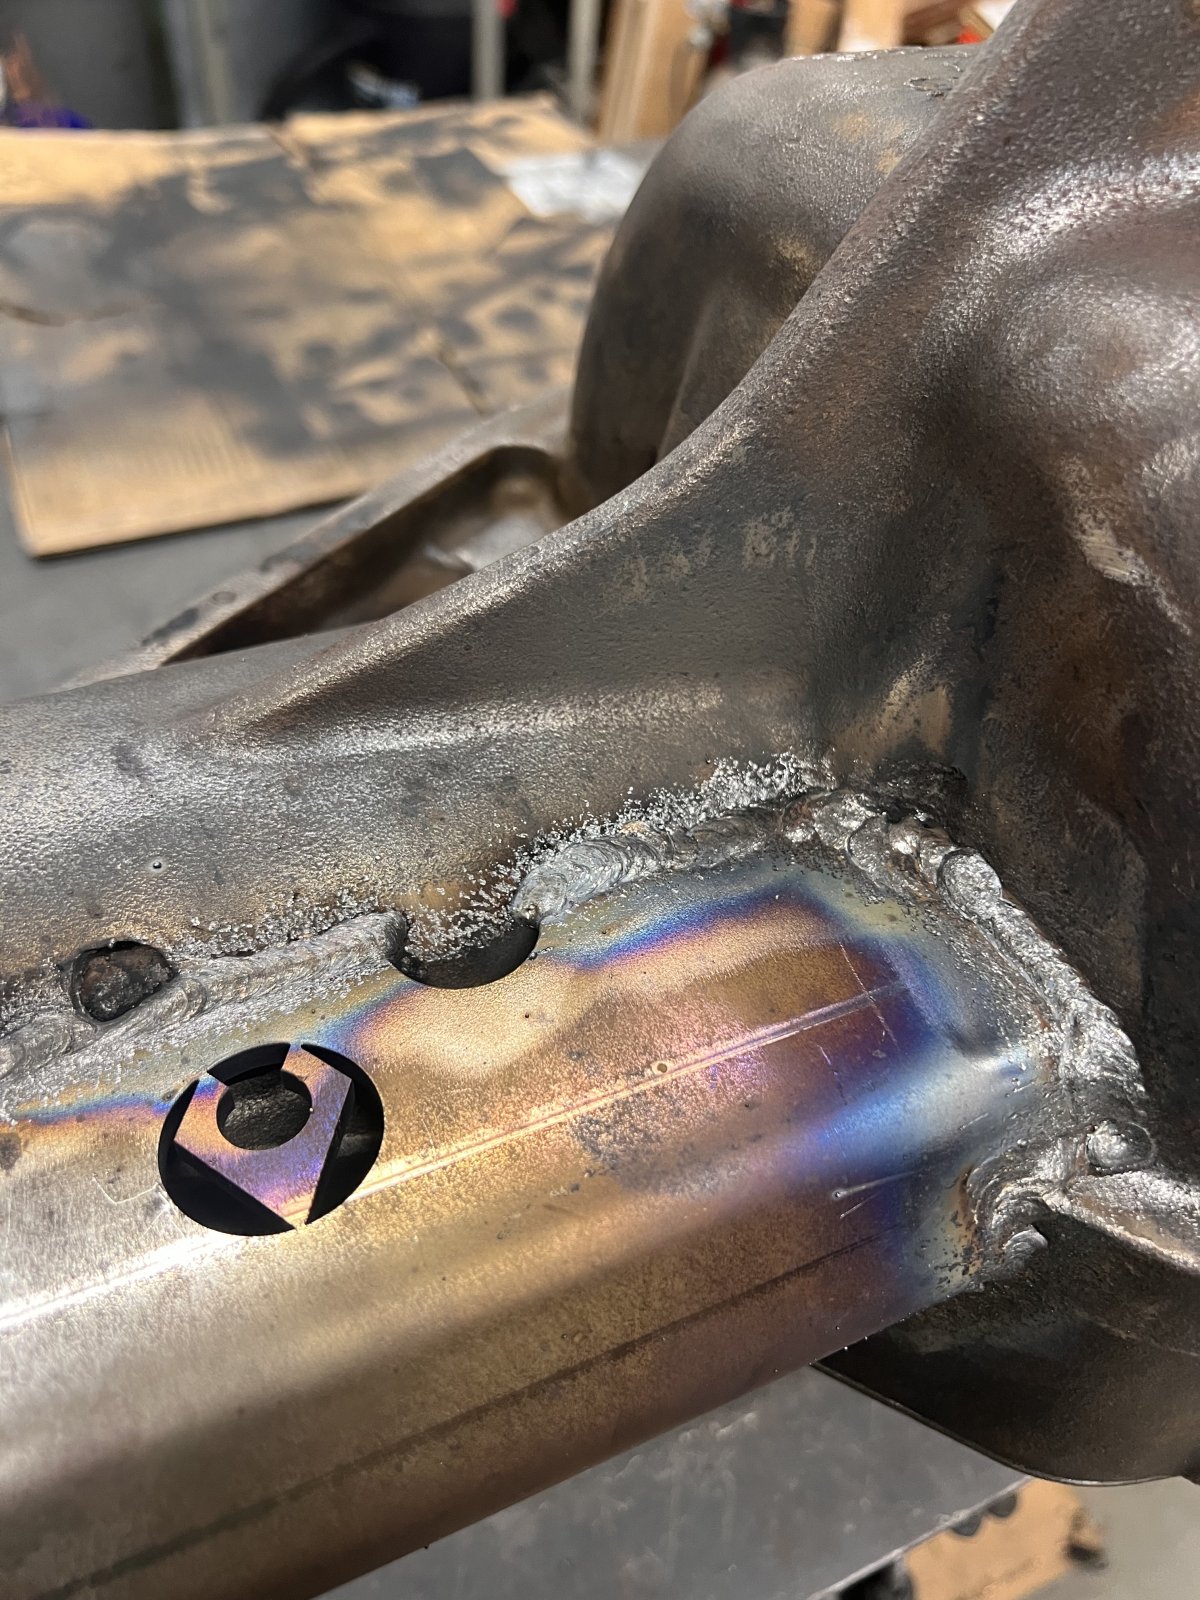
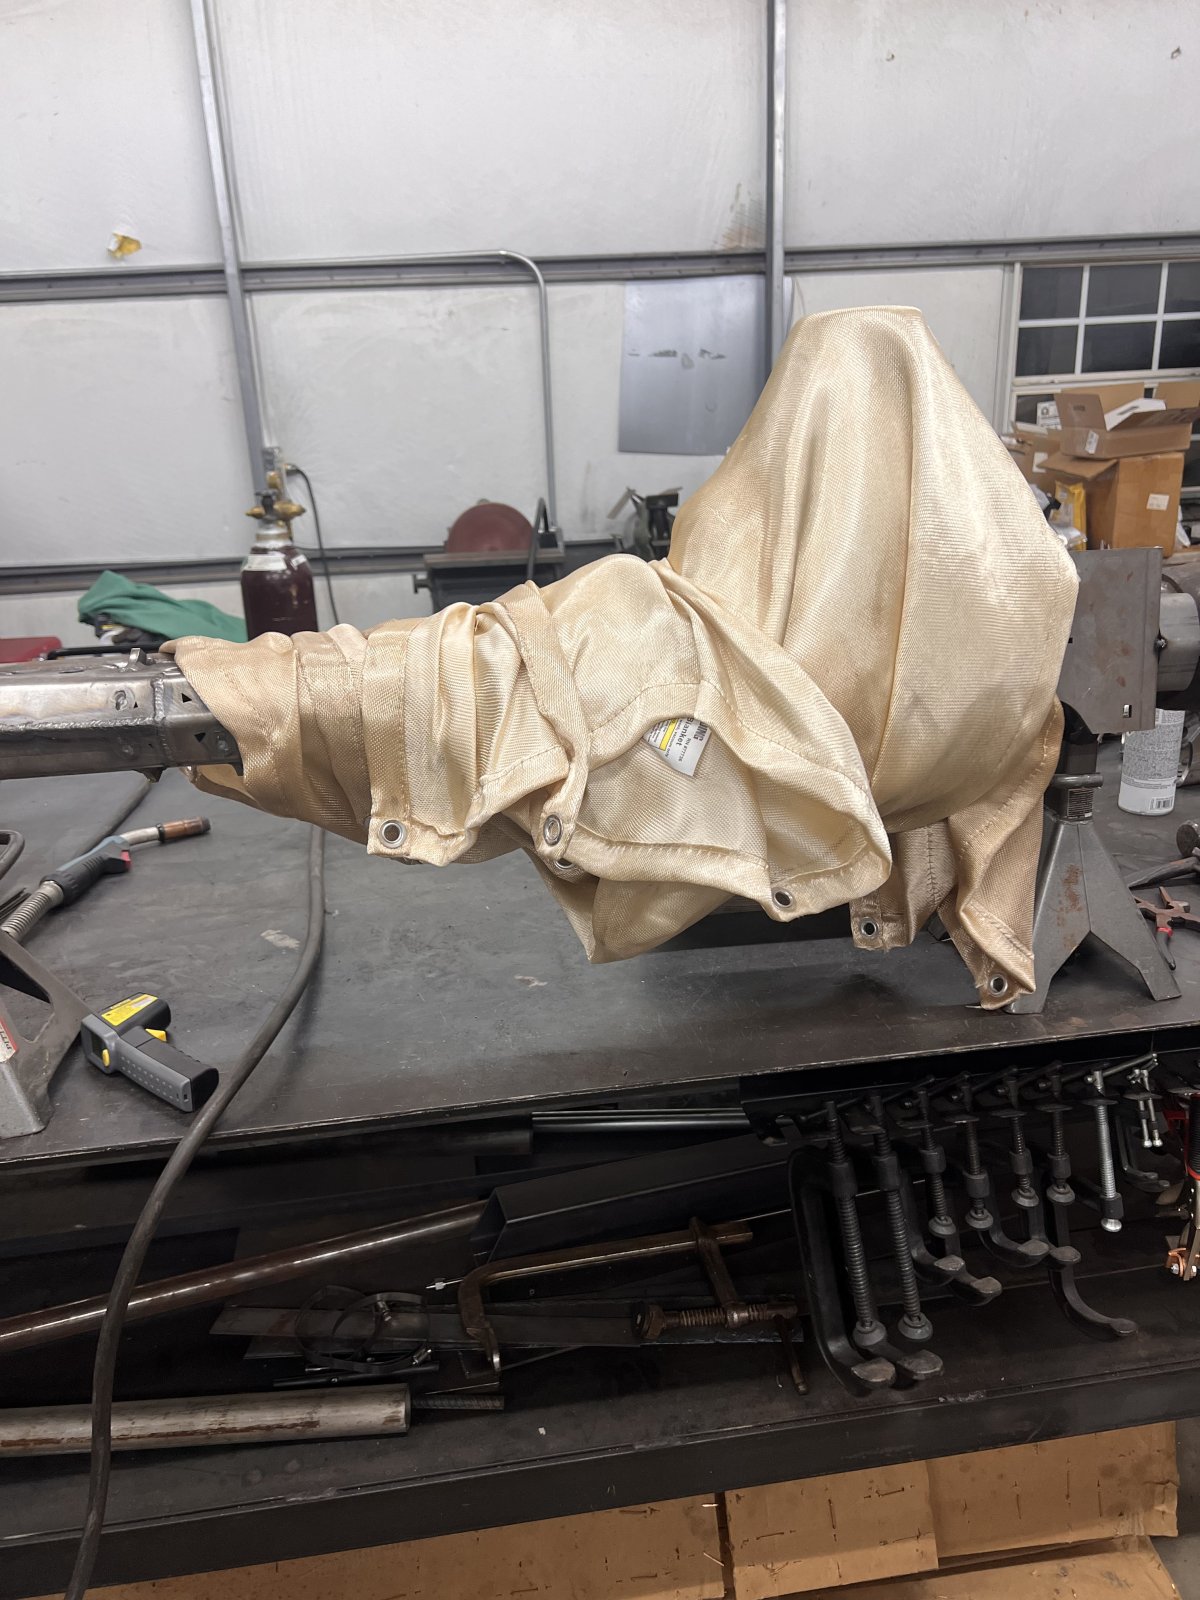
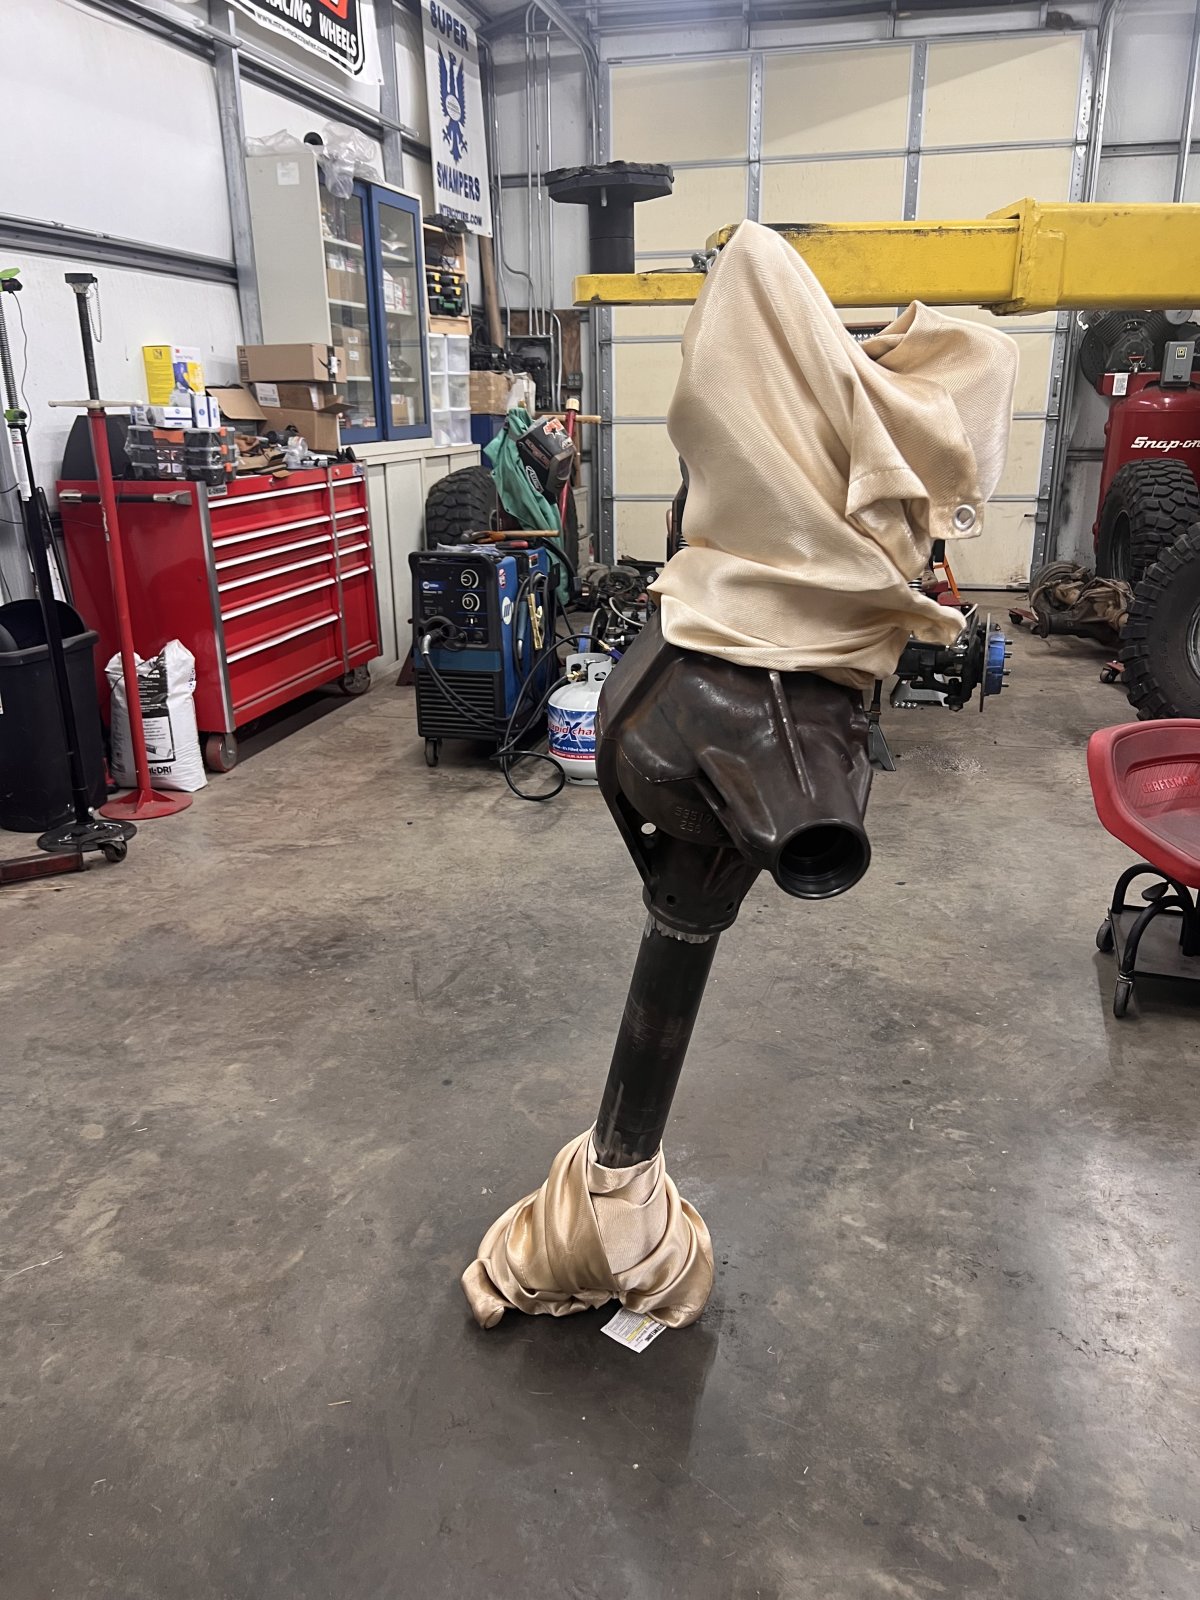
I welded the c on this morning before work. I heated it to 350* or so with the weed burner, welded it, then hit it with the heat again the wrapped it in welding blankets and left it to cool. No pictures, because I was less than thrilled with how the weld looked and it's still wrapped up in the blankets. :LOL: I hung it up from my lift trying to get it in a better position to weld, but I should have lowered that end down on a jackstand or something to keep it from moving. It kept trying to swing away from me as I welded it. :rolleyes:
 
I welded the c on this morning before work. I heated it to 350* or so with the weed burner, welded it, then hit it with the heat again the wrapped it in welding blankets and left it to cool. No pictures, because I was less than thrilled with how the weld looked and it's still wrapped up in the blankets. :LOL: I hung it up from my lift trying to get it in a better position to weld, but I should have lowered that end down on a jackstand or something to keep it from moving. It kept trying to swing away from me as I welded it. :rolleyes:
Welding wise, the harshest critic will always be you, but nothing like something fighting you when trying to do things as quickly as possible.
 
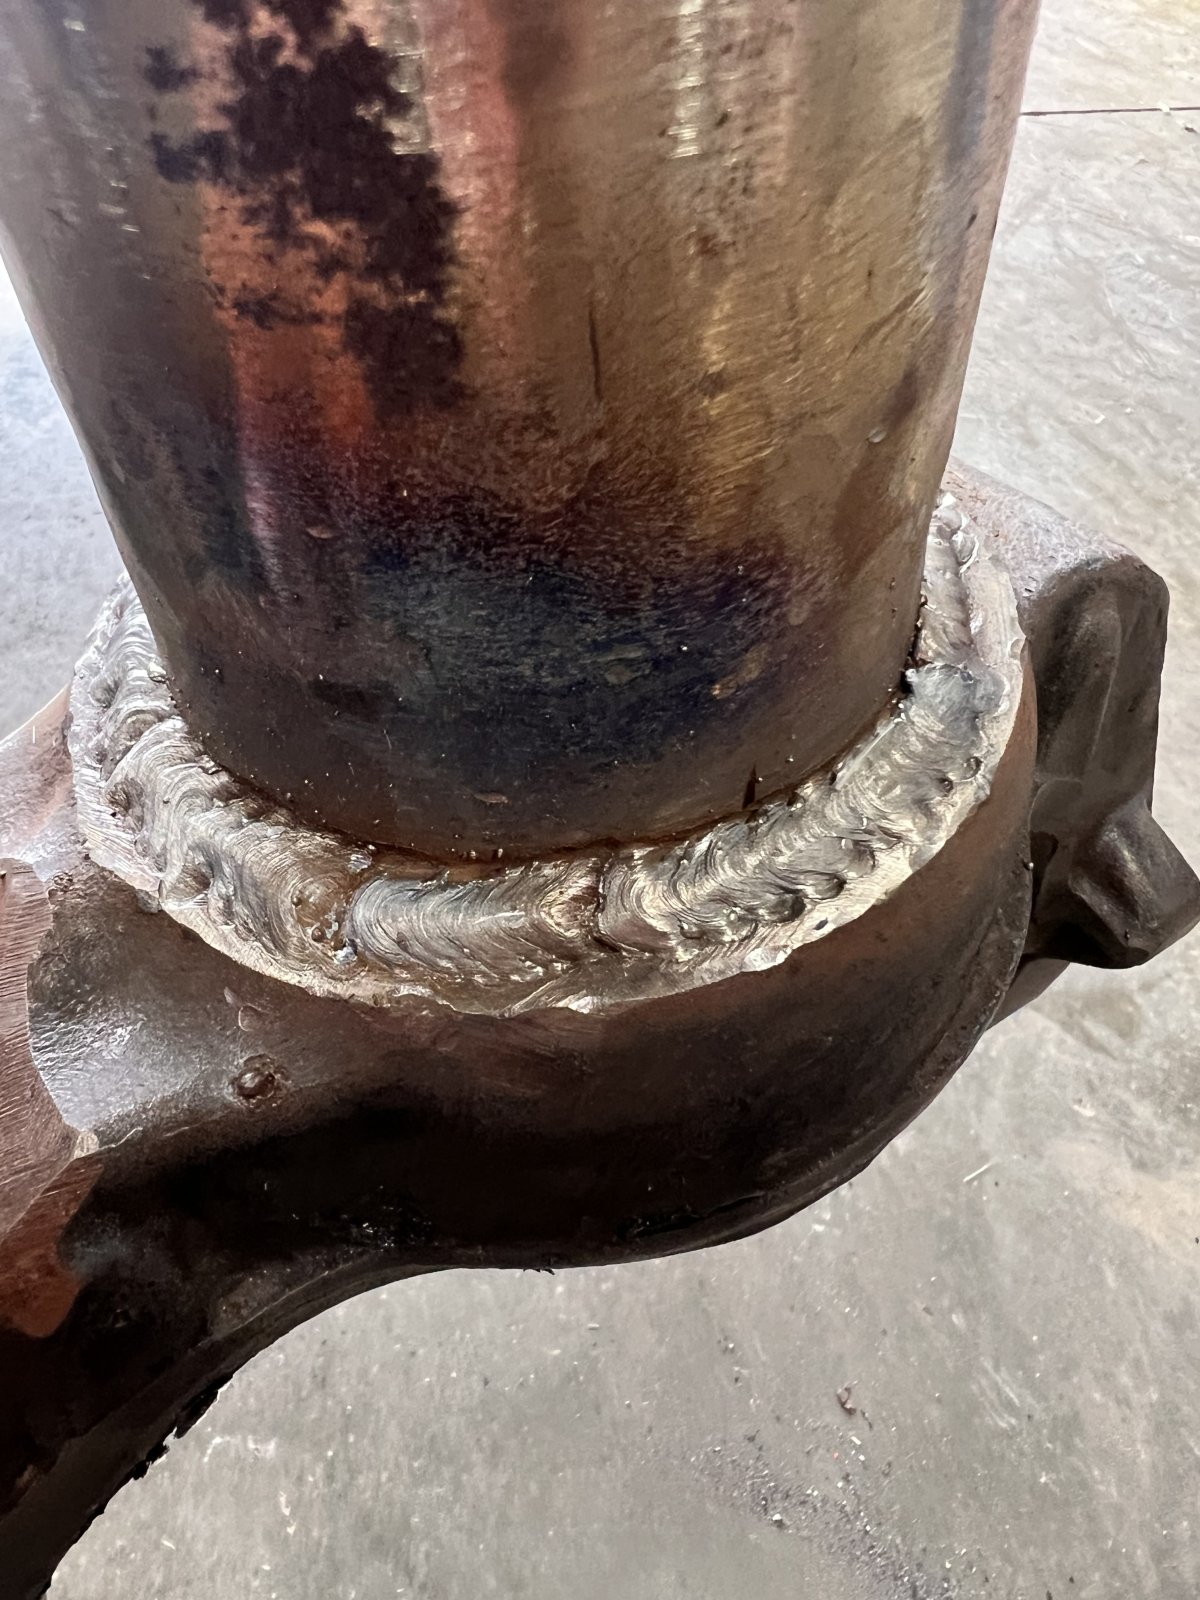
Here’s the original weld on the C. Definitely not my best work. Not that any of it is very good. :ROFLMAO:

IMG_0123.jpeg

IMG_0124.jpeg


I couldn’t take leaving it like that so before work this morning I ground it out and re-heated it and welded it again. It turned out better, but still definitely not my best work. :rolleyes: I’m leaving It alone though. I had turned my welder up a little bit for this job and didn’t test it out before I started. I think that was my biggest problem. I know it’s not the correct way to do it, but I generally leave my welder on the same settings for about everything with some exceptions. It’s just what works best for me and gives the best results. I’m most definitely not a professional welder, or a good one even. A hack at best. The only welding I’ve ever done in a professional setting is 480v to ground. :ROFLMAO:

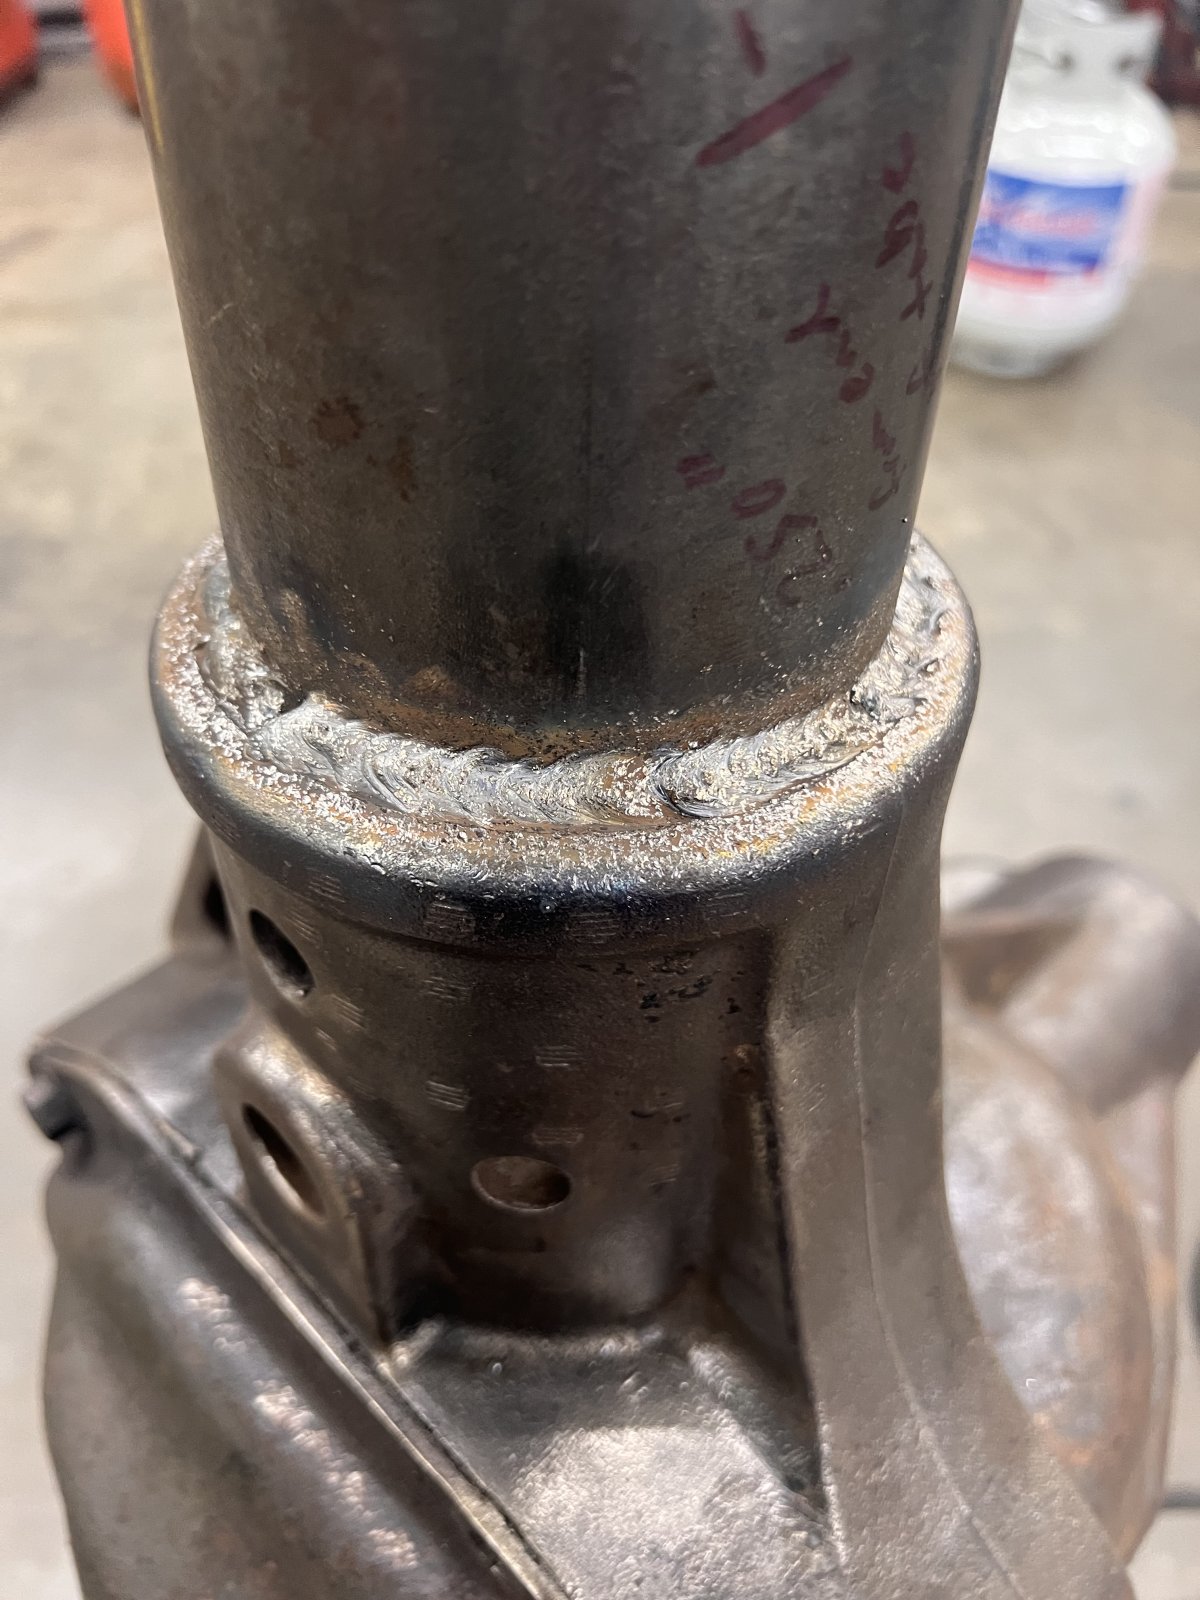
So anyway after I finished the C I heated and welded one side of the tube to the center section. Before I did I set my machine back to my normal settings and it went much better. I did a little post heat, hit it a bit with a needle scaler, then wrapped it in a welding blanket to cool. I forgot to get pictures before I wrapped it up so I’ll get some later. I still need to weld the other side of the center section, and also the truss will have some welding to the center section as well.

IMG_0125.jpeg
 
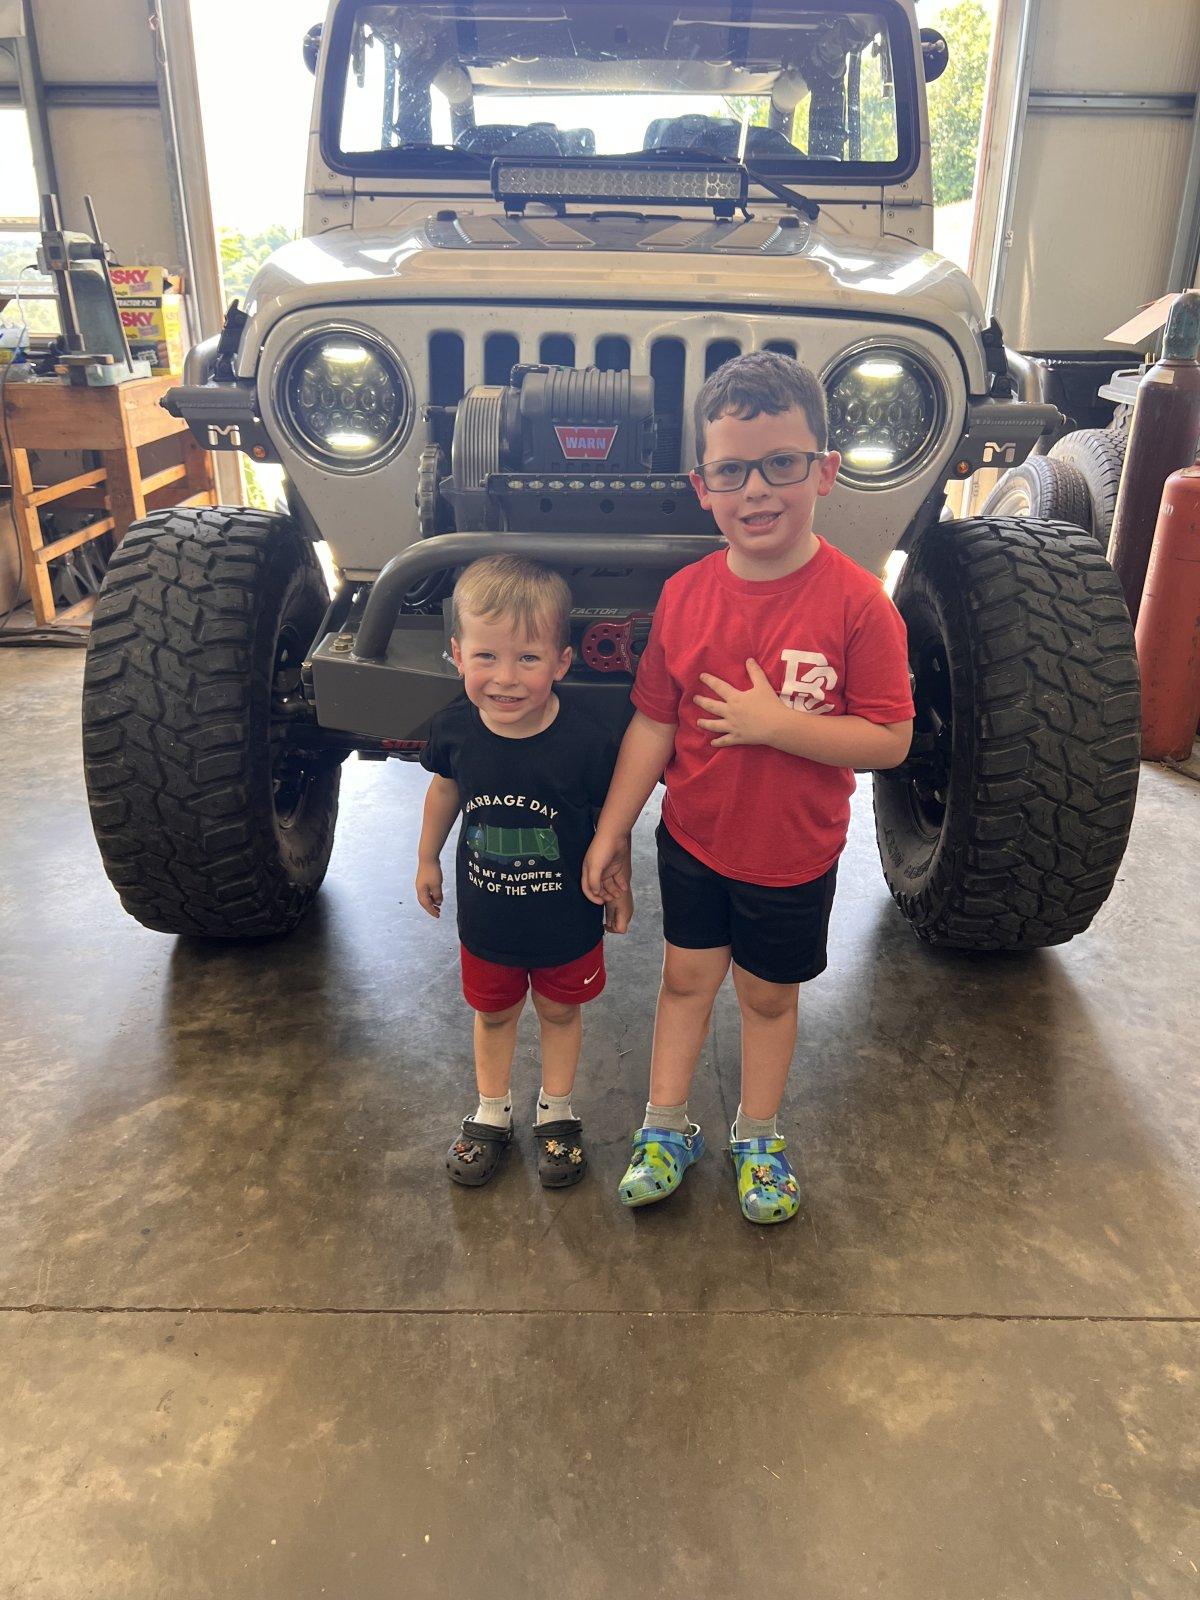
@ridered3 It's about the only time I can get stuff like this done. lol. I work a 12 hr. shift schedule rotating between days and nights. I'm only scheduled to work 14 out of every 28 days (7 day shifts and 7 night shifts), but the majority of my off days I have the boys (5 and 2.5) by myself while my wife works. I want to get them involved and interested in the shop, and I've been taking them down there with me more lately. But doing stuff like this is not the best time to have little curious hands around. :LOL:

My day shifts start at 5:48am, I don't always make it out of bed but I usually set an alarm for 3am. If I can get up I can usually be in the shop by 3:30 and work on something until 5:00 or a little after before I have to leave for work.
 
@ridered3 It's about the only time I can get stuff like this done. lol. I work a 12 hr. shift schedule rotating between days and nights. I'm only scheduled to work 14 out of every 28 days (7 day shifts and 7 night shifts), but the majority of my off days I have the boys (5 and 2.5) by myself while my wife works. I want to get them involved and interested in the shop, and I've been taking them down there with me more lately. But doing stuff like this is not the best time to have little curious hands around. :LOL:

My day shifts start at 5:48am, I don't always make it out of bed but I usually set an alarm for 3am. If I can get up I can usually be in the shop by 3:30 and work on something until 5:00 or a little after before I have to leave for work.
That is some mighty good use of the time available for sure!
 
I got to the shop this morning and got the other side of the center section welded. Like I said, I don’t think anybody will be mistaking me for a professional welder any time soon. :ROFLMAO:

IMG_0130.jpeg

IMG_0127.jpeg

IMG_0131.jpeg


Just for the heck of it here’s the re-weld of the C. Lots of undercut as you can see, definitely needed more wire speed.

IMG_0128.jpeg


Hopefully I can start getting the truss on it soon. I’ll be using the Artec Apex swap kit that’s meant for a JK/JL, but Artec confirmed it would work fine, and I have seen others use it on the TJ/LJ.
 
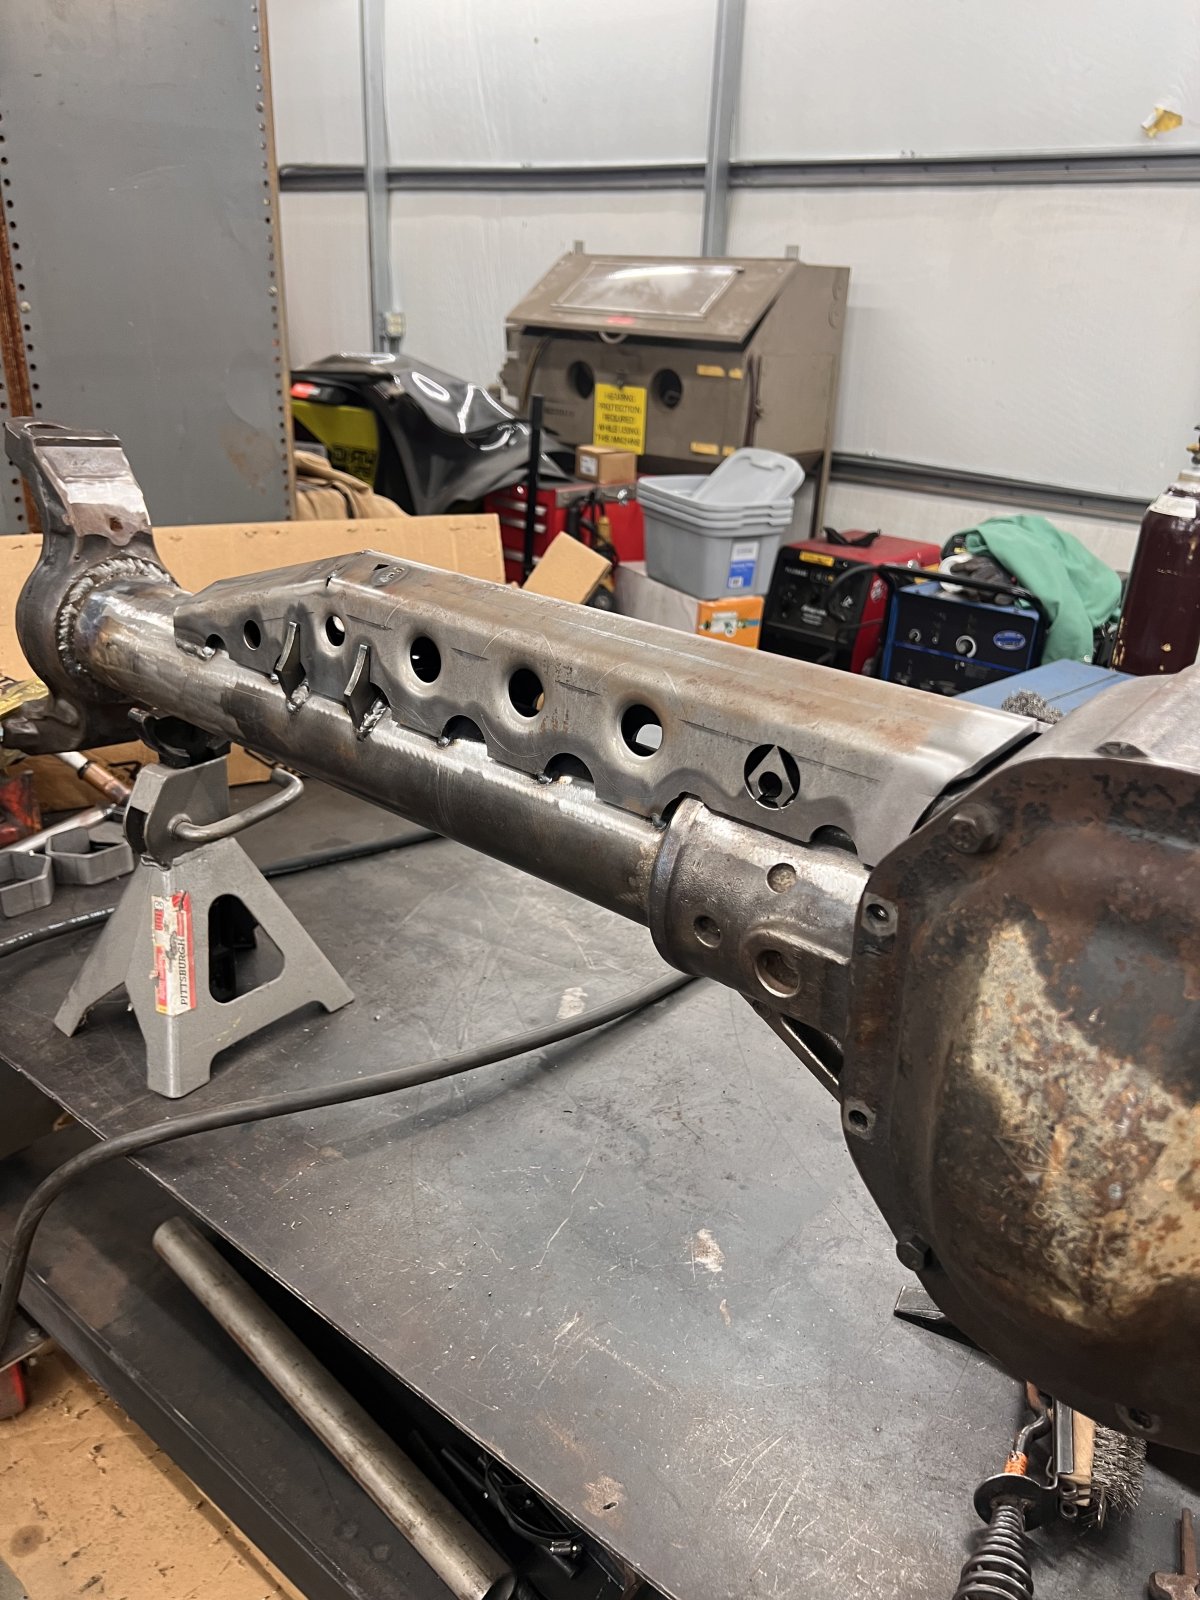
Made it to the shop for a while this morning before work. Got the main part of the truss welded to the tube, still need to weld to the center section. Also got the spring pads tacked in place. Pinion angle is set at 5*, with 5* caster. The knuckles will be getting the American Iron balljoint deletes with 3* bushings to get the caster to 8*.

IMG_0146.jpeg

IMG_0147.jpeg

IMG_0149.jpeg
 
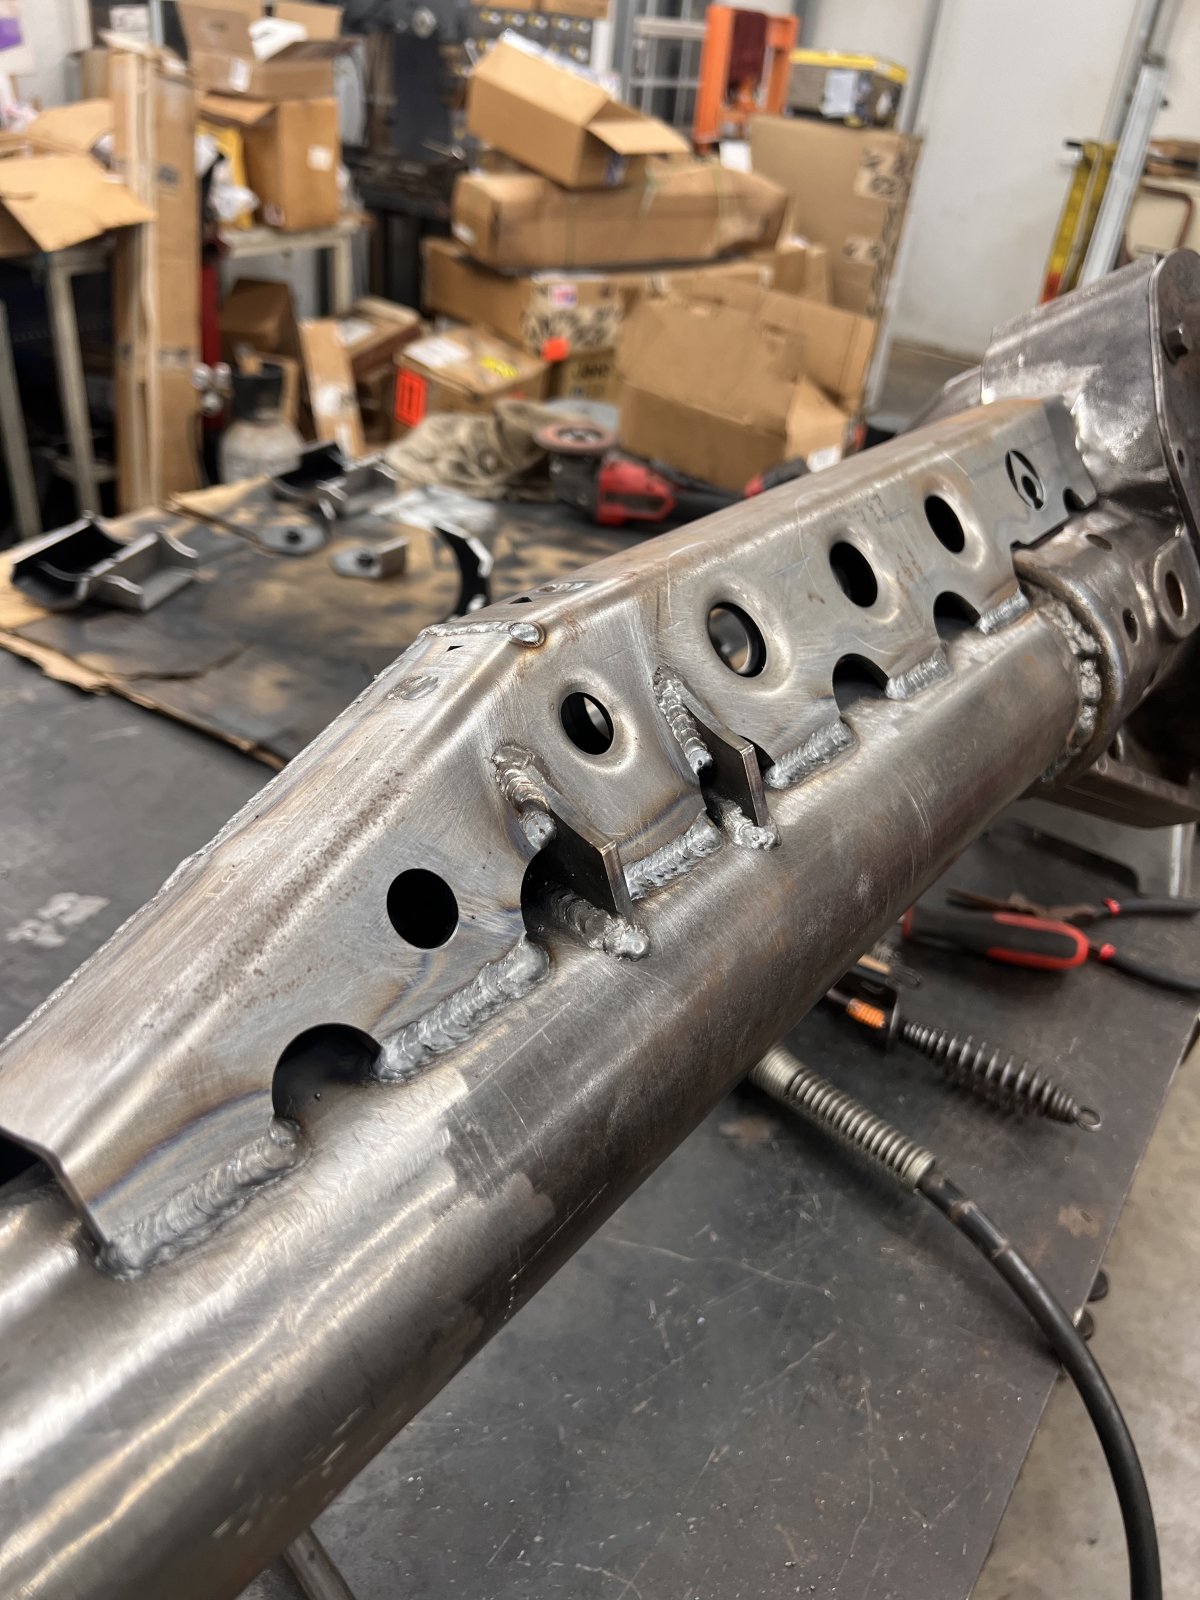
I didn’t get up in time to make it to the shop yesterday morning, but I did today. I got the main section of the truss welded to the cast. As well as some welding on the spring pads. I used the same process on the center section as I did for the C. Pre-heat, peen with needle scaler, post heat, wrap to cool slowly. It turned out decent enough for who it’s for. :ROFLMAO:

IMG_0158.jpeg

IMG_0159.jpeg

IMG_0160.jpeg


There’s still a good bit more to be welded to the center section, there’s a top plate that spans the whole thing and the driver’s side spring pad also welds partially to it as well.

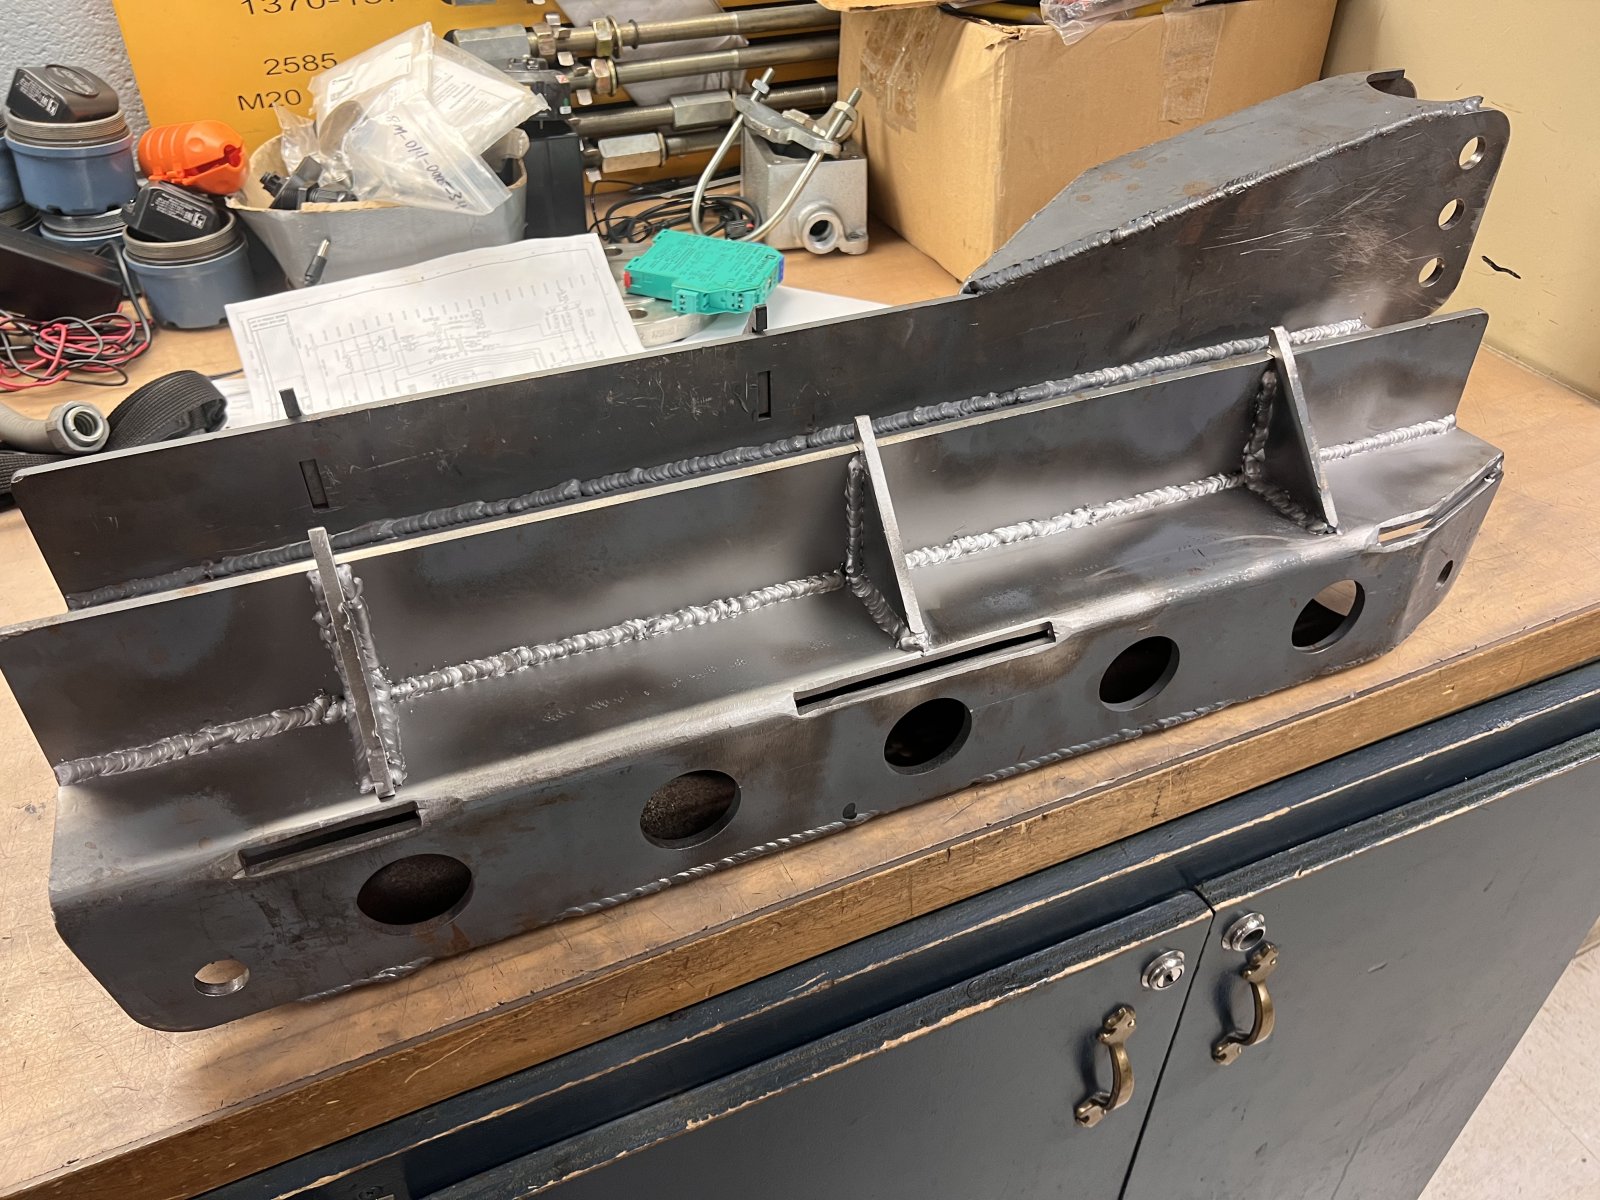
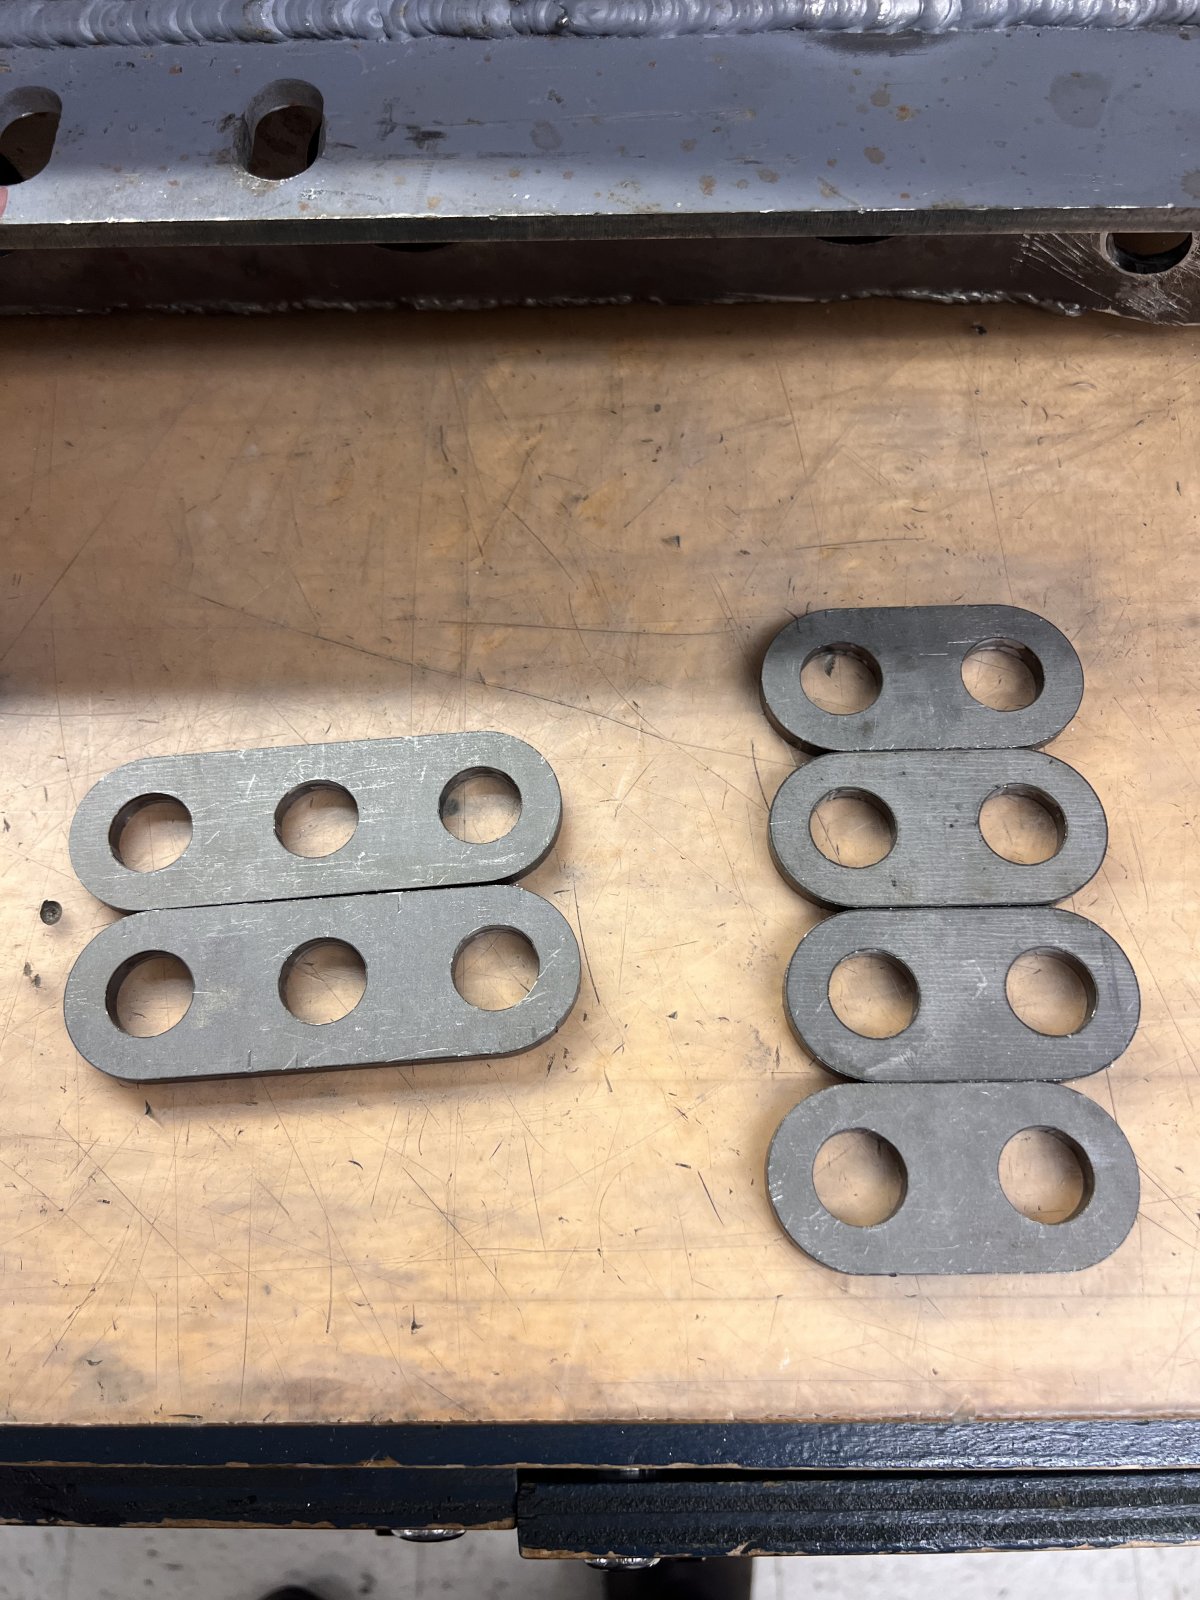
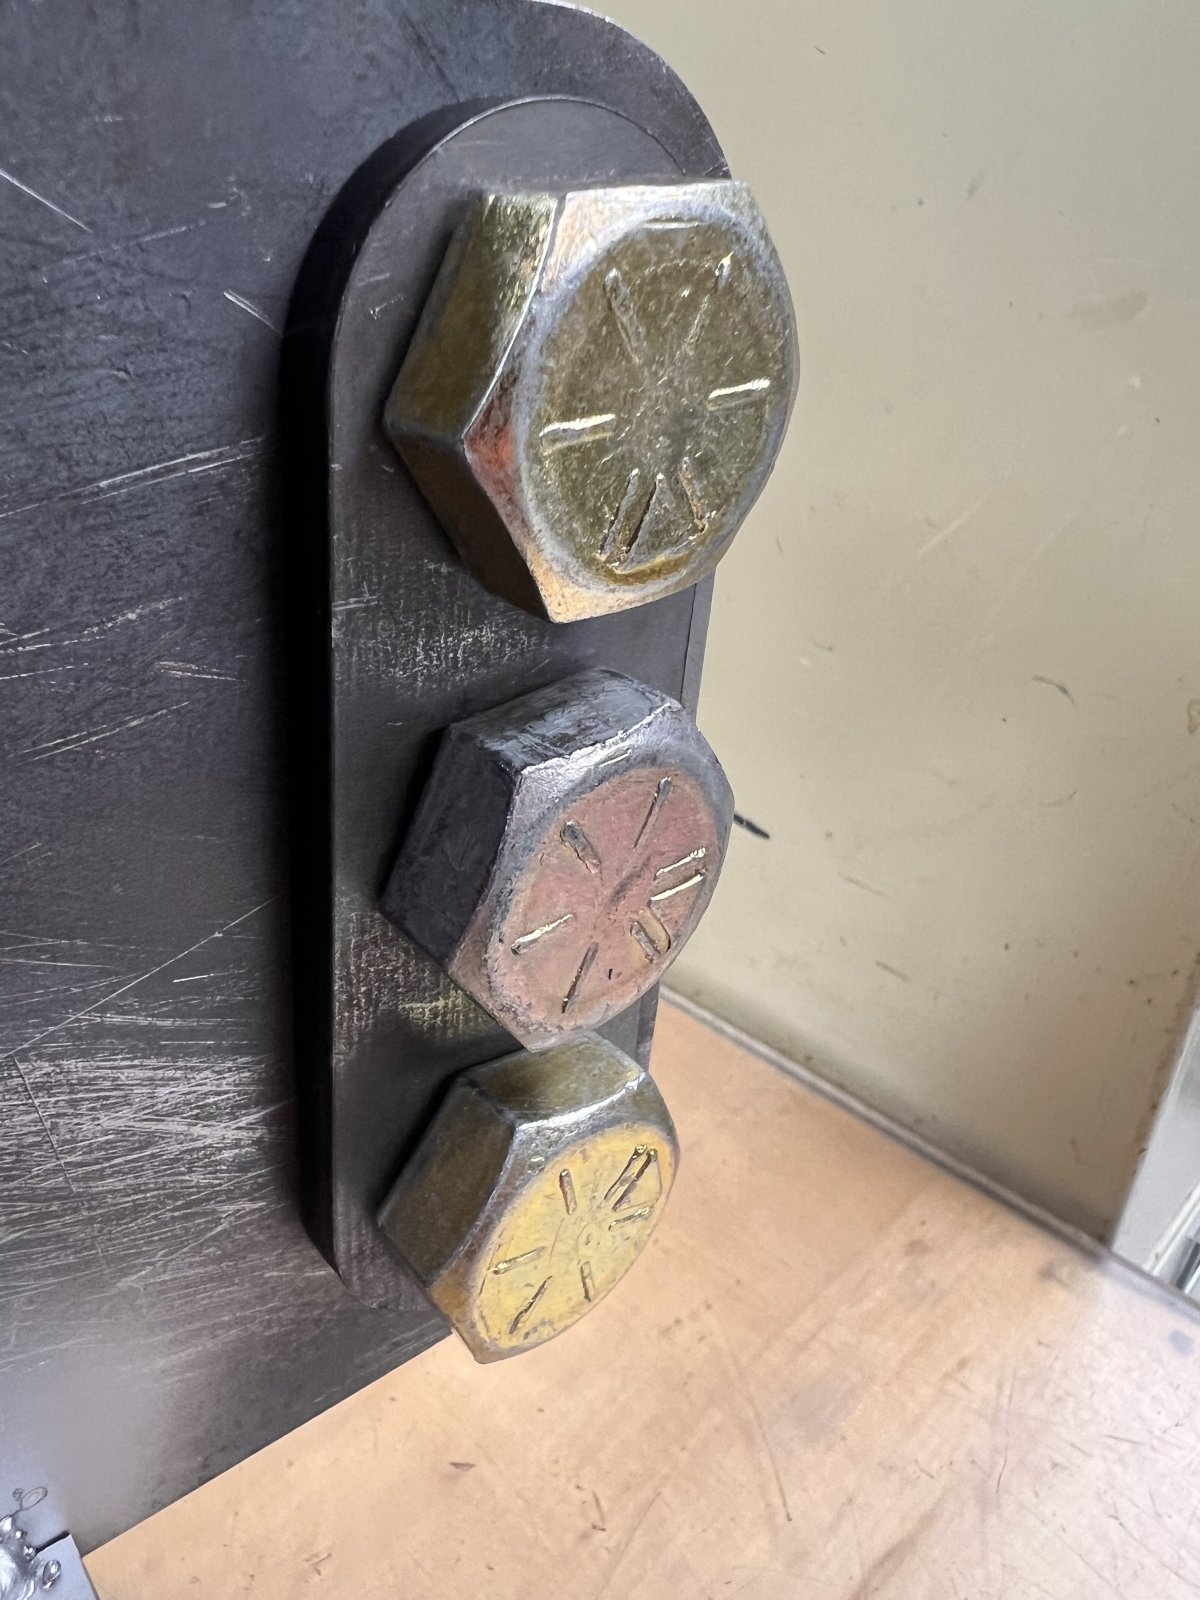
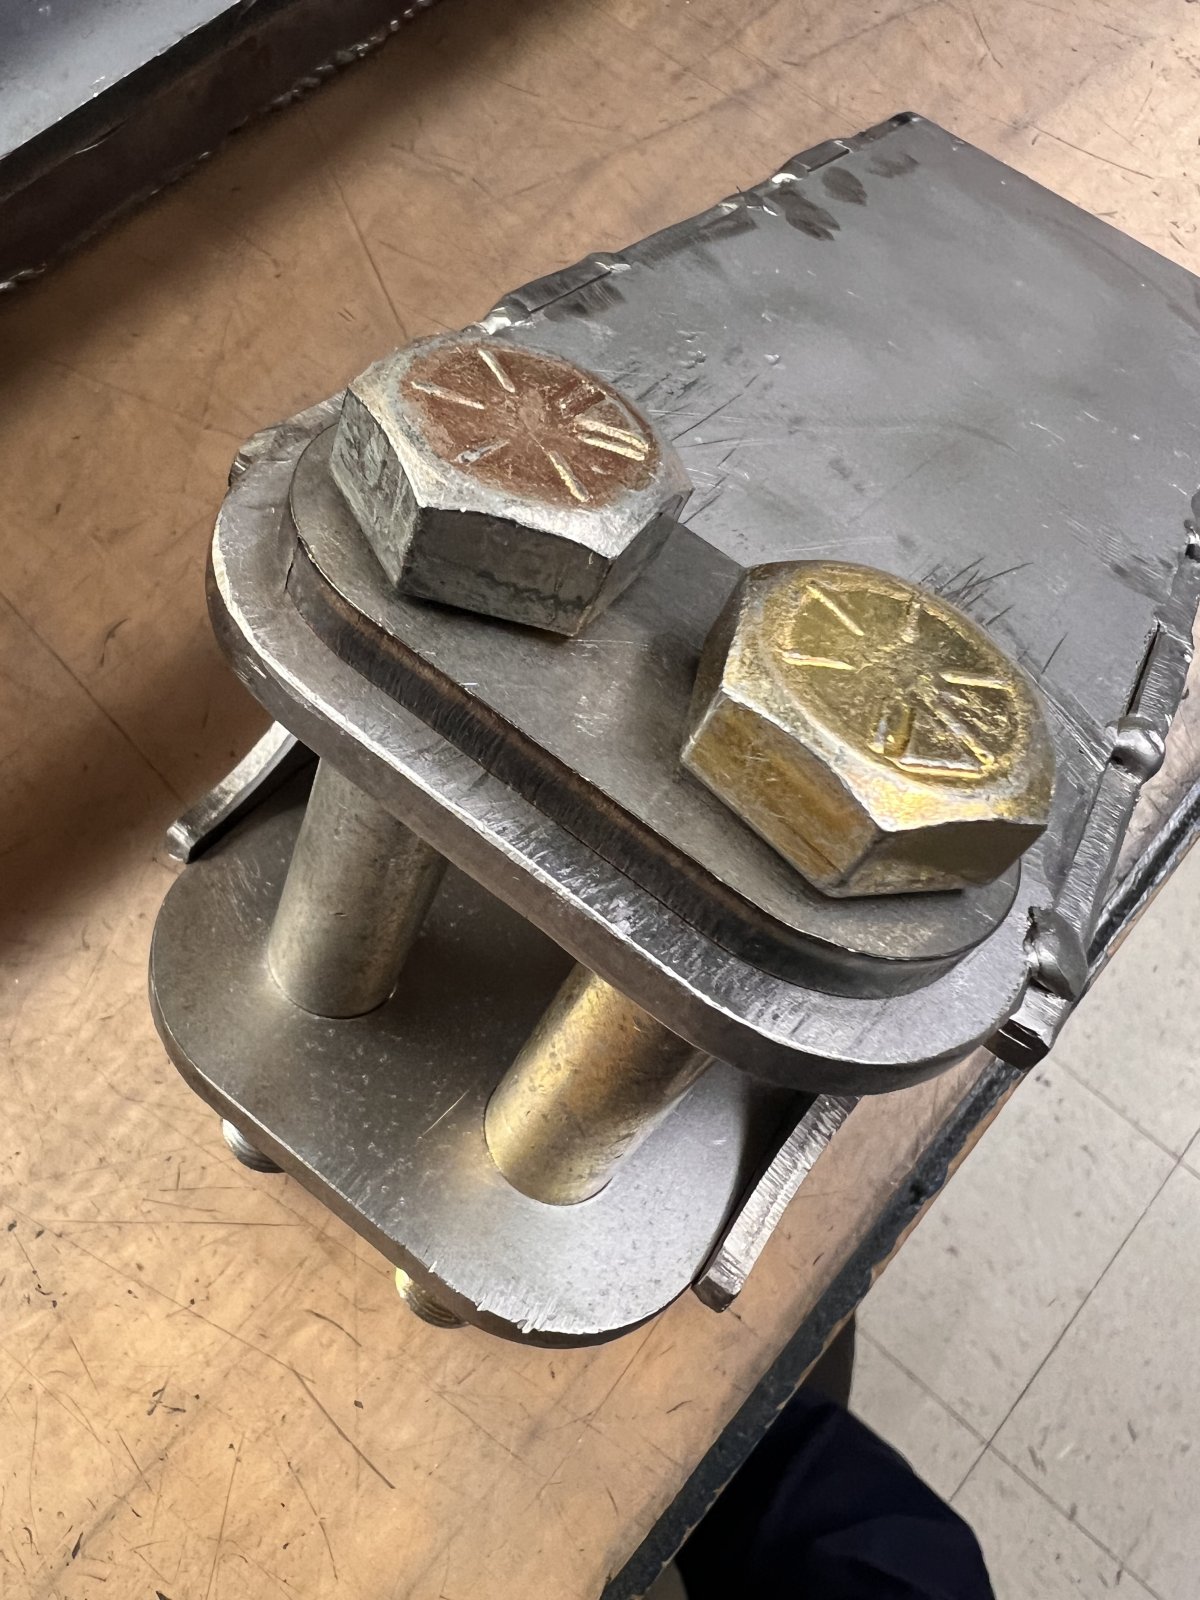
In my spare time at work I’ve been drilling all my link mounts for 3/4” hardware and adding weld washers to them as well. Today I brought in the 4-link subframe pieces to get them drilled out and add the weld washers to them. For the adjustable upper mounts I used Sendcutsend.com and had these pieces made for weld washers/hole reinforcement.

IMG_0164.jpeg

IMG_0161.jpeg

IMG_0162.jpeg

IMG_0163.jpeg


Ignore the welds on the subframe brackets, they were not welded by me, and 90% of them will be ground out and re-done.
 
Last edited:
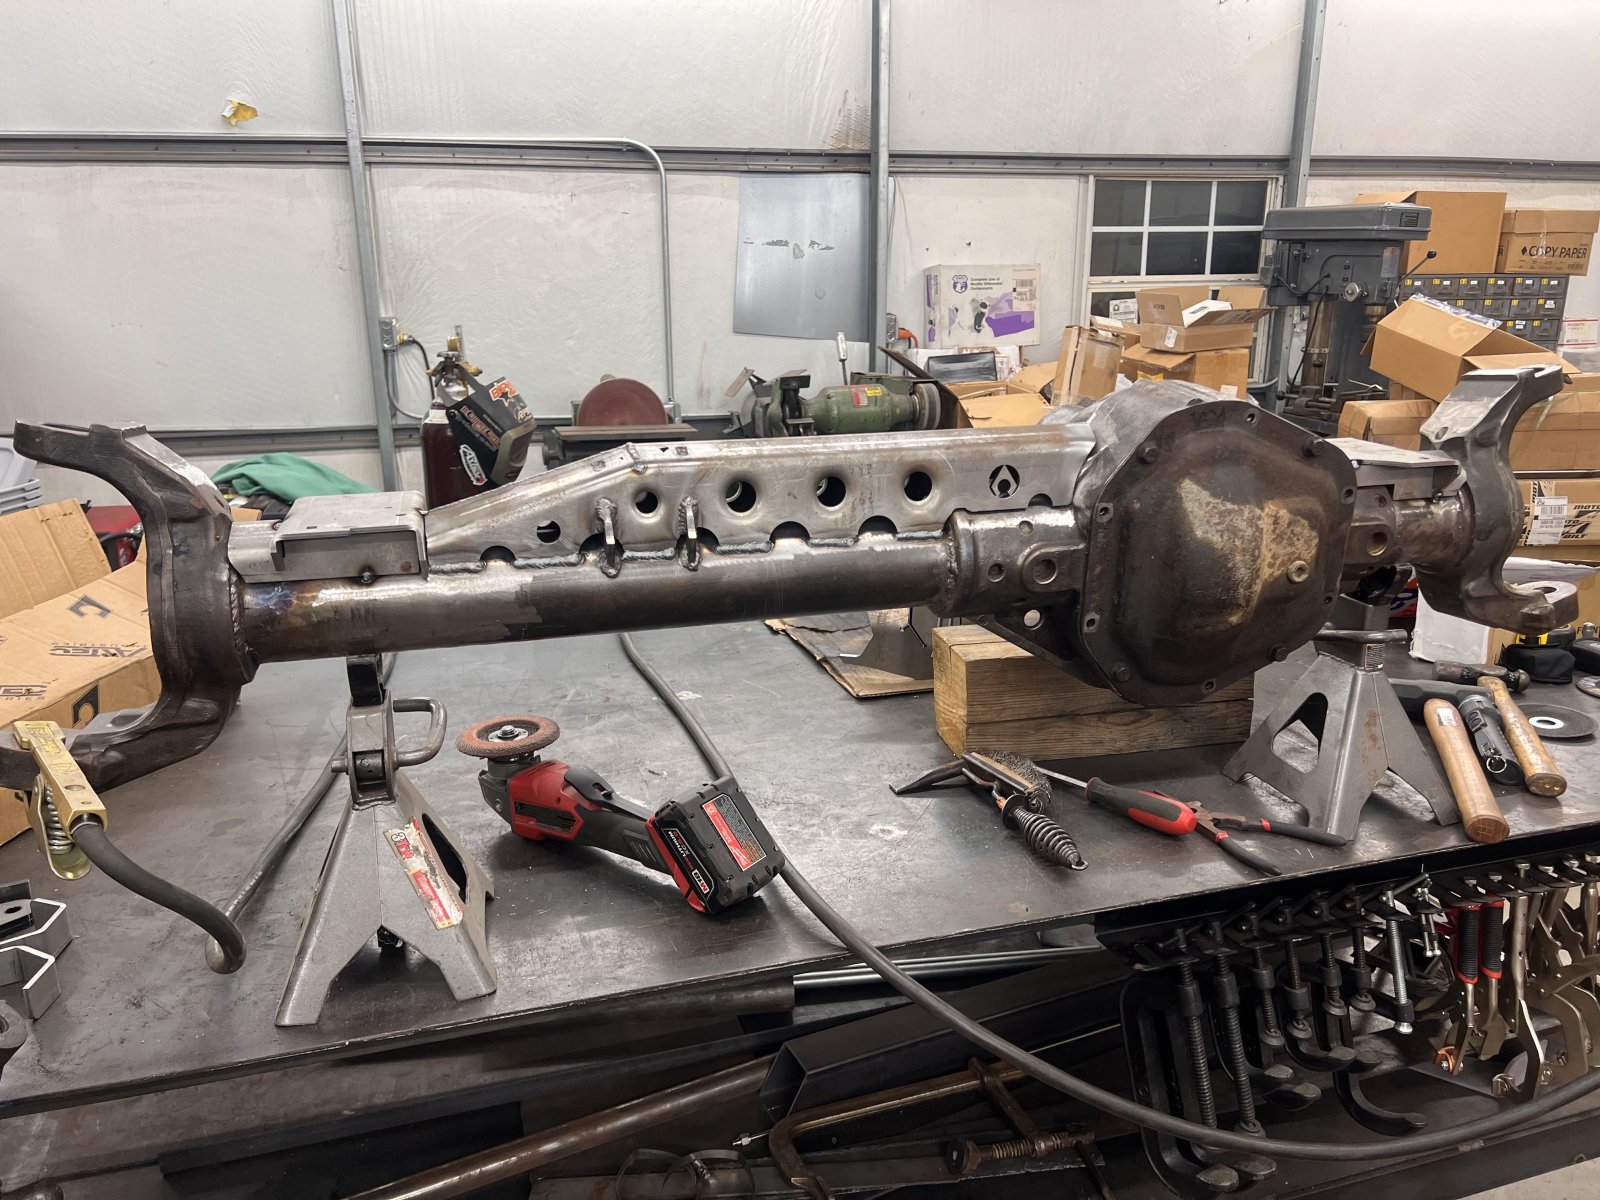
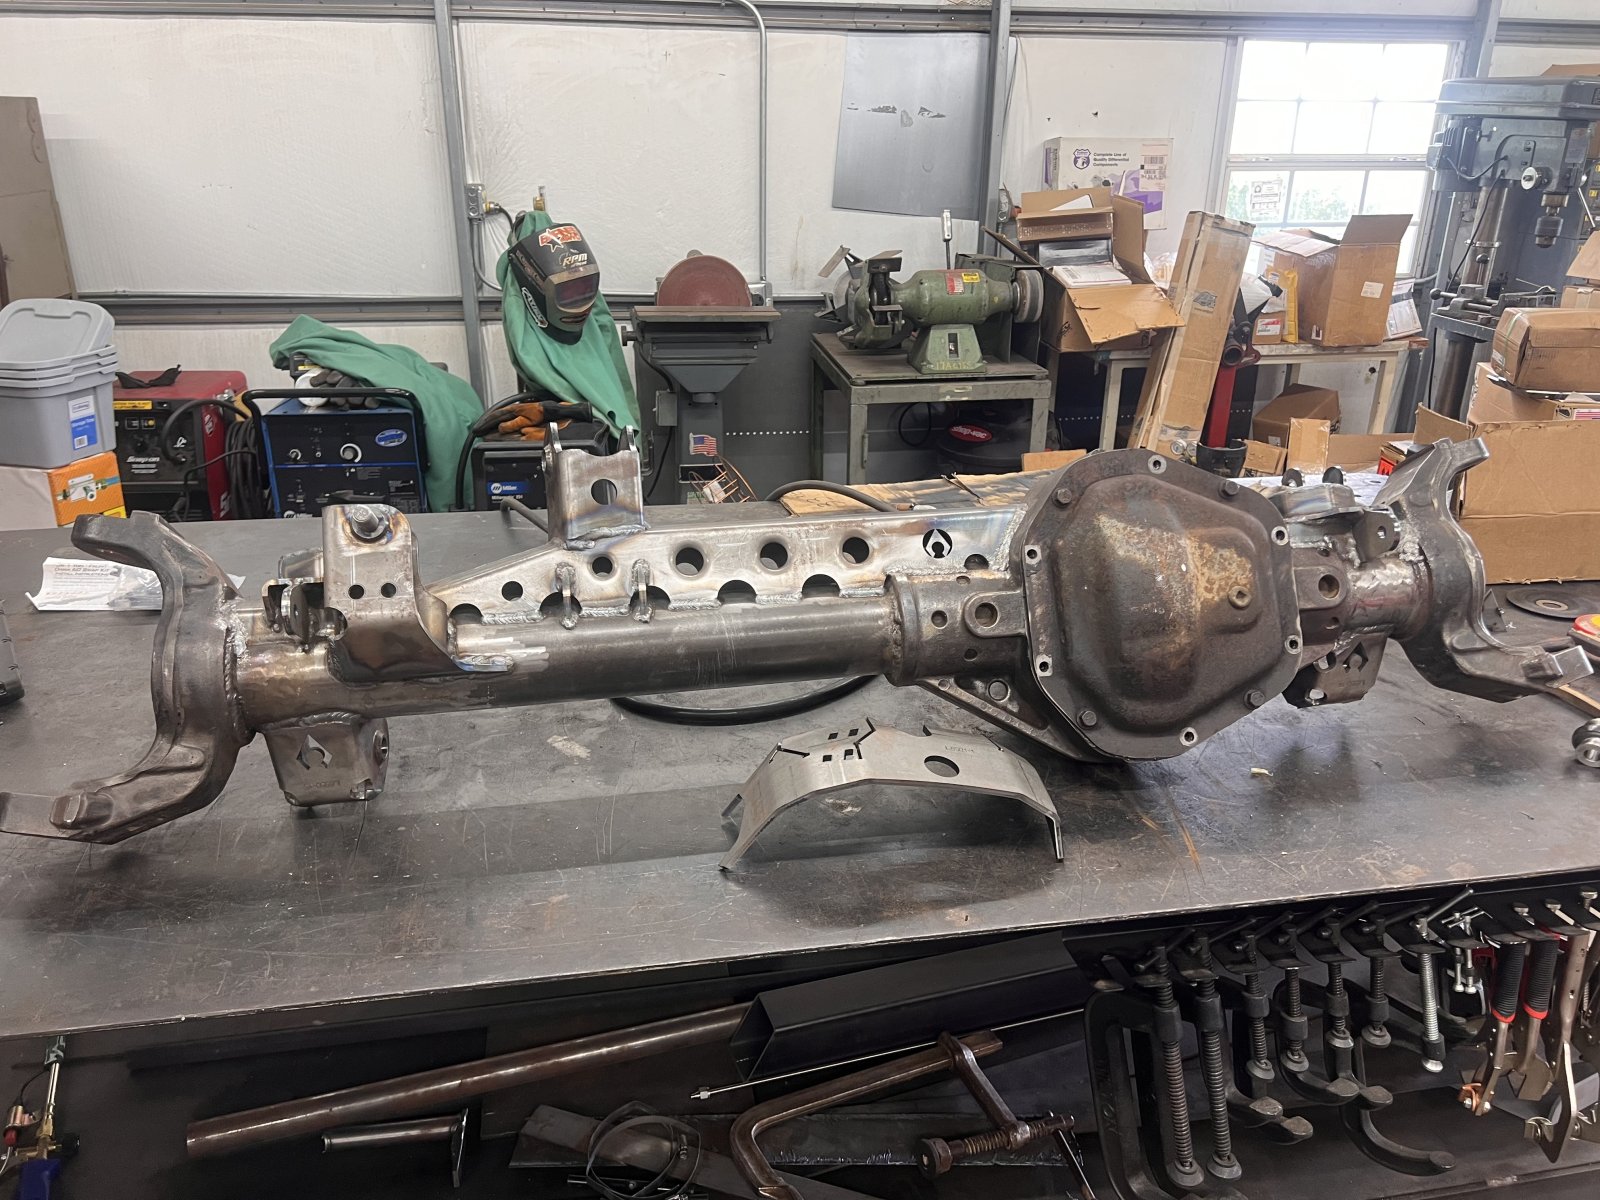
Almost finished with the welding on the axle. I need to decide if I want to run the bridge piece across the diff or not. It's really only needed with a factory style 4 link to give a mounting spot for the upper. Most likely I'll leave it off. I've been very happy with the way this thing has fit together. It's a nice piece for sure.

IMG_0199.jpeg


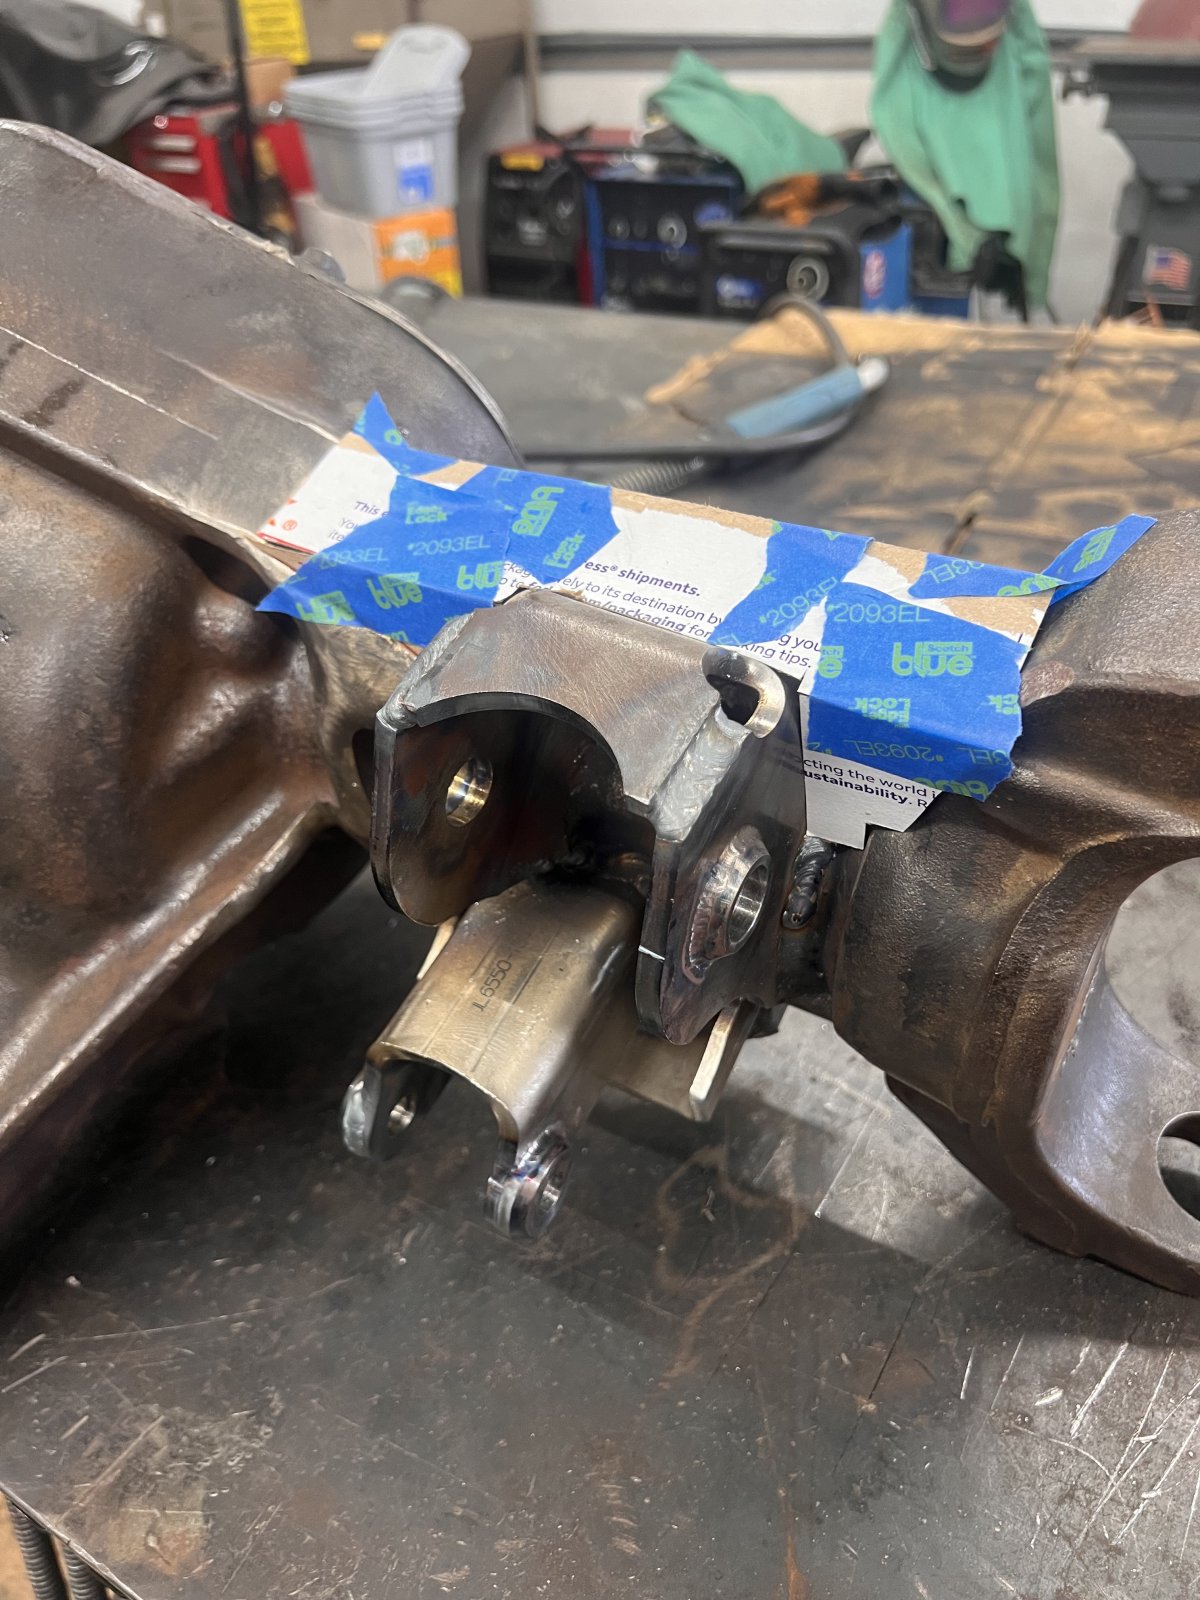
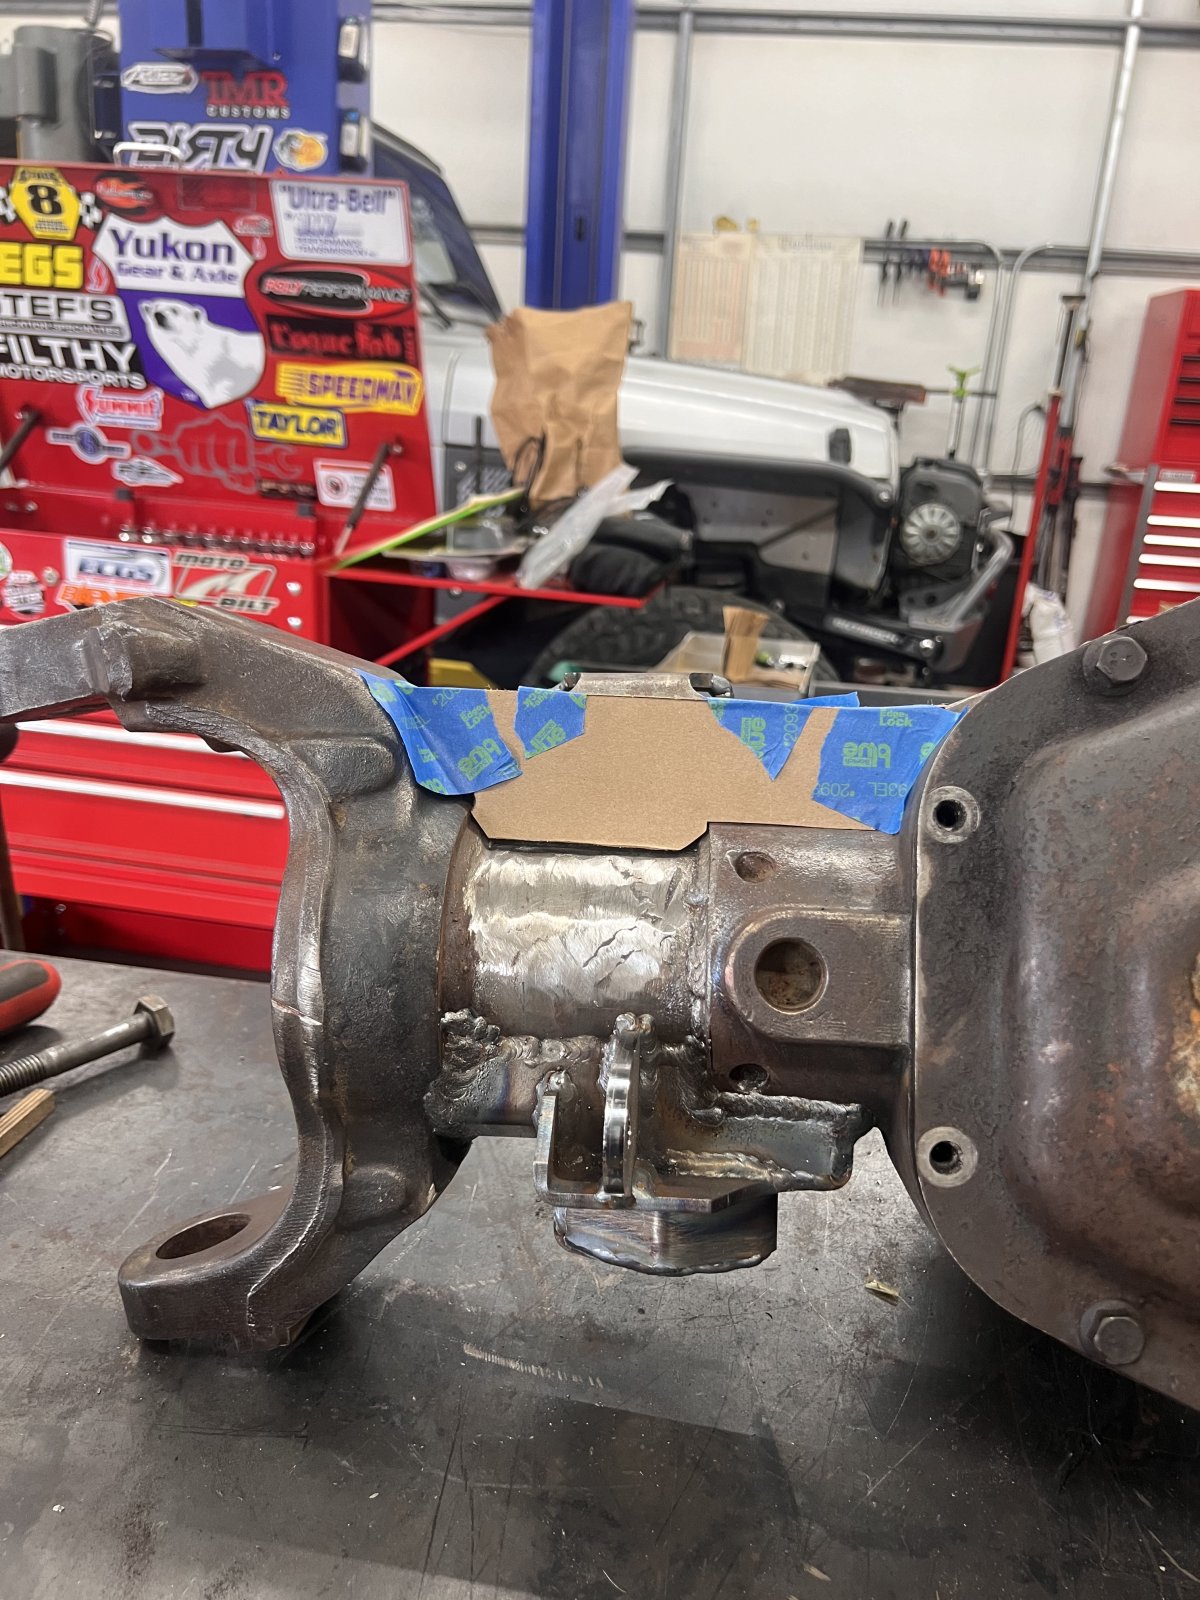
I decided to do something to reinforce the driver's side tube where the casting is cut back. I've seen a few pull the tube out there. The CAD work is done for that, just need to cut it out and weld it up.

IMG_0200.jpeg

IMG_0201.jpeg
 
Back
Top