• Help Support Hardline Crawlers :

FJ60 build

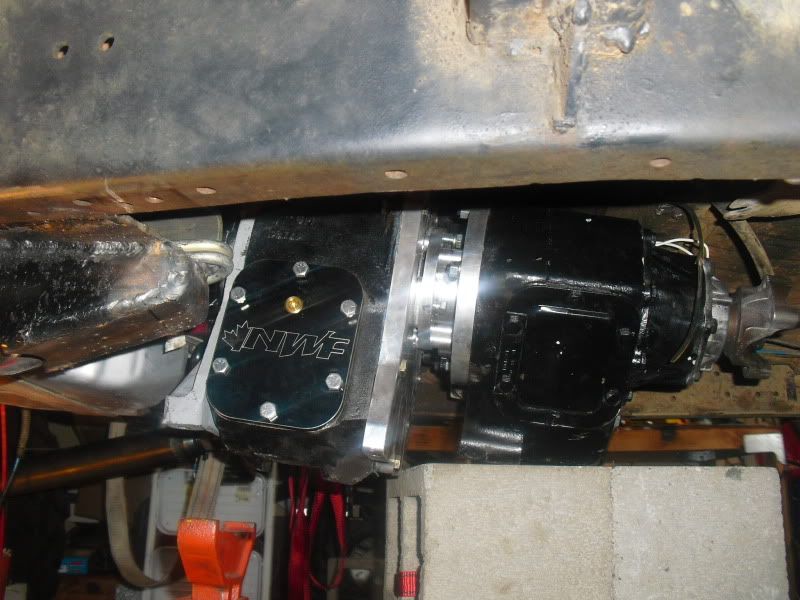
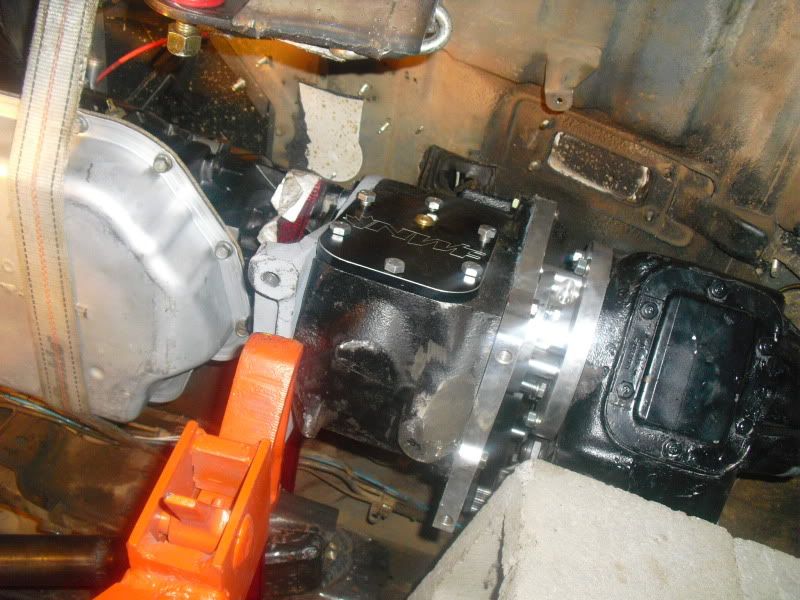
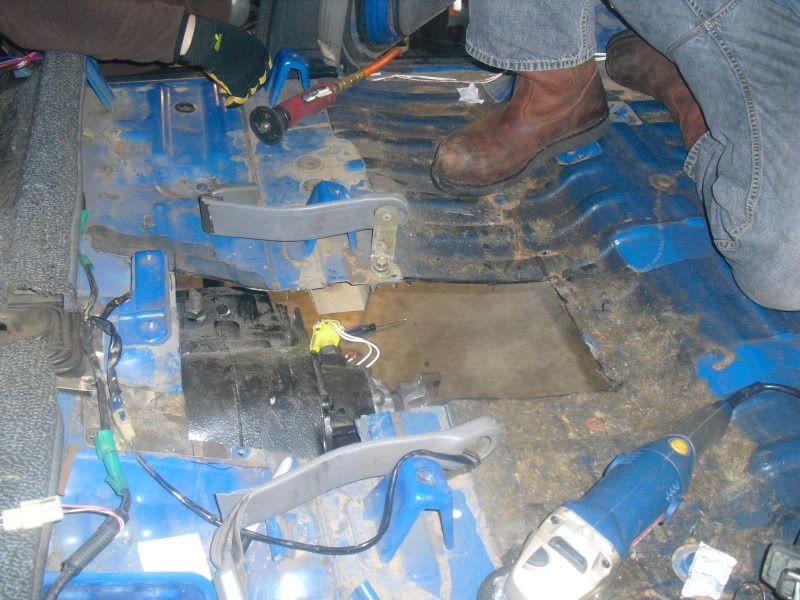
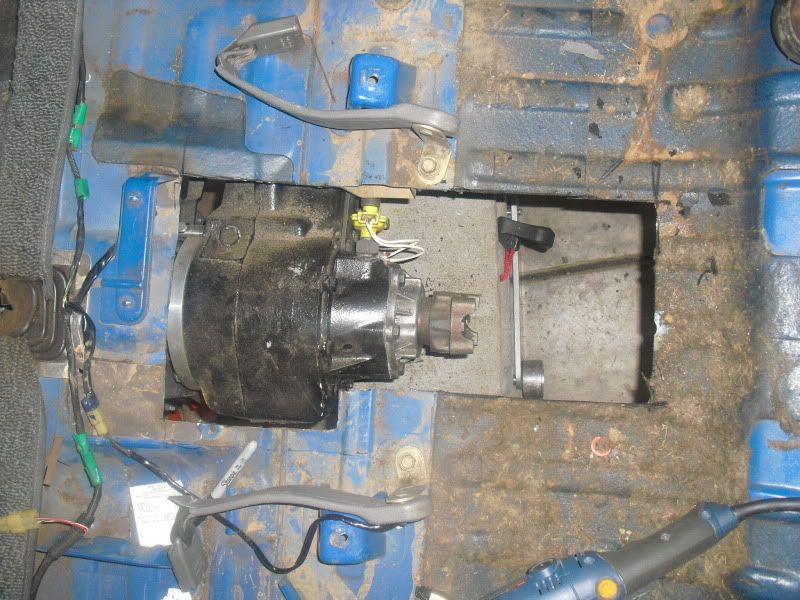
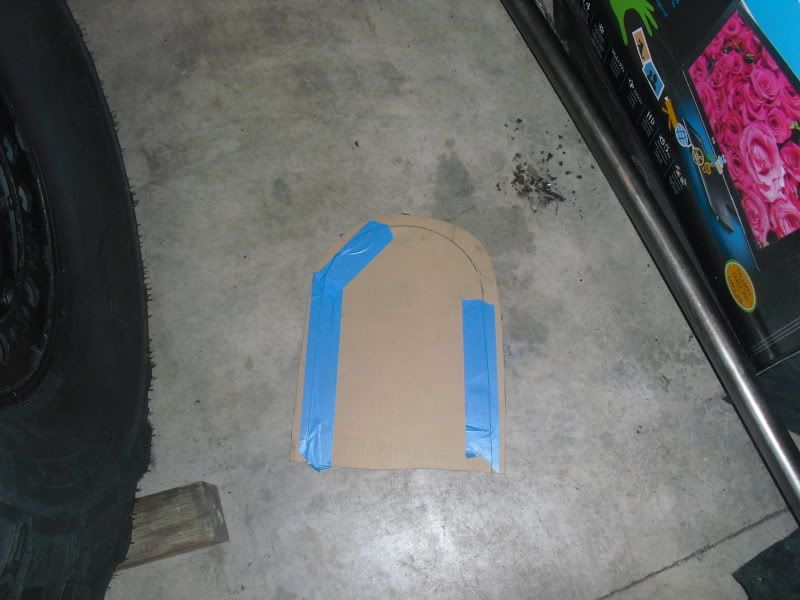
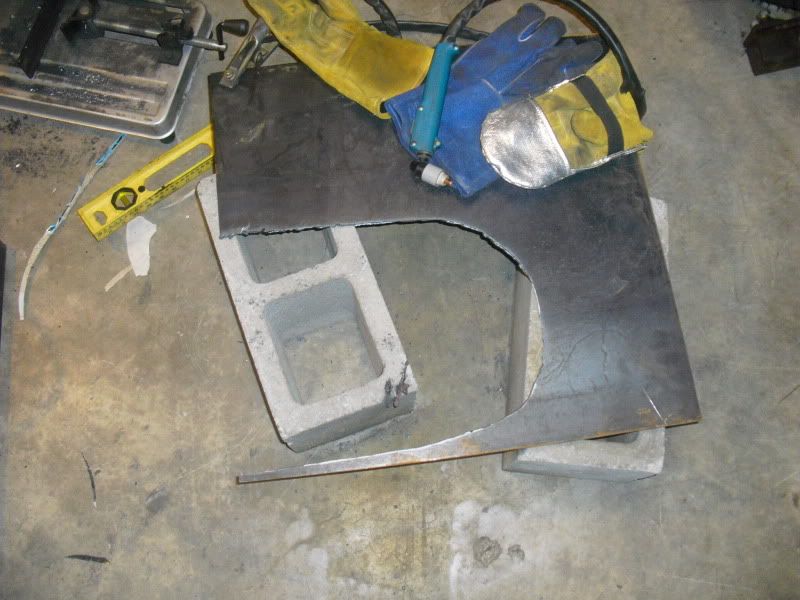
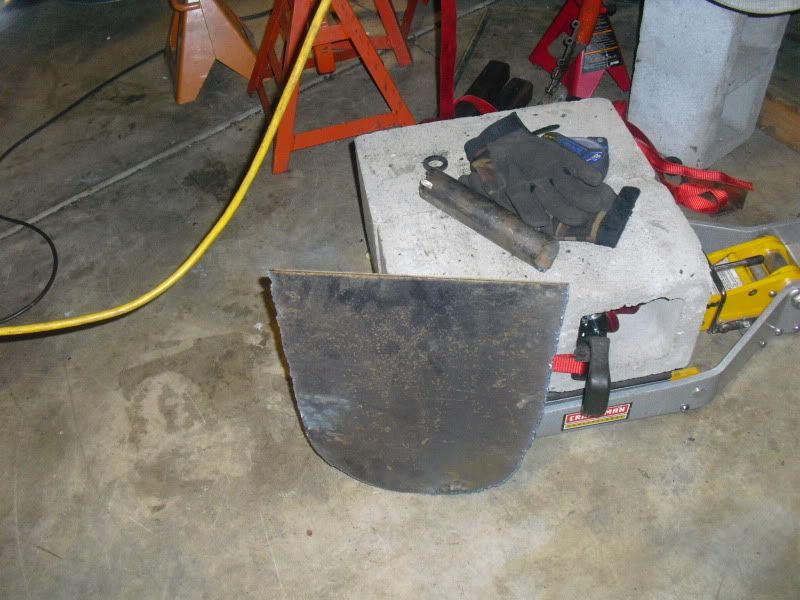
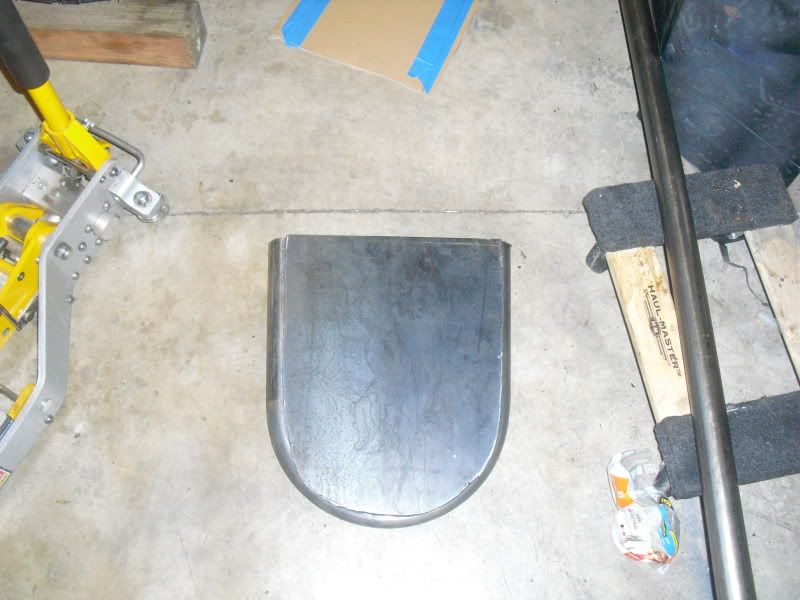
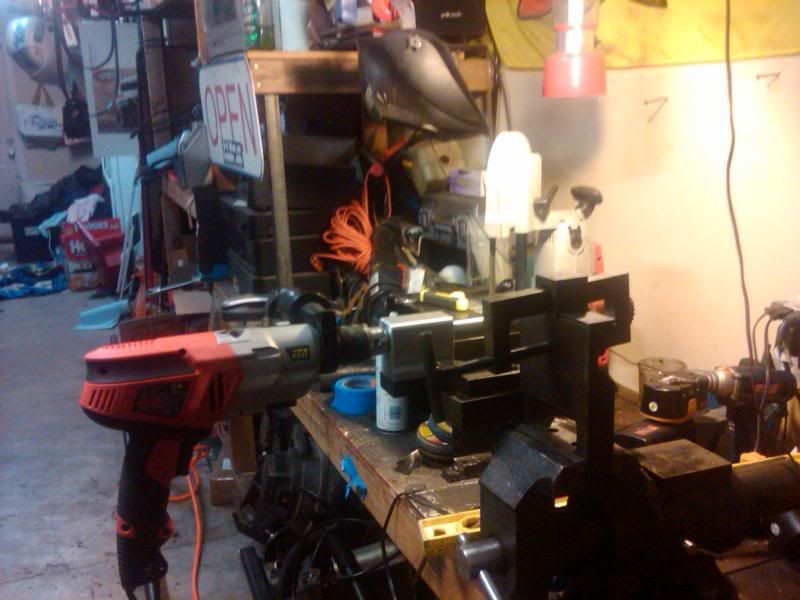
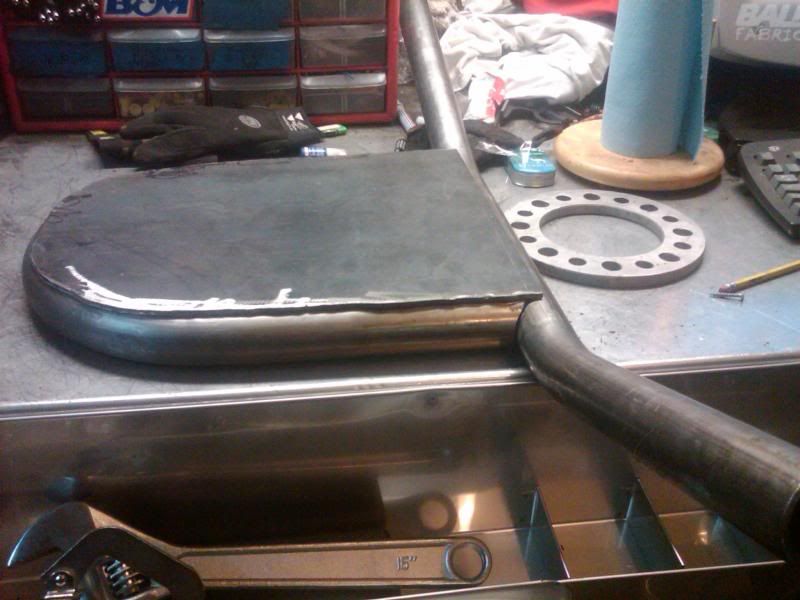
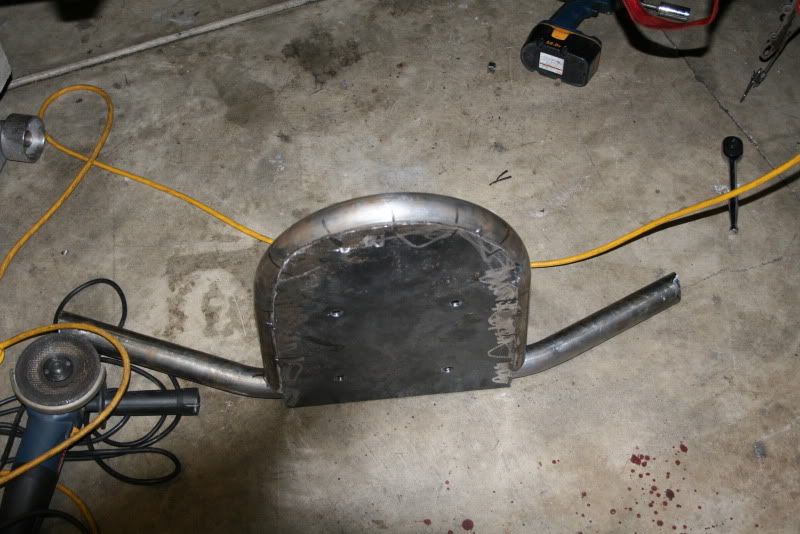
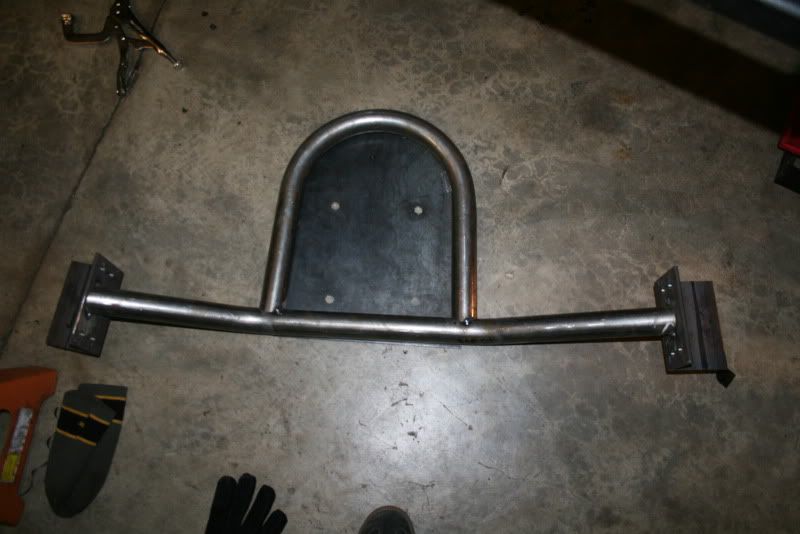
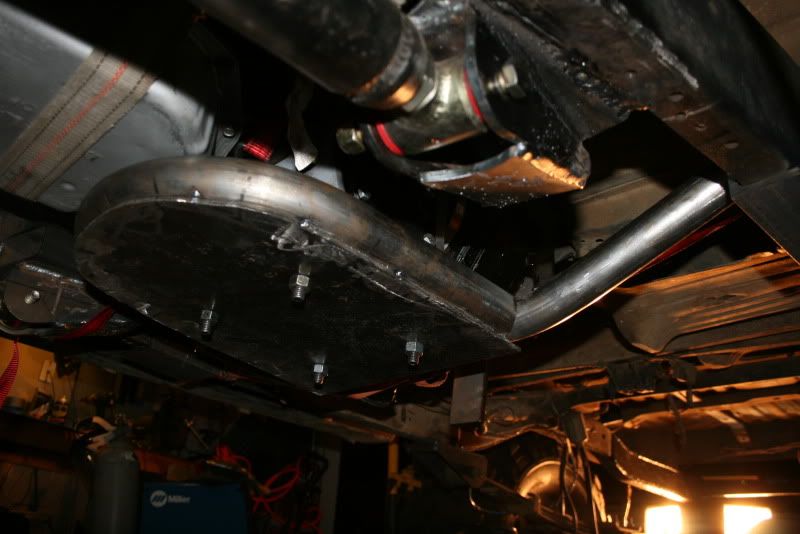
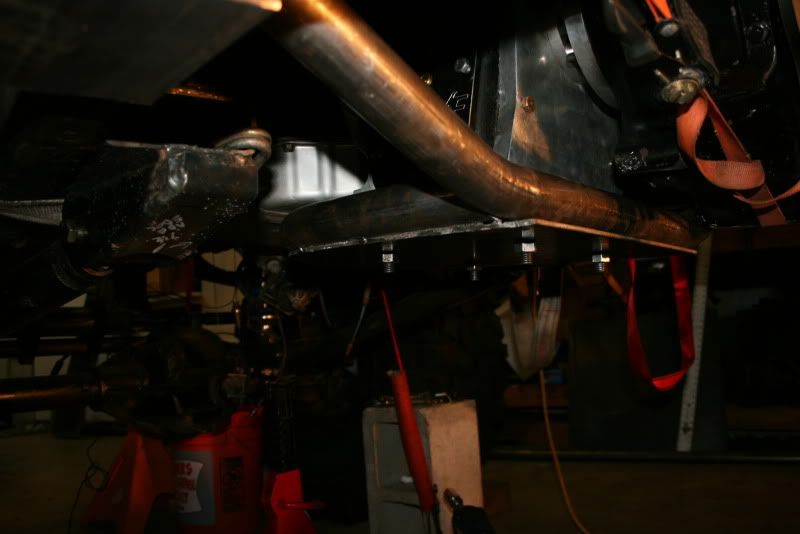
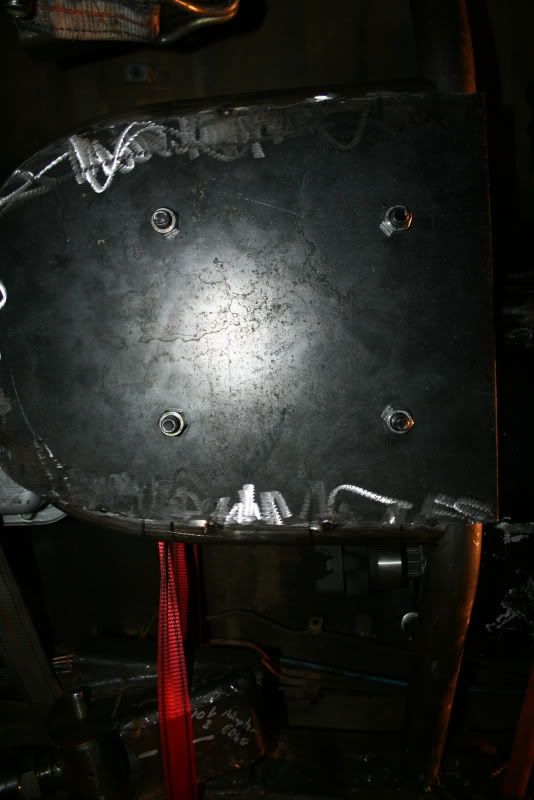
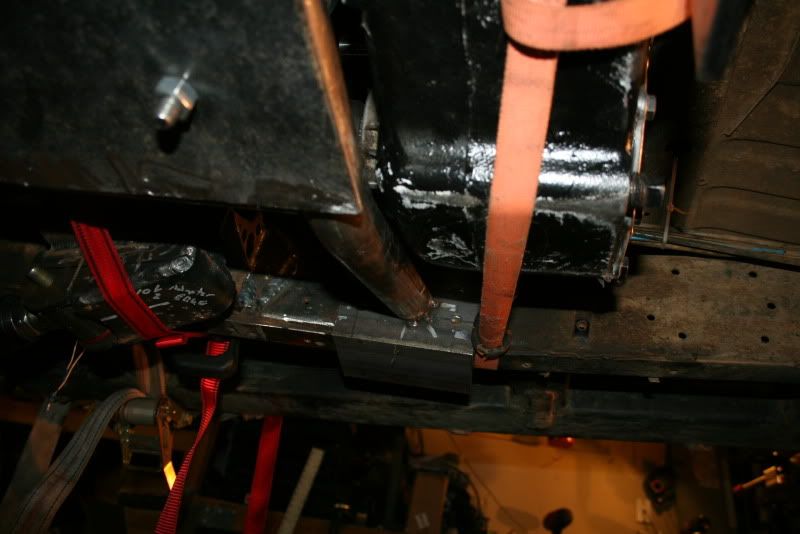
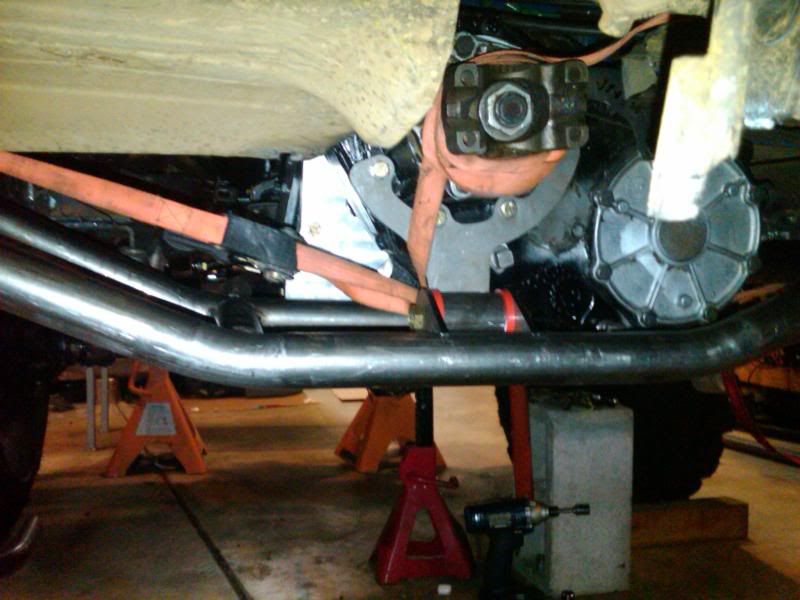
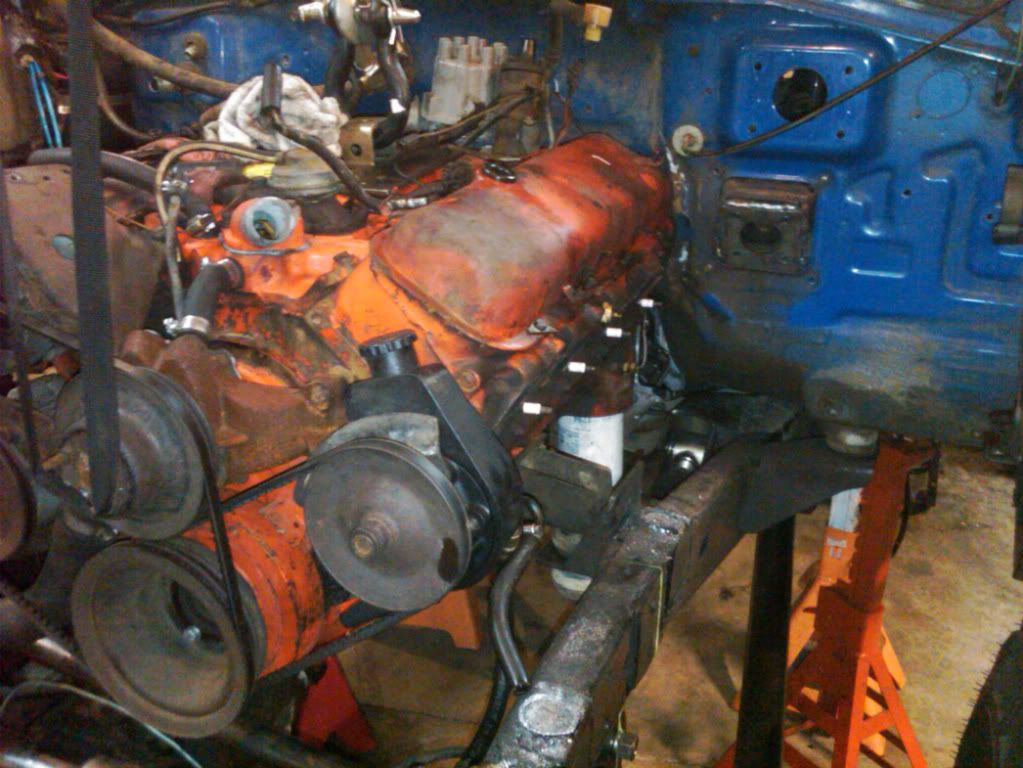
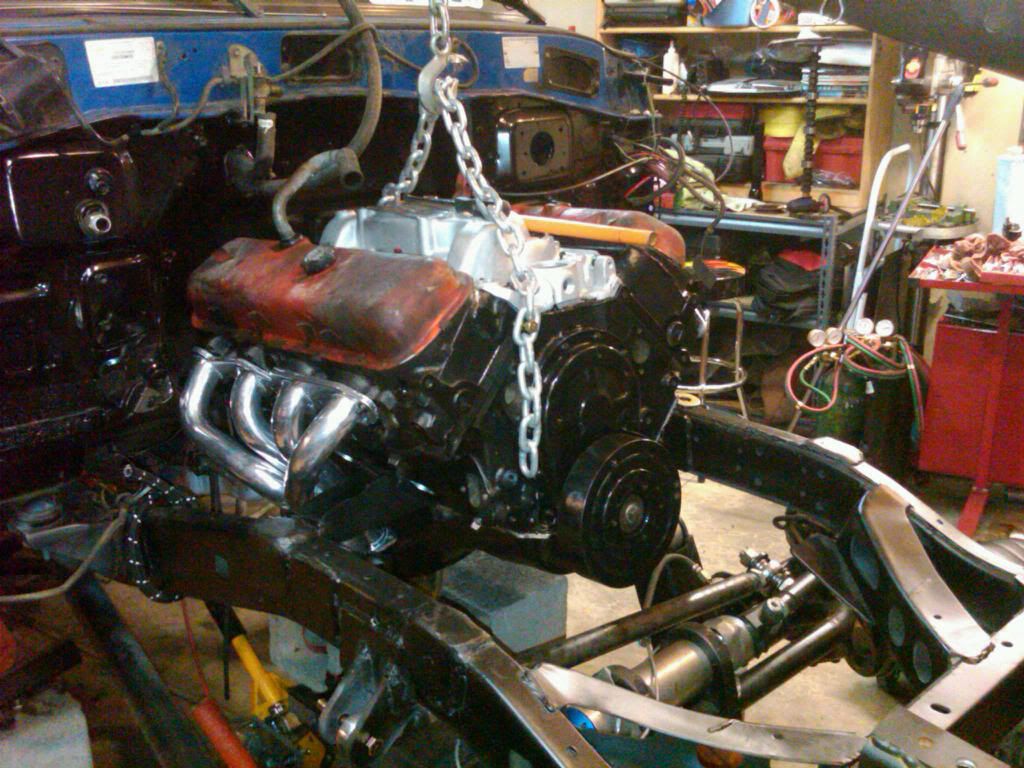
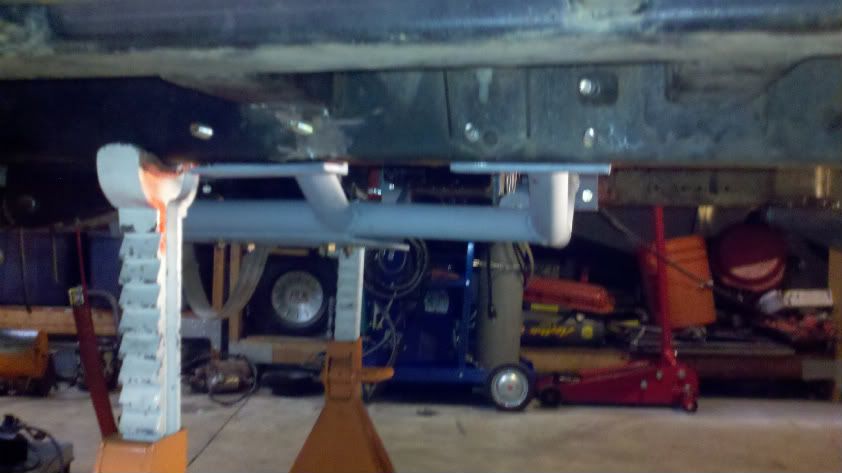
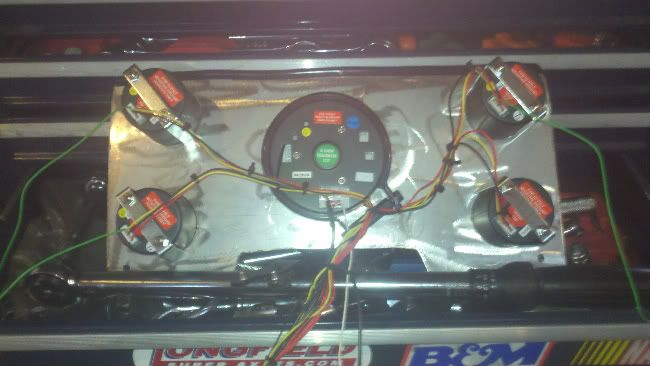
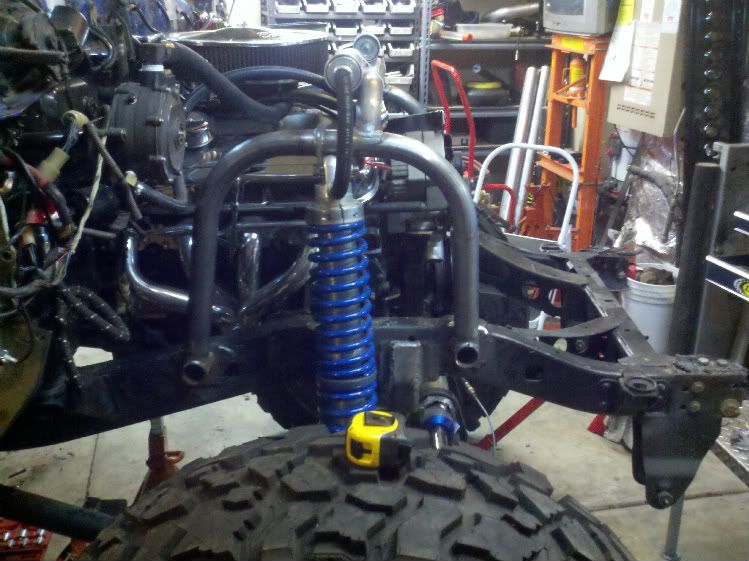
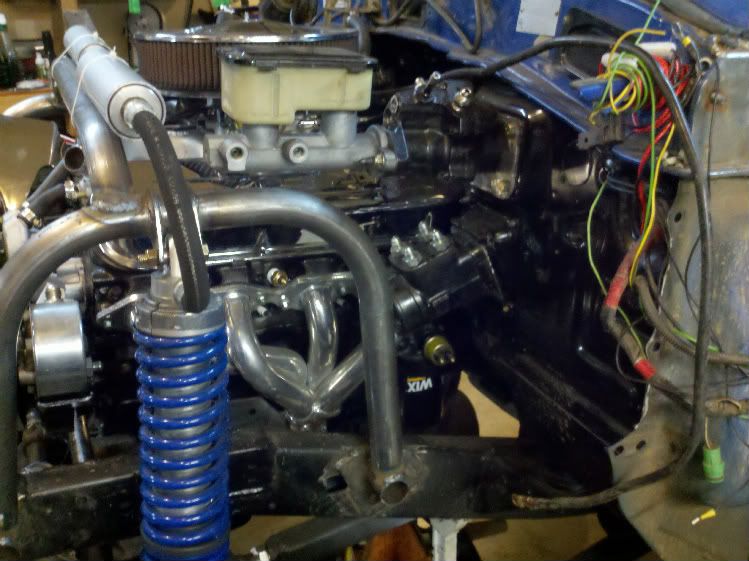
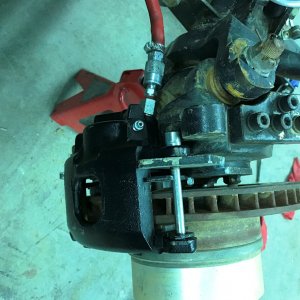
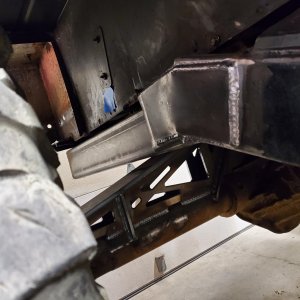
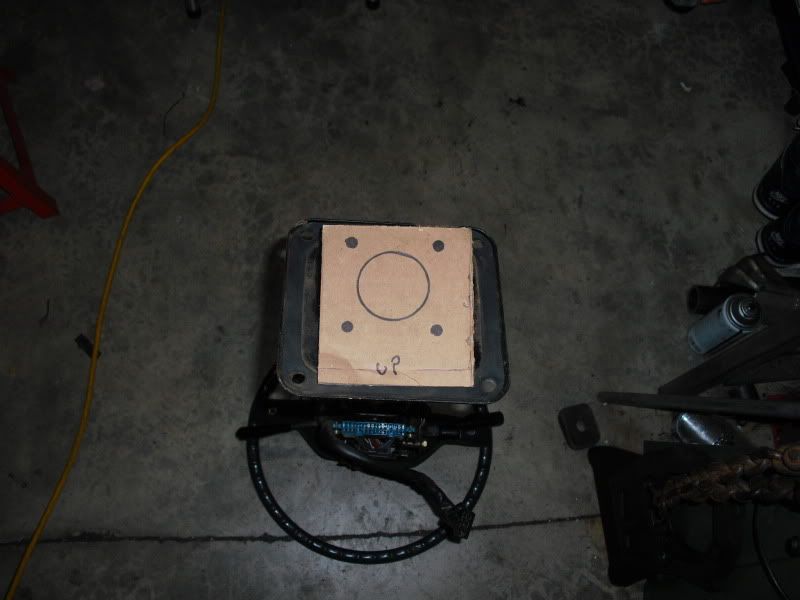
made a plate to mount the Hydroboost in the stock location:

hydroboostmounted.jpg


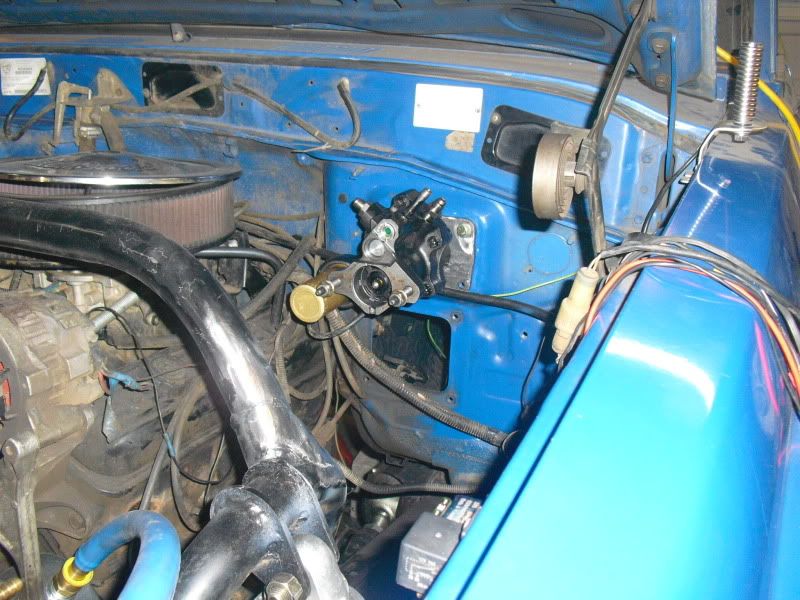
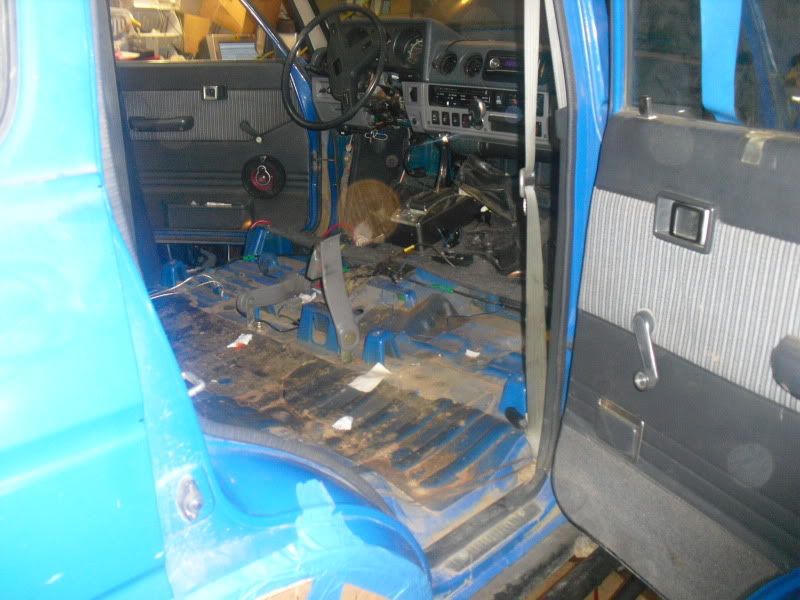
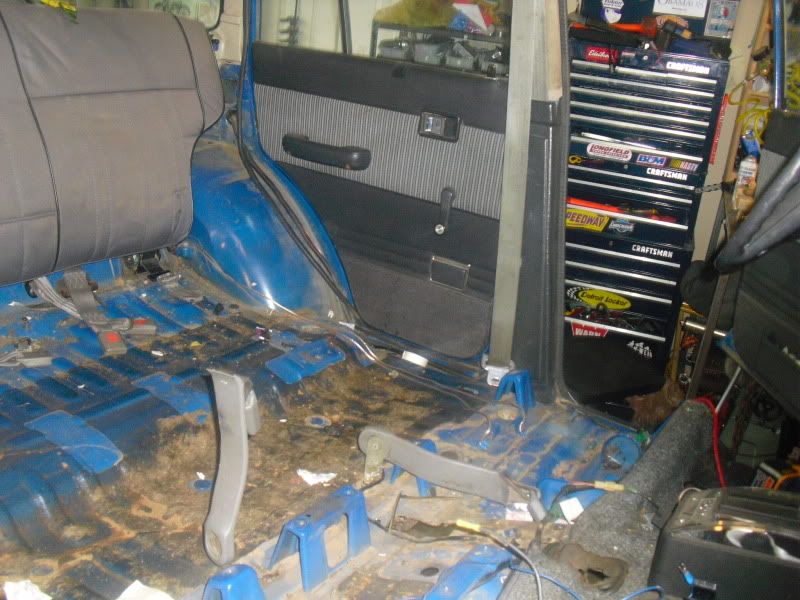
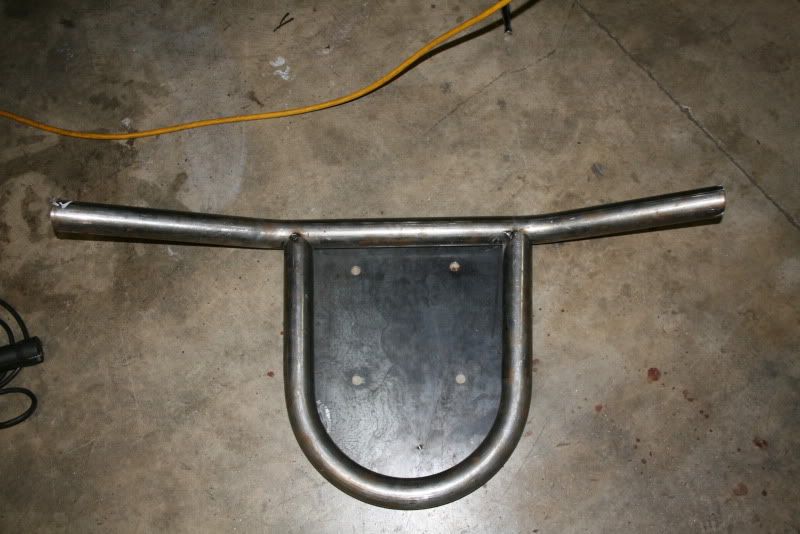
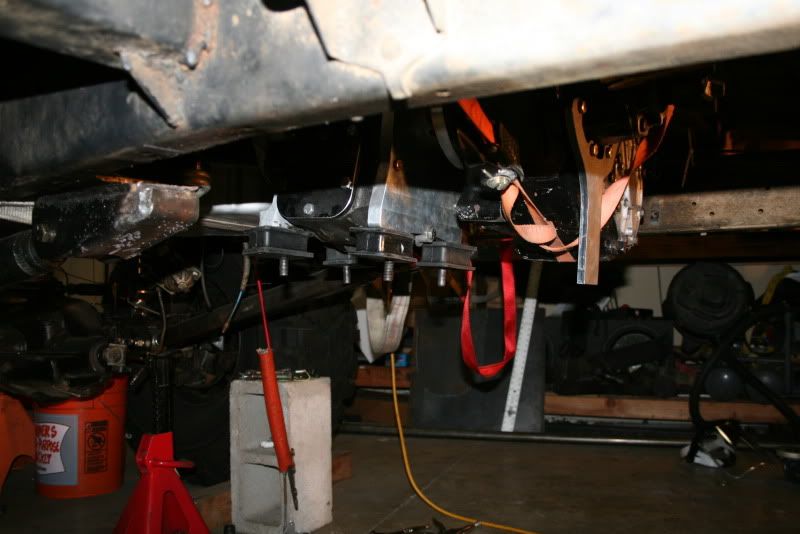
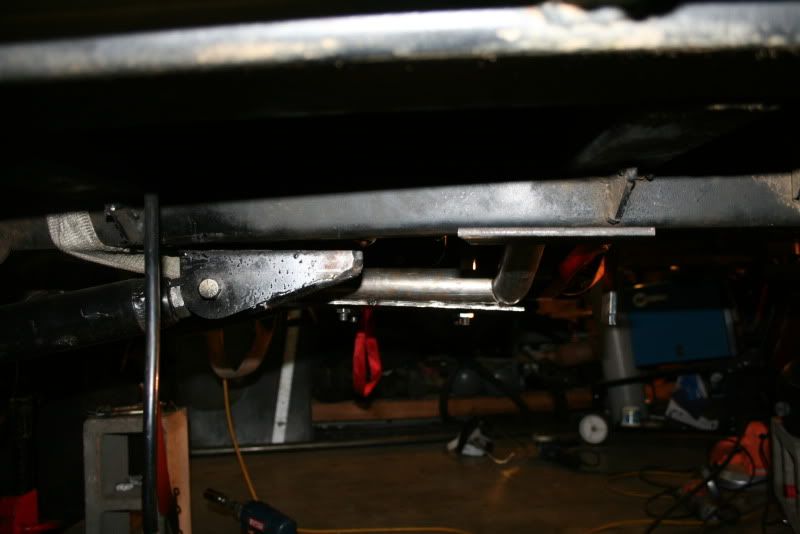
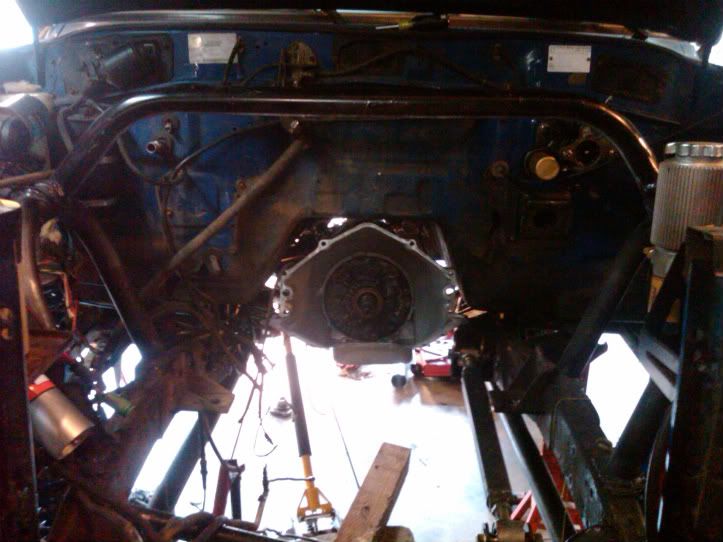
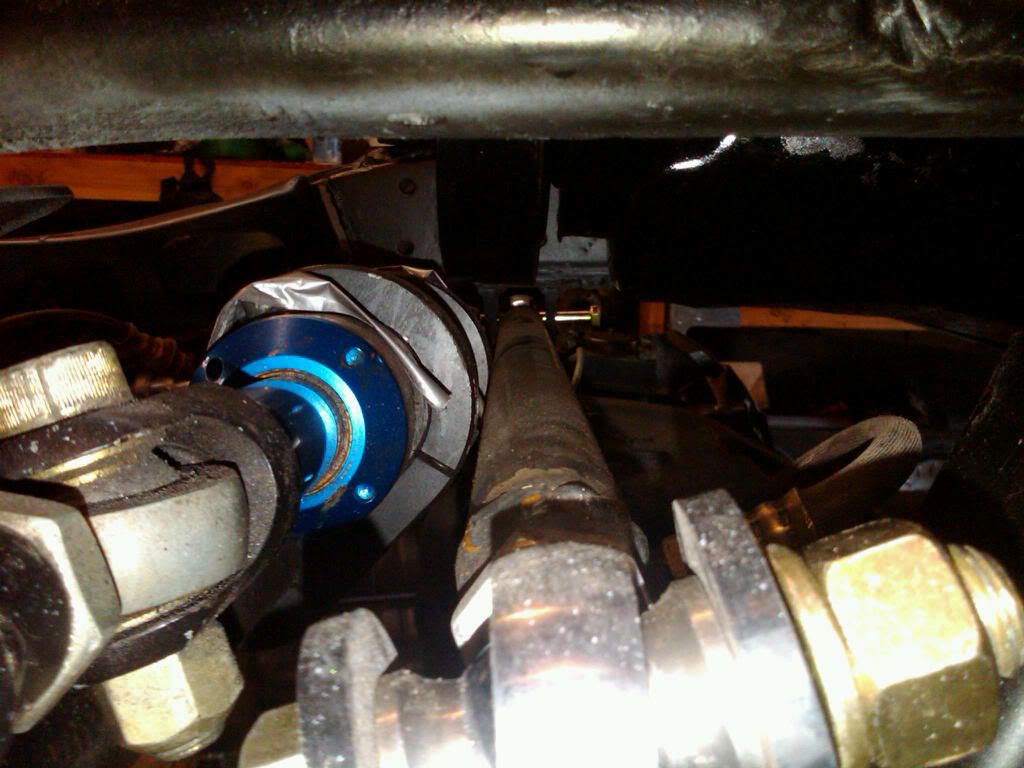
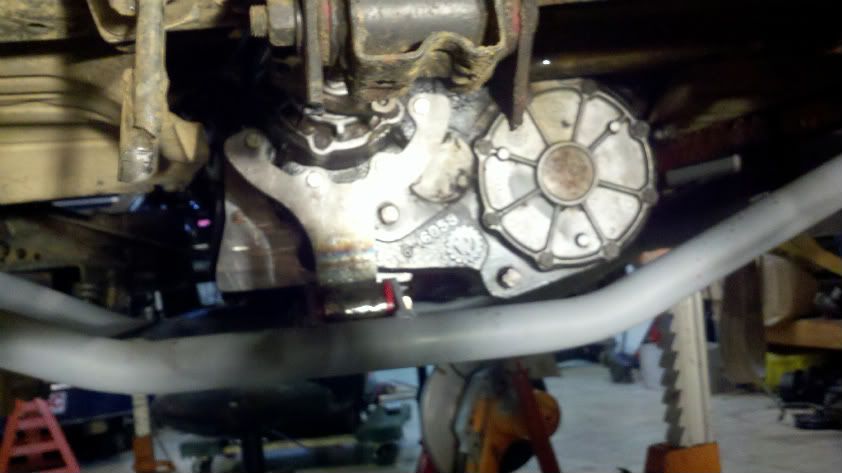
then I pulled the column to mount the orbital directly to the firewall so I woulnt have issues with the body flexing with the orbital mounted to the frame. The bonus is that I dont have to redo any of the wiring:

ColumBracket.jpg


orbitalmounted2.jpg


orbitalmounted.jpg


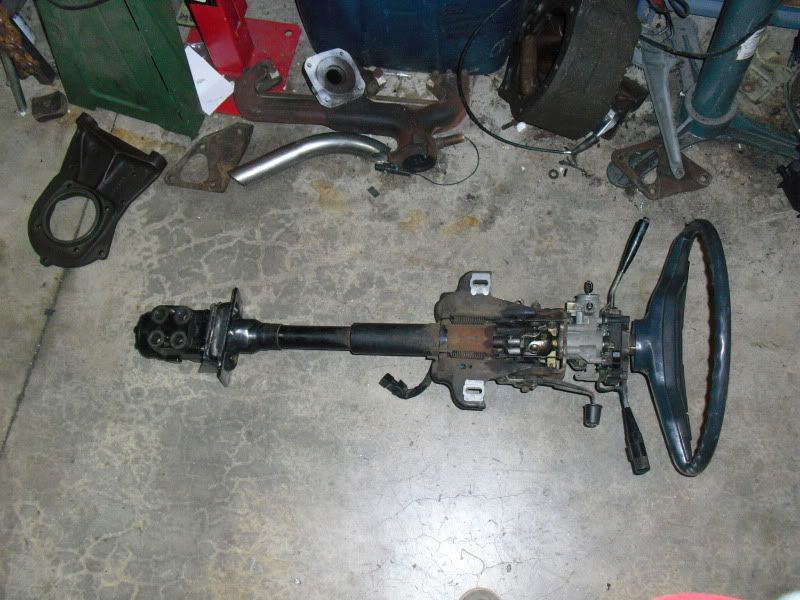
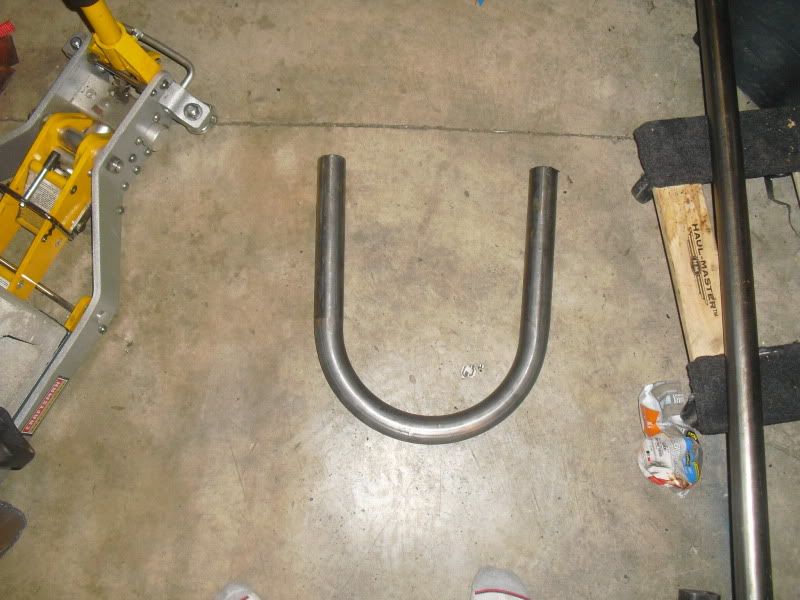
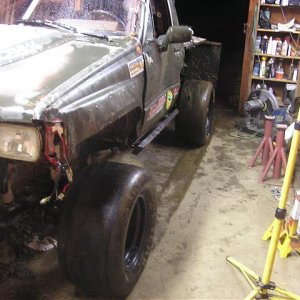
with a little luck I should be able to get it all plumbed and move onto building the crossmemebers.
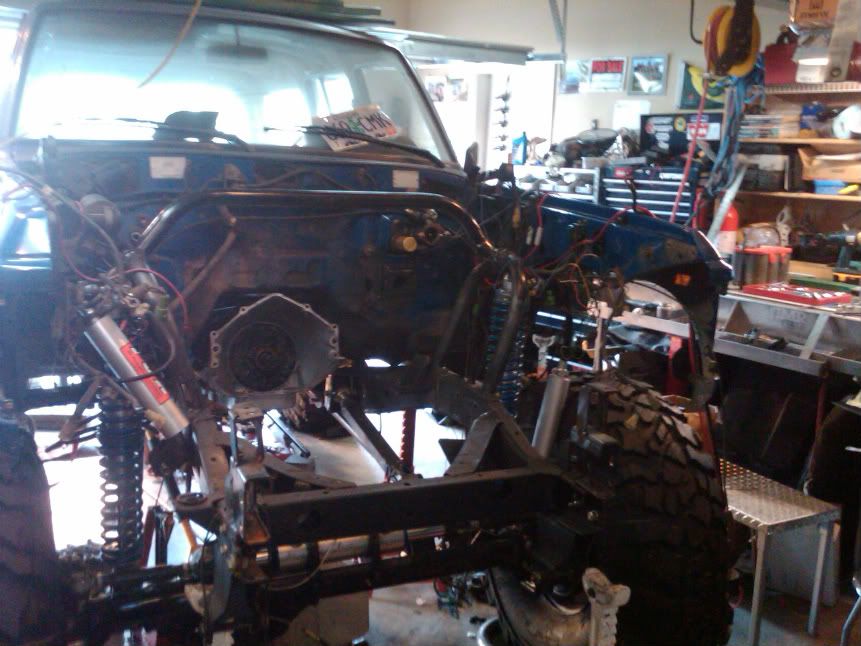
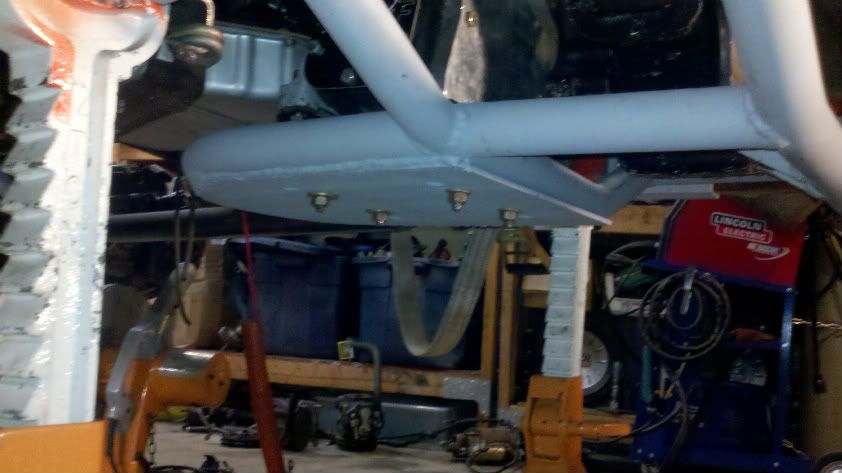
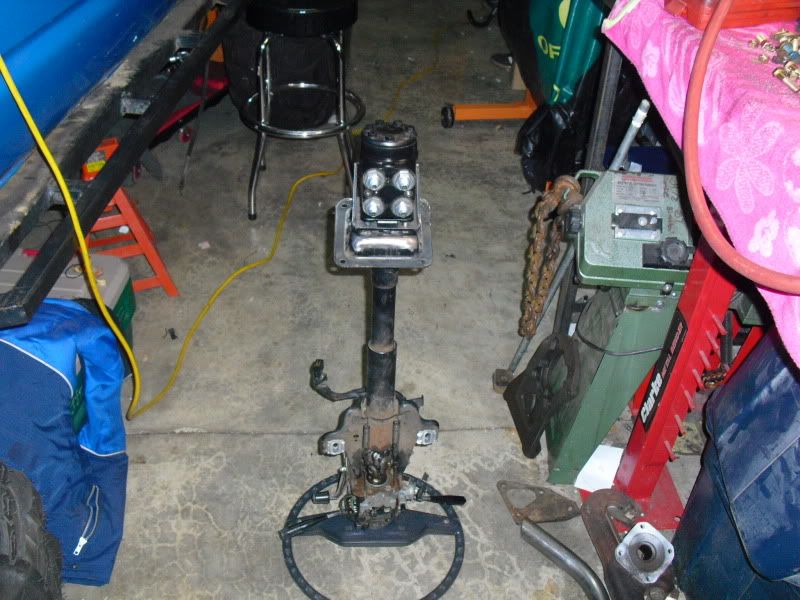
 
Myke J said:
Any progress here, It's been four months :dunno:


sorry been awhile since I've been over here..... lots of things changed. :)

Had to pull apart the 203/205 because I needed to swap out the 203 input from the 27 spline to the 32 spline for the th400 I decided to run.


Big difference between the th350 and th400 input:

CIMG0098-1.jpg


FINALLY got around to start mocking up my th400, 203/205 stuff. Originally I was going to run the th350 and the floor wasnt a problem but with the extra length of the 400 and because I wanted to tuck the drivetrain up as high as I could the floor needed modification... it was inevitable. Especially when you have two guys egging you on! :)

Hanging too low:

CIMG0102.jpg


going up:

CIMG0103.jpg


Floor in the way:

CIMG0104.jpg


CIMG0105.jpg


And presto... drivetrain tucked nicely:

CIMG0106.jpg


CIMG0107.jpg
 
Bent the first hoop for crossmember:

CIMG0126.jpg


then made a template from that:

CIMG0127.jpg


I'm not going to lie... having a plasma sure is nice:

CIMG0128.jpg


CIMG0129.jpg


fits pretty darn well:

CIMG0130.jpg
 
finally broke out my new notcher... what a difference over the piece o'**** hf notcher. This notchmaster actually does nice notches the first time. I just barely hit it with my grinder:

notcher:

notcher-1.jpg


crossmember coming together:

crossmembertop.jpg


notch.jpg


got a bit done on the crossmember this weekend:

Front of crossmember tacked

IMG_7268.jpg


IMG_7267.jpg


frame mounts tacked

IMG_7279.jpg


Mounts (idea stolen from boots)

IMG_7280.jpg


mounted... hangs about 2 inches below the rails. I ended up clocking the 205 2" up from when I started (belly at 25 now). That was the reason for going with the NWF adapter due to its easy clockablity:

IMG_7282.jpg


IMG_7283.jpg


IMG_7284.jpg


IMG_7286.jpg


IMG_7287.jpg
 
little more done:

IMG00097-20100325-1942.jpg


I have to stop there though because plans have changed.... something a little bigger is going up front now and I"m not sure if things will need to be moved around a bit.


AND THEN I WENT BACKWARDS.... but for good reason.


IMG00123-20100411-1201-1.jpg


IMG00124-20100411-1342-1.jpg
 
Fueling changed due to the big block so I had to start thinking about mocking up my propane tanks.

IMG00178-20100522-1902.jpg


Looks like I could run a third if I really needed for like Rubicon, the dunes, or Moab.
 
Motor came back from the machine shop:

the specs on the motor build are:

454 previously bored to a 460
Estimated Compression ratio 9.5-9.8
x4 262h Cam (new lifters, springs,timing chain, etc)
milled 049 Heads with 2.19/1.88 stainless steel valves, pocket ported bowls
Edelbrock Performer 2.0 intake-port matching and milled for correct head geometry
TRW 30 over forged pistons
Comp Cams Magnum roller tip rockers (1.72)
New Rings/hone, bearings, cam bearings, oil pump
crank polished
Zero decked block
ARP bolts for Assembly

Comp Cams desktop dyno puts it right at 500hp @5000 and 565 ftlbs @ 4000 on gas and 473hp/533 ftlbs on propane.

IMG00193-20100618-1922.jpg
 
nevermind the valve covers. I just set those on there to protect the rockers while I was getting it fit.

Big Blocks are heavy for one person to shoe horn into a yota. I'm tired.

IMG00194-20100618-2250.jpg


Panhard is TIGHT.

Ride Height:

IMG00196-20100619-0923.jpg


Full bump... its about 4-5 up:

IMG00197-20100619-1908.jpg


IMG00198-20100619-1909.jpg


IMG00200-20100619-1910.jpg


Painted the valve covers for giggles:

IMG00201-20100619-1910.jpg


Distributor is tight...

IMG00203-20100619-1911.jpg
 
Got the crossmemeber pretty much buttoned up. I'll add one more piece of tube under the 205, extend the skid all the way back, and add some of that cutting board stuff to protect the exposed bolts. I want to to get to other parts of this project so I'm moving on for now since its at least good enough for street use.

265285845_photobucket_4201_-1.jpg


265285845_photobucket_4203_-1.jpg


265285845_photobucket_4204_-1.jpg


I got the the propane stuff mounted and most of the engine plumbing done.... I wanted to be more creative but this will work for now:

265285845_photobucket_10253_-1.jpg


I got as far as priming the oil pump too.... since there wasnt much room back there I bought a cheapy HF "close quarter" drill to spin the shaft. It gave a good fight for about 3mins and then literally caught on fire. You can see the smoke if you look closely:

265285845_photobucket_10075_-1.jpg


So I did what any other good patron of HF would do if you still have your receipt and returned it. This one looked more up to the task:

265285845_photobucket_10147_-1.jpg


I zipped tied the trigger on it and it spun for about 20 mins until finally all the rockers were dripping with oil.

265285845_photobucket_10207_-1.jpg
 
still chippin away... I wish I had more time to make this more aesthetically pleasing but I can come back to it later. It'll work for now. The dash gauges are mounted on some stainless I had layin around. I also got my new coilover hoops bent up too.

265285845_photobucket_14319_-1.jpg


265285845_photobucket_14321_-1.jpg


265285845_photobucket_14327_-1.jpg
 
A couple buddies came over on Sat. and gave me a much needed hand getting this project back on course. I can't thank them enough!

I didnt like how I previously had done the shock towers or the crossover bar so it got changed to this:

265285845_photobucket_15903_-1.jpg


265285845_photobucket_15904_-1.jpg


The Orbital and brake cylinder are a bit tight but workable:

265285845_photobucket_15906_-1.jpg


I couldnt help myself at that point so I dug out some sheet metal just too see what it looked like again.

265285845_photobucket_15913_-1.jpg


265285845_photobucket_16174_-1.jpg


Overall I'm much happier with the spring set up this time. I ended up with 6 inches of up travel which will probably settle out to about 5 inches. That puts the bottom on chassis at 27" which is fine considering I'm running 42s.

I still have a lot to do but it sure is getting closer.
 
thanks guys... I embarrassed to say that the build has been ongoing for the last 2 years but I finally see the finish line (as far as being driveable) not too far away.
 

Latest posts

Top