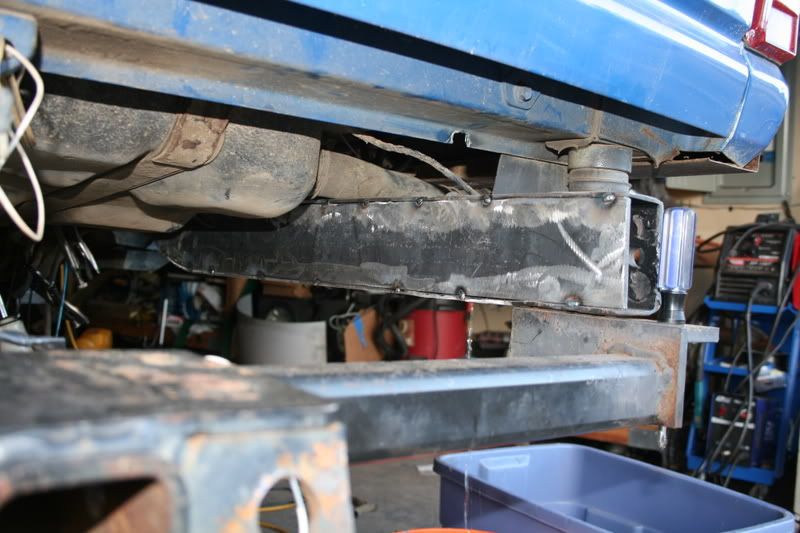
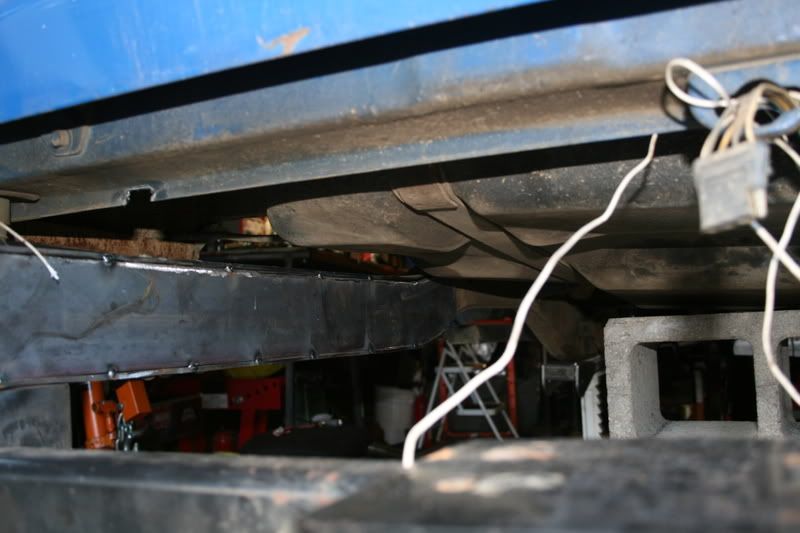
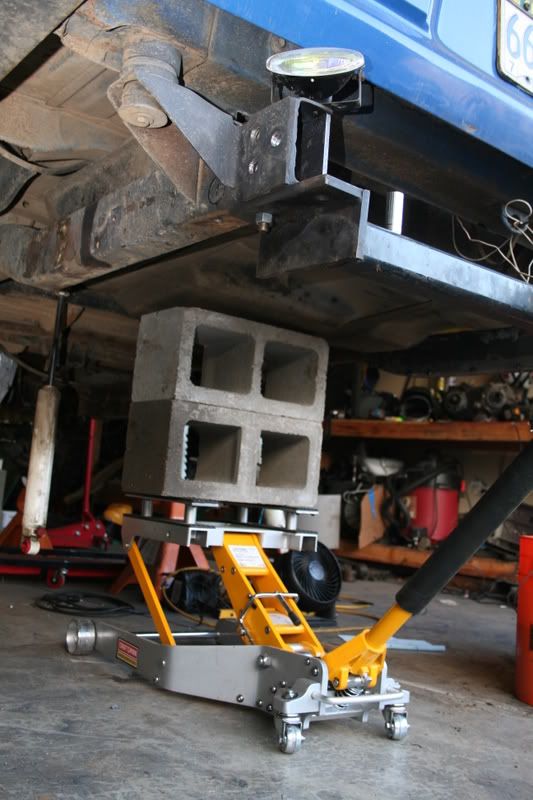
• Help Support Hardline Crawlers :

FJ60 build

brokenparts

Well-Known Member
Joined
Oct 4, 2006
Messages
163
Location
Hillsboro,OR
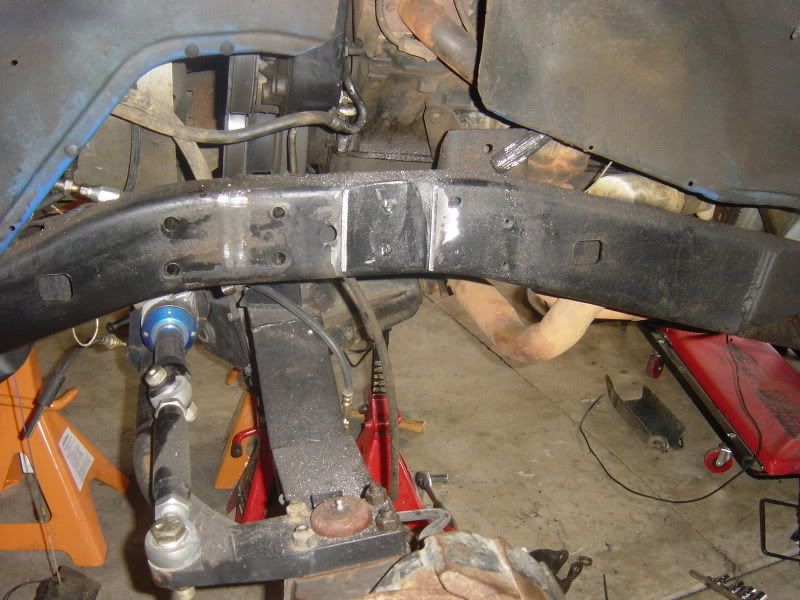
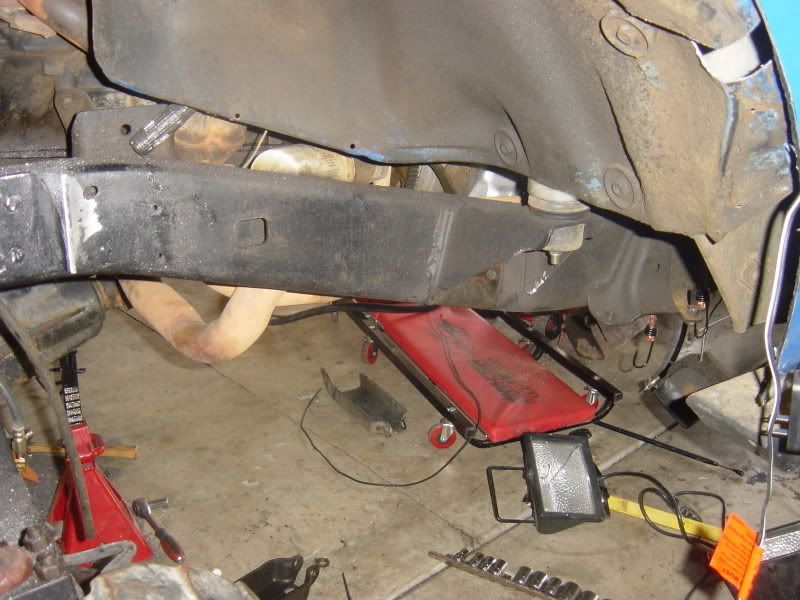
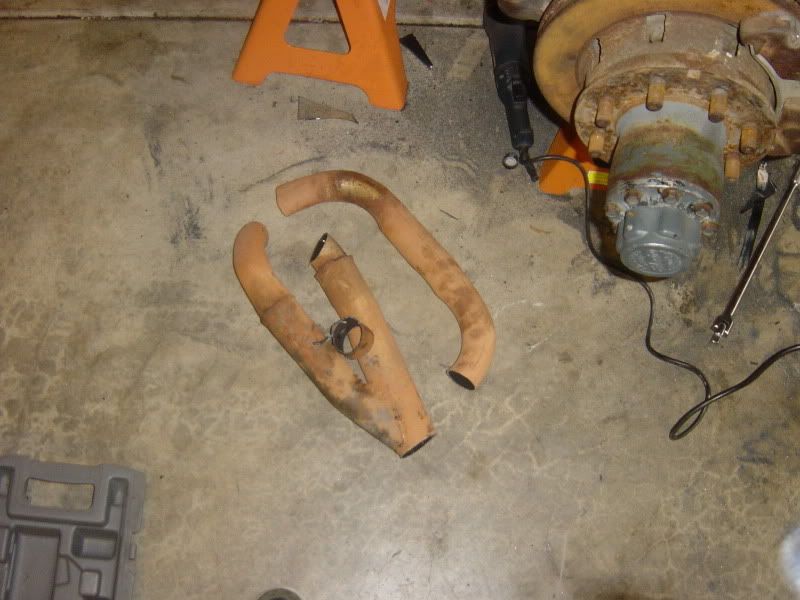
been hiding on the forum off and on for awhile and I'm bored today so I decided to drag my build thread over here. Anyway:

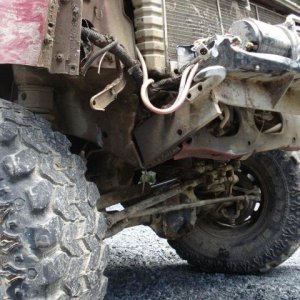
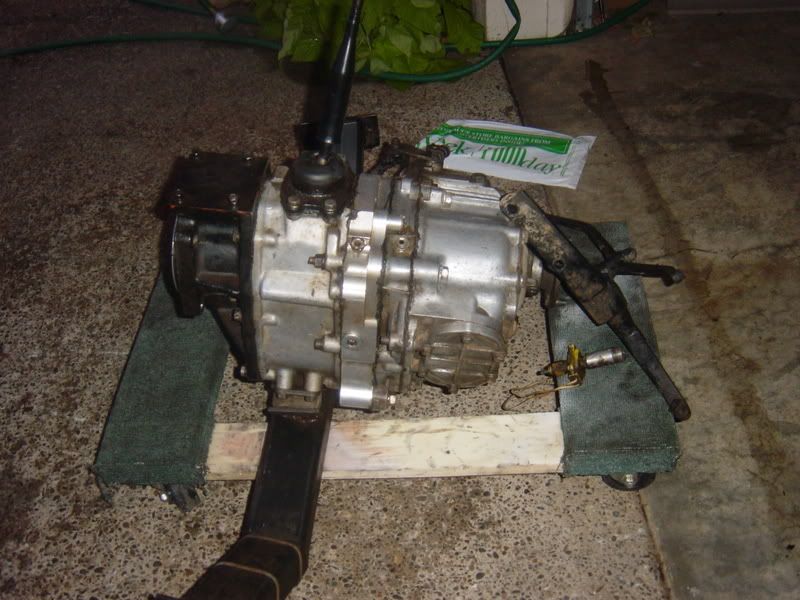
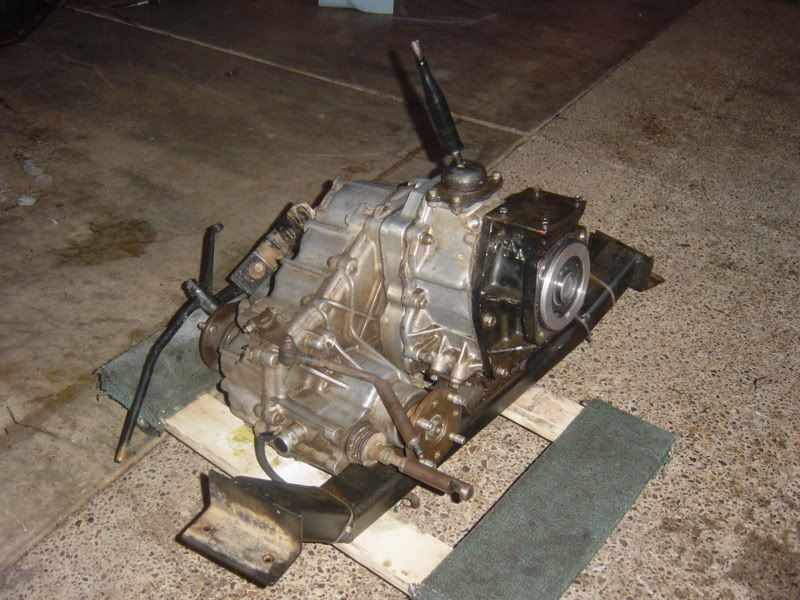
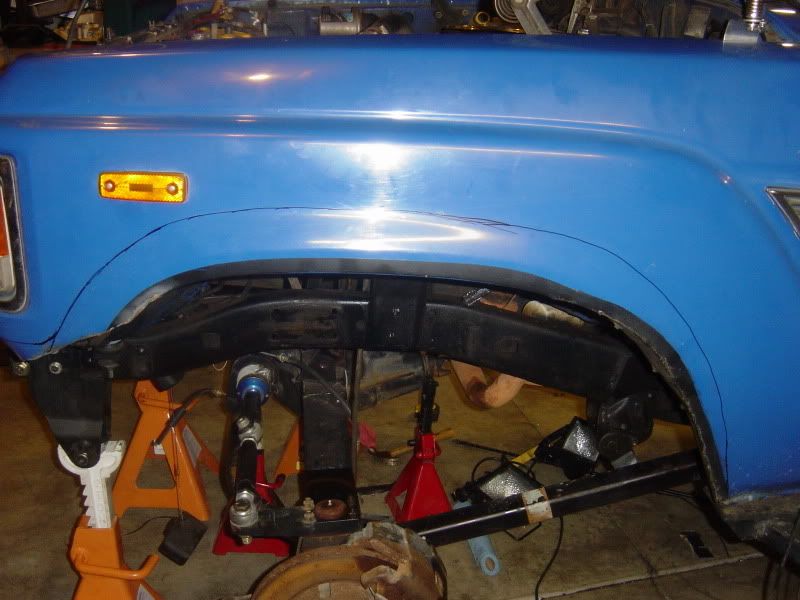
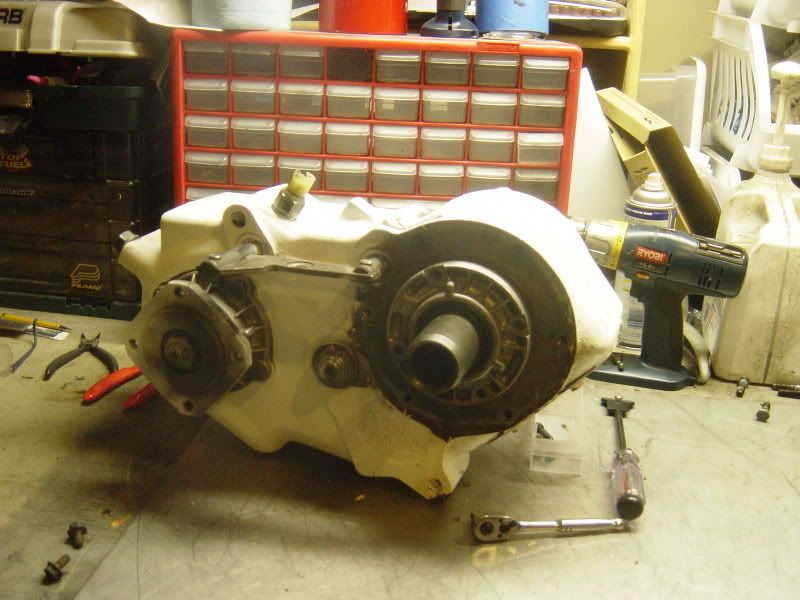
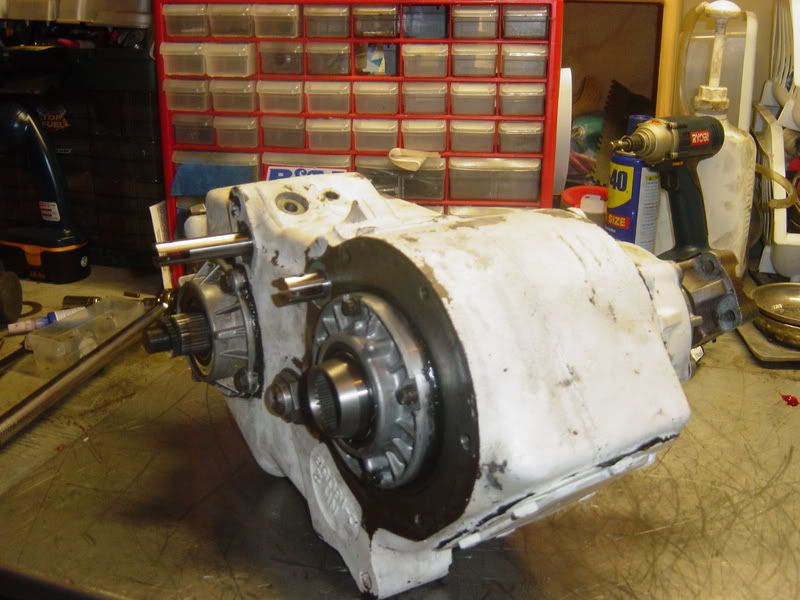
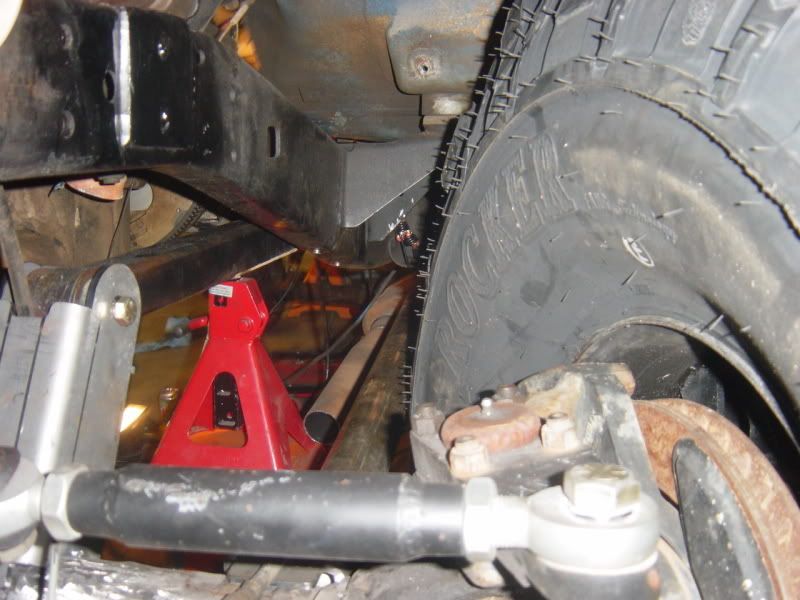
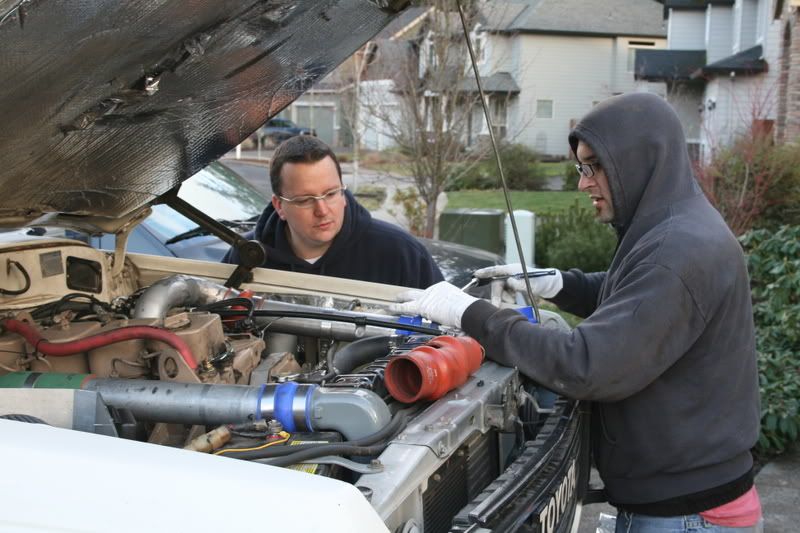
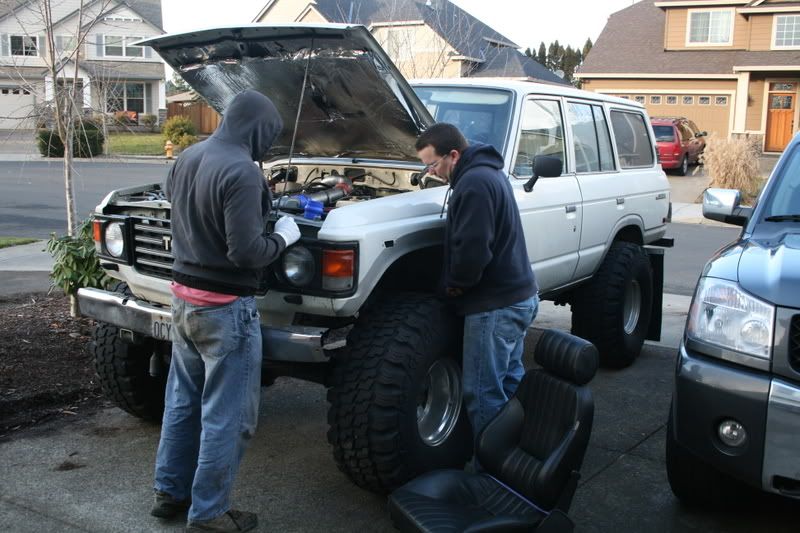
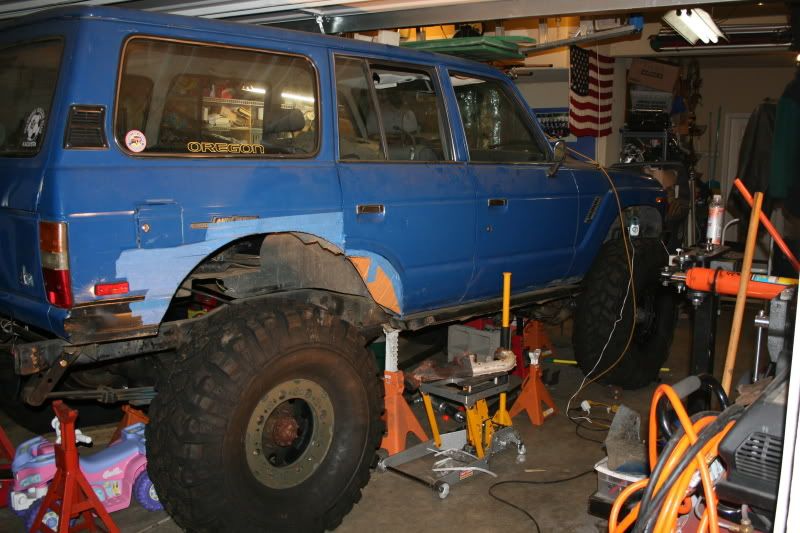
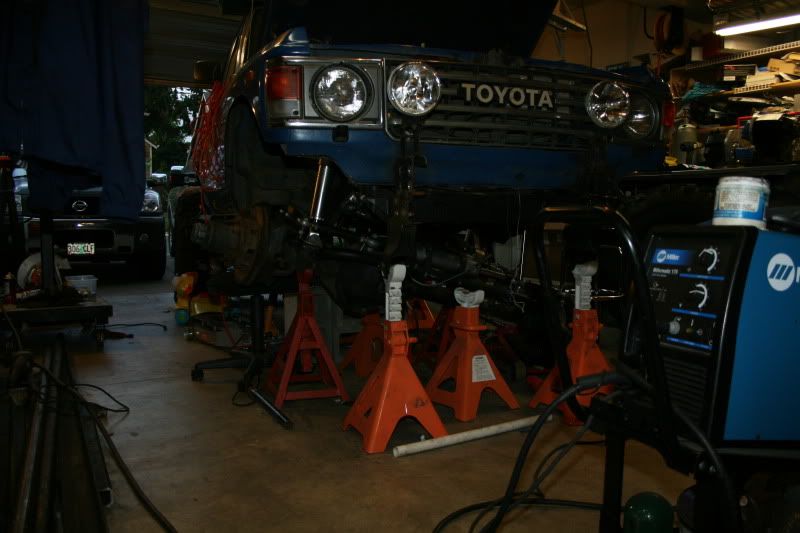
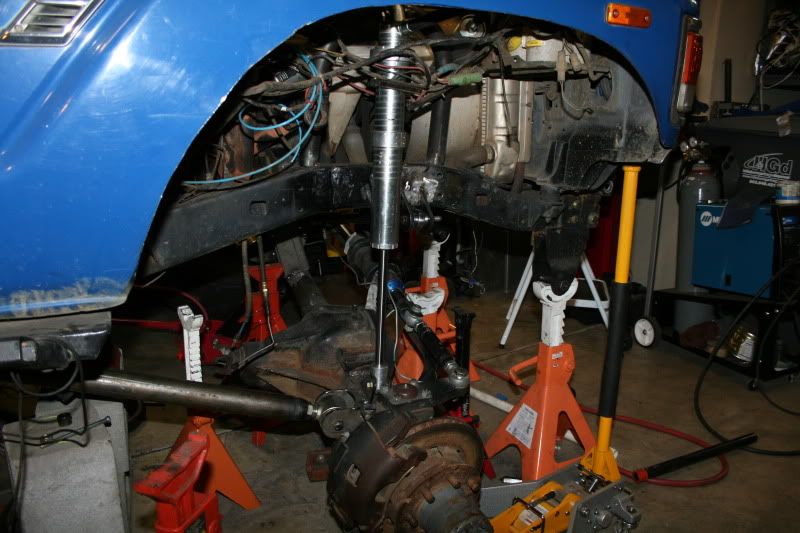
Here is it before when it was SUA and on 36s with a TBI 350/4speed/toybox to splitcase:

firsttry.jpg


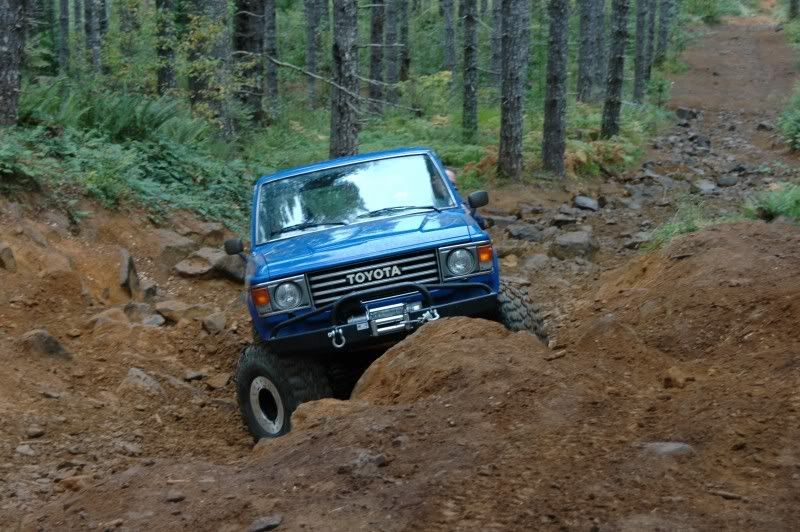
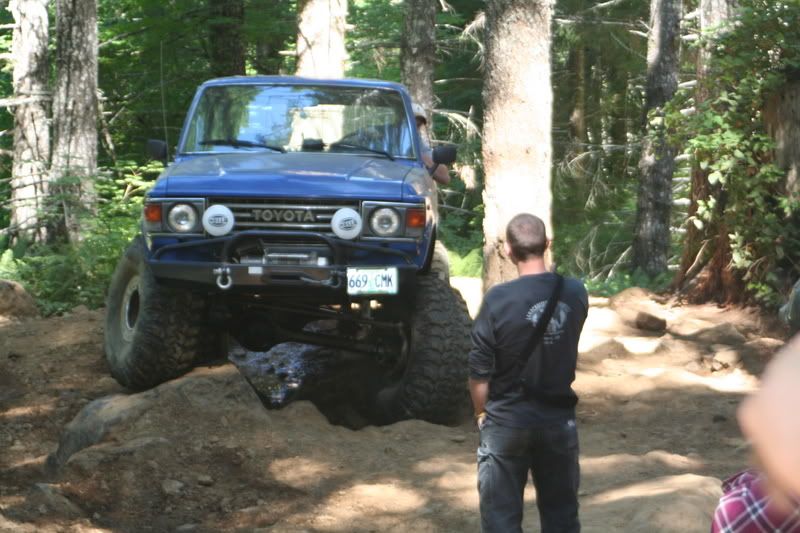
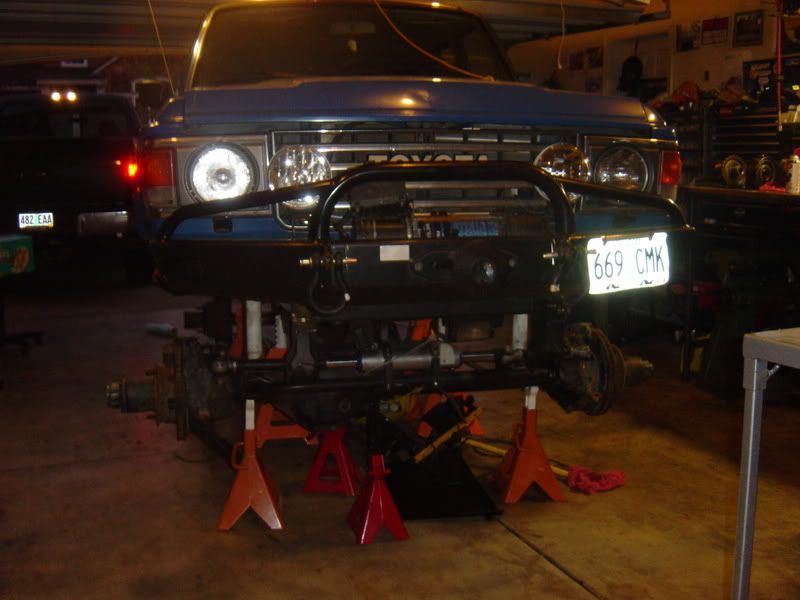
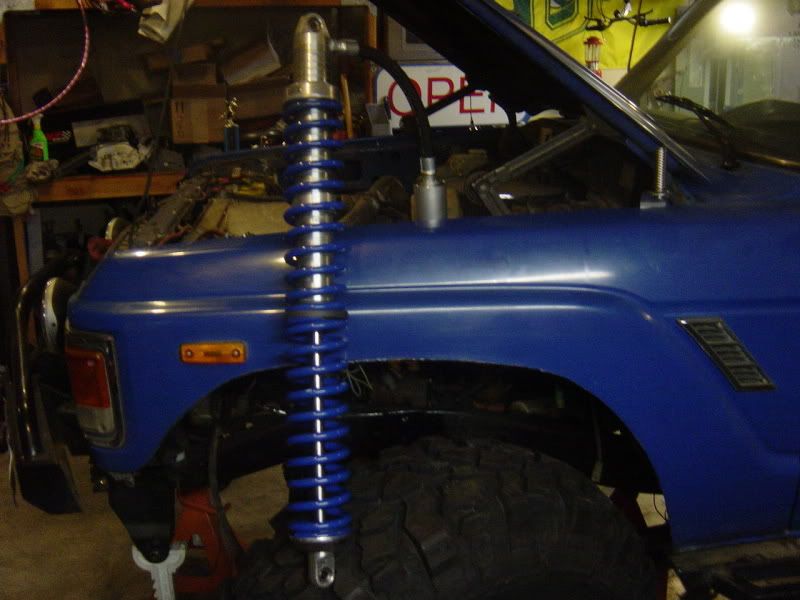
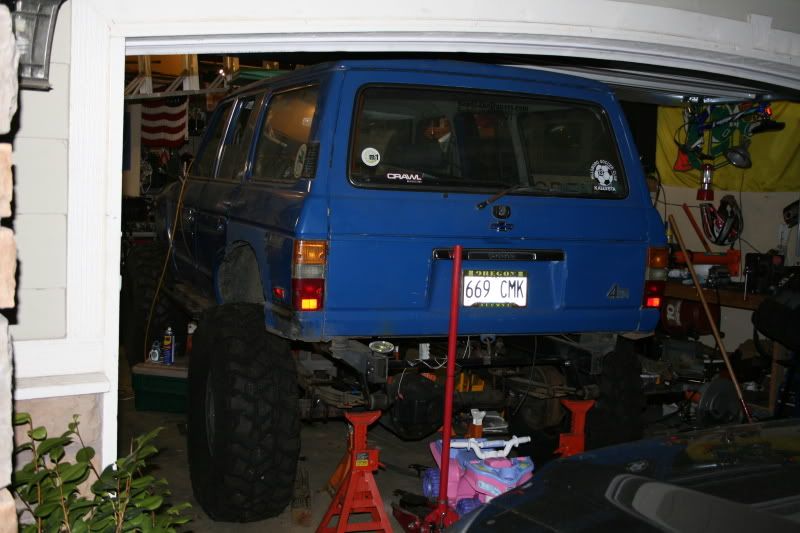
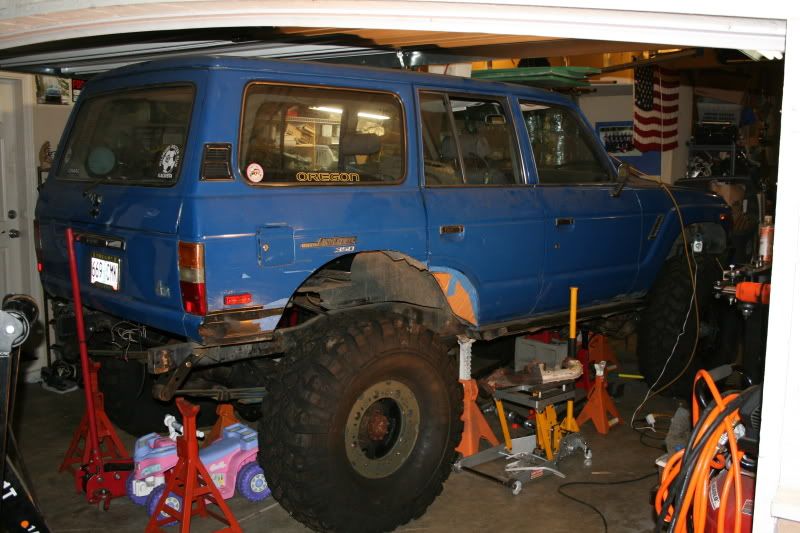
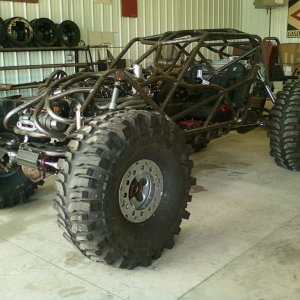
then I sprung it over and got it 39s and a th350
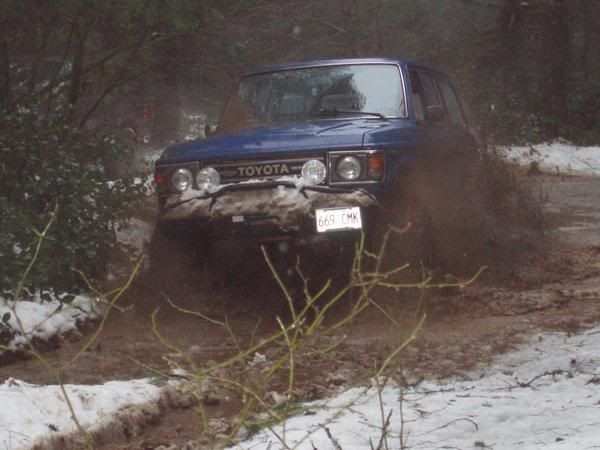
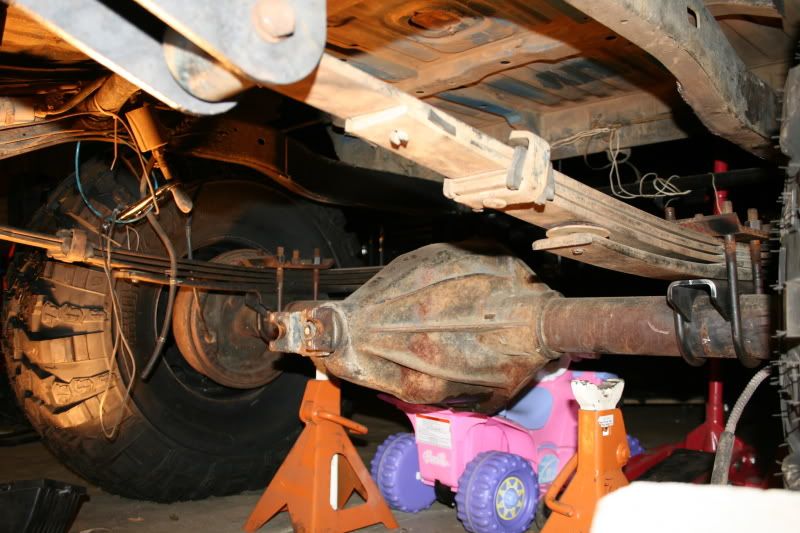
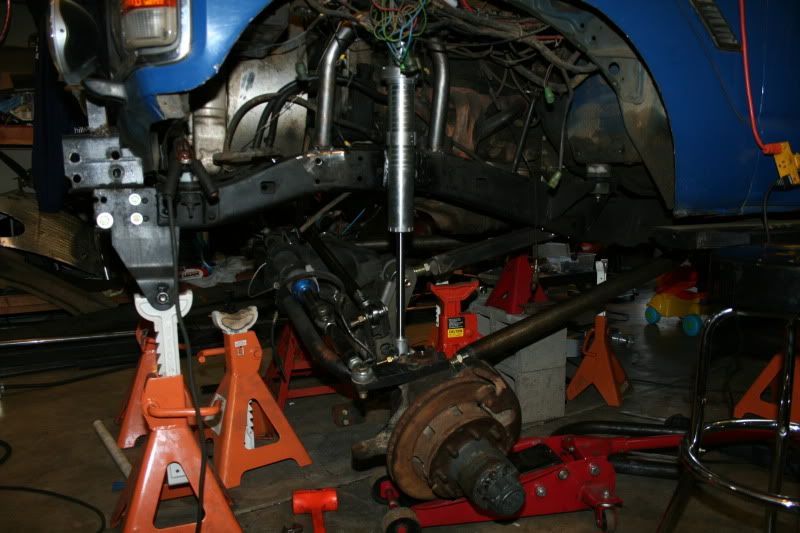
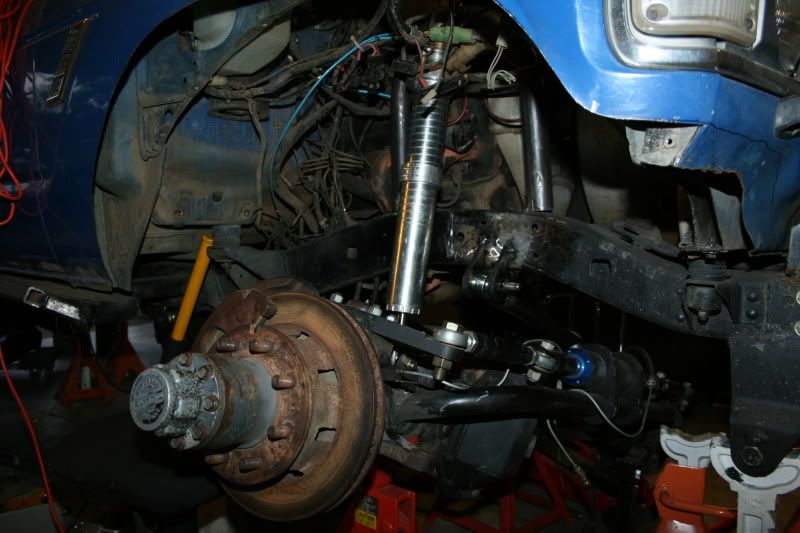
Brownscamp047.jpg


cruiserlean.jpg


l_03df6497eda75f3f29e797c5904d3db1.jpg
 
that led to a d60 with full hydro steering, rear d70, 203/205 doubler, etc.

I ended up tearing down my th400 to swap the output shaft to work with the 203 input:

To make everything work for a 203/205 I had to get the right output and adapter.

removed the pump bolts:

001.jpg


I reached up with the back of my ratchet and ever so gently popped out the pump:

020.jpg


next I pulled the pan:

002.jpg


which exposed the valve body:

003.jpg


and the roller thingamagig:

008.jpg


speedo:

006.jpg


then pulled the valve body... the suggested way was to do them evenly:

009.jpg


this was in one of the valve body tubes:

011.jpg


valve body on the table:

012.jpg


and what's underneath:

013.jpg


lots of little paths and steel balls:

014.jpg


removed the servo:

018.jpg


017.jpg
 
now it got interesting... I tried to pull everything out in chunks.

First was the foward clutch which came out pretty easy:

021.jpg


and out

022.jpg


and then the direct clutch. it was also pretty easy to remove:

023.jpg


I forgot to take a picture of removing the band but basically there is just a little pin to move and then it come straight out...

then the intermediate clutch. Kinda tough to see but there is a snap ring that you have to move past the little stops:

026.jpg


then the biggest pain... the center support snap ring.

027.jpg


but I won:

028.jpg


then I took the planetary out and removed the snap ring and switched the shafts:

planetay with the long shaft

029.jpg


the guy on pirate clamped down to remove the snap ring so I did the same thing:

031.jpg


the two shafts compared:

032.jpg


new shaft installed:

034.jpg


the mess:

036.jpg
 
then it was time to pull the fj gear:

DSC02053.jpg


pulled the toy junk... adaptor, toybox, splitcase. I

Picture002.jpg


Picture004-1.jpg


I got the d60 somewhat postioned under there:

Picture006.jpg
 
some more pics of the th400 going back together and some other progress pics...


DSC02089.jpg


DSC02088.jpg


DSC02090.jpg


trim lines:

DSC02077.jpg


Bumper looks like it'll be for sale soon:

DSC02097.jpg


Front shot:

DSC02095.jpg


started taking the H1's apart:

DSC02091.jpg


DSC02092.jpg
 
DSC02103.jpg


Got the shift kit installed. I went for the "street" shift which is supposed to be the most firm. I hope that it doesnt end up breaking my teeth when it shifts:

DSC02104.jpg


DSC02105.jpg


DSC02106.jpg


Primed:

DSC02107.jpg


DSC02108.jpg


Painted:

DSC02110.jpg
 
little more progress with swapping some of the 205 stuff.

Case:

DSC02113.jpg


Tear down:

DSC02114.jpg


DSC02115.jpg


DSC02116.jpg


DSC02117.jpg


DSC02118.jpg


DSC02119.jpg


DSC02120.jpg


front output out:

DSC02121.jpg


old vs new 32 spline:

DSC02122.jpg


Rear tailshaft assembly

DSC02123.jpg


this needed to come out

DSC02125.jpg


off:

DSC02126.jpg


DSC02128.jpg


I remembered to account for the fatty needle bearings (15)

DSC02130.jpg


apart:

DSC02131.jpg


Removed the shift rail pins:

DSC02132.jpg


then frustration set in... I could not get the shift rail out. Before I knew it and had the BFH out and started pounding on it. Still nothing. I decided to take a break and quit pounding on it and see if there was a better solution to getting it out.
 
then I got the ol' sawzall, plasma, and grinder out to start to remove the old brackets:

DSC02139.jpg


DSC02140.jpg


cutoff the old exhaust:

DSC02141.jpg


DSC02142.jpg


ThenI put some more work into swapping the front output shaft to the 32spline:

DSC02143.jpg


needle bearings are a pain:

DSC02144.jpg


DSC02145.jpg


DSC02146.jpg


buttoned up:

DSC02148.jpg


started putting the 203 doubler stuff together:

DSC02150.jpg


ARB came... Randy's ring and pinion is cheap and fast!

DSC02151.jpg
 
More on the 205:


Shift fork installed:

DSC02168.jpg


then I had to back up... forgot to install the short input shaft first:


DSC02170.jpg


then the fork and sliding gear:

DSC02169.jpg


together:

DSC02172.jpg


snap ring installed on other side:

DSC02173.jpg


then the shift rail pins by lining up the forks and the holes in the shafts:

DSC02182.jpg


DSC02184.jpg


then installed the bearing and snap ring on the output shaft:

DSC02174.jpg


the stuff for the output shaft:

DSC02175.jpg


it was easier to prop up the case to drop it in:

DSC02176.jpg


looking down:

DSC02177.jpg


then the thrust washer:

DSC02178.jpg


then the high gear:

DSC02179.jpg


then dropped in the shaft:

DSC02180.jpg


backside:

DSC02181.jpg


DSC02186.jpg


rear output bearings...

DSC02188.jpg


DSC02190.jpg


some paint:

DSC02191.jpg


doubler bearings for the 203:

DSC02192.jpg
 
finished up the doubler.

DSC02207.jpg


I didnt bolt it together yet because I'm not sure about how I'm going to clock it yet. I need to set the front end up first... this stuff should help with that. :)

DSC02204.jpg
 
DSC02223.jpg


DSC02222.jpg


DSC02220.jpg


gotta figure this out too... it just kisses the link but with more weight on the tire I imagine that'll bubble out on it more:

DSC02226.jpg


updated link calc which is pretty close to real world:

3linkupdate.jpg
 
bit more progress today with a couple other cruiser heads:

Cut out the plate for boxing the frame

IMG_4658.jpg


IMG_4659.jpg


after a lil' trimmin:

IMG_4660.jpg


tacked:

IMG_4662.jpg


other side:

IMG_4663.jpg


tank dropped:

IMG_4664.jpg


intermission with Mike's bad ass 60 with a turbo 4bt:

IMG_4666.jpg


IMG_4661.jpg


cut the holes for the sleeves (rear shackle mount).

IMG_4668.jpg
 
some more eye candy...

IMG_4712.jpg


so finally I got off my rear end a bit (after a little rock band with the family) I spent a little time on the cruiser:

IMG_4810.jpg


my cut off wheel is soon becoming my favorite tool. I'm committed now.

IMG_4815.jpg


If you look closely you can see that I got the sleeves welded in and the spring hung. The front perches aren't fully burned in yet.

IMG_4812.jpg


Got to figure out the fuel cell:

IMG_4817.jpg
 
started with doing a bench mockup of the cable shifters:

casesmockshifter.jpg


shiftermockup.jpg


AND.... its even off the rear jack stands and on its own to rear tires again!!! If you look closely you can see the space from the frame to the jack. :)

offthejackstand.jpg


Rear shackle angle:

shackleangle.jpg


yeah... so it got a little tight in the garage when its sitting on the 42s so I improvised with my hot knife (I had no choice the garage door couldnt go up or down) My wife is going to kill me if she find out before I can get to Home Depot:

closegarage.jpg


Some other shots at ride height which is actually lower than when it was on 39.5s (frame height is about 26inches):

anothersideshot42s.jpg


rearshot42s.jpg


sideshotrideheight.jpg


Underneath... pinion angle is about right but I havent burned the axle perches yet.

pinionangle.jpg


The front end is pretty much mocked up but I'm waiting for a couple new brackets that'll work better from Ballistic Fab... so until then I'm going to tackle the crossemember:

crossmember-1.jpg
 
I got everything tacked up on the 3link to cycle the suspension and check for binding and most important that it all fits. Honestly I think in the end a 4 link up front would have been easier. I plan to mark everything and pull it apart. Then I'll add some scab plates in the necessary spots and fully weld everything up. Anyway pics:

Driver side at almost full droop:

004-1.jpg


Passenger at full bump with driver almost at full droop:

005-1.jpg


006-1.jpg


007-1.jpg


full bump gets pretty cramped. The harmonic balancer comes about an inch or so of the panhard.

013-1.jpg


017-1.jpg


Ram gets close to the pulley but still has a bit of wiggle room:

018-1.jpg


Passenger at droop:

021-1.jpg


I ended up with about 5 inches of bump @ 26 inches at the frame. Not too shabby for a full frame'd rig with leafs in the rear. Its actually lower then it was with the 39.5s and SOA (running 42's now).

024.jpg
 
Top