• Help Support Hardline Crawlers :

FJ60 build

Got a bit done on the front axle. I needed to get the arb in, upgraded axle/joints, and replace the inner seals as the passenger side was leaking.

First I got the axle pulled and torn down:

1007415417_photobucket_15927_.jpg


Then I talked Justin (jnau99) into helping me (or me trying to help him is more appropriate) install the arb as I had no idea where to start. We popped out the old carrier and then proceeded to try to pull the seals. My HF puller wasnt up to the task so Justin did some quick repair work on the POS... I cant believe he took the time try to save it but it works a bit better now.


1007415417_photobucket_15422_.jpg


1007415417_photobucket_15996_.jpg


1007415417_photobucket_16002_.jpg


We didnt have the case spreader or the nice bearing puller that day so we did the best we could. We were close but ended up with too tight of backlash... it was weird though because we werent able to really feel or measure any backlash at the ring gear but you could reach down and feel quite a bit in pinion yoke. I'm not sure what that means though. Hopefully I can talk Justin into coming back and giving another run at it.

1007415417_photobucket_15929_.jpg


While the stock axles were out I compared them to the 35 splines that I picked up... BIG difference:

1007415417_photobucket_15992_.jpg


1007415417_photobucket_15993_.jpg


1007415417_photobucket_16009_.jpg


the stock dana 30 splines kinda look like upgraded toyota axles... puny. :flipoff2:

BIG BIG thanks for Justin for coming over and giving me a lesson on setting up an ARB. He even did it on Super Bowl Sunday. :smokin:
 
little more:

made a mount for the reservoir:

1007415417_photobucket_16694_.jpg


I mounted it here... wasnt my first choice but space is at a premium now and it needed to be directly over the pump.

1007415417_photobucket_17904_.jpg


Mounted the cooler:

1007415417_photobucket_17908_.jpg


Arb is in and plumbed:

1007415417_photobucket_17910_.jpg


I have to say that the case spreader and Yukon bearing puller (borrowed) made things pretty nice to do it.

1007415417_photobucket_17917_.jpg
 
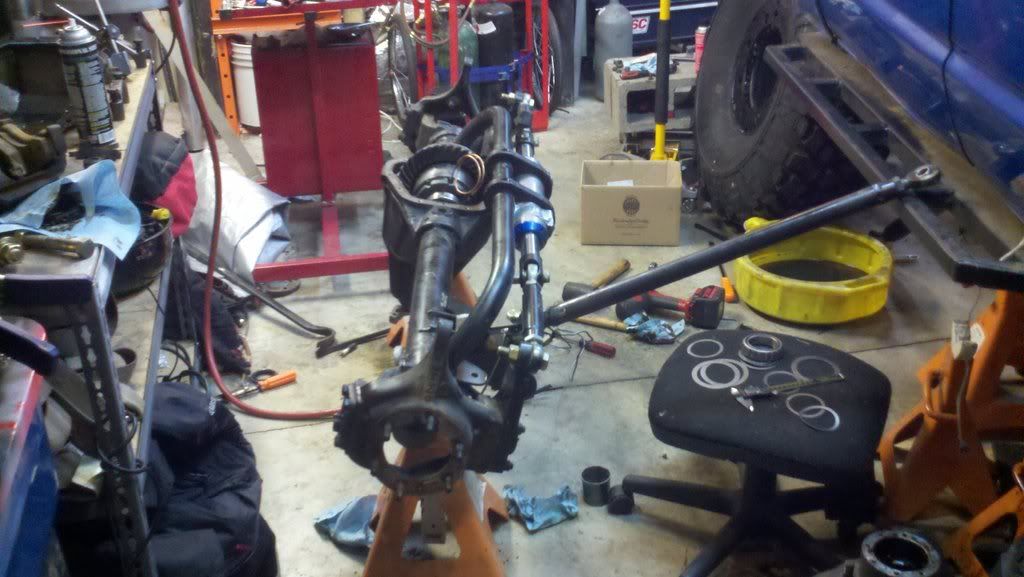
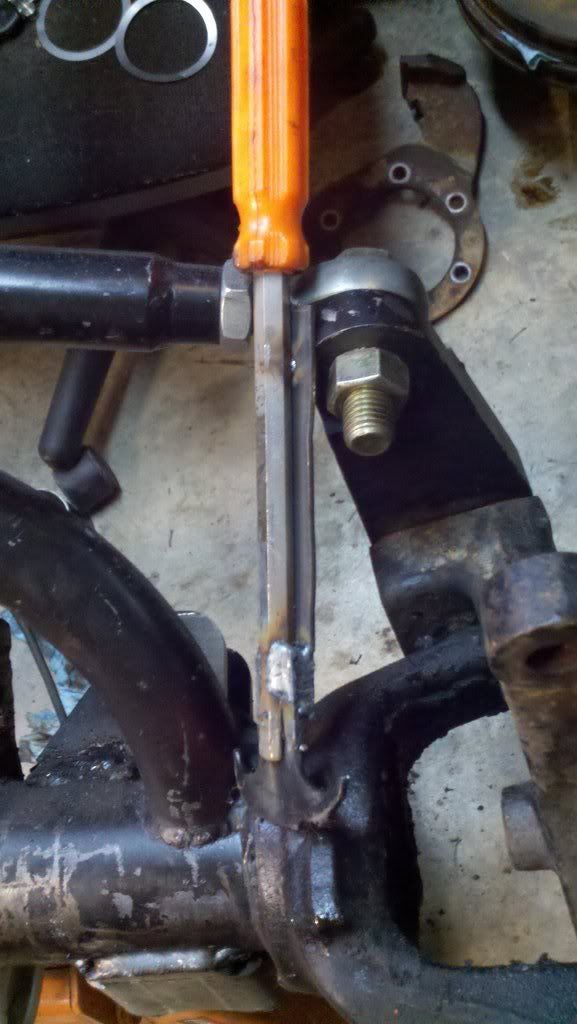
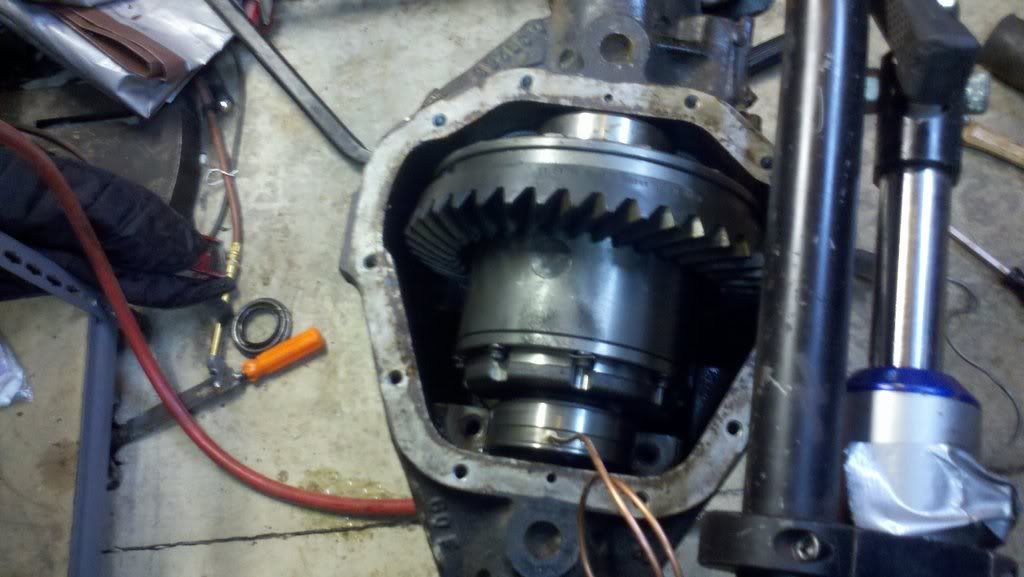
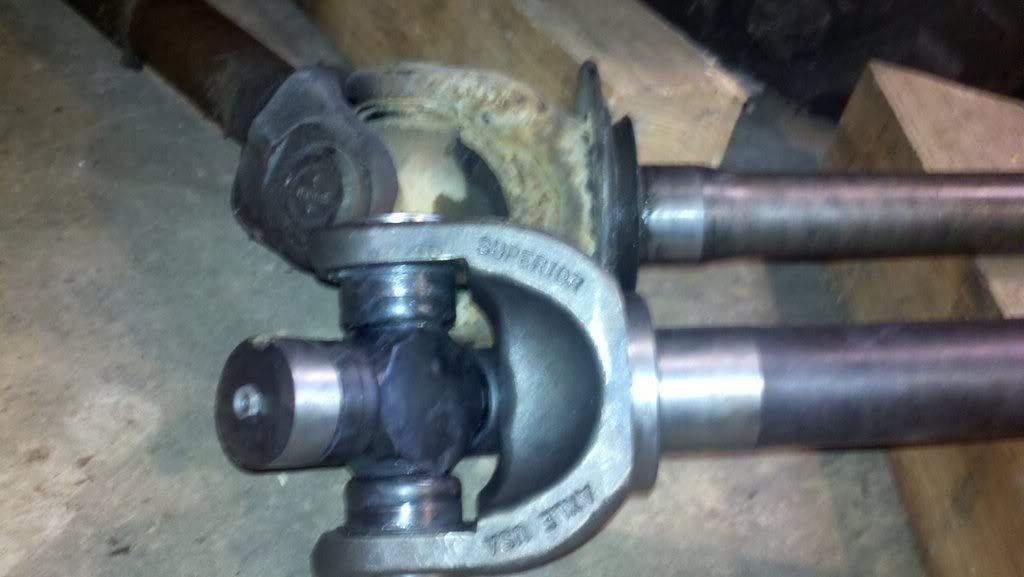
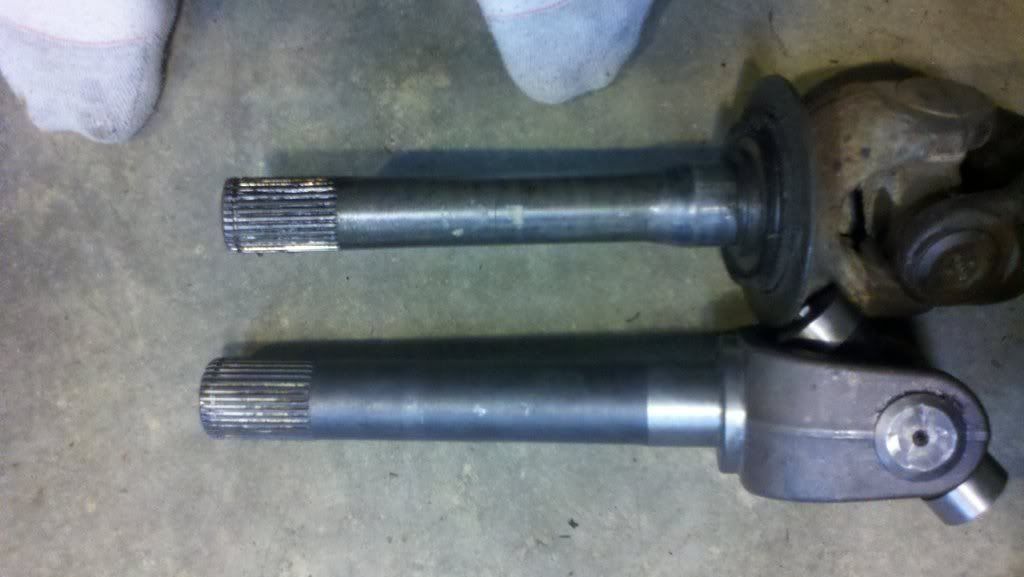
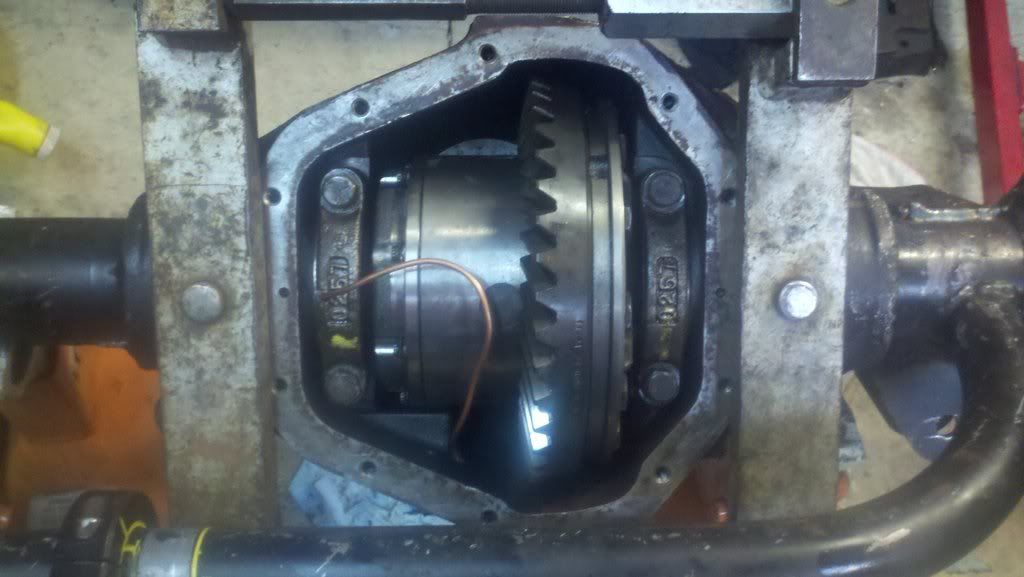
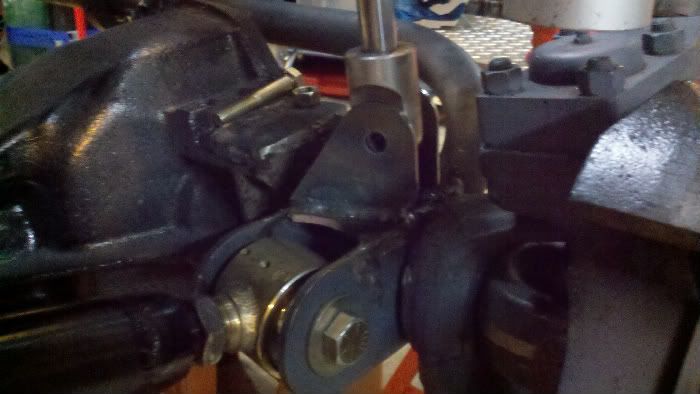
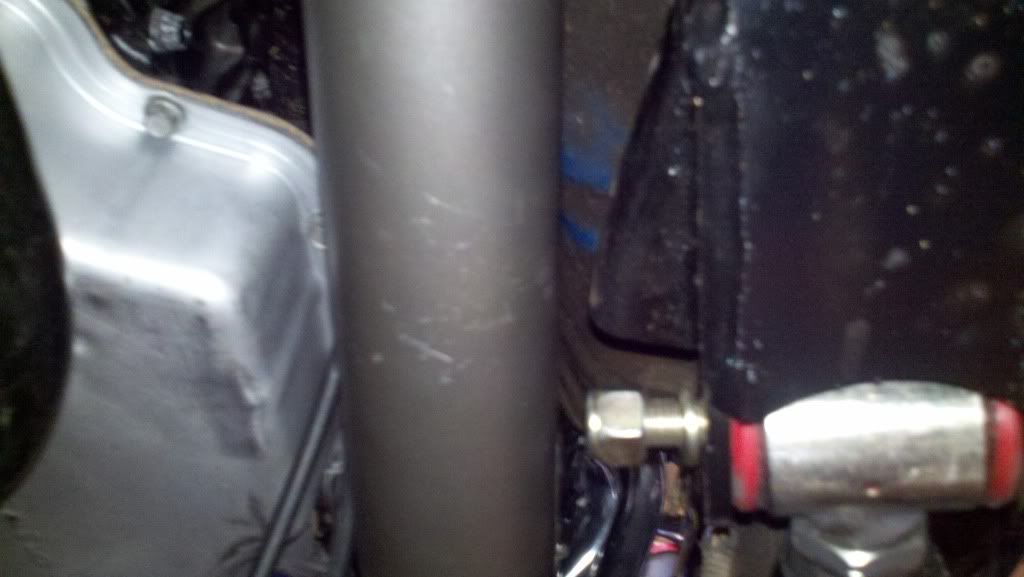
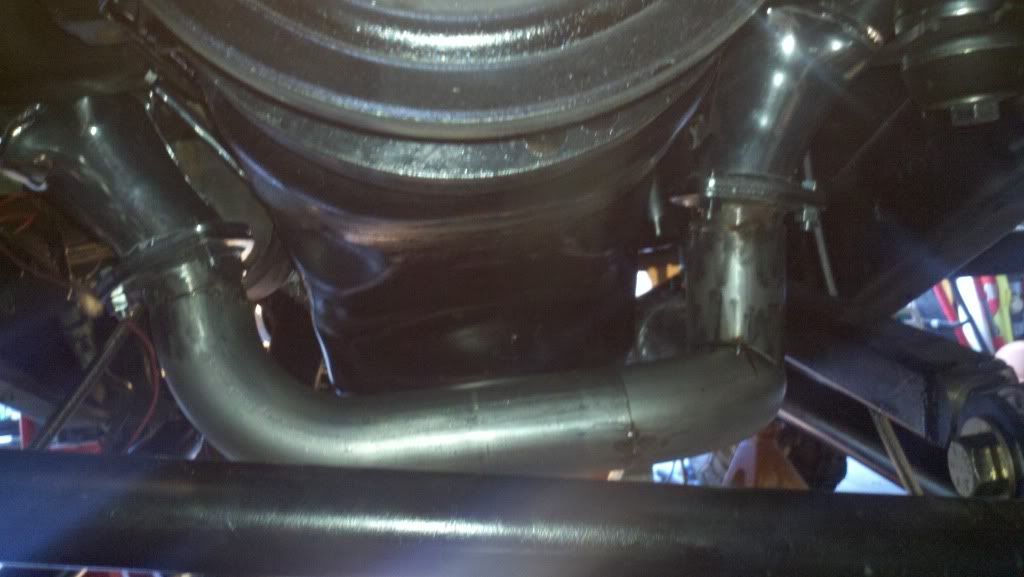
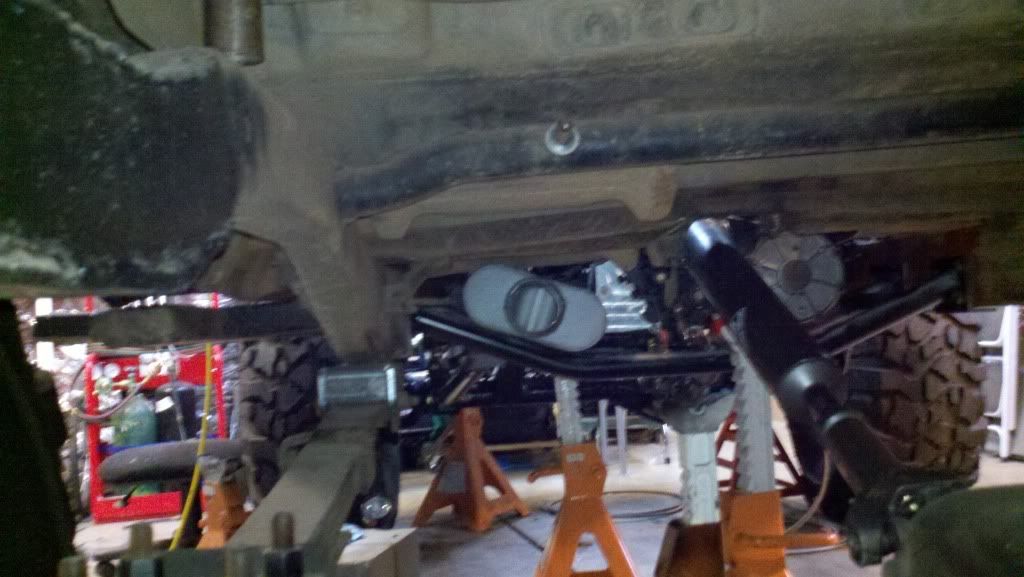
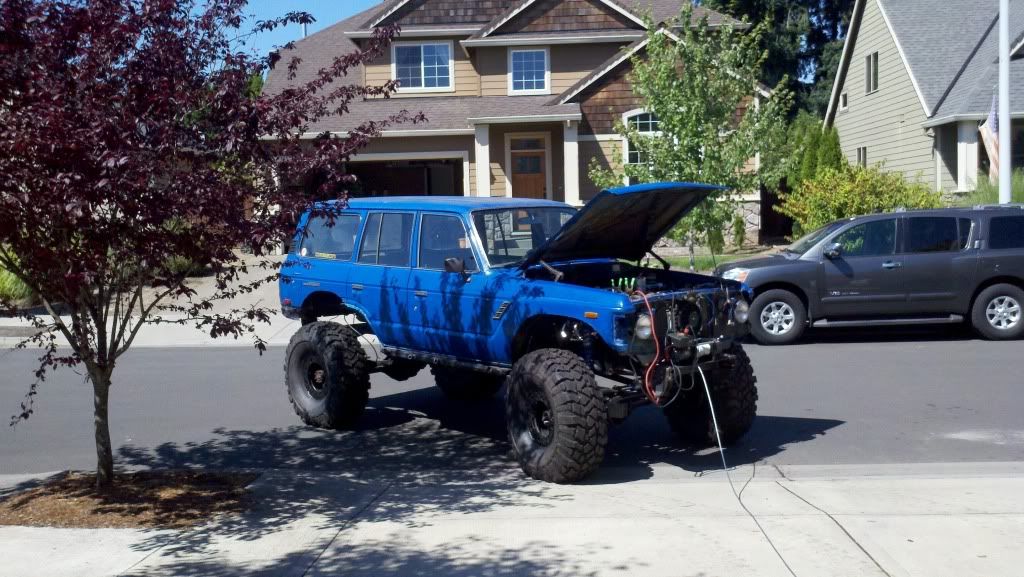
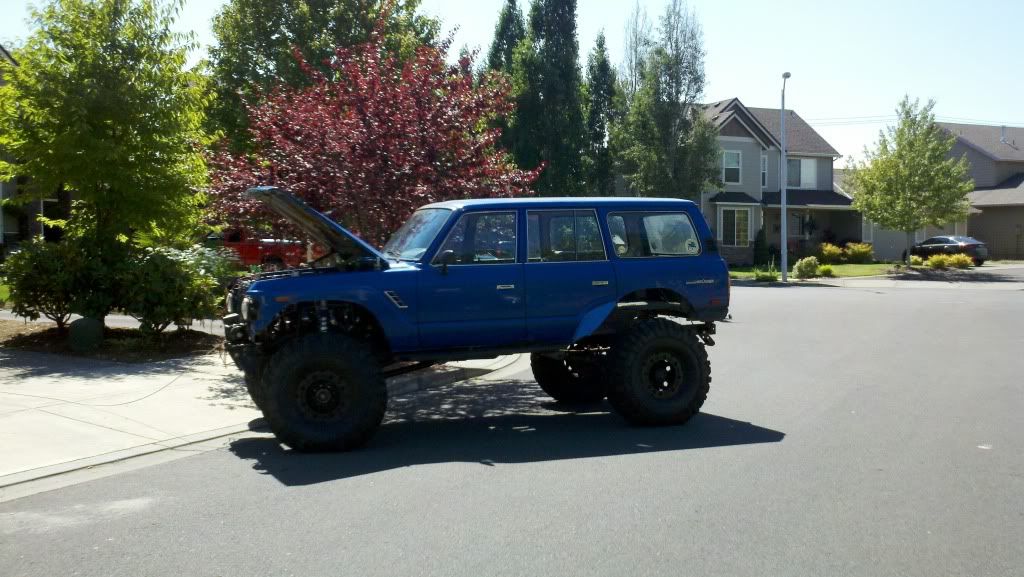
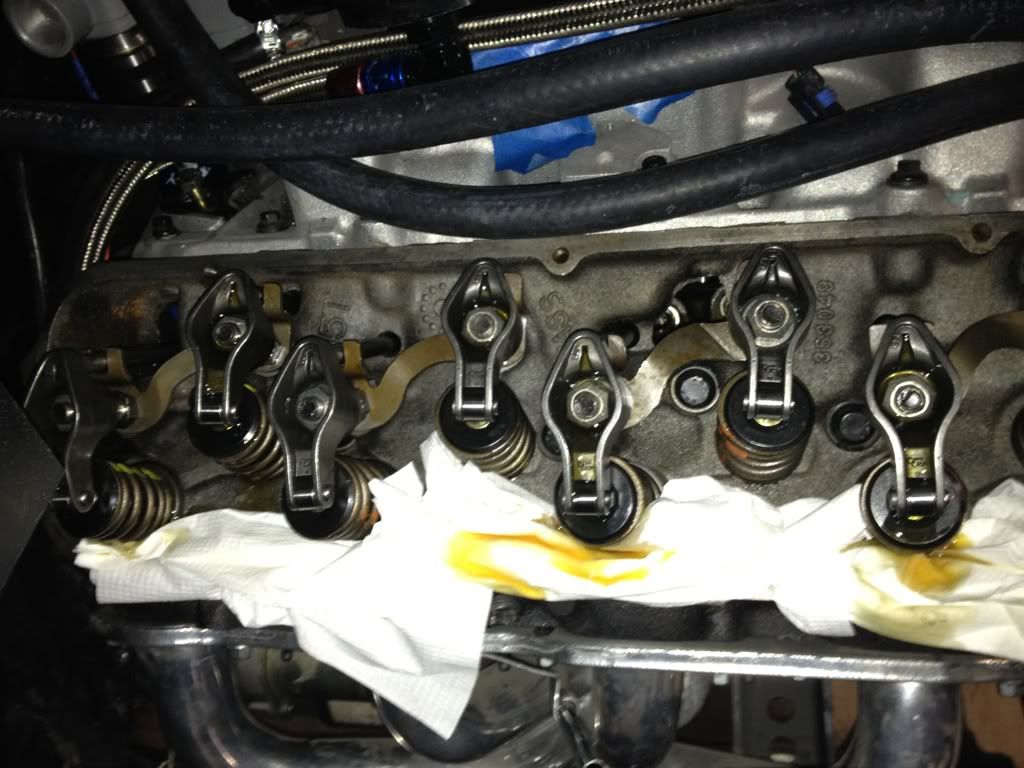
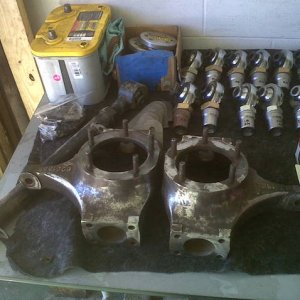
couple questions for those who are following still... While the front axle has been pulled I went ahead and inspected the wheel bearings, seals, etc. Everything looked decent but I decided to replace the spindle needle bearings in favor of the Longfield nylon bushings.

http://www.longfieldsuperaxles.com/products/New-Dana-60-&-44-Spindle-Bushings.html

It looks like it replaces most of the seals but I wondering which ones I'll still need. I posted something in the vendor section but havent seen anything posted back yet. Which seals out of the the "spindle kit" do I still need to use after installing bobby's bushings?

spin%20kit.jpg


and still run these right?

slinger.jpg


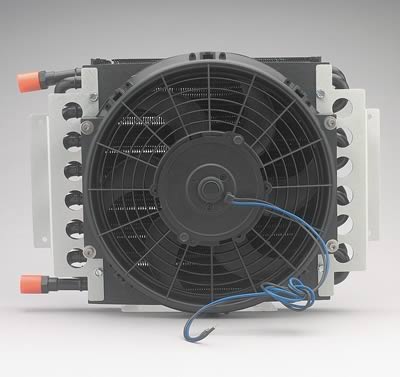
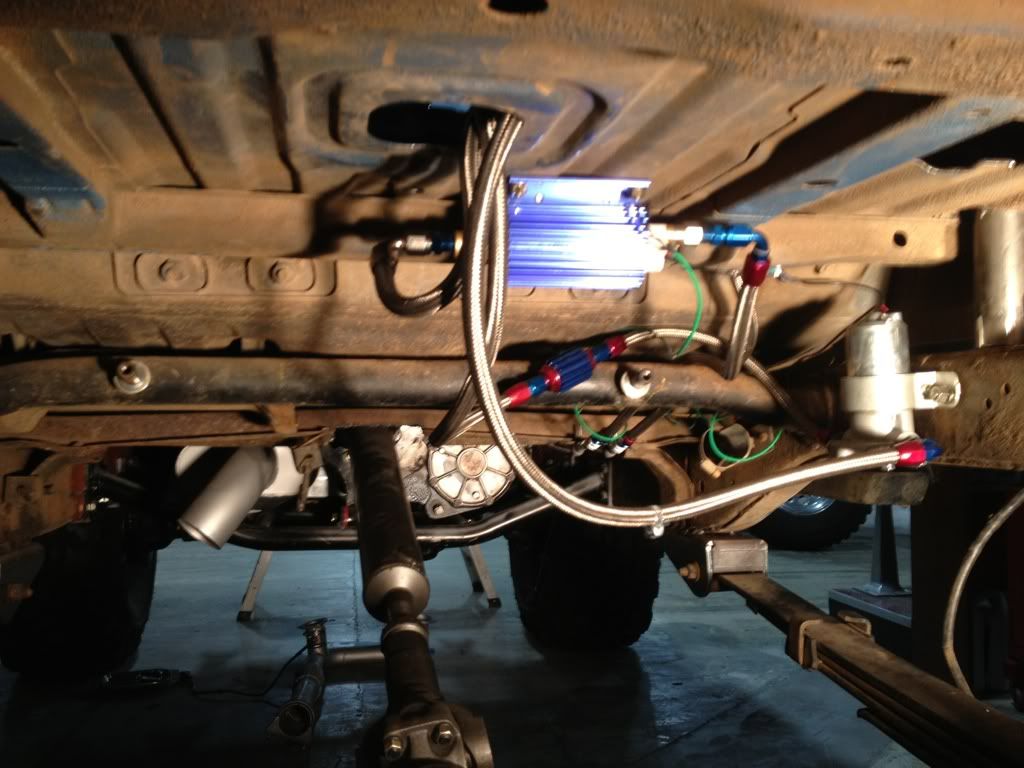
Next question is about transmission coolers/lines/fittings... I hate figuring out fittings. I have this cooler in -8an with the temp switch also in -8an:

der-15800_w.jpg


The cooler fan came with 8an to 1/2 barb fittings which I believe are for 1/2 rubber lines. My th400 is currently set up for hard lines from the housing (I'm pretty sure they are female 5/16ths). I also have 12 feet of 1/2" rubber tranny line already but I could be easily persuaded to use something else for ease of installation. I also need to get my fan switch and tranny temp gauge plumbed in as well.

I think the easiest way to go is just to use the rubber line but I'm having a hell of a time trying to find a fitting that will convert from the 5/16 fitting (that makes the hard line 3/8ths right?) out of the th400 to the rubber 1/2" hose. Anyone know if such a fitting exists? I know I could probably do it with a series of adapters but I would like to try to avoid that.

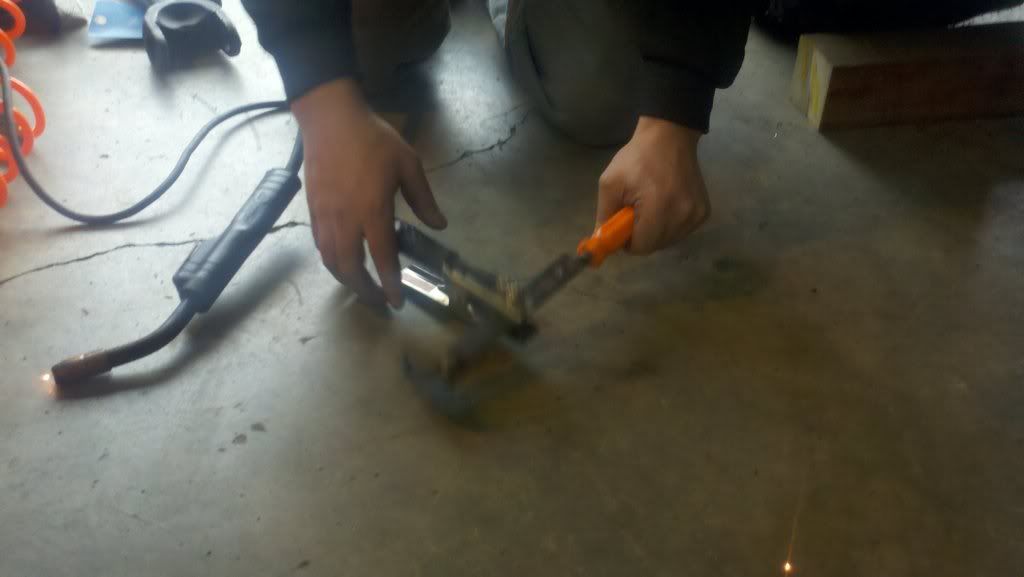
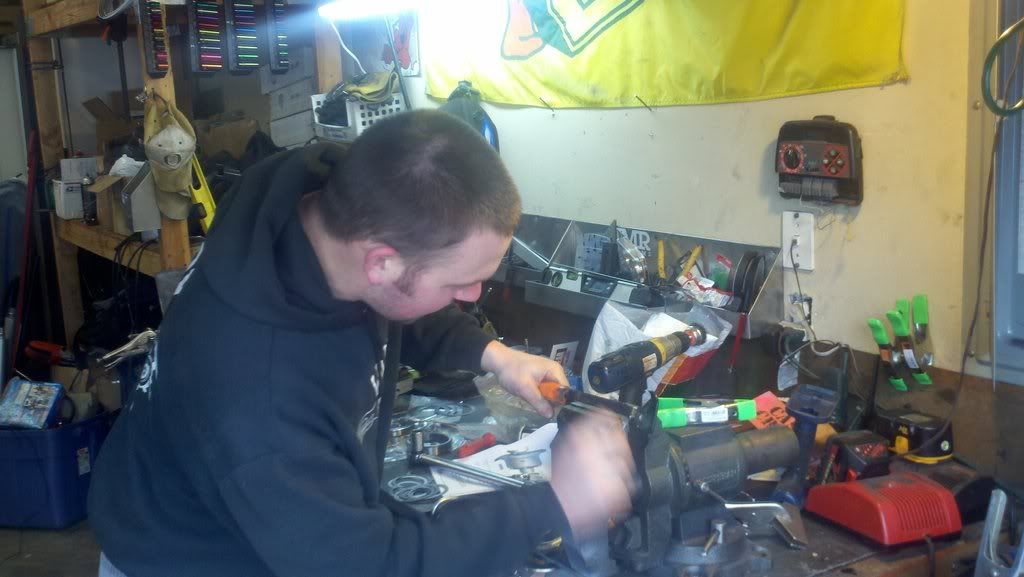
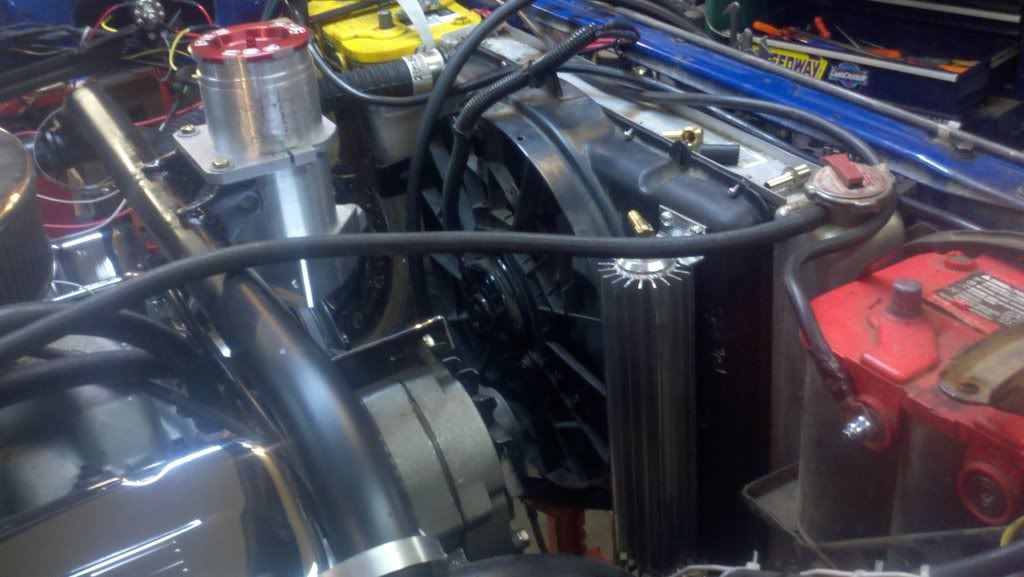
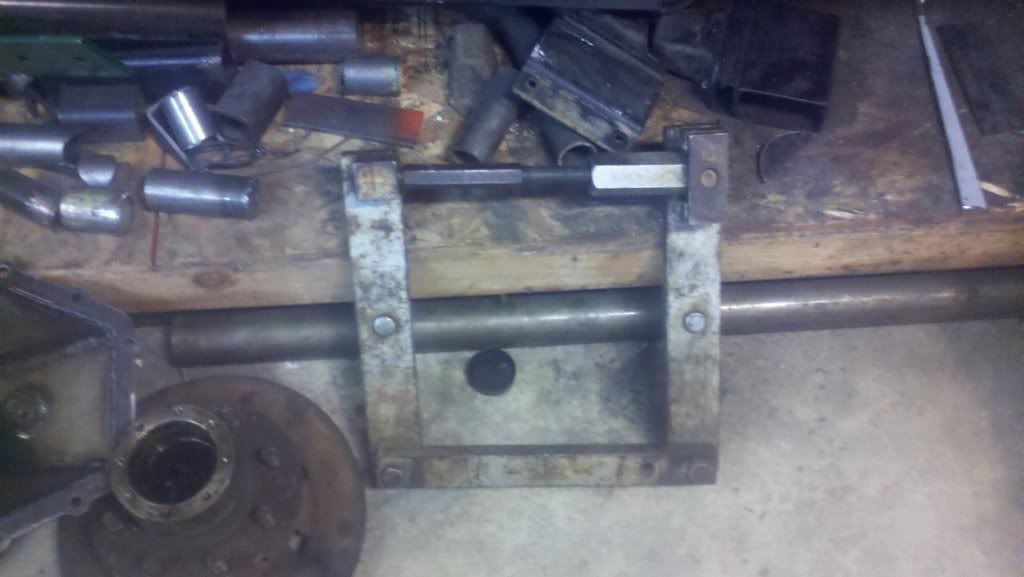
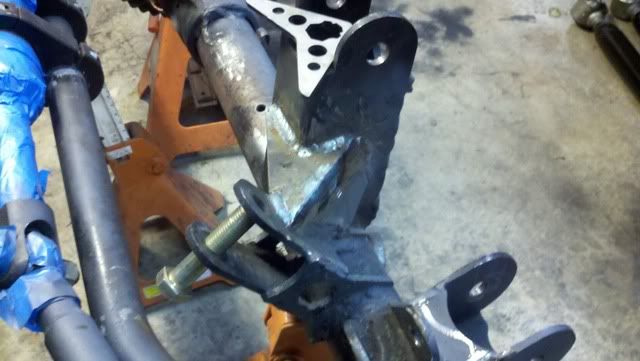
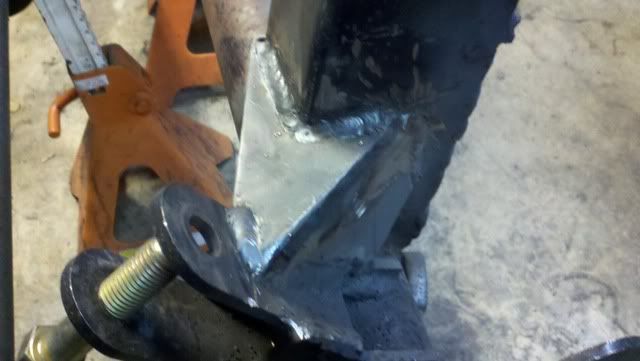
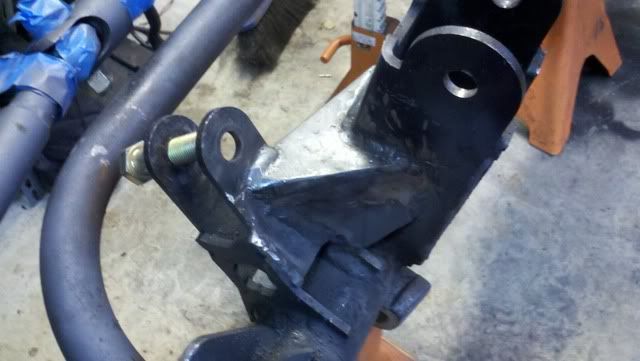
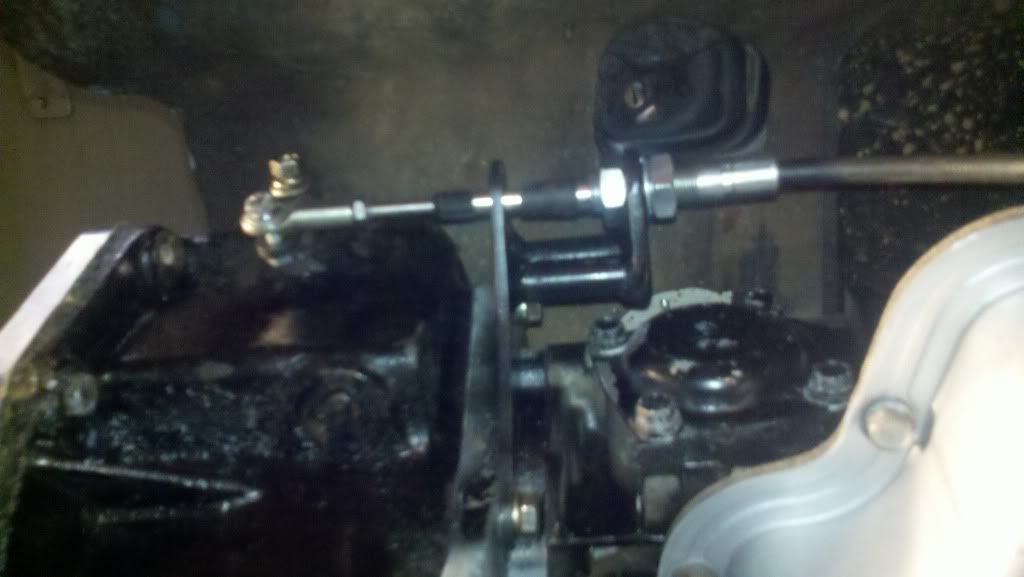
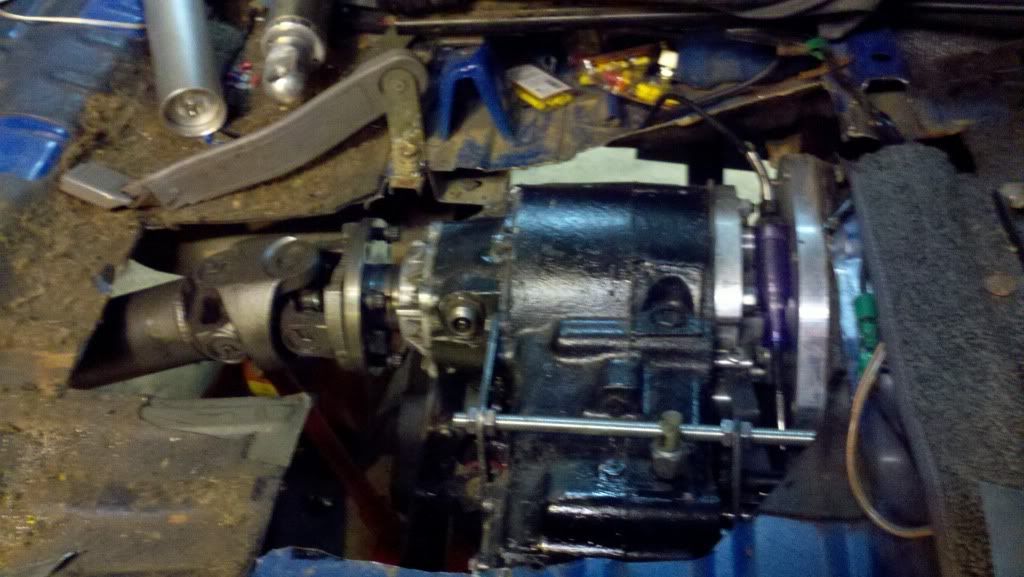
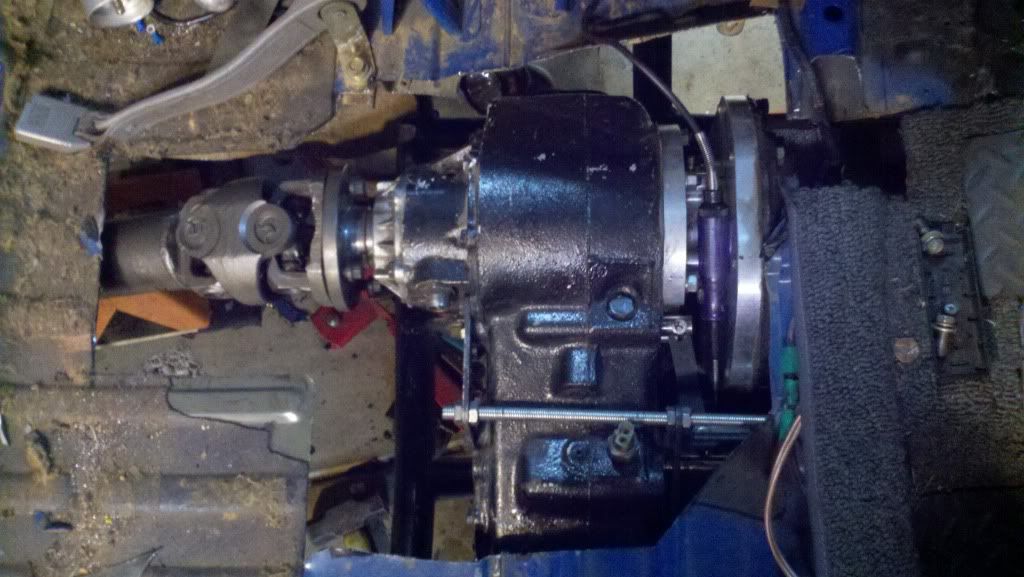
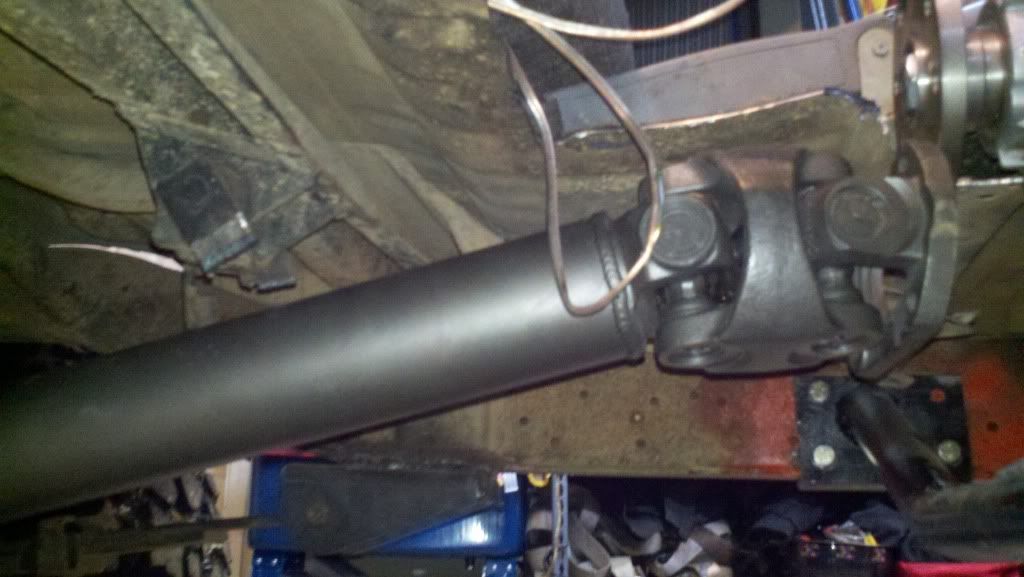
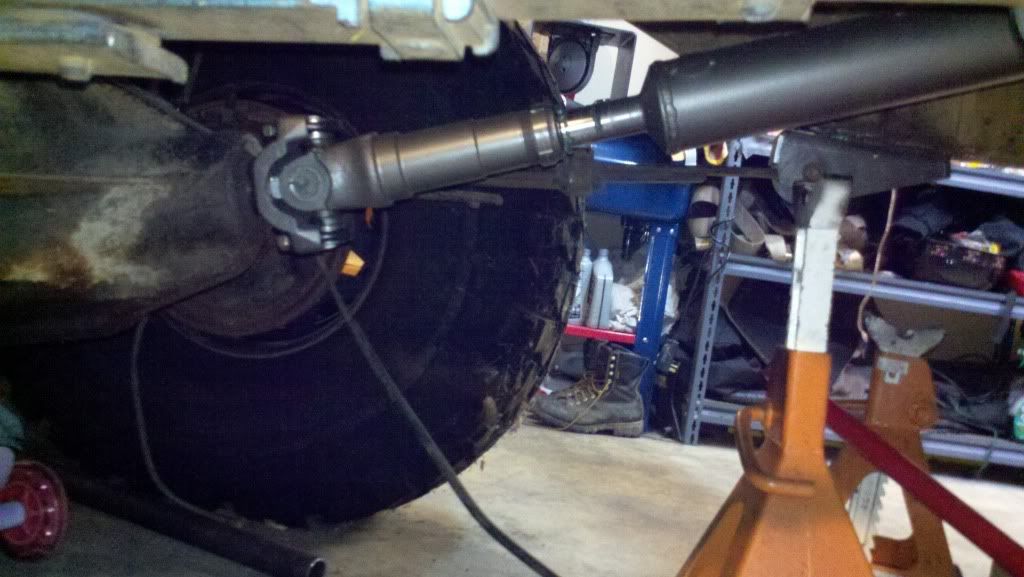
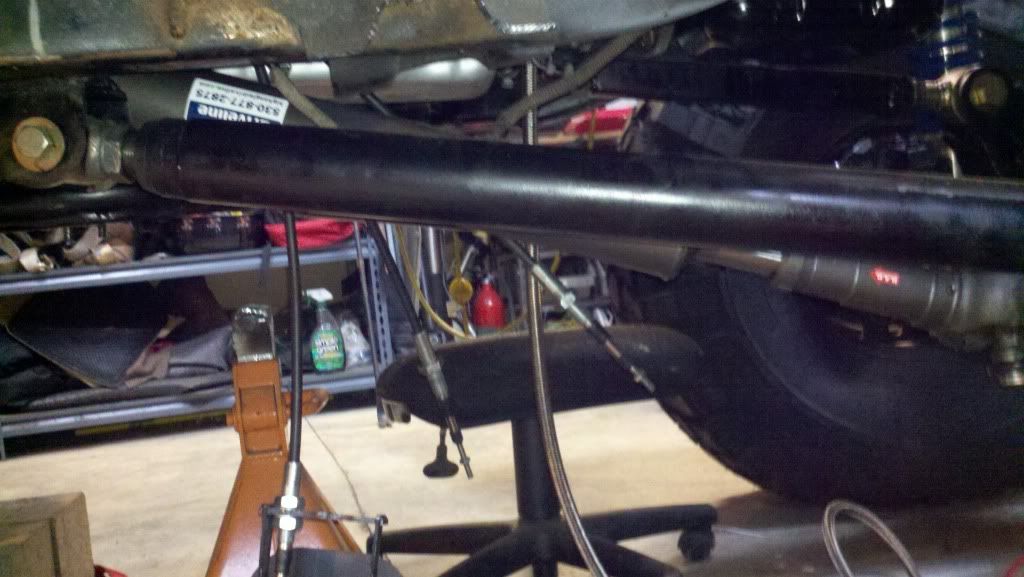
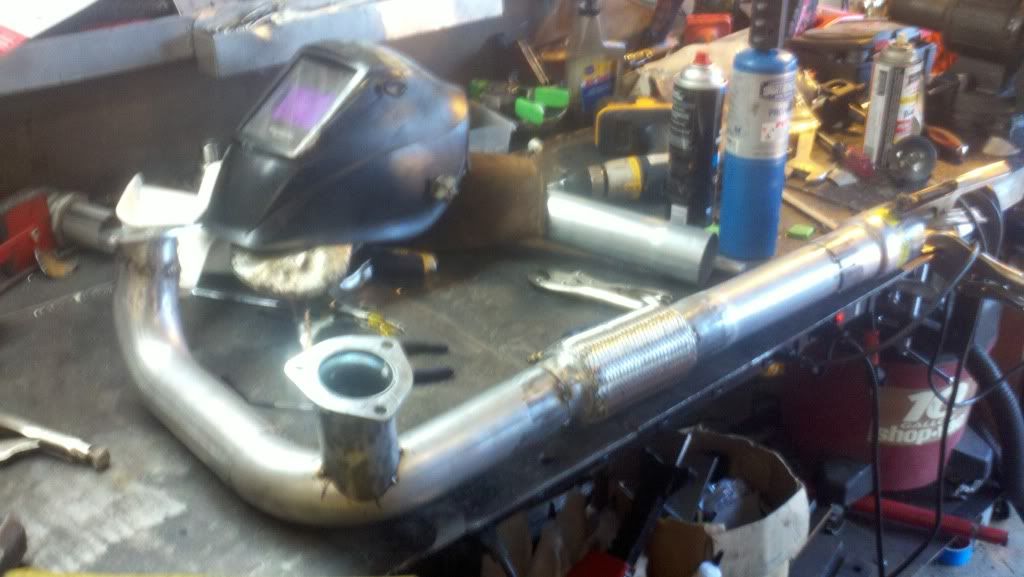
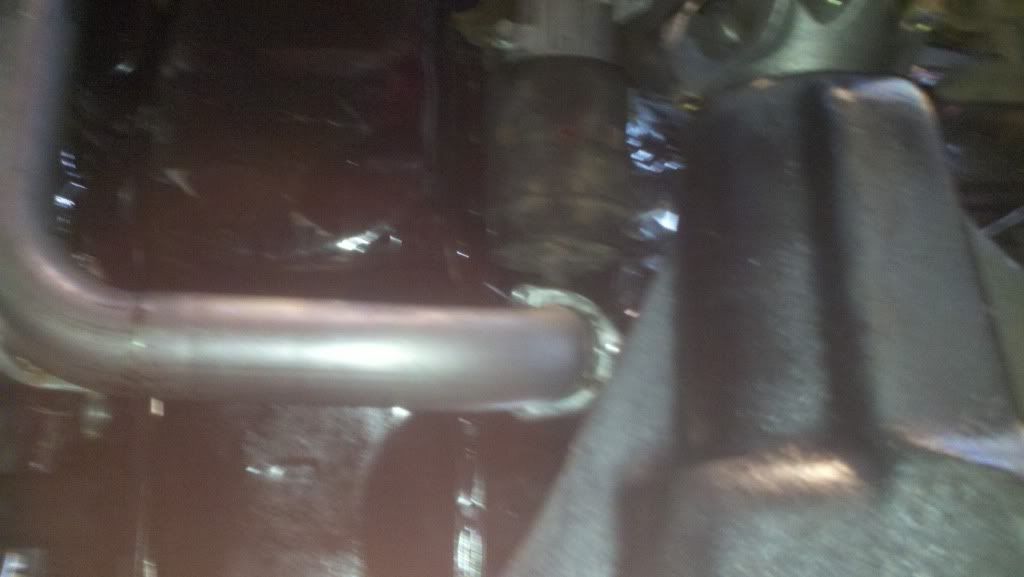
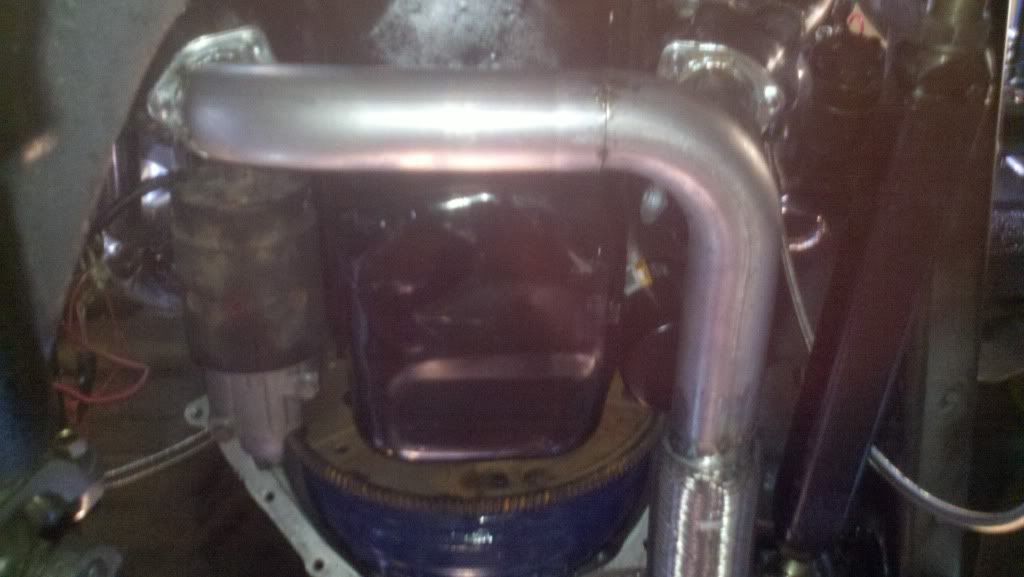
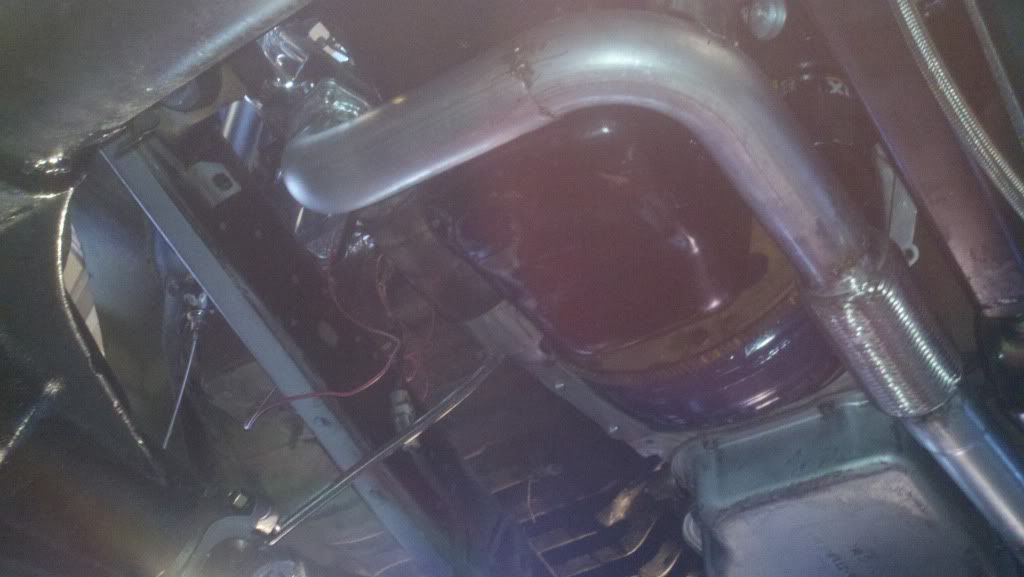
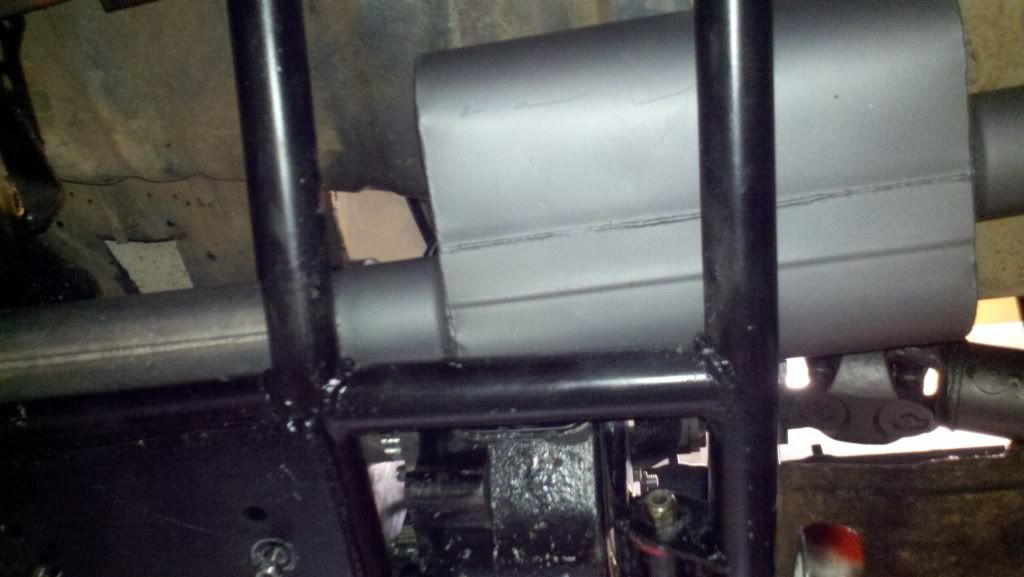
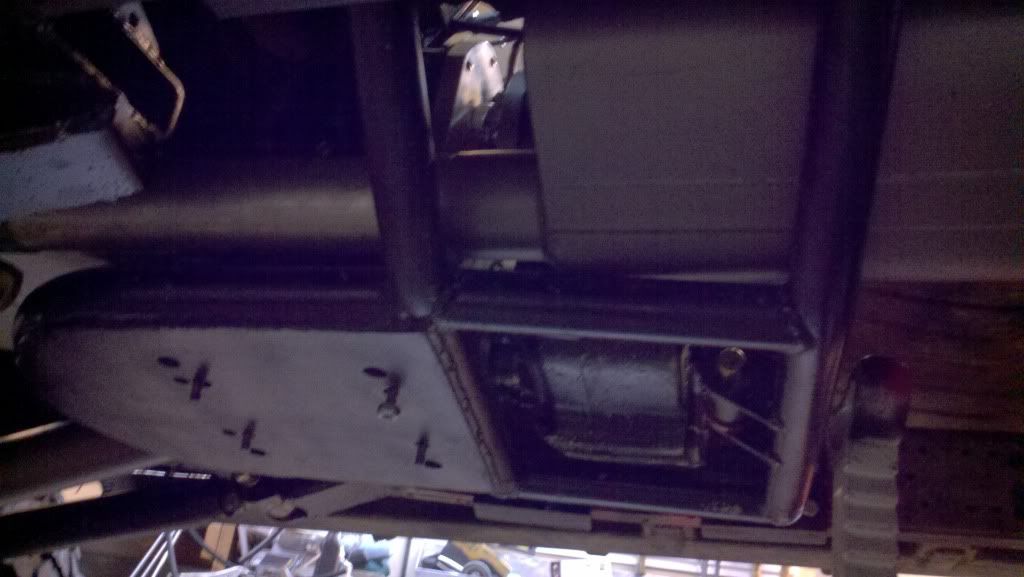
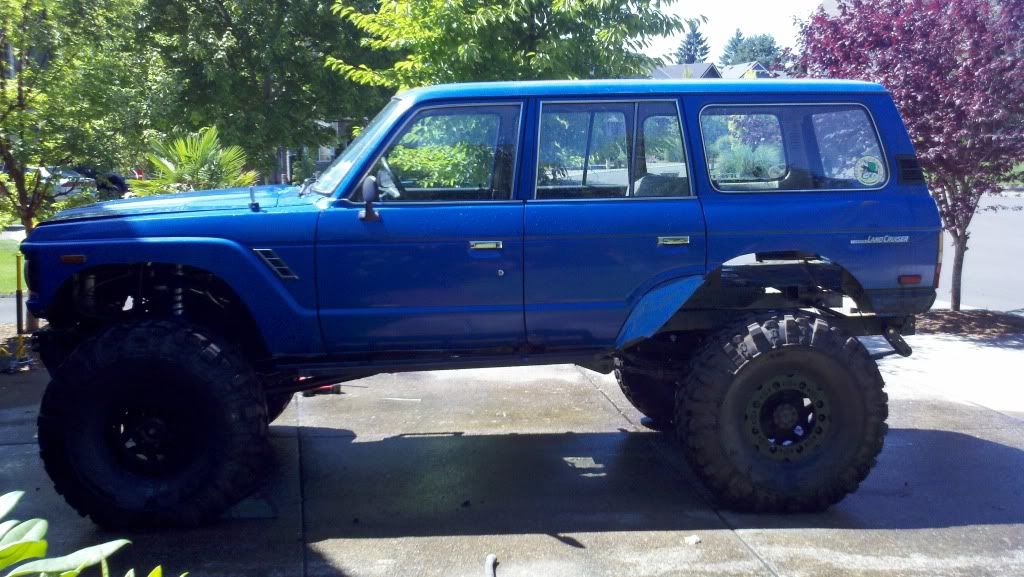
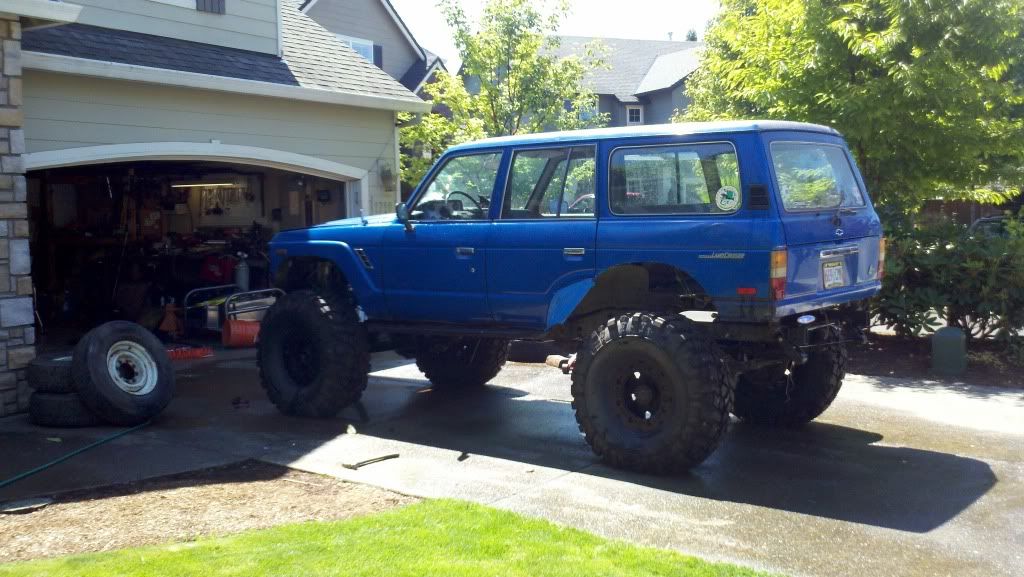
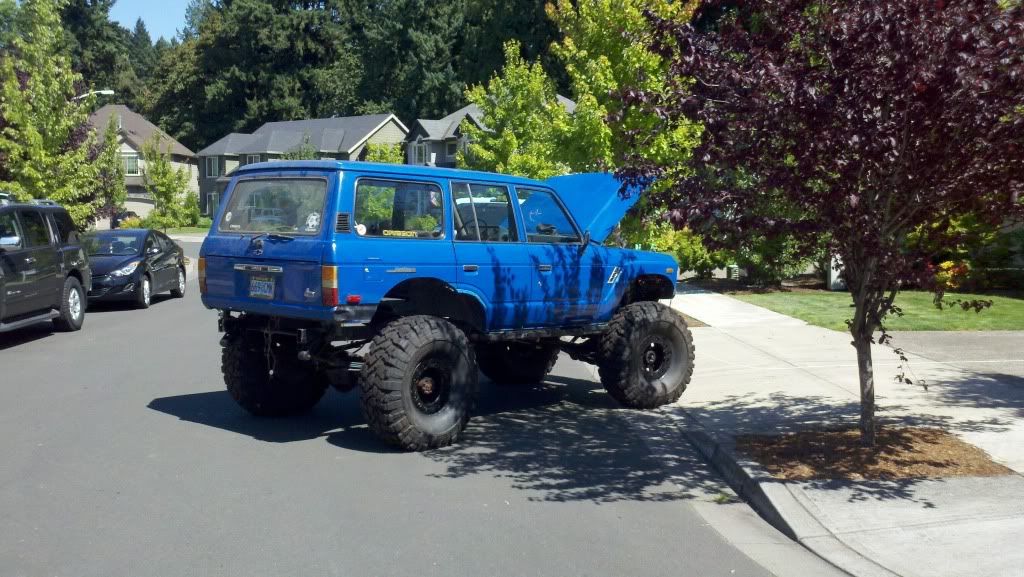
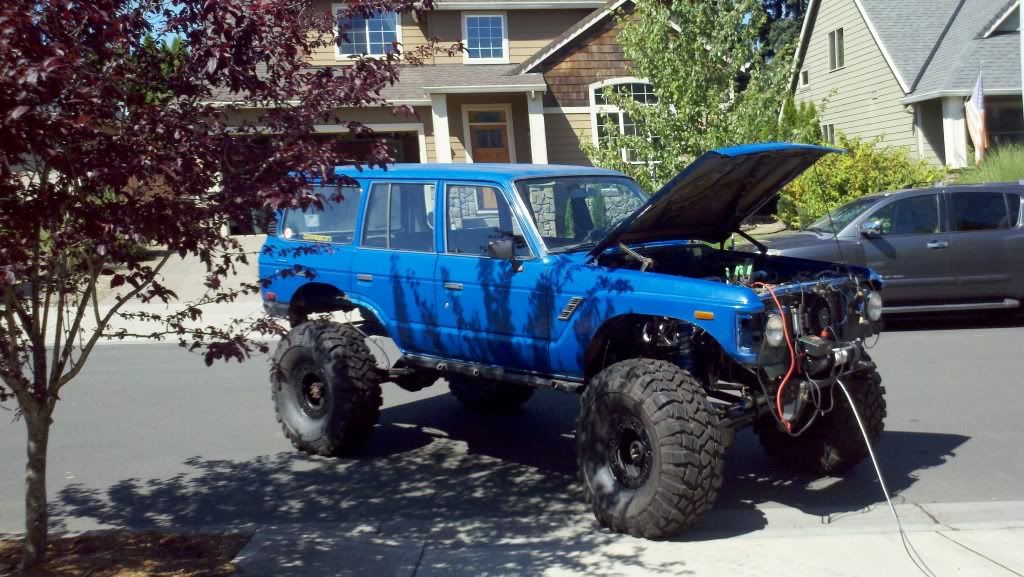
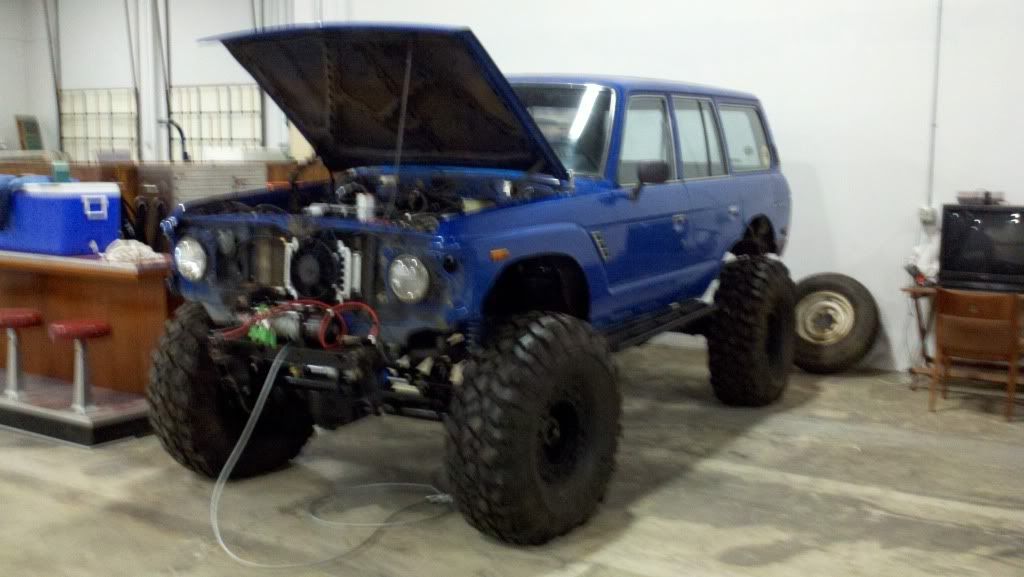
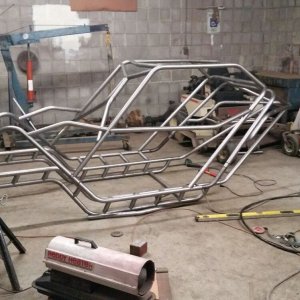
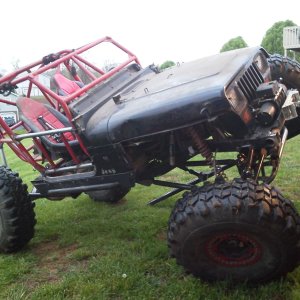
Other than that (just had a baby boy so the project has been put on the back back burner)... I've managed to press in some longer wheel studs, repack some wheel bearings, and clean up the front housing a bit. I thought it was tough to get out to the garage before... now I literally have to sneak out there in the middle of the night to get anything done. I swear I could have this thing back on the road if I had 2 or 3 solid weekends of wrenching with no distractions. Maybe I should send the family on vacation without me. :)
 
Any updates? This is bad ass. :awesomework:

I suppose a couple little things:

first I finally one the battle with my spindle bearings that I replaced with bobby's spindle bushings:

2011-03-31_06-27-05_500-1.jpg


Boxed and gusseted my panhard and 3rd link axle mounts. One more gusset will go on the 3rd link.

2011-04-03_23-25-51_591.jpg


2011-04-03_23-27-18_283.jpg


2011-04-03_23-28-15_69.jpg


I ditched the propane and went back to fool injection (powerjection 3 system)

found a powerjection unit/system locally:

2011-04-14_19-27-34_910-1.jpg


2011-04-14_19-28-58_164-1.jpg


2011-04-14_19-29-52_655-1.jpg


re-did my shock mounts:

2011-04-14_21-31-27_317-1.jpg


got the axle back under the cruiser:

2011-04-14_21-32-05_414-1.jpg


got a fuel cell and some trailer fenders from six states cheap. I'll do some cutting and fitting to make them work:

2011-04-14_21-32-43_702-1.jpg
 
got my surge tank and "lift pump". The idea of that is that the lift pump fills the smaller tank constantly and recirculates the extra fuel back to the bigger fuel cell. That way the small tank will never starve the efi system of fuel in off camber situations. This is a pretty popular method used in rally cars and drifters.

2011-04-23_00-13-09_508-1.jpg
 
Last edited:
I'm going to get the coilovers back on in the next few days and I'm wondering about the "stops" on the main body for the dual rate slider. Where would be a good place to start to set these? The coilovers are 14" 250/350 with about 5 or 6 inches of up travel. Not looking for perfection just in the ballpark until I can fine tune them on the trail.
 
little more...

the bracket that comes with the NWF triple shift for the 203 does not fit (using the spacers on the backside) in conjunction with a th400 so welded the spacers to the front and made a little tab for the linkage:

2011-05-28_11-43-51_634.jpg


fits like this now:

2011-05-28_12-49-01_338.jpg


2011-05-28_12-52-03_891.jpg


did some more cutting on my floor board to make the rear driveshaft fit(I should have built a buggy). Its actually pretty nice having the large hole though. The 205 can be mounted/unmounted through the top.

2011-06-02_22-32-12_185.jpg


2011-06-02_22-32-43_527.jpg


I had to notch out the little bracket and part of that crossemember above the driveline to mount the driveline:

2011-06-01_21-45-45_82.jpg


then got them mounted.. the front shaft is pretty close to the front link bracket. I think I'll end up trimming up that bracket with the plasma. Its just too stinkin close for my liking:

2011-06-01_21-45-21_390.jpg


2011-06-02_22-33-12_231.jpg


2011-06-02_22-33-44_97.jpg


not an exciting shot but proof that I am even getting some of the hydro plumbing done:

2011-06-01_21-46-13_262.jpg


Its progress anyway...
 
so after nearly 3 years of being stuck in the garage the swagger wagon finally got to sunbath for a few hours and even got a wash...

2011-07-30_14-34-11_797.jpg


2011-07-30_14-34-21_575.jpg


2011-07-30_15-18-17_134.jpg


2011-07-30_15-18-32_851.jpg


2011-07-30_15-18-58_384.jpg


2011-07-30_15-19-18_649.jpg


and she's in her in new home. (moved all my tools and stuff from my garage to a real shop space). Should be able to work at faster rate now. :)

2011-07-30_19-43-21_458.jpg


I have some more stuff to move over the new work space and have to move some stuff around but this is going to work out very well.
 
A buddy at work with a bj44 started my wheel well templates:

2011-10-13_08-27-53_481.jpg


2011-10-13_08-35-33_492.jpg


2011-10-14_13-02-00_54.jpg


Did some more fuel line plumbing... got pretty good doing the braided line fittings:

c2f524b1.jpg


f8d37826.jpg


8c367708.jpg


Still need to clean up the lines and mount them so they are not danglin'.

Might actually fire up the motor this weekend!
 
Top