A while back I stripped the LS down and find some pretty significant wear so I sent the block, crank, pistons and heads off to the machine shop.
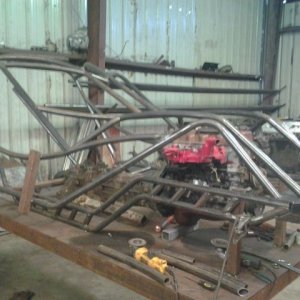
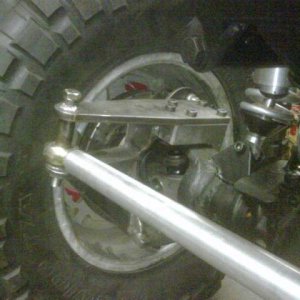
Before sending it off though I was able to use the block to mock up the engine mounts in the Jeep. This gave me a few things to weld up while the motor was gone.
Motor was bored over 0.002" to clean up the cylinder walls and all the machine surfaces were resurfaced. New cam bearings were installed and new pistons were fitted to the OE rods.
Everything came back from the machine shop and I got to work [slowly] rebuilding the motor.
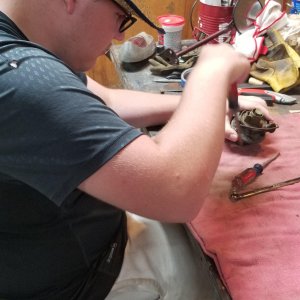
One of the things I did not have done was the getting the valves lapped in. I cleaned the valves up with WD40 and a fine scotch brite pad. Easies was was to take the valves and inserted them into the drill press with a rubber hose to protect the stem and buff with the scotch brite. After that I lapped the valves in with a lapping compound by hand.
I had considered porting and polishing the heads but ultimately decided that wasn't something I wanted to experiment with for this project. I'll try it soon on a spare set of heads I have.
I did get a trunnion upgrade kit for my OE rocker arms and it came with snap rings and needle bearings. I crushed multiple bearings during install and realized these kits flat out suck. The likelihood of a needle disappearing into the motor scared me enough to toss the kit and go with the C.H.E bushing kit. The assembly was way easier too. This is the only style I'll run from now on.
A few other set backs came with the motor. The off brand low profile oil pan was difficult to fit to the motor and the original windage tray didn't fit with it. I did try to make it fit but didn't like how it turned out. I later learned that there's a half length tray for corvettes that worked with the oil pan.
I also had to get a second set of lifters because several in the kit I received from was covered in some type of pitting. I tried to clean them up thinking it was some dried oil but it wouldn't clean so I decided against installing them.
The lifters got replaced for me but it took some time and I ended up stopping in at Hawks Motorsports for a set to keep moving along. The replacement set got shelved along with the terrible trunnion upgrade kit