LJ on Tons

Hardline Crawlers - Rock Bouncer Builds, Tech & Off-Road Trail Talk

Help Support Hardline Crawlers:

February 2023

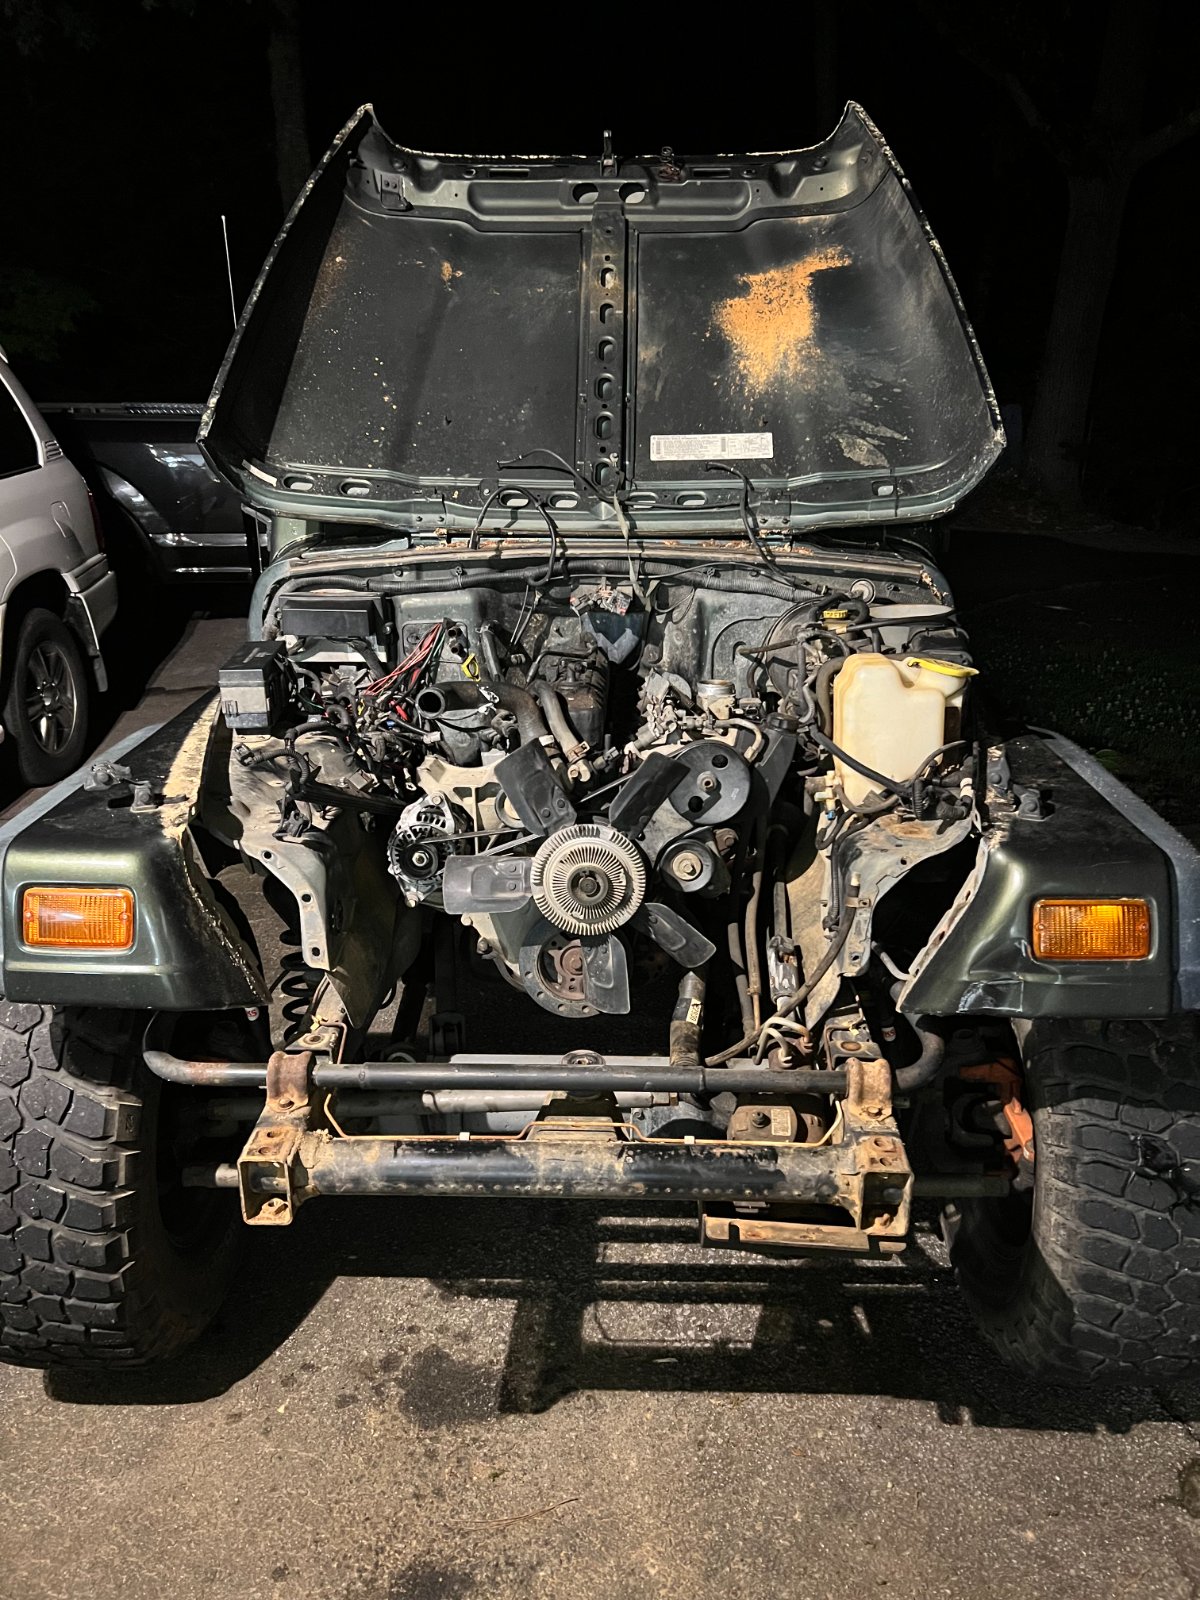
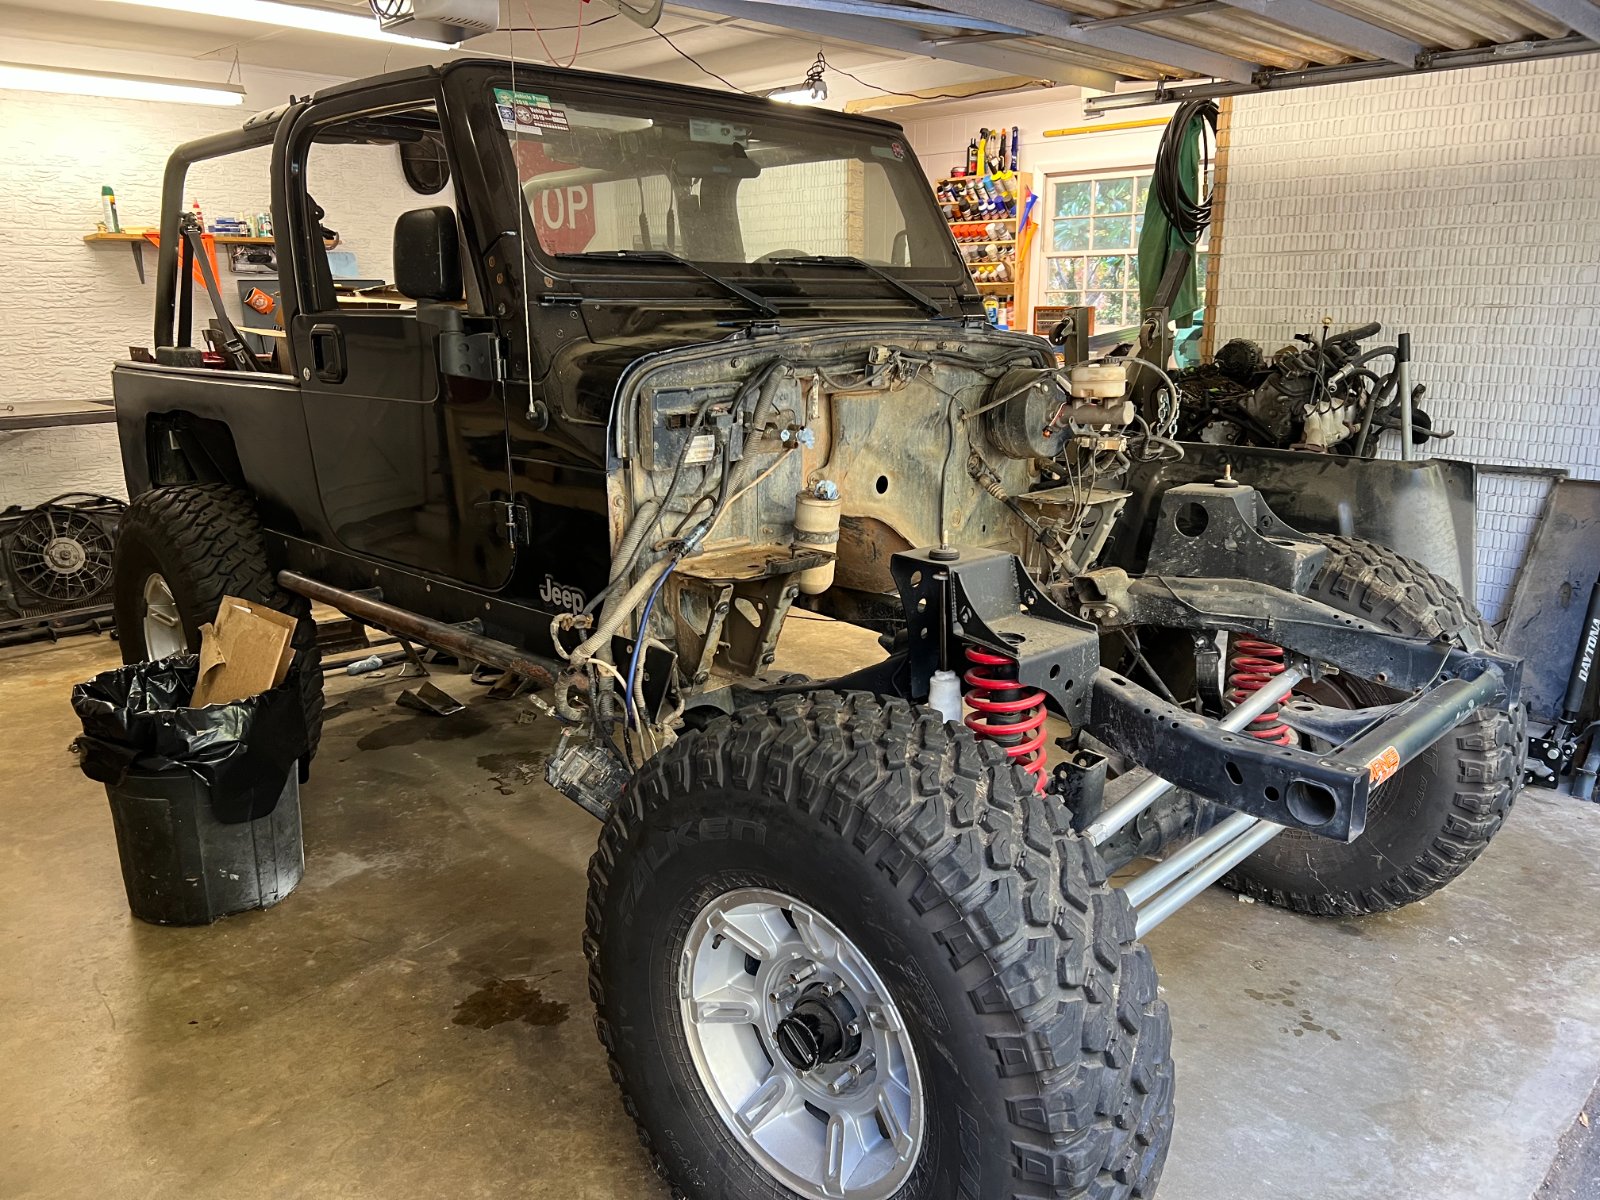
I traveled a good bit for the rest of the year and didn't get to put a lot of effort into repairing the Jeep. I did keep thinking of ways I wanted to improve it though. I figured if I was going to have it this far torn down from the axle getting pulled out from under it, why not set it up the way I want it.

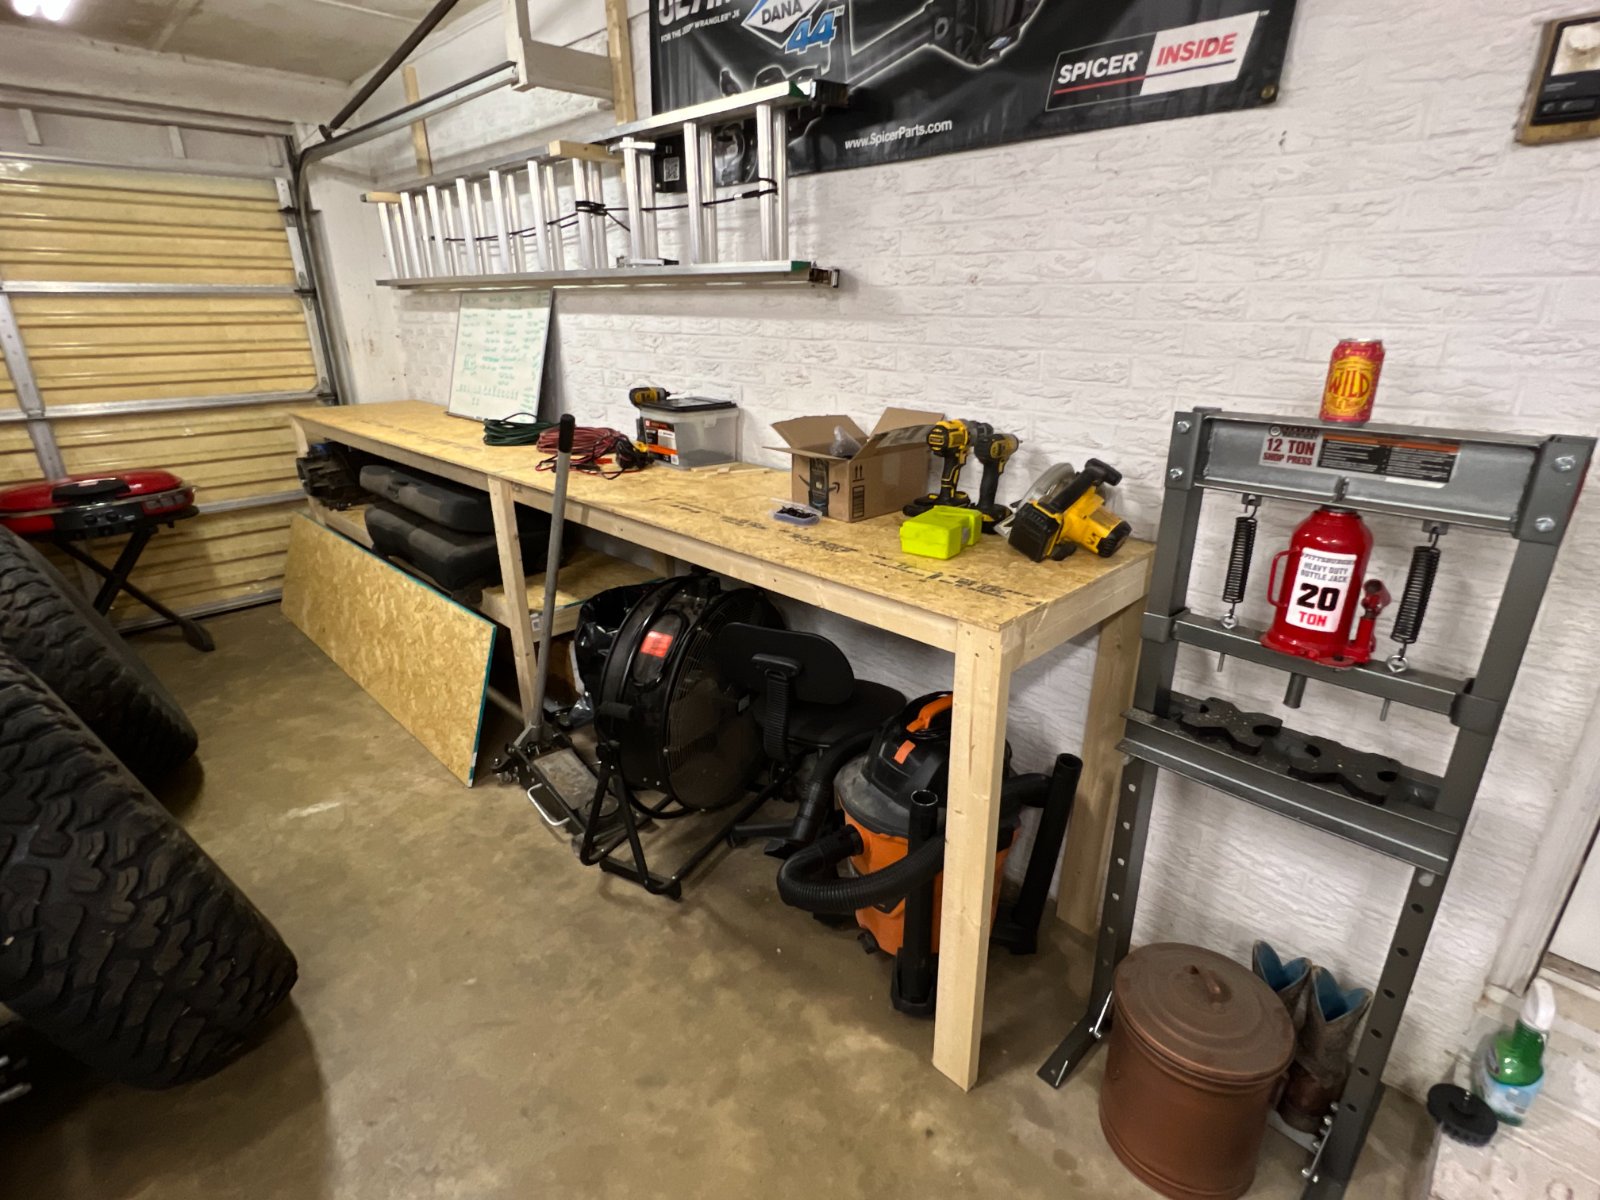
So the first thing I did was build a bench for the garage. I needed more space for parts and table top work space. Between this bench and my other one I could now work on multiple tasks with minimal overlap in space. Helpful when you're always waiting on parts you didn't know you needed.

69707032984__0E3B41F7-5E78-4C55-B85A-76DFAA8F4050.JPEG
 
May 2023

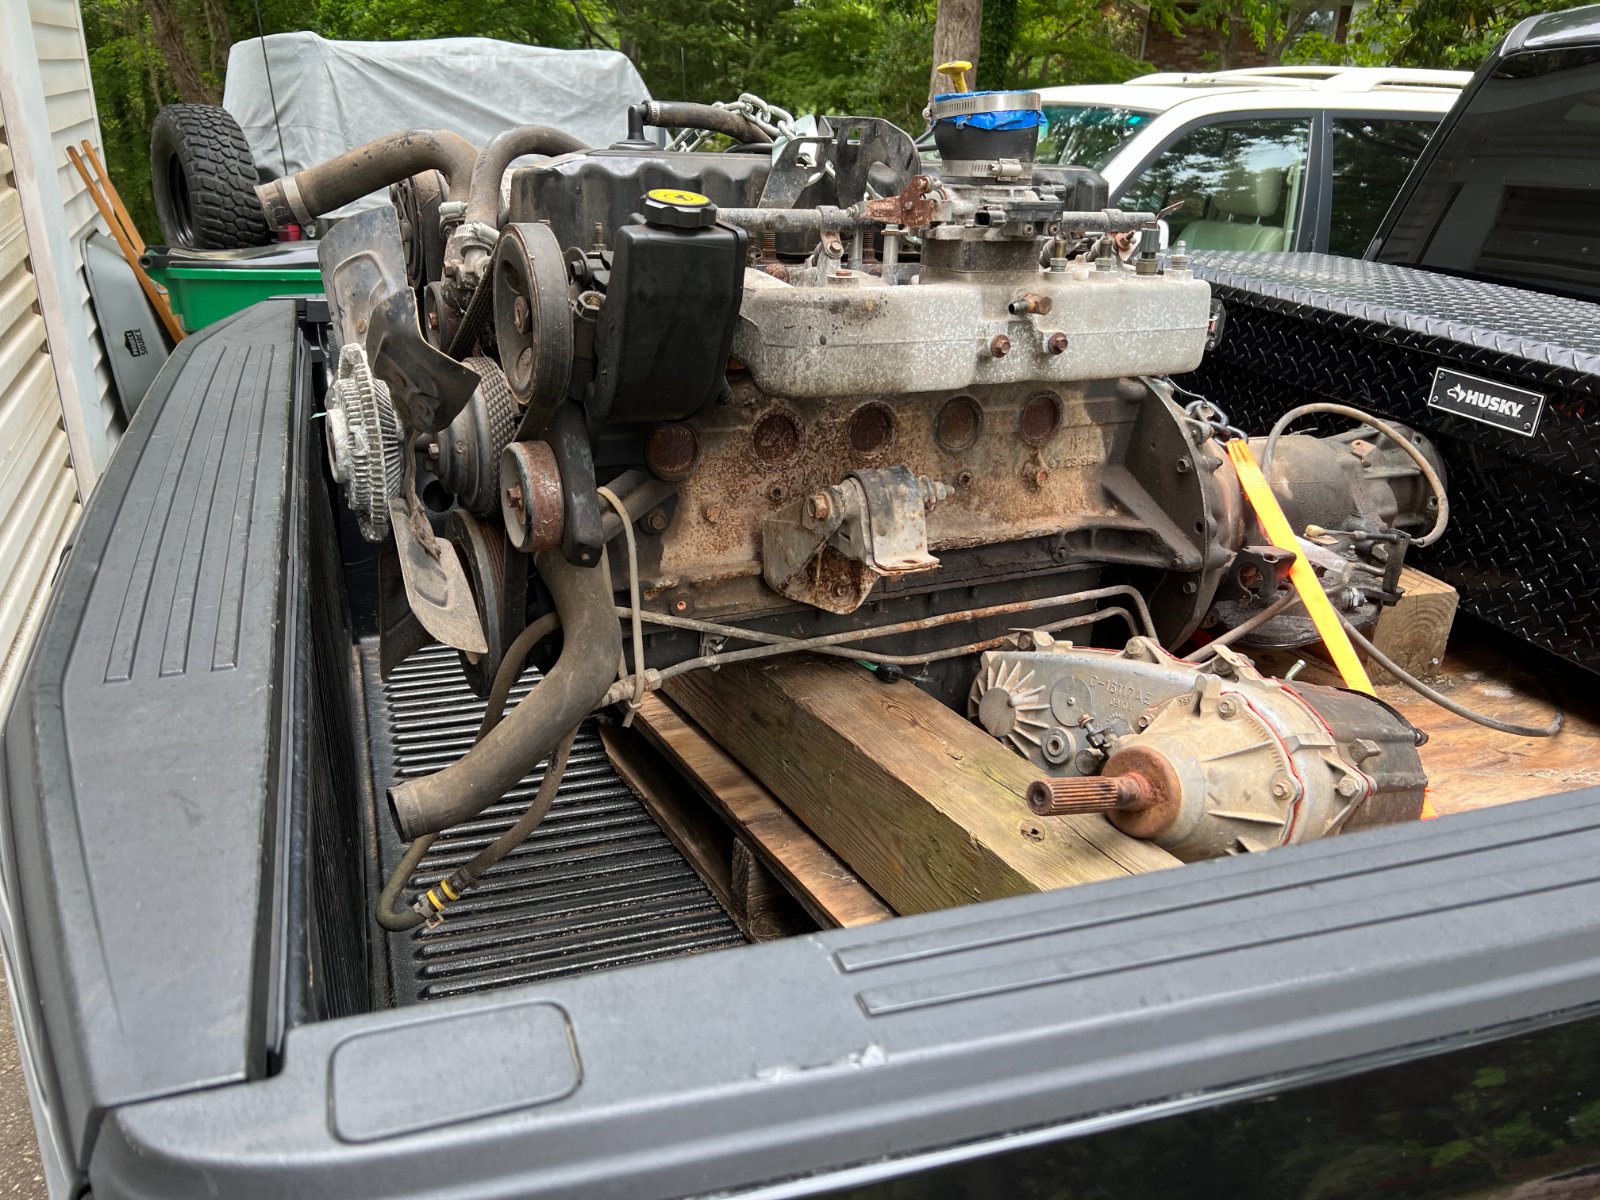
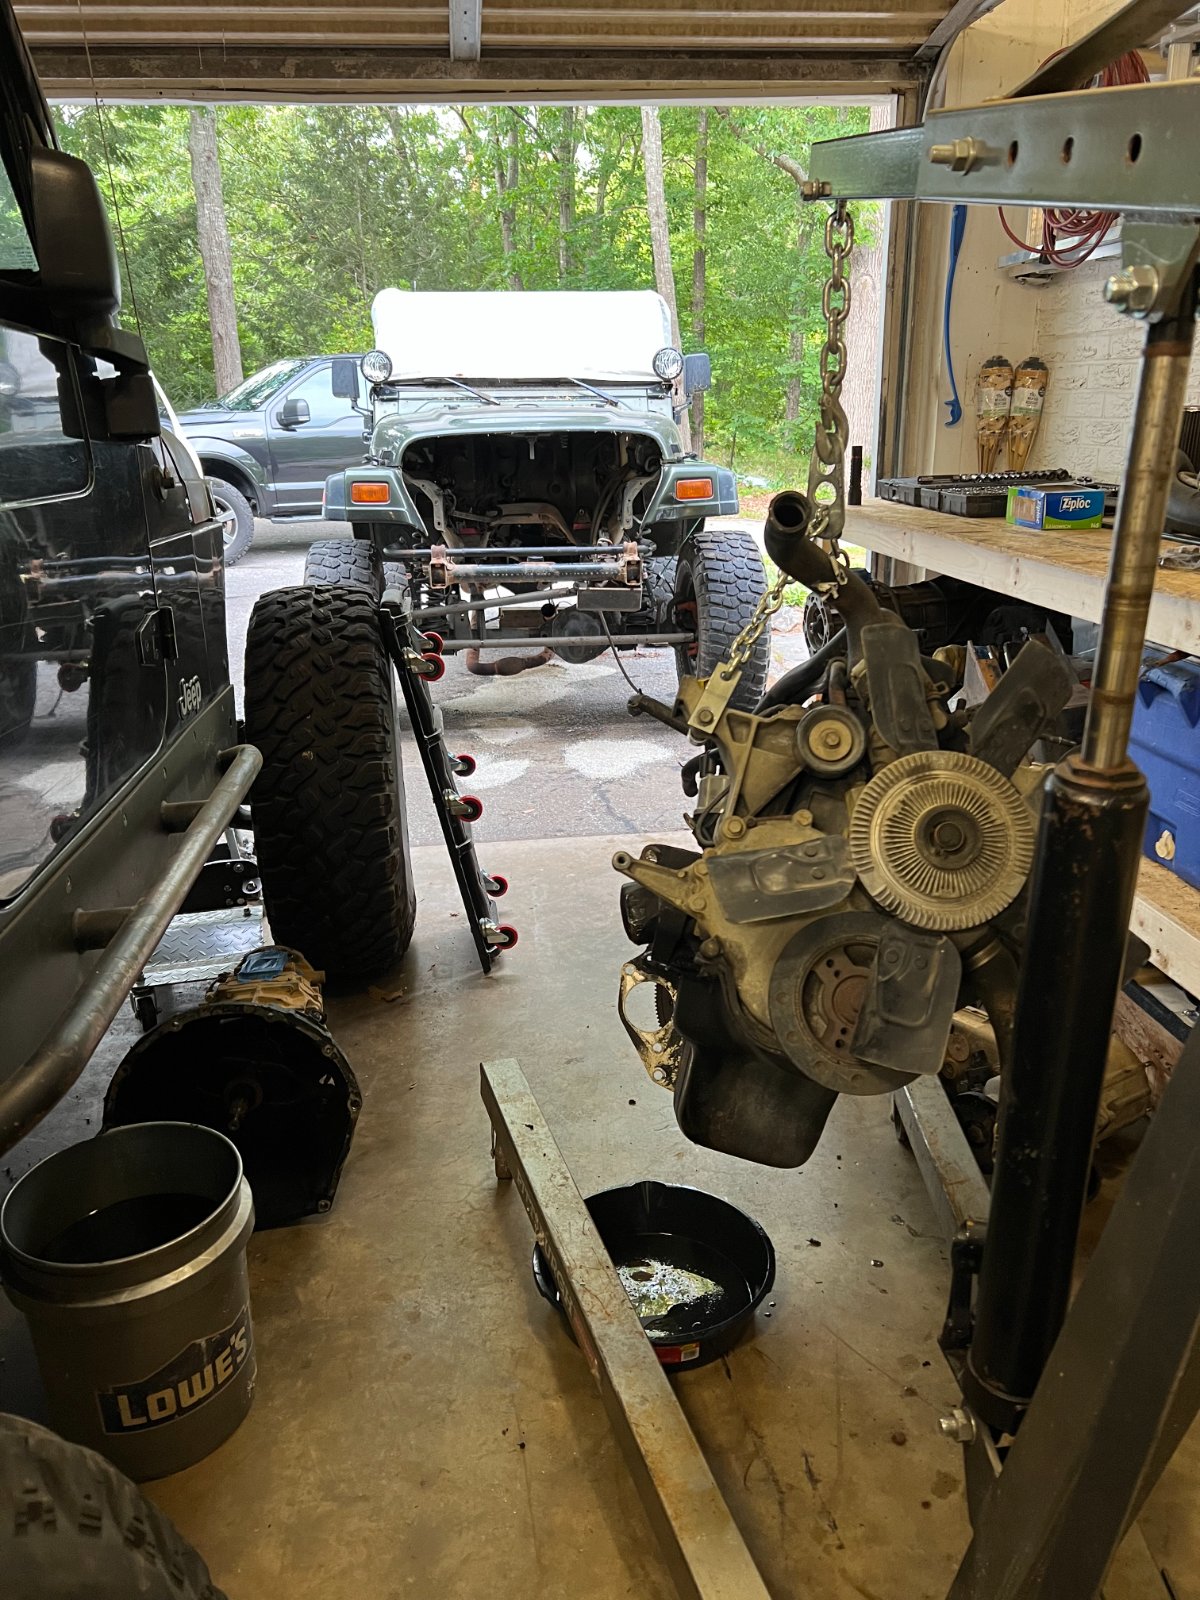
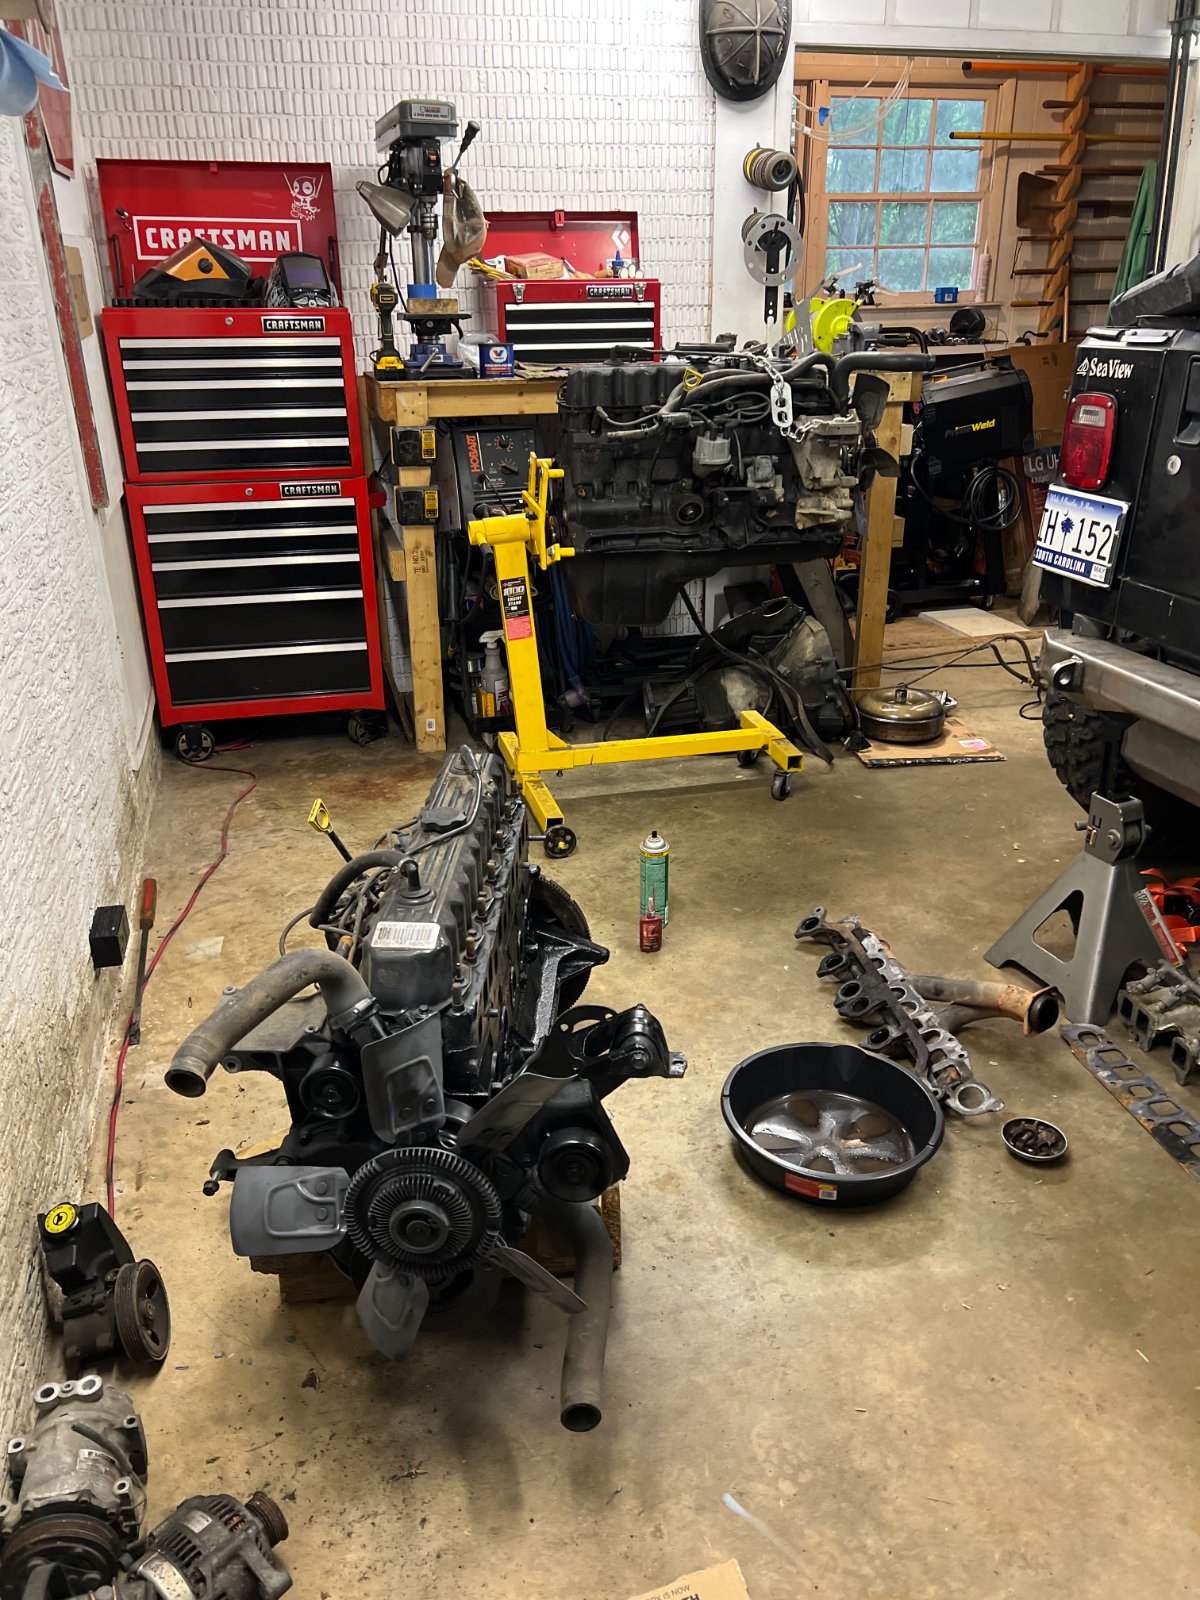
About this time, my brother's TJ grenaded so I brought back with me and started hunting for a motor.

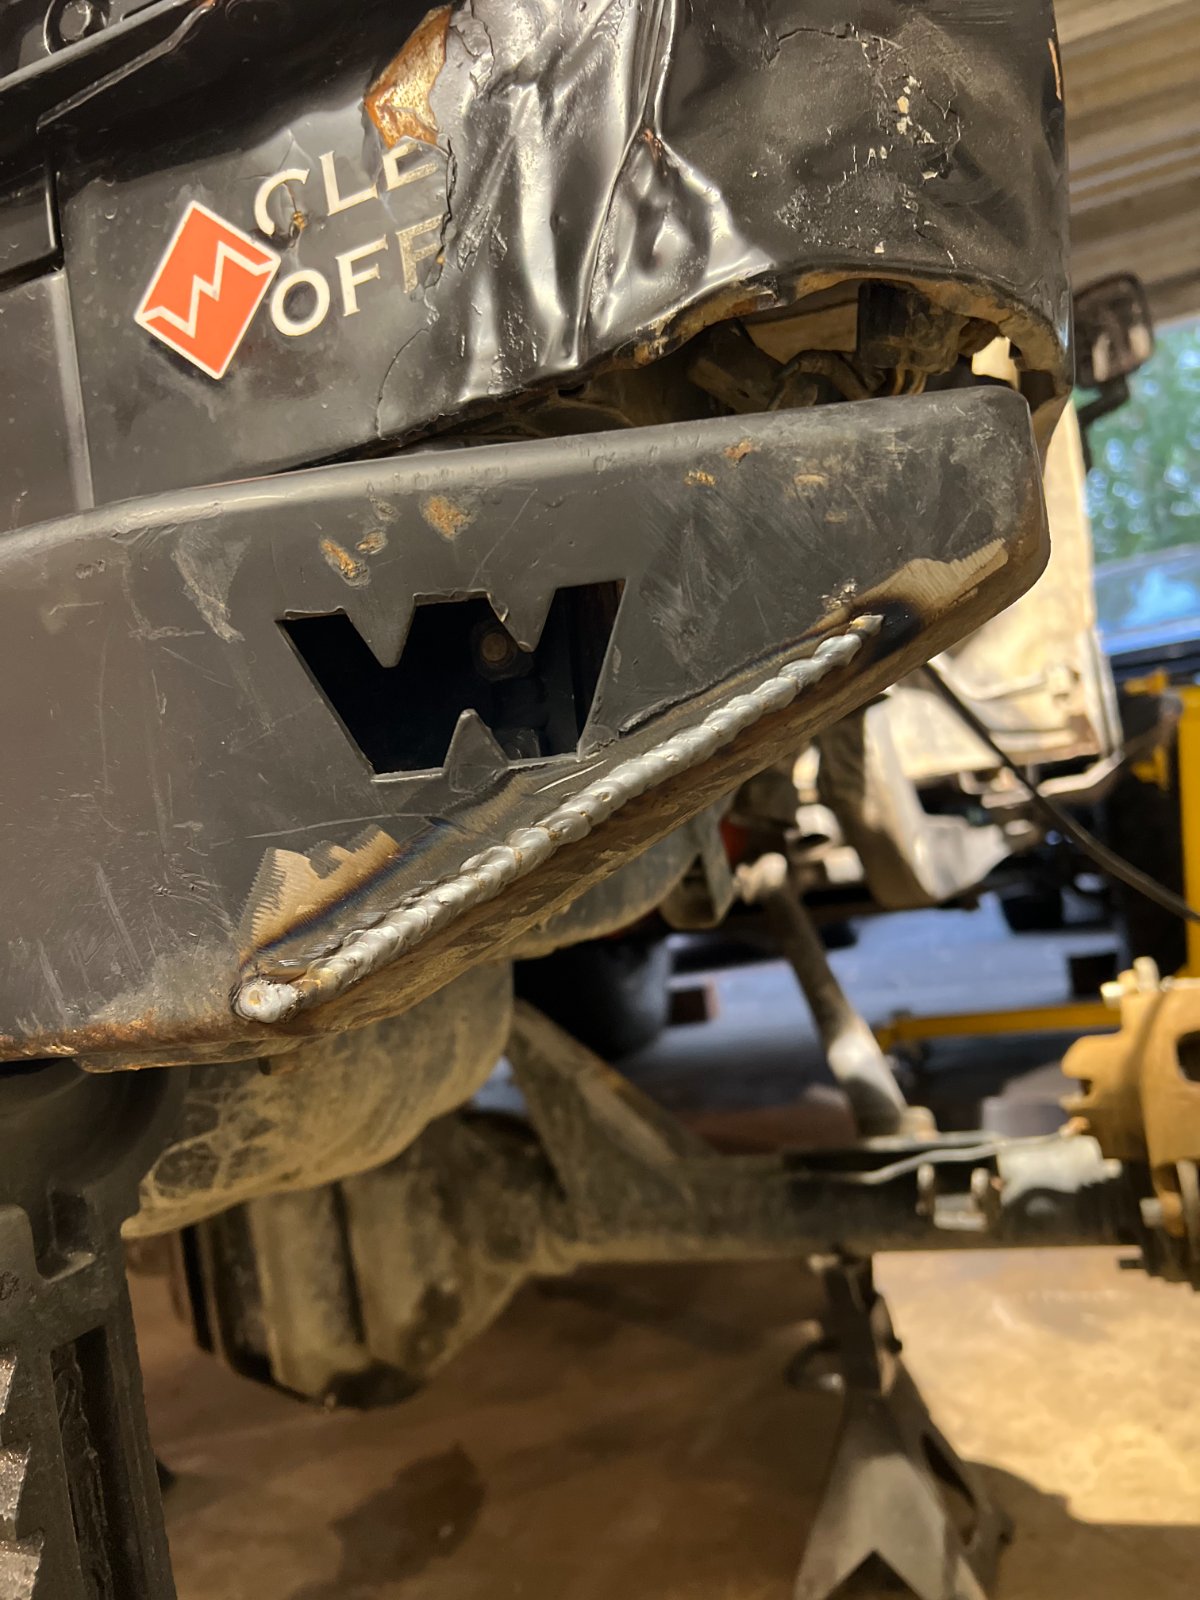
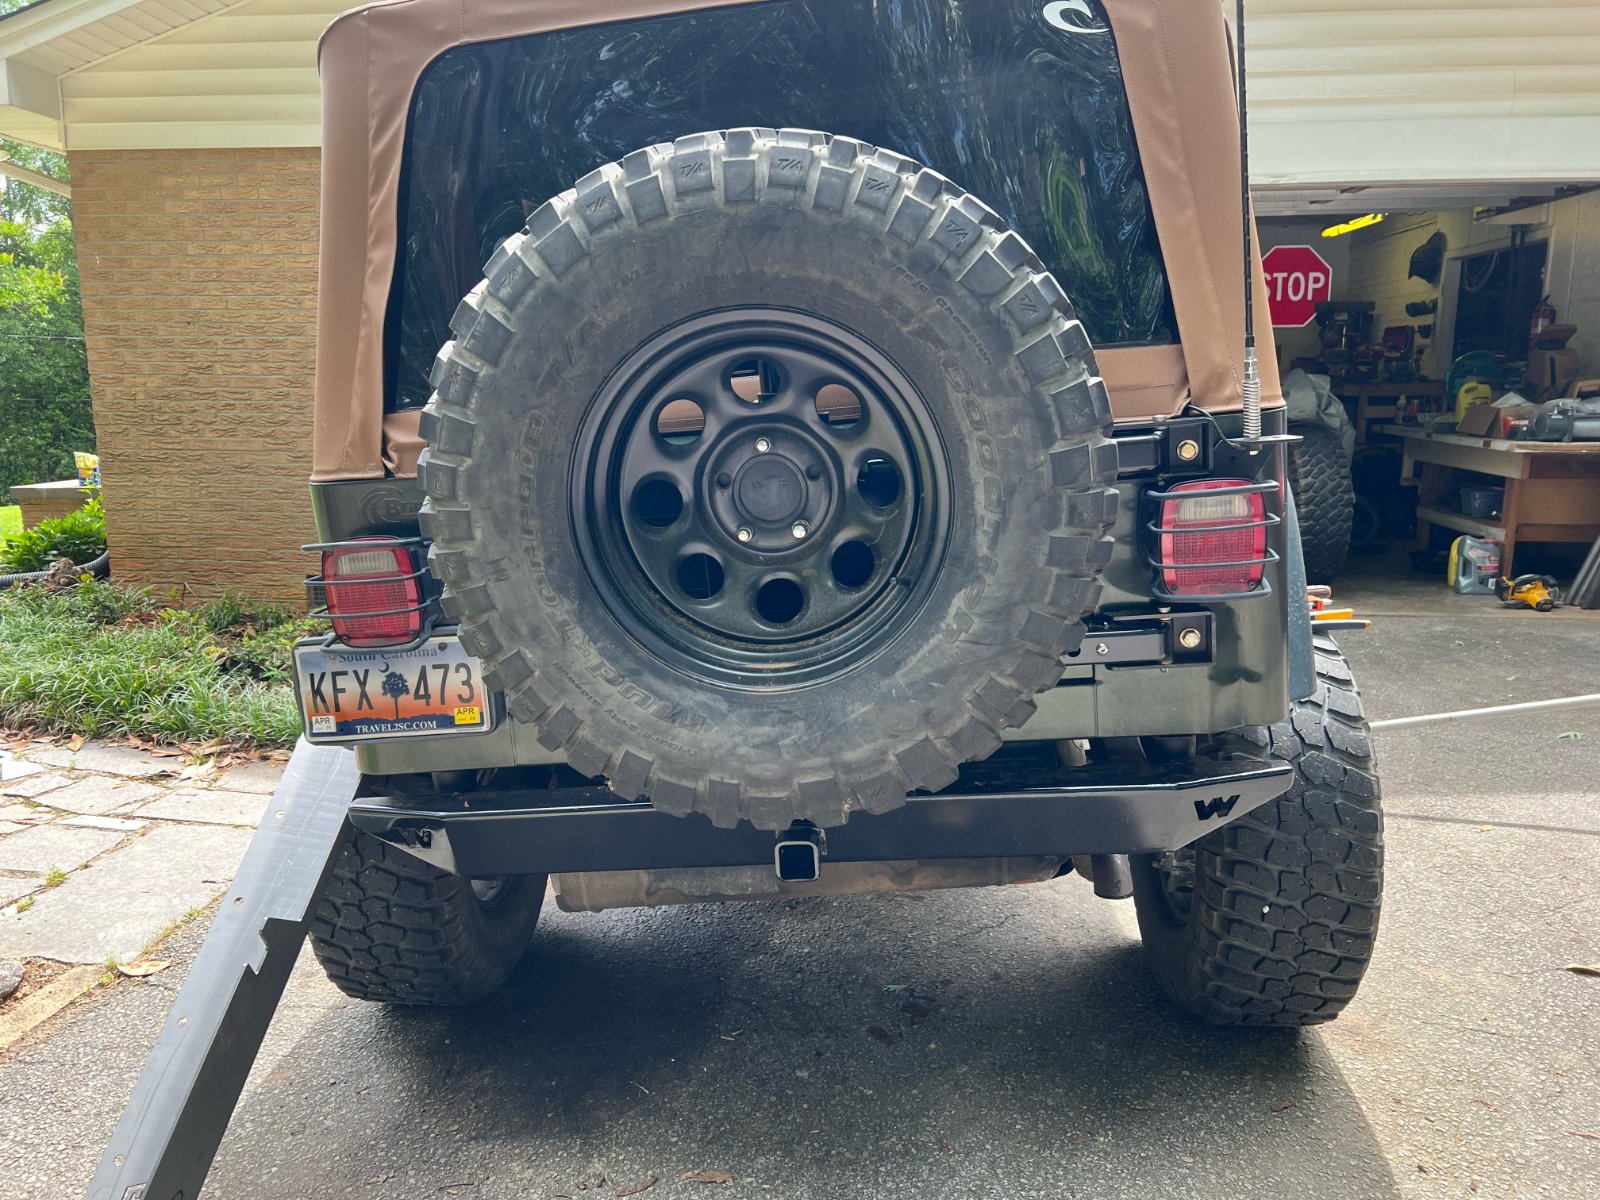
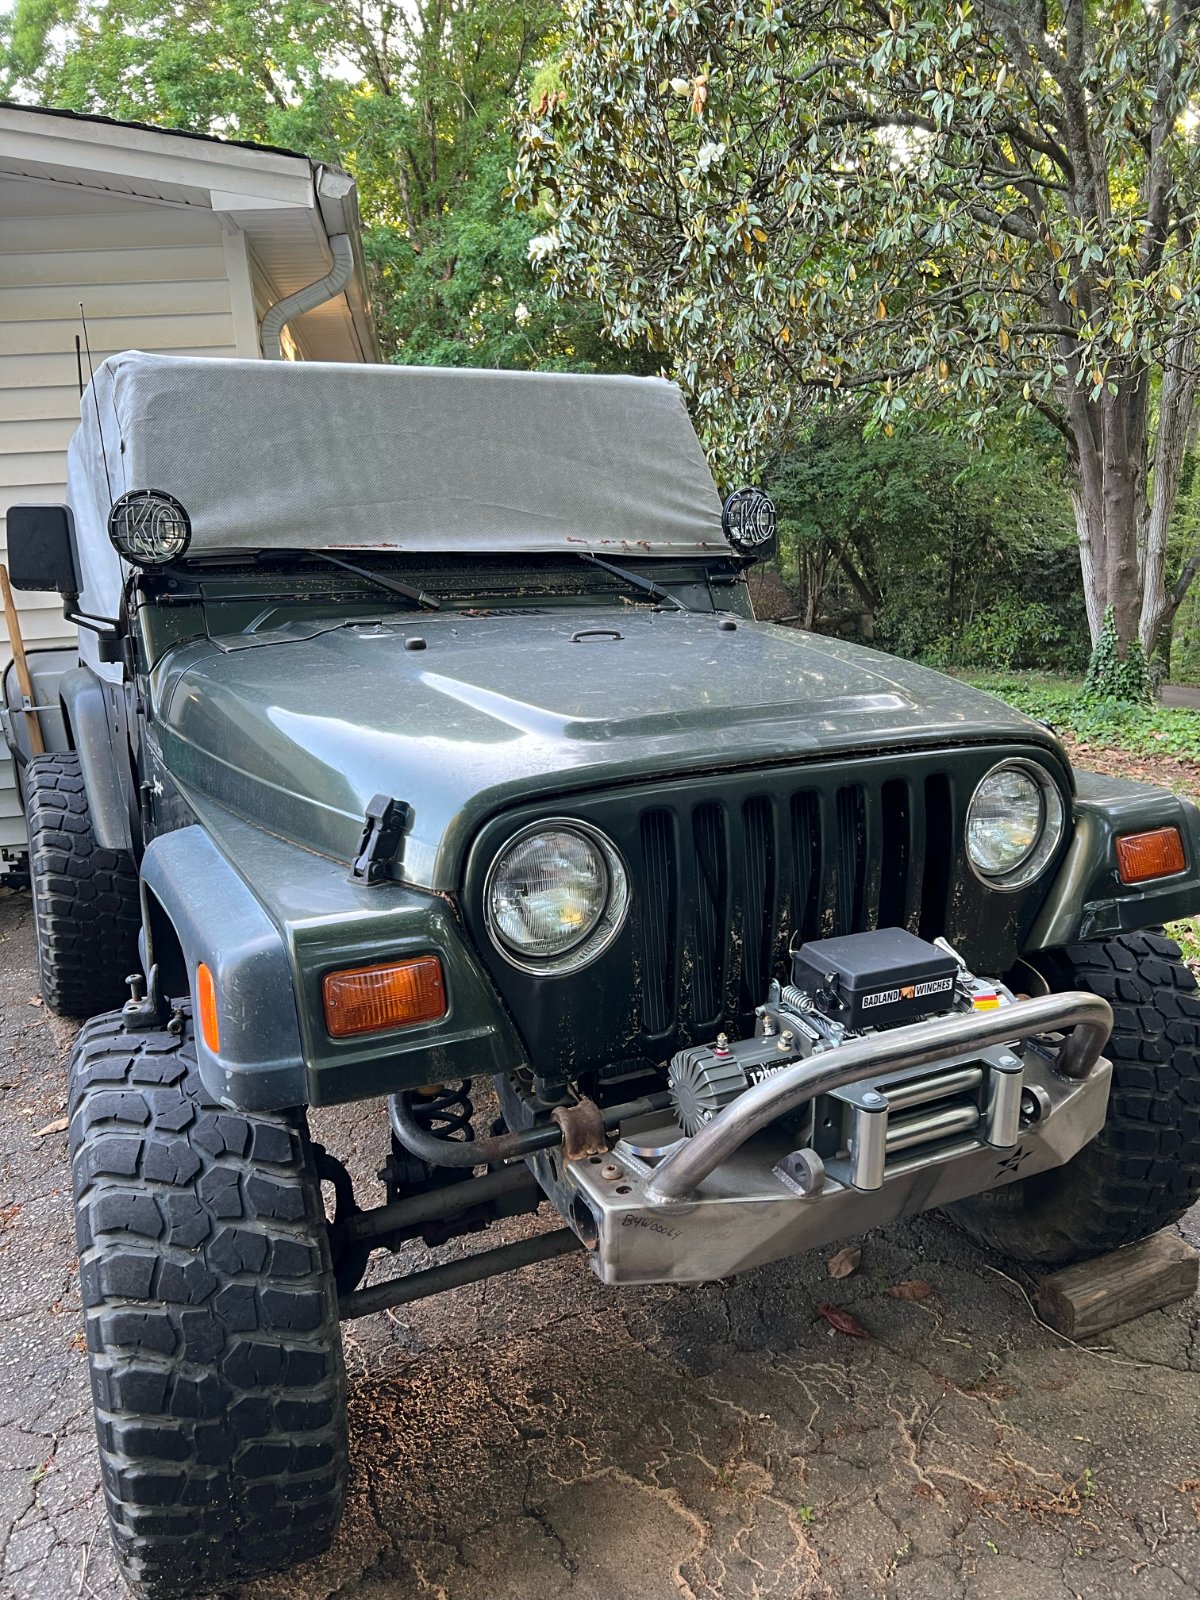
I found a replacement 4.0 and swapped it out. I also got a few other parts for it including a Barnes 4WD bumper and a set of sliders, an old HF winch I had laying around and my old Warn bumper that I patched up and repainted.

IMG_6665.JPEG

IMG_6689.JPEG

F03E0CA1-8AE7-4595-A249-65ED9920E1A8.JPEG

IMG_6670.JPEG

67876060057__C7CAB2D7-977F-4662-941B-83182D3C84CA.JPEG

image1.jpeg

image0.jpeg
 
July 2023

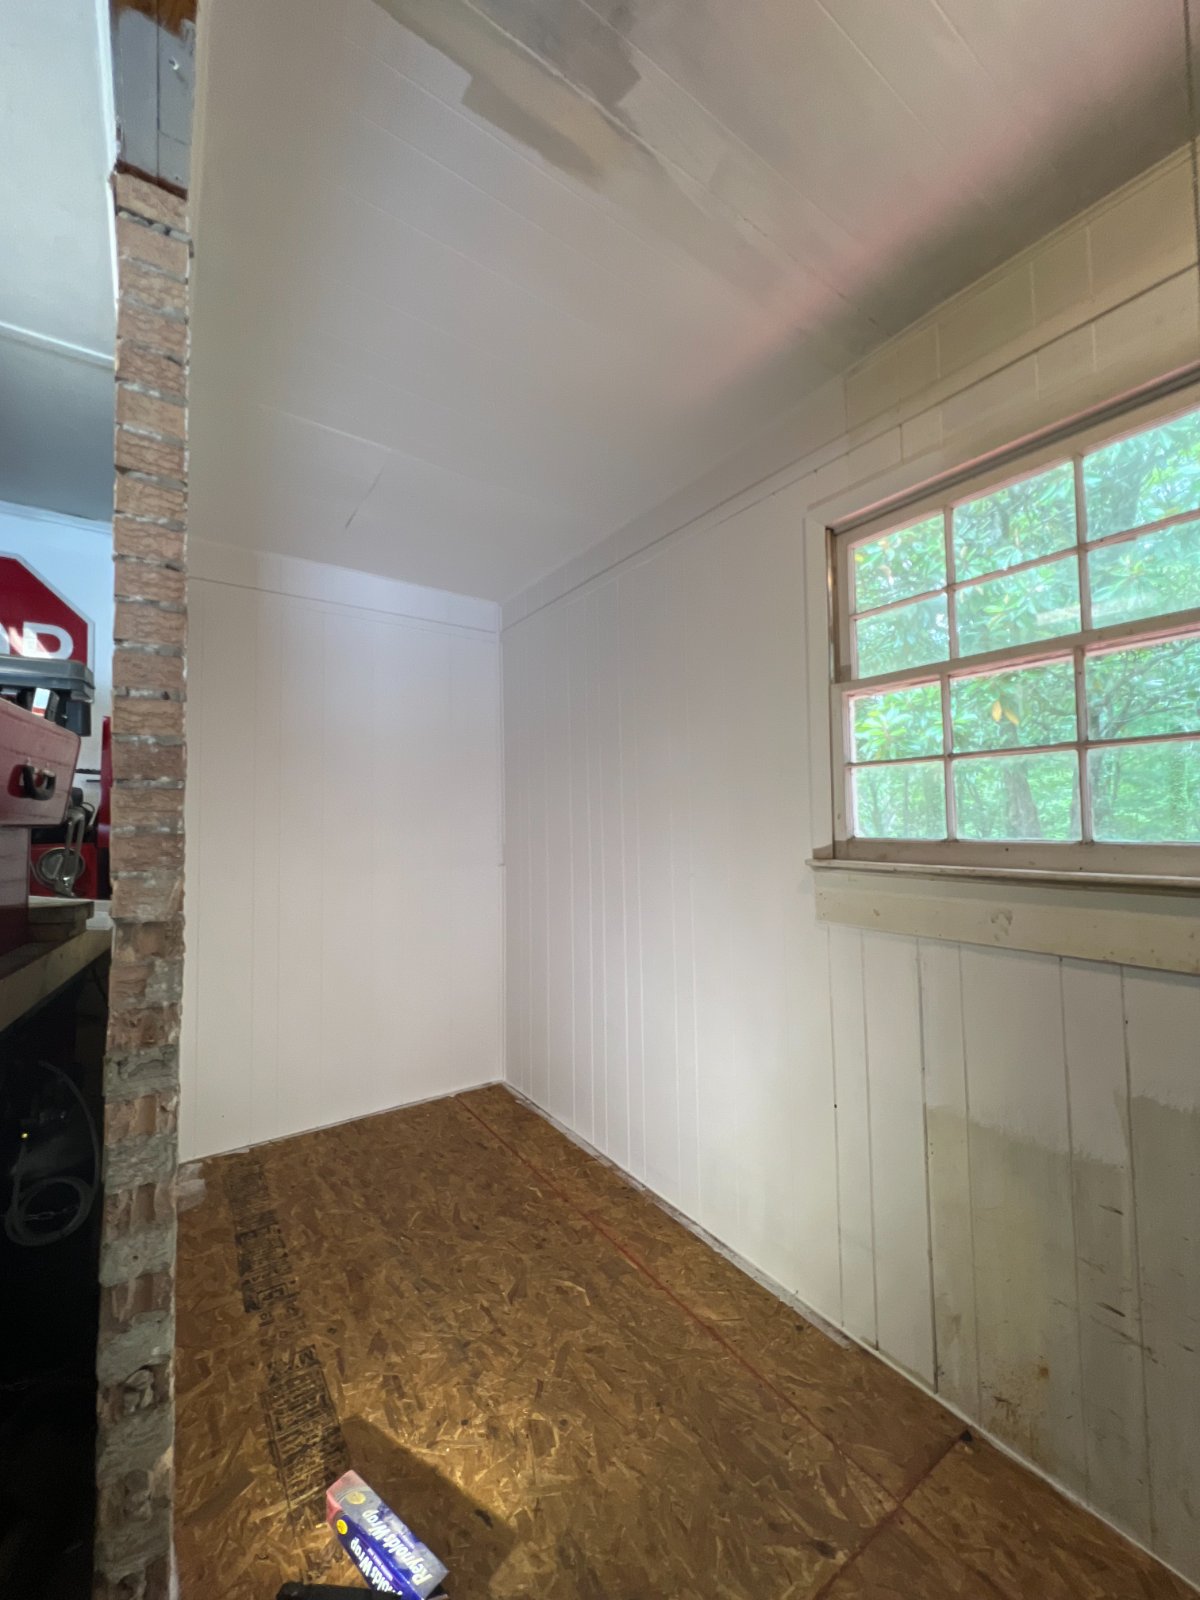
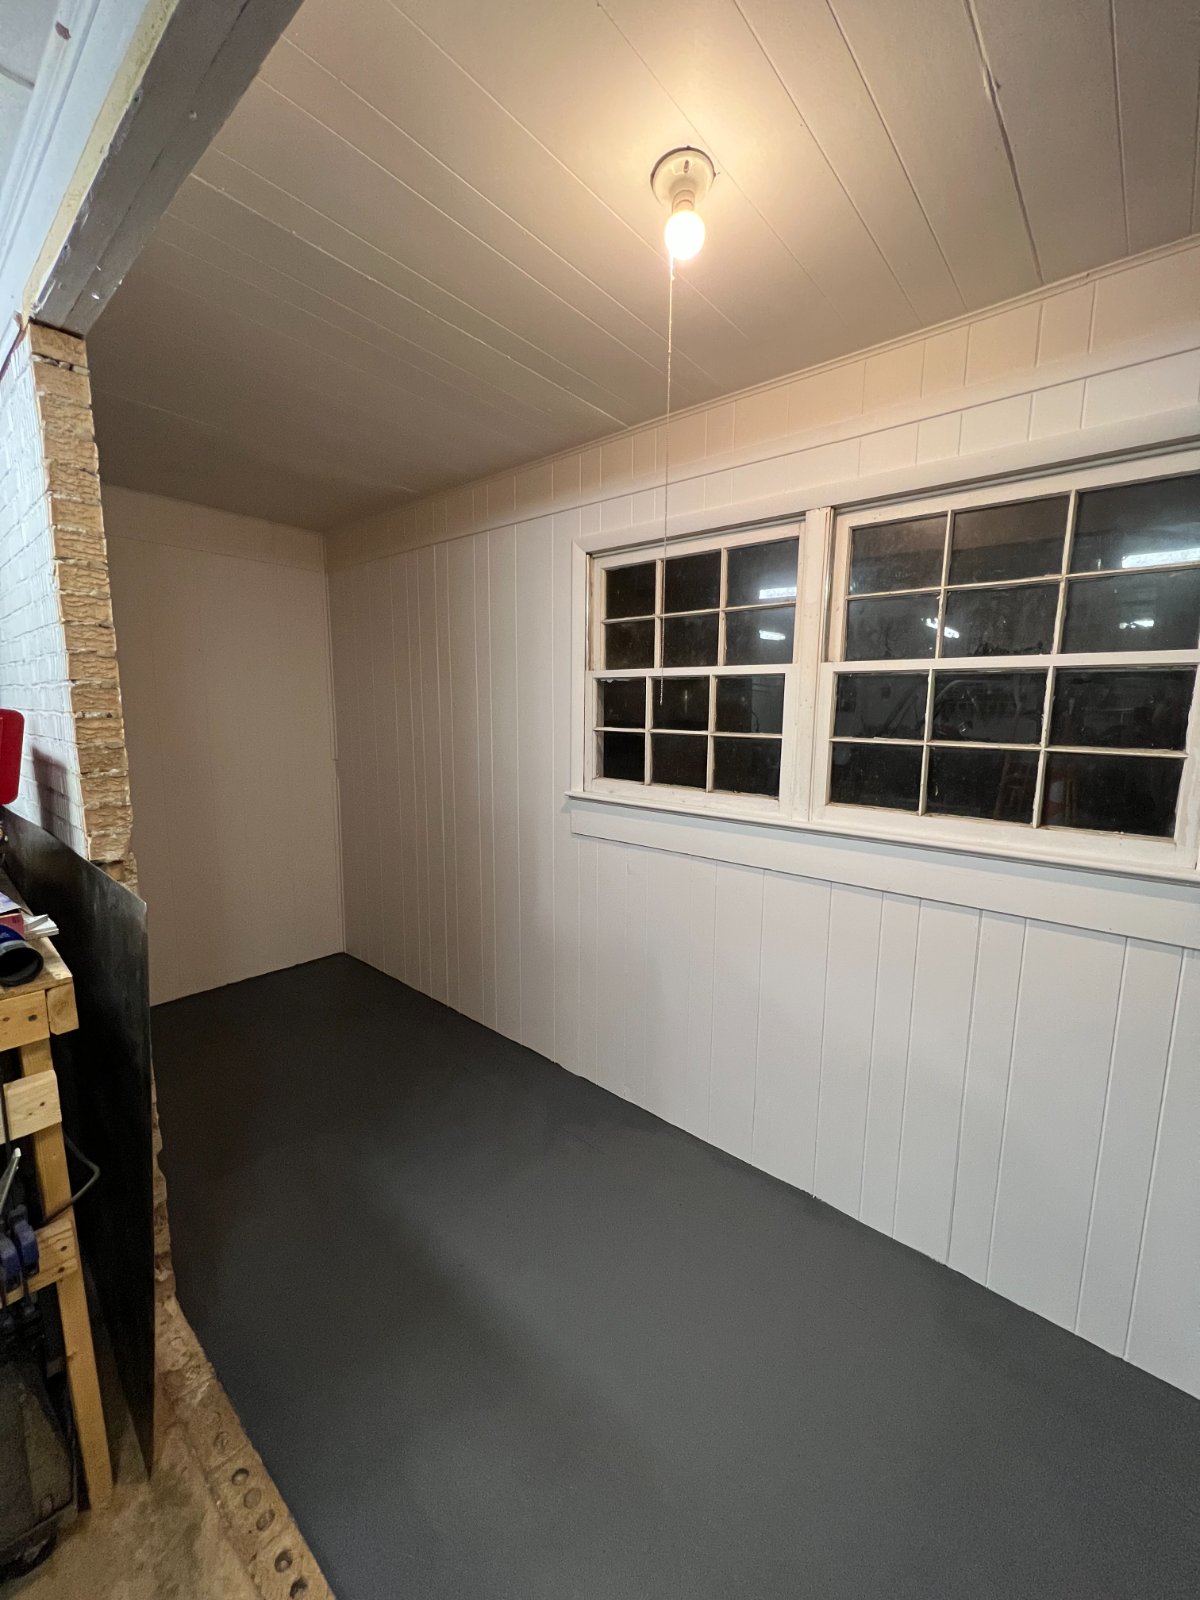
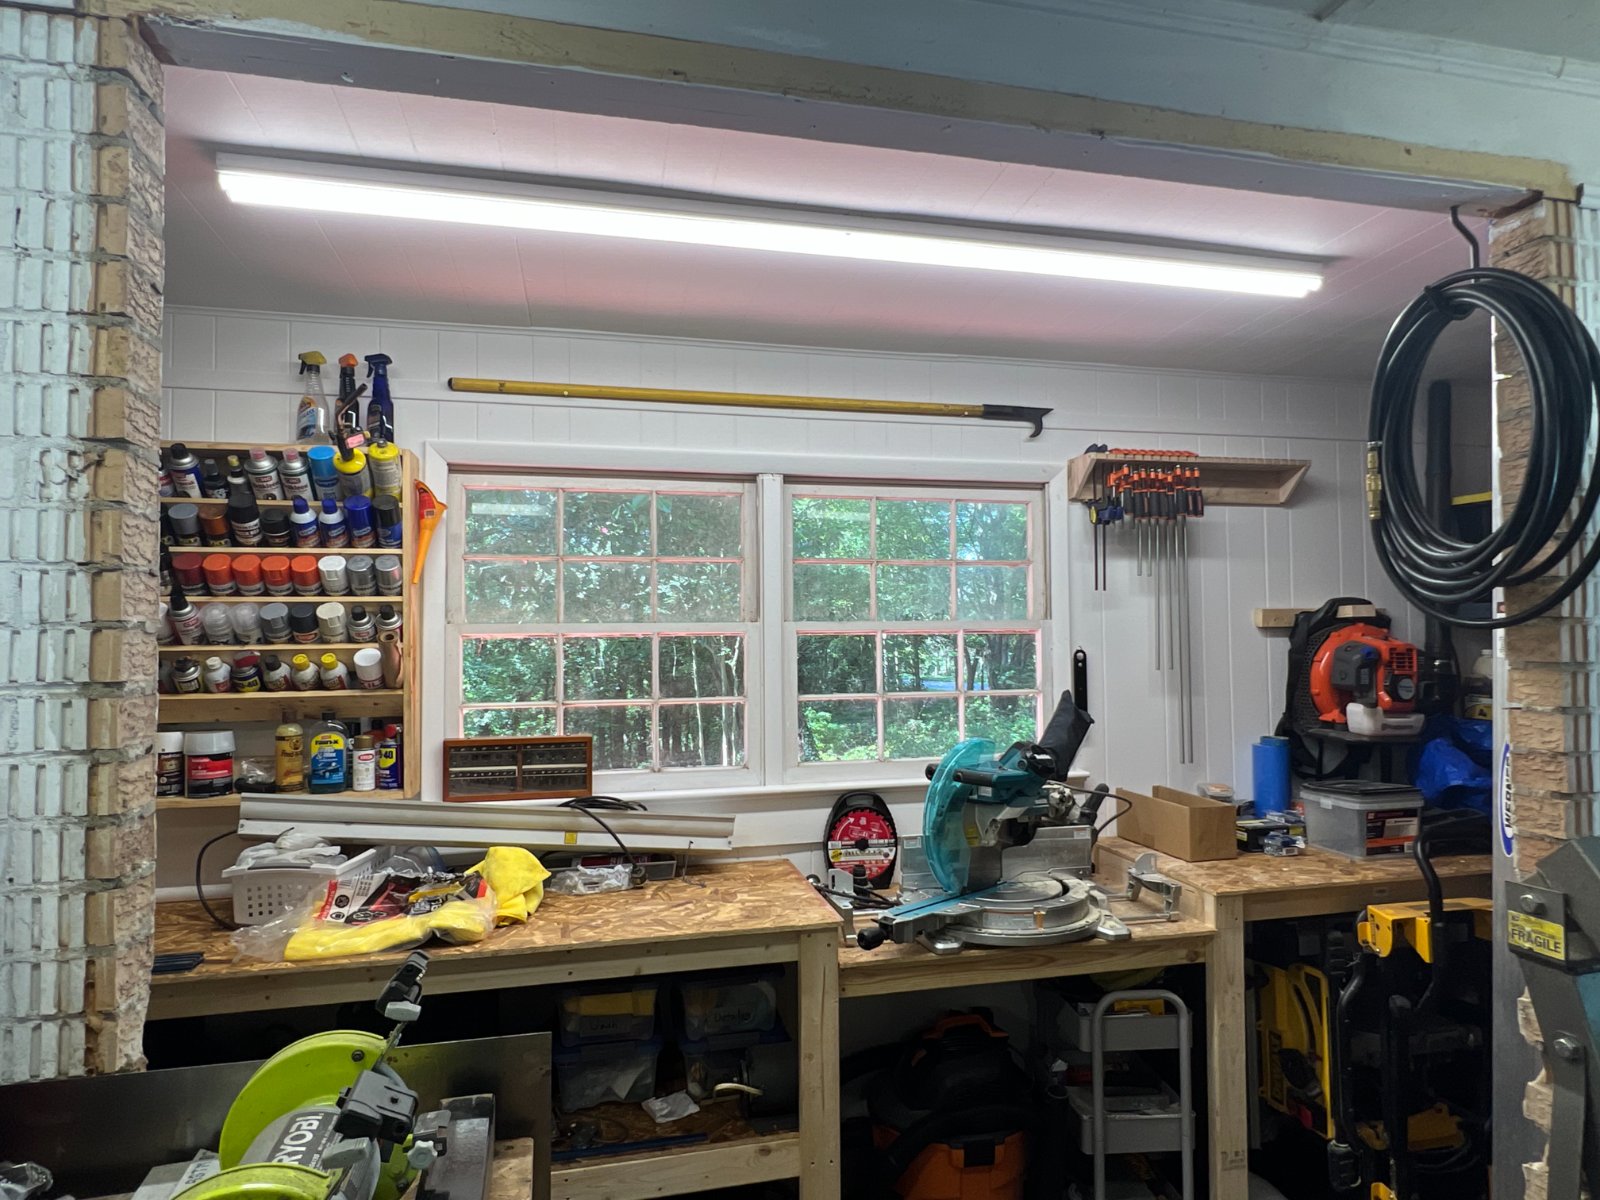
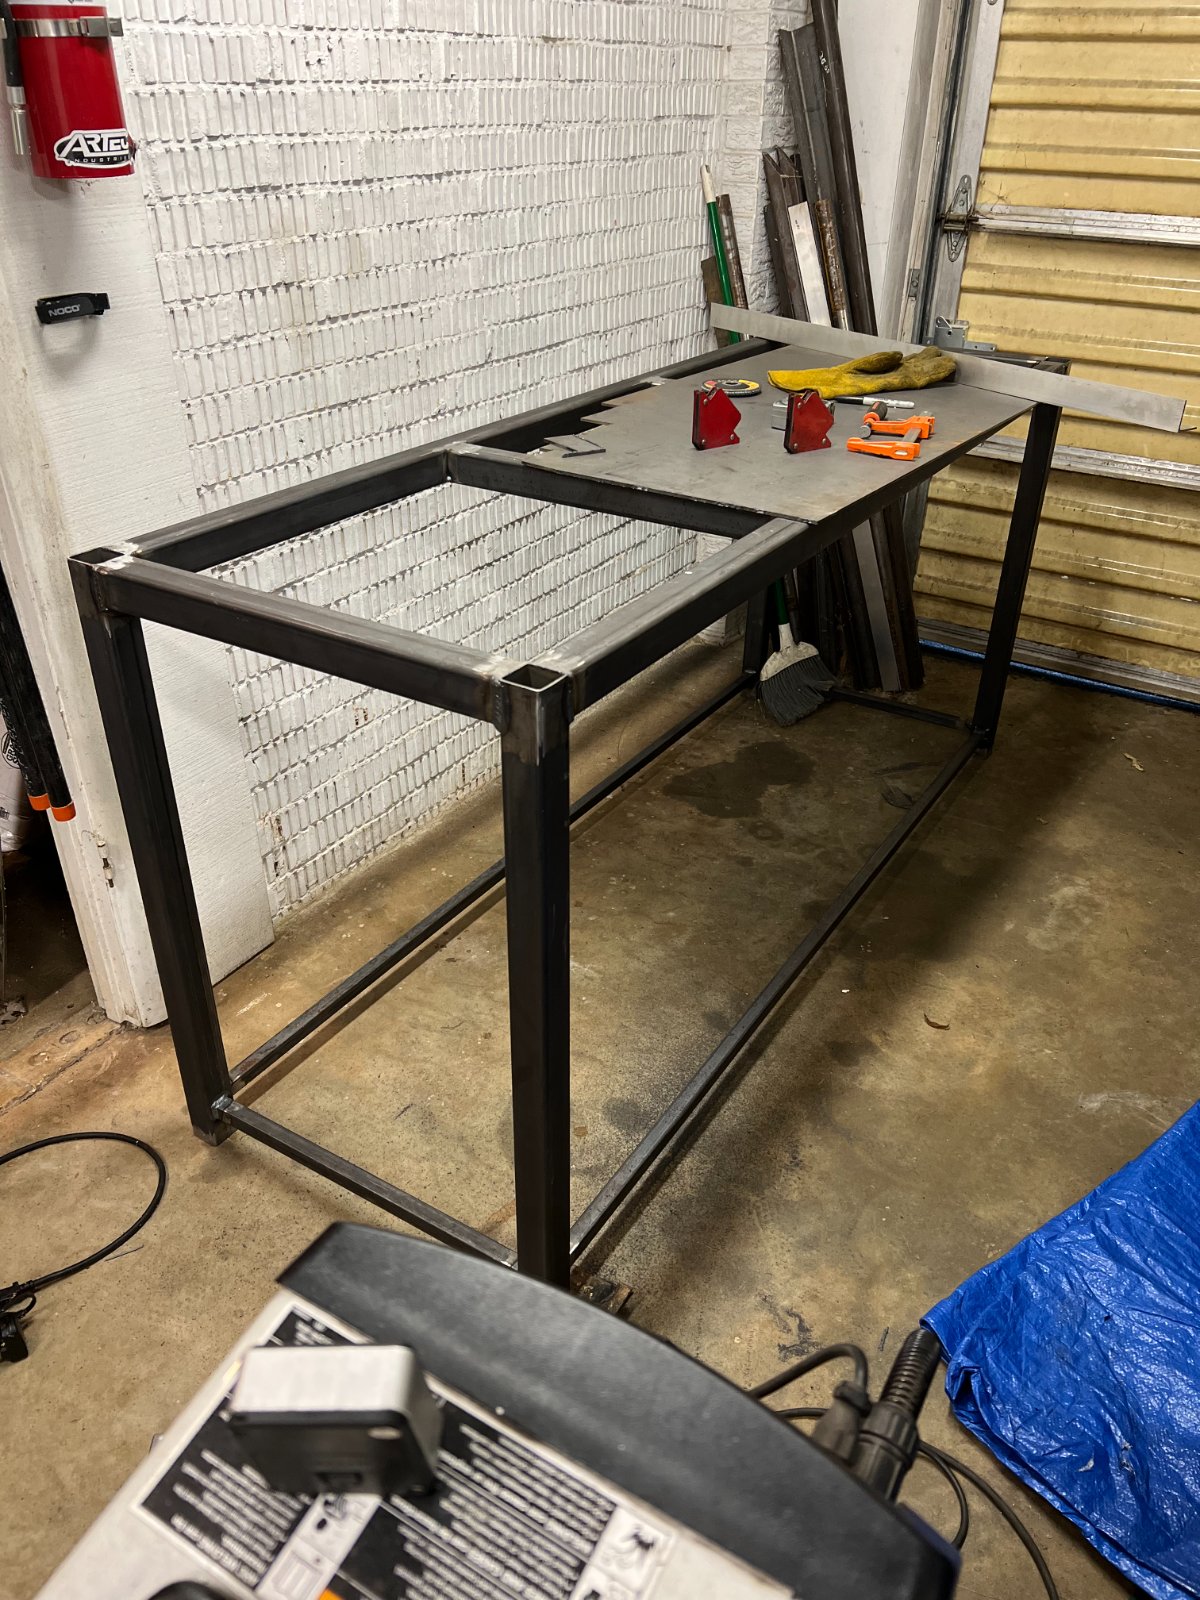
About this time I was still collecting parts and ran out of space again. I managed to build out some more space for working on projects for the house to get those away from the Jeep. I also built out a welding table that is about 2ft x 6 ft. I left one end of it open so one day I can add metal slats in for a small plasma cutting station.

71010127154__1B3B8E42-AC1C-480A-BA82-03767A20E0B6.JPEG

IMG_7221.JPEG

EDB47FF2-A9F1-4826-B21F-52523BD72CC0.JPEG

3F73A9F7-DC74-42E4-89AE-153FFE286930.JPEG

IMG_9877(1).JPEG
 
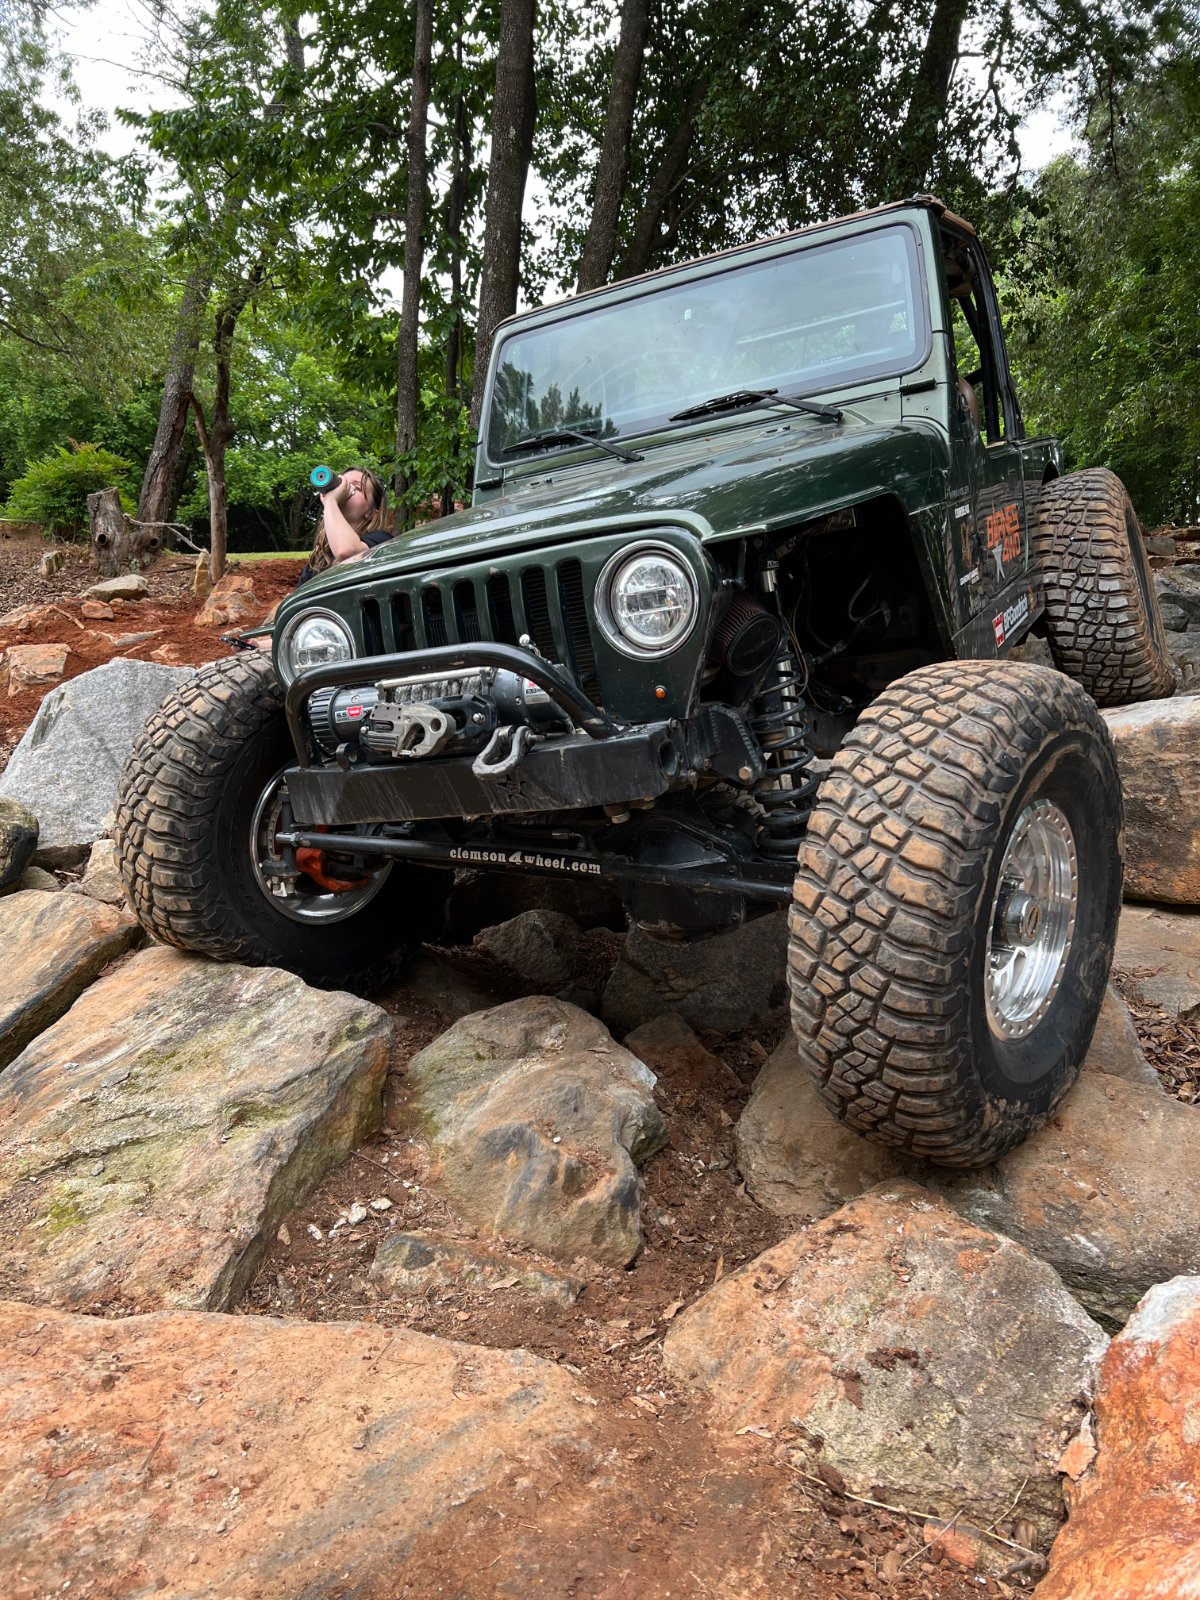
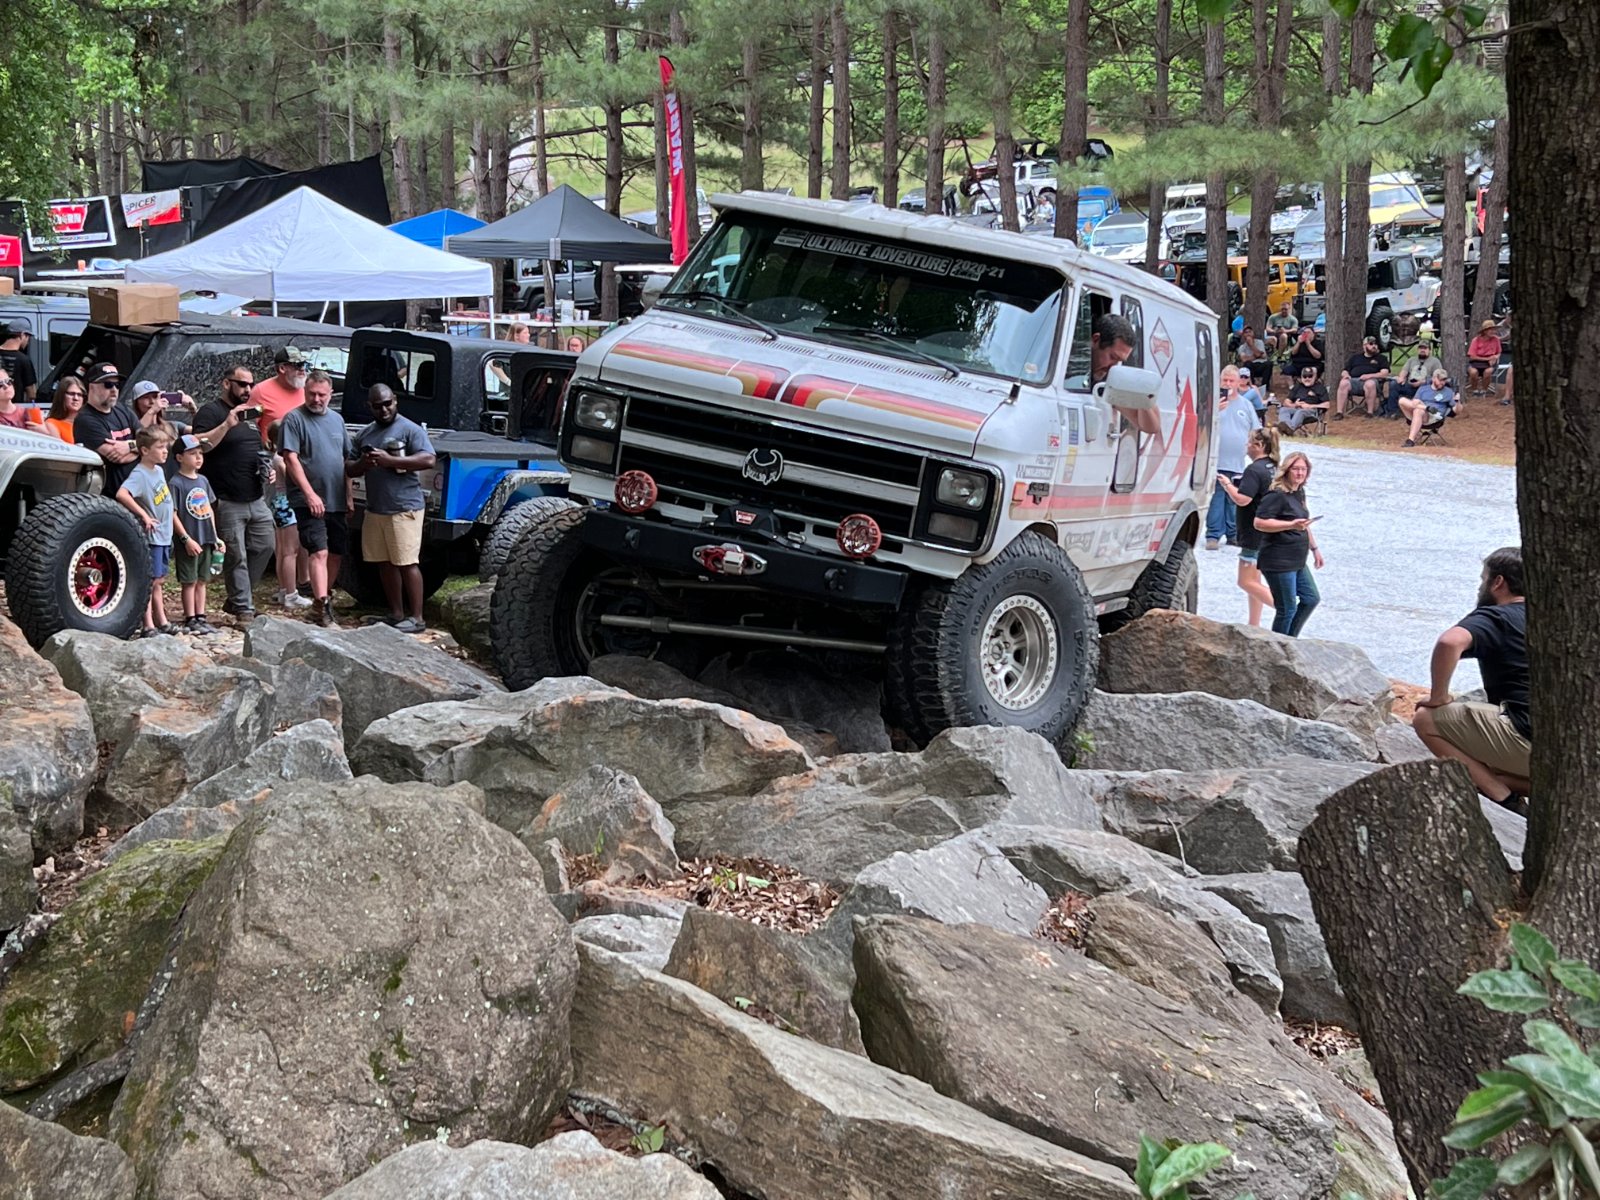
After successfully swapping motor in my brother's TJ I felt like options for the LJ opened up. This also happened to be about the same time as the Clemson 4 Wheel Fun Run where we got to see some really cool rigs including my buddy Cole's LS swapped TJ. At this point more parts started coming home.

IMG_6778.JPEG

IMG_6776.JPEG

IMG_7152.JPEG

IMG_7190.JPEG
 
Last edited:
September 2023

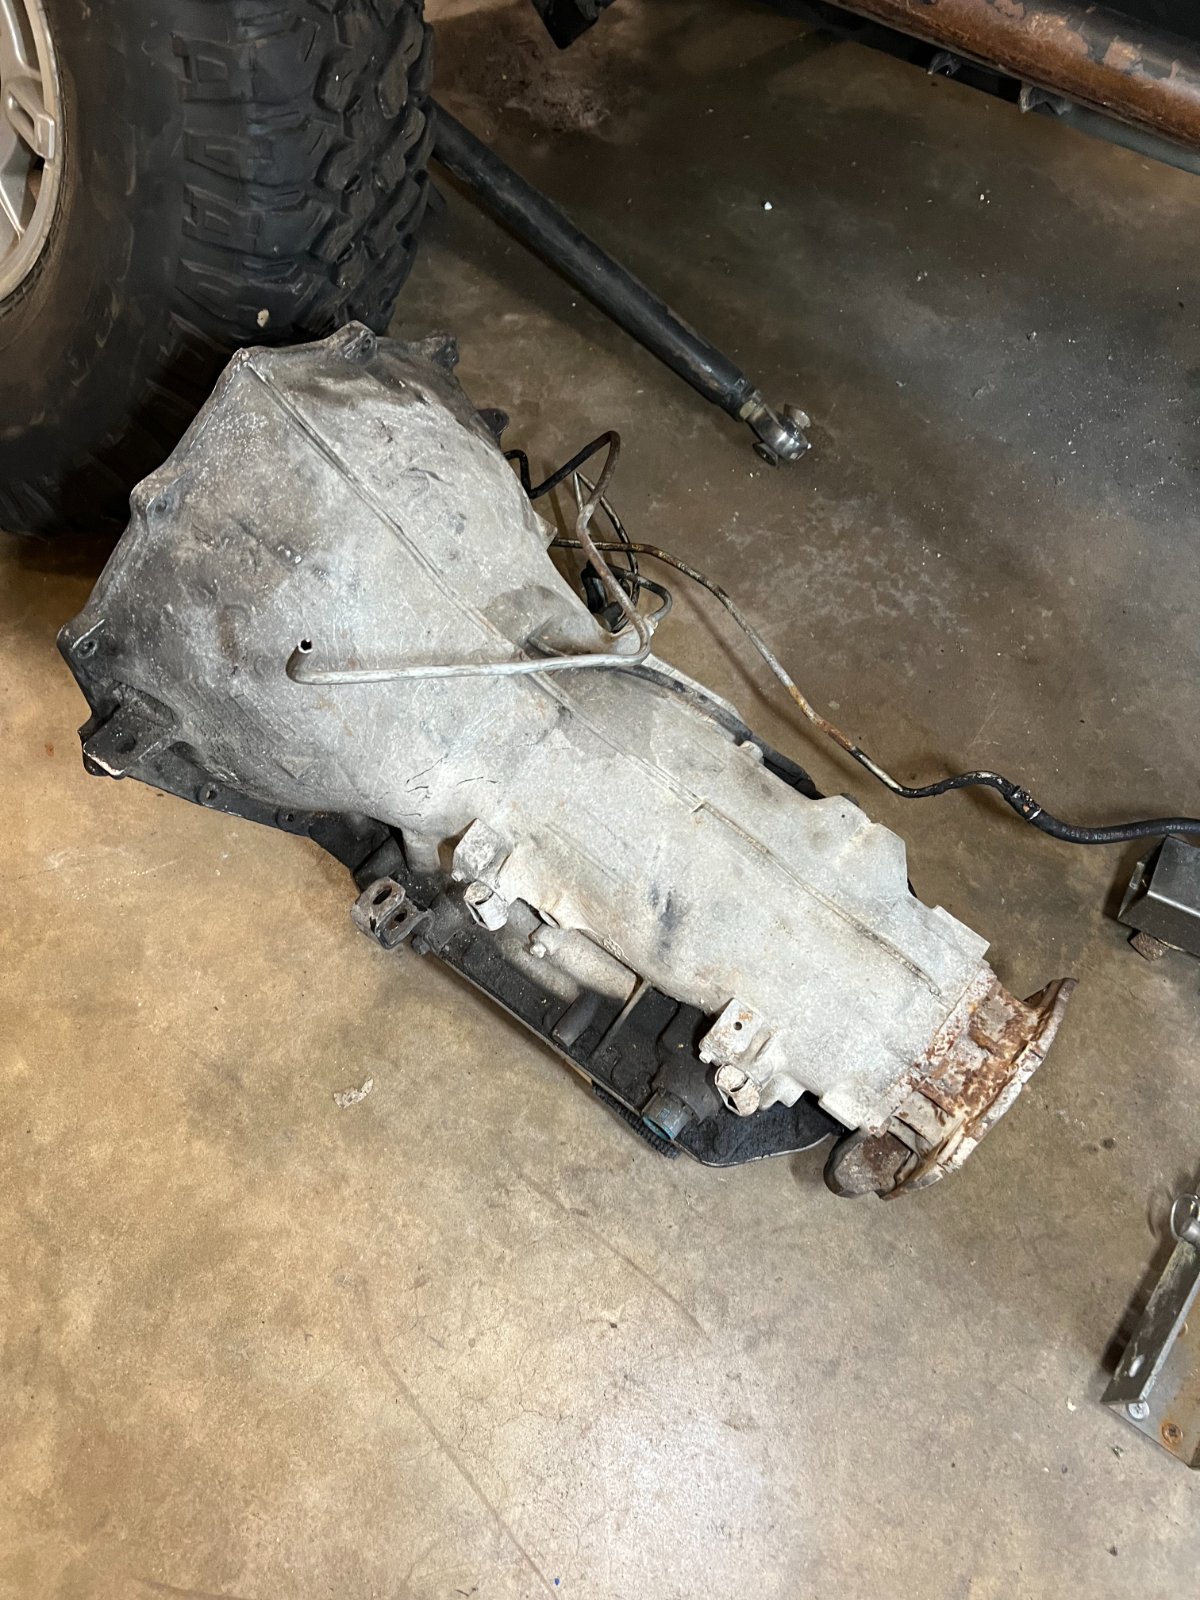
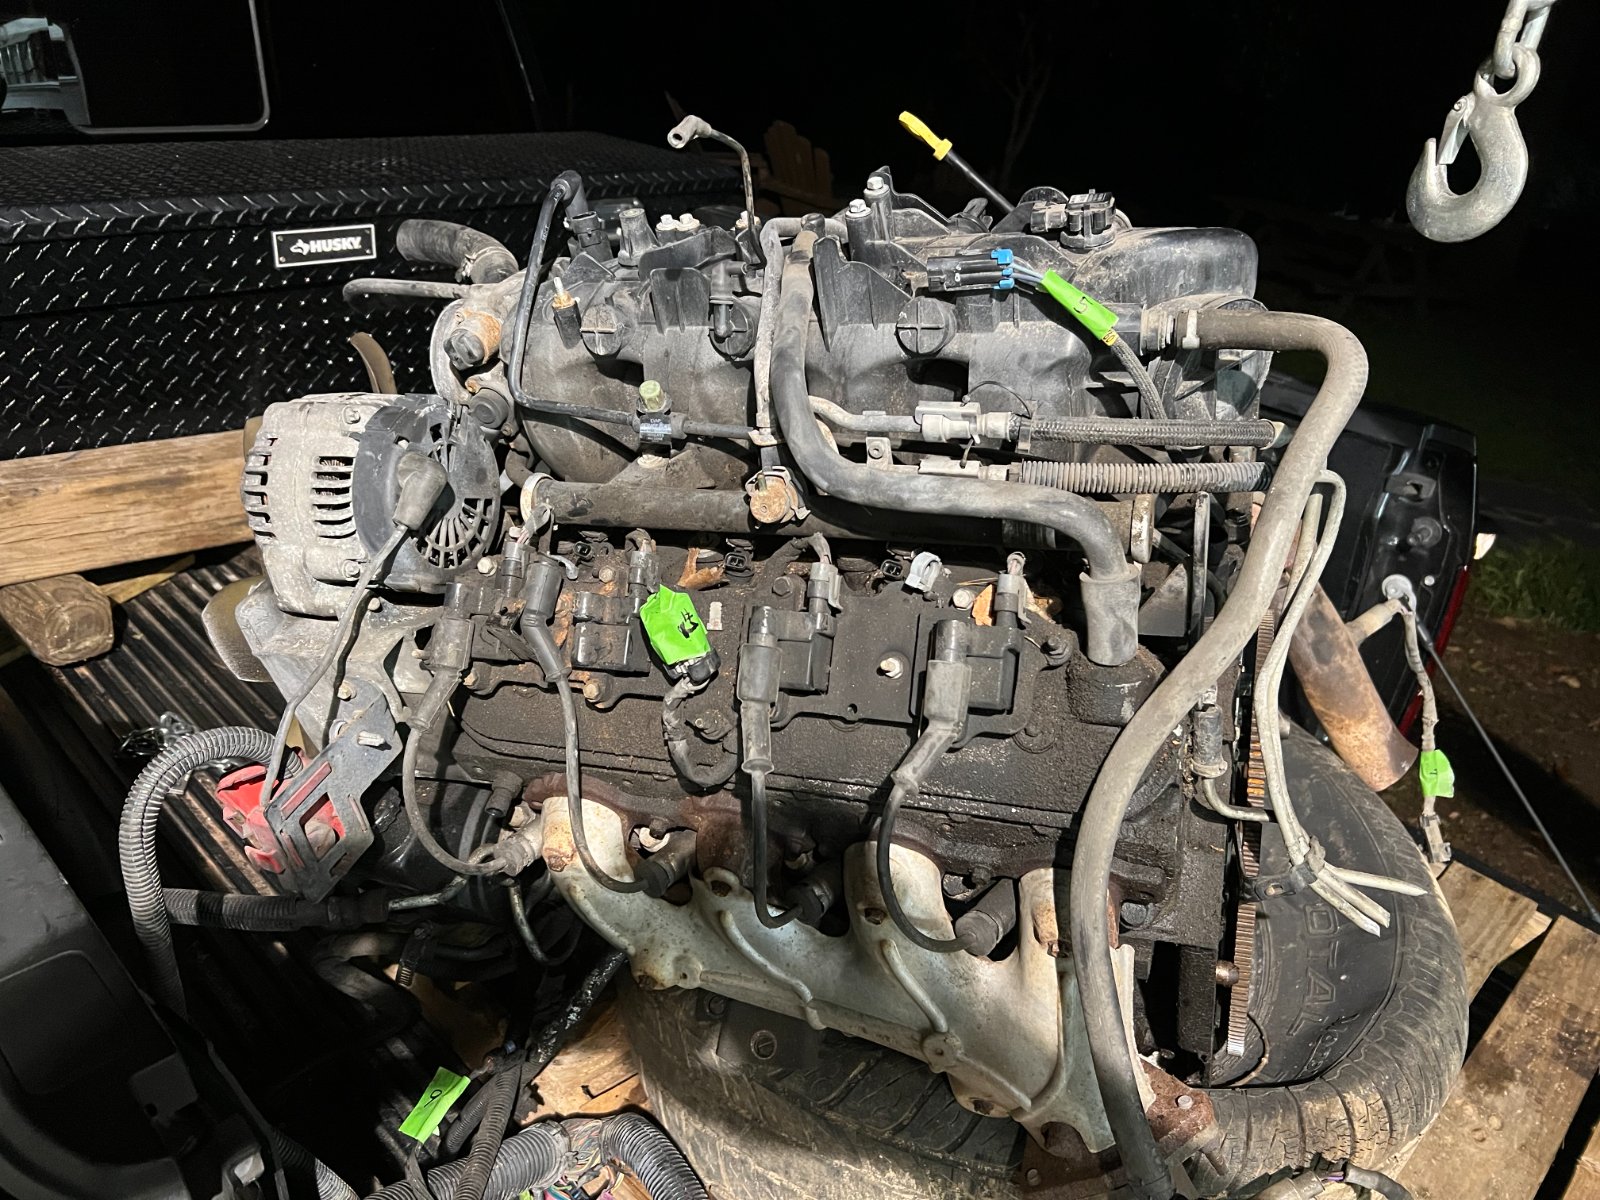
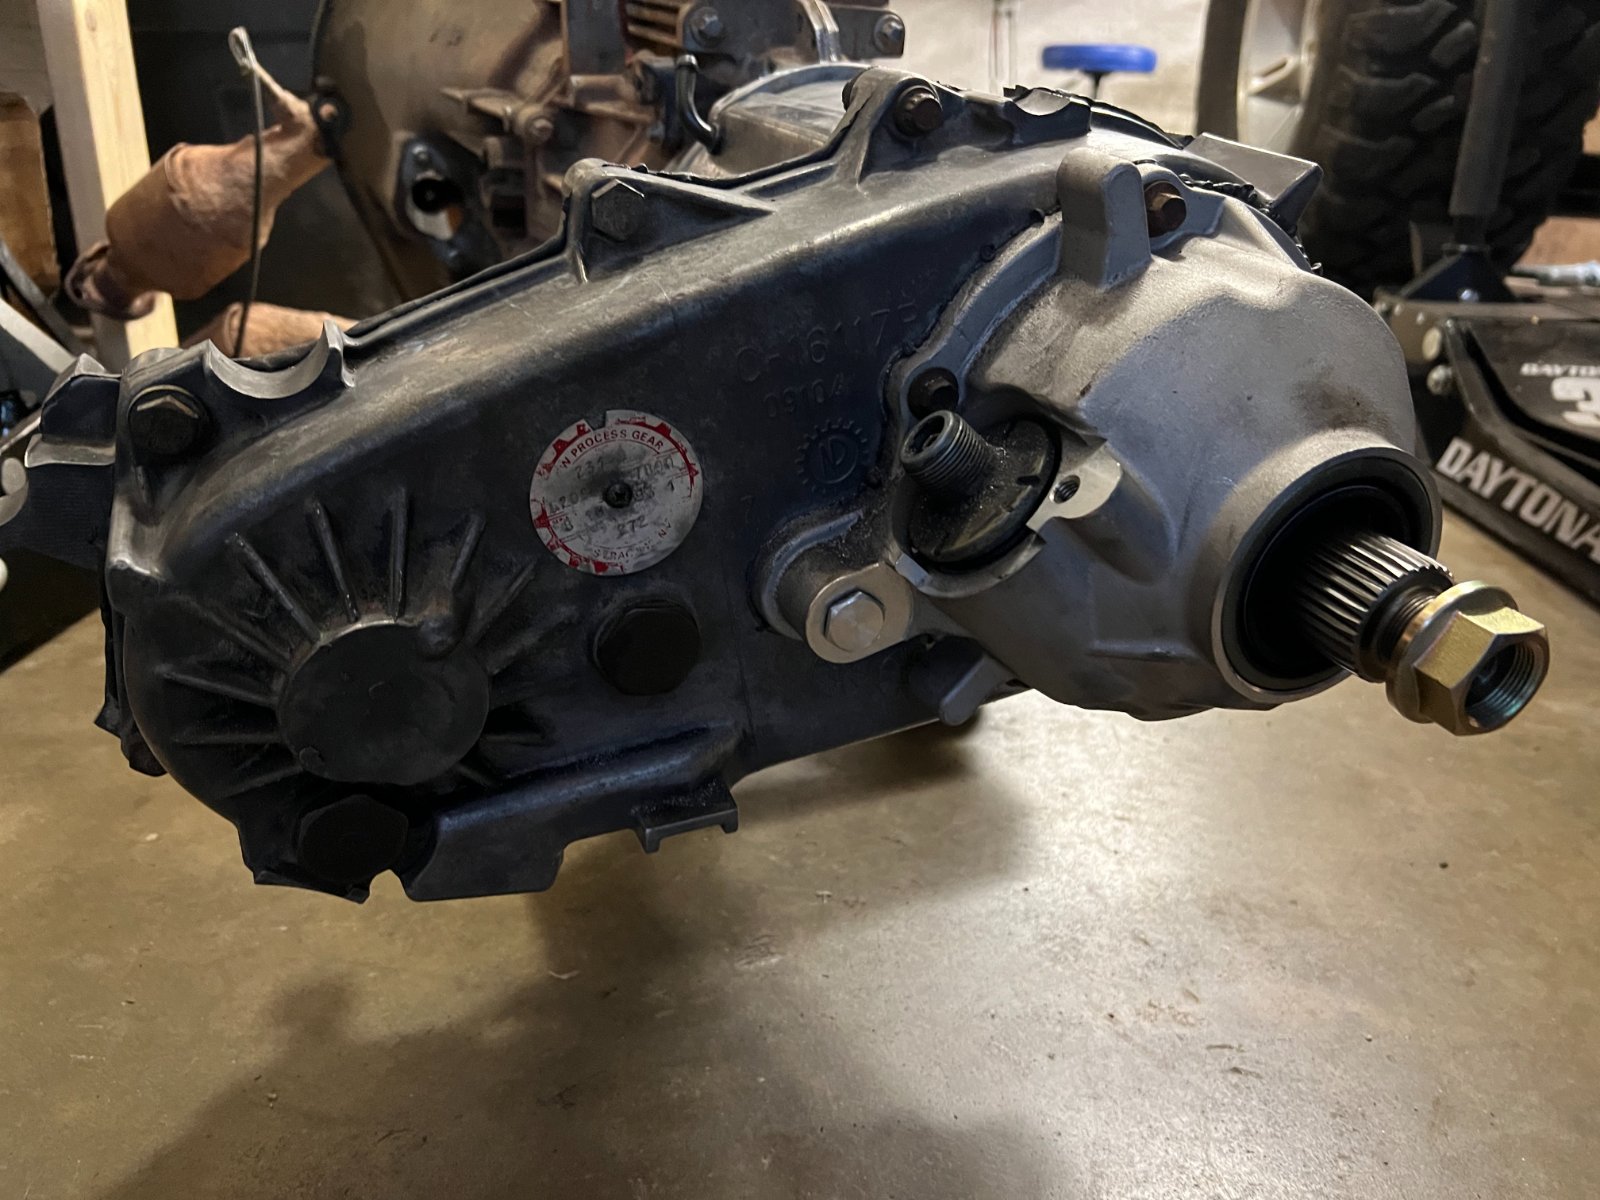
By now, I had built a 231 with an SYE, had two 241Cs a 4l80e and a 5.3 kicking about but was still not sure how I wanted to make improvements to the LJ.

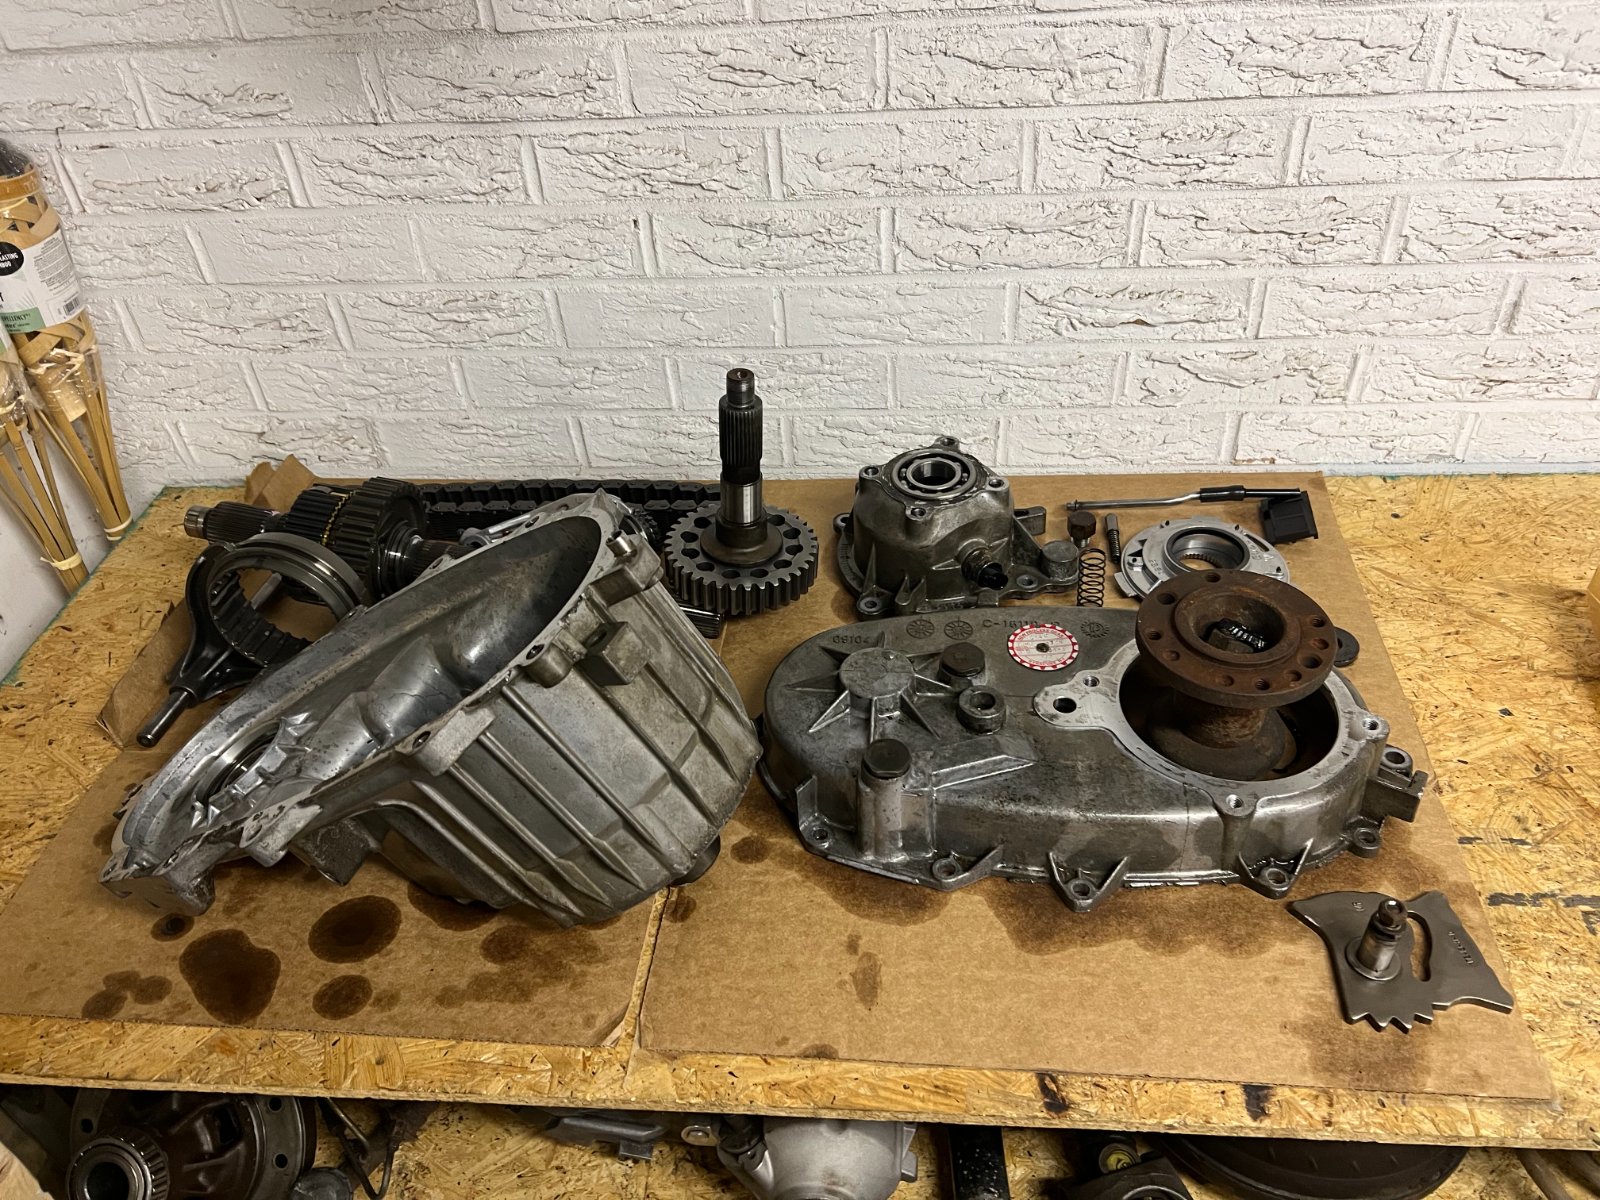
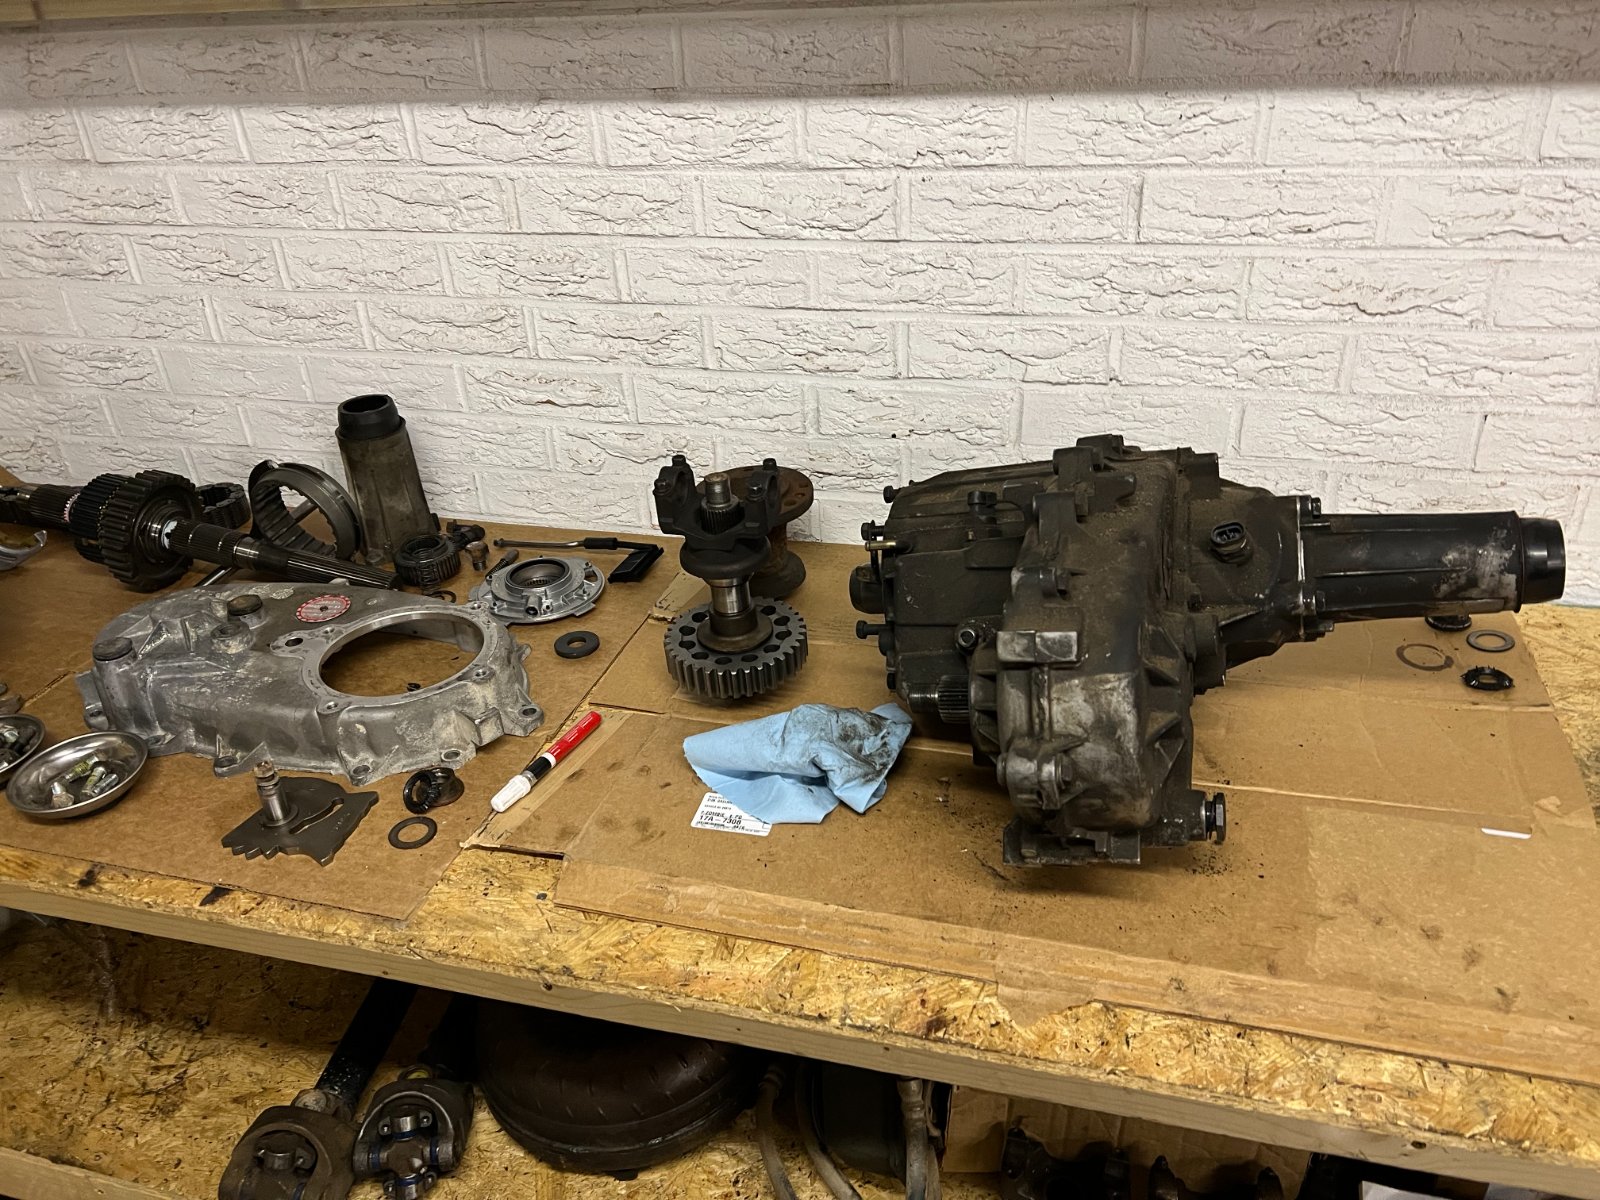
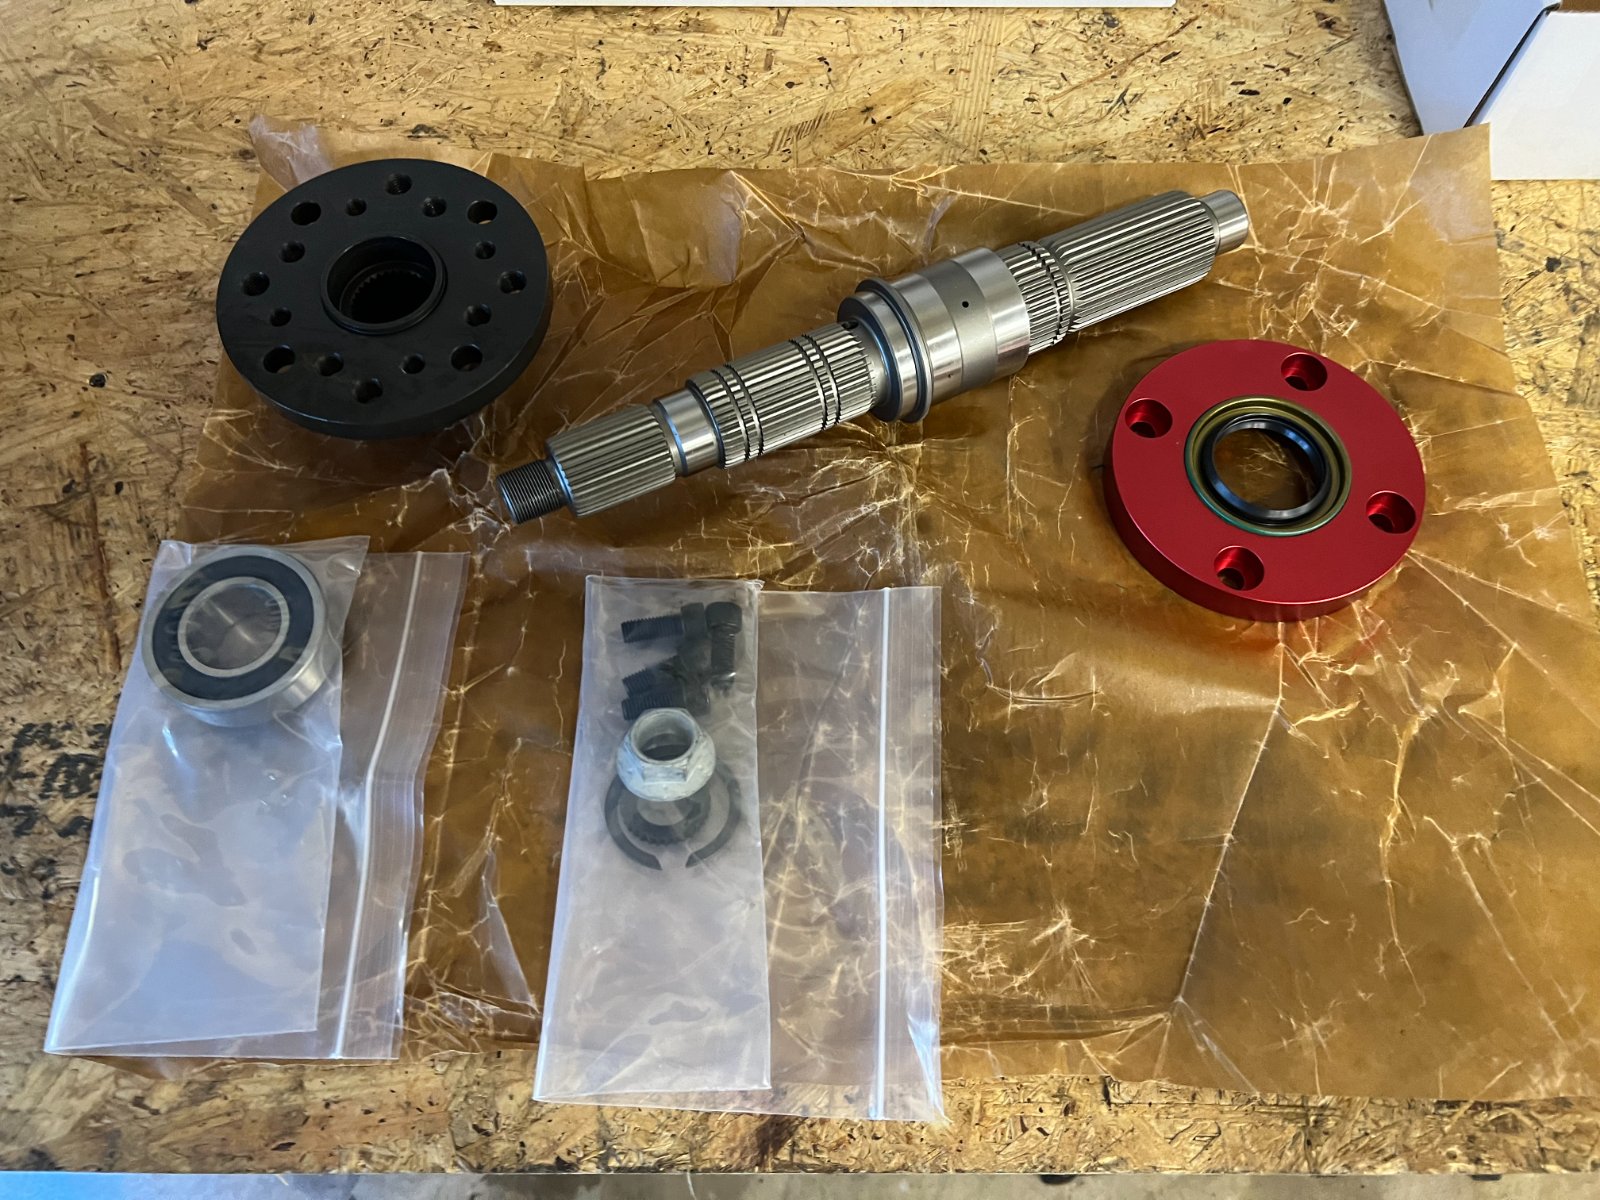
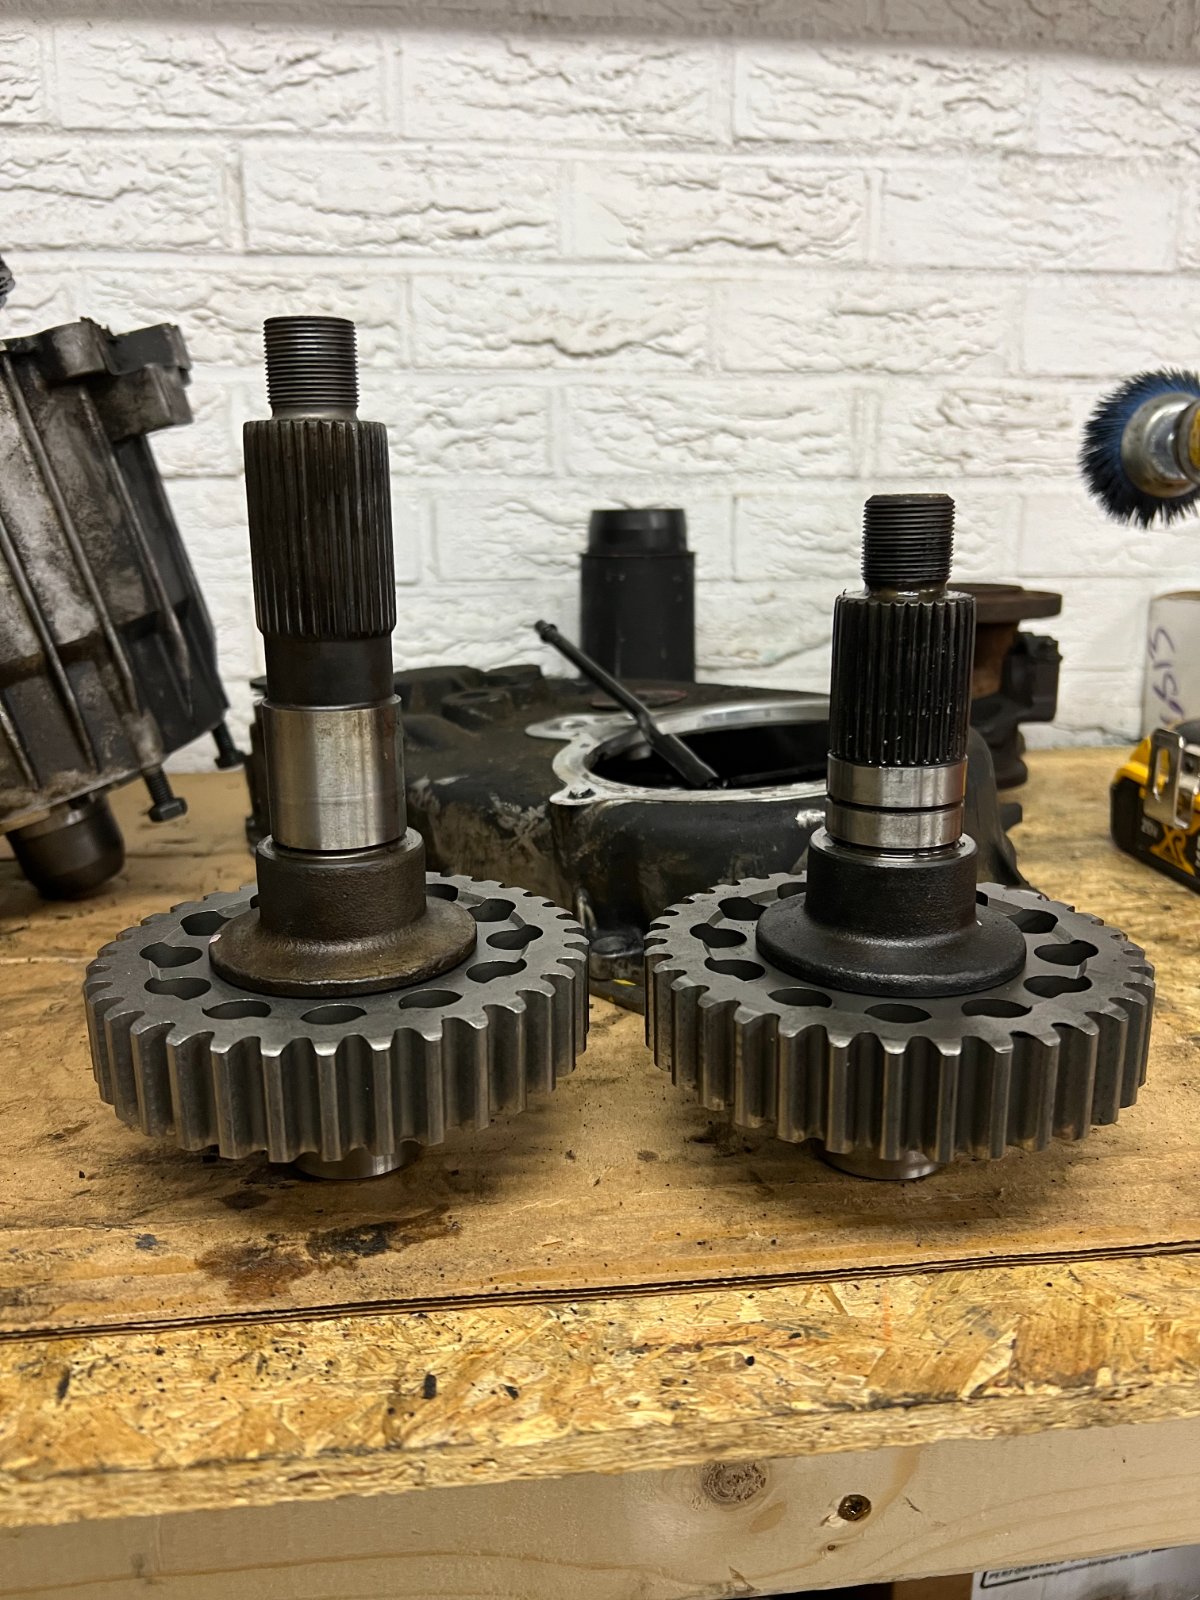
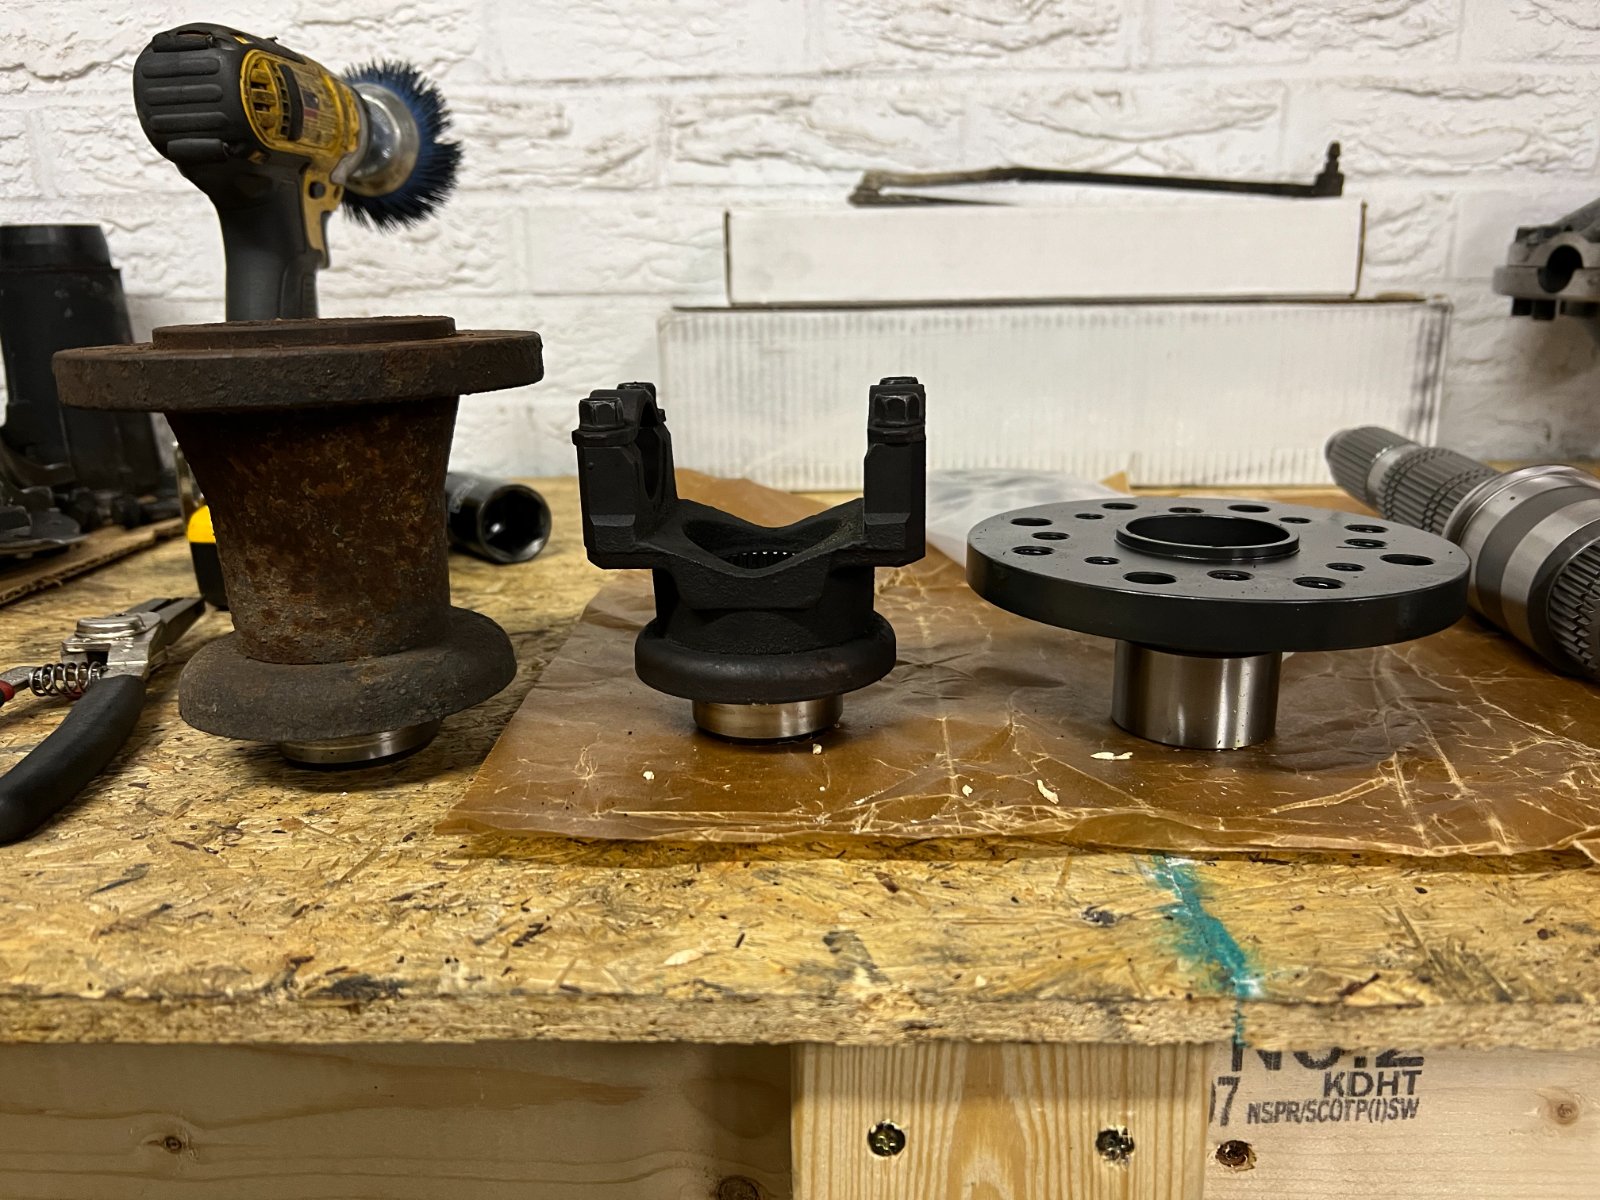
The 241Cs had different input splines. For the 4l80e I needed the 32 spline input but this case had a horribly long front driveshaft output. To prevent a steeper driveline angle I scavanged parts from the first one I purchased and swapped some stuff around.

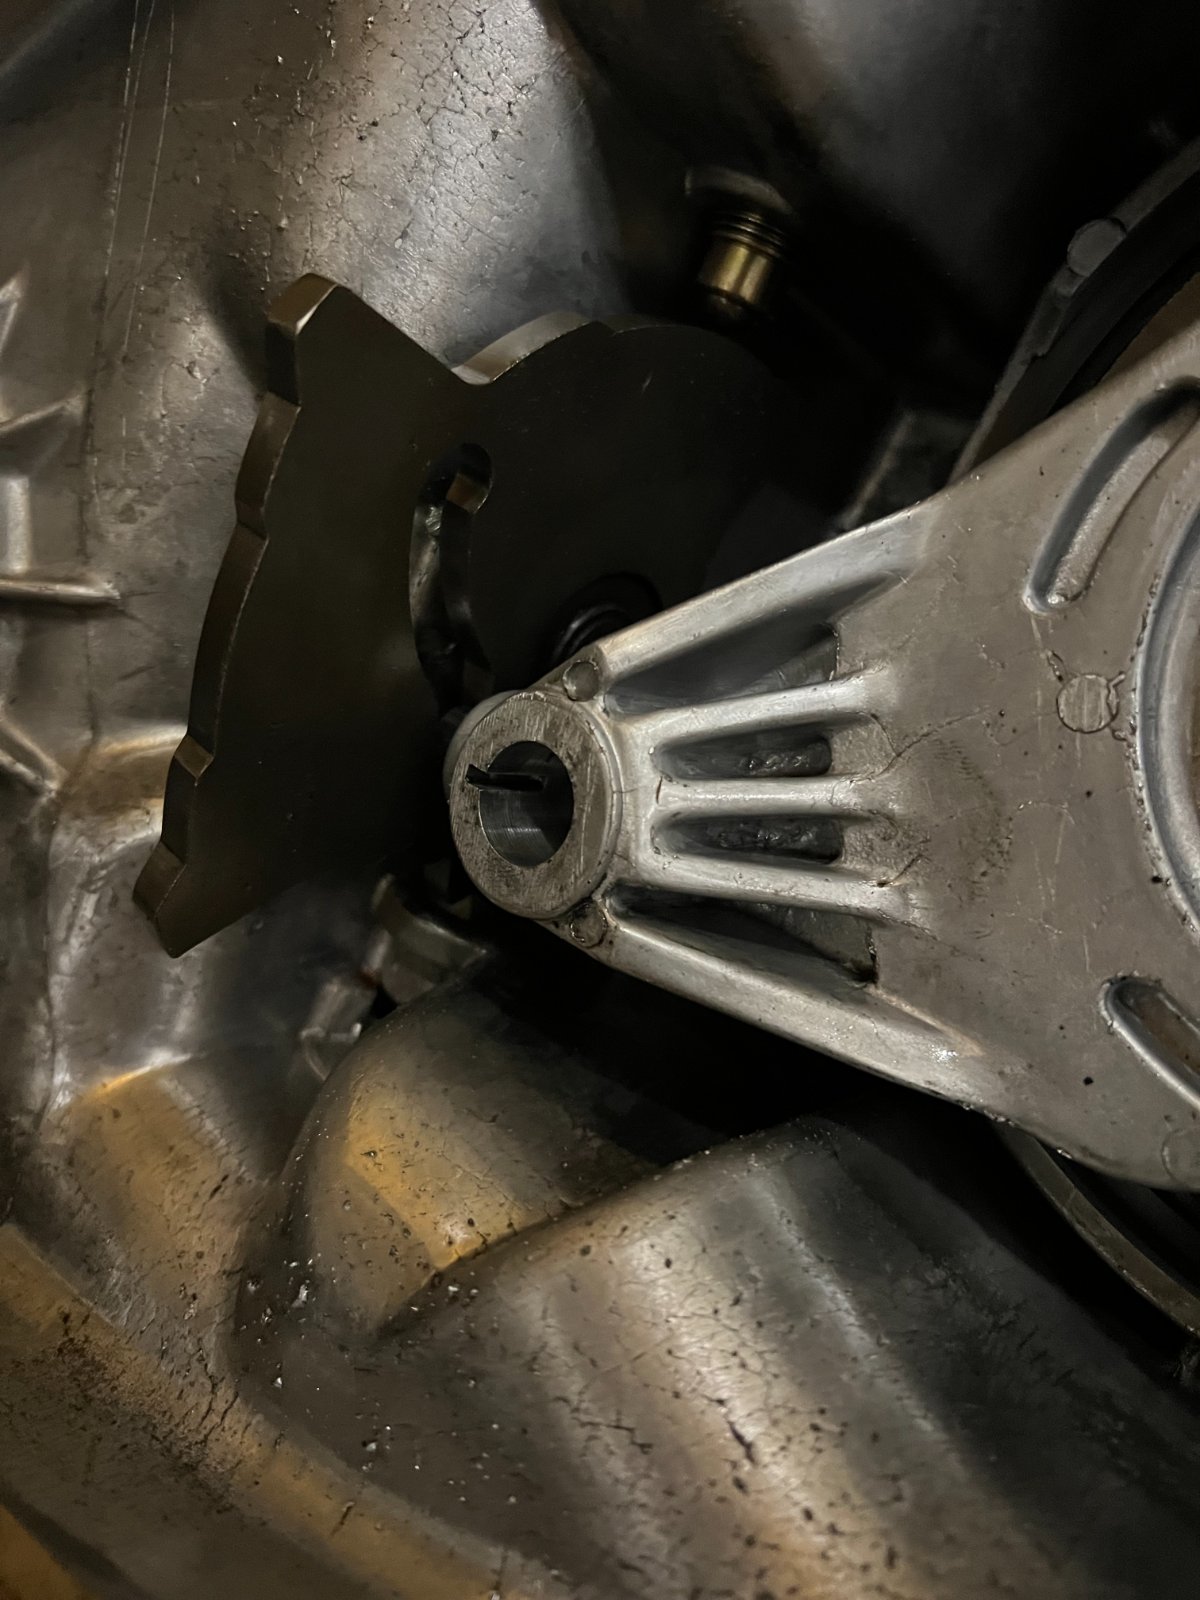
I also found that the Teraflex 2lo kit for a 231 fits in my 241C so I swapped that in with the hope I can keep a somewhat stock looking tcase shifter inside the Jeep. The only thing that looks like it won't work here is the 4wd sensor for the light on the dash which I am not worried about.

IMG_7732.JPEG

IMG_8328.JPEG

IMG_8413.JPEG

IMG_8326.JPEG

IMG_8416.JPEG

IMG_8417.JPEG

IMG_8423.JPEG
 
As an Amazon Associate we earn from qualifying purchases. Product prices and availability are accurate as of the date/time indicated and are subject to change.
October 2023

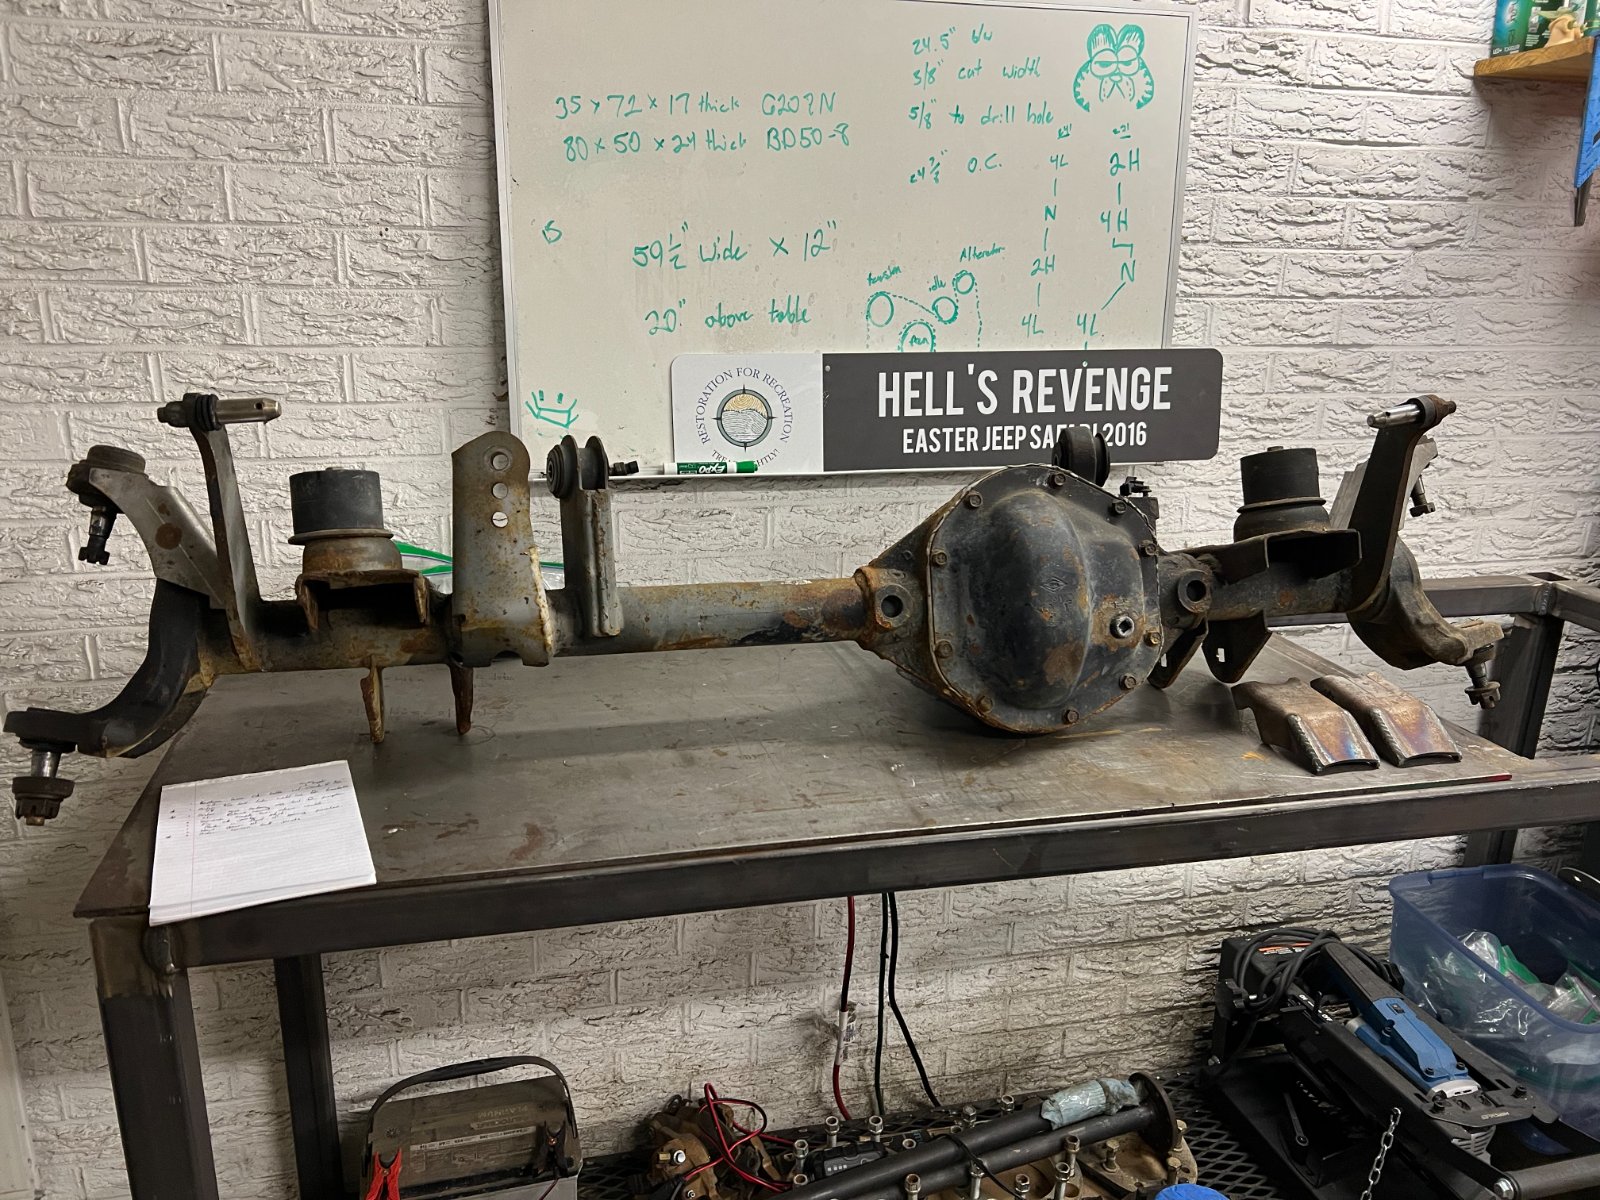
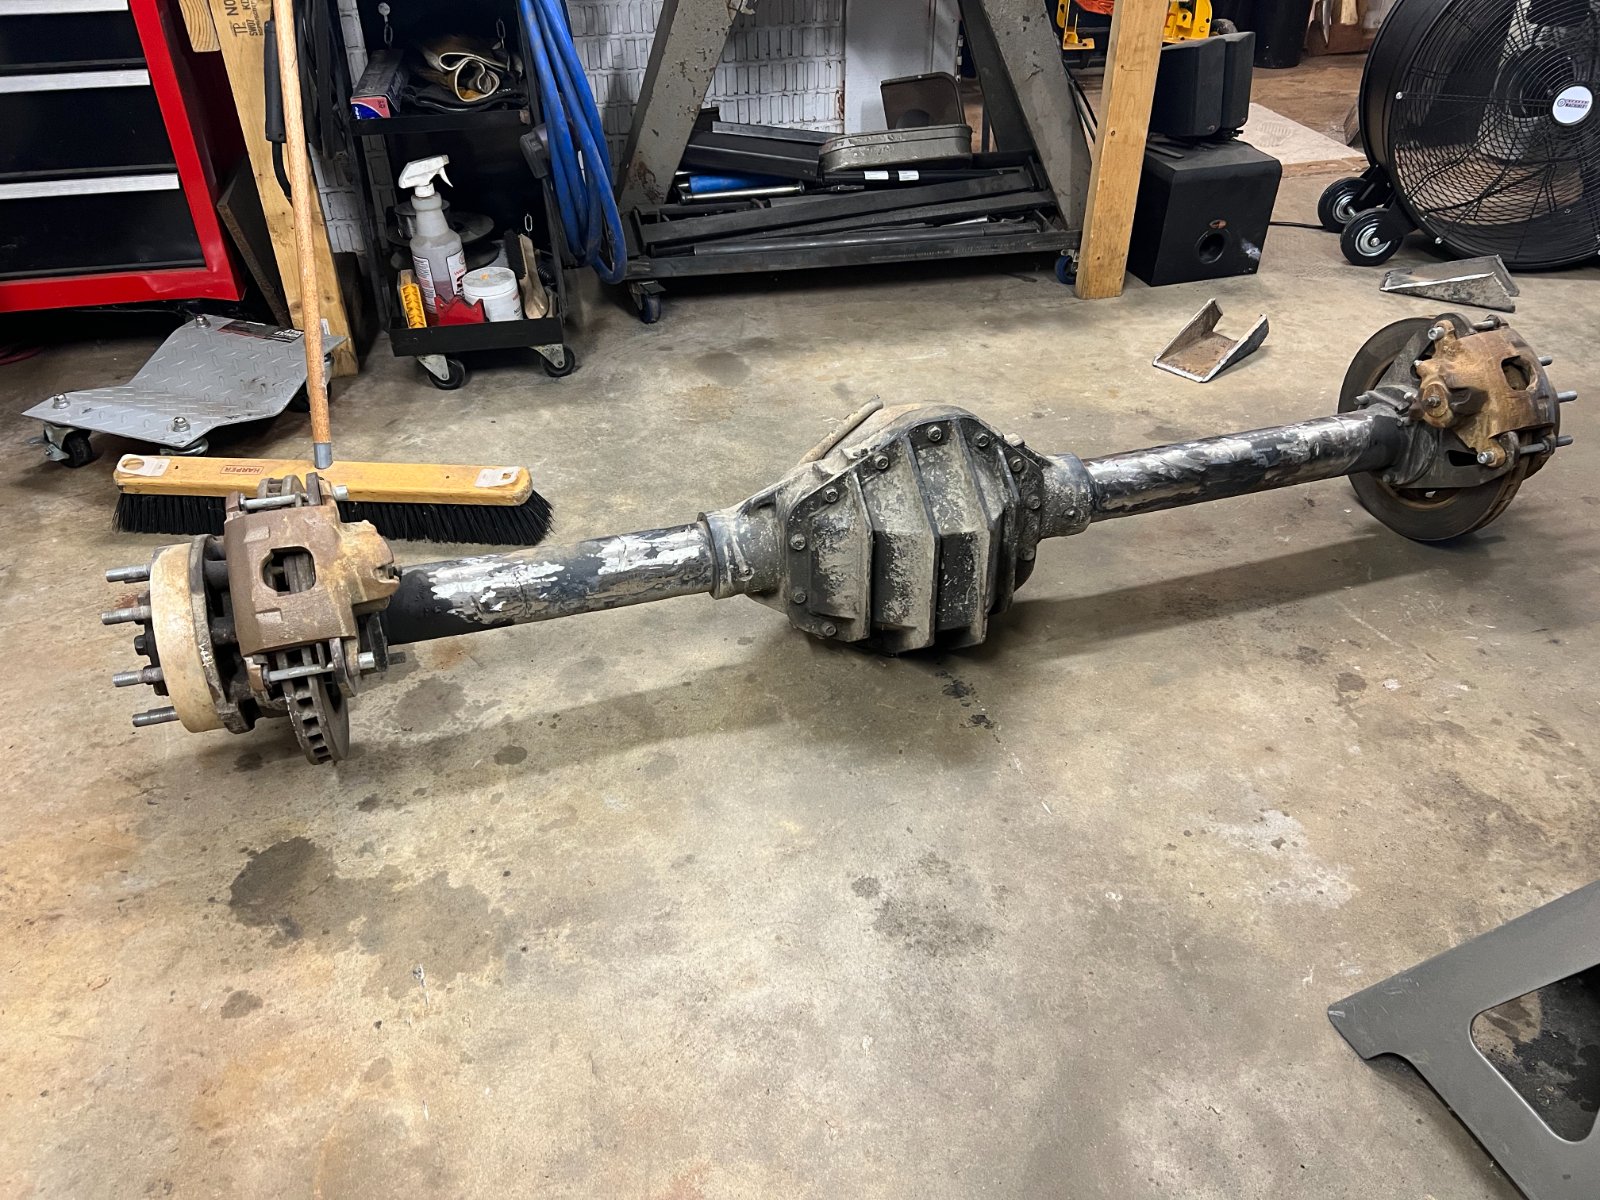
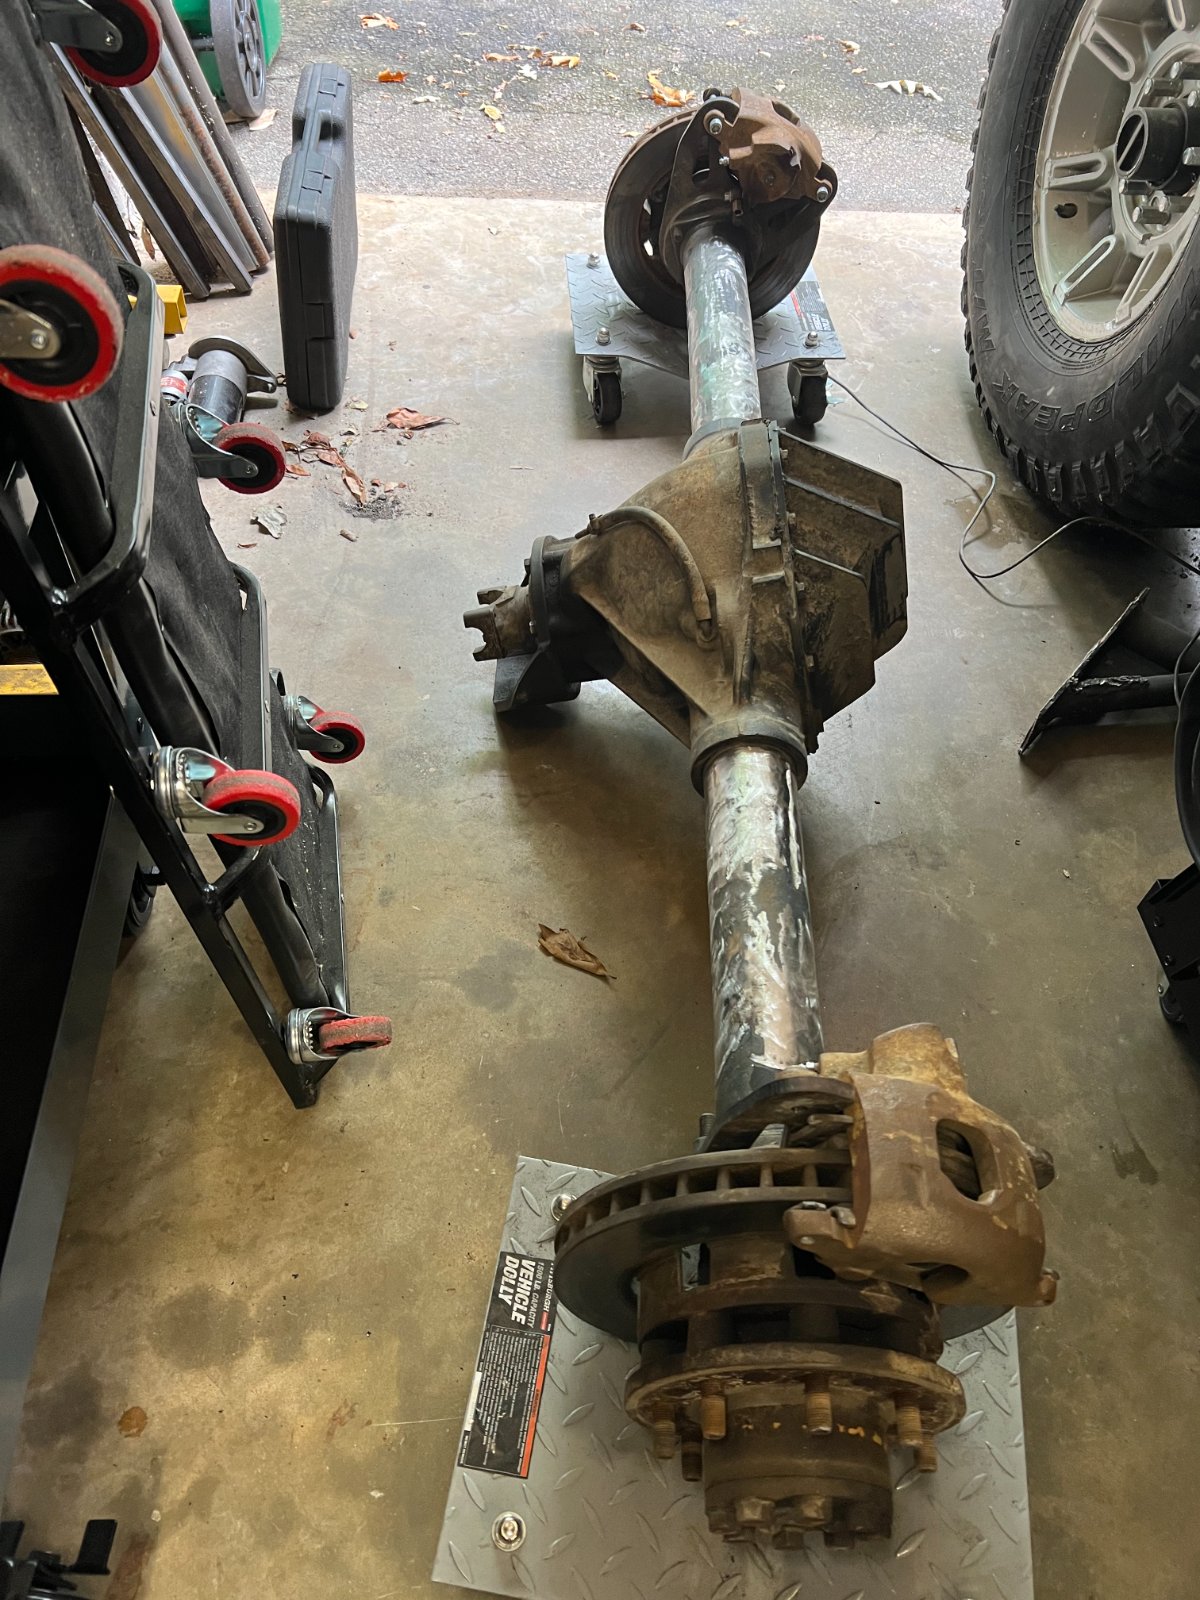
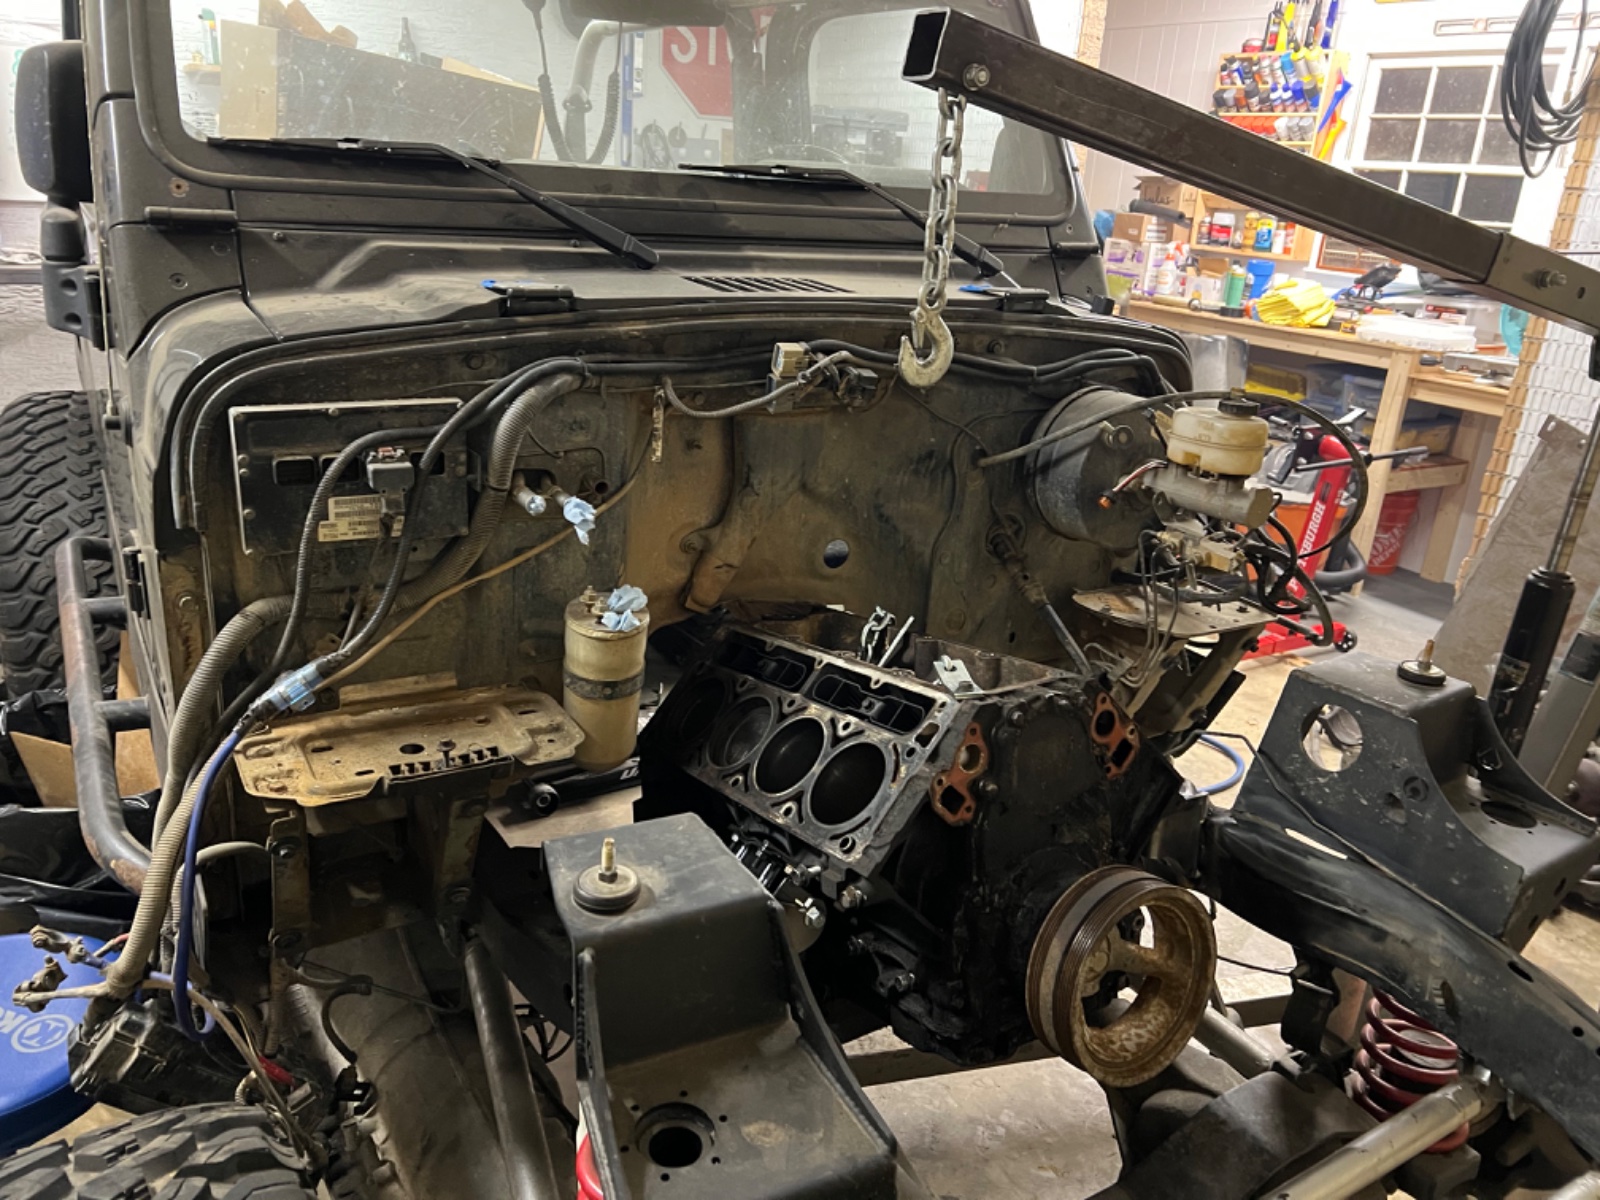
By now I put several parts up for sale to see what would go. I was able to sell my doubler, random assortment of D300 parts, the 231 with the SYE, my .0 and my NSG370 6 speed. This left me with one option; LS swap. At the same time I pulled the 14 bolt and cut every bracket off it to send over to Chris Durham to be shaved.

IMG_8368.JPEG

IMG_8578.JPEG

IMG_7205.JPEG

IMG_7206.JPEG
 
Like how you backed yourself into the corner of an LS swap by selling all the Jeep stuffs :rolf:
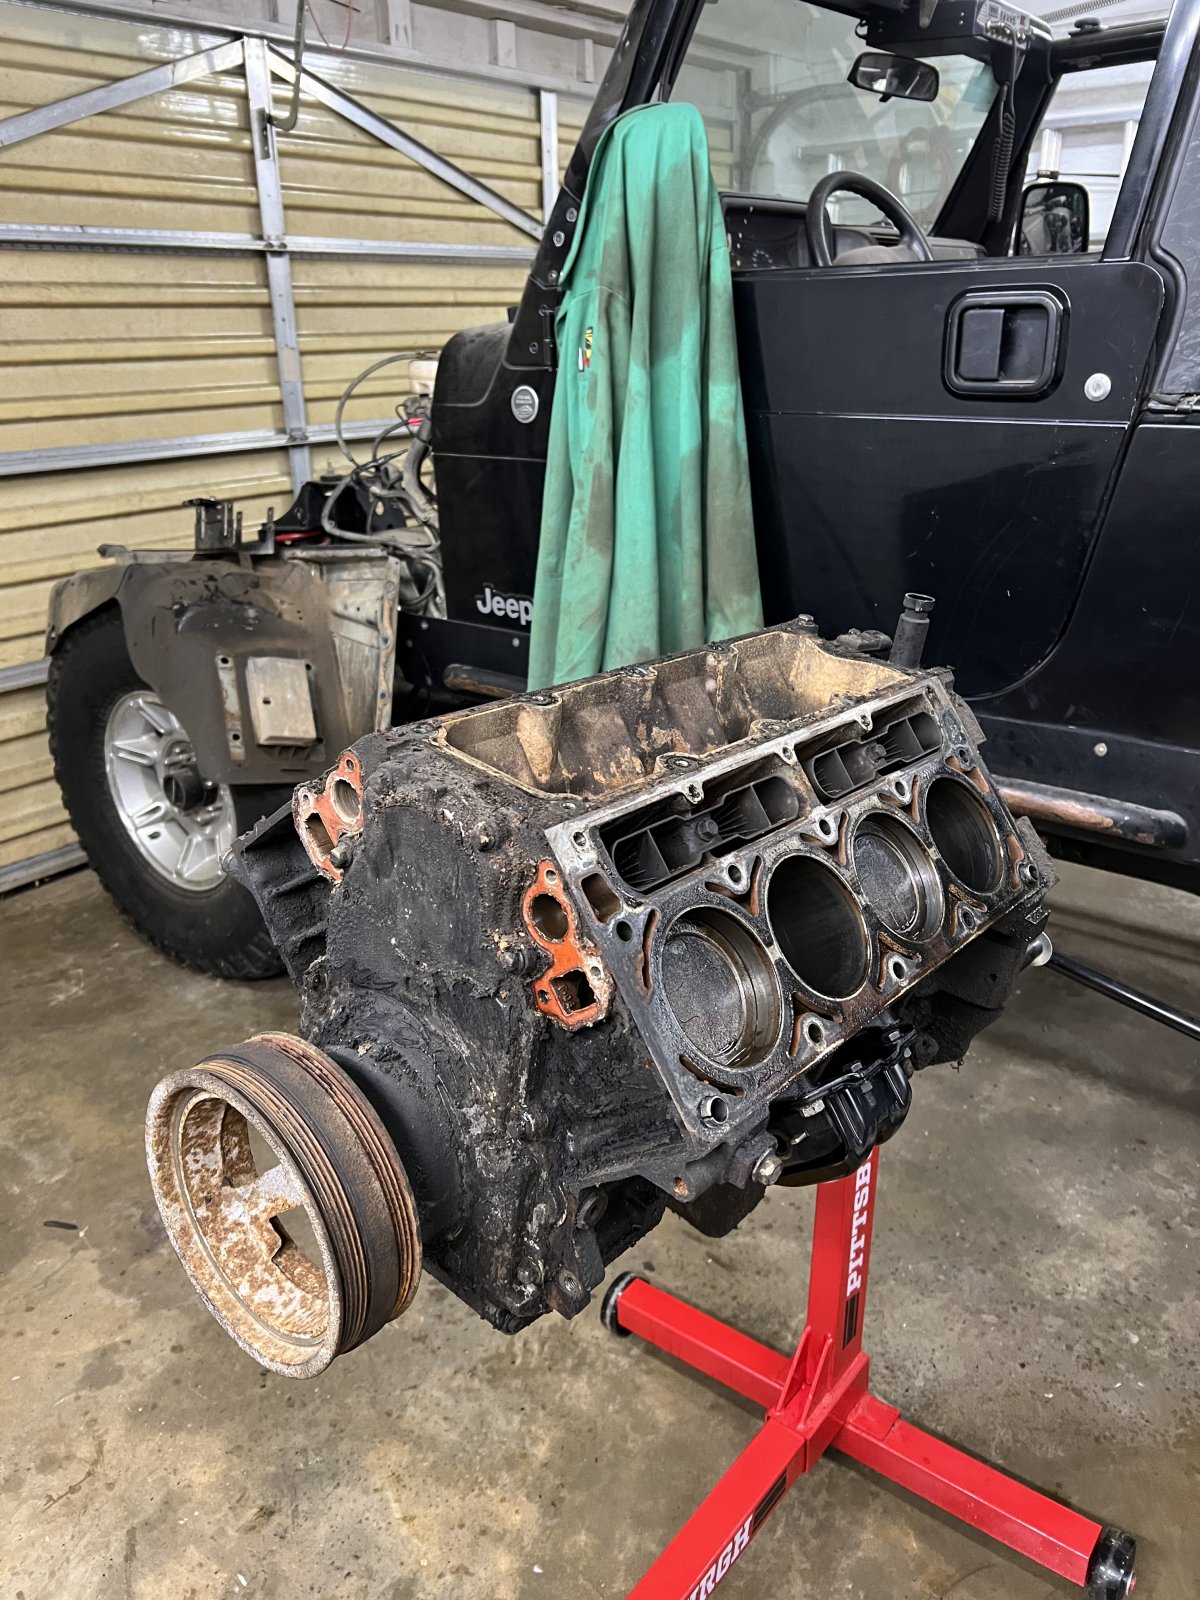
 
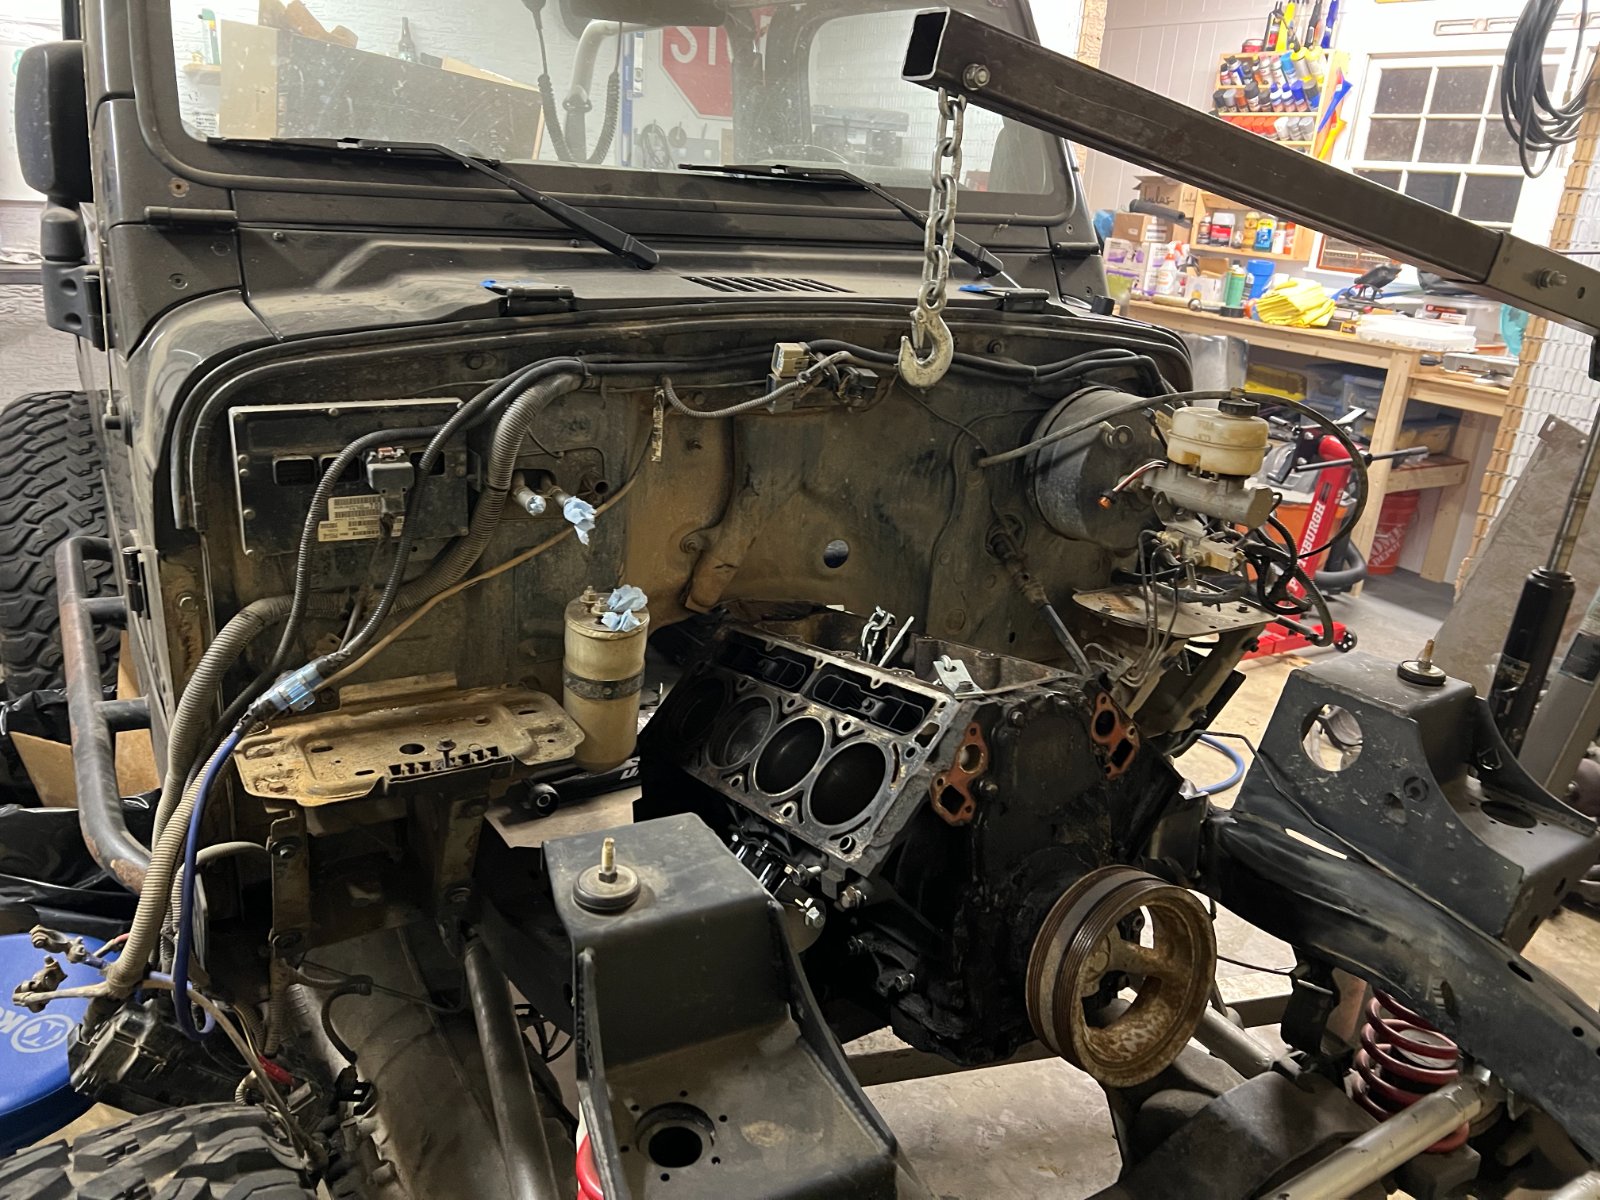
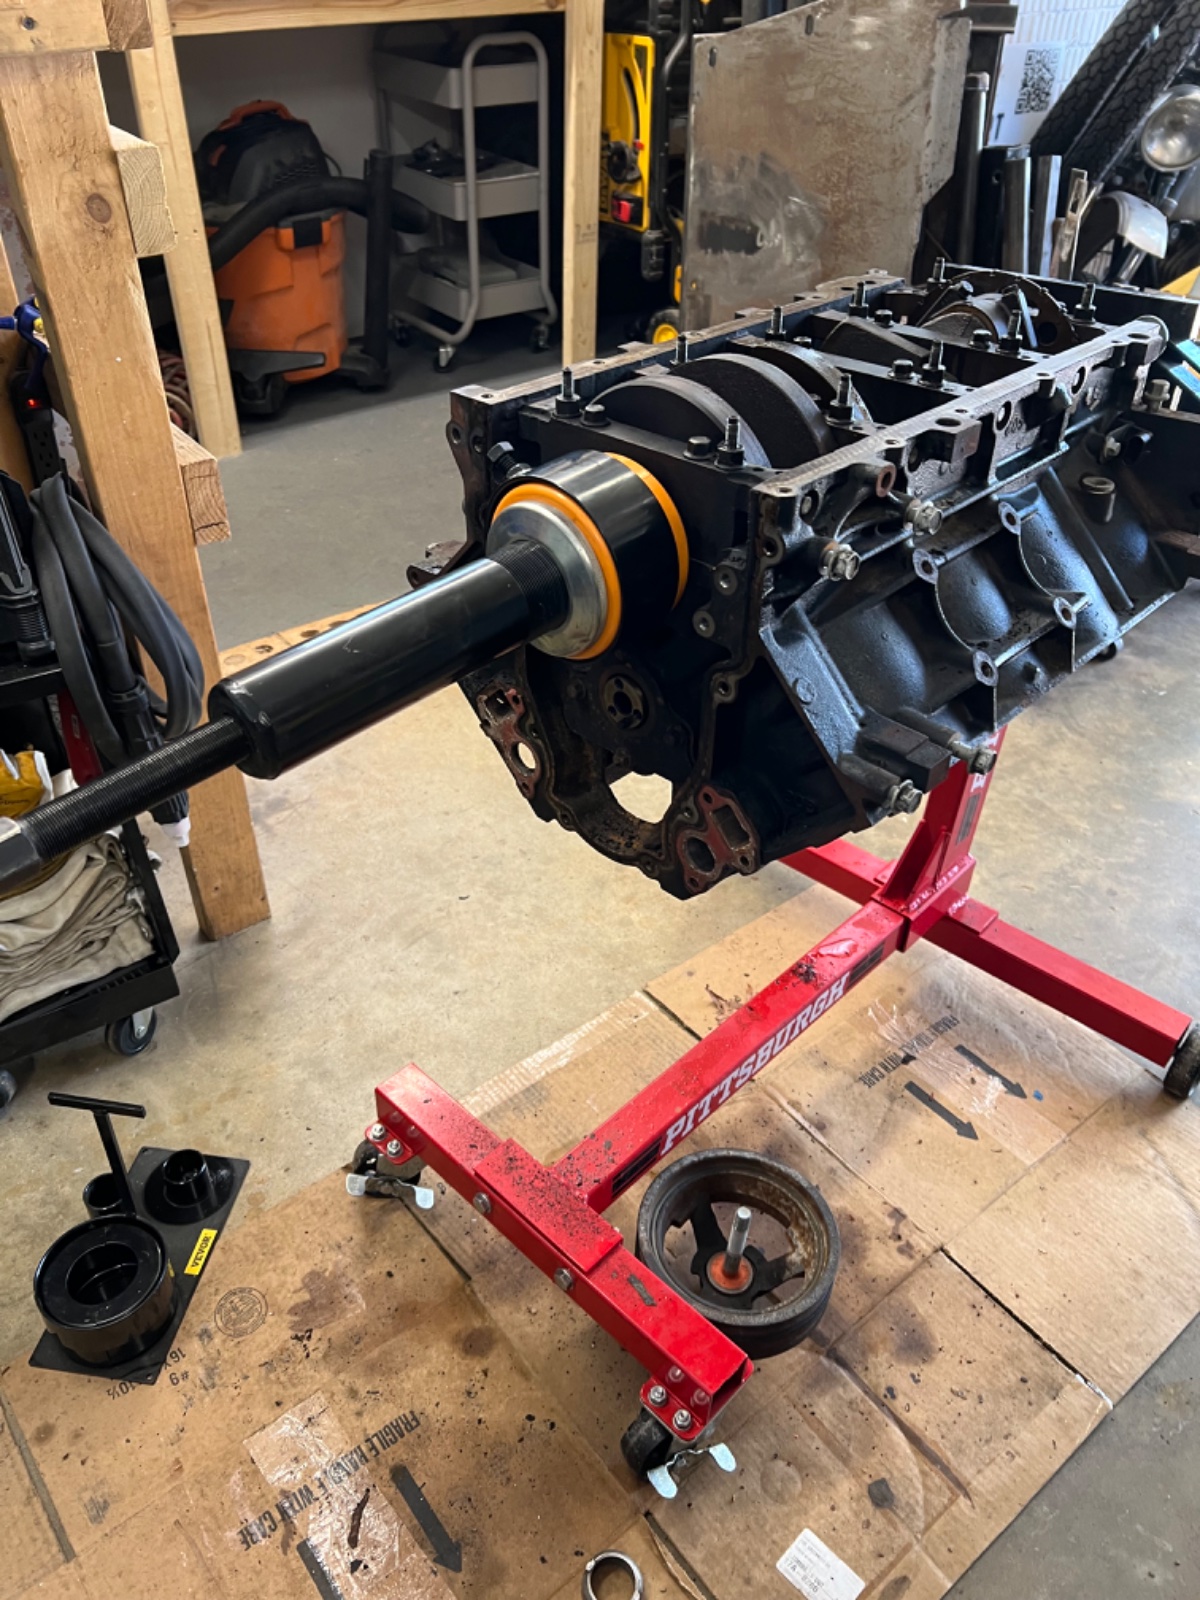
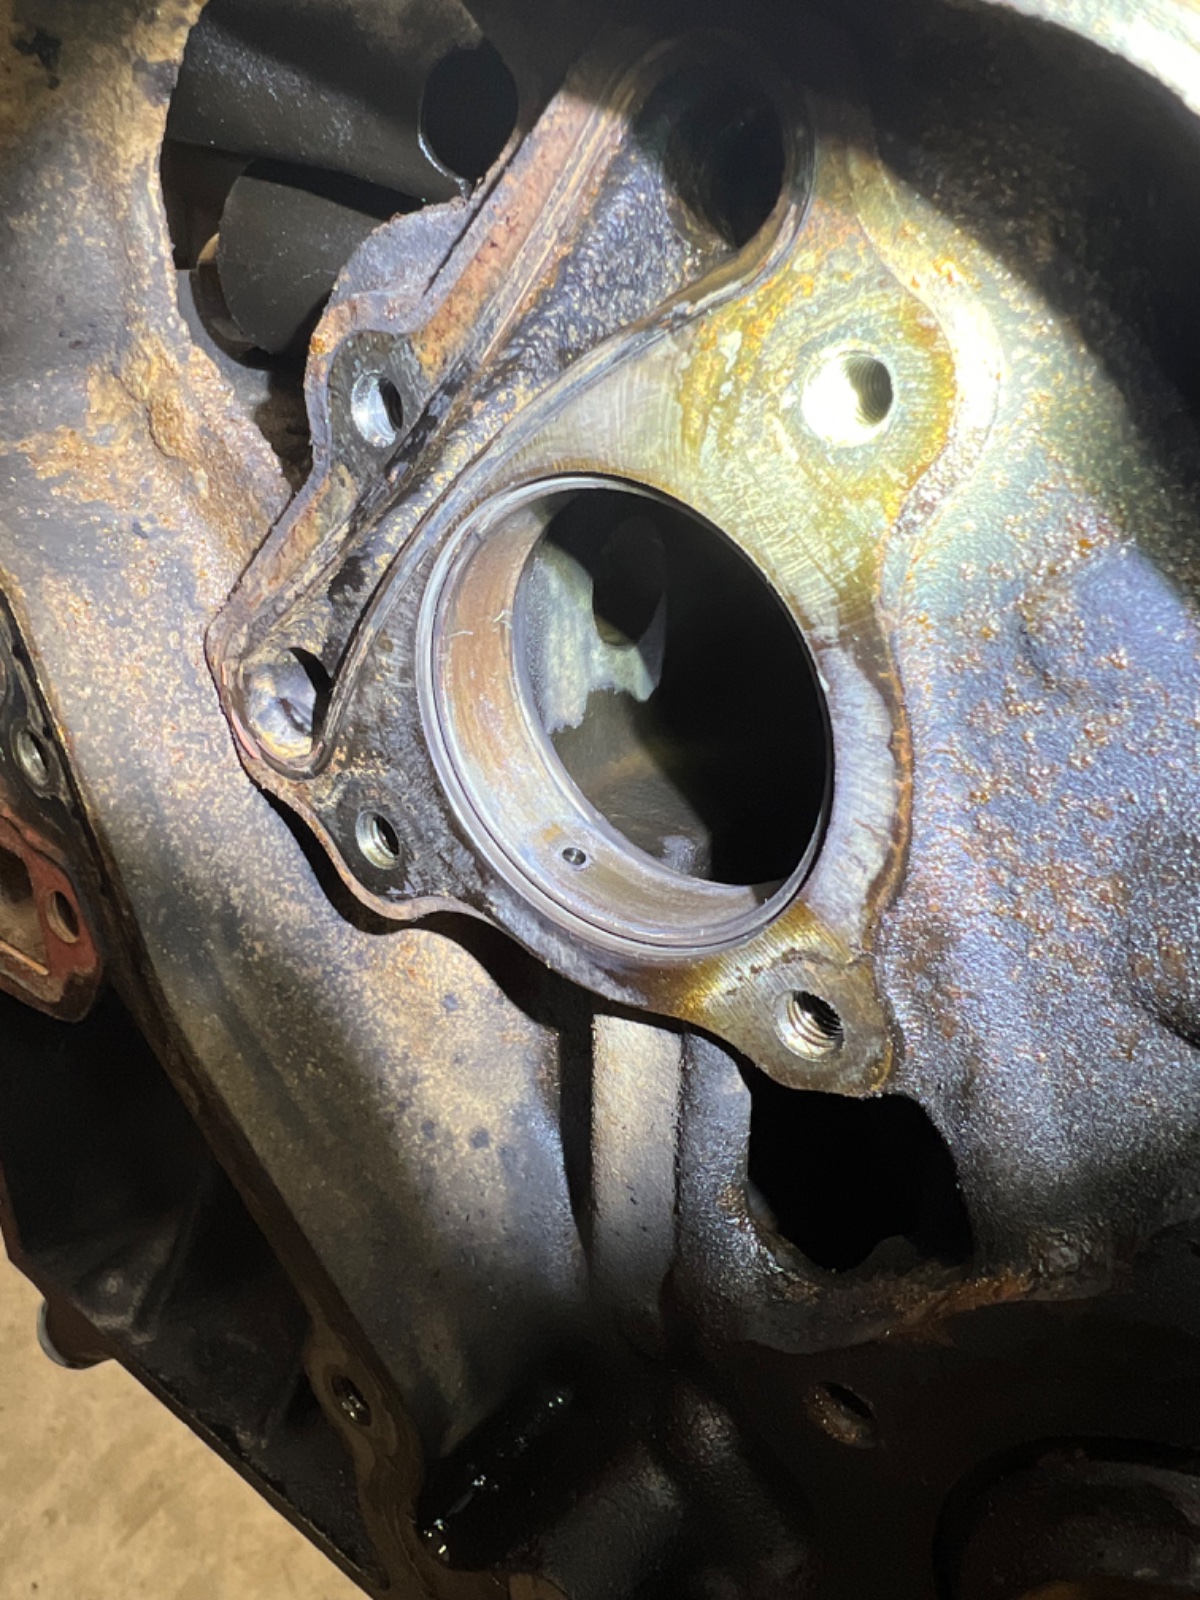
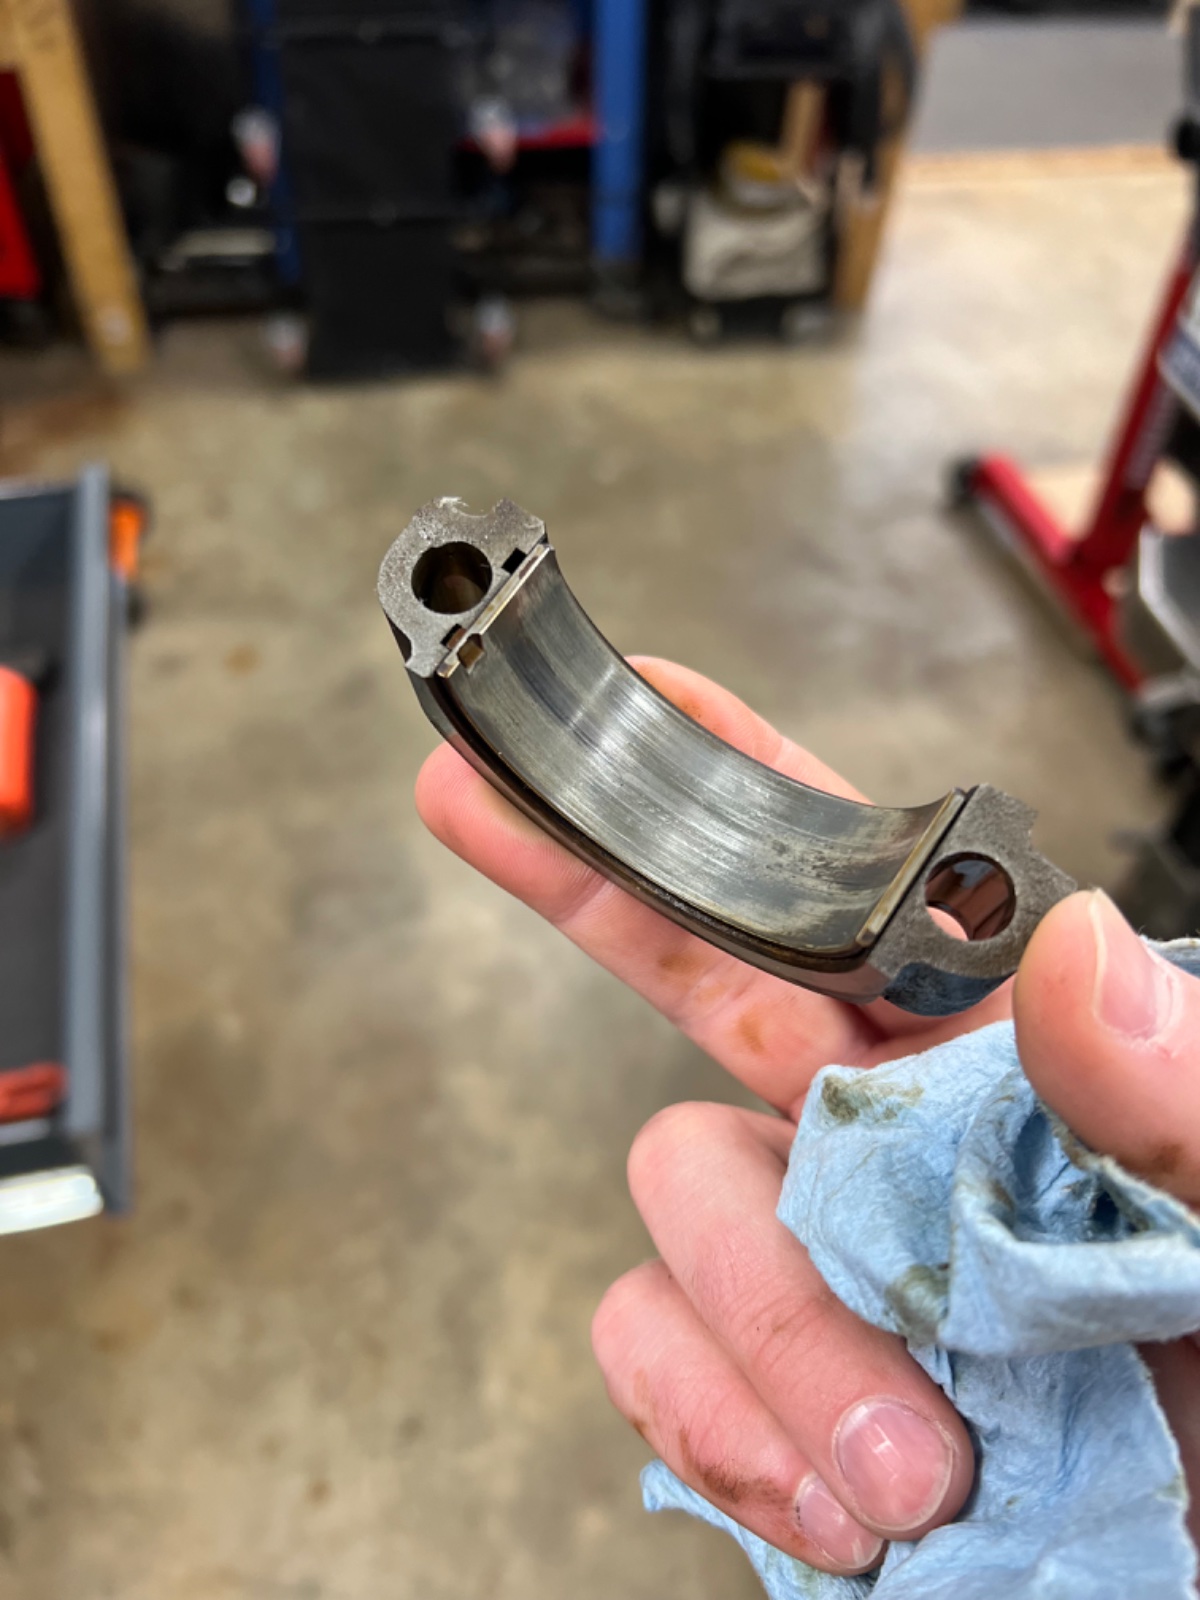
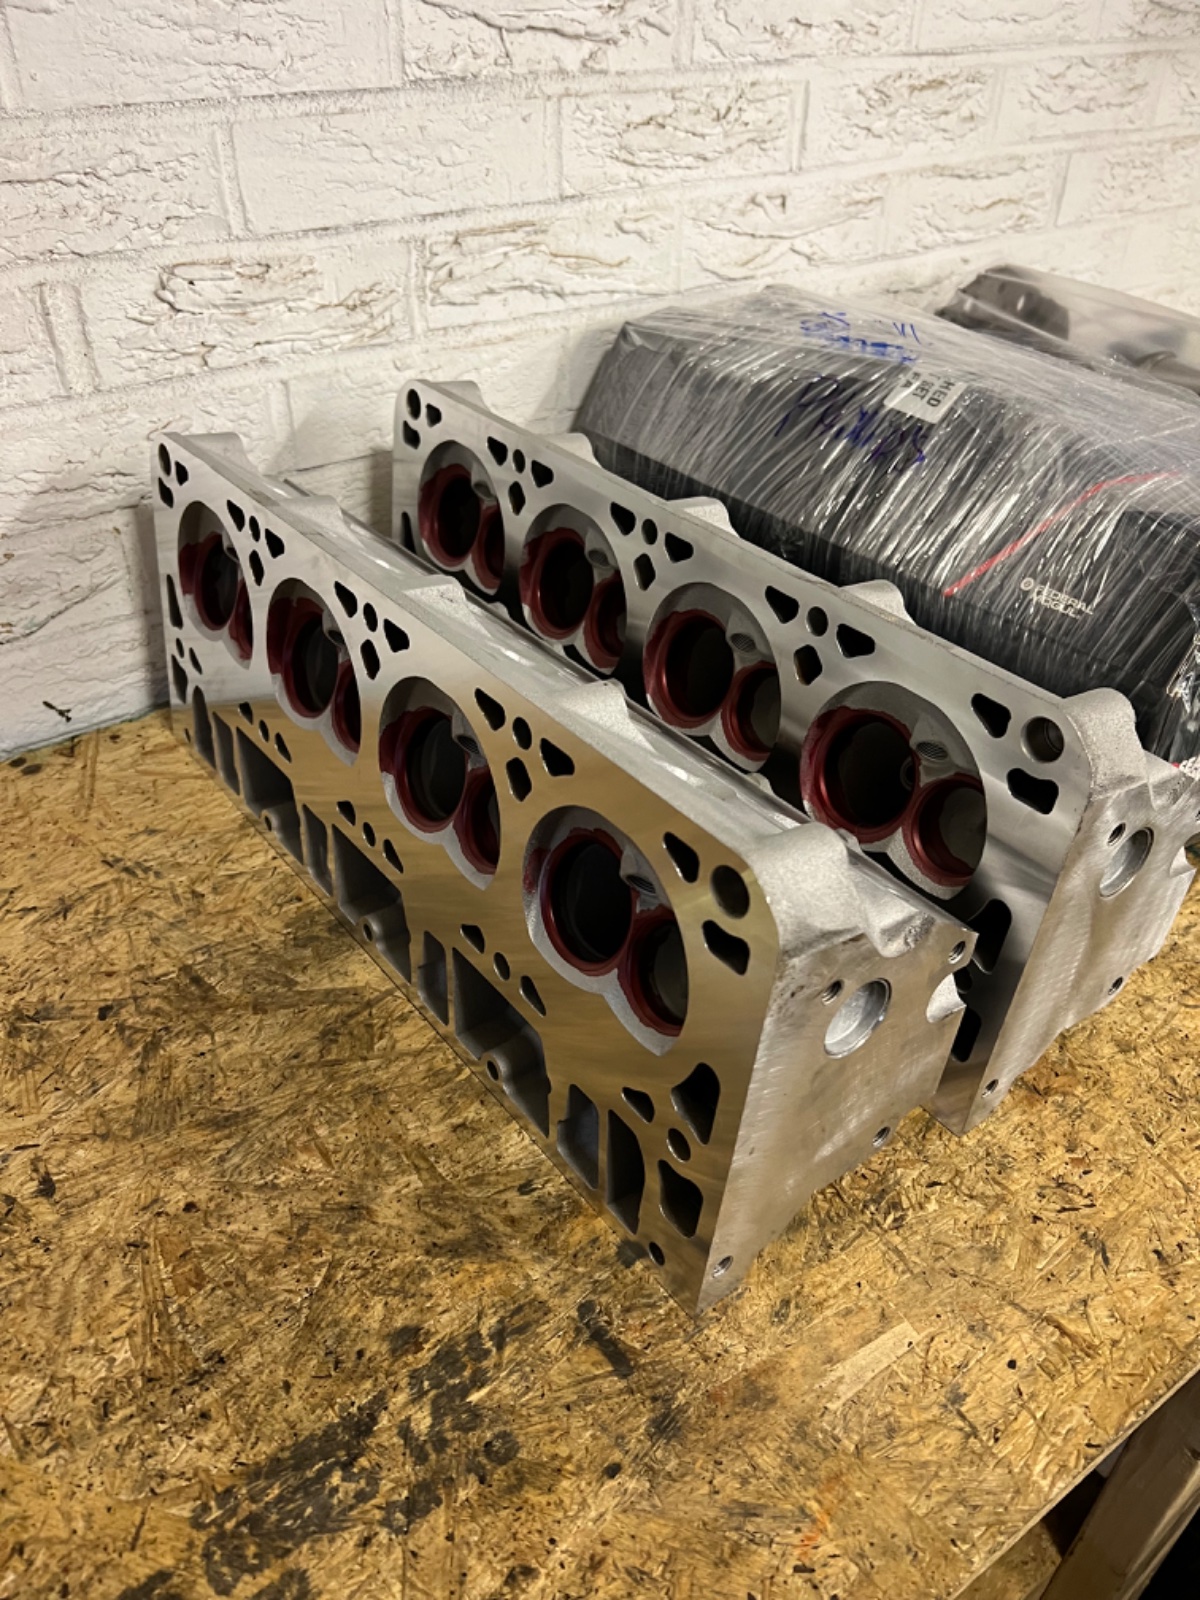
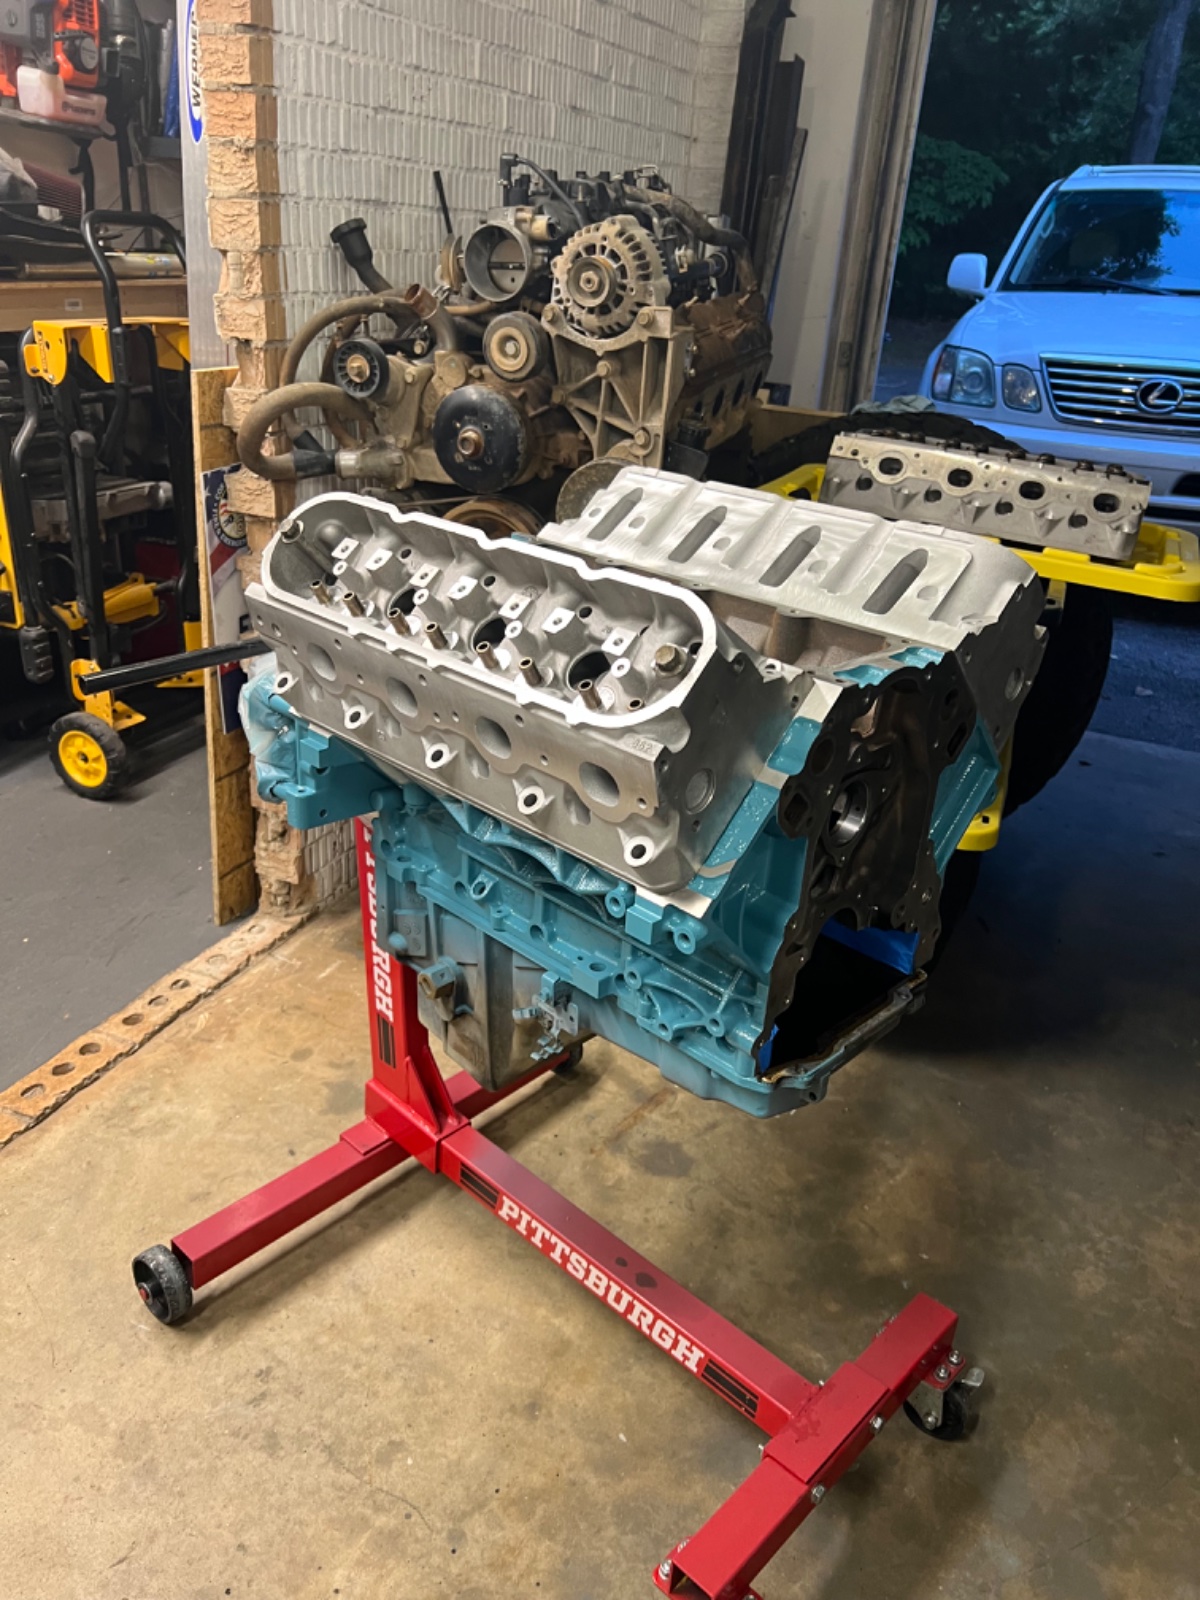
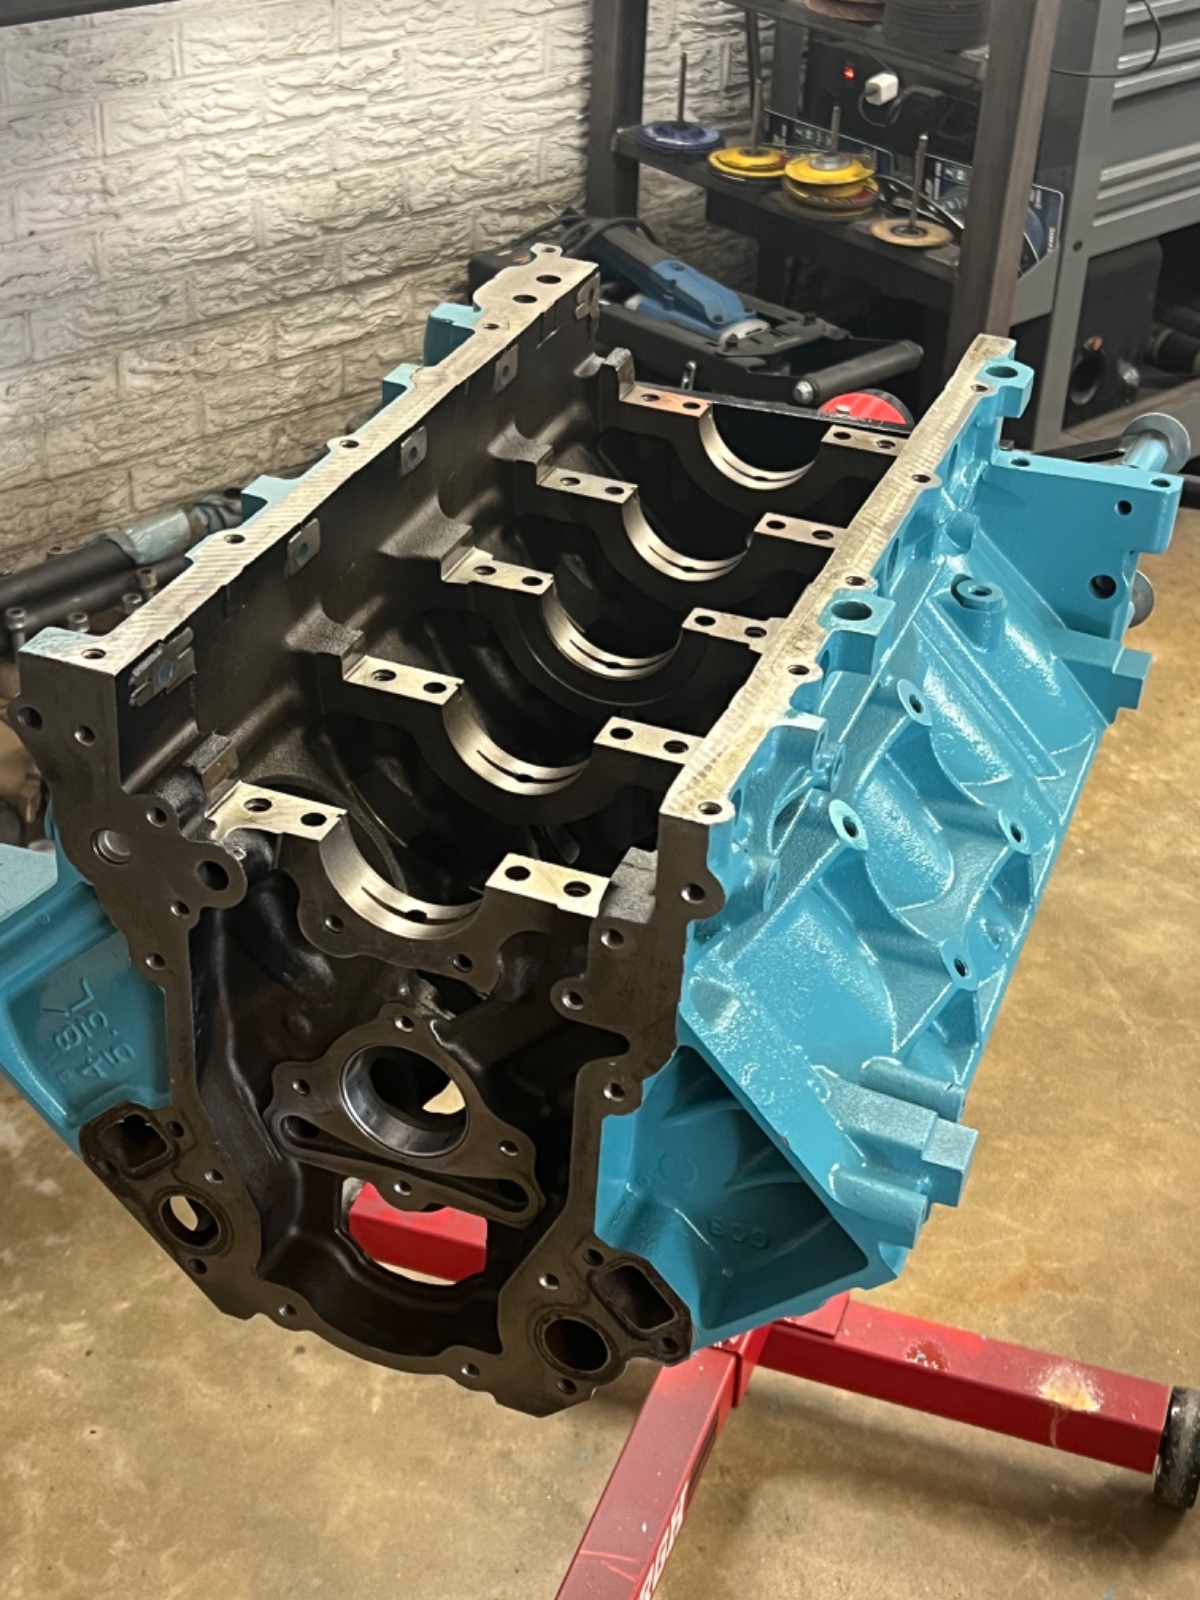
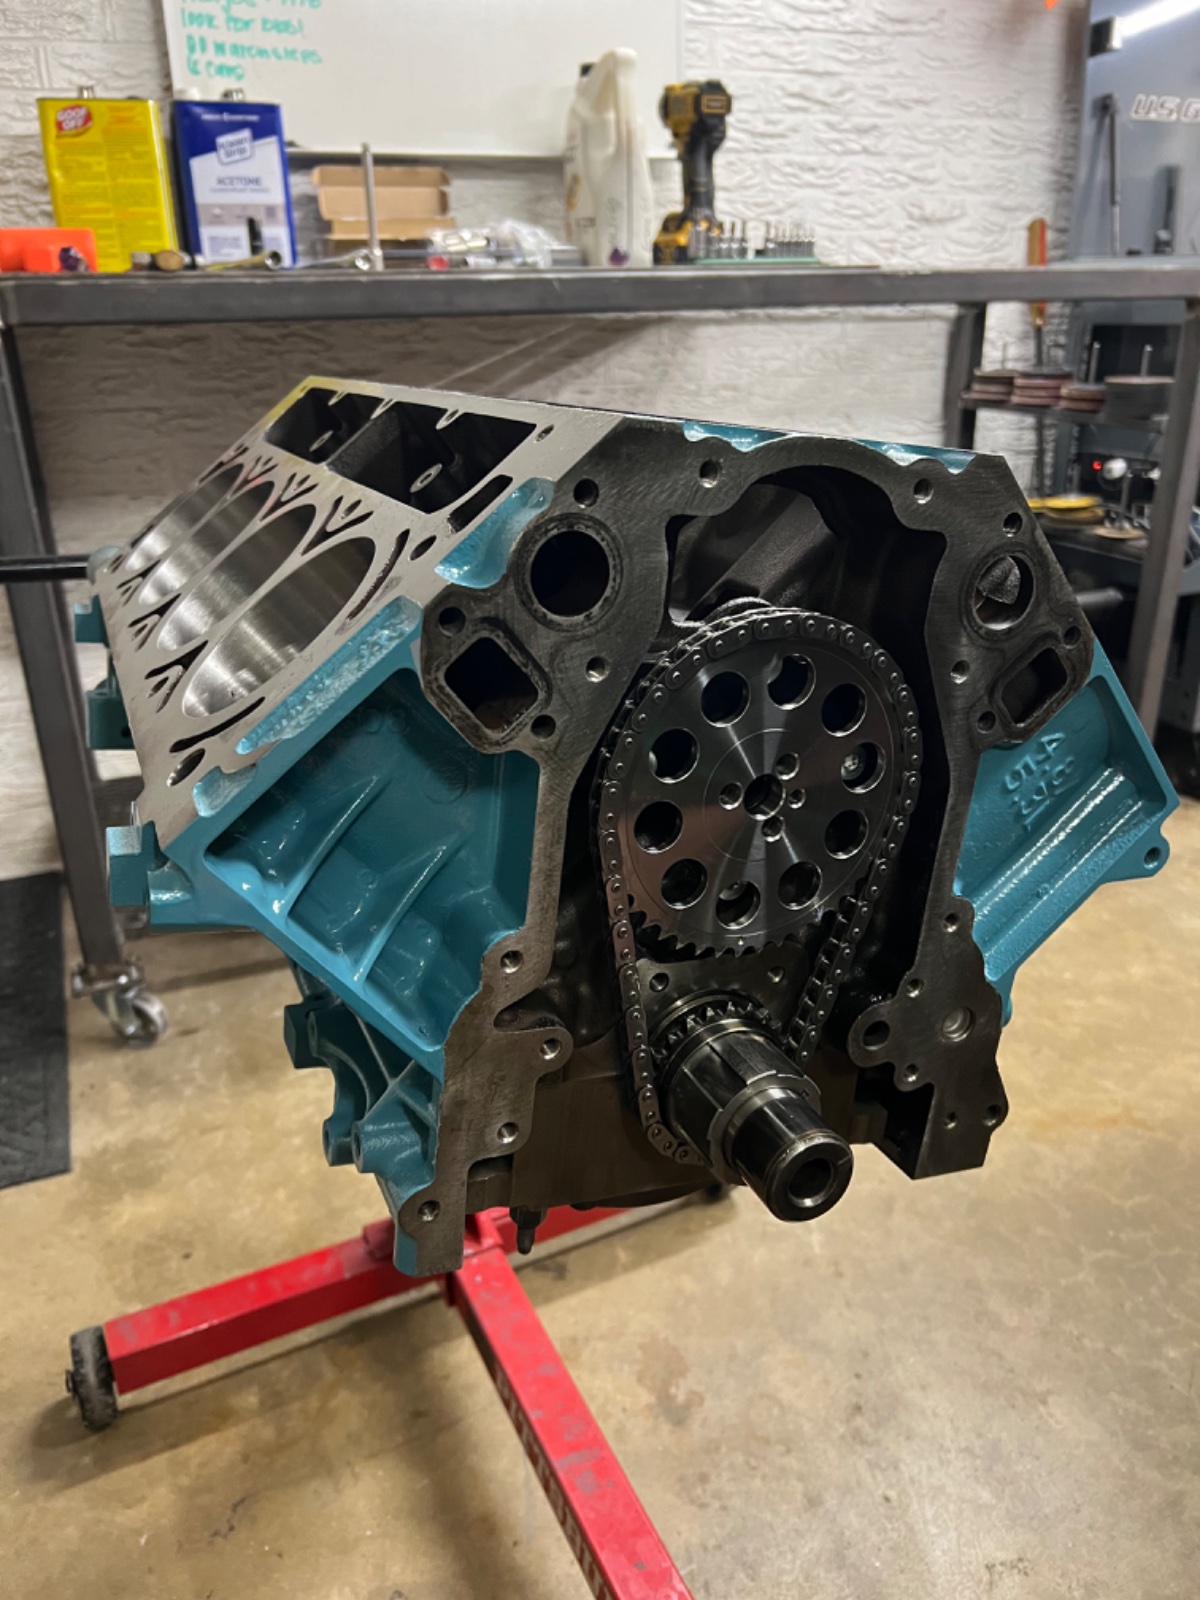
A while back I stripped the LS down and find some pretty significant wear so I sent the block, crank, pistons and heads off to the machine shop.

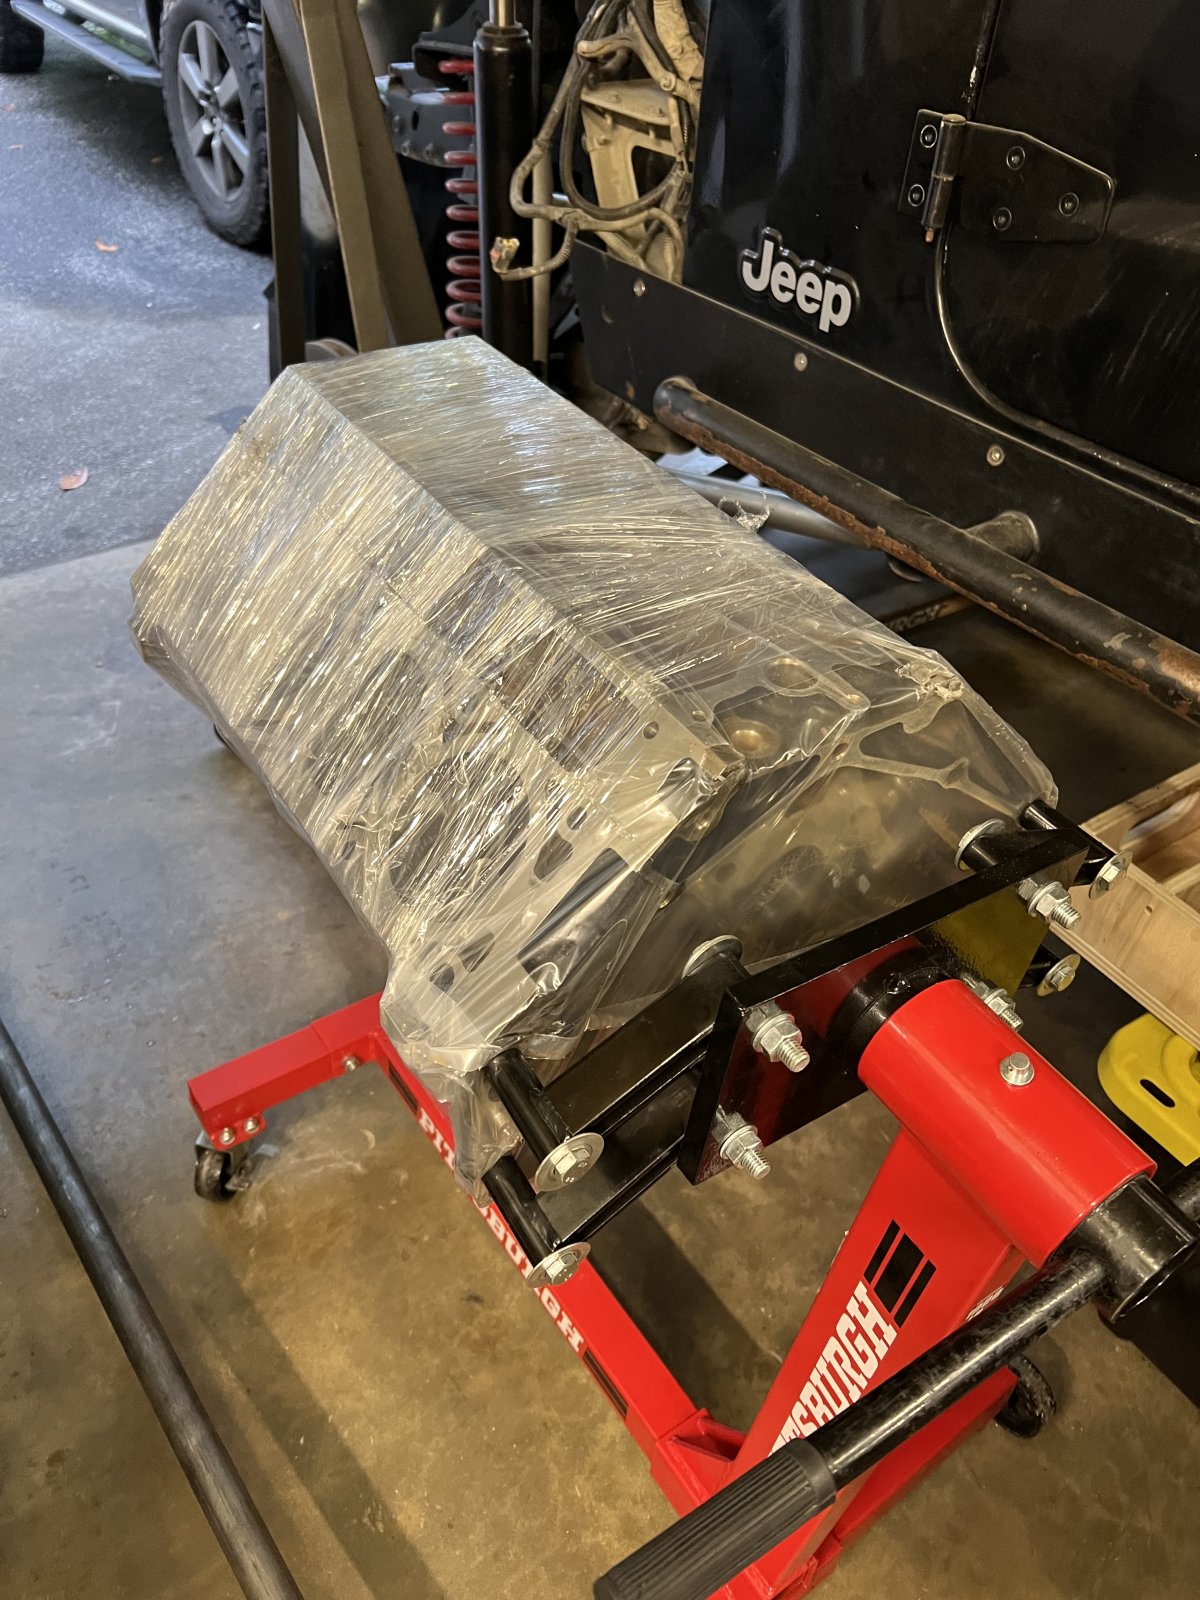
Before sending it off though I was able to use the block to mock up the engine mounts in the Jeep. This gave me a few things to weld up while the motor was gone.

Motor was bored over 0.002" to clean up the cylinder walls and all the machine surfaces were resurfaced. New cam bearings were installed and new pistons were fitted to the OE rods.

IMG_8567.jpeg

IMG_8565.jpeg

IMG_8578.jpeg
IMG_9463.jpeg
IMG_9464.jpeg
IMG_9466.jpeg
IMG_9479.jpeg
 
Last edited:
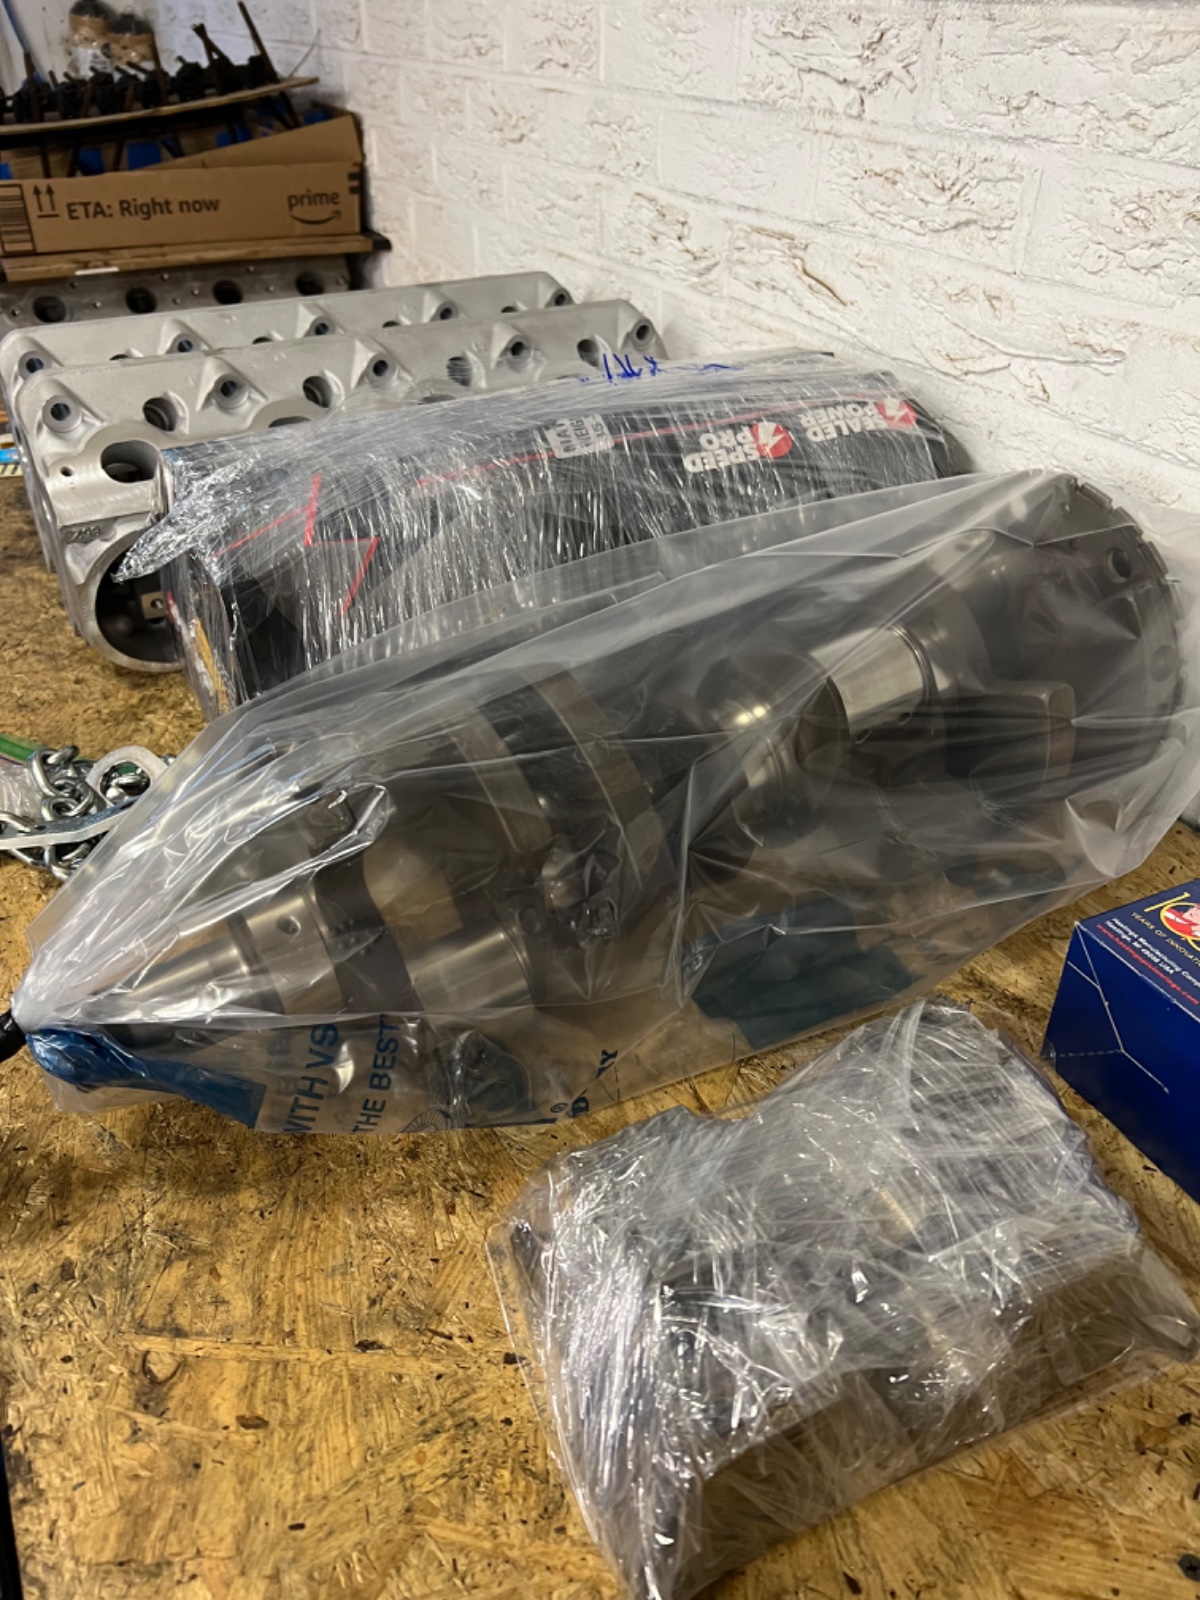
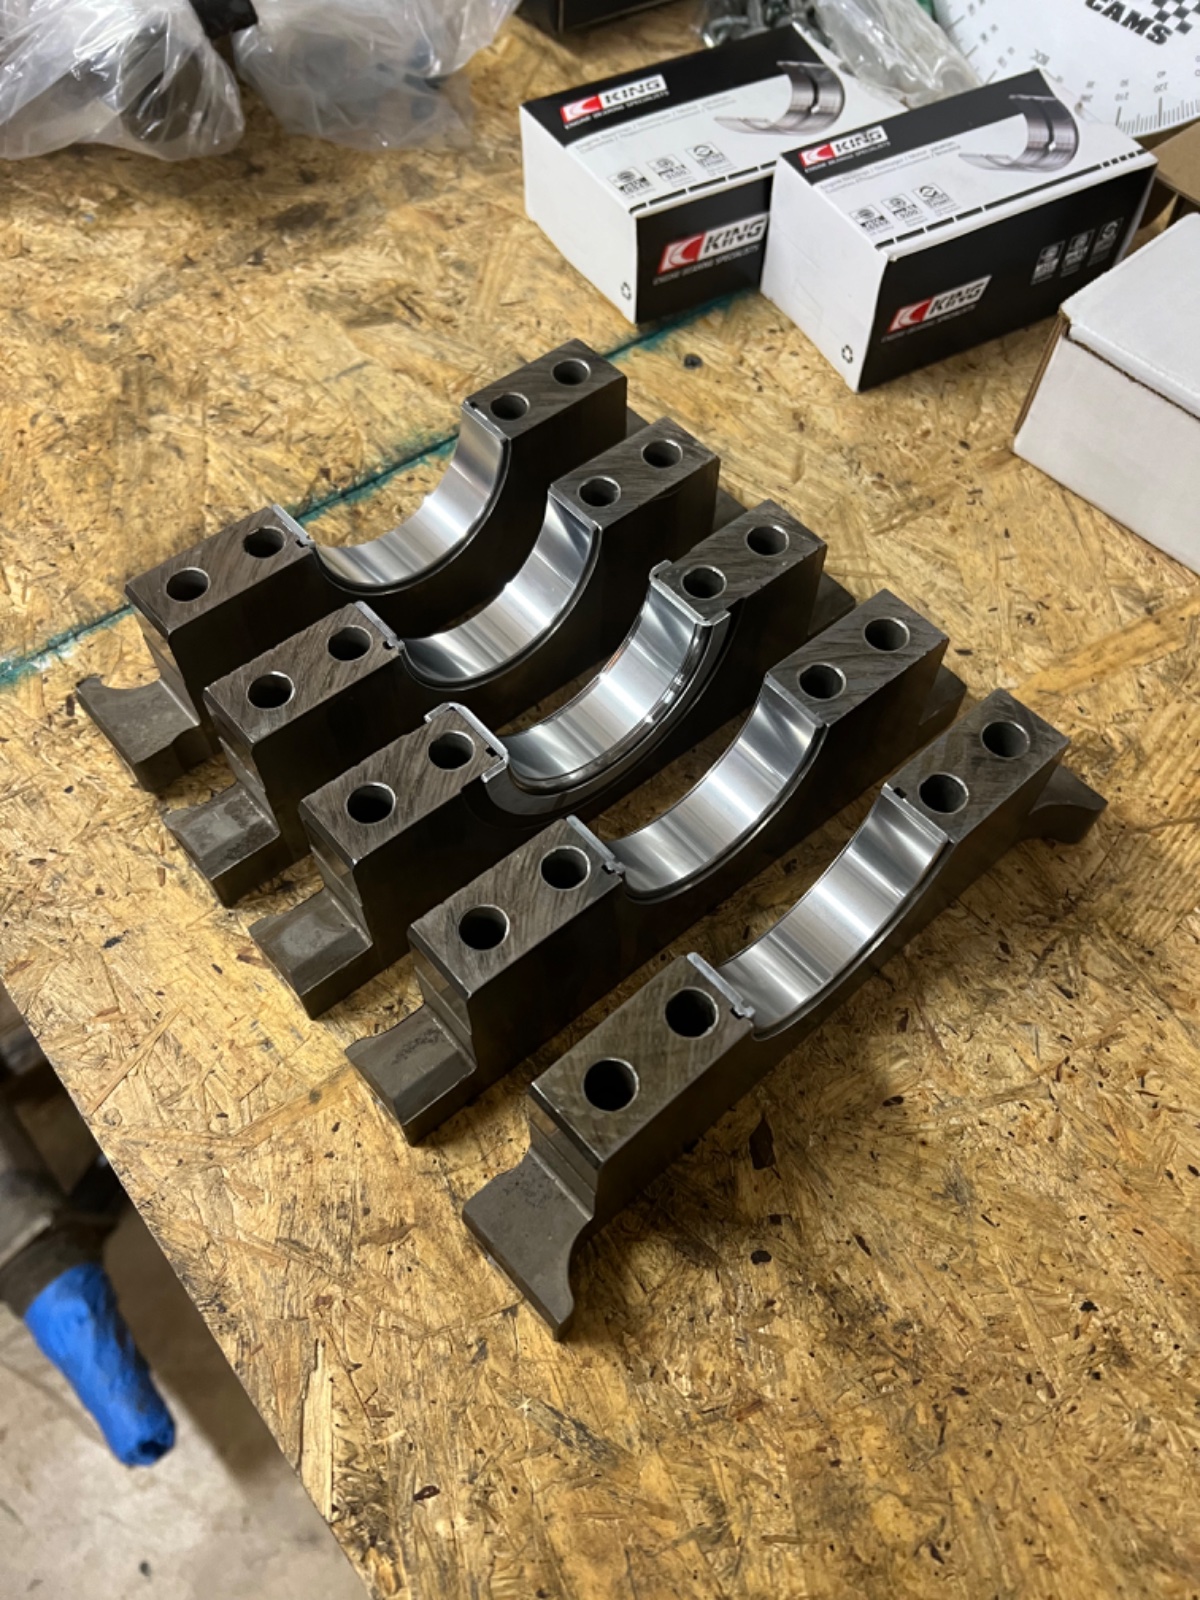
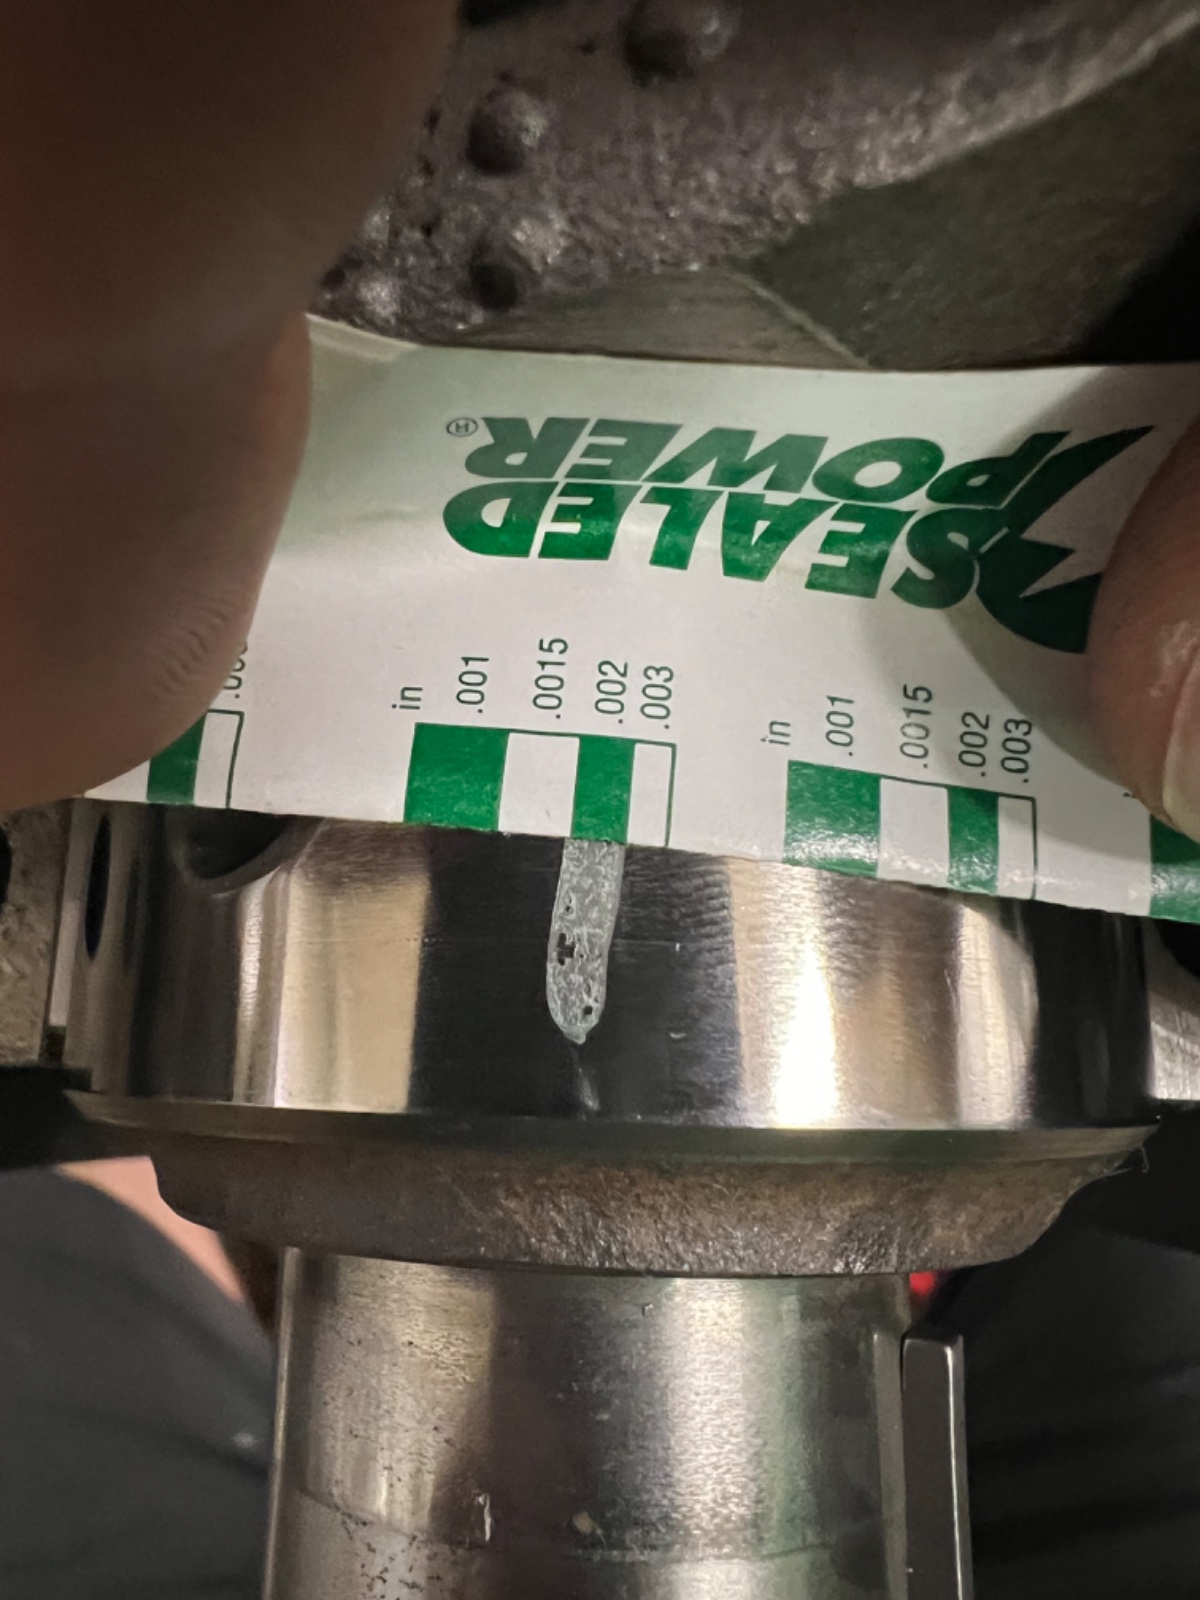
Everything came back from the machine shop and I got to work [slowly] rebuilding the motor.

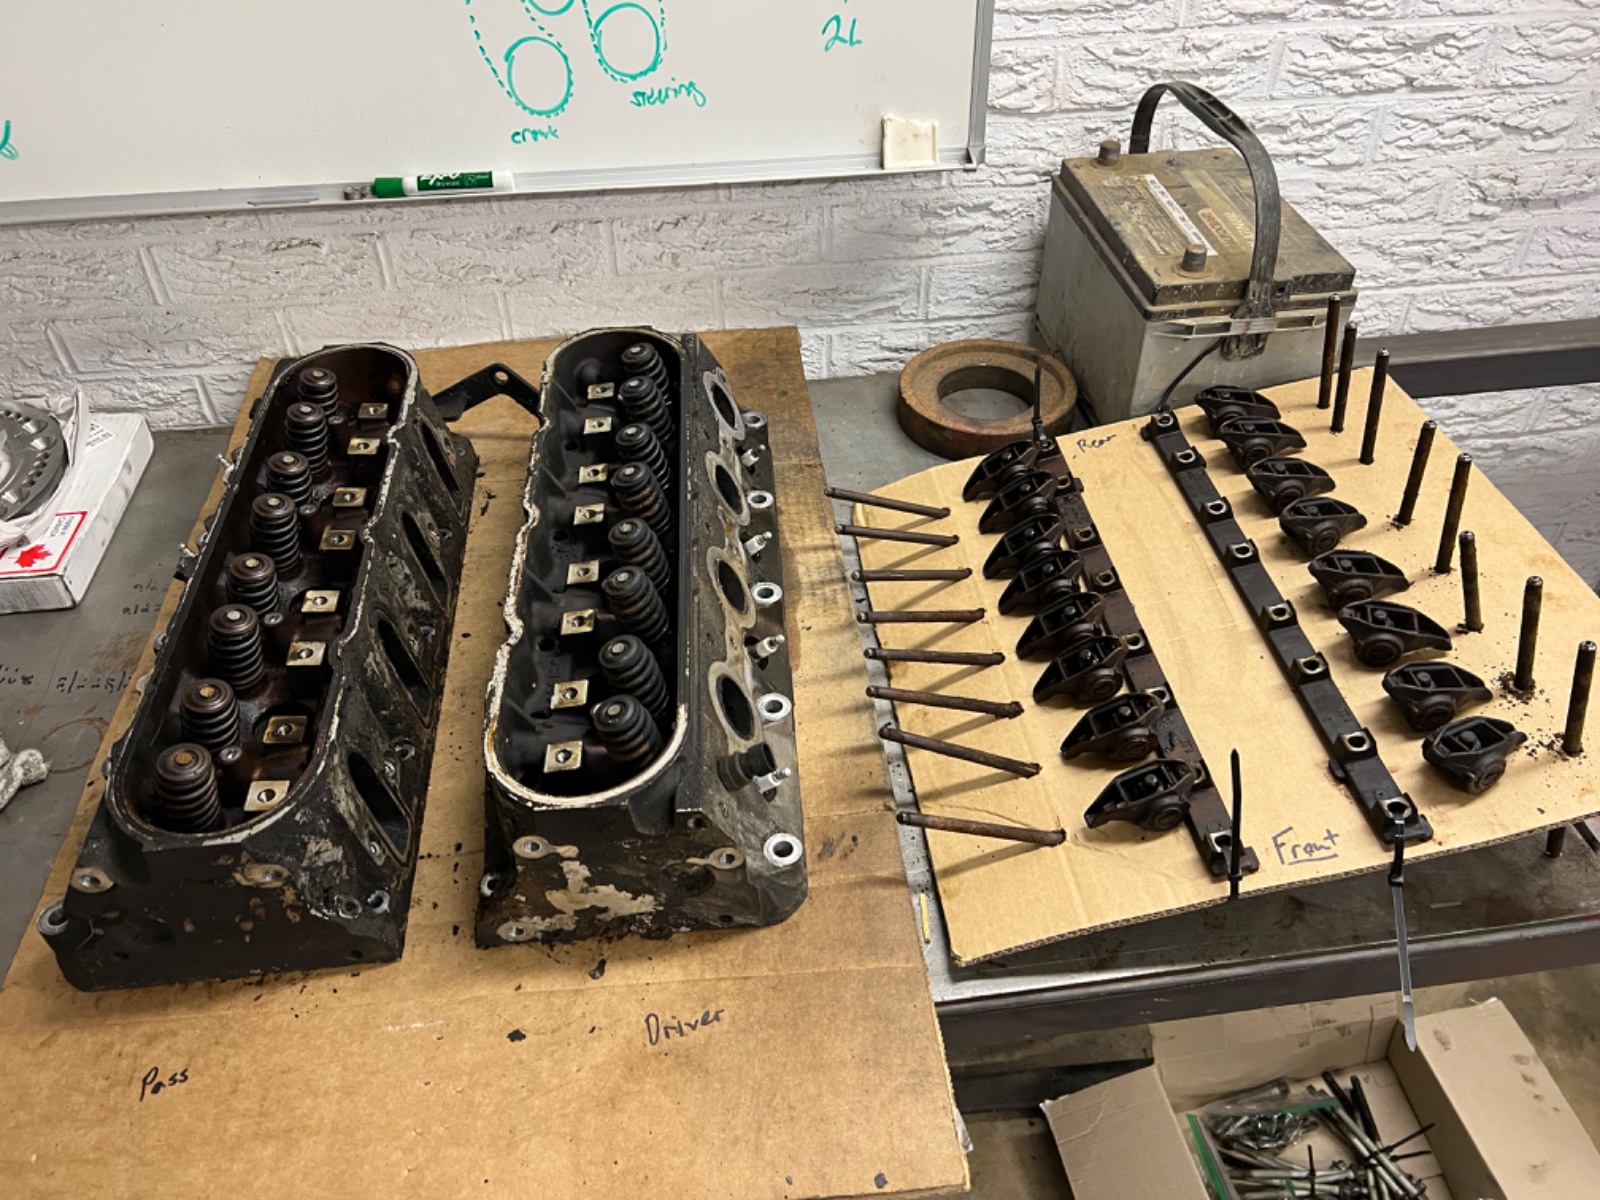
One of the things I did not have done was the getting the valves lapped in. I cleaned the valves up with WD40 and a fine scotch brite pad. Easies was was to take the valves and inserted them into the drill press with a rubber hose to protect the stem and buff with the scotch brite. After that I lapped the valves in with a lapping compound by hand.

I had considered porting and polishing the heads but ultimately decided that wasn’t something I wanted to experiment with for this project. I’ll try it soon on a spare set of heads I have.

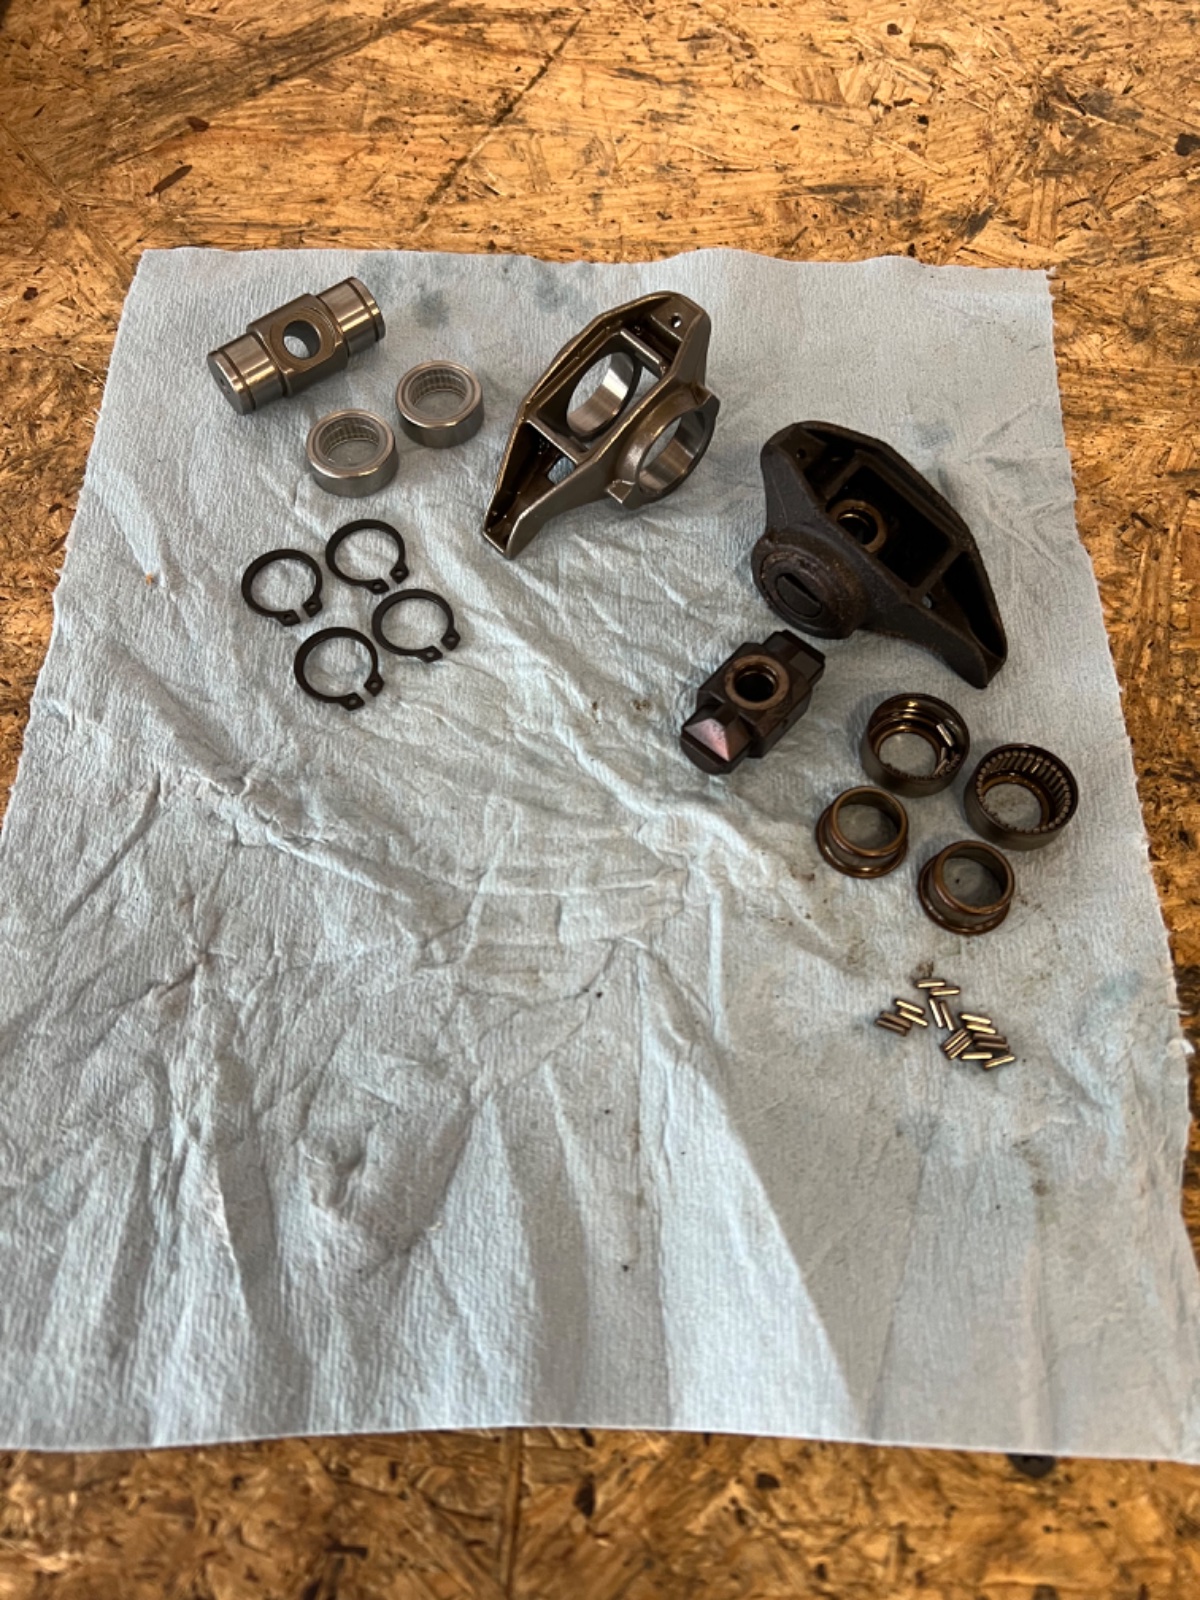
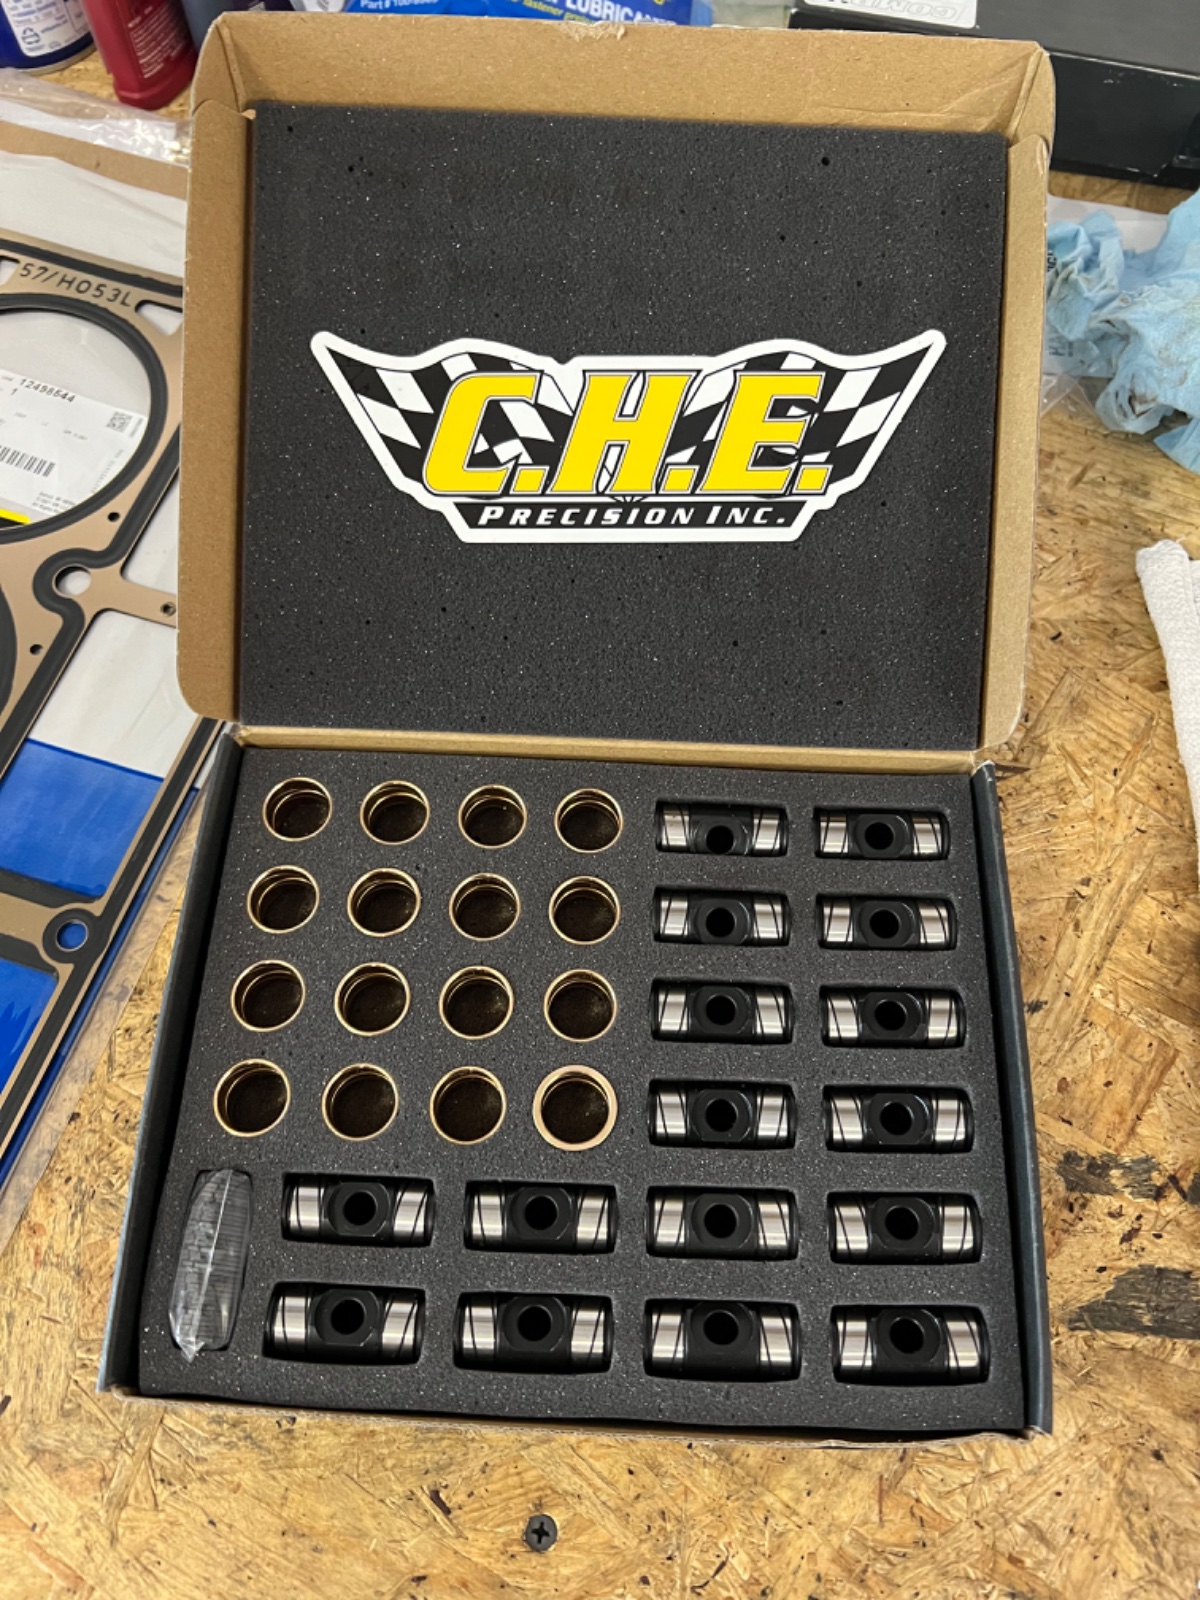
I did get a trunnion upgrade kit for my OE rocker arms and it came with snap rings and needle bearings. I crushed multiple bearings during install and realized these kits flat out suck. The likelihood of a needle disappearing into the motor scared me enough to toss the kit and go with the C.H.E bushing kit. The assembly was way easier too. This is the only style I’ll run from now on.

IMG_9715.jpeg


IMG_9717.jpeg
IMG_9718.jpeg
IMG_9729.jpeg
IMG_0523.jpeg
IMG_0526.jpeg
IMG_0528.jpeg
IMG_0536.jpeg
IMG_9722.jpeg

IMG_0541.jpeg
 
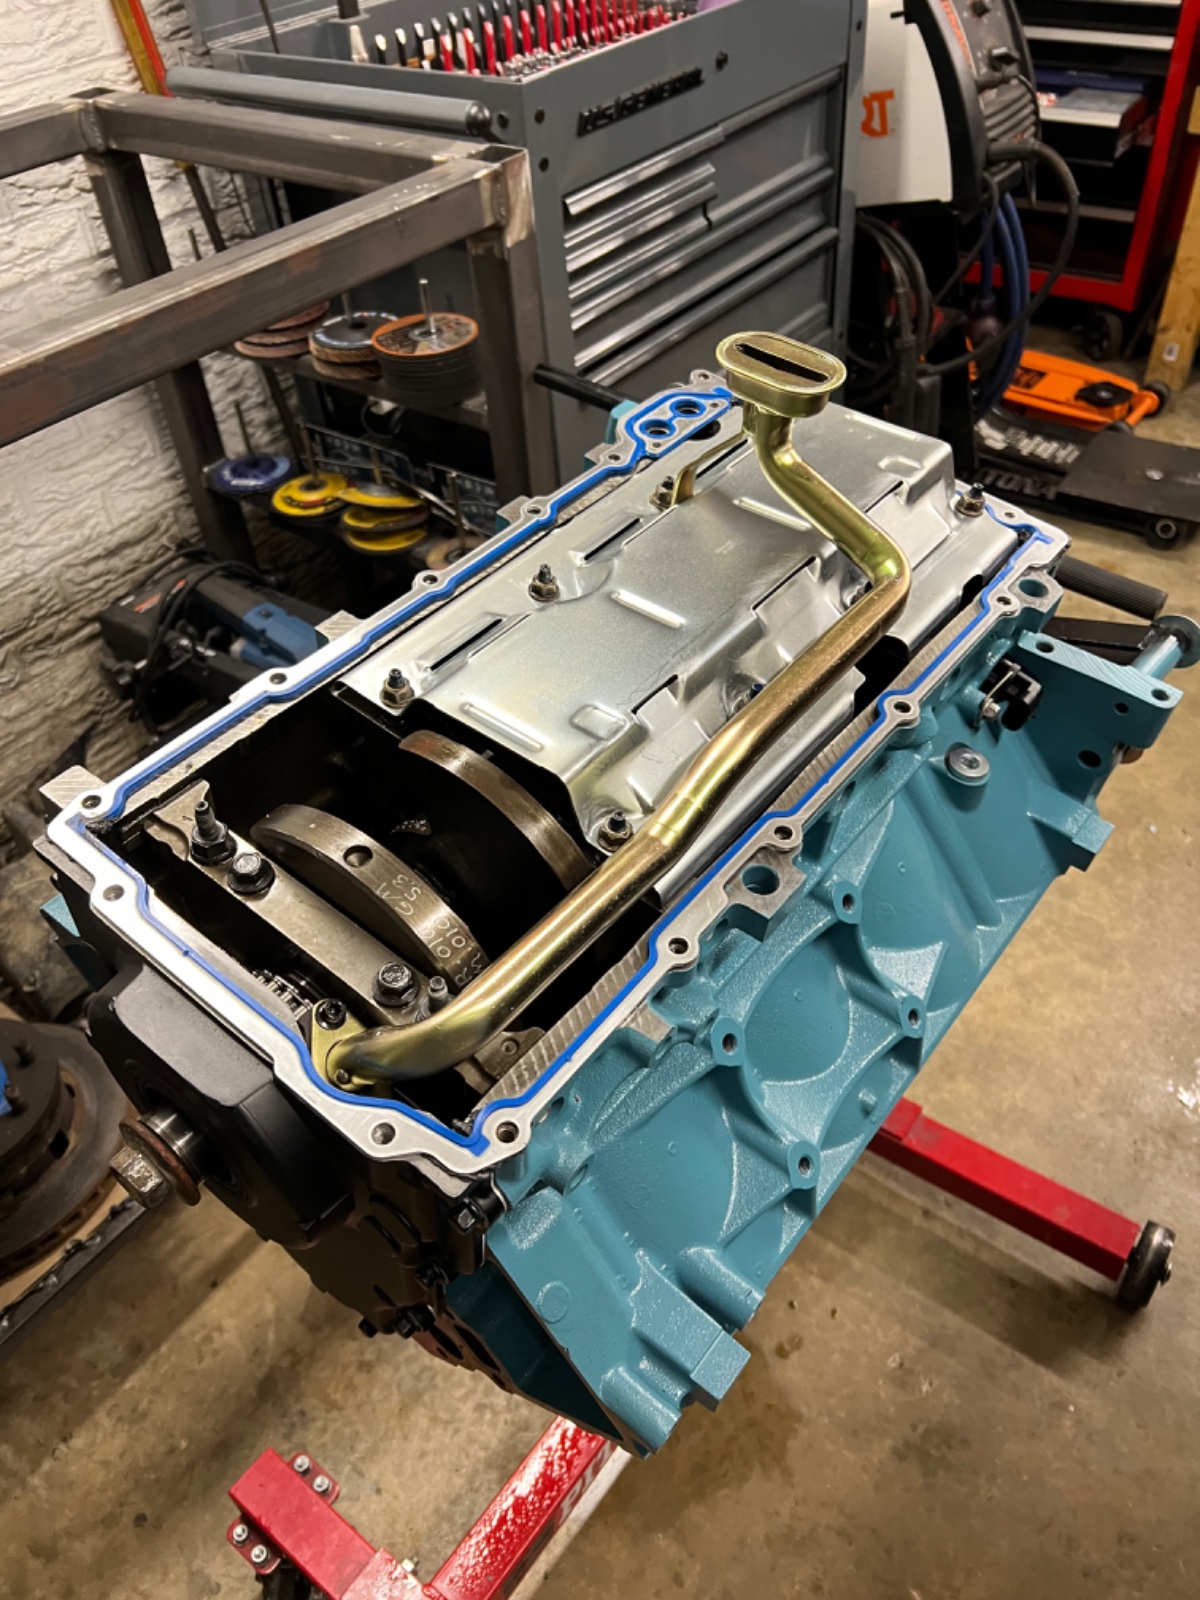
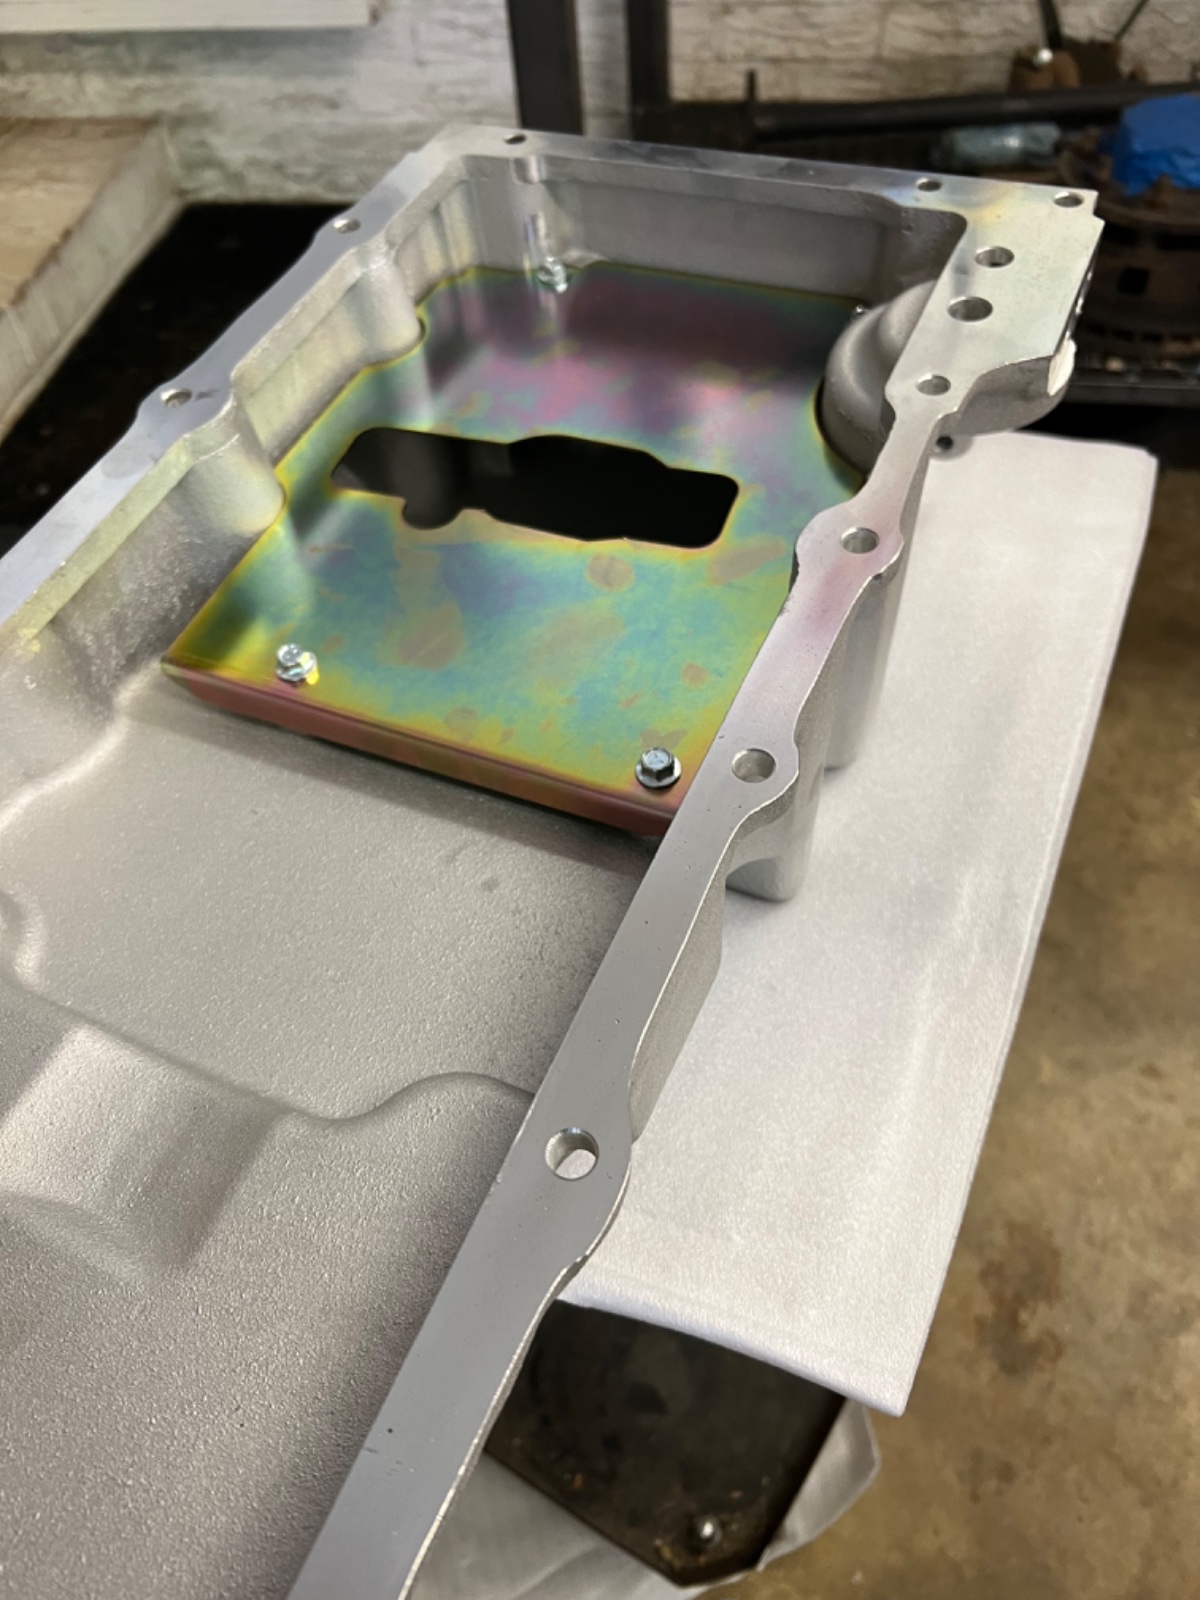
A few other set backs came with the motor. The off brand low profile oil pan was difficult to fit to the motor and the original windage tray didn't fit with it. I did try to make it fit but didn't like how it turned out. I later learned that there's a half length tray for corvettes that worked with the oil pan.

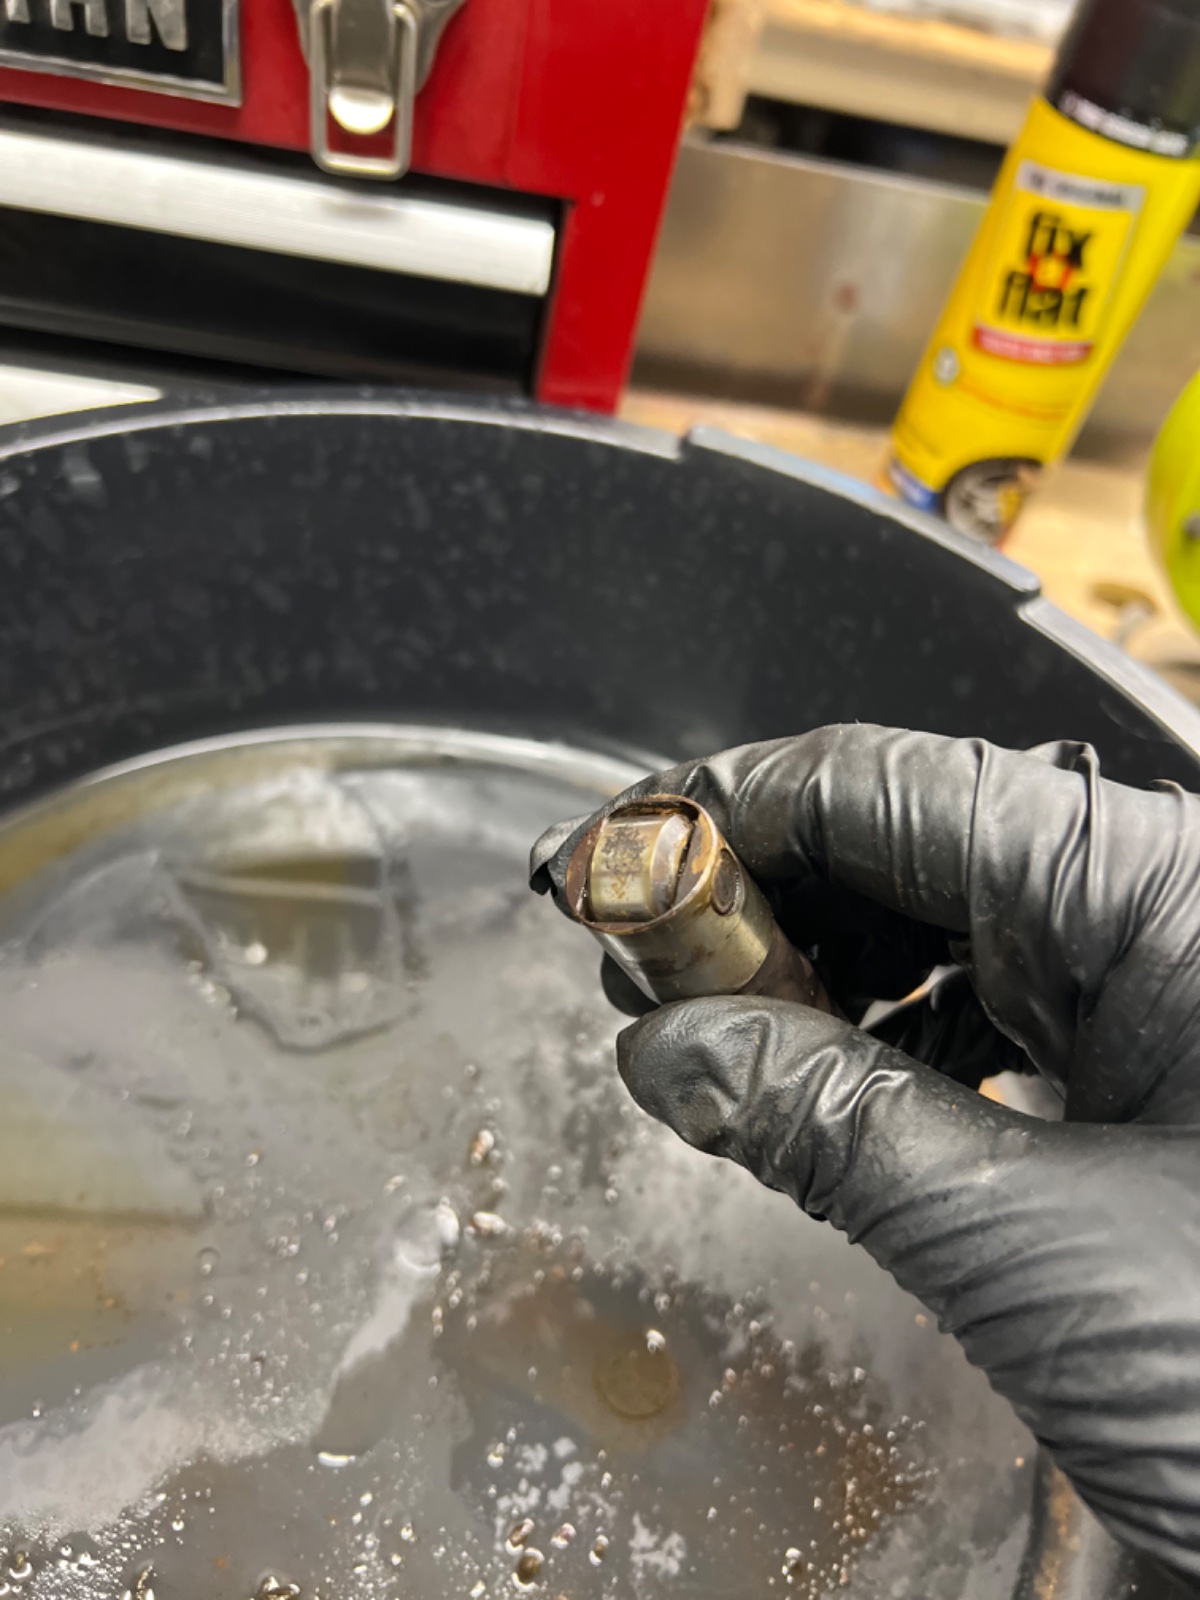
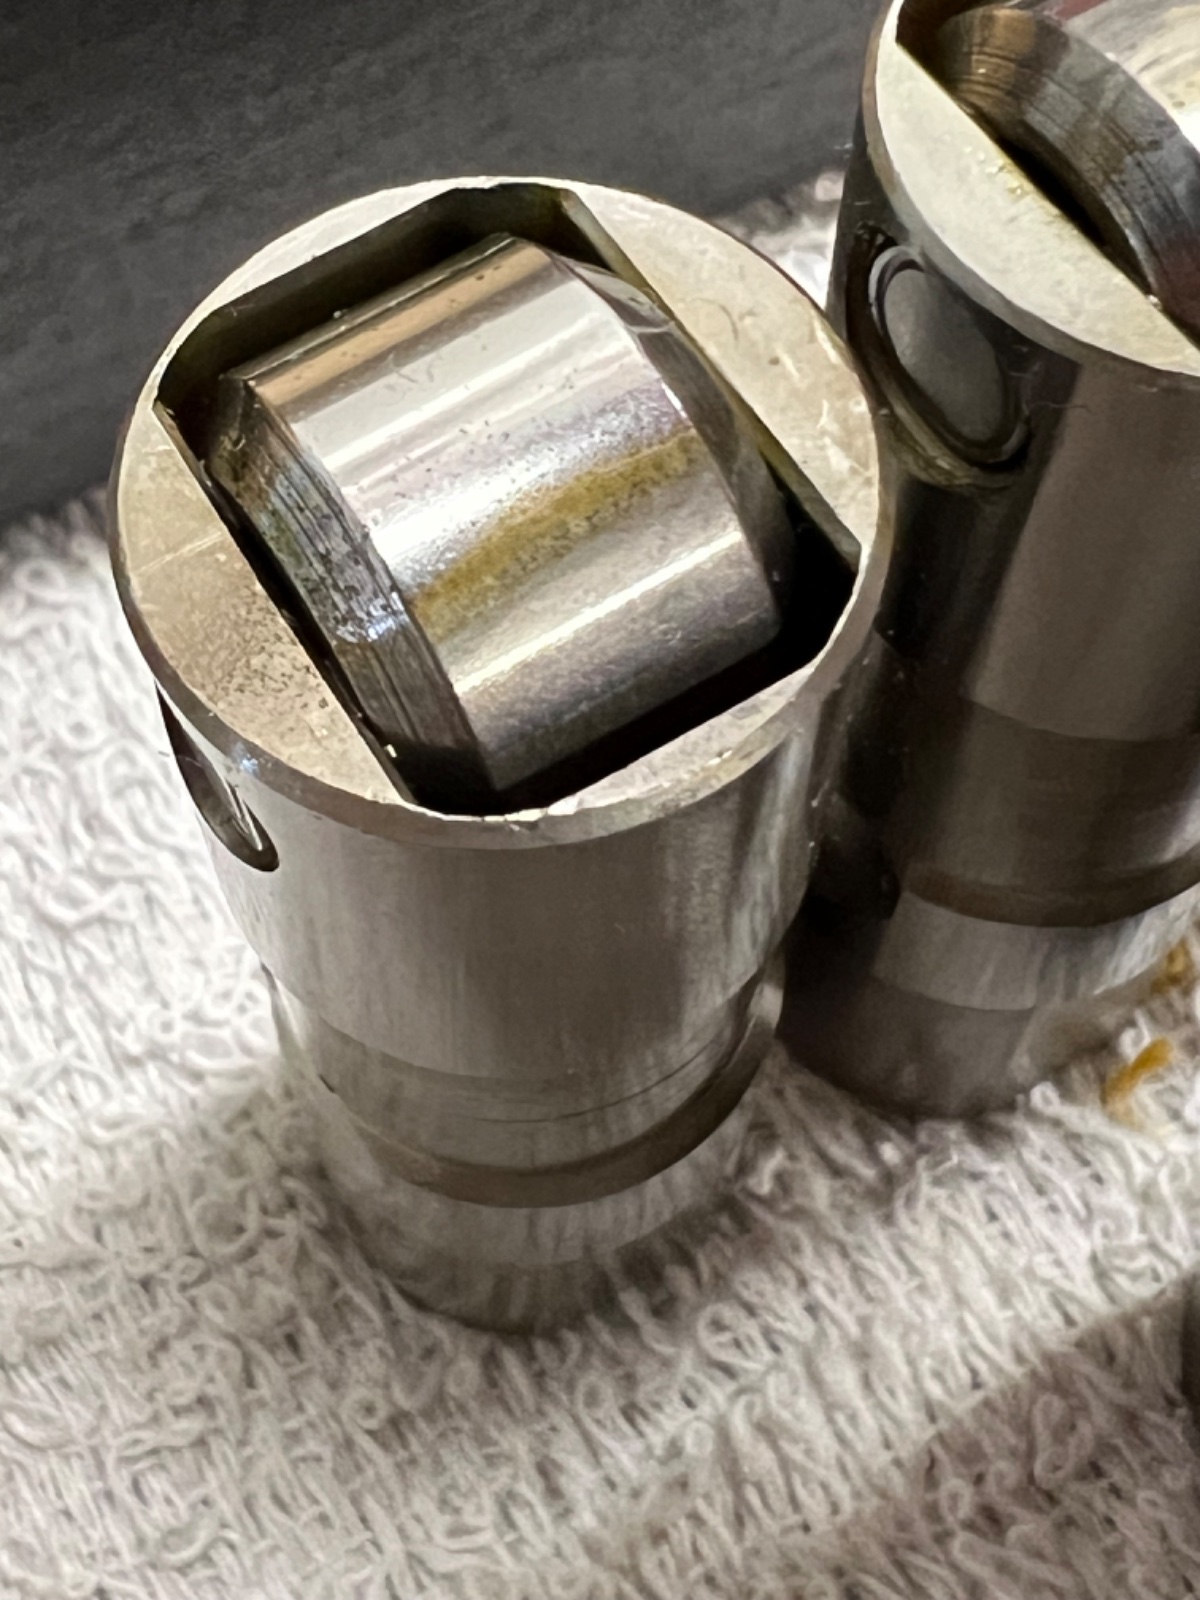
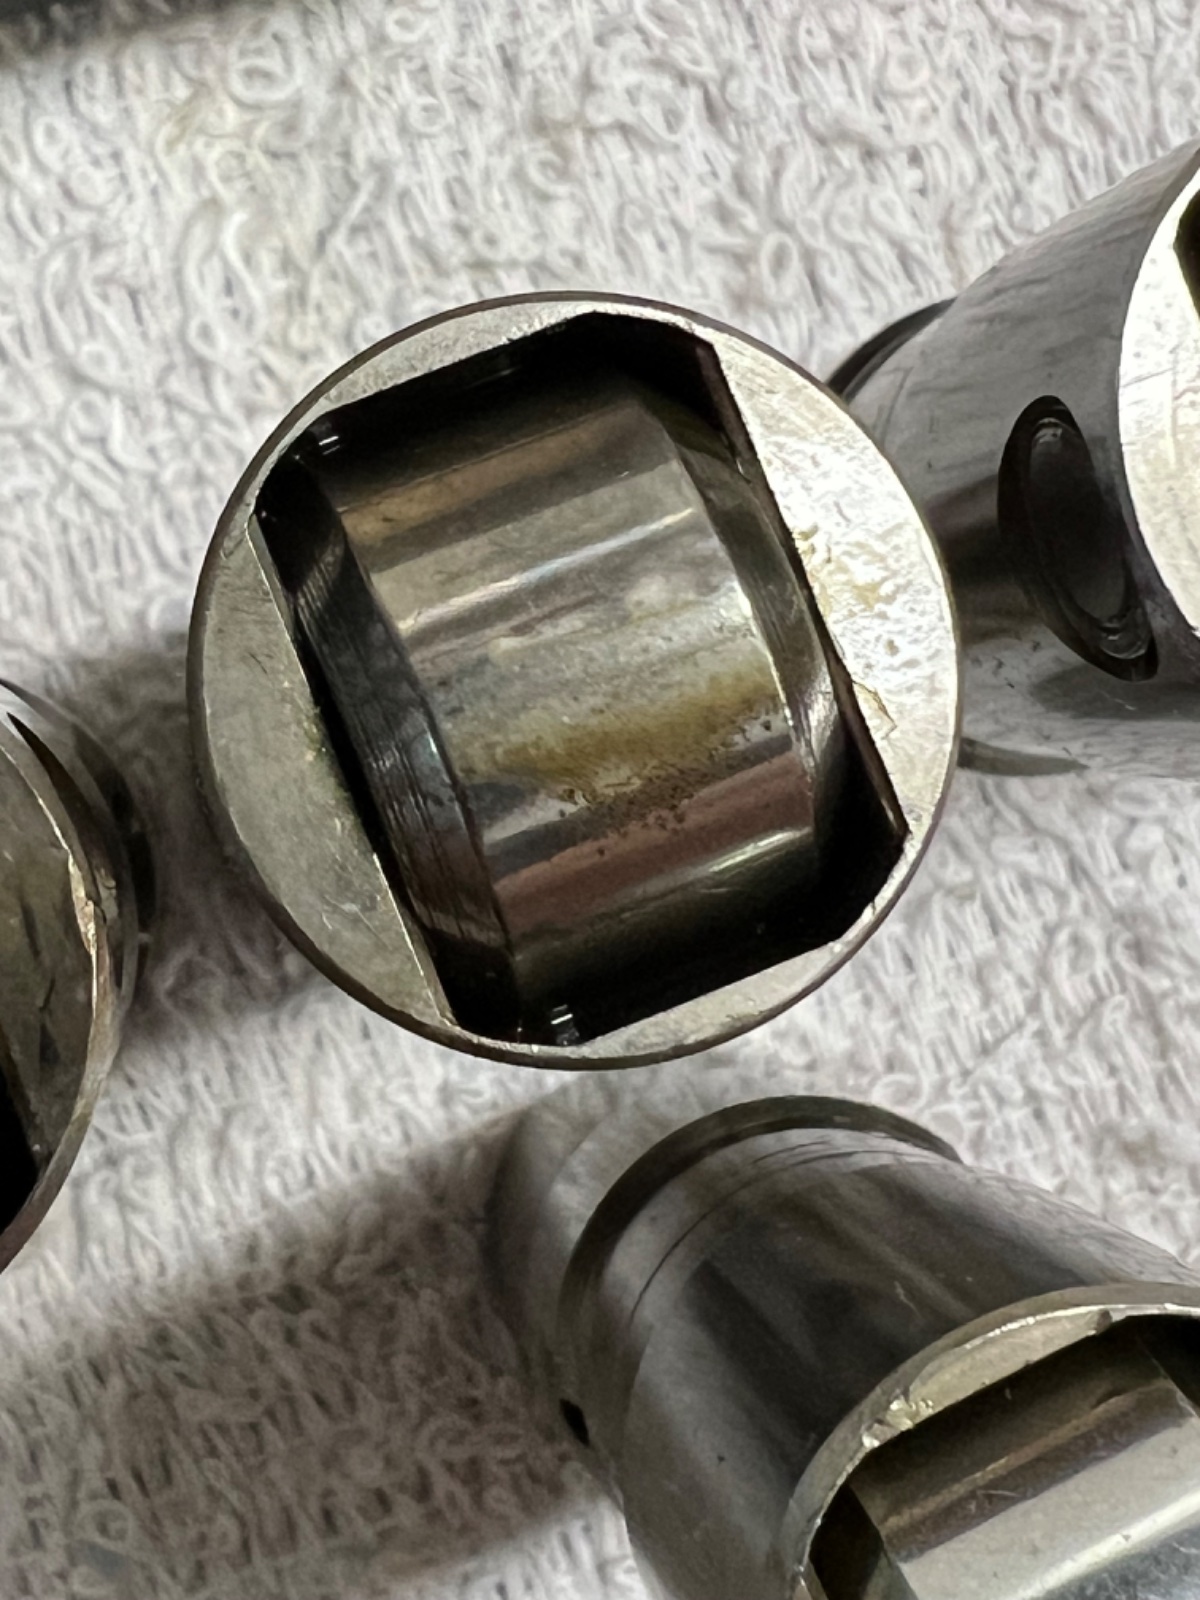
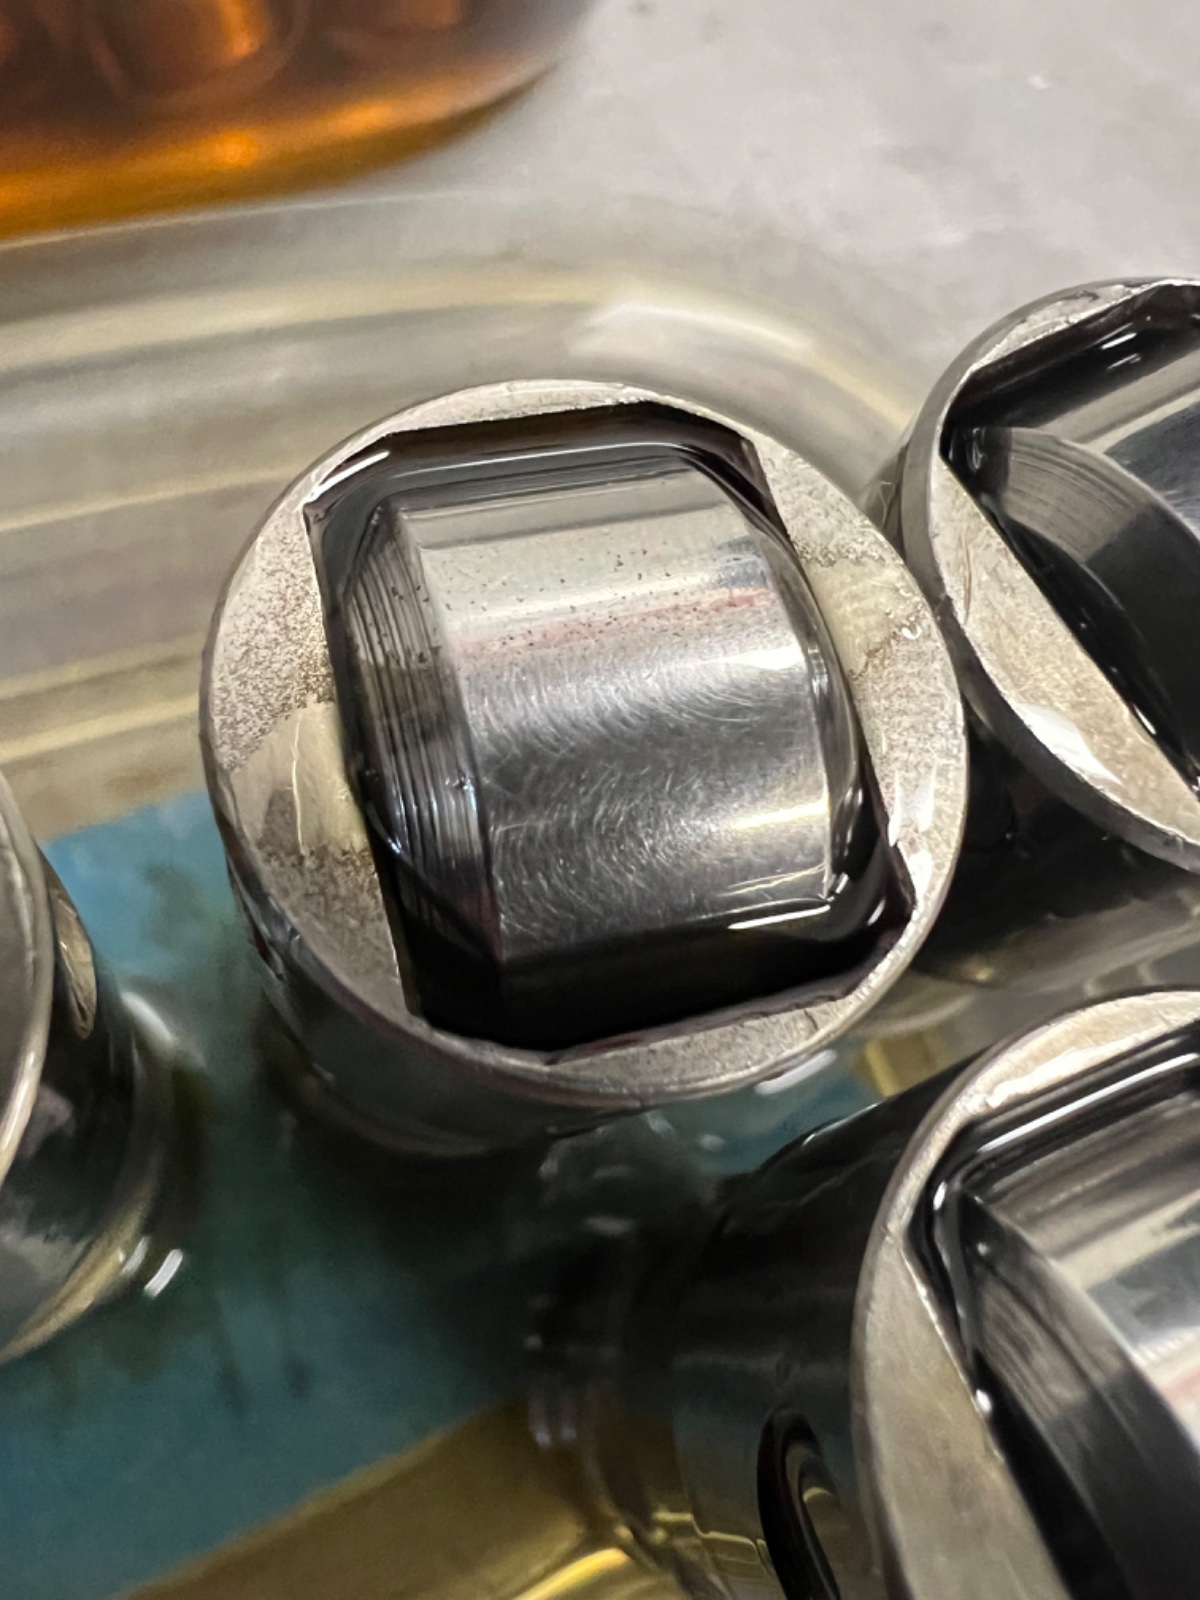
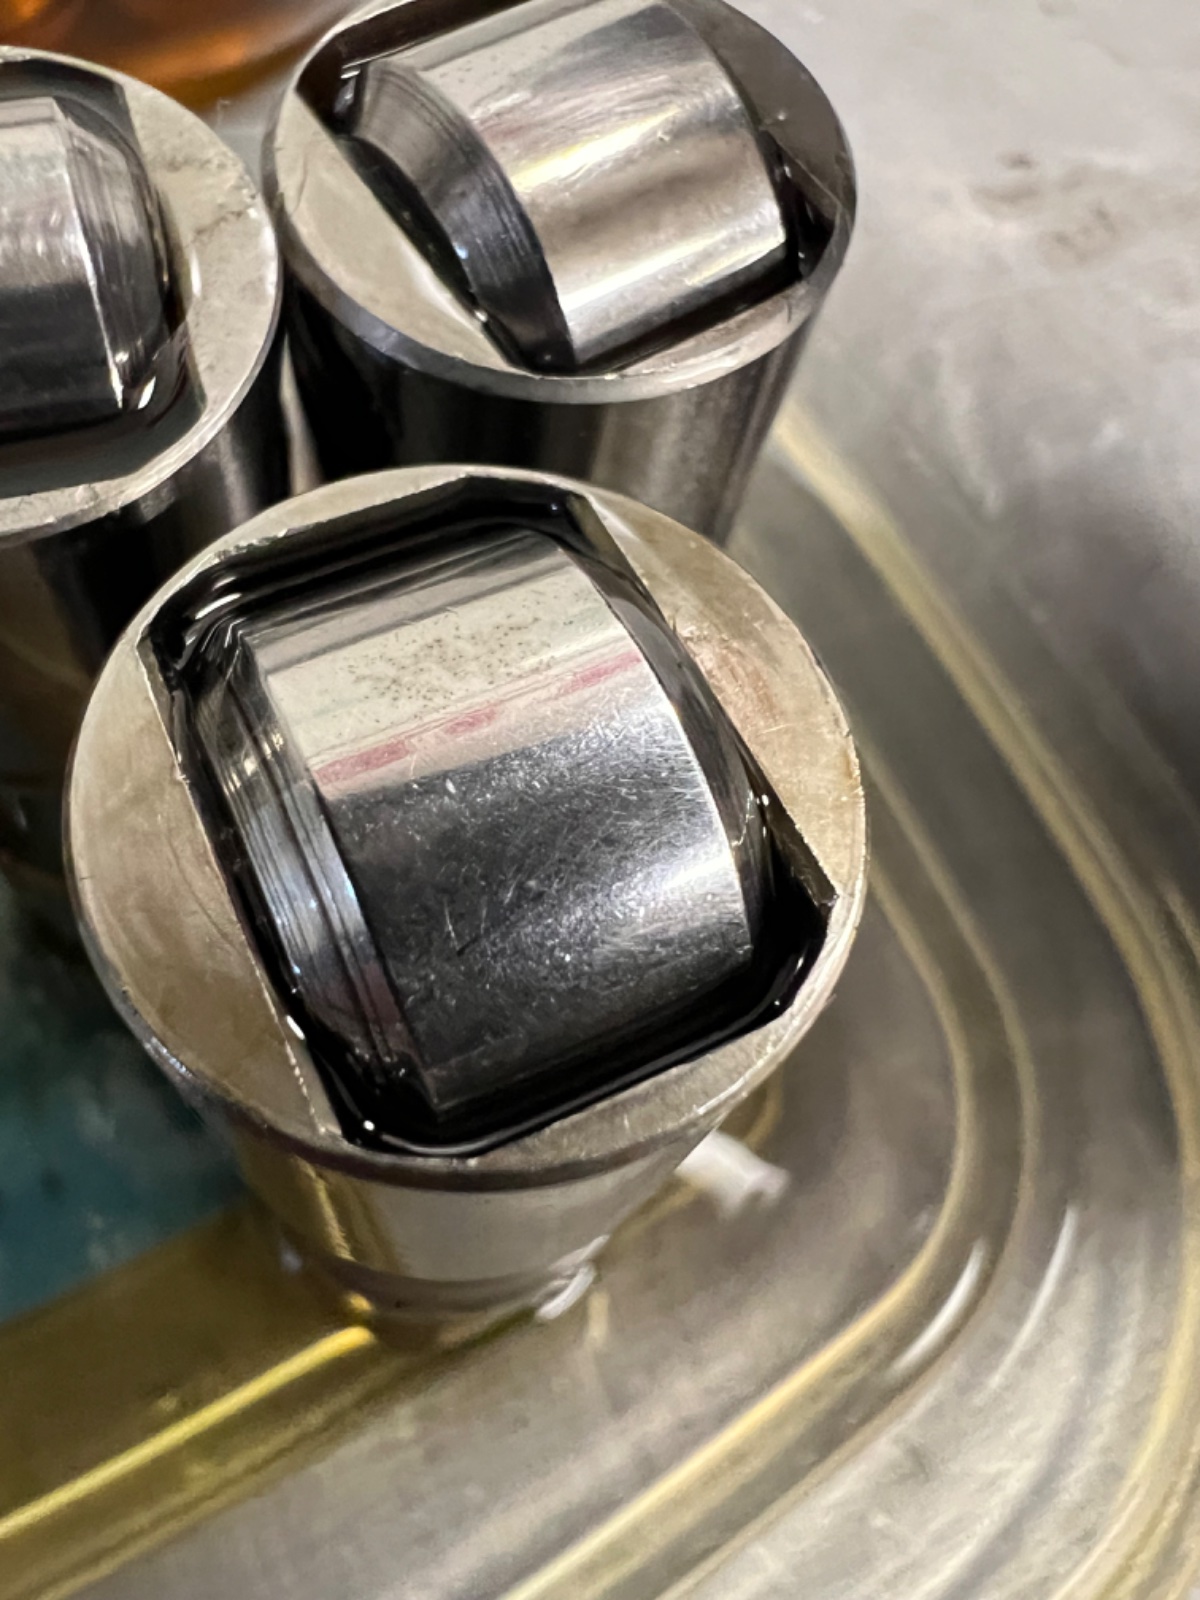
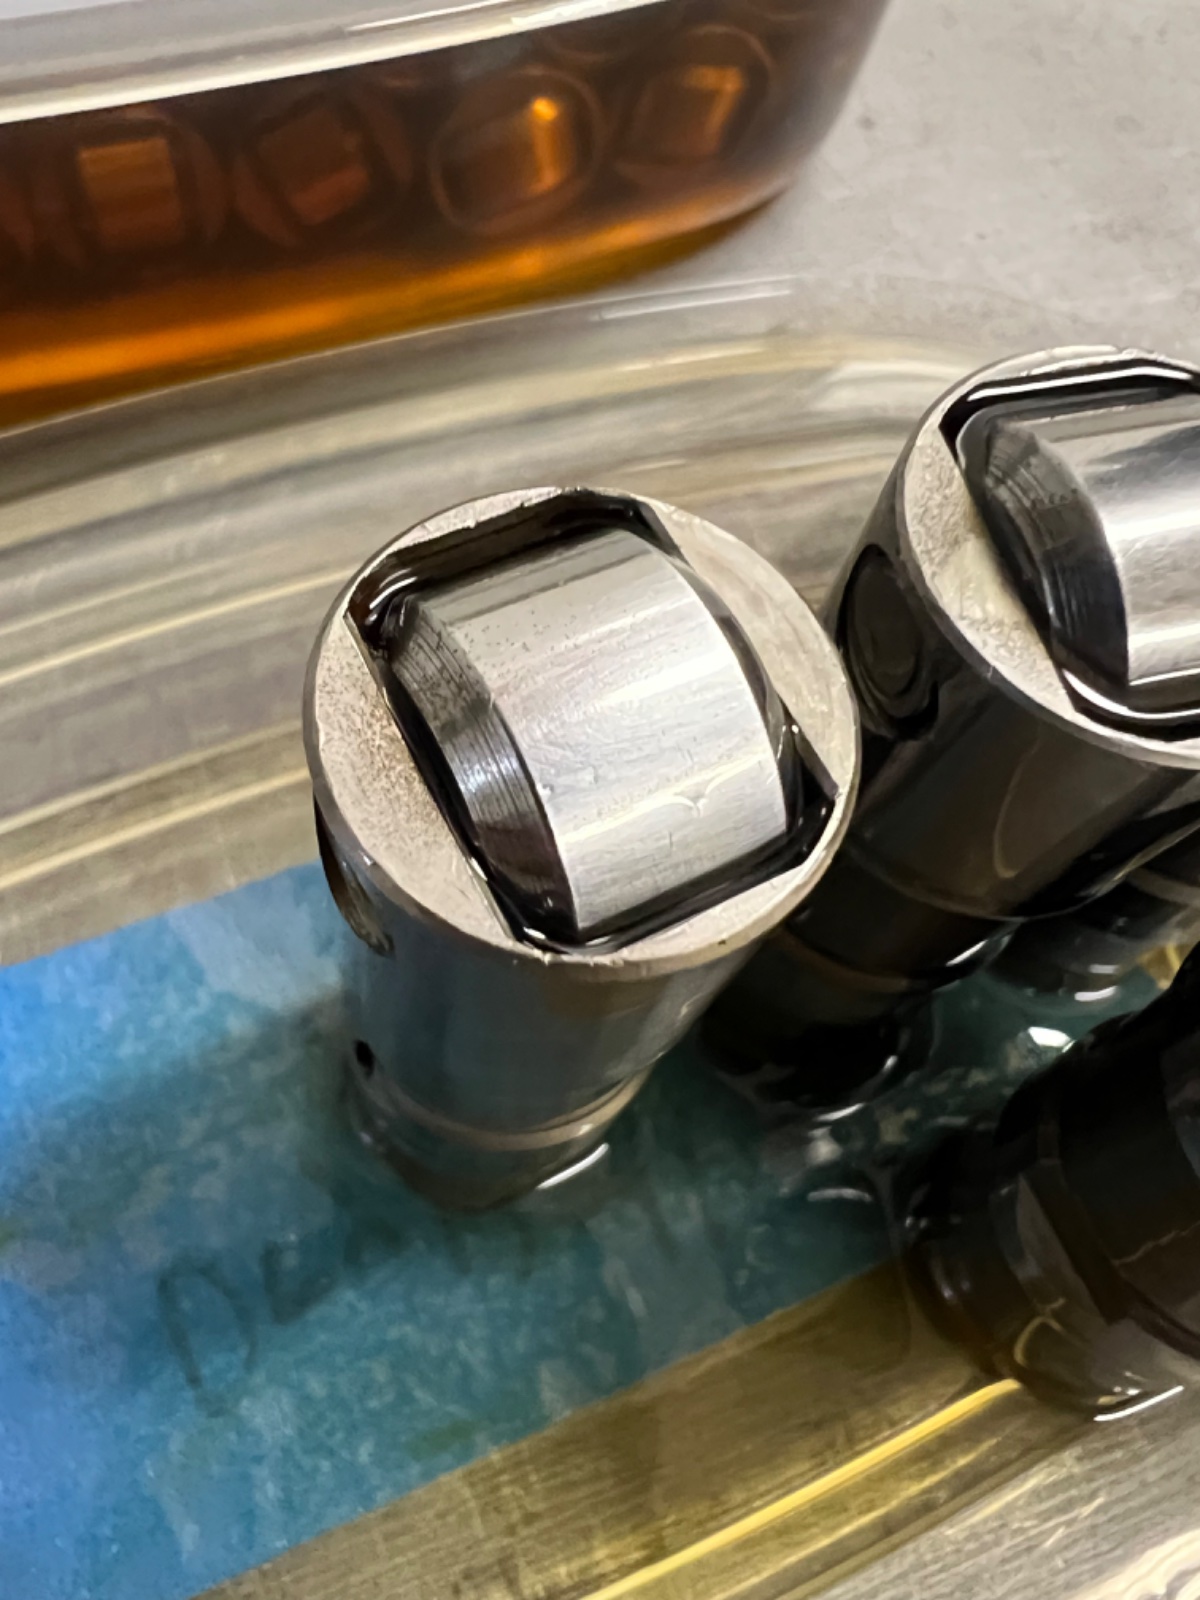
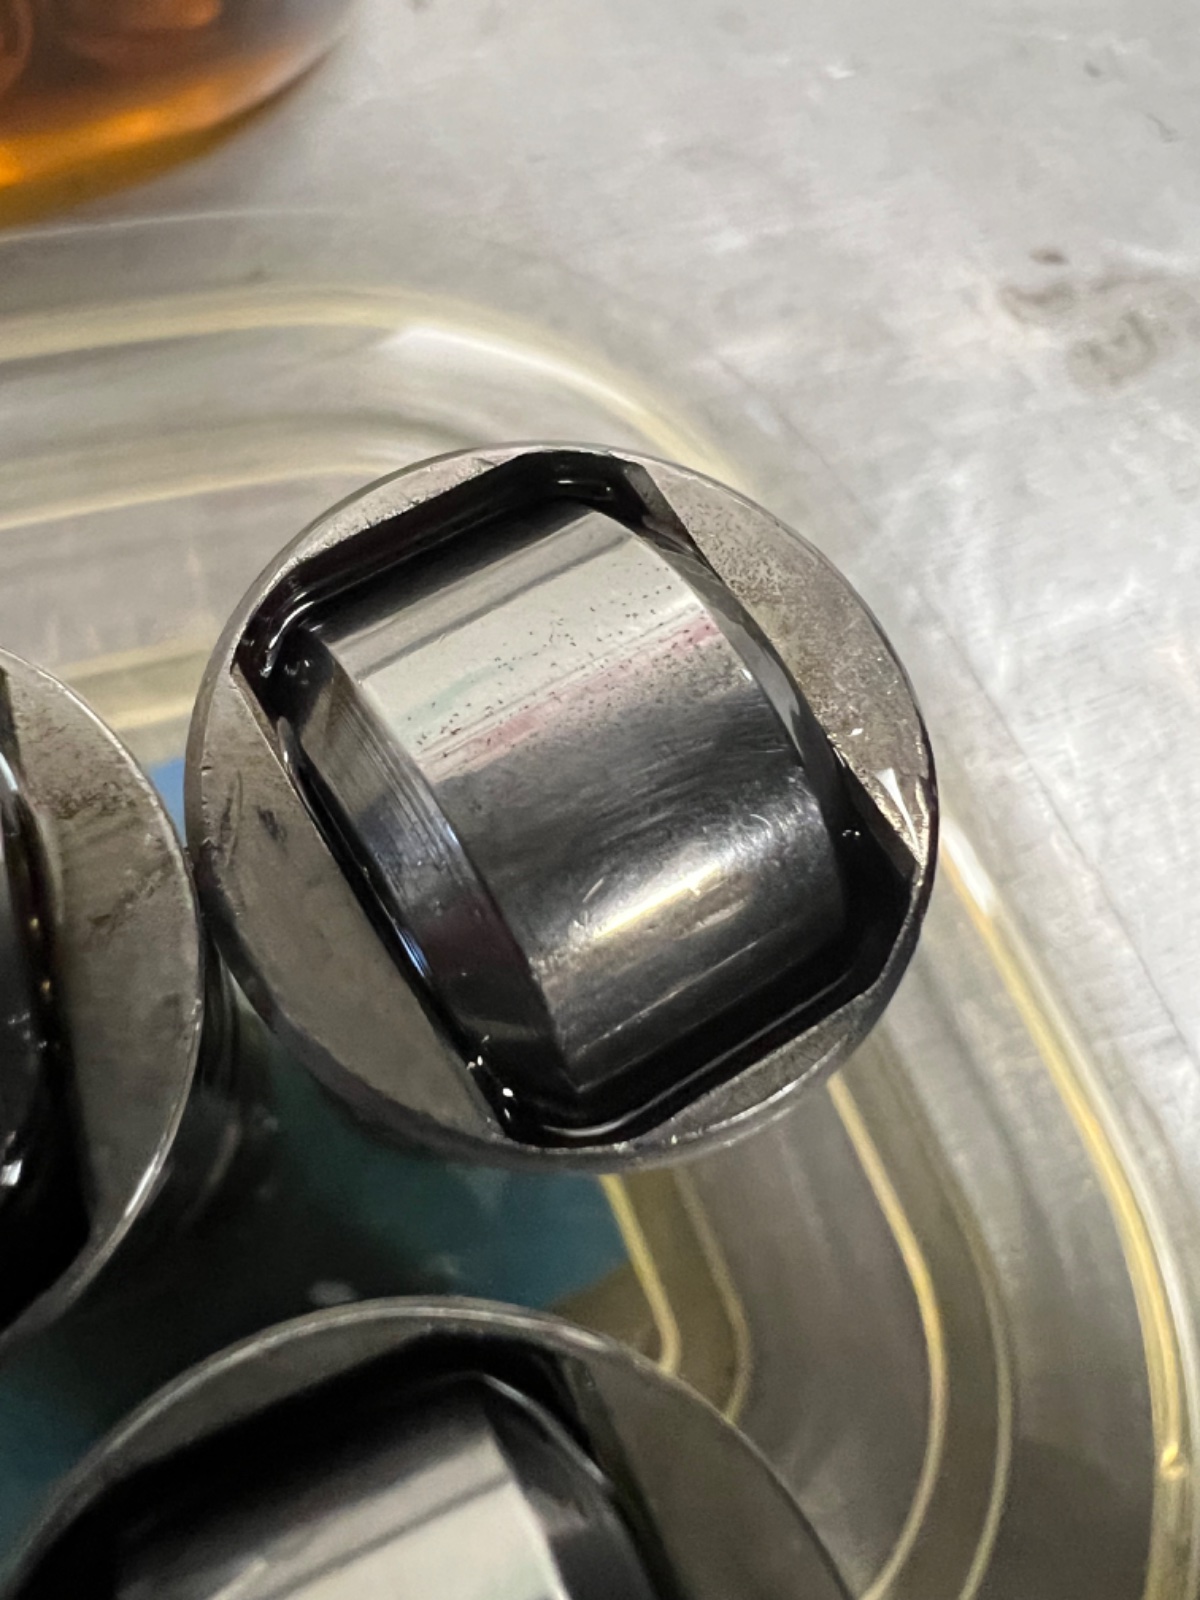
I also had to get a second set of lifters because several in the kit I received from was covered in some type of pitting. I tried to clean them up thinking it was some dried oil but it wouldn't clean so I decided against installing them.

The lifters got replaced for me but it took some time and I ended up stopping in at Hawks Motorsports for a set to keep moving along. The replacement set got shelved along with the terrible trunnion upgrade kit

IMG_1103.jpeg
IMG_0973.jpeg

IMG_0660.jpeg
IMG_0661.jpeg
IMG_0670.jpeg
IMG_0669.jpeg
IMG_0667.jpeg
IMG_0671.jpeg
 
Back
Top