Neal3000
Well-Known Member
I’m in awe of your design and fab skills
How much for the Little Caesars banner? Its taking up too much space. LOL
Aint nobody getting that from me! :flipoff1: Only two of those, got them for myself and Todd as trophys for being the only two to get up and out of that trail the day we cut it
So your saying there is a trail called Little Caesar? :rolf:
That **** is legit too! One of my new favorite trails!
I know you saw my near **** up. Kinda sucked making what I think is the hardest ledge and then just about putting it on it's lid on the one after.
Where is it?


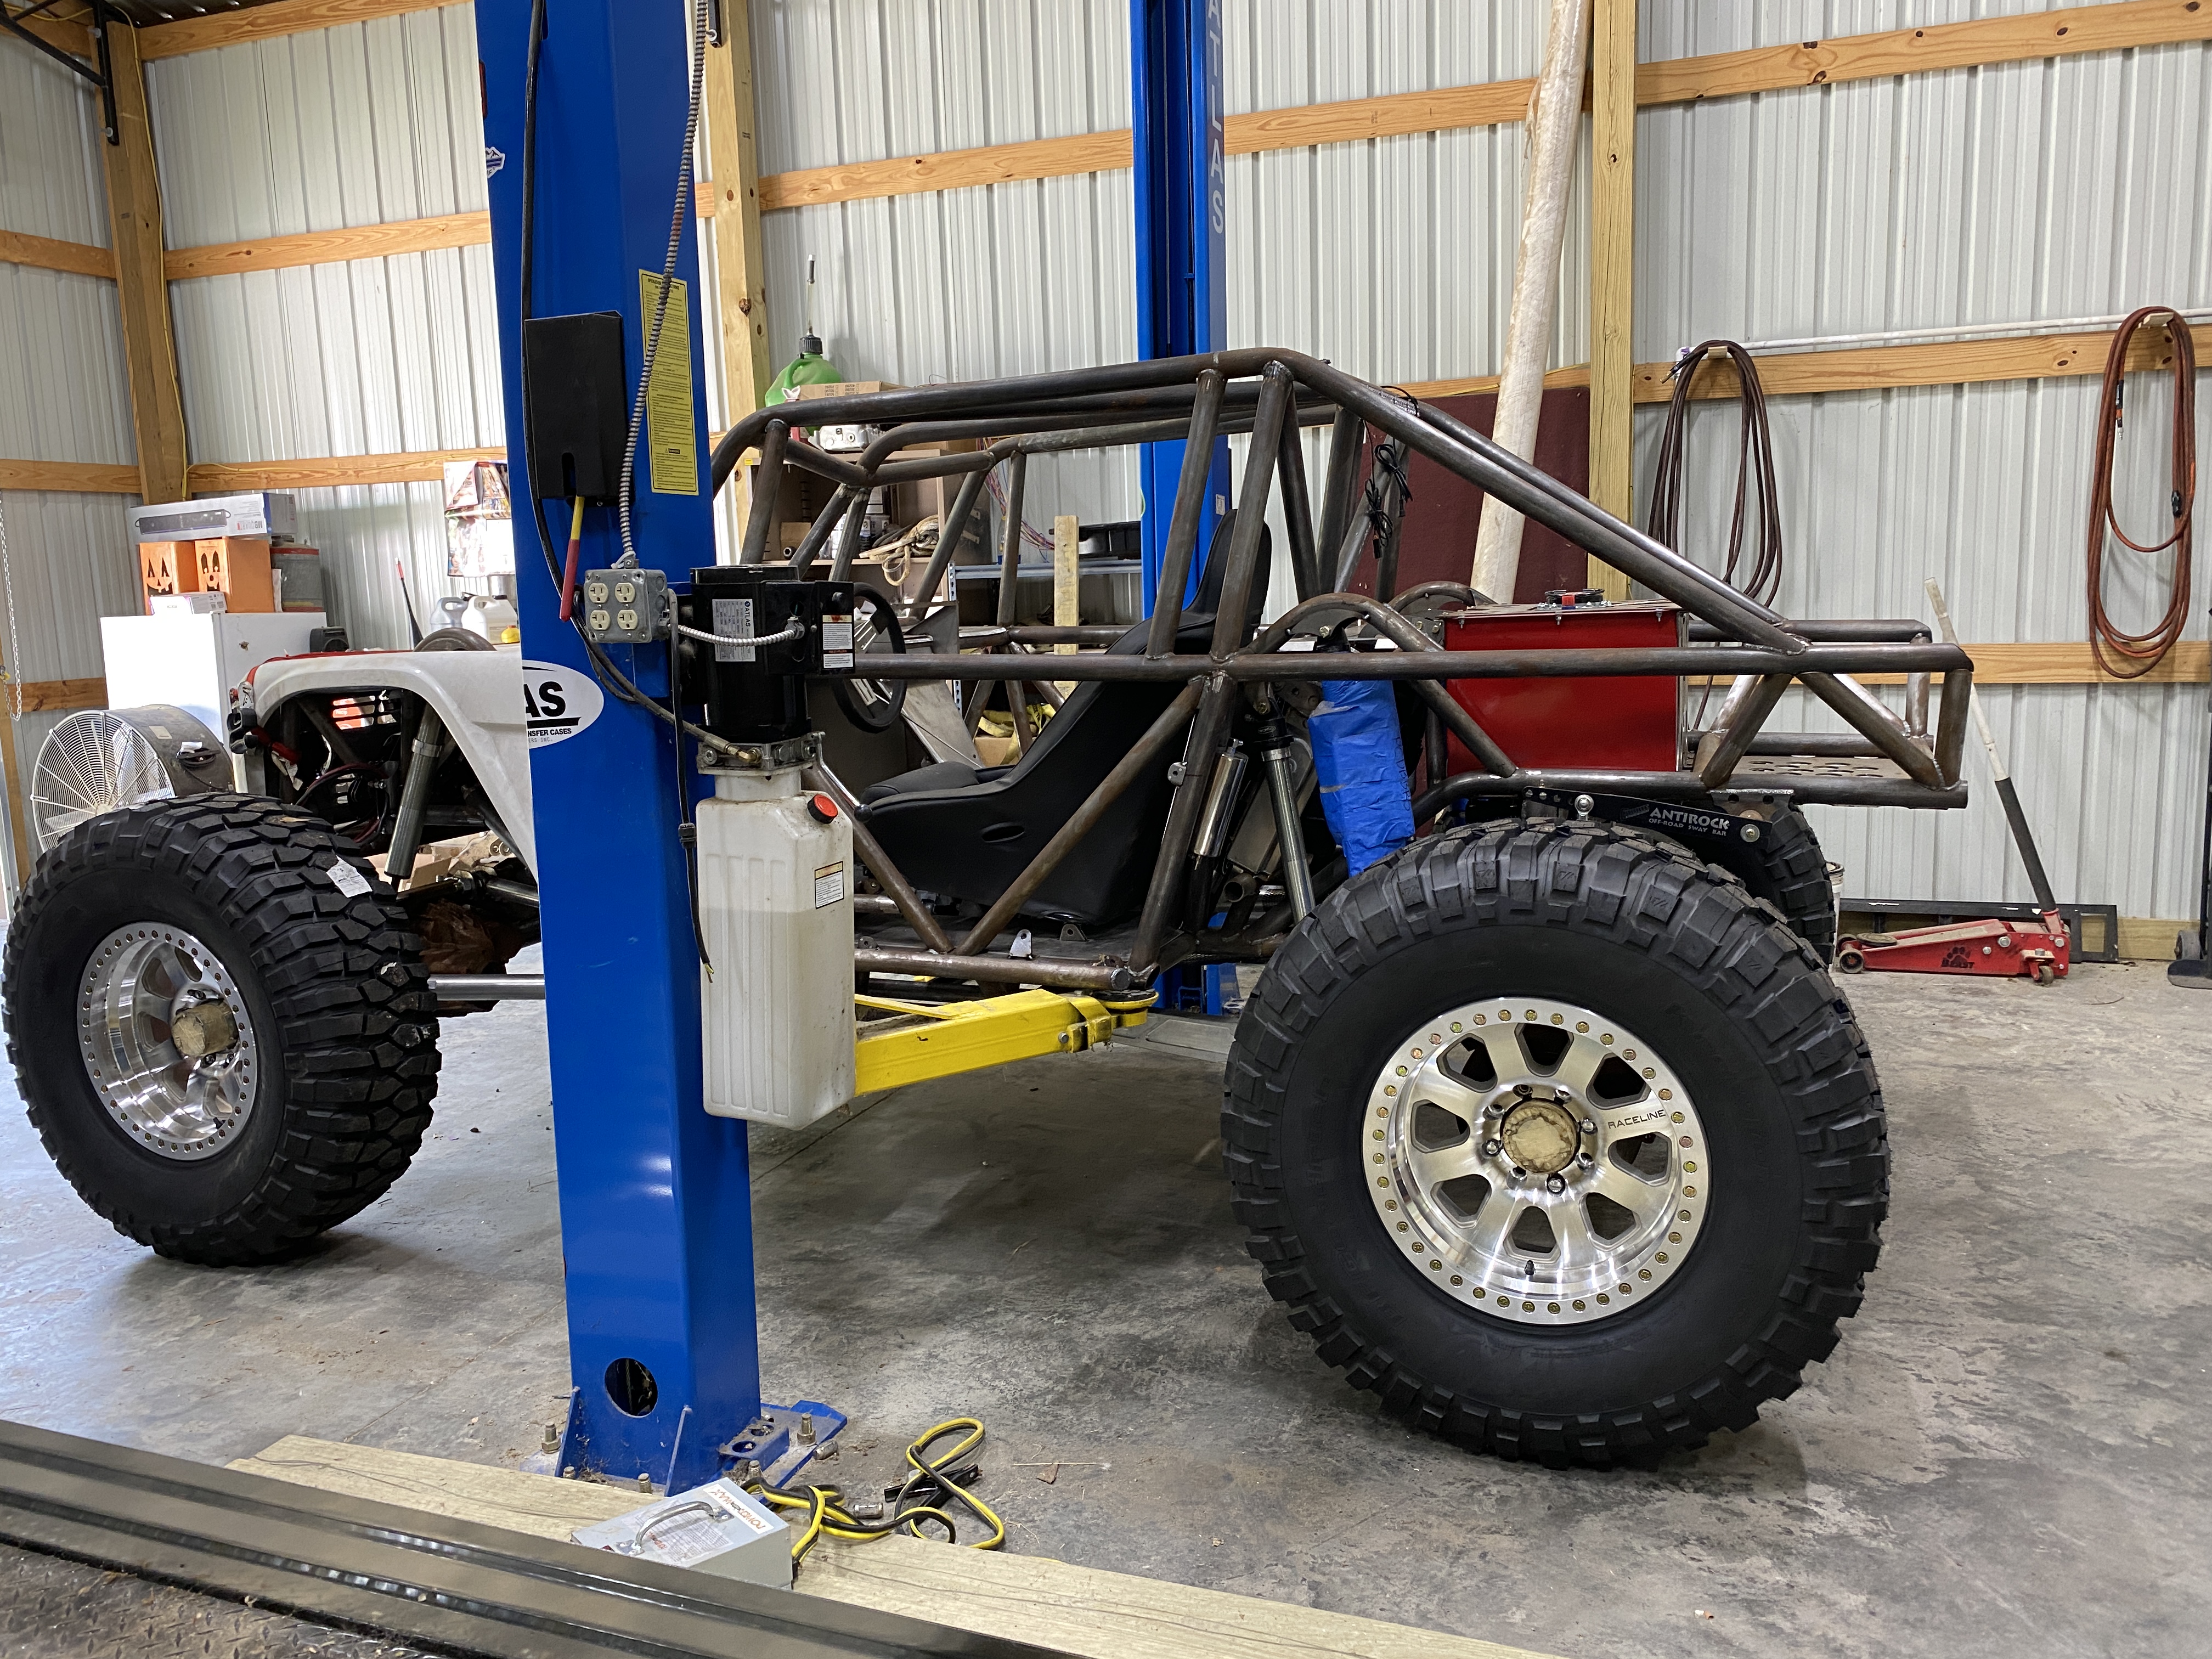
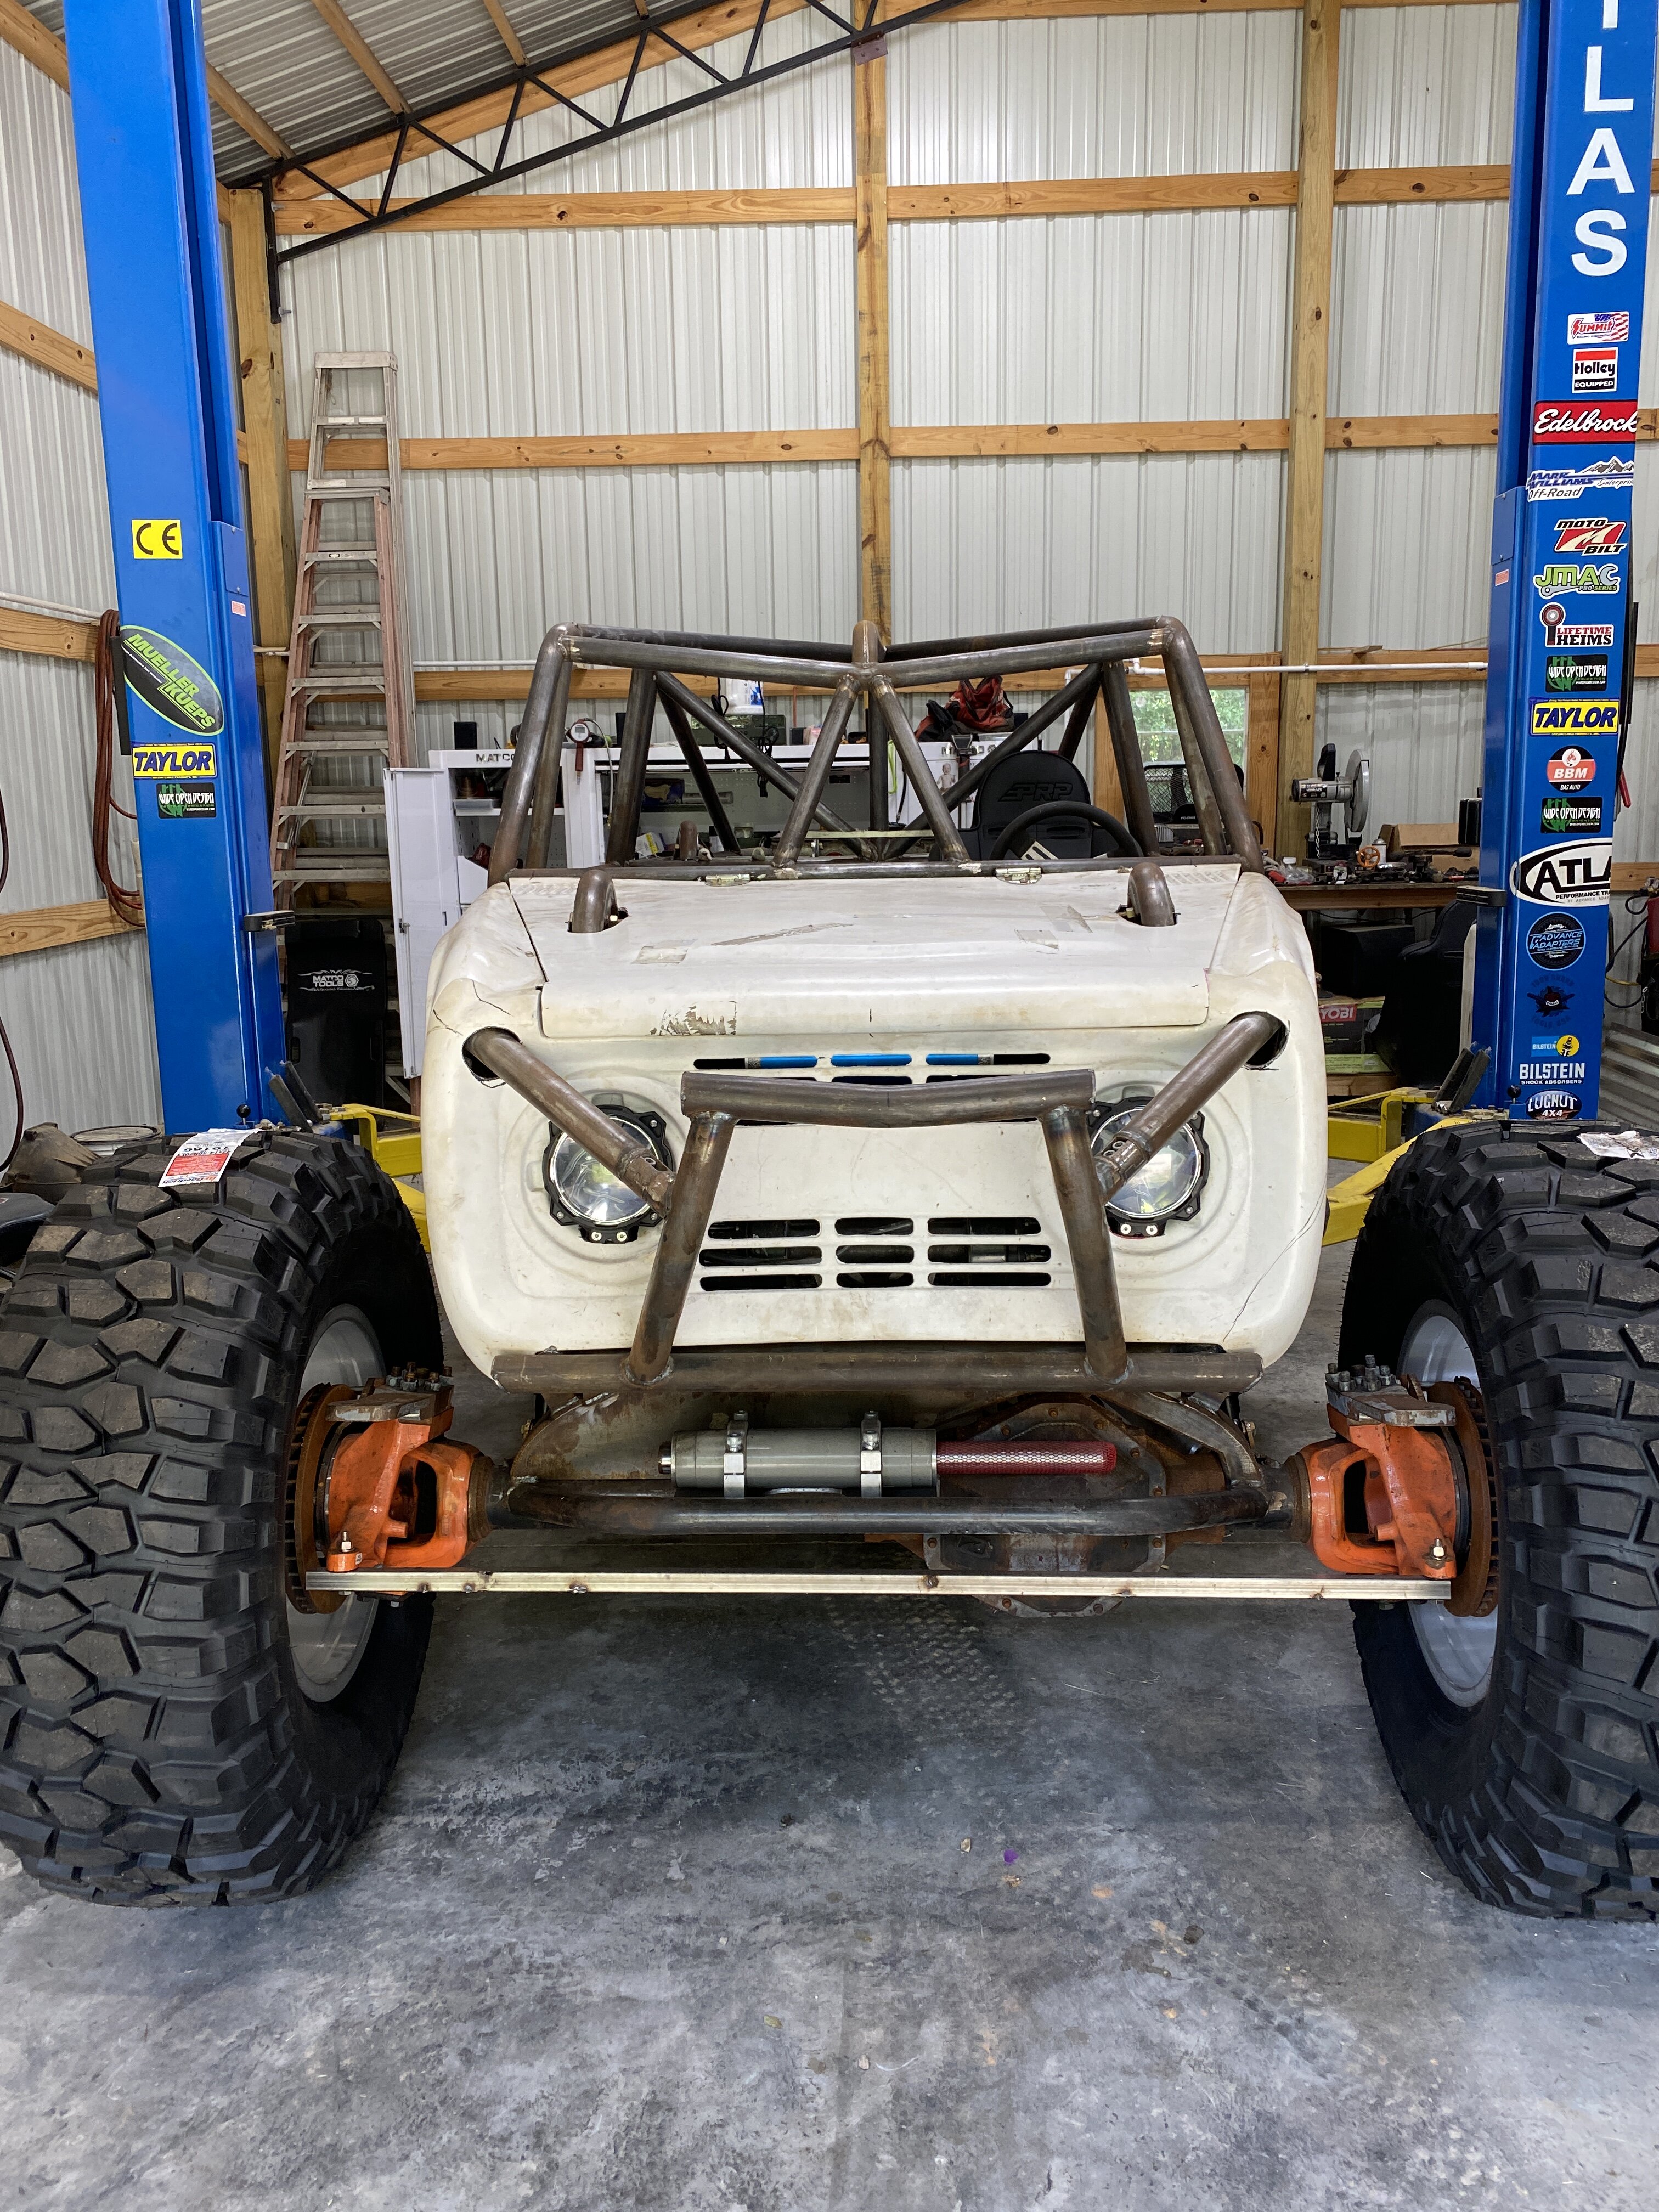
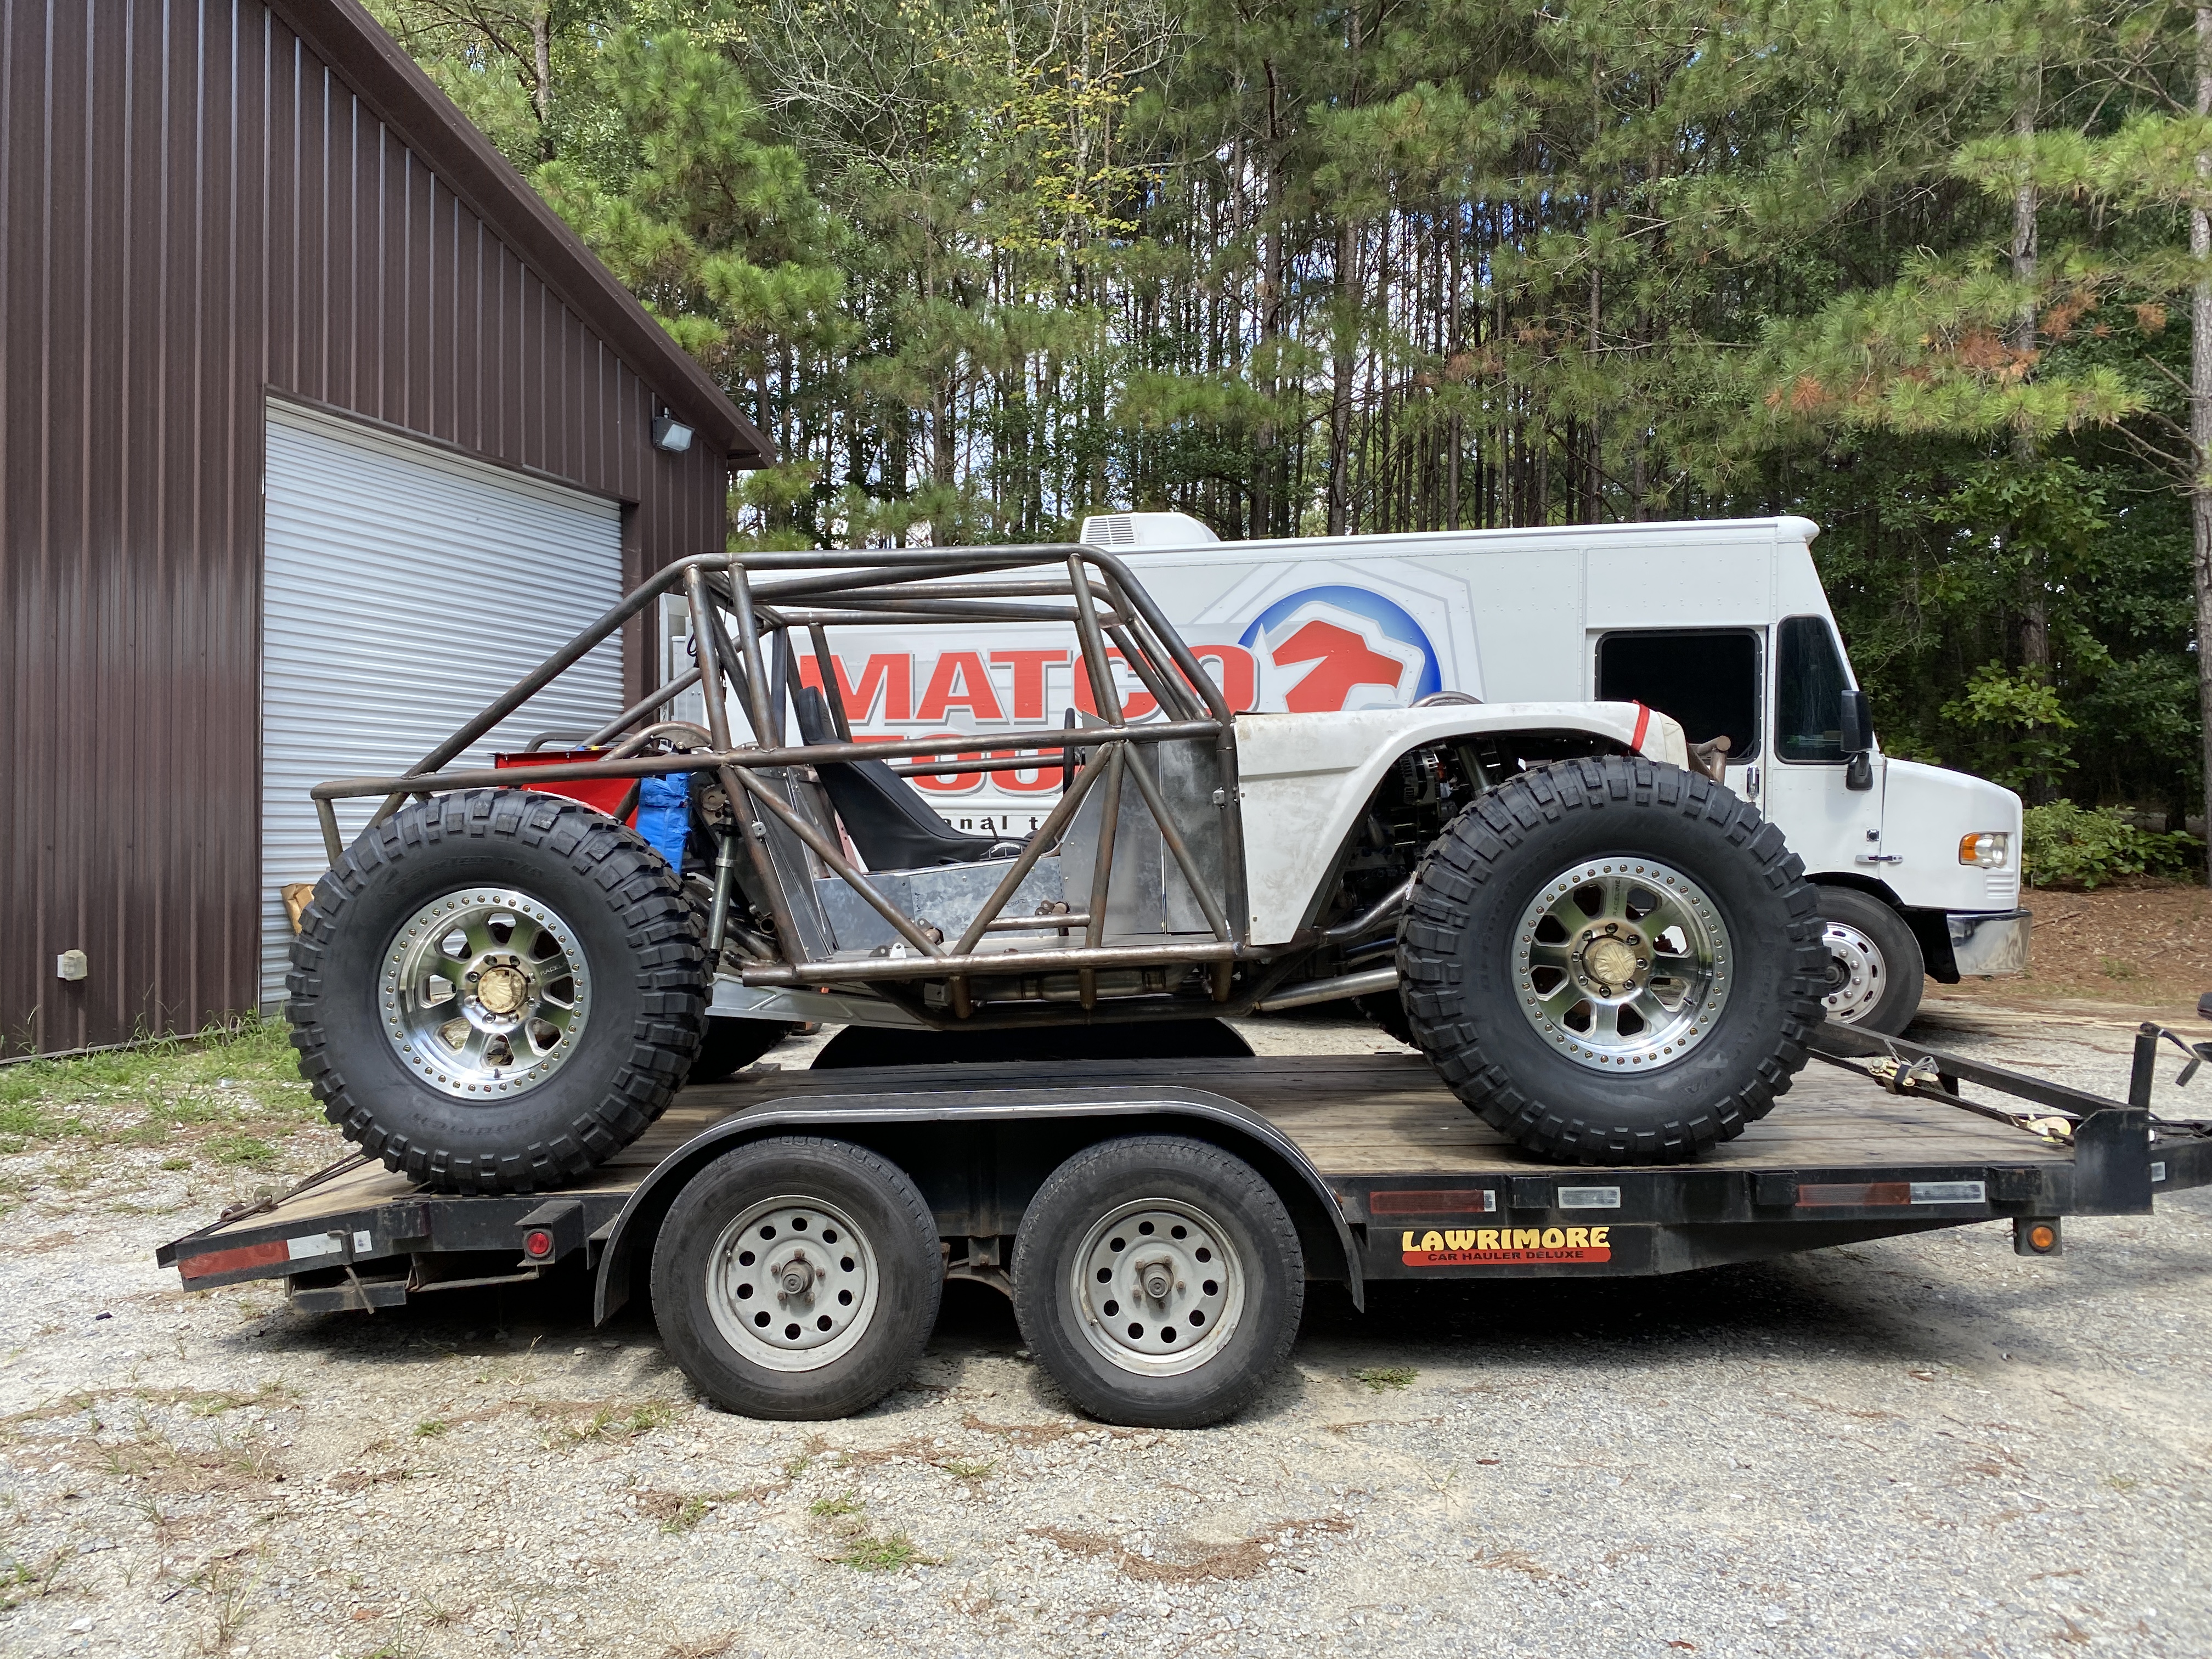
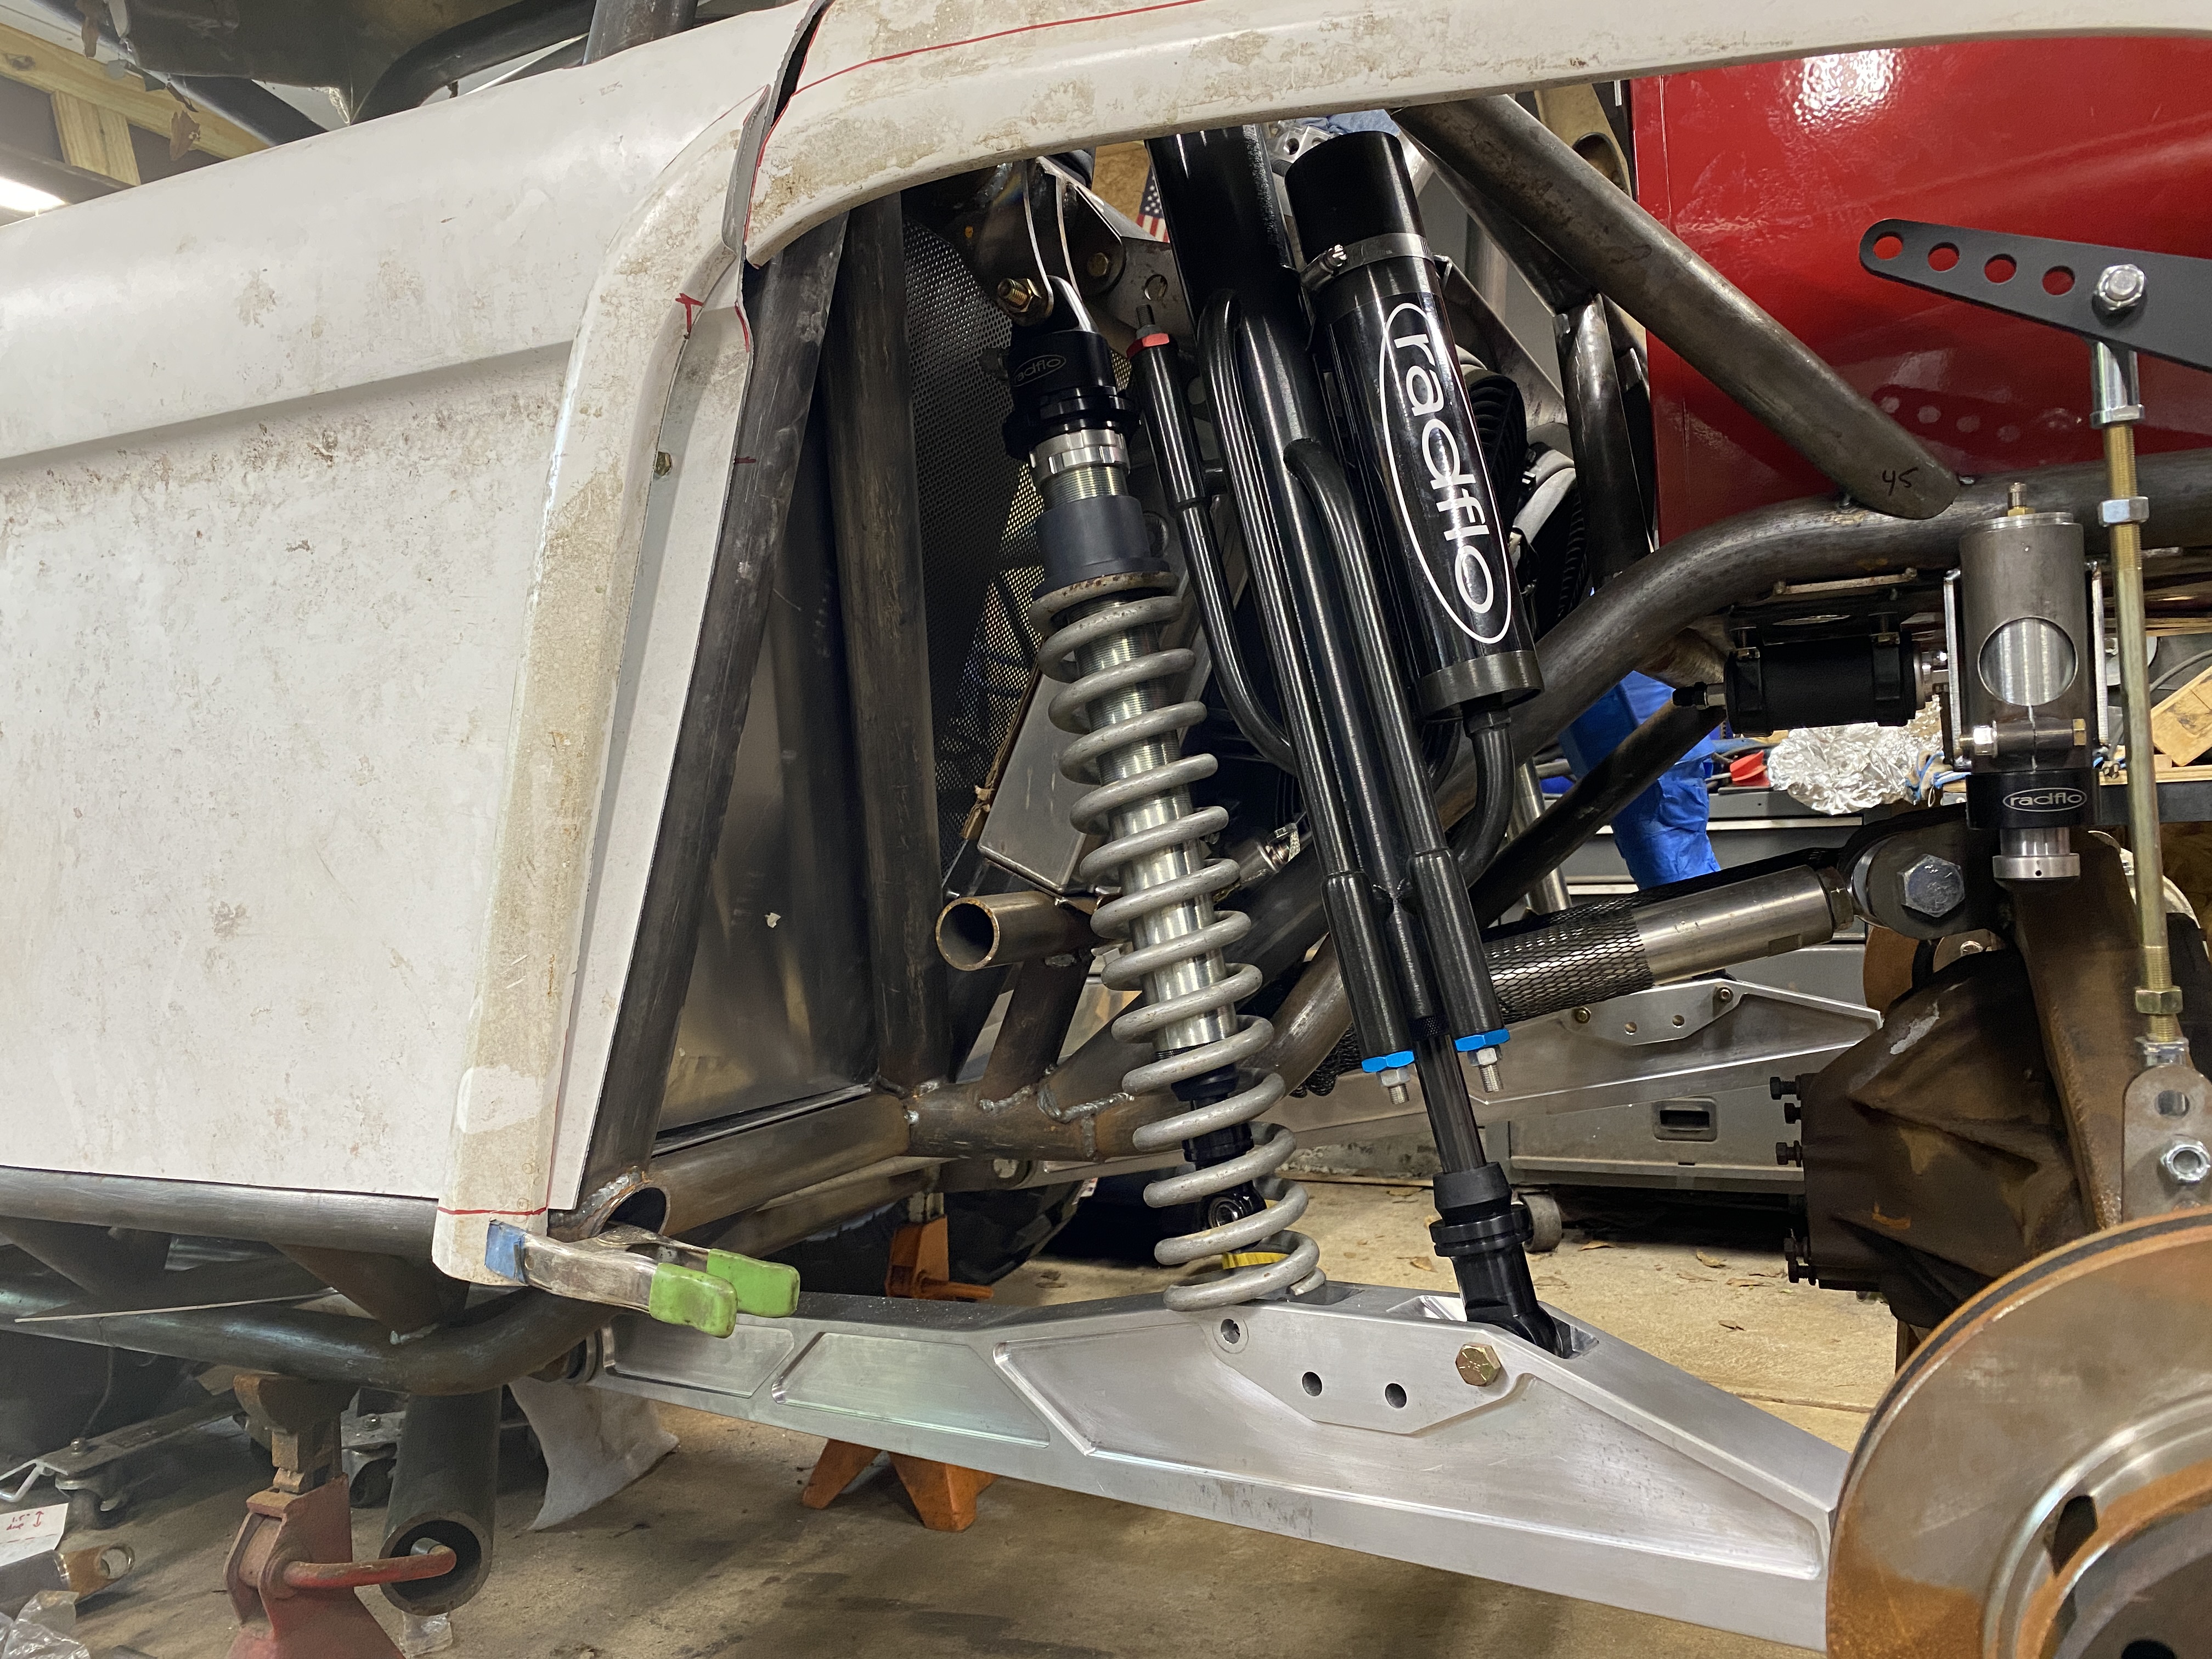
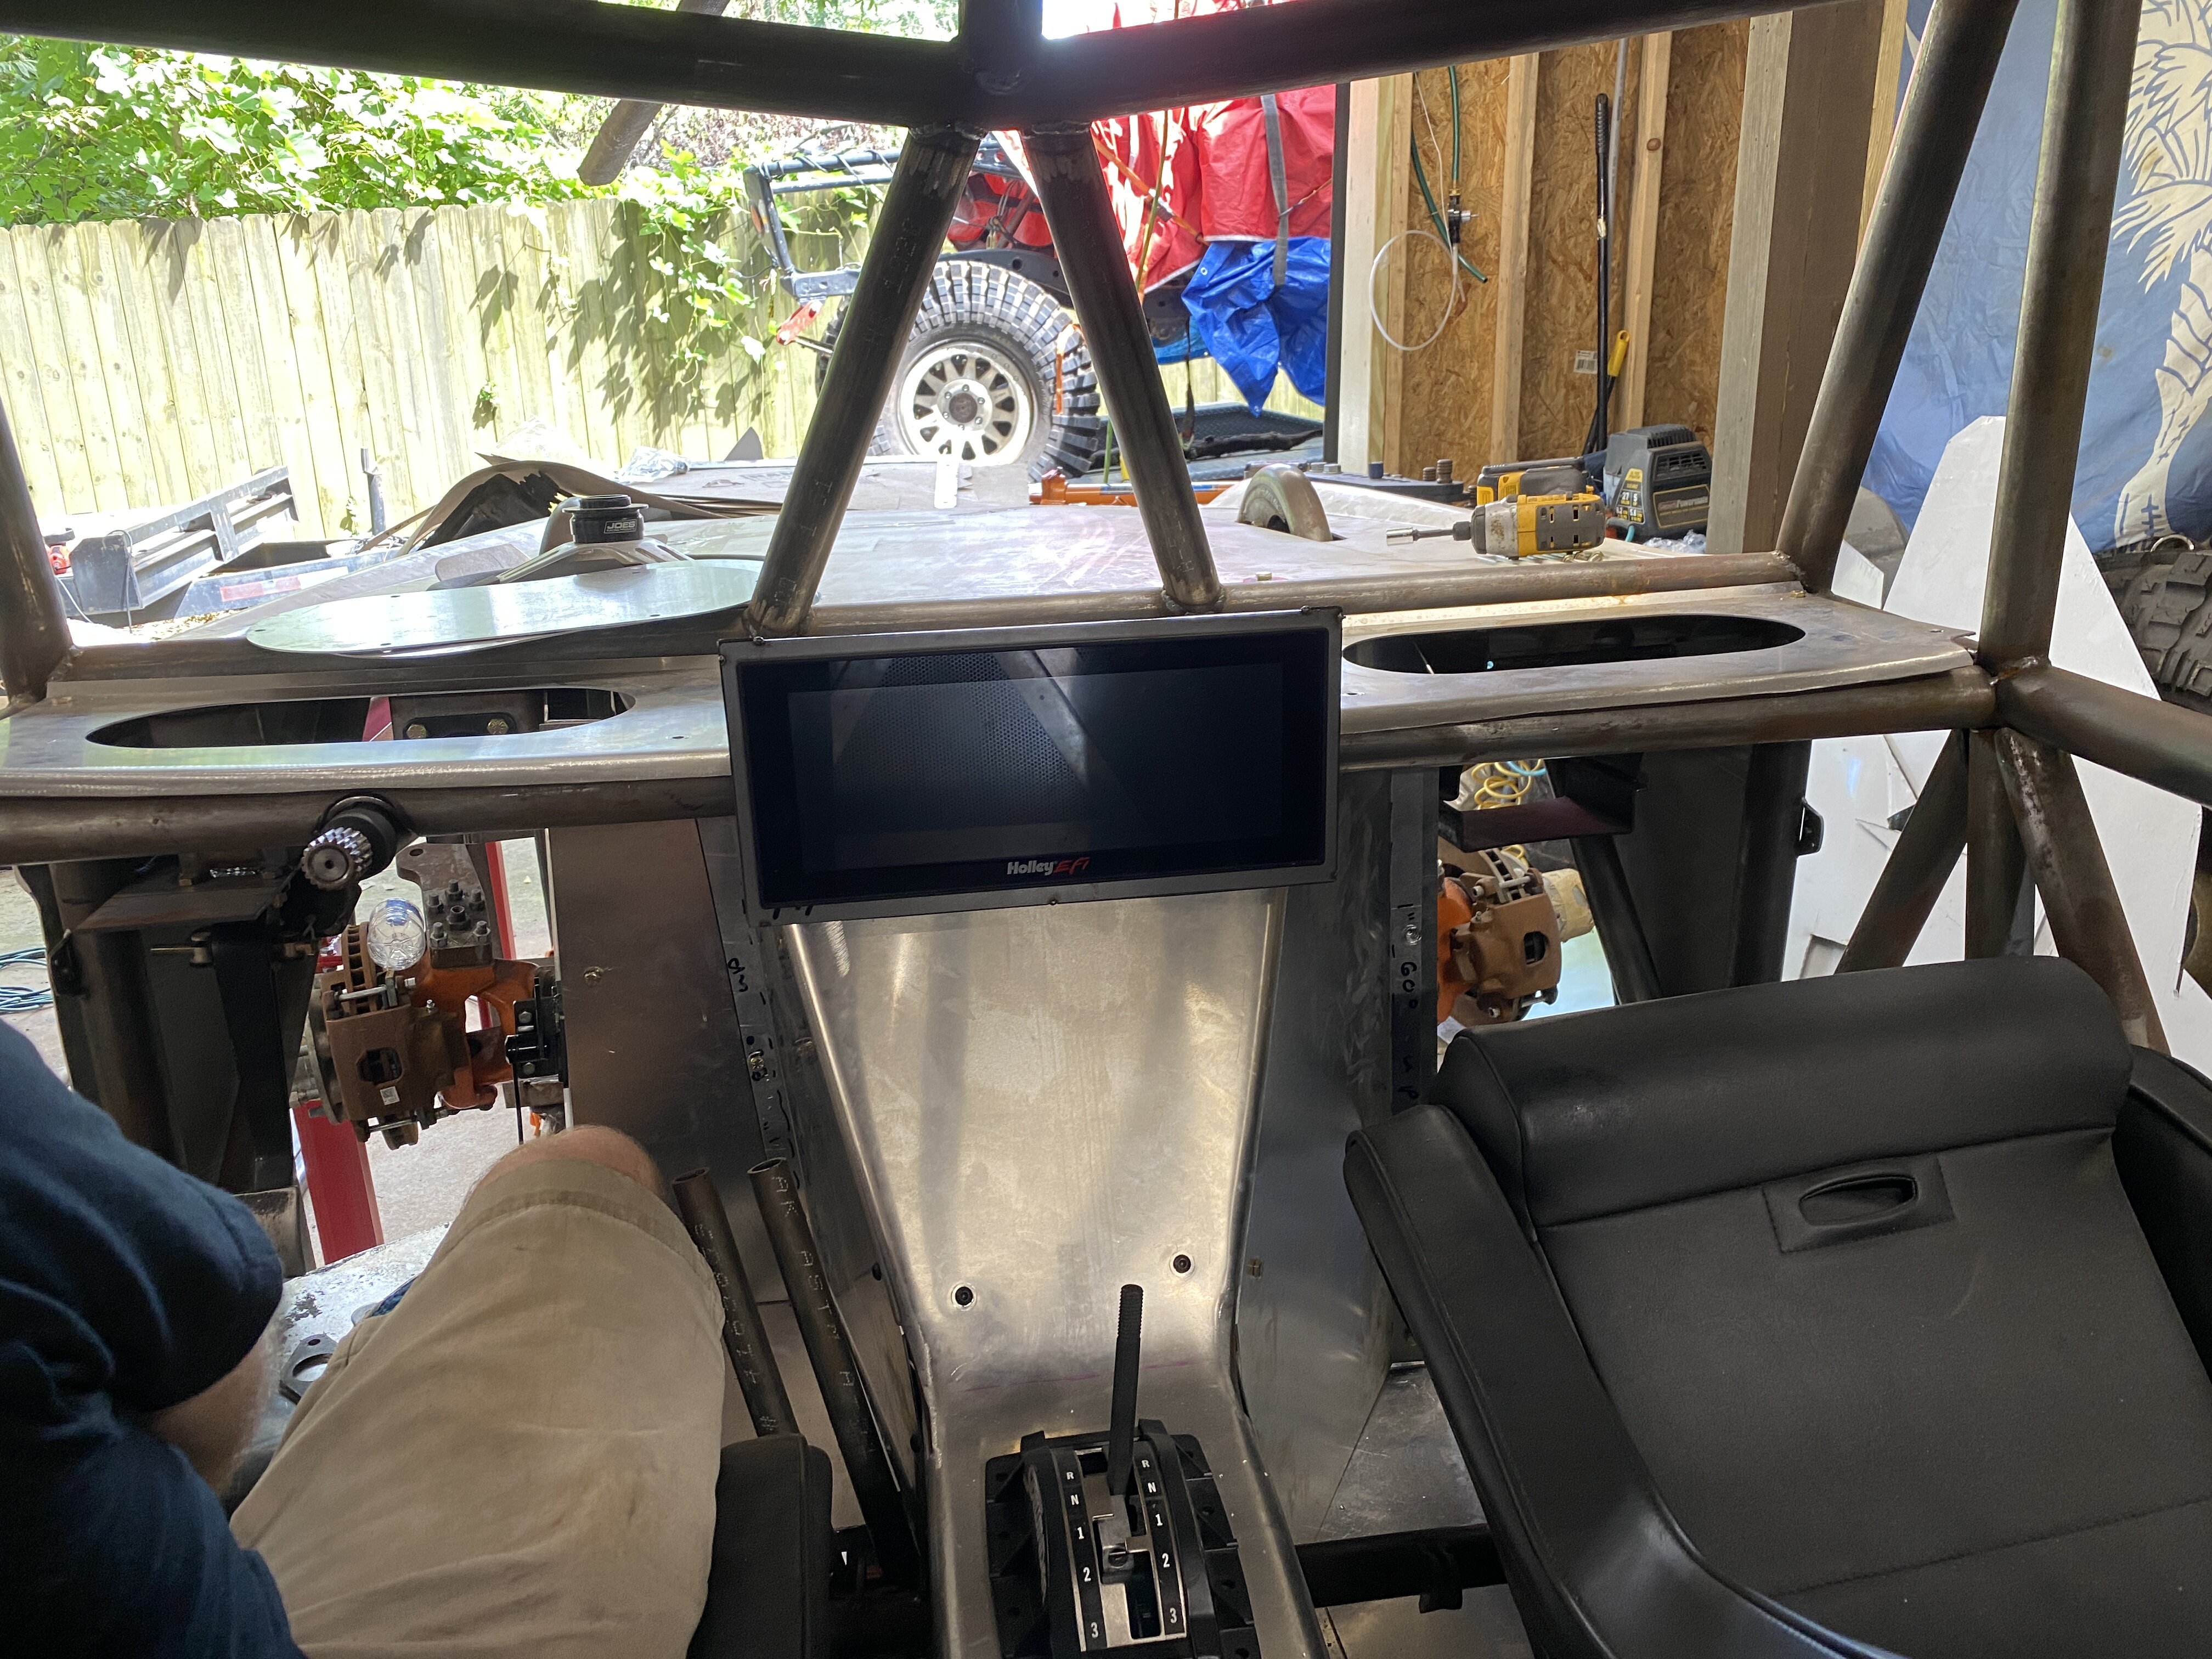
Low belly, big travel numbers....and the shock hoops aren't even with the driver's forehead. What sort of sorcery is this?
Oh I know, I'm being facetious. It just seems the rule of thumb in the SE is that the more uptravel you want, the taller your shock hoops must be.the chassis layout is more typical of a "normal" automotive vehicle...


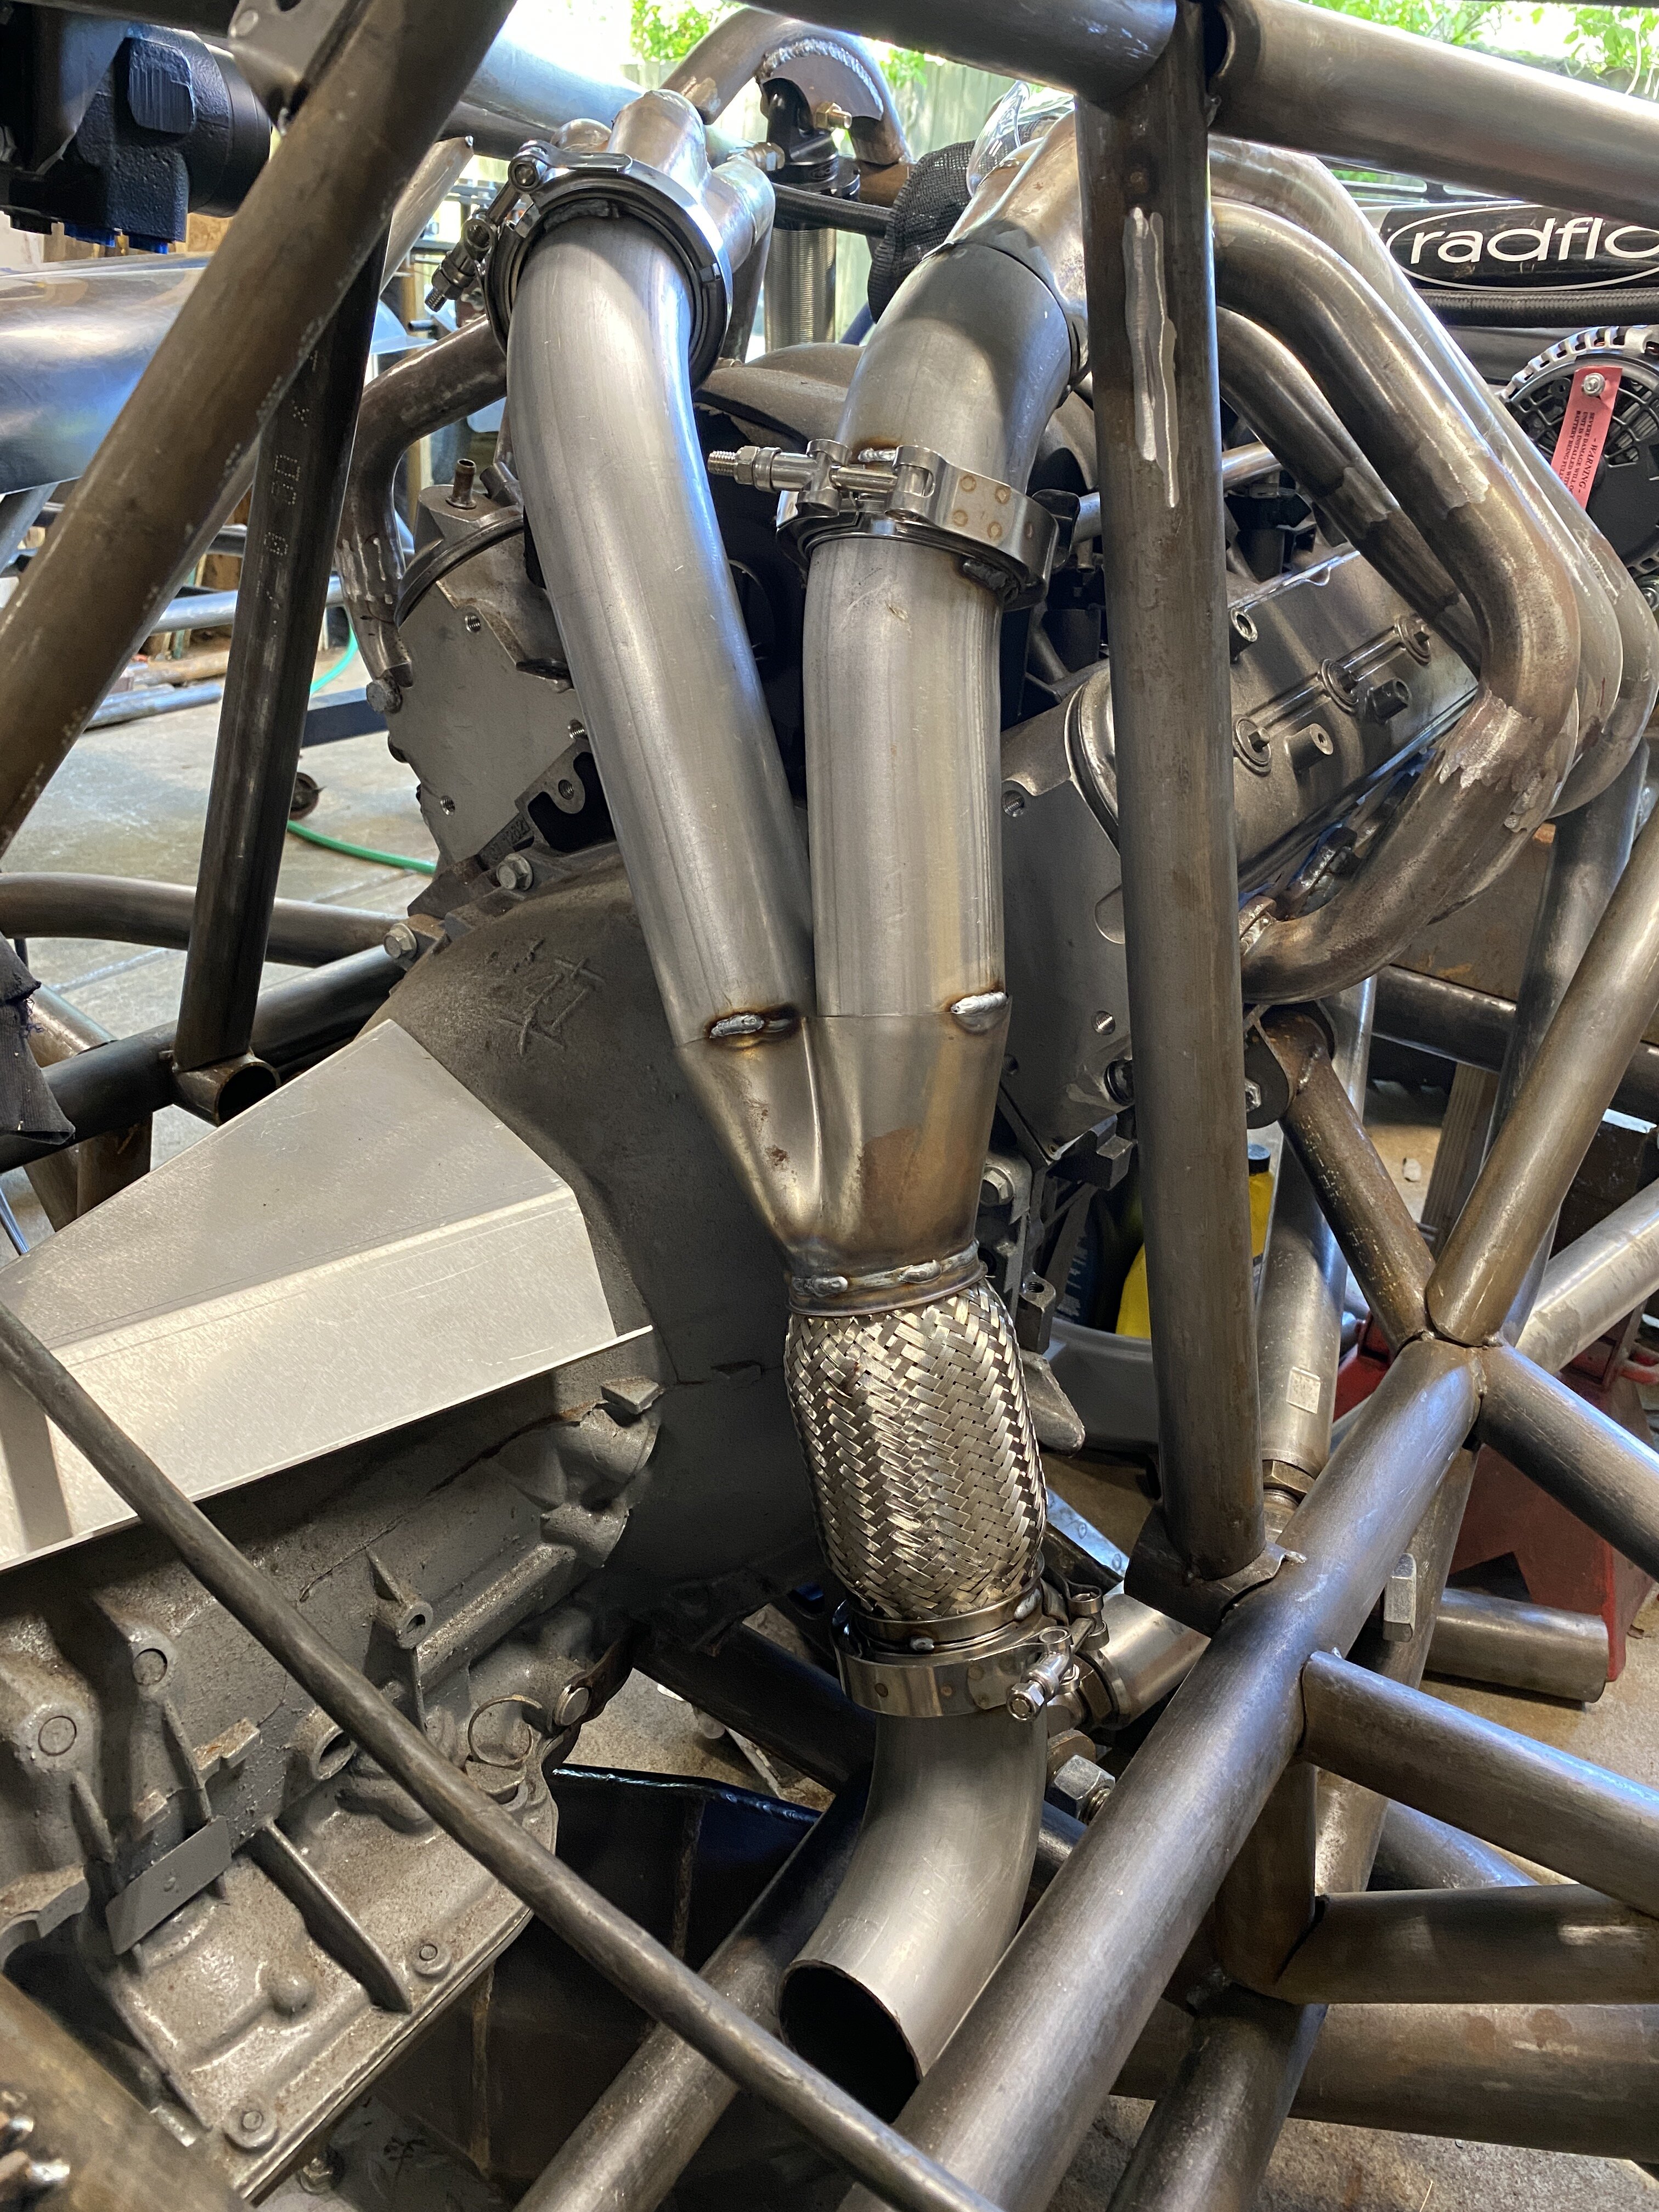
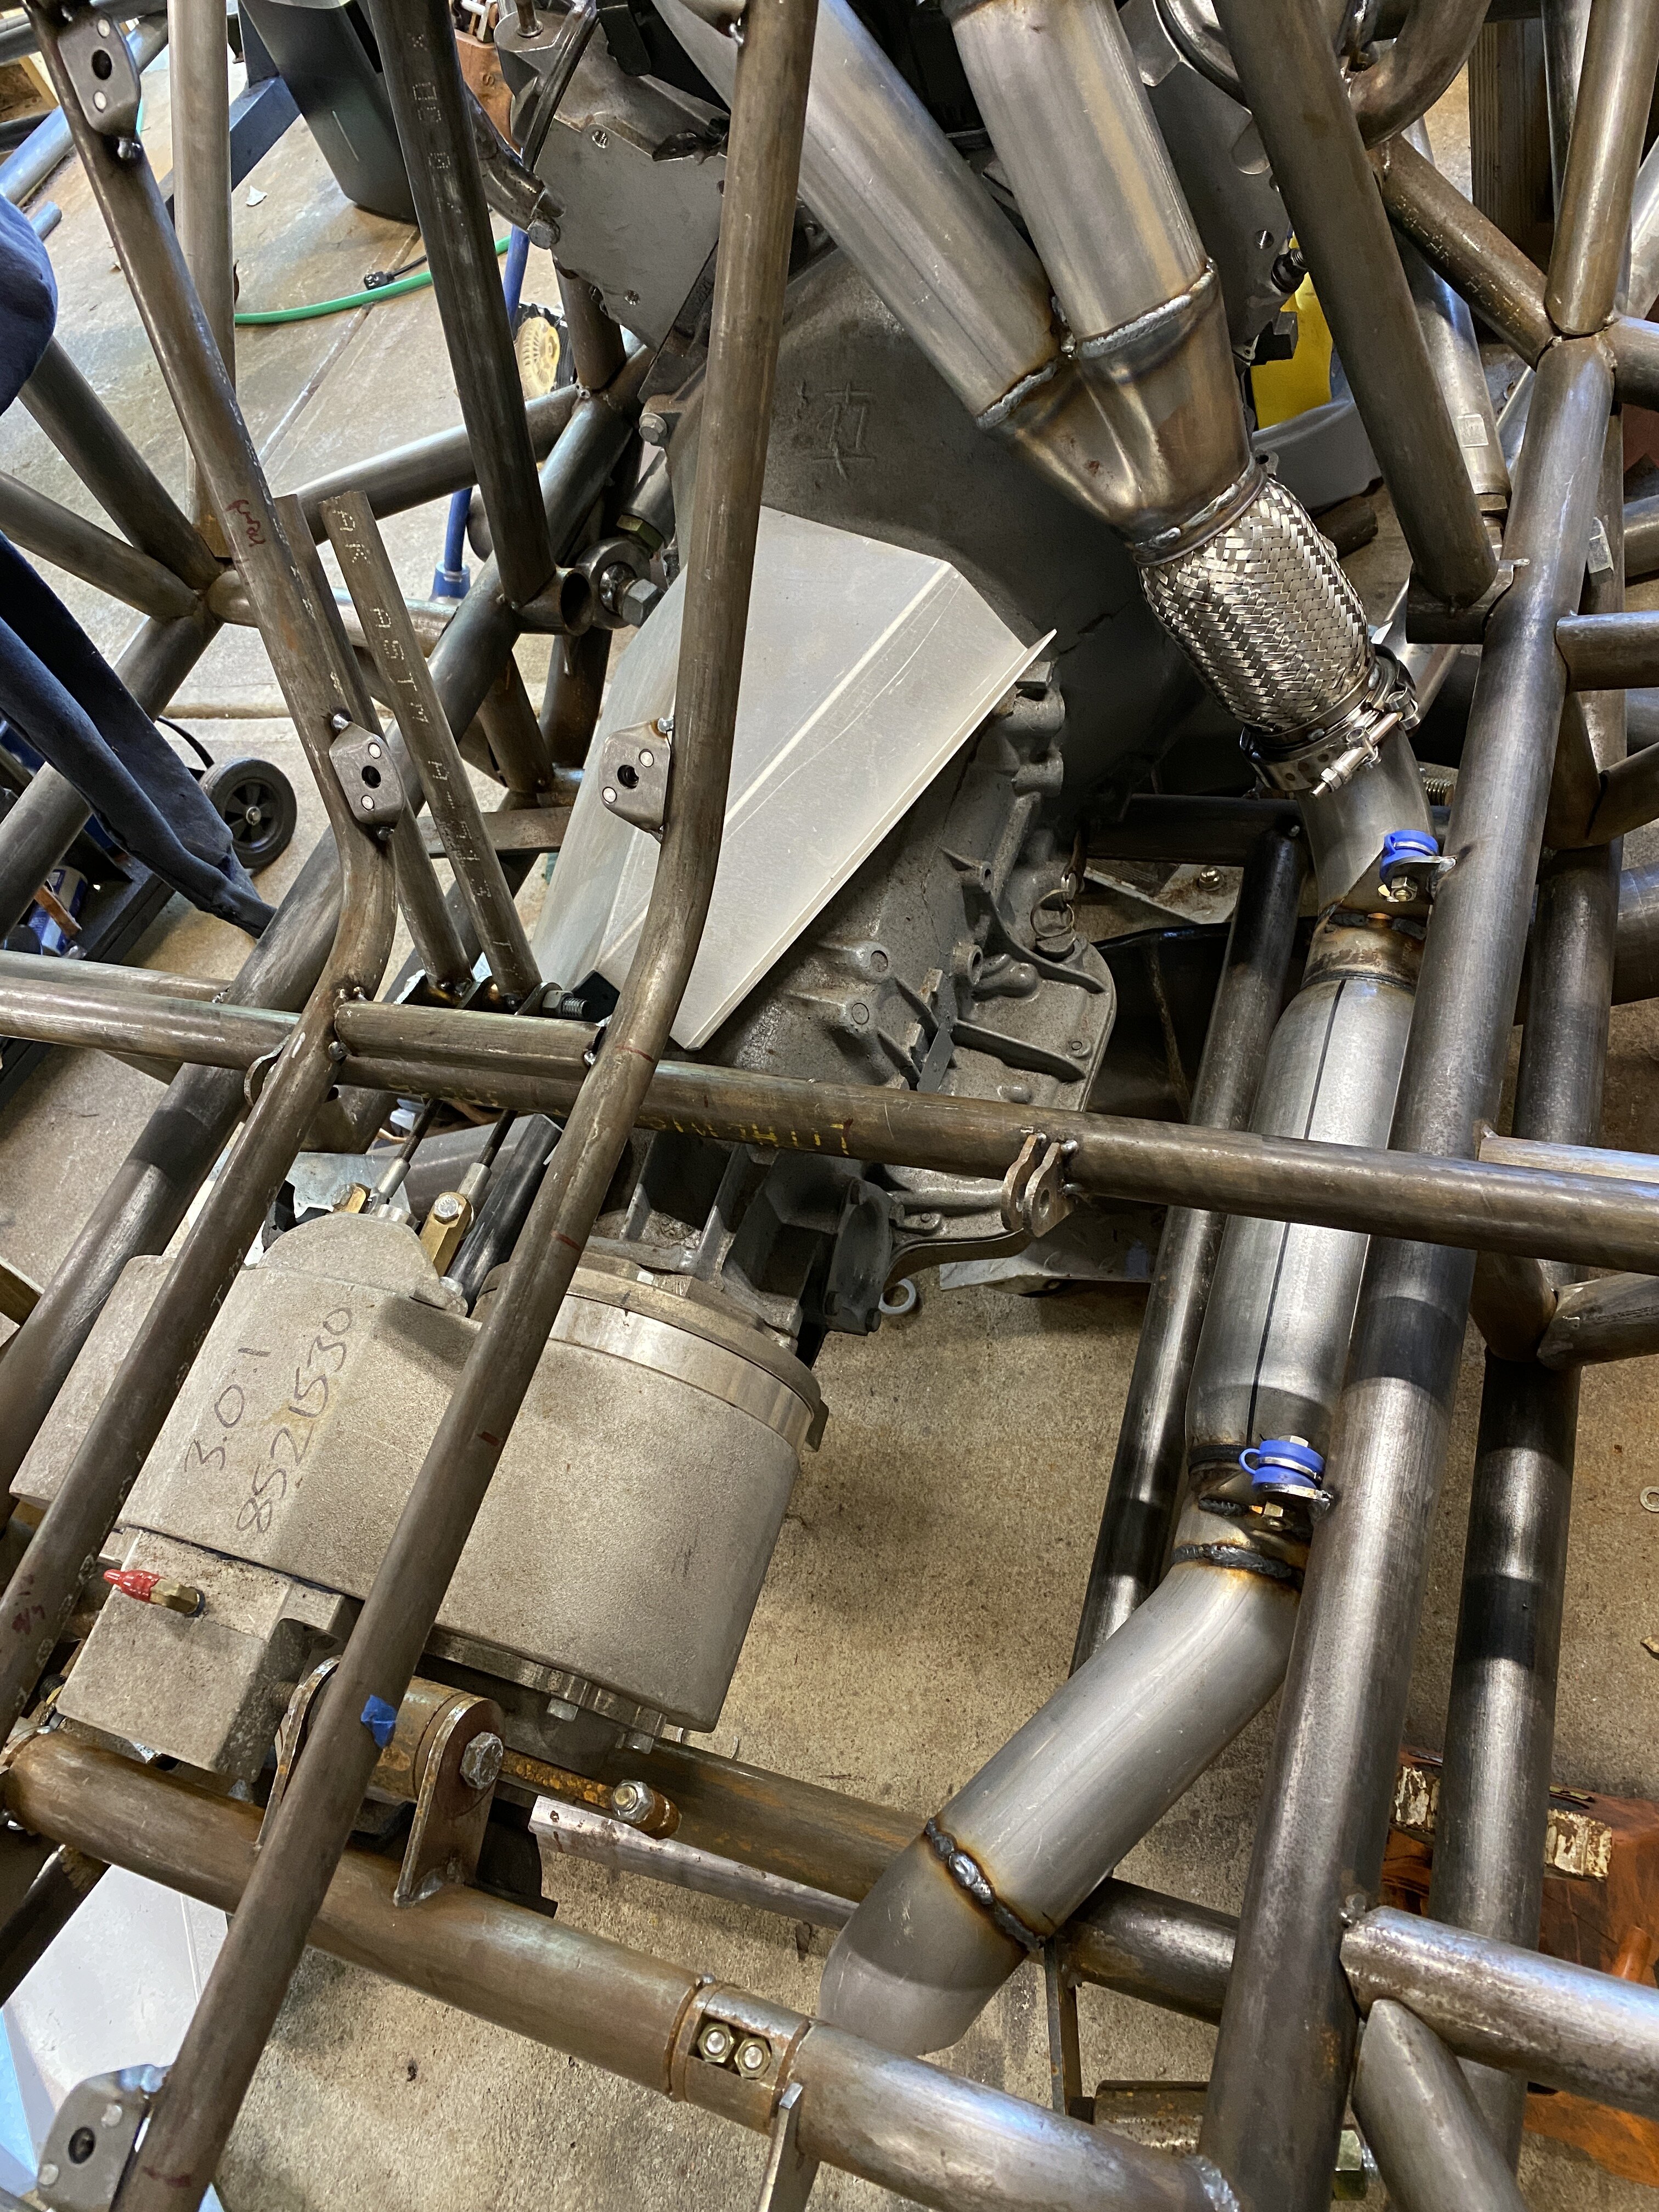
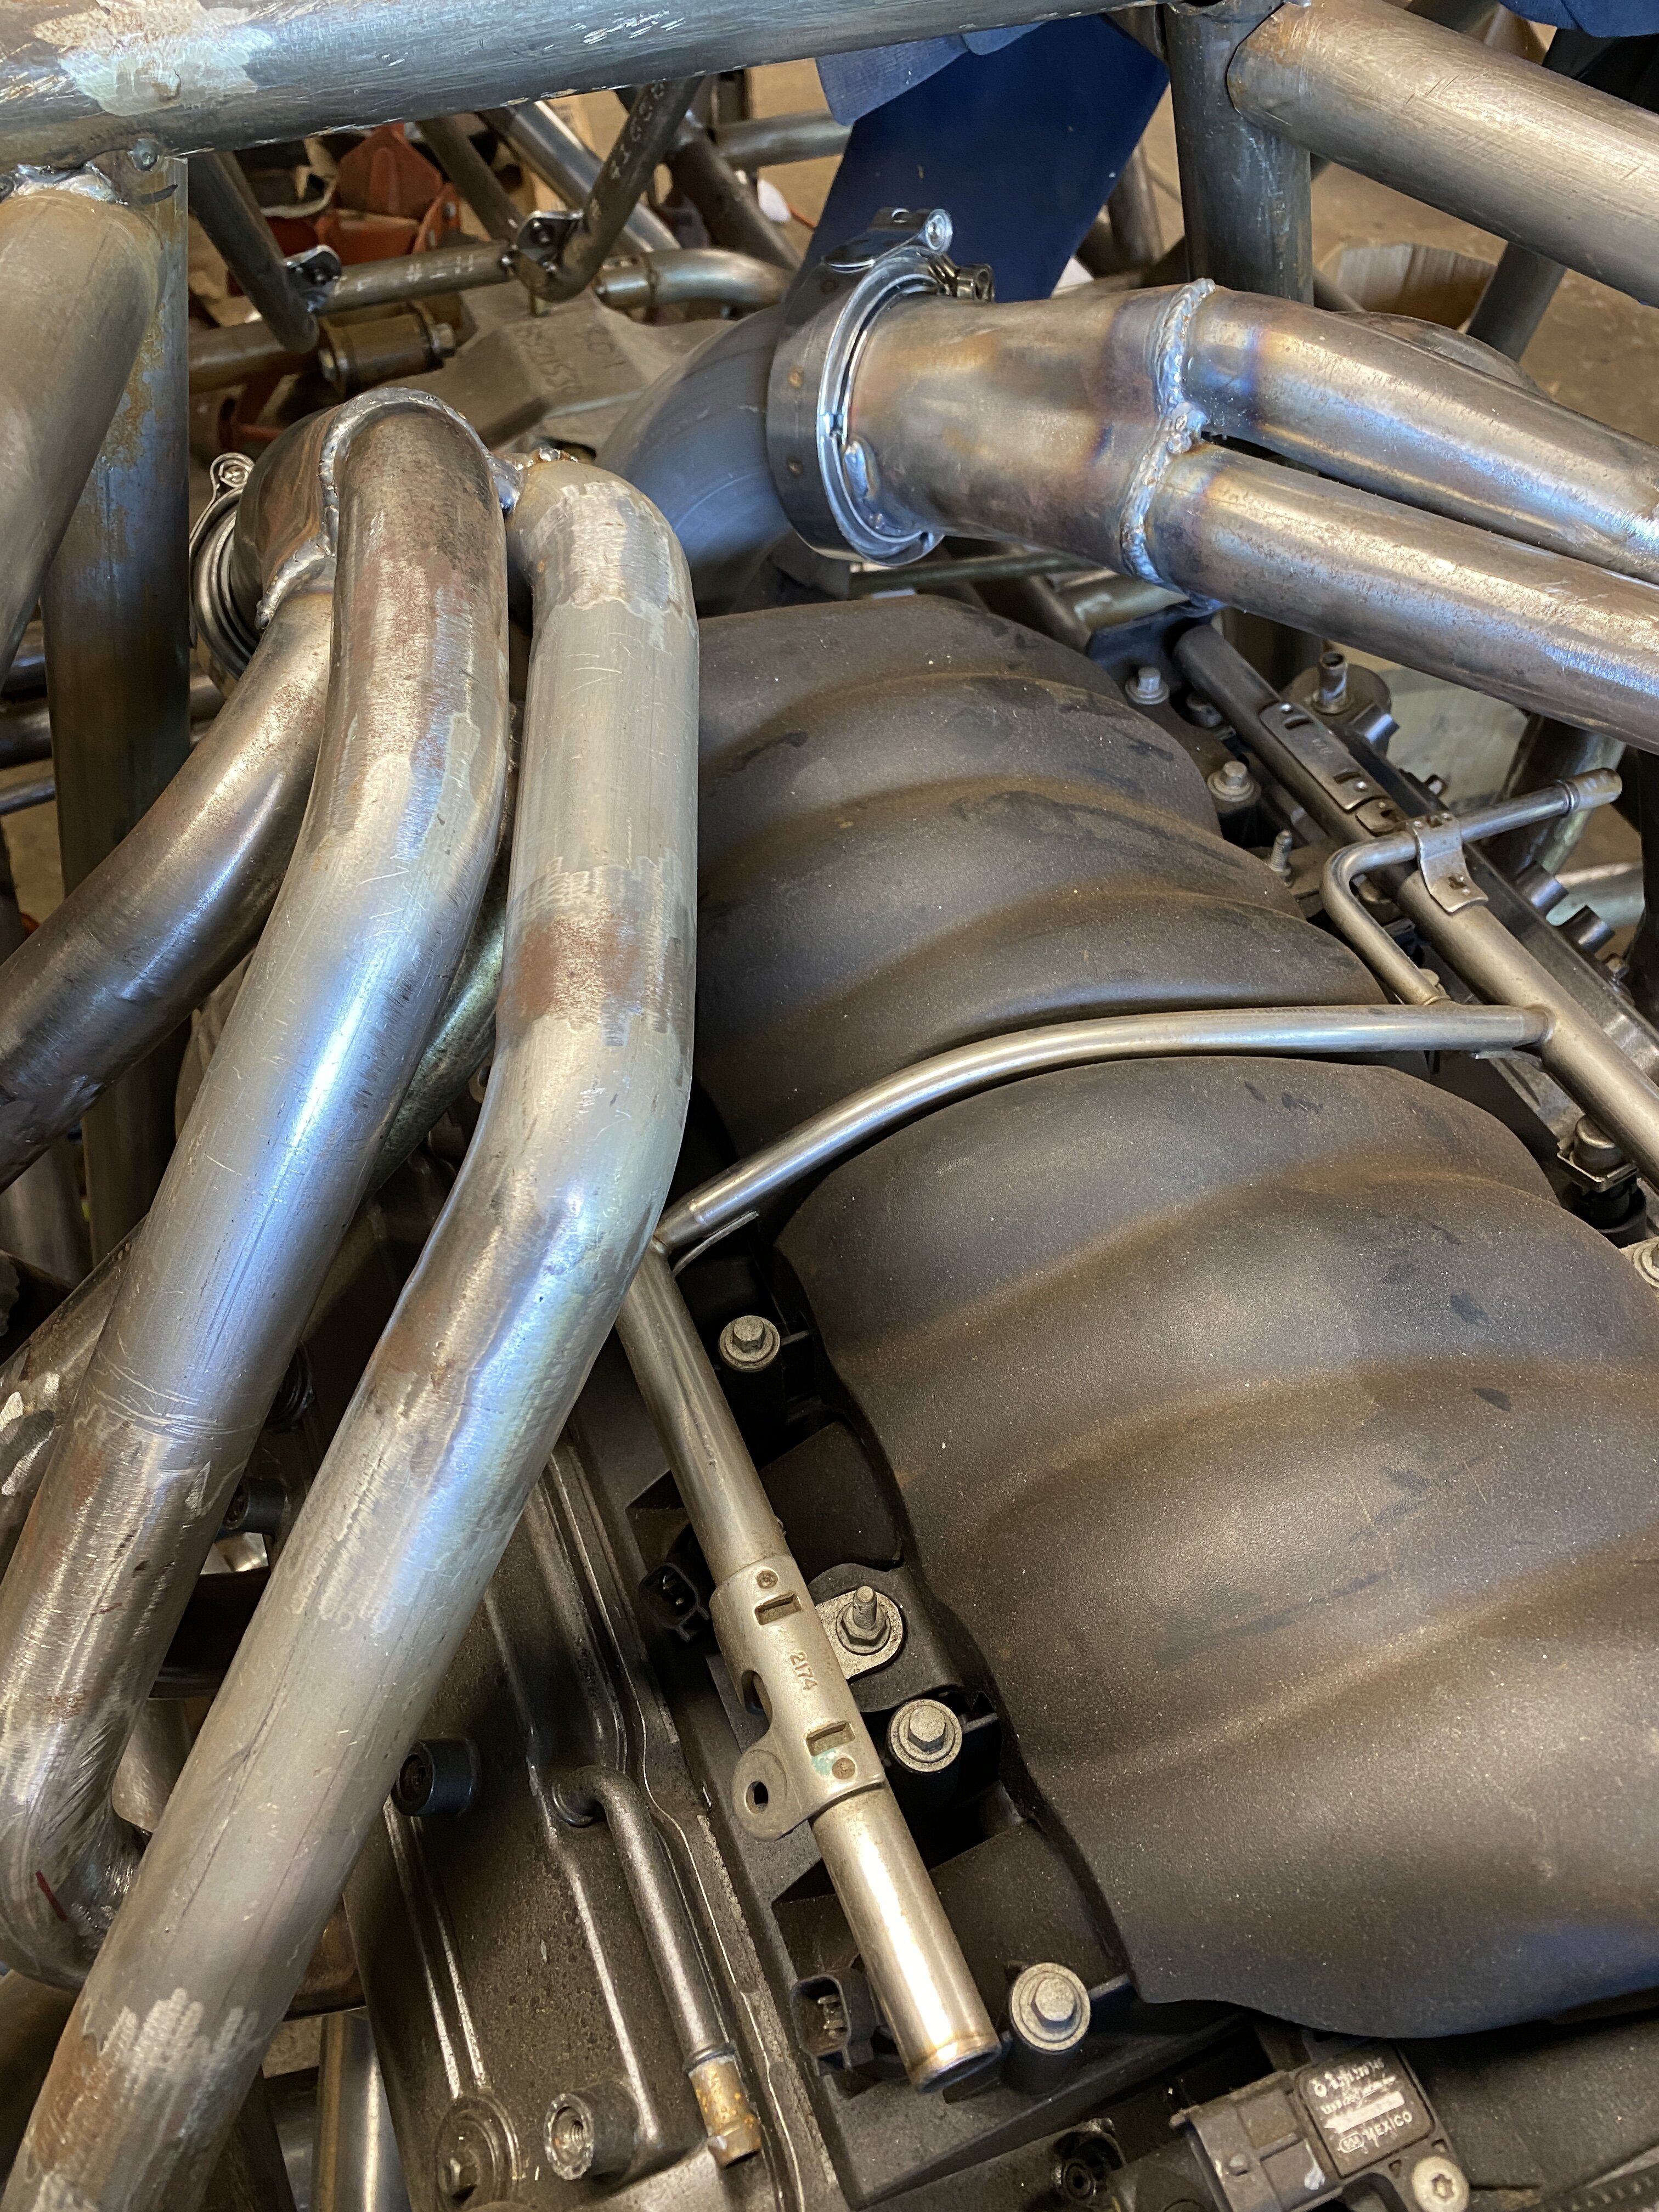
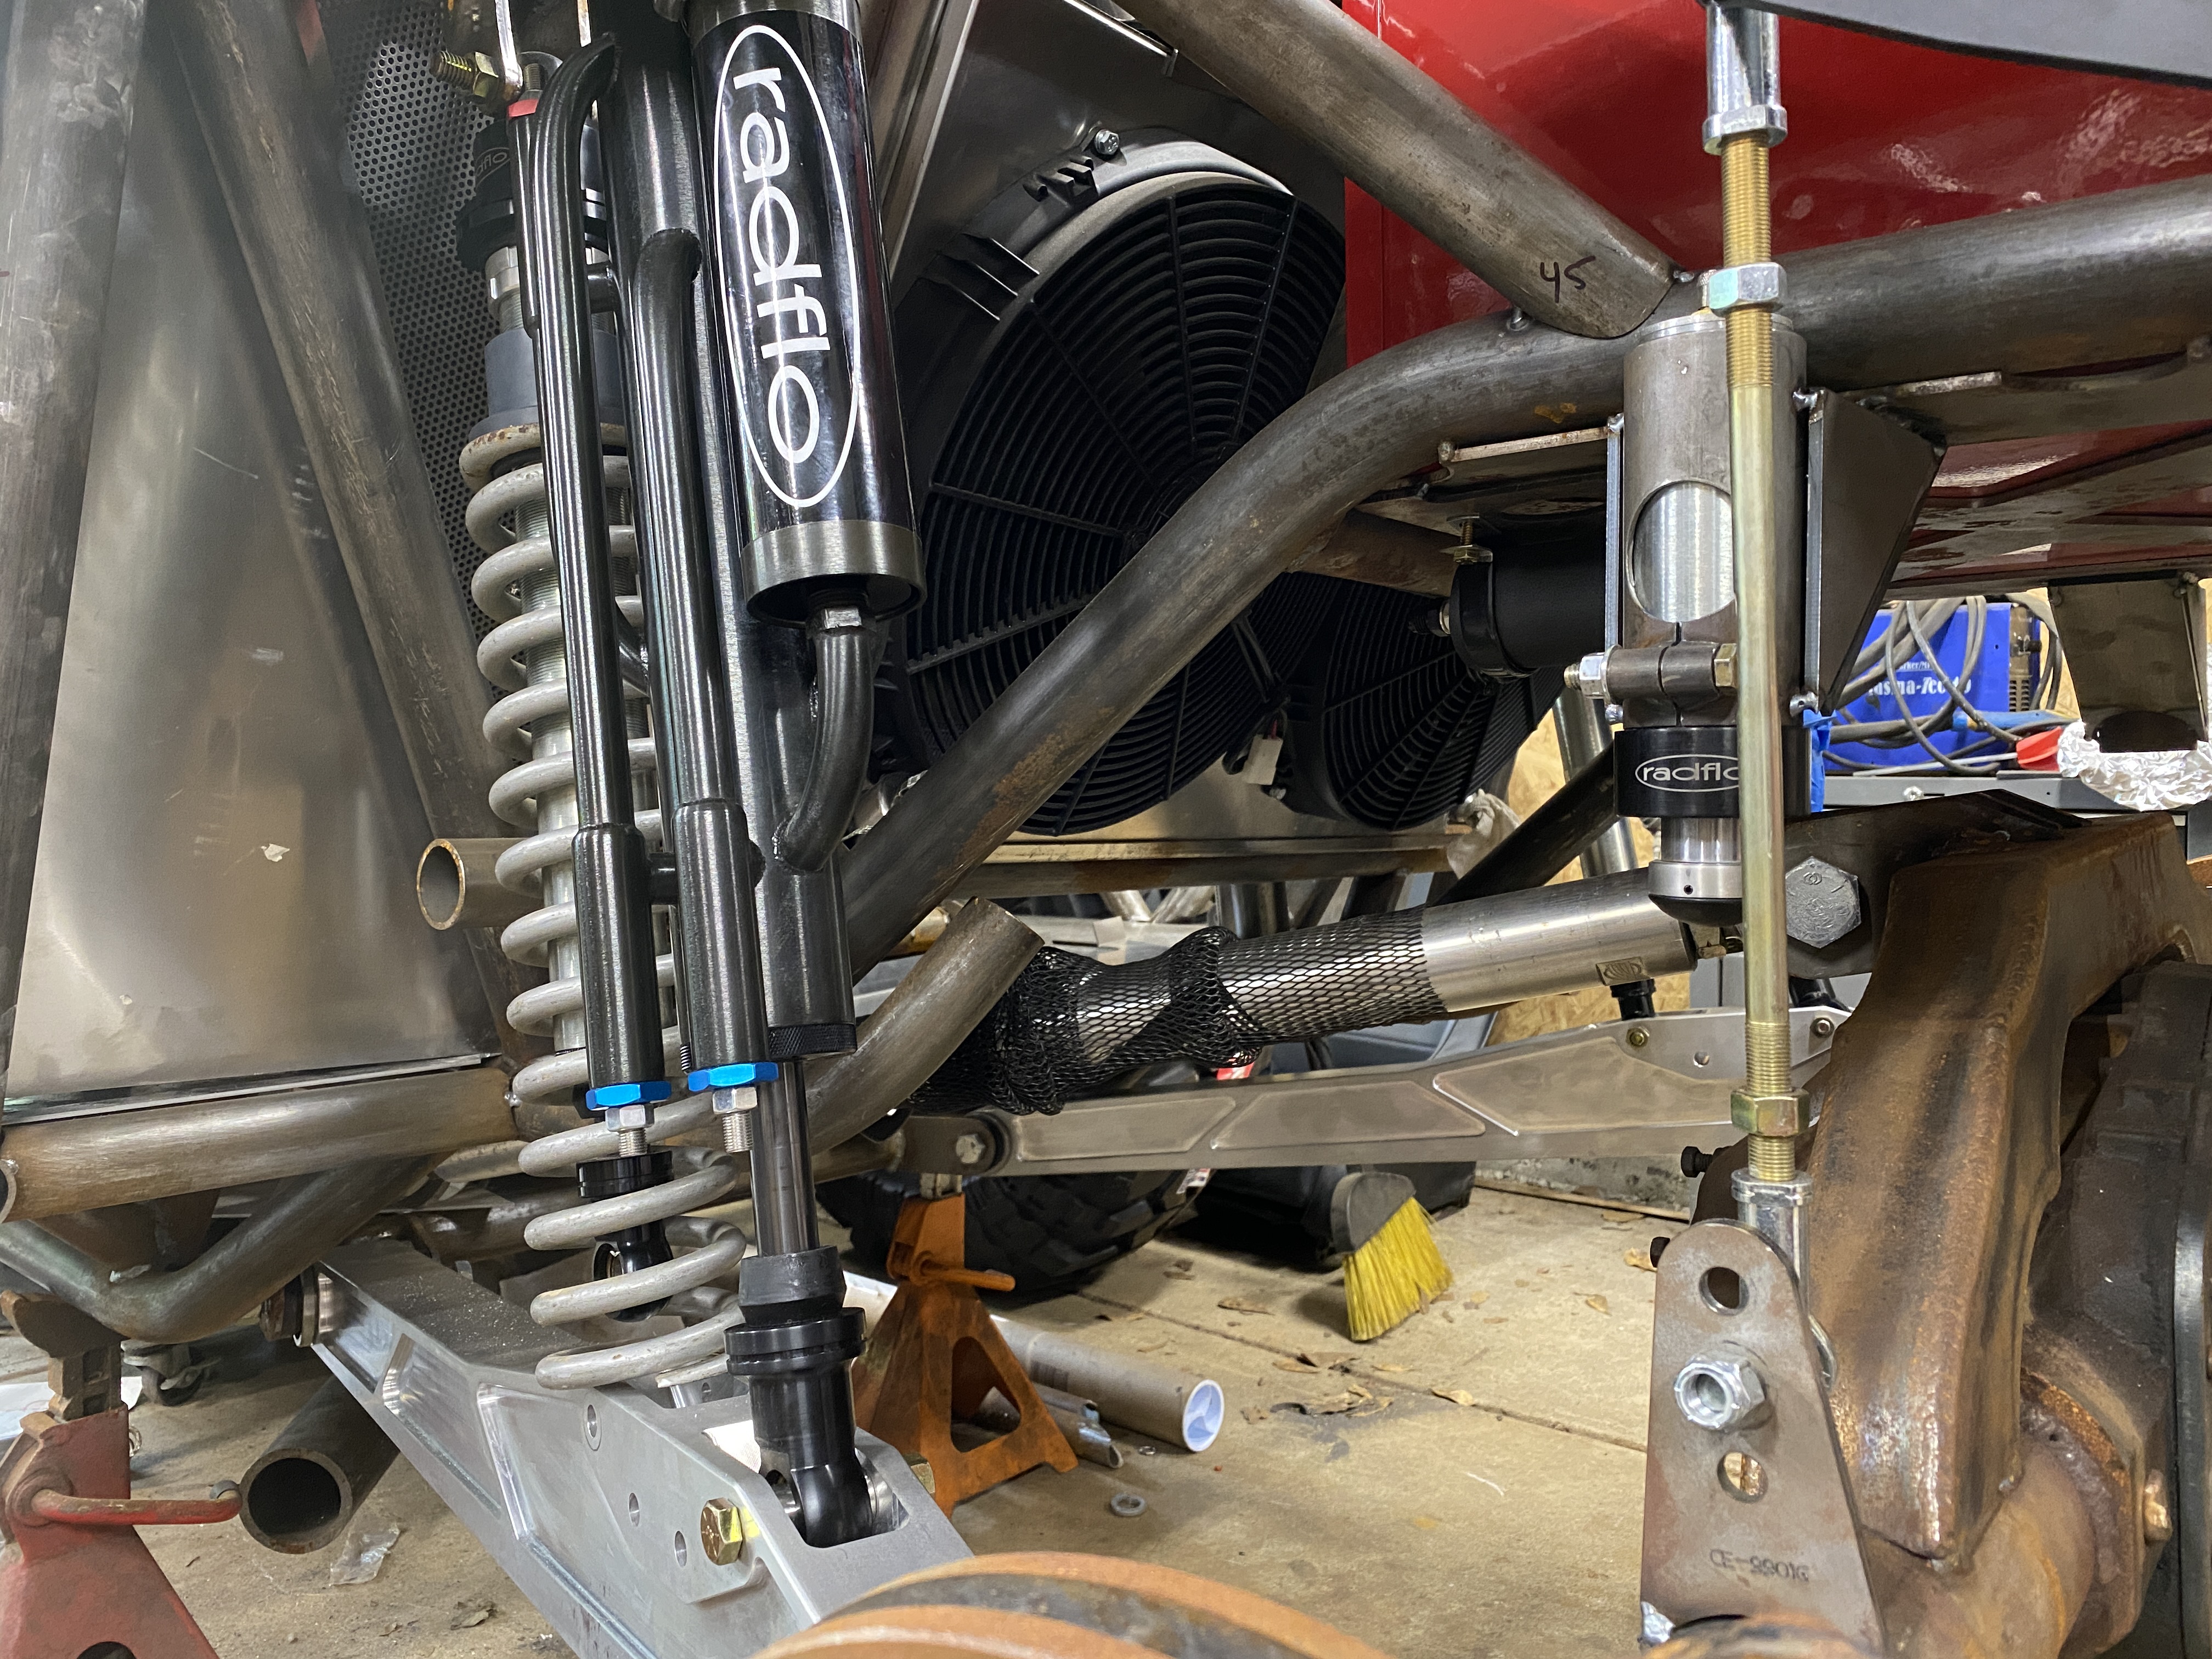
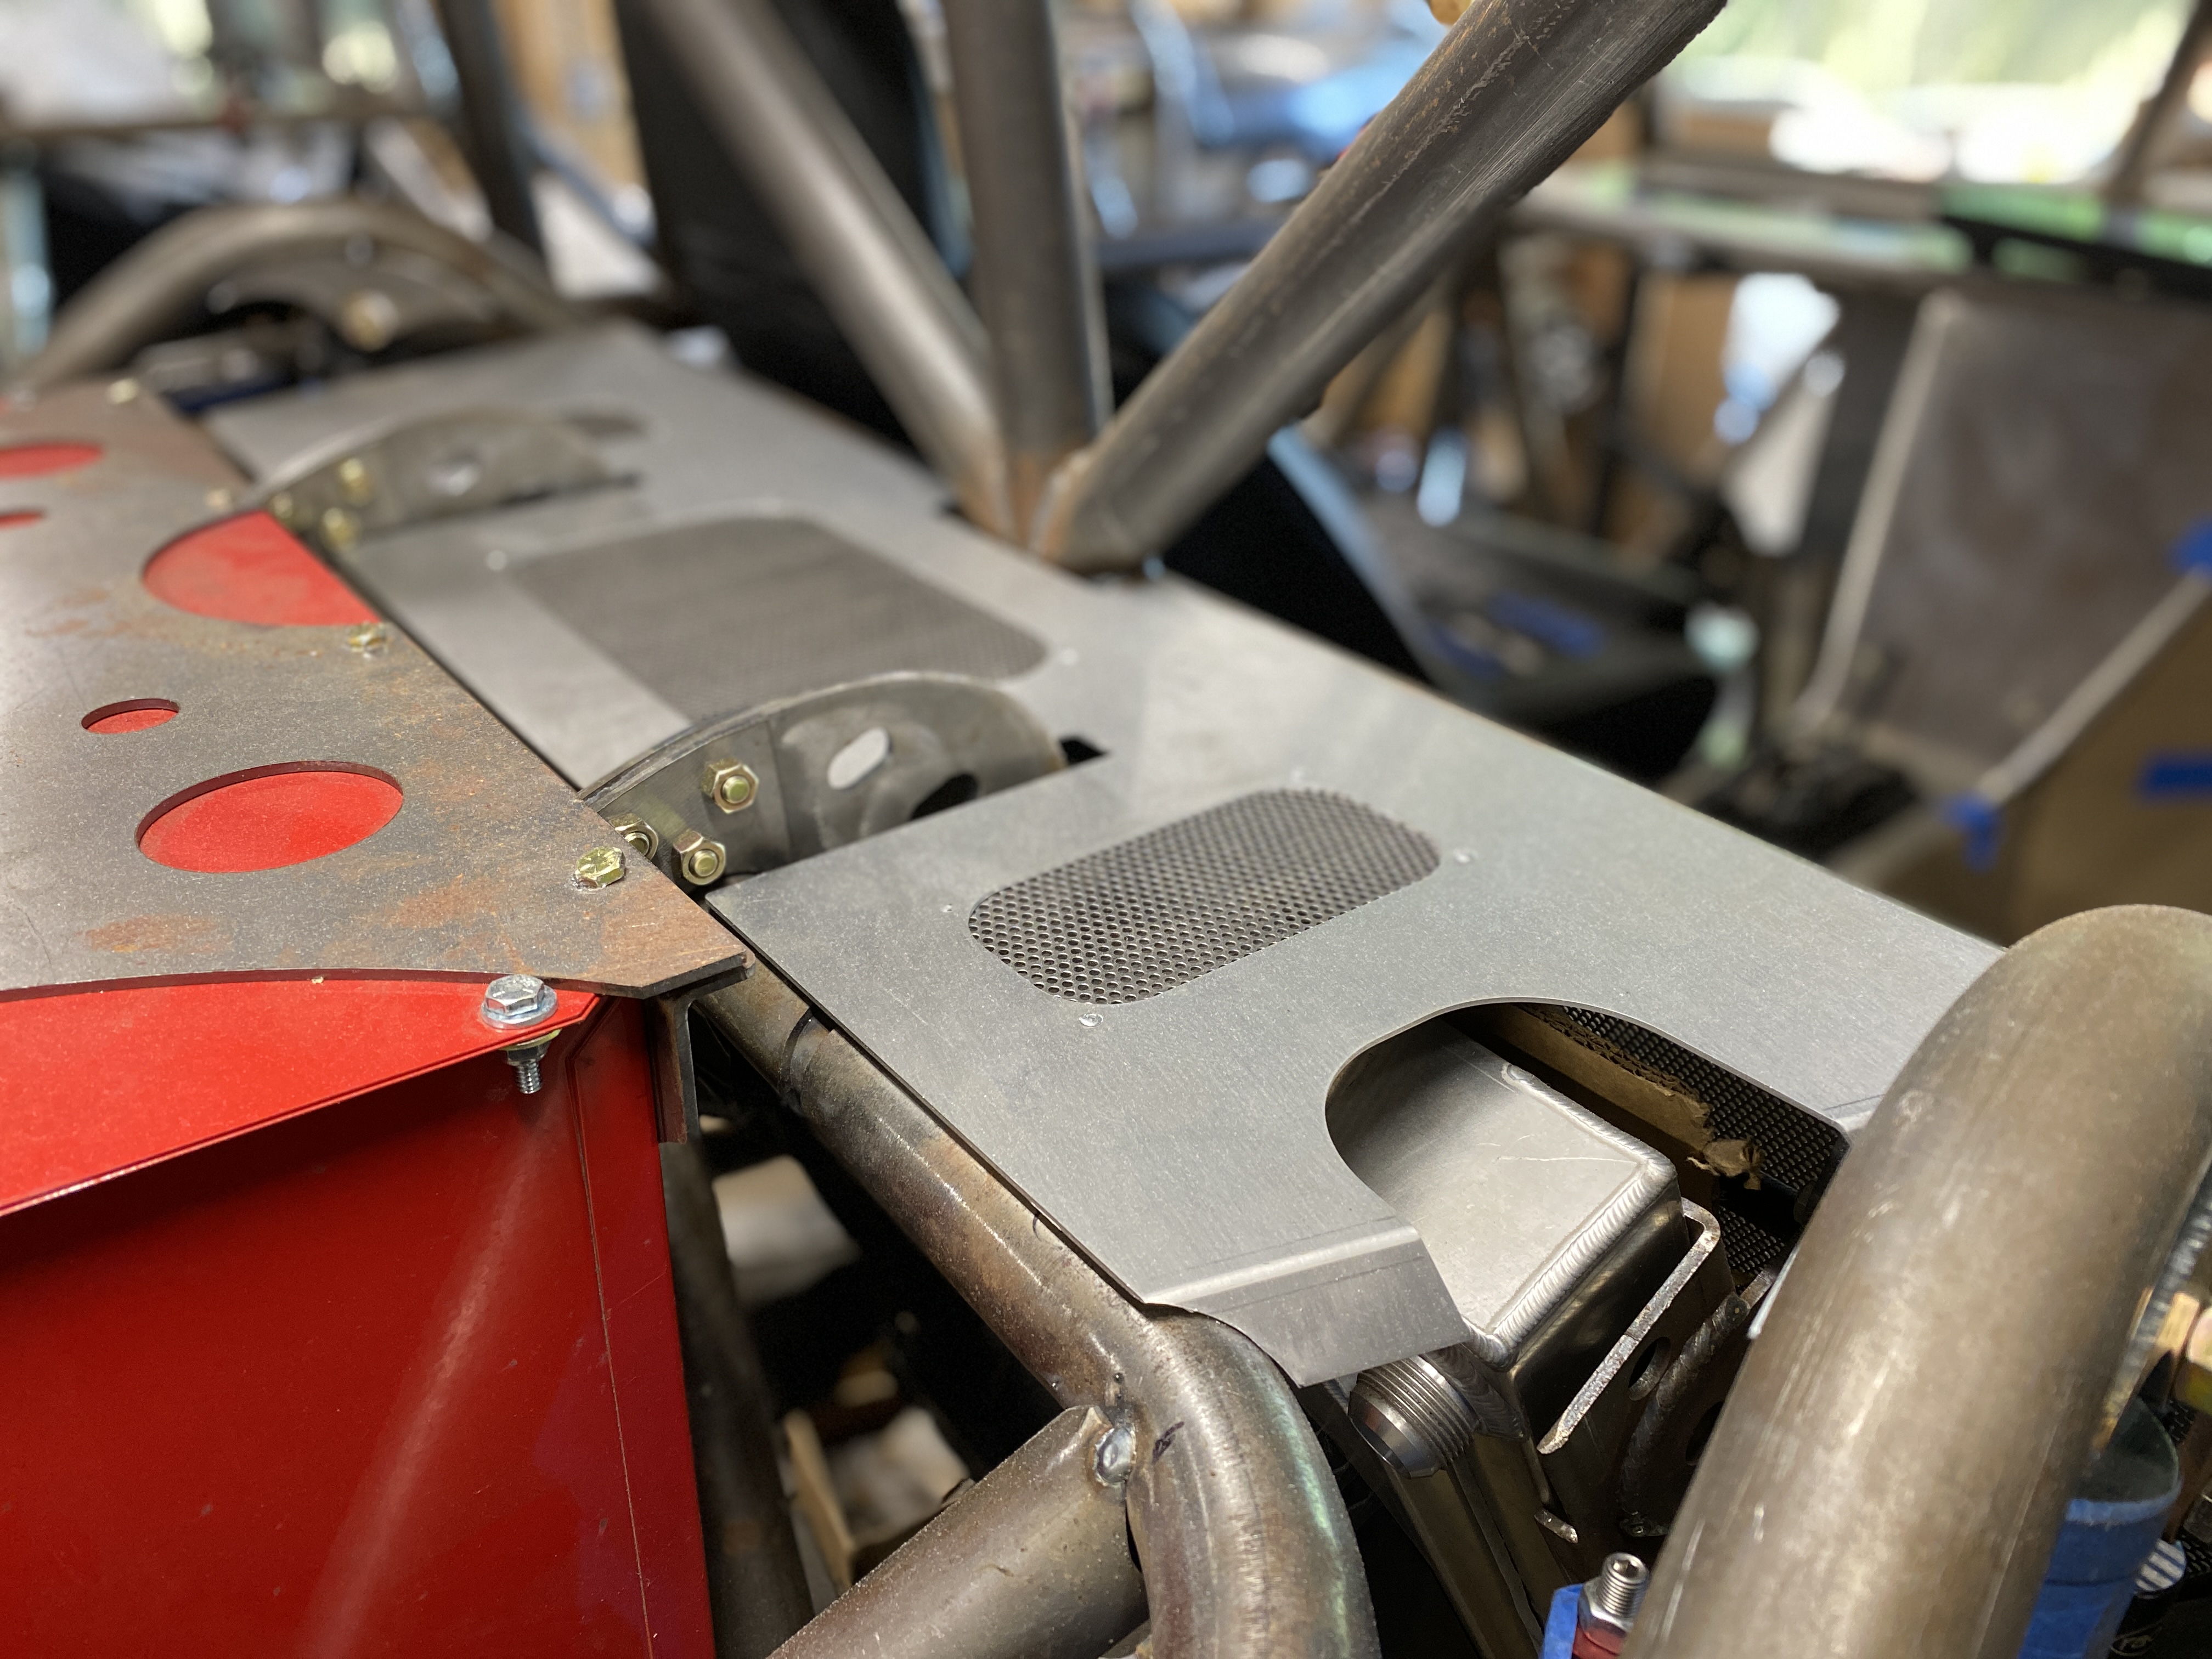
a few things - there are little heat shield plates that will get coated and covered in shielding, but the headers / exhaust are also getting covered in headshield which will take care of it all no problem. Its not cheap...but it is top of the line and comes highly recommendedWhat do you use on the headers and exhaust to keep the heat transfer from becoming an issue with the intake?
Damn, that is big money for a garage build, probably not bad for a top of the line shop build. Of course if it works then its money well spent.