• Help Support Hardline Crawlers :

project 80

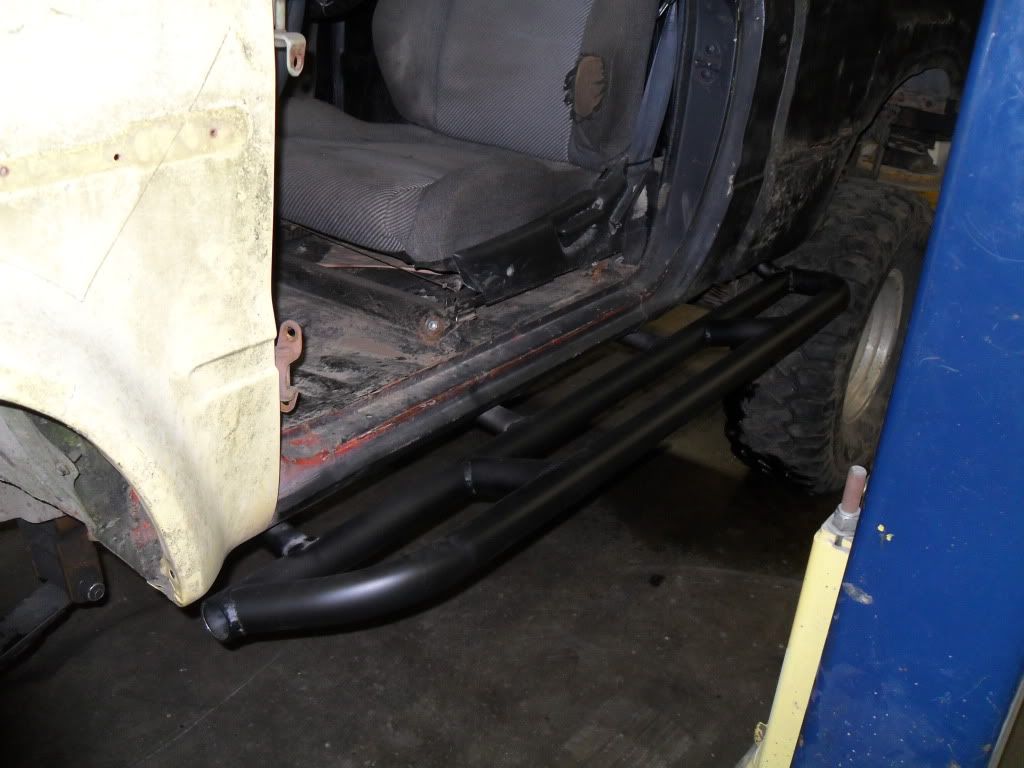
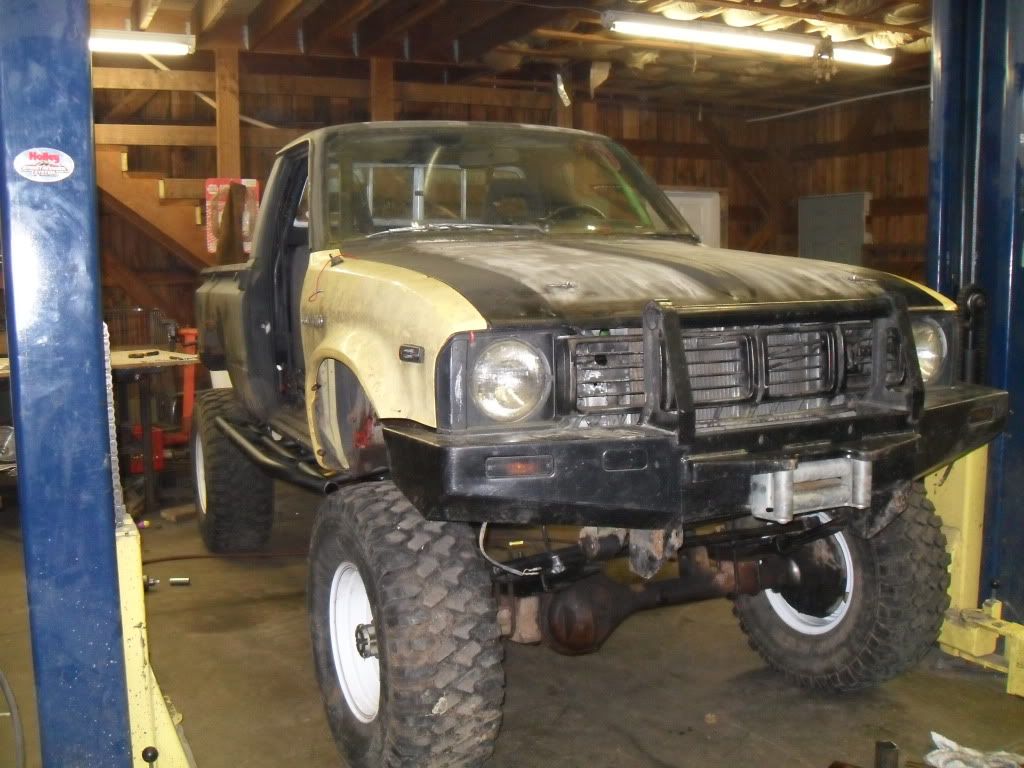
Ive been playing around with a protech bender and a hobart 220 welder and got my sliders fabbed up and welded on and I got my steering box on finally. I forgot to bring my camera to the shop so im going to get pics tomorrow. Hopefully ill get the front d line made tomorrow and then I can bring it back to my house.
 
Good choice on 35s :awesomework: I was afraid you were gonna pick some huge axle snapin tire.

Is your truck at Casey's? He bought my samurai last night. Your truck is looking pretty darn good. Should be capable. Street driving with a new paint job seems a little :rb: but i'll introduce your fenders and cab to some trees real soon :redneck:

Nice Job Chris :cool:
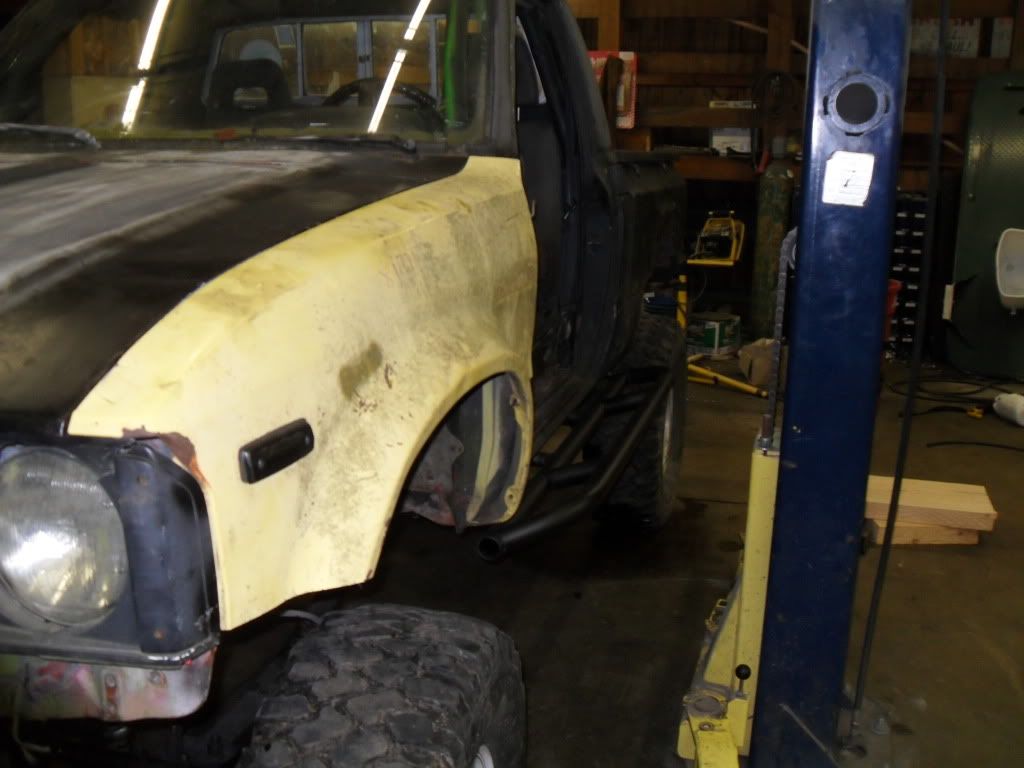
Yeah its at Caseys since we were building the sliders and other stuff that his welder is better for than my little guy. hes trying to get the front d line and finish welding the legs/gussets on the sliders today so he can start giving the samurai a face lift.

Hopefully I can find a good deal on a locker for the front and im just going to weld the rear for now. You need to get your truck back together soon, im hoping to be all done before the end of the month.
 
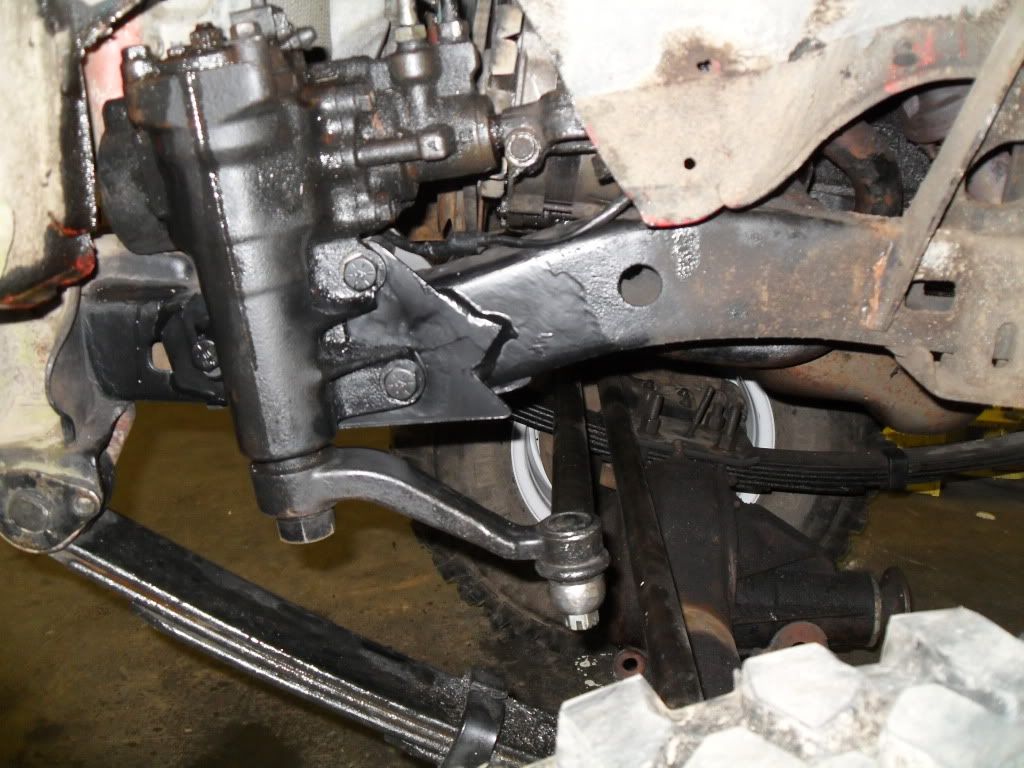
Ok I got some pics of the steering all finished and the sliders. I thought I got the steering good after reading up about it and looking at other build threads. It was my first time bending tube and I got the sliders on with out to much trouble and im really happy with how the sliders and the steering turned out.

truckbuild020.jpg

truckbuild021.jpg

truckbuild022.jpg

truckbuild024.jpg
 
sliders turned out good:awesomework:

:eeek:but you sorta f'd up on the box mount.. the plates are suposed to follow the curvature of the frame rails,
 
:eeek:but you sorta f'd up on the box mount.. the plates are suposed to follow the curvature of the frame rails,

He did it just fine.:awesomework:

If you turn it up like it fits the frame, then its going to make the assembly longer (from front of box to tip of pitman) as a whole and the pitman will interfere with the tierods.

If you let the box/pitman hang down then you dont have to worry about the arm/rods contacting at all.

If they contact the only fix for that is moving/redoing the whole box mount. :booo:

The only downfall to doing it the way he did, is if those HUGE springs actually do flex it might hit the spring on the draglink, which is easily fixed with a flat pitman arm.

The TG kit sucks in my opinion. I move the box foward more and make my own plates so it doesnt have the "it dont fit the frame" look.:D

James, sometimes instructions suck and should not be followed. :;
 
whats up with the leaning spring pin poker? (sticking out of the passenger side ubolt plate)

Looks like the pack is not centered or the pin is too small. It should not have any angle on it at all.
 
He did it just fine.:awesomework:

If you turn it up like it fits the frame, then its going to make the assembly longer (from front of box to tip of pitman) as a whole and the pitman will interfere with the tierods.

If you let the box/pitman hang down then you dont have to worry about the arm/rods contacting at all.

If they contact the only fix for that is moving/redoing the whole box mount. :booo:

The only downfall to doing it the way he did, is if those HUGE springs actually do flex it might hit the spring on the draglink, which is easily fixed with a flat pitman arm.

The TG kit sucks in my opinion. I move the box foward more and make my own plates so it doesnt have the "it dont fit the frame" look.:D

James, sometimes instructions suck and should not be followed. :;

brad, first of all i build my own mount plates aswell:; and the way he has it setup he is going to have some interference with the pitman arm and the drag link. sure the way he has it setup will work aslong as he sets up bumpstops... flat pitman arm might be a better way to go
 
Thanks for the info guys, I planned on cutting the bottom off the TG plates since it looked weird. If I have a problem with the springs hitting the link then im going to run a flat pitman arm. I had to cut the TG mount so it would fit better on the inside of the frame rail since it was hella long, I think if I do it again im just going to make my own that fits better. Im also going to run some bump stops I just havent got around to it yet. Ive been looking at other builds to see what I liked and what was working good for the bump stop mount.

Brad the pin on the pass. side leaf it bent right after it comes out of the leaf pack but its good through them so i was going to bend it back to make it look better.
 
Last edited:
look at the my build thread. i made my bump stops out of 2x3 with 1/4 in plate:cool:

Yeah I was thinking of doing the same thing, it looks simple and works. Ive seen some thou were the bump stop is on the top, does it matter if the bump is on the axle side or the frame side? I also need to cut off my stock shock mounts and bend some shock hoops for this thing.
 
Yeah I was thinking of doing the same thing, it looks simple and works. Ive seen some thou were the bump stop is on the top, does it matter if the bump is on the axle side or the frame side? I also need to cut off my stock shock mounts and bend some shock hoops for this thing.

no it doesn't matter if the rubber bumper is on the bottom or the top. if you want to save some cash go to the junk yard and get some shock hoops off the front of an F series ford:awesomework:
 
Well I bought a 18' stick of 2" 120 wall and a 18' stick of 1.5" 120 wall and I havent used any of the 1.5" so i was just going to try and make my own. I used the 2" for the sliders and I used scrape 1.5" that i found laying around the shop for the legs since the 2" was to big to tuck up any higher. I had a set of the f350 shock mounts and I looked all over my garage and have no idea were they ran off to.

I only have a couple more things to do to finish it up. Im hoping for a little shake down run at the end of the month.

right on let me no when and were:awesomework:
 
you should just cut the leaf spring center pin off flush with the u-bolt plate. it doesn't need to be that long, they just come hella long and then you saw them off. also, i have a couple stock toyota rubber bump stops (rear ones) you can have if you need some.
 
you should just cut the leaf spring center pin off flush with the u-bolt plate. it doesn't need to be that long, they just come hella long and then you saw them off. also, i have a couple stock toyota rubber bump stops (rear ones) you can have if you need some.

Let me know were there at or the next time your goign to be home and ill swing by and grab them.
 
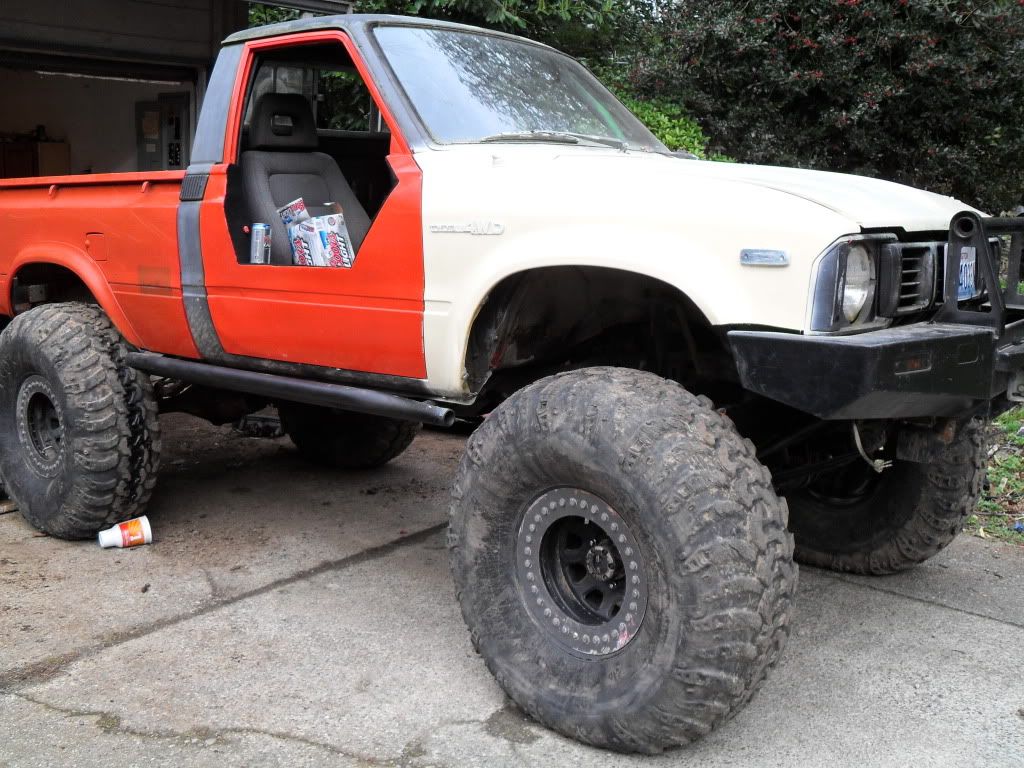
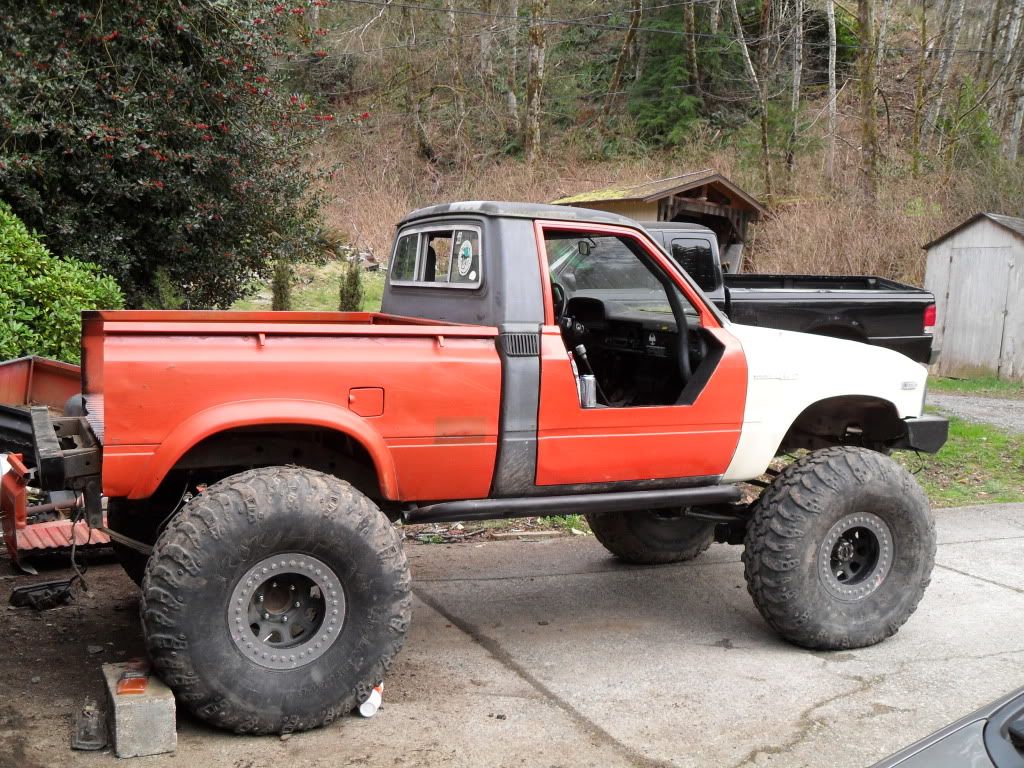
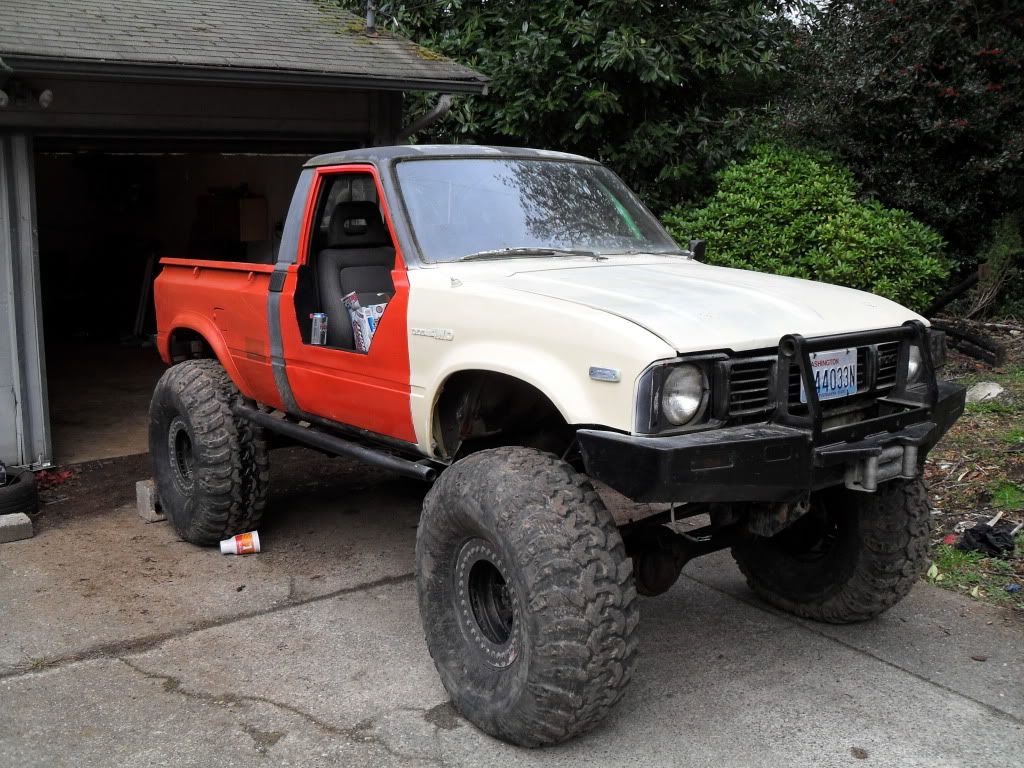
So Ive been collecting more parts and finally had the chance to get some work done. i got a set of half doors and a new bed that isnt rusted out. I picked up a set of beadlocks and Iroks. I also got longs and im getting a knuckle rebuild on wednesday so I can get that all put together. I still need to get a locker for the front, make my front Dline, put on my front brake lines and weld on my front axle truss and diff armour and I should be all done. Here is a couple pics i snapped, I ran out of cut off wheels so i need to run to the store and pick some up so I can finish bobbing the bed today.

truckbuild025.jpg

truckbuild027.jpg

truckbuild026.jpg
 
Top